

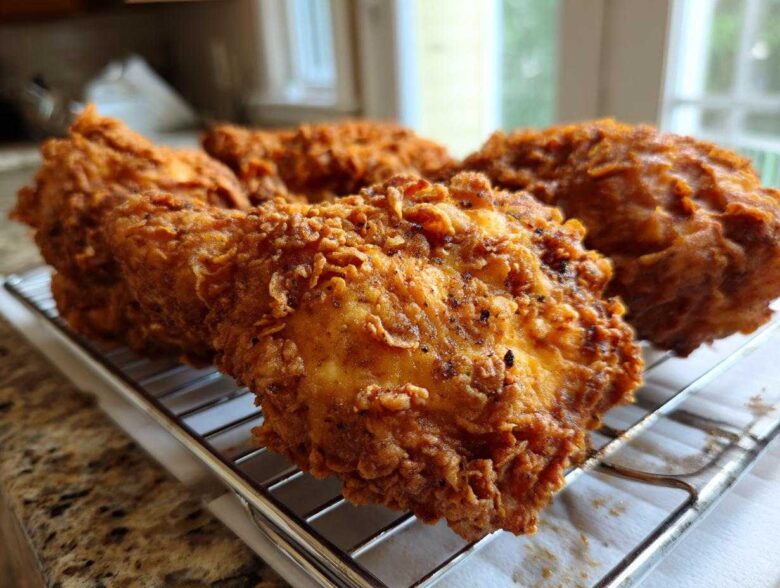
Listen, there are fried chicken recipes, and then there’s *this* fried chicken recipe. If you’re tired of that sad, soggy coating that caves the second a fork touches it, you’ve come to the right place! Ethan (my wonderfully structured husband) always insists on exact measurements, but when it comes to that perfect, glorious crust on a piece of Southern Fried Chicken, I have to rely on instinct. This recipe marries my need for texture with his need for reliability. We’ve finally perfected Chloe’s Ultra-Crispy Buttermilk Fried Chicken, and trust me, it’s golden, crunchy, and ridiculously juicy inside.
We spent an entire summer perfecting this dredge. It took so many batches of chicken thighs—some too pale, some burnt on the edges! But we cracked the code. This isn’t just dinner; it’s a declaration of comfort, and it’s probably the best homemade fried chicken you’ll ever attempt. If you follow these steps, you’ll nail the texture every single time.
Why This Buttermilk Southern Fried Chicken Delivers Maximum Crispiness
Okay, this is where the magic comes from, and this is why you’re going to love this recipe over any other fried chicken out there. We aren’t just aiming for good; we’re aiming for that loud, crackly crust that stays crisp even after it cools down a little. I always tell Ethan that the goal is to achieve maximum crunch without sacrificing the moisture underneath. It’s all about balance, right?
We use a couple of specific tricks that elevate this from standard dinner fare into pure comfort food perfection. Seriously, getting that juicy and crispy chicken combination takes just a bit of method, but it’s so worth the sticky fingers!
The Power of Buttermilk Brined Chicken
If you skip the initial soak, you’re missing half the flavor and most of the tenderness! The lactic acid in the buttermilk brined chicken works wonders. It gently breaks down those tough muscle fibers, which means by the time you fry it, the meat is already supremely tender. I leave mine soaking overnight, always. It seasons the meat right down to the bone and ensures your final product is incredibly juicy, no matter how busy you are while frying.
Secret Ingredients for the Crispy Fried Chicken Recipe
The real game-changer for that craggy, thick, and super crunchy chicken coating? Cornstarch! Most people stick to just flour, but adding that little bit of cornstarch to the dredge is crucial for that extra-crispy, shatteringly good texture we are looking for in a fried chicken dish. I also always do what I call the ‘Chloe Double Dip.’ You take that flour-coated piece, dip it quickly back into the remaining buttermilk—just a quick splash—and then back into the flour one last time. Press it firmly! That second layer creates the beautiful jagged edges.
Gathering Ingredients for Your Classic Fried Chicken
Alright, before we get into the actual deep-frying action, we need to talk about what you need to pull this off. Since Ethan insists on exact amounts, I’ve listed everything out precisely. Don’t substitute the buttermilk unless you absolutely have to, okay? This list covers everything for the brine, the spice blend, and that all-important coating that’s going to make this the best homemade fried chicken you’ve ever made. Having everything measured and ready to go before you even think about turning on the stove keeps the stress way, way down!
Don’t be intimidated by the list; most of this is seasonings! Here is what you need aboard your culinary vessel:
- 4 lbs bone-in, skin-on chicken pieces (thighs, drumsticks, breasts)
- 4 cups buttermilk
- 2 tablespoons kosher salt
- 1 tablespoon black pepper
- 1 teaspoon cayenne pepper (optional, for a kick)
- 4 cups all-purpose flour
- 1/2 cup cornstarch (for extra crispiness)
- 2 tablespoons paprika
- 1 tablespoon garlic powder
- 1 tablespoon onion powder
- Vegetable oil or shortening, for frying (enough to cover chicken by 2 inches)
How To Make Fried Chicken: Step-by-Step Instructions
This is the part that can look scary if you haven’t done it before, but I promise, once you see how easy it is to learn how to make fried chicken this way, you’ll never look back! The secret here, just like with baking, is setting yourself up for success by planning ahead. We need time for the meat to soak up that buttermilk magic and time for the coating to truly adhere. If you rush the marinating or the resting, you risk losing that amazing texture we worked so hard to build!
Once your oil is heating up, everything moves fast, so trust the process and read these spots carefully. This is how we guarantee every piece comes out perfectly golden brown chicken. If you want to try a different tenderizing base next time, check out my ultimate all-purpose juicy chicken marinade guide for inspiration!
Marinating for the Juiciest Fried Chicken
Step one is the easiest but takes the most patience: the brine! You combine your buttermilk with the salt, pepper, and cayenne right in a big bowl, then tuck the chicken pieces in. Make sure they are fully submerged! I know it feels like a lot of buttermilk, but that’s what’s going to give you that unbelievably juicy and crispy chicken result. While Ethan says 4 hours is the minimum, if you can manage it, let it hang out in the fridge overnight—like 10 to 12 hours. That slow soak really tenderizes things beautifully, making the meat practically fall off the bone later!
Creating the Perfect Crunchy Chicken Coating
While the chicken is marinating, whisk together your dry dredge—that’s the flour mixed with the cornstarch and spices. Remember I mentioned the double dip? This is where you do it! Take the chicken right out of the buttermilk, let the big drips fall off, and then press it hard into the flour mixture until it’s totally coated. For that next-level crunch, dip it quickly back into the buttermilk (don’t let it soak, just a quick splash!) and immediately back into the flour. Press down again! Those flaky, jagged bits are what turn into the best texture when they hit the oil.
Frying Technique for Golden Brown Chicken
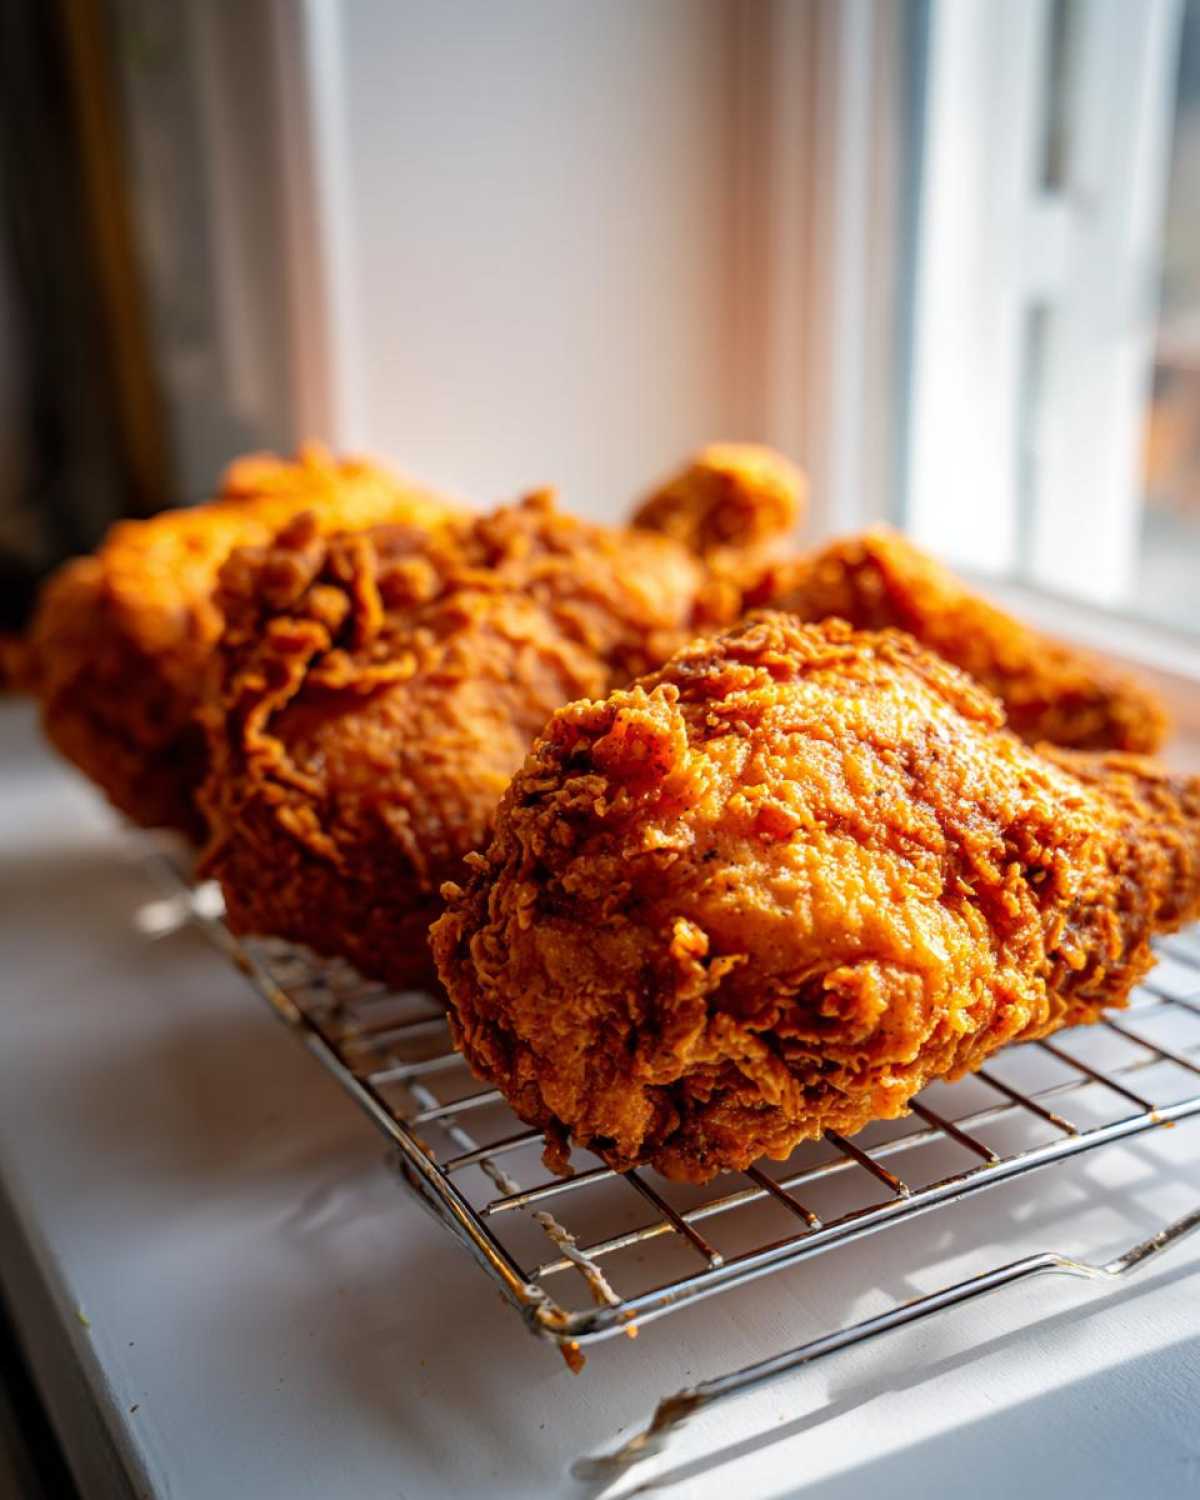
Now, here’s the technical part where Ethan actually shines—temperature control. You need about two inches of vegetable shortening or oil heating up to exactly 325 degrees F. Don’t eyeball it! Use a thermometer. Once you gently place your coated chicken in (remember not to crowd the pot—do it in small batches!), the temperature is going to drop. You should try to keep it hovering between 300 and 325 degrees F the whole time you’re frying each side, which takes about 6 to 8 minutes per side. If the oil is too hot, the outside burns before the inside cooks. If it’s too cool, it just soaks up oil and gets greasy! This careful temperature balancing is the key to flawless fried chicken.
Tips for Success When Making Southern Fried Chicken
Look, even with the best recipe in the world, making that perfect, foolproof fried chicken can sometimes feel a bit daunting. Ethan used to get so stressed watching the thermometer while I was trying to dredge the next batch! I remember one time early on, I got totally distracted by the phone ringing, and I let my chicken sit coated on the counter for almost an hour before frying. You can guess what happened next—that gorgeous coating turned into a sad, wet blanket the second it touched the oil. Oops! That taught me the real secret: timing is just as critical as the ingredients.
So, pay close attention to these final tips. They are the little details that move this recipe from ‘good enough’ to ‘call the neighbors over’ status. These small steps are what great cooks never skip!
Oil Management for Consistent Fried Chicken
I can’t stress this enough: you absolutely need a digital thermometer for this. We are aiming for that perfect environment for getting golden brown chicken, and that environment is stable heat. If you don’t use a thermometer, you’re guessing, and that’s how you end up with raw chicken centers or greasy skin. Keep your oil right around that 325°F before you put the chicken in, and try your hardest to keep it from dipping below 300°F when you add the cold chicken. If it dips too low, that crust starts to break down and soak up way too much oil. It’s a balancing act, but the thermometer is your best friend here.
Resting the Coated Chicken
This is the other step I learned the hard way about—the 20 to 30-minute rest! Once you’ve dredged your chicken, put it on that wire rack and just walk away. Seriously, don’t touch it. This resting time is vital because it allows the flour and cornstarch mixture to hydrate and stick firmly to that wet buttermilk layer. It basically glues your amazing coating onto the bird. If you skip this, that crunchy coating will slide right off into the hot oil and float sadly around your pot while you’re left with plain, sad chicken. We want that coating to stay put!
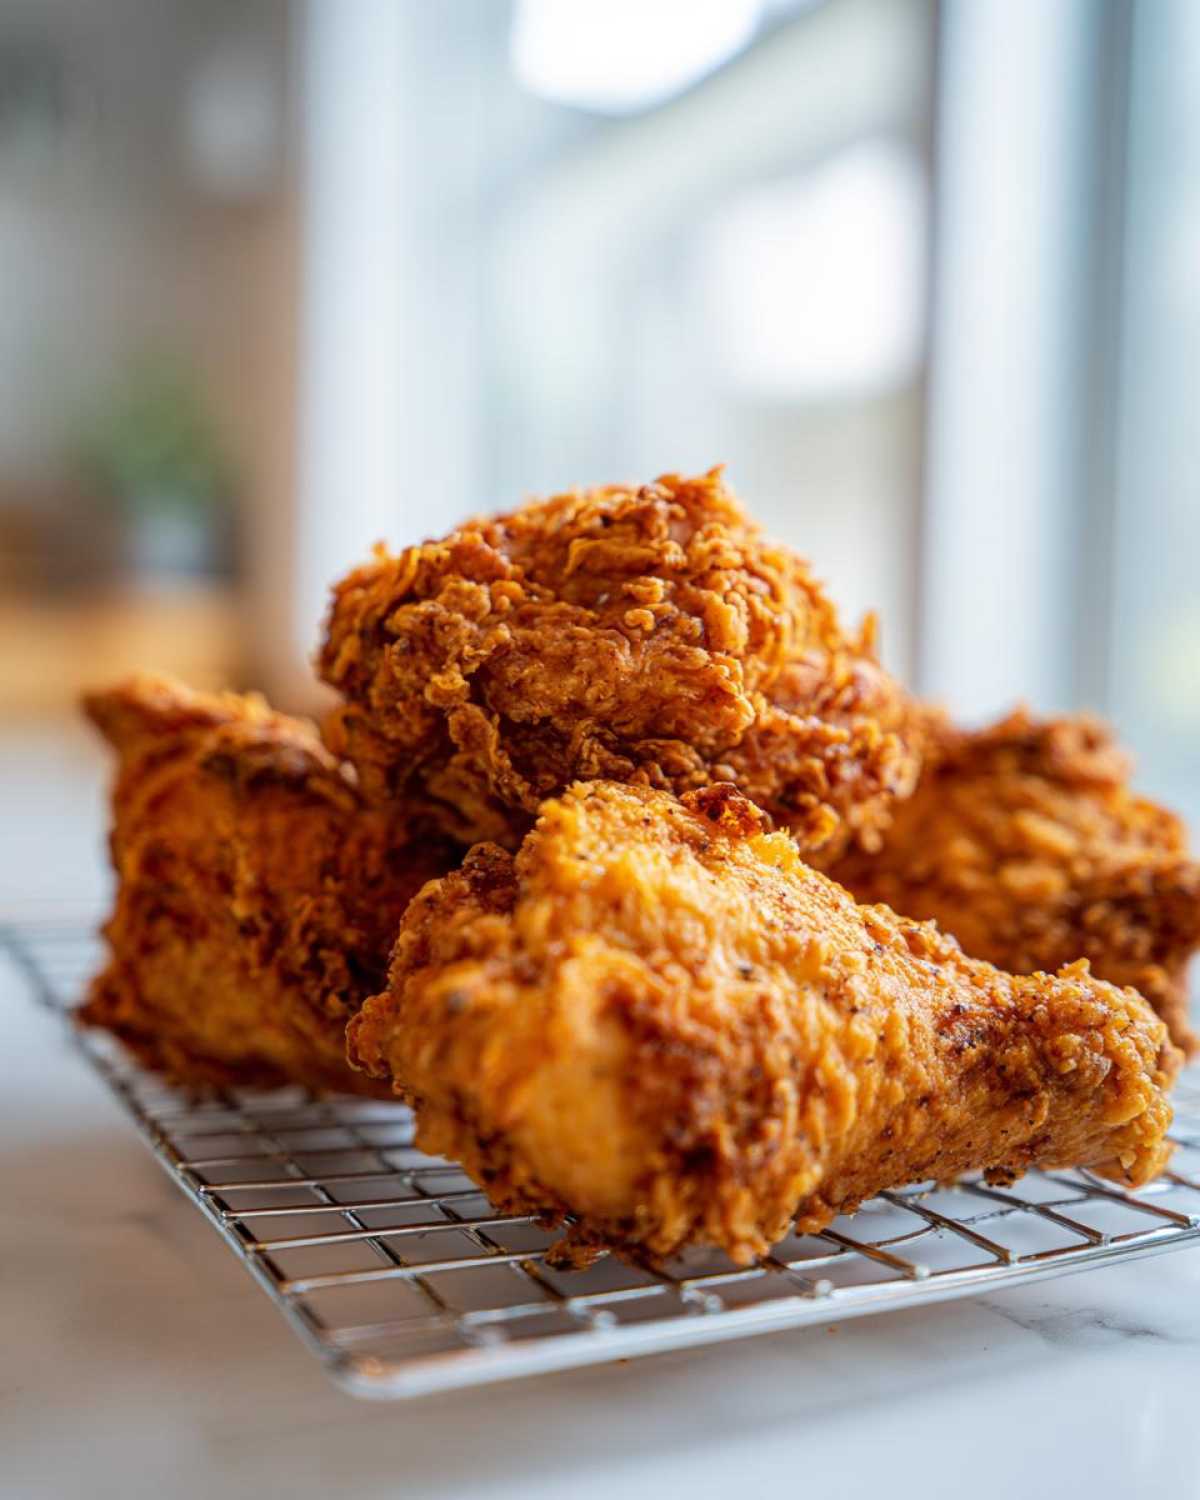
P.S. If you’re looking for a perfect side to go with this amazing meal, you have to check out my recipe for fluffy buttermilk biscuits. They are the ideal partner for mopping up any leftover juices!
Serving Suggestions for Your Easy Fried Chicken Dinner
Whew! You pulled off the best homemade fried chicken ever. Now what? You can’t just eat a plate of pure, crispy chicken alone, right? Well, you *could*, but Ethan would probably make me whip up some sides to make it a proper, satisfying easy fried chicken dinner. This kind of amazing savory chicken dinner ideas demands classic Southern accompaniments.
My absolute favorite thing to pair with this crispy bird is a fluffy, slightly sweet side. You know I’m obsessed with my sweet potato cornbread recipe—it’s just the perfect balance of sweet and savory against the spiced chicken crust. And you definitely need something creamy to cut through the richness, so I always suggest pairing it with my best creamy mashed potatoes. Those two sides, plus maybe a fresh green salad, make the perfect evening. Seriously, gathering these dishes together makes the whole meal.
Storage and Reheating Your Leftover Fried Chicken
I’m going to be honest—the battle to keep any leftovers of this amazing fried chicken is real in our house! But if you manage to squirrel away a few pieces that didn’t get eaten immediately, how you store and reheat them totally determines if they stay good or turn into sad, oil-logged mush. We have to protect that amazing crunchy crust we worked so hard for, right?
Never, ever wrap your leftover chicken tightly while it’s still warm or even room temperature. That traps steam, and steam is the mortal enemy of crispiness. You’ll end up with soft, damp skin, which is the opposite of what we’re aiming for!
Storing for Maximum Freshness
The best way to store leftover pieces in the fridge is to let them cool completely on a wire rack first. Once they’re totally cold, place them in a container, but here’s the trick Ethan swears by: line the container with a paper towel. This soaks up any residual moisture that escapes, keeping the pieces from sitting in condensation. This method works great for about three or four days in the fridge. If you need to keep them longer, freezing them flat on a baking sheet first, then popping them into a freezer-safe bag, will keep them good for up to a month.
The Only Way to Reheat Crispy Fried Chicken
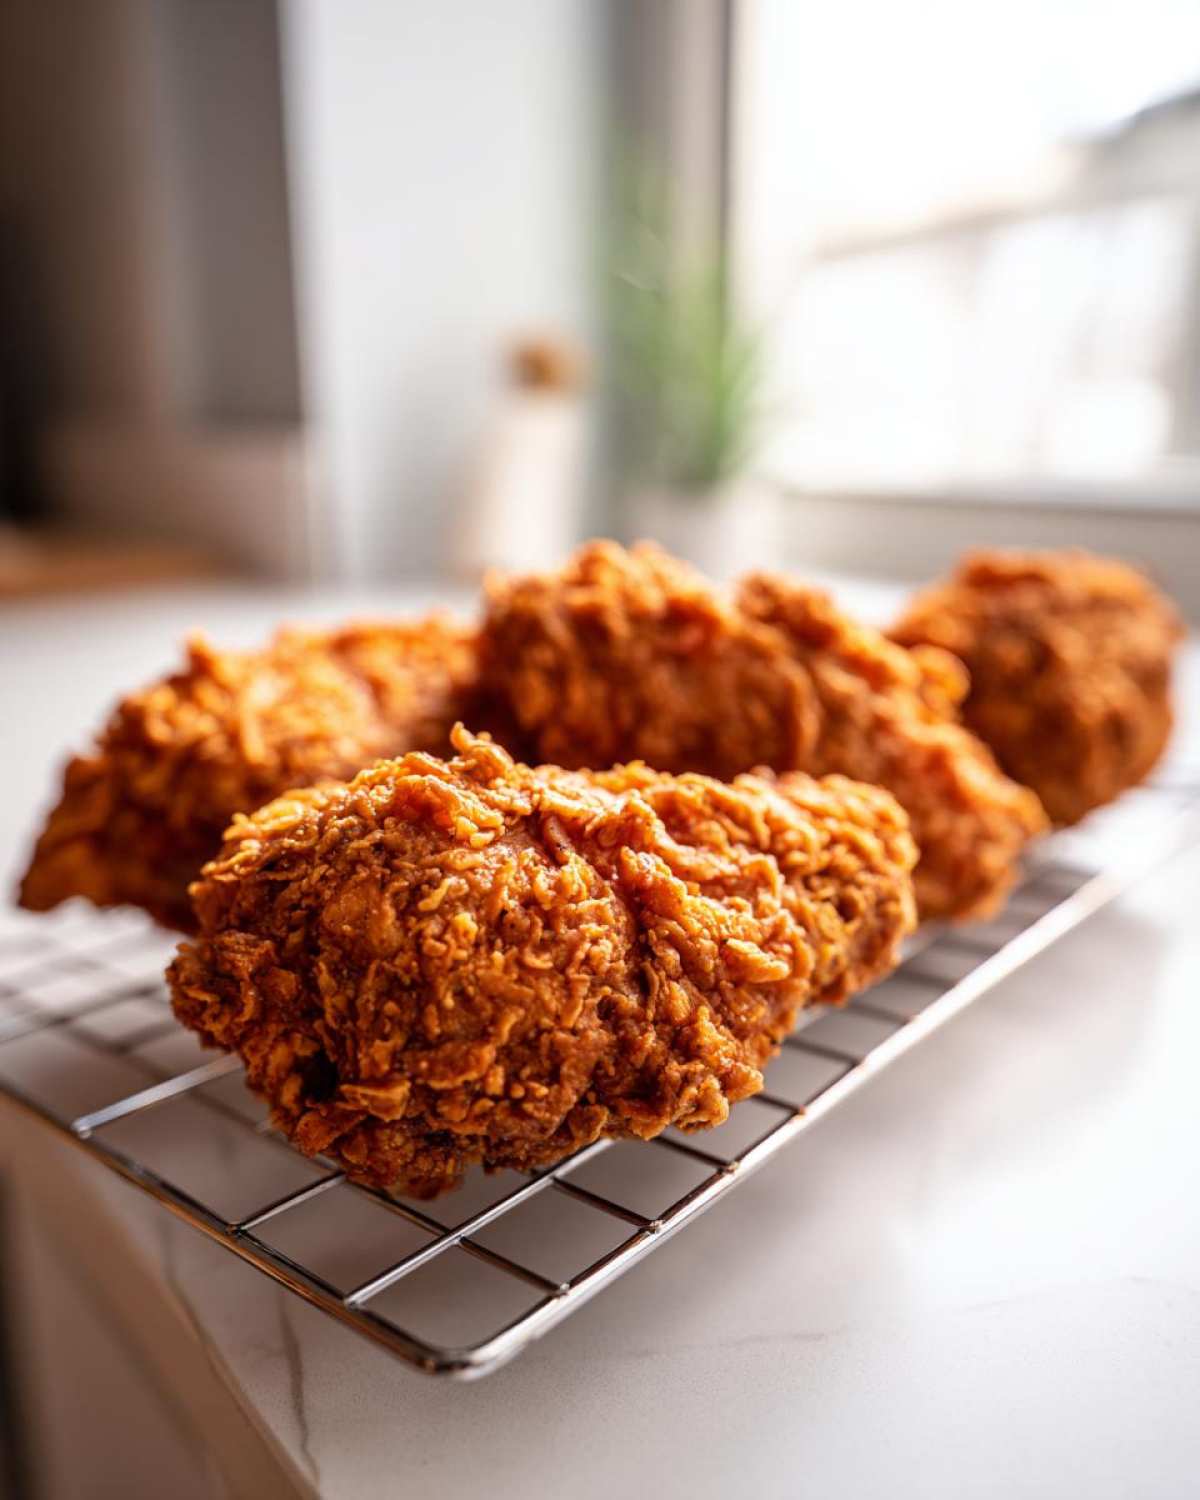
If you even *think* about using the microwave, I might have to un-invite you from the next potluck! Microwaves generate steam, and steam softens the coating immediately. We are reheating our leftovers using dry heat only. The oven is my go-to for larger batches. Set your oven to 375 degrees F (or air fryer if you have one!). Place the chicken pieces directly onto a wire rack set over a baking sheet. This allows the air to circulate underneath, crisping up the bottom crust while the top reheats. Usually, 10 to 15 minutes is all it takes to bring it back to that perfect juicy, golden state again. It comes out nearly as good as fresh!
Frequently Asked Questions About Making Fried Chicken
I get so many messages asking about tweaking this recipe, which is lovely because it means you’re all out there making it! Sometimes you don’t have the right equipment or maybe you are trying to make a slightly healthier version. Before you send me a frantic text mid-fry, here are some of the most popular questions I get about achieving that perfect fried chicken crust.
Hopefully, these can help you skip any pitfalls and move right to enjoying your amazing, crispy meal. If you’re looking for something a little lighter next time, maybe try my chicken zucchini stir fry!
Can I make this Crispy Fried Chicken Recipe in an Air Fryer?
Oh, the air fryer question! Listen, you absolutely *can*, but it’s not going to be the exact same legendary texture as deep frying. If you must air fry this crispy fried chicken recipe, you need to make some adjustments because air fryers cook so differently. Spray the coated chicken pieces generously with cooking oil—I mean really spray them until they look wet. You need that surface oil to promote browning. Cook them at about 380 degrees F, turning them halfway through. They won’t get that deep, deep craggy crust we get from the hot oil, but they will be quite good and much less messy!
What temperature should the oil be for perfect fried chicken?
This is the most important takeaway if you want golden brown chicken that is cooked through! For this recipe, you absolutely must start your oil at 325 degrees F. Once you put the cold chicken pieces in, the oil temperature will drop—it has to! That’s why we only fry 3 to 4 pieces at a time so the temperature doesn’t plummet. While the chicken is actively frying, keep a close eye on it and try to nudge the heat up or down to keep that oil between 300 degrees F and 325 degrees F. That range is your sweet spot for beautifully cooked, non-greasy fried chicken.
Can I use chicken breasts instead of bone-in pieces?
Yes, but you have to cook them faster! Chicken breasts are much leaner than thighs or legs, and if they stay in the hot oil for the same amount of time, they’ll dry out instantly. If you use breasts, I always recommend pounding them to an even thickness first, maybe about 3/4 of an inch thick. They might only need 4 to 5 minutes per side at that final high heat. Remember, the recipe directions are heavily geared toward the bone-in pieces, so be vigilant with your internal temperature checks when you switch to thinner cuts!
Estimated Nutritional Information for Fried Chicken
Okay, pulling up the final stats for this masterpiece! Ethan always makes me include this bit because, while we cook for flavor and comfort first, it’s good to have a general idea of what you’re diving into, especially with something rich like deep-fried chicken. Please remember that this is just a rough guide. Since we’re deep-frying, the actual fat absorbed can shift based on how well you controlled your oil temperature and how much buttermilk dripped off before you breaded it. Also, bone-in pieces mean the protein/fat count can vary depending on whether you got a bigger thigh or a smaller drumstick!
These numbers are based on the general yield of this recipe for six servings, using skin-on pieces, and represent just one serving of the fried chicken itself—not including any sides or that amazing gravy you might be planning! Think of this as a helpful benchmark for your comfort food chicken recipes.
- Serving Size: 1 piece (thigh)
- Calories: 450
- Fat: 28g
- Saturated Fat: 7g
- Protein: 30g
- Carbohydrates: 18g
- Sugar: 2g
- Sodium: 750mg
- Cholesterol: 110mg
If you feel like you need to adjust things for health reasons, I always suggest leaning into the techniques we used, like making sure that buttermilk brine is perfectly salted, but maybe using an air fryer (as we discussed earlier) to cut down on the overall fat content. If you have any questions about the recipe structure or want to chat more about recipe adjustments, please feel free to reach out to us over on the contact page! We love hearing from our crew.
Share Your Best Homemade Fried Chicken Creations
Well, my kitchen is officially empty because I hope you rushed right off to try this! Seriously, making this ultra-crispy fried chicken is always a blast, but seeing *your* results is the best part of this whole venture. Ethan and I live for those comments and messages detailing how your family devoured the meal. We build this “fleet” of recipes together, and your feedback keeps us sailing true!
Did you use the double dip? Did you brine it overnight like I begged you to? Drop a comment below and let us know how it went! Telling us what sides you served up with your best homemade fried chicken helps others get inspired for their own easy fried chicken dinner, too.
And if you managed to snap a picture of that beautifully golden brown chicken—especially if you caught that glorious coating crackling—please tag us on social media! We absolutely love seeing our recipes making memories at your tables. Happy cooking, everyone. We can’t wait to hear all about it!
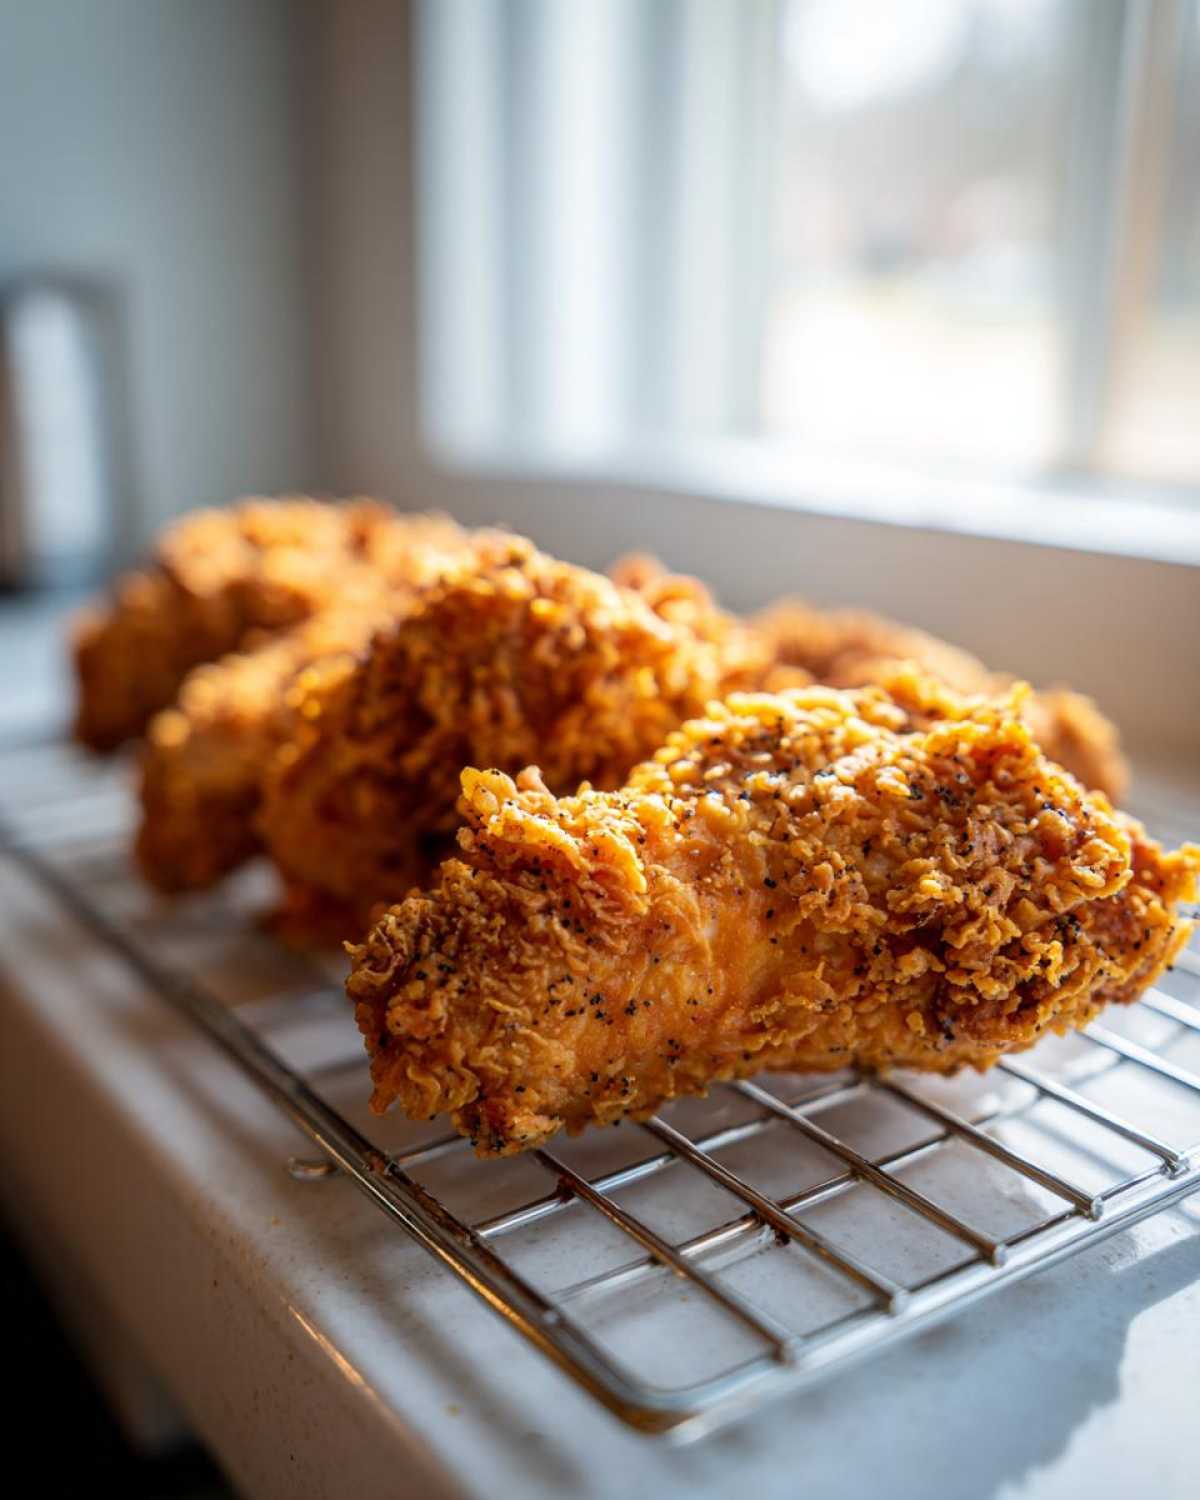
Chloe’s Ultra-Crispy Buttermilk Southern Fried Chicken
Achieve the best homemade fried chicken with this recipe. We use a buttermilk brine and a special dredge to give you juicy meat and an ultra-crispy, golden crust every time. This is classic comfort food perfection.
- Prep Time: 30 min
- Cook Time: 25 min
- Total Time: 4 hr 55 min
- Yield: 6 servings
- Category: Dinner
- Method: Deep Frying
- Cuisine: Southern American
- Diet: None
Ingredients
- 4 lbs bone-in, skin-on chicken pieces (thighs, drumsticks, breasts)
- 4 cups buttermilk
- 2 tablespoons kosher salt
- 1 tablespoon black pepper
- 1 teaspoon cayenne pepper (optional, for a kick)
- 4 cups all-purpose flour
- 1/2 cup cornstarch (for extra crispiness)
- 2 tablespoons paprika
- 1 tablespoon garlic powder
- 1 tablespoon onion powder
- Vegetable oil or shortening, for frying (enough to cover chicken by 2 inches)
Instructions
- In a large bowl, combine the buttermilk, kosher salt, black pepper, and cayenne pepper if using. Add the chicken pieces, ensuring they are fully submerged. Cover and refrigerate for at least 4 hours, or preferably overnight. This is key for juicy and tender chicken.
- In a separate shallow dish, whisk together the flour, cornstarch, paprika, garlic powder, and onion powder. This is your crunchy chicken coating dredge.
- Remove the chicken from the buttermilk, letting excess drip off, but do not wipe it dry. You want some buttermilk residue to help the coating stick.
- Dredge each piece of chicken thoroughly in the flour mixture, pressing firmly to make sure the coating adheres well. For an extra craggy, ultra-crispy crust, perform a double dip: dip the floured chicken back into the remaining buttermilk for just a second, then back into the flour mixture, pressing again.
- Place the coated chicken pieces on a wire rack set over a baking sheet. Let the chicken rest at room temperature for 20 to 30 minutes. This resting period helps the coating set, preventing it from falling off during frying.
- Heat 2 inches of oil in a large, heavy-bottomed pot or Dutch oven to 325 degrees F. Use a thermometer to monitor the temperature; maintaining this heat is crucial for golden brown chicken that cooks through.
- Carefully place 3 to 4 pieces of chicken into the hot oil, ensuring you do not overcrowd the pot, which lowers the oil temperature. Fry darker pieces like thighs and drumsticks first.
- Fry chicken for about 6 to 8 minutes per side, turning occasionally, until deep golden brown and cooked through. The internal temperature should reach 165 degrees F. Adjust the heat as necessary to maintain the oil temperature between 300 and 325 degrees F during cooking.
- Remove the cooked fried chicken from the oil and place it on a clean wire rack set over paper towels to drain excess oil. Season immediately with a light sprinkle of salt while hot.
- Repeat with the remaining chicken, allowing the oil to return to temperature between batches. Serve your best homemade fried chicken hot.
Notes
- For the crispiest results, use a cast iron skillet or a deep fryer.
- If you are making Chicken Fried Chicken (served with gravy), use thinner, pounded chicken breasts for quicker cooking.
- The cornstarch in the dredge is our secret for that extra crunchy texture you see in high-performing recipes.
Nutrition
- Serving Size: 1 piece (thigh)
- Calories: 450
- Sugar: 2
- Sodium: 750
- Fat: 28
- Saturated Fat: 7
- Unsaturated Fat: 21
- Trans Fat: 0
- Carbohydrates: 18
- Fiber: 1
- Protein: 30
- Cholesterol: 110