

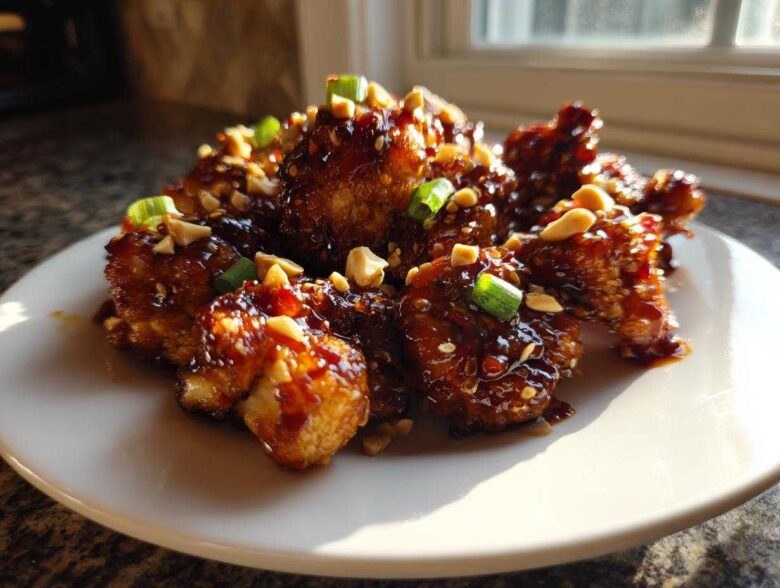
Oh my gosh, you know those nights, right? You’re staring at the calendar, you’re exhausted, and all you can think about is ordering something quick, spicy, and totally indulgent. But then I remember how heavy that takeout always leaves me feeling. That’s why I spent *ages* perfecting this **Kung Pao Cauliflower** recipe. Seriously, I must have made this sauce twelve times before I nailed it!
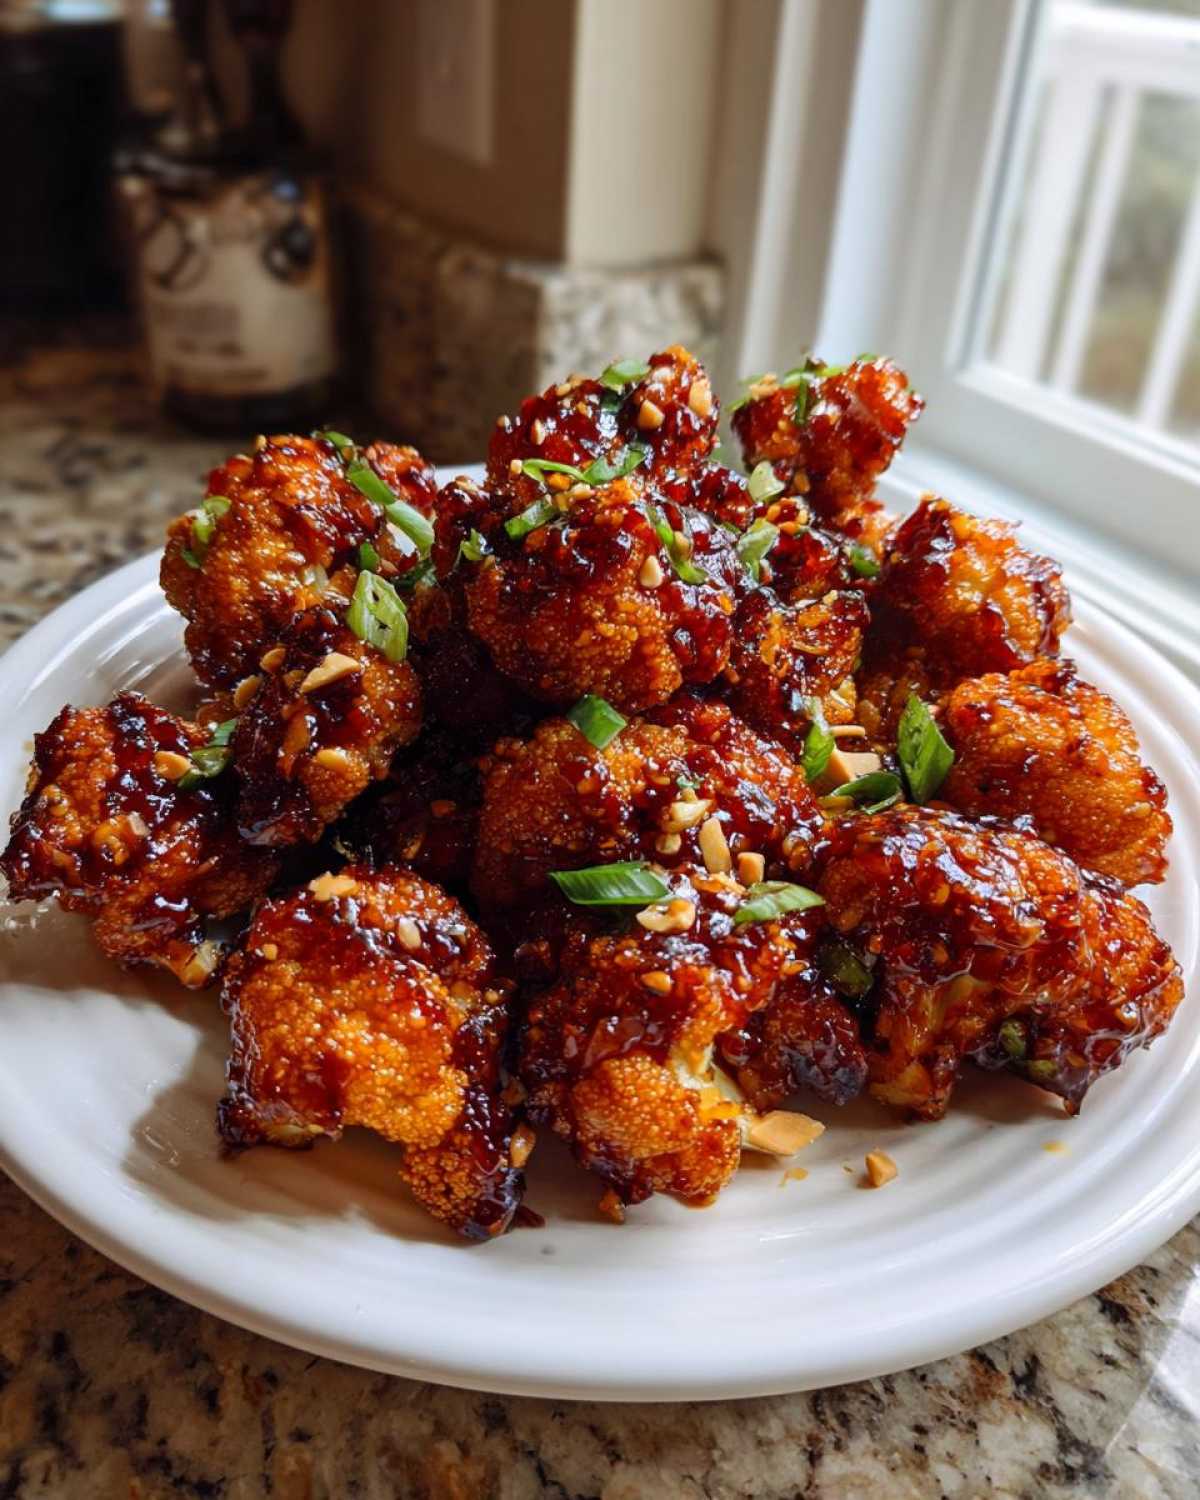
This isn’t just some sad vegetable dish. We’re talking about super crispy cauliflower florets—baked until they have those perfect little charred edges—totally drenched in that addictive Kung Pao flavor. It hits every note: sweet, sour, savory, and that wonderful slow burn of heat. It’s my absolute favorite healthy takeout fakeout, and trust me, once you try this version, you won’t miss the chicken one bit. It’s just bursting with flavor!
Why This Baked Kung Pao Cauliflower Recipe Works
I needed a vegetarian dish that could stand up to the flavor intensity of real Kung Pao, and this recipe delivers everything. Baked instead of deep-fried, it keeps things much lighter, but we don’t sacrifice texture. That’s why this makes such a fantastic Crispy Cauliflower Dinner Idea.
Here’s the secret sauce to why everyone loves it:
- Crispy Edges: We use a light cornstarch toss and bake at a high heat—no greasy fryer needed!
- Authentic Flavor: The sauce nails that classic Szechuan balance of sweet, sour, salty, and spicy.
- Speedy Meal: Total time is under 45 minutes, so it’s perfect for a weeknight when you’re craving Chinese food fast.
Essential Ingredients for Perfect Kung Pao Cauliflower
Okay, let’s talk about getting this right. A lot of recipes just throw sauce at some steamed veggies, and that’s just weak sauce, literally! For this Kung Pao Cauliflower to sing, the ingredients have to be spot on, especially for that sauce blend. You need structure, so make sure your cauliflower is cut into nice, even bite-sized florets—no giant pieces allowed!
For the crisp factor, cornstarch is our best friend here. Don’t skip it! Then for the sauce, you need the basics: low-sodium soy sauce (or tamari if you’re GF), real rice vinegar for that necessary tang, and a mix of brown sugar and honey or maple syrup. That balance is everything! Don’t forget the aromatics—fresh ginger and minced garlic are non-negotiable. And lastly, the classic Kung Pao punch comes from the chili garlic sauce and, of course, those crunchy roasted peanuts and the dried red chilies if you like the real heat.
Step-by-Step Instructions for Crispy Kung Pao Cauliflower
This process is really straightforward, which is part of why I love making this **Kung Pao Cauliflower** dish. We bake the cauliflower first to get it crunchy, make the sauce while it’s in the oven, and then toss everything together right at the end. Timing is everything, so have your ingredients measured out before you start!
Preparing and Baking the Cauliflower for Your Kung Pao Cauliflower
First things first, crank that oven up to 425 degrees Fahrenheit! You want it hot when those veggies go in. Toss your florets with just a tablespoon of cornstarch and a tiny bit of neutral oil. Make sure they are spread out on your baking sheet so they aren’t touching—this is my big secret for maximum crispiness; overcrowding steams them! Bake them for about 20 to 25 minutes, and remember to flip them halfway through so they brown evenly. If you ever want to try the air fryer route instead, check out my tips for crispy coating on those cauliflower bites!
How to Make Kung Pao Sauce
While that cauliflower is crisping up, let’s make the magic potion. In a small saucepan, just whisk everything together: the soy sauce, rice vinegar, brown sugar, maple syrup, sesame oil, ginger, garlic, chili sauce, and white pepper. Heat this over medium heat, stirring constantly. It only needs about three to five minutes until it visibly thickens just a little bit. Pull it right off the heat as soon as it bubbles; if you leave it on too long, it turns into candy!
Tossing and Serving the Spicy Cauliflower Stir Fry
When the cauliflower comes out looking golden and delicious, toss it immediately into a big bowl with your roasted peanuts and those optional dried chilies. Pour that warm, brilliant sauce right over the top. Gently toss everything until every single piece of cauliflower is shiny and coated. Serve this amazing **Spicy Cauliflower Stir Fry** right away over some fluffy rice so you get the best texture possible!
Tips for the Best Kung Pao Cauliflower Texture
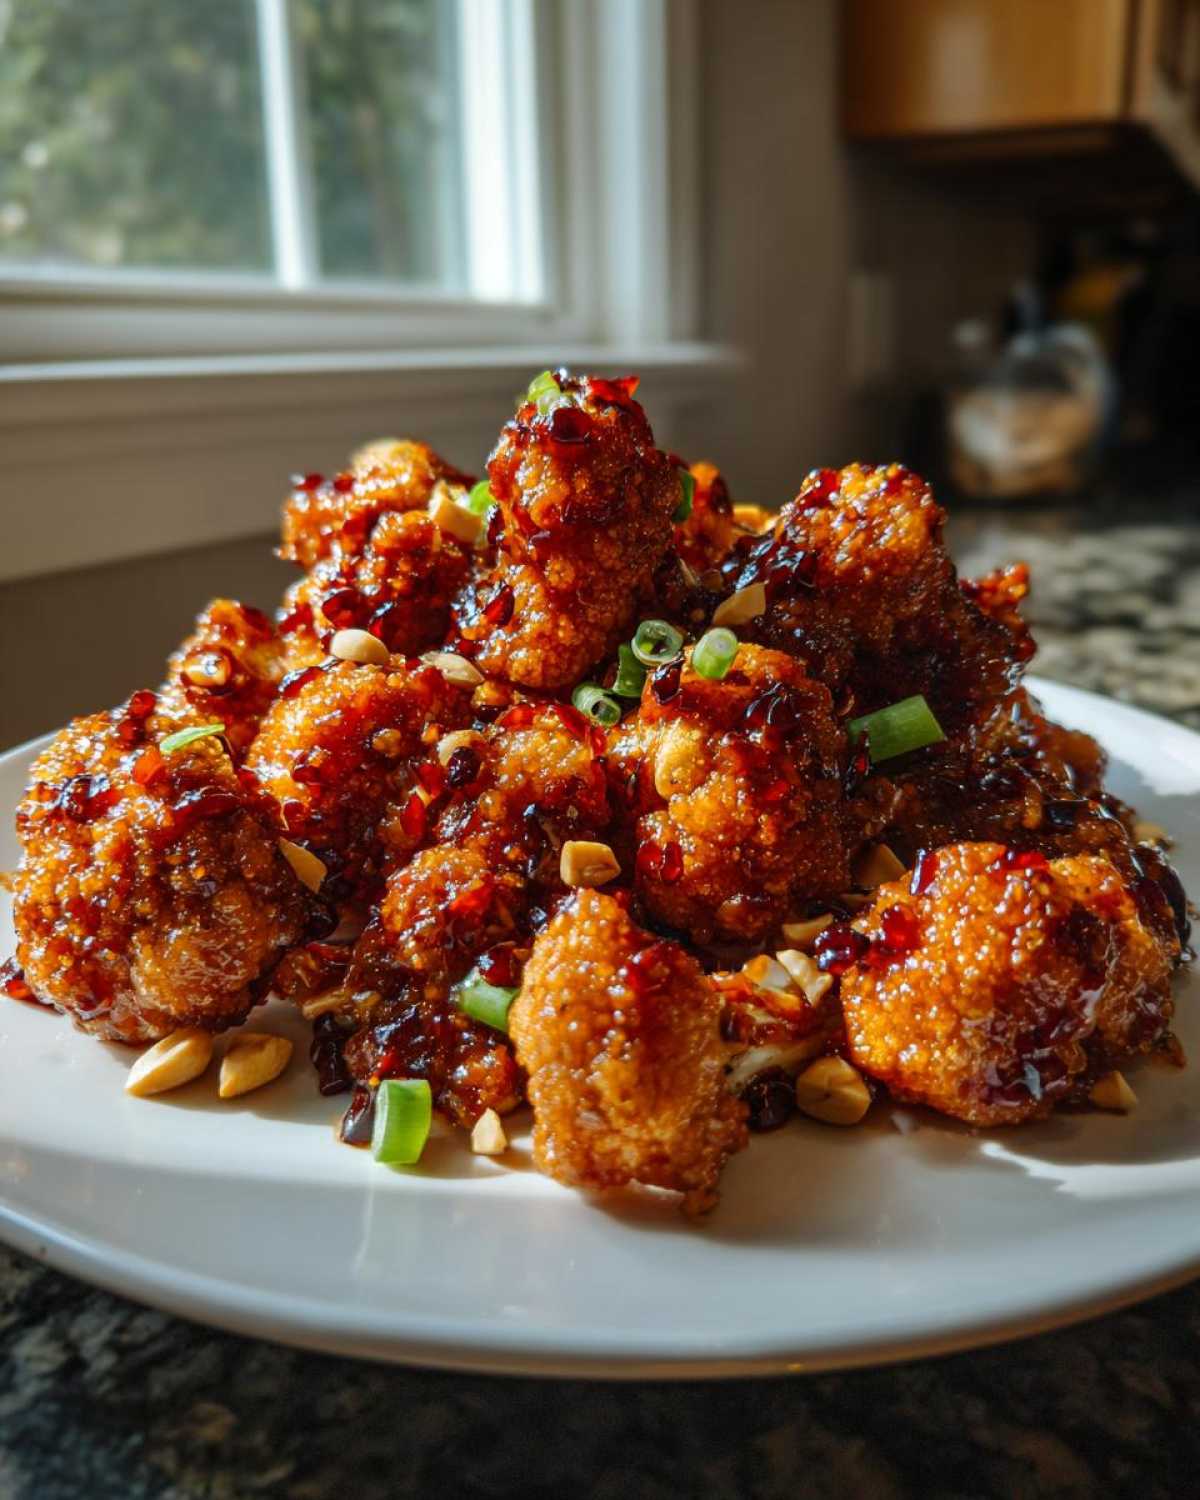
Listen, texture is what separates a gourmet dinner from something you just shove down. For this **Kung Pao Cauliflower**, we are aiming for maximum crunch, even when sauced. If you have an air fryer, please use it! Seriously, dropping the temperature down slightly to 400 degrees Fahrenheit and air frying for just 12 to 15 minutes gives you unbelievable crispness that the oven tries hard to match.
Now, about that sauce thickening trick—sometimes the sauce doesn’t quite reduce as much as you want it to. If that happens, don’t panic or cook it longer! Just mix one teaspoon of cornstarch with one tablespoon of cold water. Whisk that little slurry right into your simmering sauce during the last minute of cooking. It thickens up instantly and perfectly. It’s a little trick I learned reading up on restaurant secrets, and it really ensures that sauce clings beautifully. For more amazing veggie cooking ideas that focus on texture, you have to check out my creamy roasted cheddar soup recipe, which is surprisingly decadent!
Ingredient Notes and Substitutions for Kung Pao Cauliflower
I know everyone’s pantry looks different, and that’s totally fine! The beauty of a good **Kung Pao Cauliflower** recipe is that it’s really flexible once you understand the flavor components. Let’s talk about making sure this works perfectly for you. If gluten makes you nervous, swapping the regular soy sauce for tamari (it’s easy to find a great gluten free kung pao option) is a simple switch with virtually no flavor difference. You won’t even notice!
If you’re whipping this up for a vegan friend, just sub out that tablespoon of honey for pure maple syrup. Maple syrup adds a slightly deeper sweetness, which I actually think pairs beautifully with the brown sugar we already use. And honestly, you can use agave too, if that’s what you have on hand. Just make sure you’re sticking to those core sauce elements—the vinegar and the chili paste—because those are the non-negotiables for that authentic, punchy flavor profile we are chasing here!
Serving Suggestions for Your Vegetarian Kung Pao Recipe
This intense, flavorful **Vegetarian Kung Pao Recipe** really shines when it has a neutral base to soak up all that amazing sauce. My favorite way to serve it is piled high over simple, fluffy steamed white rice. The rice acts like a sponge for the sticky glaze, making every single bite perfect!
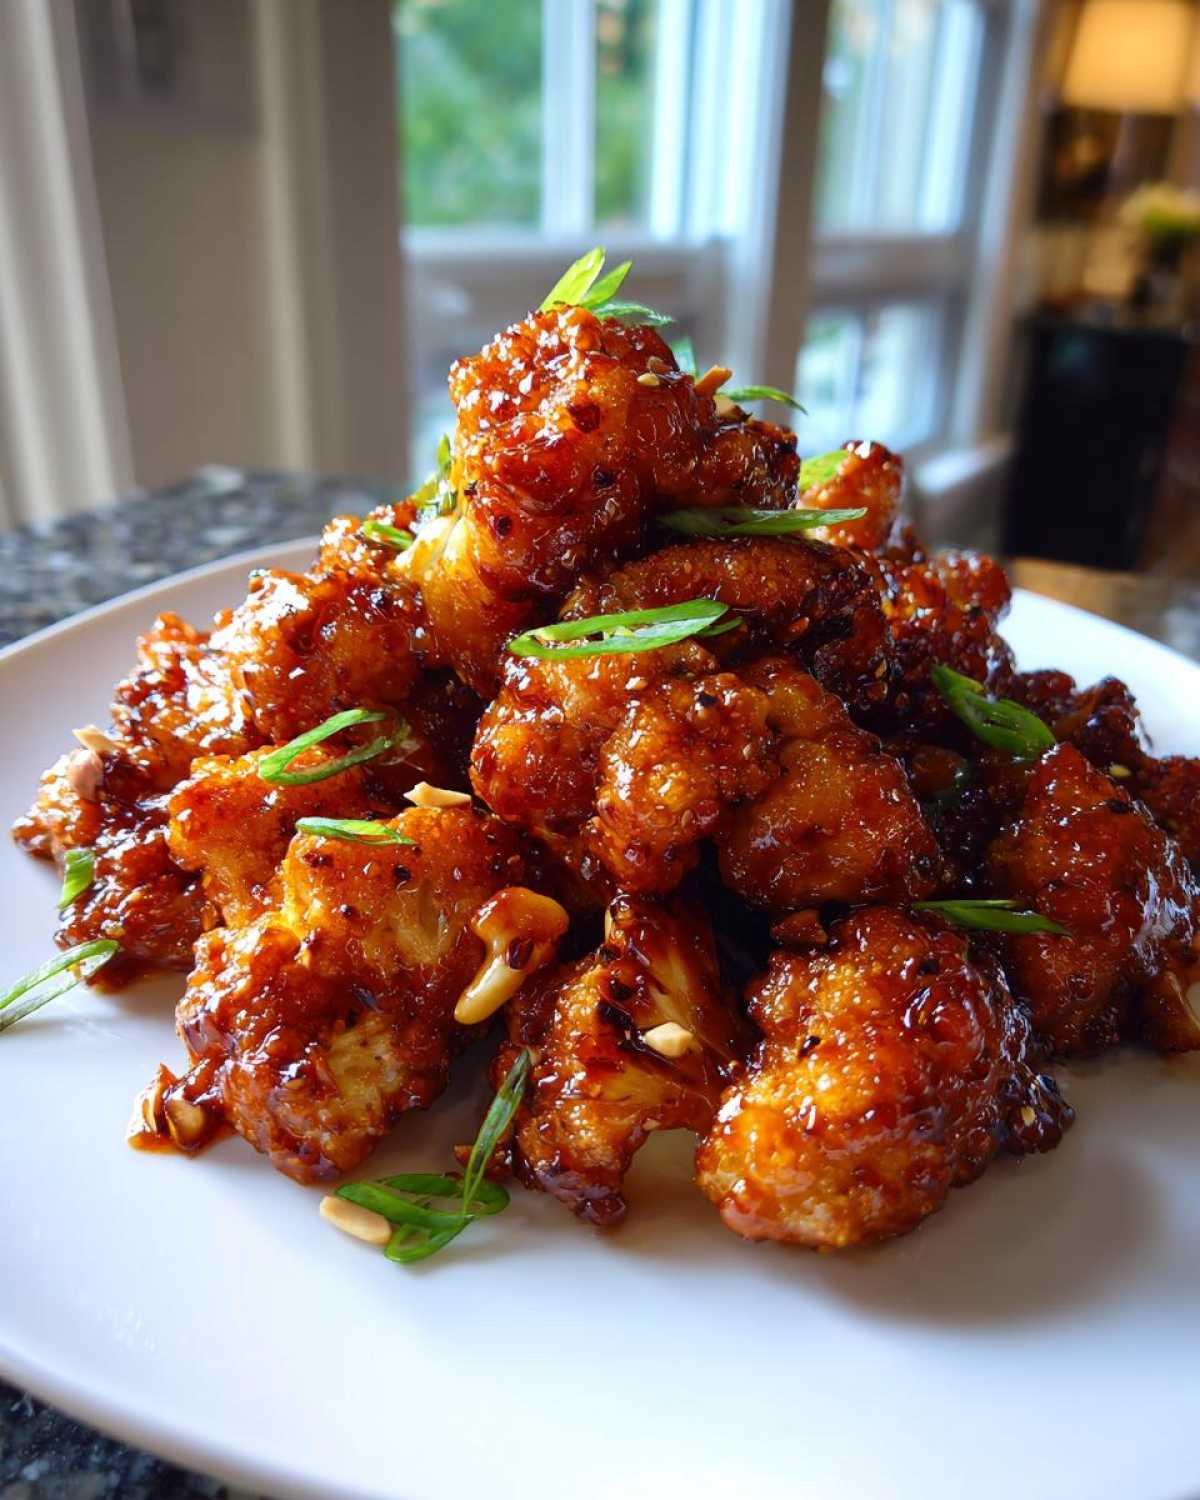
If you’re not feeling rice, quick-cooking noodles are wonderful too. Toss the sauced cauliflower with some soft lo mein noodles—it feels so much more indulgent! For a really great grain alternative that gives you a nice nutty chew, try serving it over quinoa or even some slightly buttery rice like my French Onion Butter Rice recipe. This dish is so flavorful it easily stands on its own as the main event!
Storage and Reheating Instructions for Leftover Kung Pao Cauliflower
If you somehow manage to have leftovers of this incredible **Kung Pao Cauliflower** (it never lasts long in my house!), storage is simple. Pop whatever’s left into an airtight container. It’ll stay delicious in the fridge for about three to four days. Now, the key is reheating! The microwave is fast, but it will definitely soften the cauliflower.
If you want to bring back that crispy edge, skip the microwave completely! Set your oven or toaster oven to about 350 degrees Fahrenheit and spread the cauliflower out on a foil-lined pan. Give it about 7 to 10 minutes. It reheats beautifully and you retain most of that wonderful baked texture. I share a ton of other tips and tricks for quick meals on my main blog page!
Frequently Asked Questions About Kung Pao Cauliflower
I get so many messages about adjustments people want to make to their **Kung Pao Cauliflower**, and that’s totally fine! Remember, cooking is about making it work for *your* kitchen. I’ve pulled together some of the most common questions I see about achieving that perfect texture and spice level. If you want more ideas for wonderful vegan Asian recipes, let me know!
Can I make this Kung Pao Cauliflower ahead of time?
You absolutely can prep components ahead of time, which is great for busy weeknights! I’d bake the cauliflower completely and store it separately from the sauce. The sauce keeps perfectly fine in the fridge for up to a week. Then, when it’s time to eat, reheat the cauliflower briefly in the oven or air fryer to re-crisp it, and then toss it with the sauce right before serving. If you mix them too early, the cauliflower gets soggy fast!
How do I adjust the heat level in this Spicy Cauliflower Stir Fry?
Heat adjustment is surprisingly easy with this one. The primary heat comes from the chili garlic sauce, so if you want less spice, use half a teaspoon instead of the full teaspoon listed. If you are a total fire-eater like me, double the chili garlic sauce *and* use all the dried red chilies! Seriously though, the sweet elements we put in the sauce—the brown sugar and maple syrup—do a fantastic job of rounding out and balancing that heat, so even the standard recipe isn’t overwhelmingly spicy for most folks.
What is the best way to get crispy cauliflower without deep frying?
This is my favorite part! Getting that gorgeous crispiness without dealing with a pot full of sizzling oil is all about the coating and the heat. For this **Spicy Cauliflower Stir Fry**, you must use that cornstarch toss; it wicks away moisture and helps brown the surface beautifully. Then, you need high heat! Baking at 425°F forces the outside to crisp up quickly before the inside gets mushy. Spreading them in a single layer on parchment paper is the final, essential step.
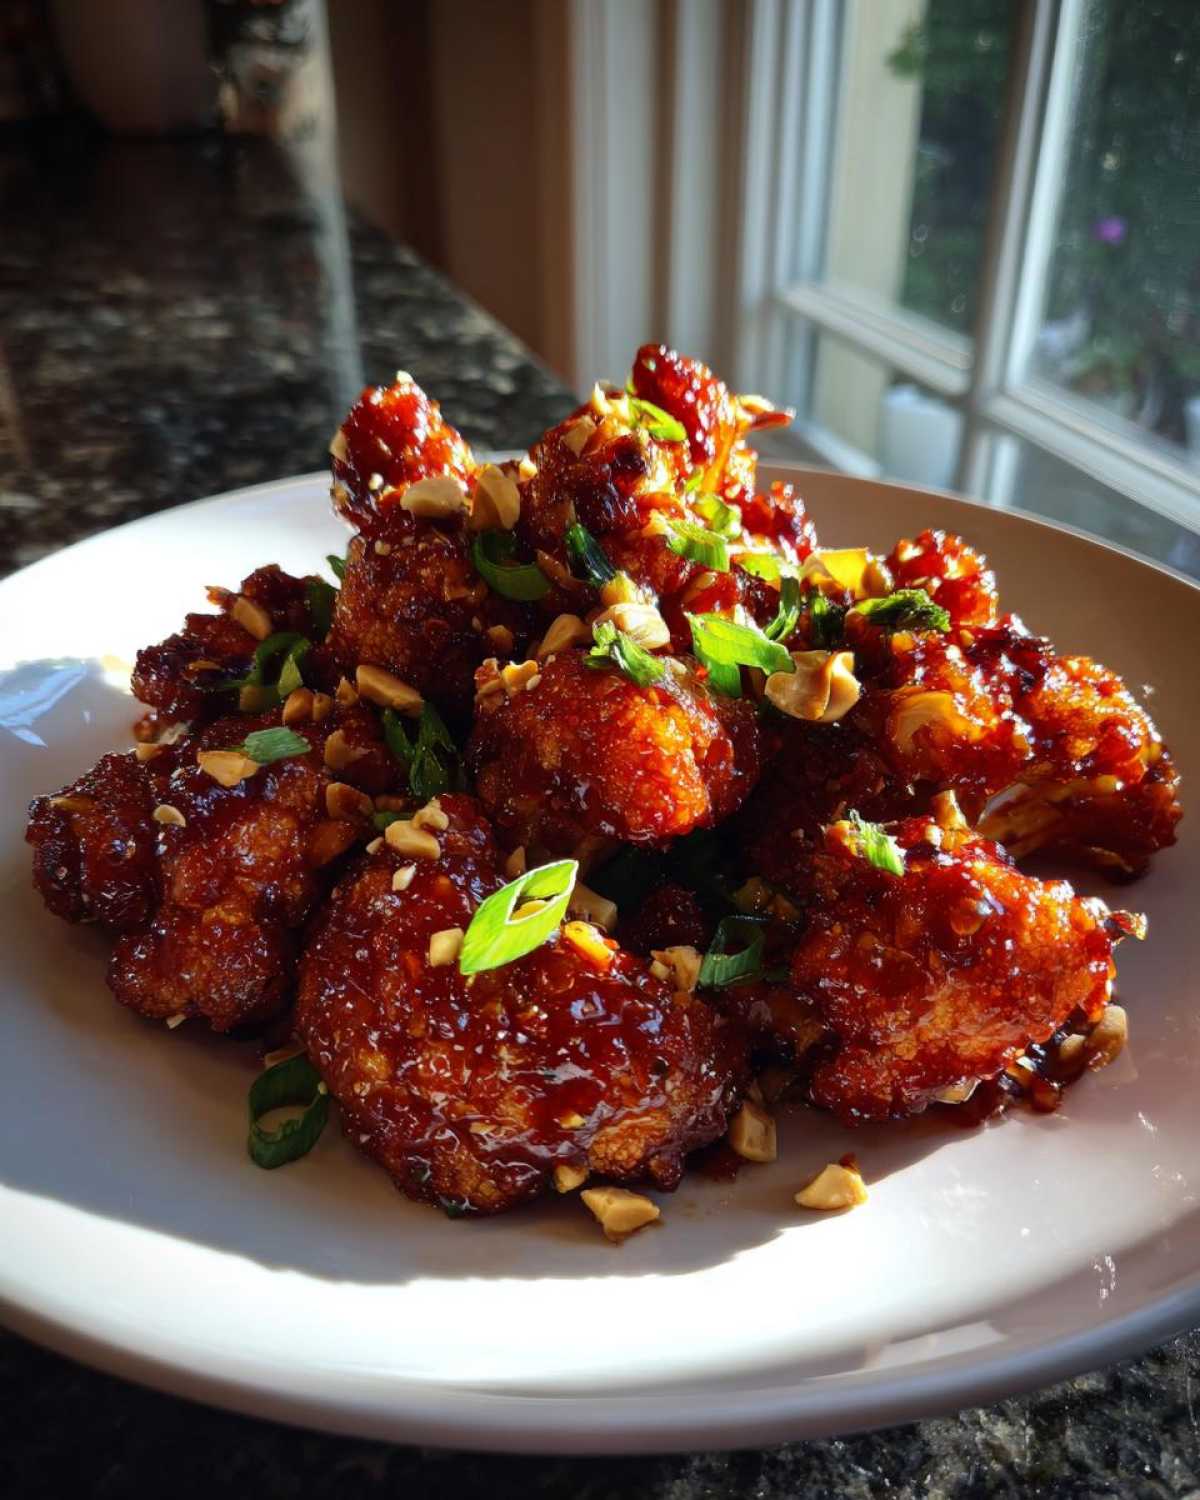
Estimated Nutritional Data for This Kung Pao Cauliflower
Now, I always want to be upfront about nutrition because, while this is certainly healthier than takeout, it still has great flavor! These numbers are just estimates, of course. They can really change based on how much sugar you decide to use or if you use tamari instead of soy sauce. Everything is based on four generous servings.
For one serving of this delicious **Kung Pao Cauliflower**, you are looking at roughly:
- Calories: 250
- Fat: 10g
- Carbohydrates: 35g (with 7g of fiber!)
- Protein: 8g
It’s a fantastic way to get a solid serving of veggies in, and you’re getting great flavor without any cholesterol. For a full breakdown of how I calculate these estimates, you can check out my official nutritional disclaimer page. Enjoy!
PrintBaked Kung Pao Cauliflower
A vegetarian recipe for crispy baked cauliflower coated in a classic sweet, sour, and spicy Kung Pao sauce, served as a healthy alternative to the traditional chicken dish.
- Prep Time: 15 min
- Cook Time: 30 min
- Total Time: 45 min
- Yield: 4 servings
- Category: Dinner
- Method: Baking
- Cuisine: Chinese
- Diet: Vegetarian
Ingredients
- 1 large head cauliflower, cut into bite-sized florets
- 1 tablespoon cornstarch
- 1 tablespoon neutral oil (like canola or vegetable)
- 1/4 cup low-sodium soy sauce or tamari for gluten-free
- 3 tablespoons rice vinegar
- 2 tablespoons brown sugar
- 1 tablespoon honey or maple syrup
- 1 teaspoon sesame oil
- 1 teaspoon grated fresh ginger
- 2 cloves garlic, minced
- 1 teaspoon chili garlic sauce (or more to taste)
- 1/2 teaspoon ground white pepper
- 1/4 cup unsalted peanuts, roasted
- 1 tablespoon dried red chilies, cut into small pieces (optional)
- 1 green onion, sliced, for garnish
Instructions
- Preheat your oven to 425 degrees Fahrenheit (220 degrees Celsius). Line a baking sheet with parchment paper.
- In a large bowl, toss the cauliflower florets with cornstarch until lightly coated.
- Spread the coated cauliflower in a single layer on the prepared baking sheet. Bake for 20 to 25 minutes, flipping halfway through, until the edges are slightly browned and crispy.
- While the cauliflower bakes, prepare the sauce. In a small saucepan, whisk together soy sauce, rice vinegar, brown sugar, honey or maple syrup, sesame oil, ginger, garlic, chili garlic sauce, and white pepper.
- Heat the sauce mixture over medium heat, stirring constantly, until it thickens slightly, about 3 to 5 minutes. Remove from heat.
- In a large bowl, combine the hot, crispy cauliflower, roasted peanuts, and dried red chilies (if using).
- Pour the prepared Kung Pao sauce over the cauliflower mixture and toss gently until everything is evenly coated.
- Serve immediately over steamed rice or noodles, garnished with sliced green onion.
Notes
- For extra crispiness, you can air-fry the cauliflower at 400 degrees Fahrenheit for 12 to 15 minutes instead of baking.
- If you prefer a thicker sauce, mix 1 teaspoon of cornstarch with 1 tablespoon of cold water and whisk it into the simmering sauce during the last minute of cooking.
- Use tamari instead of soy sauce to make this recipe gluten free.
Nutrition
- Serving Size: 1 serving
- Calories: 250
- Sugar: 18
- Sodium: 550
- Fat: 10
- Saturated Fat: 1.5
- Unsaturated Fat: 8.5
- Trans Fat: 0
- Carbohydrates: 35
- Fiber: 7
- Protein: 8
- Cholesterol: 0