

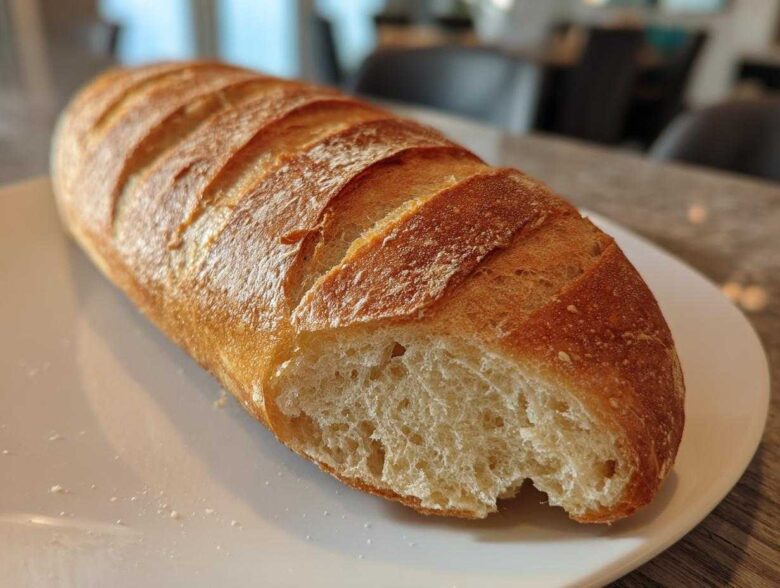
Oh my goodness, is there anything better than the smell of freshly baked bread drifting through the house? Seriously, it’s instant happiness! Ethan and I have tackled a lot of recipes, but making truly amazing French bread at home used to feel intimidating. We thought you needed industrial ovens for that perfect combination: a shatteringly crusty exterior hugging a soft, fluffy interior. But no more! This recipe is proof that you can blend my chaotic creative spark with Ethan’s need for structure to create something divine. It’s unbelievably easy, yet tastes just like you picked up a fresh loaf from a bakery.
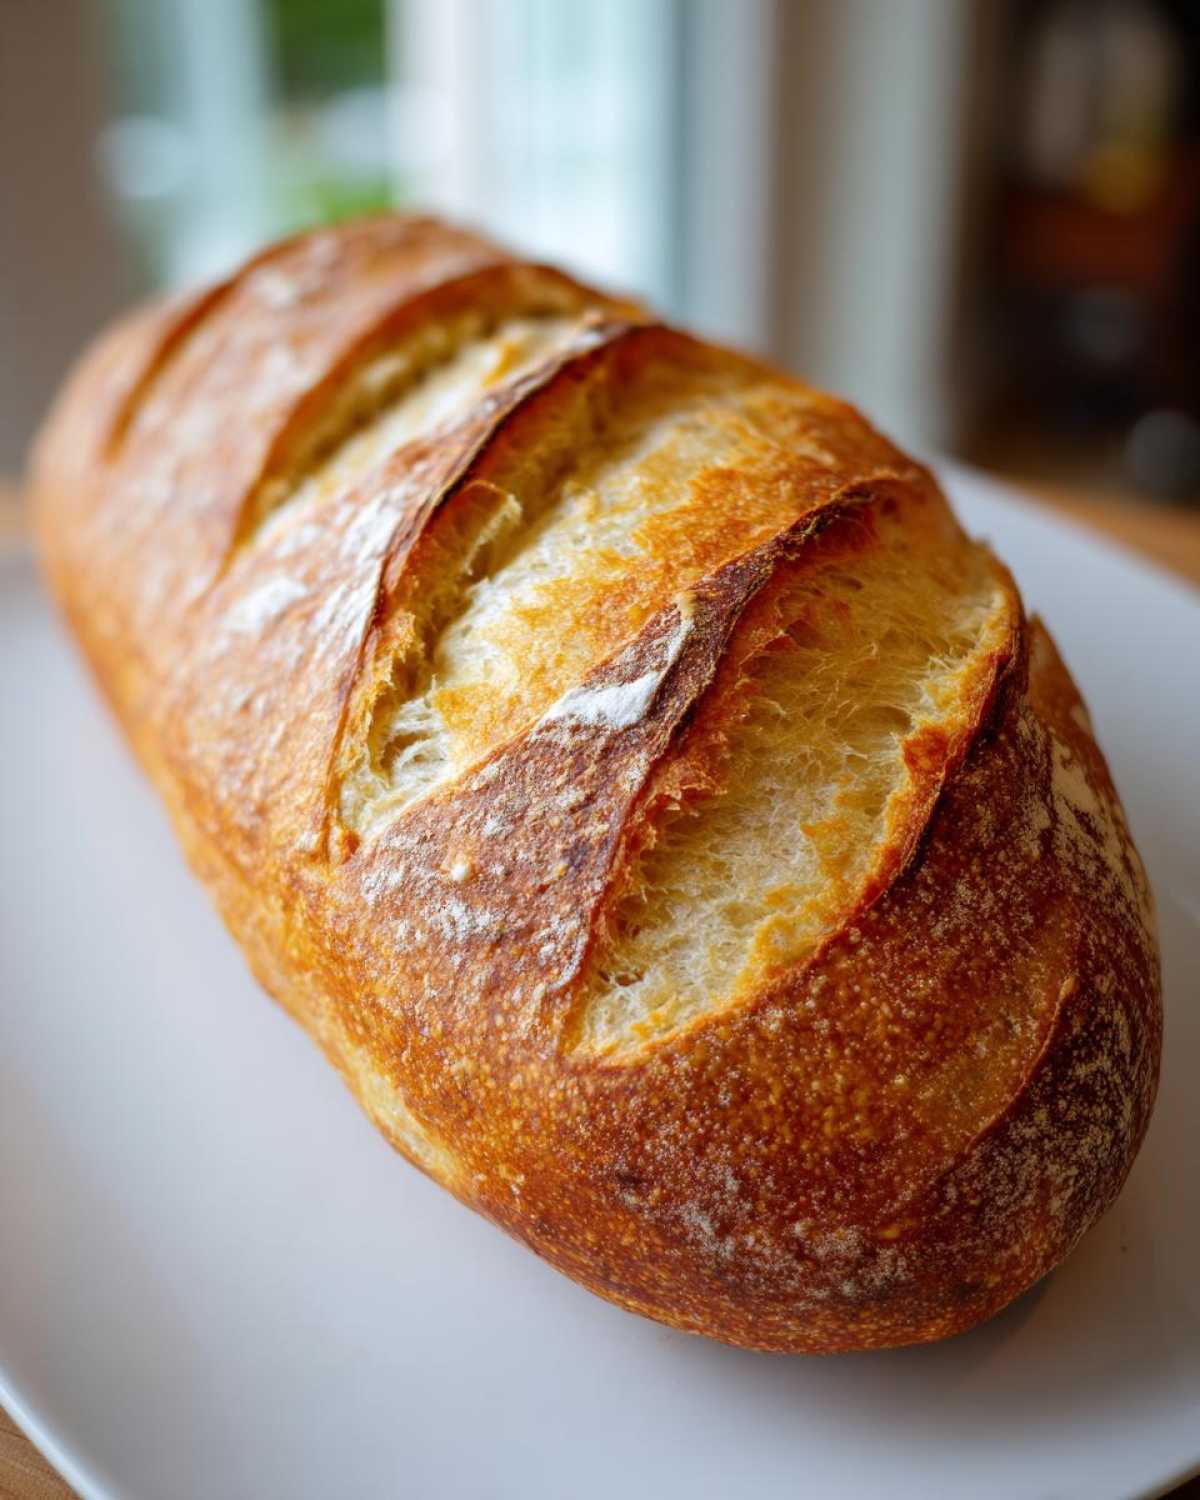
Why This Easy French Bread Recipe Works for Beginners
I know what you’re thinking: French bread? Too fussy! But honestly, this is such a fantastic Easy French Bread recipe for anyone who thinks they can’t handle yeast baking. We wrap the whole process up in under two hours total, making it a wonderful entry point for Beginner Bread Baking. We skip long overnight rests but keep every crucial step, so you aren’t left wondering where you went wrong.
Achieving the Perfect Soft French Bread at Home Texture
The reason you get that gorgeous, light interior—that amazing Fluffy Loaf Recipe result—is all in the kneading and the wait time for the first rise. Don’t skimp on that 6 to 8 minutes of kneading! You need to develop that elasticity so the dough can hold air pockets beautifully. Just trust me on this one; the dough feels super soft once you’re done, which is exactly what we want for that tender crumb.
Tips for a Satisfying Crusty Exterior Bread
If you really want that satisfying shatter when you slice into it—that real Bakery Style Bread moment—you have to focus on steam. The little trick we share in the instructions about preheating a pan in the bottom of the oven is the secret sauce. When you pour that hot water in right before baking, the steam keeps the surface of the dough soft just long enough to expand fully before the crust sets hard. It’s simple science, but it makes all the difference!
Gathering Ingredients for Your Homemade French Bread Recipe
Okay, now my structural side (Ethan, hi!) really needs to come out for a minute. When you’re aiming for that perfect, airy rise, we can’t mess around with the essentials. This recipe is straightforward, but getting your ingredients ready and measuring them precisely is key to making this Homemade French Bread Recipe work perfectly the first time. Forget the giant measuring cups for flour; grab your spoons and scales if you have them! We need clarity on two things especially: the water temperature for waking up the yeast, and the exact amount of yeast itself.
Ingredient Notes and Substitutions for Great French Bread
The most important step before you even start mixing is waking up that yeast. You want the water to be warm—seriously warm, not hot—right around 105°F to 115°F. If it’s too cold, your yeast sleeps. If it’s too hot, we shock it, and it dies, and then guess what? No rise! So, that’s where you need to listen to your fingers; it should feel nice and warm, but you shouldn’t burn yourself pulling your hand out. And about the flour: we use all-purpose flour here because it helps give us that lovely, delicate crumb. If you swap in bread flour, you absolutely *can* do it, but just know that the higher protein will result in a slightly chewier texture. That’s great if you love that, but for our classic soft loaf, stick to the AP!
Step-by-Step Instructions for Quick French Bread Recipe
Alright, bakers, this is where we bring the structure and the magic together! Following these steps exactly is how we get a usable loaf in nearly two hours. Don’t rush the beginning part, because that’s what makes the rest feel so easy. First things first: wake up that yeast in the warm water with the sugar. Give the yeast about five to ten minutes until it gets foamy on top. If it does nothing, toss it and start that step over—that foam means happy yeast ready to work!
Once foamy, we add the rest of our dry stuff—flour and salt—and the tablespoon of olive oil. Stir it until it gets messy and shaggy. Then, get your hands in there! Turn it onto a floured counter and knead, knead, knead for a solid 6 to 8 minutes until that dough feels smooth and doesn’t stick terribly to your hands anymore. Pop it in an oiled bowl, cover it tight, and let it sit somewhere cozy for about an hour or a little more until it’s doubled up. This rise is non-negotiable for getting that tender crumb we all crave!
The First Rise and Shaping Your French Bread Loaf
When the dough has nicely puffed up and looks ready to burst out of the bowl, gently punch the air out of it—it’s surprisingly satisfying! Then, we carefully turn it out and shape it. You want to gently coax the dough into a long, even log shape, kind of like a skinny football or a short baguette. Don’t press all the air out when you shape it; we want to keep some of that beautiful fluffiness we grew during the first rise. Once it’s shaped, place it on your parchment-lined sheet and let it rest for just 20 minutes—that’s the second, short rise, letting the dough relax before it hits the heat.
Creating Steam for the Ultimate Crusty Exterior Bread
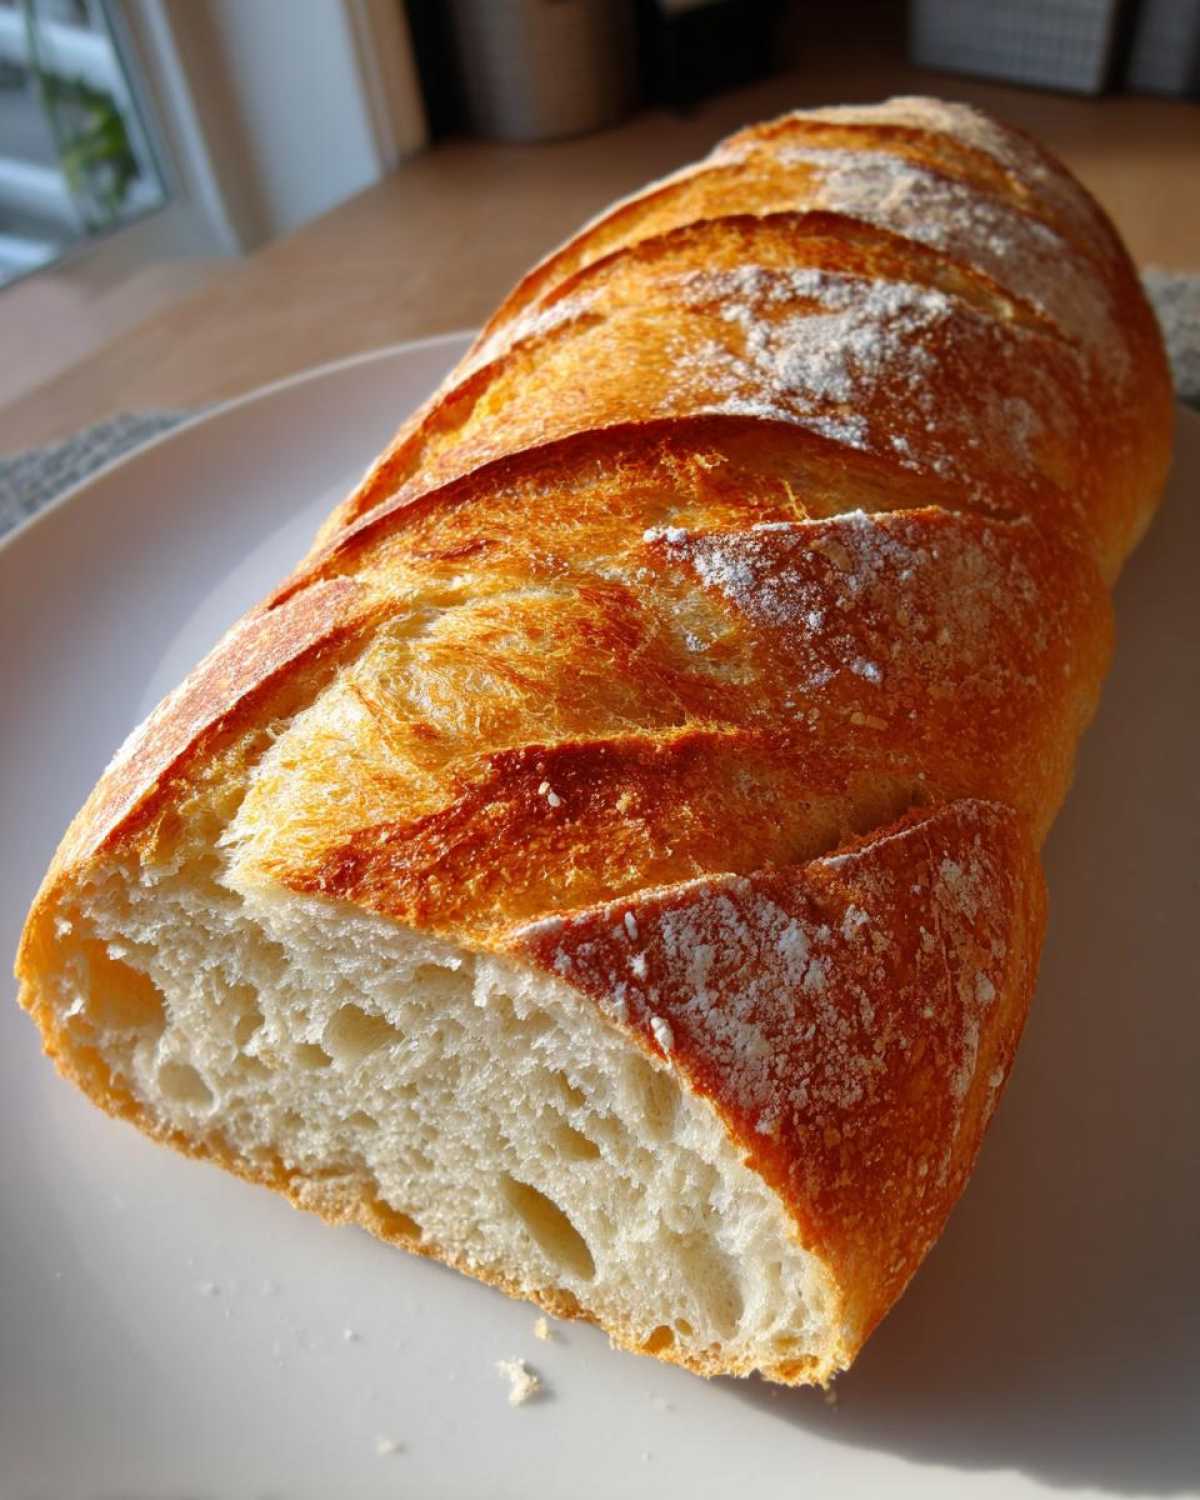
This next part is pure technique, and it proves you don’t need a fancy setup for Baking Homemade Bread Tips! While the dough rests that final 20 minutes, crank your oven up to 400°F. If you want that real shattering crust, place a separate, empty shallow pan on the bottom rack as it heats up. Right when your loaf is ready to go in, brush the top lightly with that egg wash mixture and make three quick, diagonal slashes across the top with a sharp knife. Carefully put the loaf in, and then, watch out for splatters, pour about half a cup of boiling hot water into that hot pan on the bottom rack. Shut the door quickly! That burst of steam is what locks in the crispness.
Tips for Success When Baking Homemade French Bread
This is where Ethan’s need for precision meets my gut feelings! To get that ‘Best Homemade Bread’ result, you absolutely must manage the heat correctly. That means trust the digital thermometer on your oven, even if the little light says it’s ready—it often lies! If you’re aiming for that incredible, crusty exterior, make sure the oven is fully preheated to 400°F for at least twenty minutes before that loaf even thinks about going in. That initial blast of heat sets the crust beautifully. You can check out all our latest kitchen adventures on the blog!
But here’s my Chloe tip: don’t panic if your dough looks a little sad after punching it down. Sometimes, dough just needs a gentle hand. If you’re working in a cold kitchen, try letting the dough rise on top of the fridge for an extra 15 minutes. A little warmth goes a long way in bread making, even if the recipe says “one hour.” We’re making food, not building a bridge, so feel free to nudge things along if the dough seems reluctant!
Serving Suggestions for Your Fresh French Bread
Okay, the hardest part is done! You’ve got this glorious, golden loaf cooling, its crust crackling slightly—gasp! Now, what do we do with it? The beauty of this Homemade French Bread Recipe is that it works for everything. It’s not just for fancy French meals; it absolutely shines as a sturdy Dinner Side Bread.
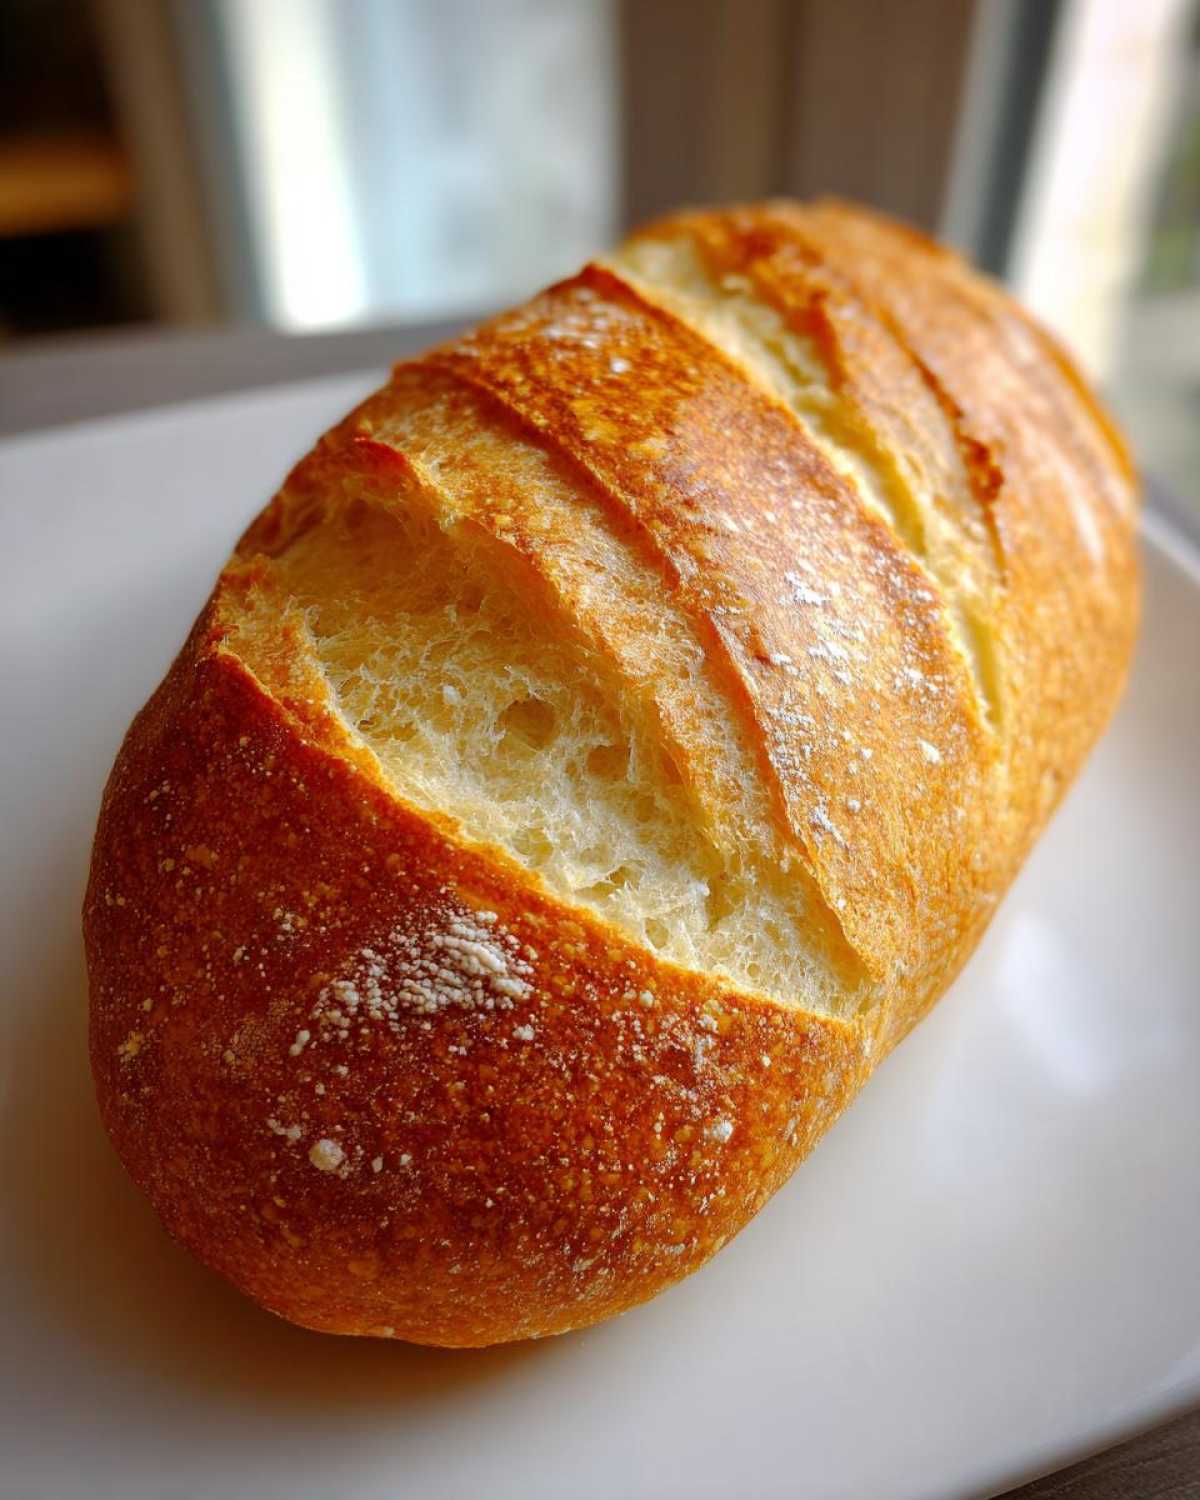
When it’s warm from the oven, you honestly don’t need anything more than a good quality, soft salted butter, maybe slightly softened. Just slice the loaf thick and let the butter melt right into those soft air pockets. It’s heaven. If you’re looking for something a little richer, try dipping slices into good olive oil alongside a little balsamic vinegar. We recently started stirring roasted garlic into some butter for dipping—it’s ridiculously good with this bread!
But let’s talk sandwiches, because this is where its structure really pays off. Because we kneaded it well and got that nice, firm bake, this bread holds up beautifully. It doesn’t immediately collapse when you pile on wet ingredients. Make yourself an amazing deli sandwich, or even better, use it for French toast! The slight chewiness from the good bake keeps the bottom from getting soggy too quickly. If you want an amazing accompaniment to your bread, you simply MUST check out our recipe for French Onion Butter Rice Recipe; the bread is perfect for soaking up any leftovers!
Storage and Reheating Instructions for Leftover French Bread
I’m going to be honest with you; this loaf rarely makes it past dinner time in our house. We usually devour the whole thing while it’s still warm! But, if you somehow manage to have some amazing Homemade Bread leftover, you need to know how to keep it happy. The biggest issue with homemade loaves, especially ones with that lovely crisp crust we worked so hard for, is that the crust softens up pretty quickly. That moisture migrates inward, which is great for the middle part, but sad for the crunch!
If you have extra, leave it out on the counter, cut-side down, on a clean towel for the first day. Don’t wrap it tightly in plastic right away, because that traps moisture and guarantees a soft crust. Just let it breathe.
Now, if you’re talking about day two or three, you absolutely need to revive it! Ethan swears by this simple trick for getting back some of that bakery freshness. Wrap the entire cooled loaf loosely in aluminum foil—loosely is the key word here! Pop it into a 350°F oven for about 5 to 8 minutes.
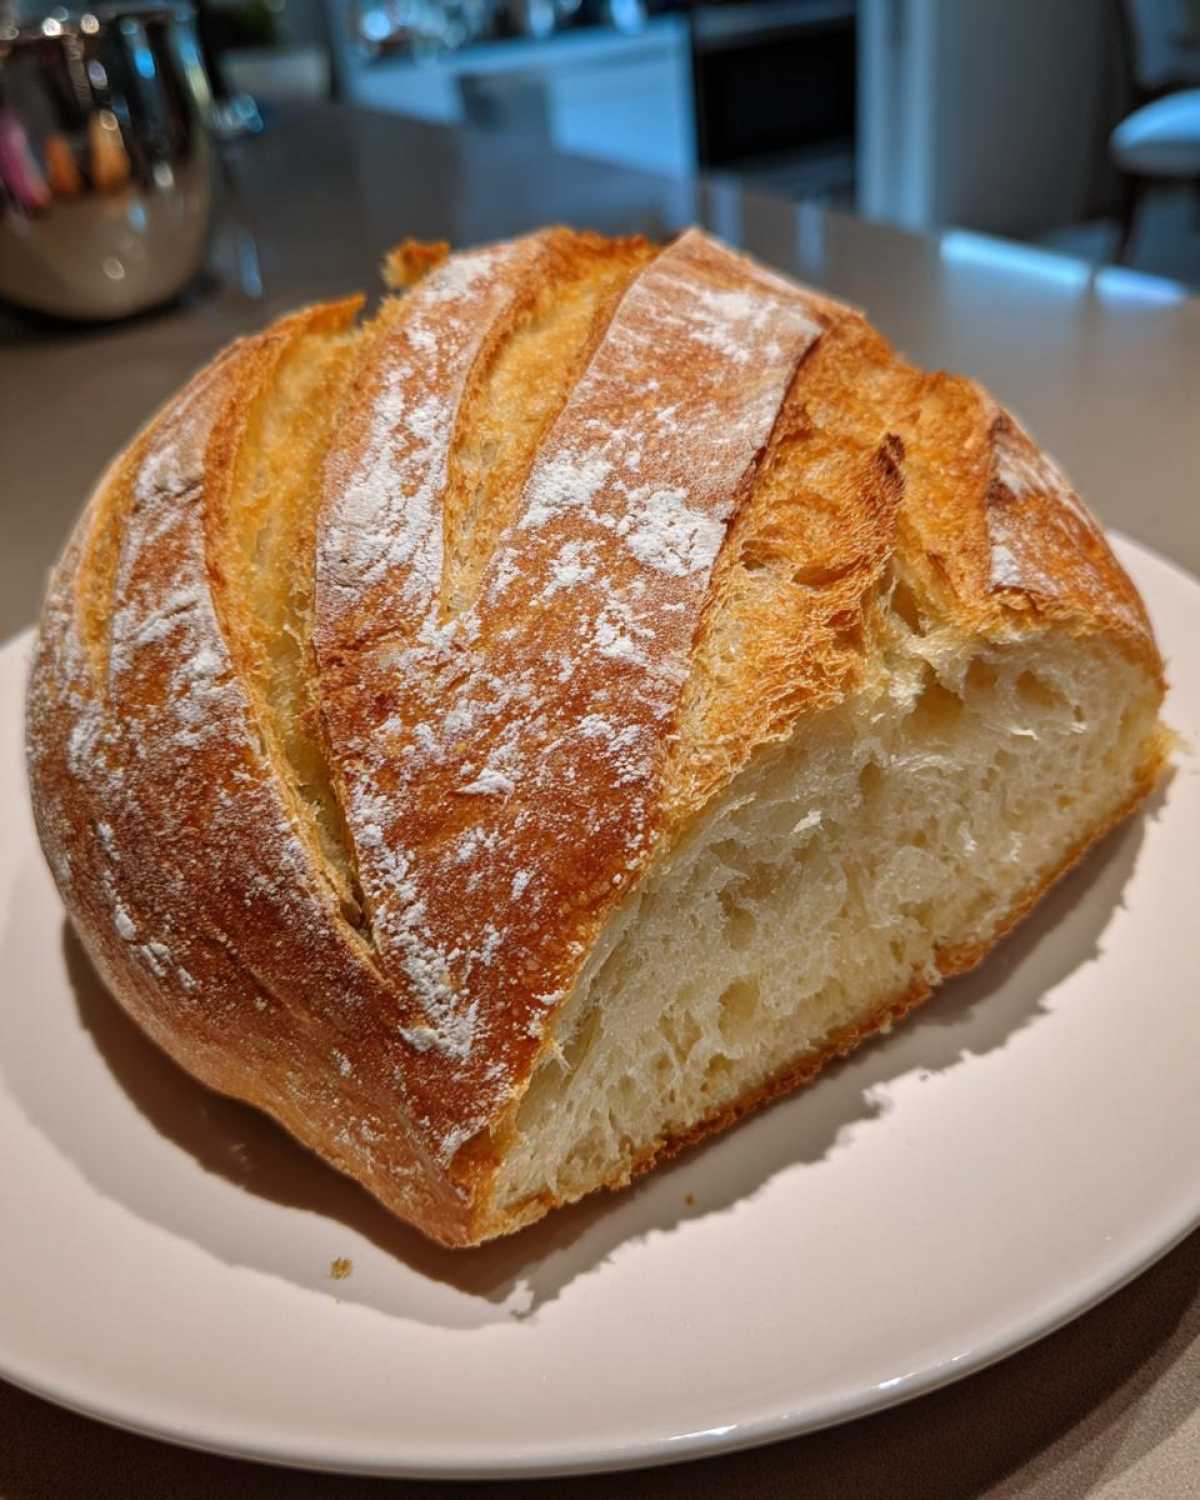
The foil traps just enough steam to soften the crumb back up beautifully, but the heat inside gets the outside surface hot enough to crisp up again once you take the foil off for the last minute or two. You aren’t totally restoring that day-one crunch, but honestly, it tastes almost brand new, and it’s perfect for dipping into soup or making killer toast the next morning!
Frequently Asked Questions About Making French Bread
Can I make this a true One Hour Bread Recipe?
That’s the million-dollar question, isn’t it? We call this recipe ‘Ready in Under 2 Hours,’ and that’s because we include a mandatory second rise of about 20 minutes, plus preheating time. So, strictly speaking, no, it’s not a true one-hour bake start-to-finish. However, if you use a very warm spot to proof your dough and skip the steam apparatus (which sacrifices a little crust quality), you can definitely cut down the first rise time. If you need true speed, look into a No-Fuss Bread Baking recipe specifically designed for extremely fast rises, but you might sacrifice some of that beautiful, soft texture we worked so hard for here!
What happens if I skip the egg wash?
Oh, the egg wash debate! Skipping it is totally fine, especially if you aren’t a huge fan of a super shiny, dark crust. The egg white wash we use—just one egg white beaten with a teaspoon of water—is mainly there to ensure that the seeds (if you added any) stick, and secondarily, it gives that classic, glossy, golden-brown look you see in bakeries. If you skip it, your Homemade French Bread Recipe will still bake perfectly fine, but the crust might look a bit duller or paler. Some people even use milk or just plain water for a softer shine!
My dough didn’t double during the first rise. Is it ruined?
Absolutely not! Don’t panic; your bread isn’t ruined just because it looks a little lazy. Remember that dough follows the law of ovens, but also the law of drafts! Cold kitchens kill yeast performance. If your dough didn’t double, it usually means your kitchen was too cold or your water wasn’t warm enough to begin with. If it has increased by about 50%, it’s usually fine to proceed. Just let it hang out in a warmer spot—like near a pilot light or in an oven that is turned OFF but slightly warm from recent use—for an extra 15 minutes. It should catch up!
Can I use this recipe to make small rolls instead of a long loaf?
Yes! I love getting creative when the main loaf is done. If you want rolls, after the first rise, just divide the dough into equal balls—say, ten pieces for dinner rolls. Remember, smaller pieces bake much faster! You might only need 15 to 18 minutes in the oven instead of 25 to 30. You can still brush them with the egg wash and score them lightly. They make the best little dipping rolls!
I have questions. How can I talk to you both about this recipe?
We absolutely love hearing from our crew! If you have any baking emergencies or just want to share how amazing your Homemade French Bread Recipe turned out, please drop us a line! We read every message we get. We always want to make sure our recipes are as clear and as helpful as possible, so your feedback truly helps us keep this fleet sailing smoothly!
Estimated Nutritional Data for this French Bread Recipe
Okay, this is where I step in with my organized charts! While Chloe reminds everyone that homemade bread is made with love, not spreadsheets, it’s still important to know what you’re working with, especially if you’re counting things for family meals. Please keep in mind that the numbers below are just estimates for one slice based on the recipe ingredients. If you switch out the flour or use a lot more oil in the bowl, things will change slightly!
These figures are based on yielding one large loaf cut into about 16 decent slices, so they reflect a Simple Yeast Bread serving size rather than a half-loaf monster slice. You’ll see this is a surprisingly lean recipe for something so delicious.
- Serving Size: 1 slice
- Calories: 150
- Total Fat: 1g
- Carbohydrates: 31g
- Protein: 4g
- Sugar: 1g
- Sodium: 250mg
See? Not too bad at all for a golden, crusty loaf that tastes this good! It’s proof that you don’t need a mountain of fat or sugar to make fantastic Baking Homemade Bread Tips work at home. Enjoy it warm!
Share Your Homemade French Bread Creations
Okay, crew! We’ve reached the end of our voyage on this Homemade French Bread adventure. Now, normally at this point, I’d give you a big summary about how our journey proves that baking doesn’t need to be fancy, but honestly, I want to hear about *your* journey! Ethan and I thrive on seeing your successes and hearing what you thought of this technique. If you ever need to check out our guidelines, you can review our privacy policy.
Did you get that amazing shatter on the crust despite the humidity? Did the inside really achieve that soft, pillowy texture we talked about? Please, please, please leave a rating for this recipe—a star rating really helps other bakers find a reliable Easy French Bread recipe! And if you took a picture of your beautiful, golden loaves, tag us on social media!
Show us how you served this incredible Tender Crumb Bread! Did you use it for sandwiches, or maybe just slathered with butter right out of the oven? We love seeing your plating and hearing your stories. You’re officially part of the Recipes Fleet now, so share those results! We can’t wait to see what you’ve created!
PrintEasy Homemade Soft and Crusty French Bread (Ready in Under 2 Hours)

You will love this simple recipe for making bakery-style French bread at home. This recipe delivers a loaf with a soft, fluffy interior and a satisfyingly crusty exterior, perfect as a dinner side or for making sandwiches. It is much easier than you think to achieve this result.
- Prep Time: 20 min
- Cook Time: 30 min
- Total Time: 1 hour 45 min
- Yield: 1 large loaf
- Category: Bread
- Method: Baking
- Cuisine: French
- Diet: Vegetarian
Ingredients
- 3 cups all-purpose flour
- 1 packet active dry yeast (about 2 1/4 teaspoons)
- 1 1/2 teaspoons salt
- 1 teaspoon sugar
- 1 1/4 cups warm water (about 105-115°F)
- 1 tablespoon olive oil, plus more for the bowl
- 1 egg white, beaten with 1 teaspoon water (for egg wash)
Instructions
- In a large bowl, dissolve the yeast and sugar in the warm water. Let stand for 5 to 10 minutes until foamy. This shows your yeast is active.
- Add the flour, salt, and olive oil to the yeast mixture. Mix with a wooden spoon until a shaggy dough forms.
- Turn the dough out onto a lightly floured surface. Knead for 6 to 8 minutes until the dough is smooth and elastic. It should feel soft.
- Lightly oil a clean bowl. Place the dough in the bowl, turning to coat. Cover the bowl tightly with plastic wrap or a clean kitchen towel.
- Let the dough rise in a warm place for 60 to 75 minutes, or until it has doubled in size. This is your first rise.
- Gently punch down the dough to release the air. Turn it out onto a lightly floured surface and shape it into a long, even loaf, similar to a baguette shape.
- Place the shaped loaf on a baking sheet lined with parchment paper or on a pizza stone. Cover loosely and let it rest for a second rise for 20 minutes.
- Preheat your oven to 400°F (200°C) during the last 10 minutes of the second rise. For extra crust, place a shallow pan on the bottom rack while preheating to create steam later.
- Brush the top of the loaf lightly with the egg white wash. Use a sharp knife to make three diagonal slashes across the top of the bread.
- Bake for 25 to 30 minutes, or until the crust is golden brown and the bread sounds hollow when tapped on the bottom.
- If you used a steam pan, carefully pour 1/2 cup of hot water into the pan immediately after placing the bread in the oven, then quickly close the door.
- Remove the bread from the oven and transfer it to a wire rack to cool completely before slicing. Enjoy your homemade French bread!
Notes
- For a truly crusty exterior, make sure your oven is fully preheated and use the steam method described in step 9.
- If you want a slightly chewier texture, use bread flour instead of all-purpose flour.
- This soft fluffy French bread is best eaten the day it is baked, served warm with butter.
Nutrition
- Serving Size: 1 slice
- Calories: 150
- Sugar: 1
- Sodium: 250
- Fat: 1
- Saturated Fat: 0
- Unsaturated Fat: 1
- Trans Fat: 0
- Carbohydrates: 31
- Fiber: 1
- Protein: 4
- Cholesterol: 0