

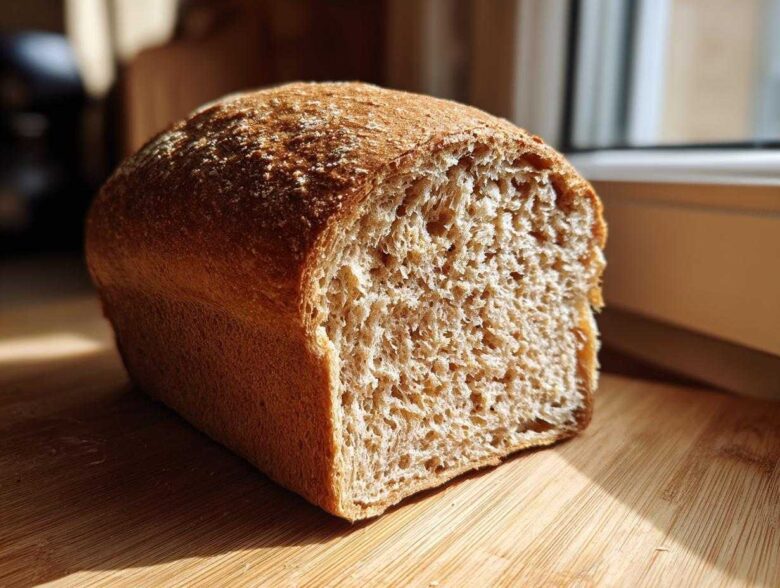
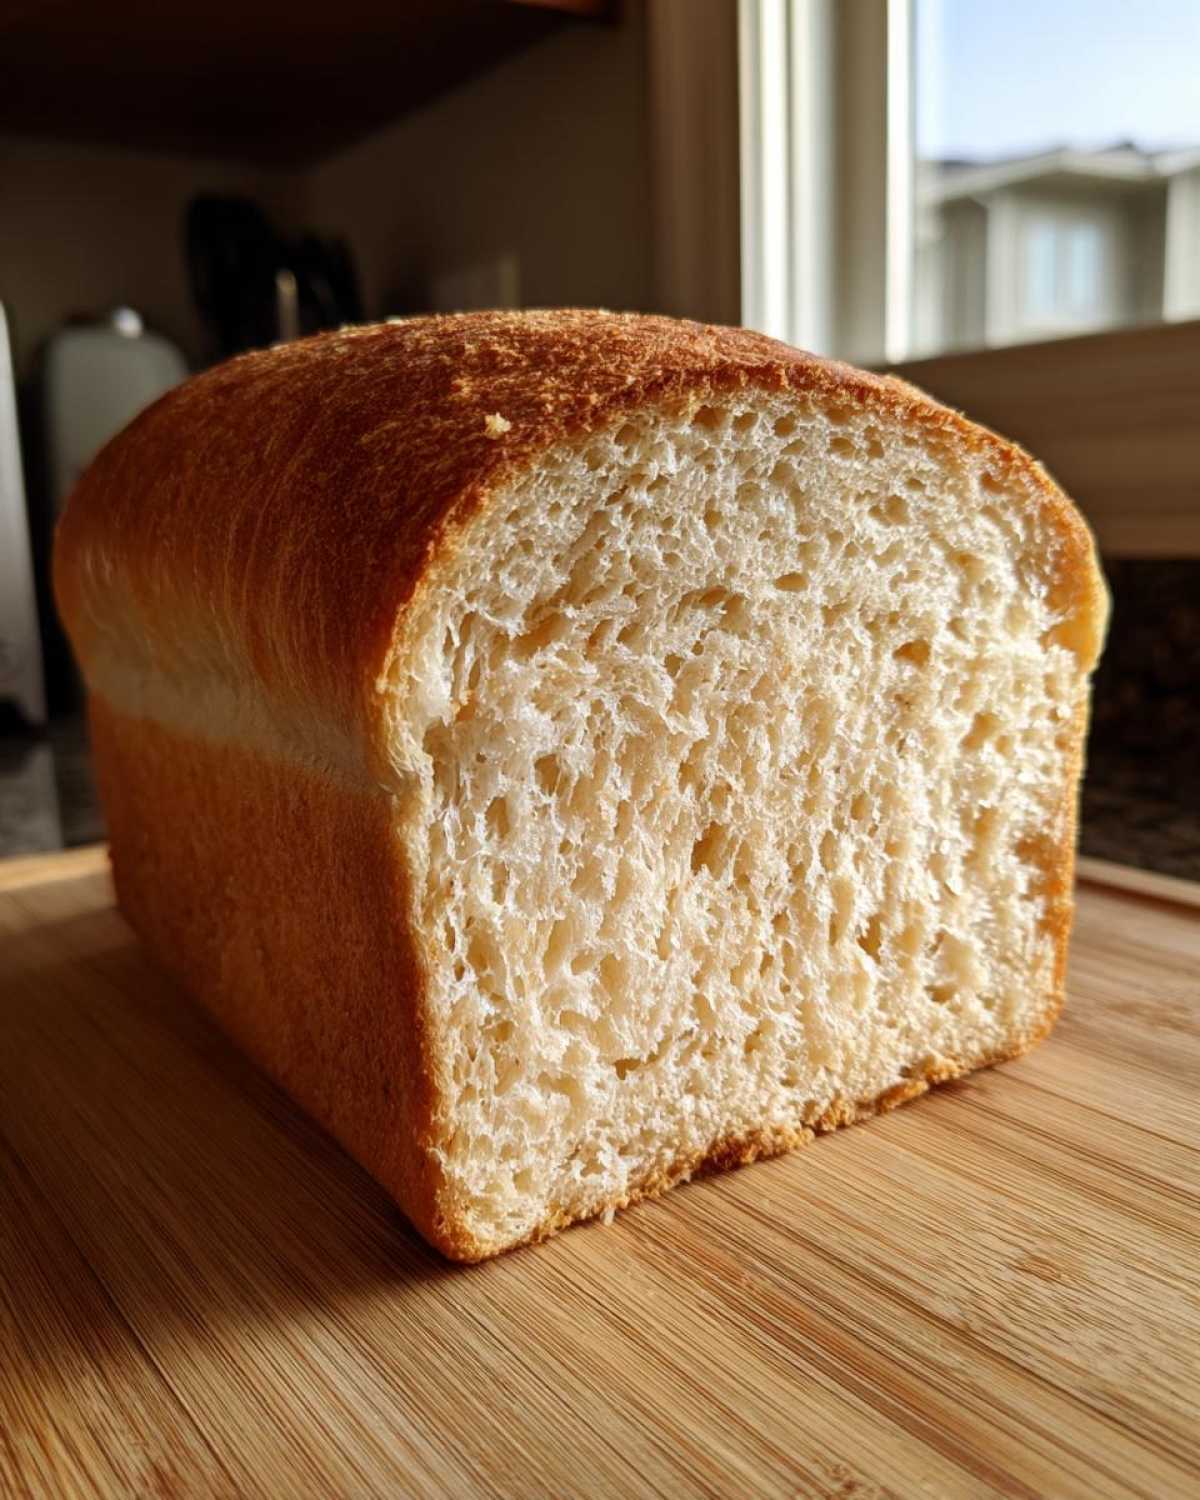
Oh my gosh, you guys, when this fresh **whole wheat bread** comes out of the oven, the entire house smells like heaven! Seriously, it beats any bakery smell, hands down. For ages, I (Ethan) dreamed of making a loaf that was 100% whole wheat but wasn’t dense as a brick. Then Chloe swooped in with her intuitive magic, and we cracked the code. This recipe is the perfect marriage of my need for exact measurements and her wild creativity, resulting in the softest, fluffiest loaf you’ve ever imagined. If you want to know more about how we figured out our baking balance, check out our story on the About Us page! Trust me, you’re going to want to bake this every single week!
Why This Homemade Whole Wheat Bread Recipe Works So Well
The biggest hurdle with truly 100% whole grain baking is fighting density. Nobody wants a loaf that feels like it could stop a door! We spent way too long making sad, heavy bricks before Chloe realized we needed to mimic the richness of white flour dough while keeping all that amazing fiber. Trust me, those days are over. This method guarantees a hearty texture without that heavy, dry crumble. If you’re looking for more baking adventures, jump over to our blog section for tips!
Achieving Maximum Softness in Your Whole Wheat Bread
It starts before we even mix the flour! First, make sure that water is perfectly warm—not hot, not lukewarm. We need it in that sweet spot between 105°F and 115°F so the yeast gets happy and active without dying off. Second, we use vegetable oil. That little bit of fat coats the flour, which really helps keep the crumb tender and moist throughout the whole baking process. It’s a small addition, but it makes a giant difference in the final feel.
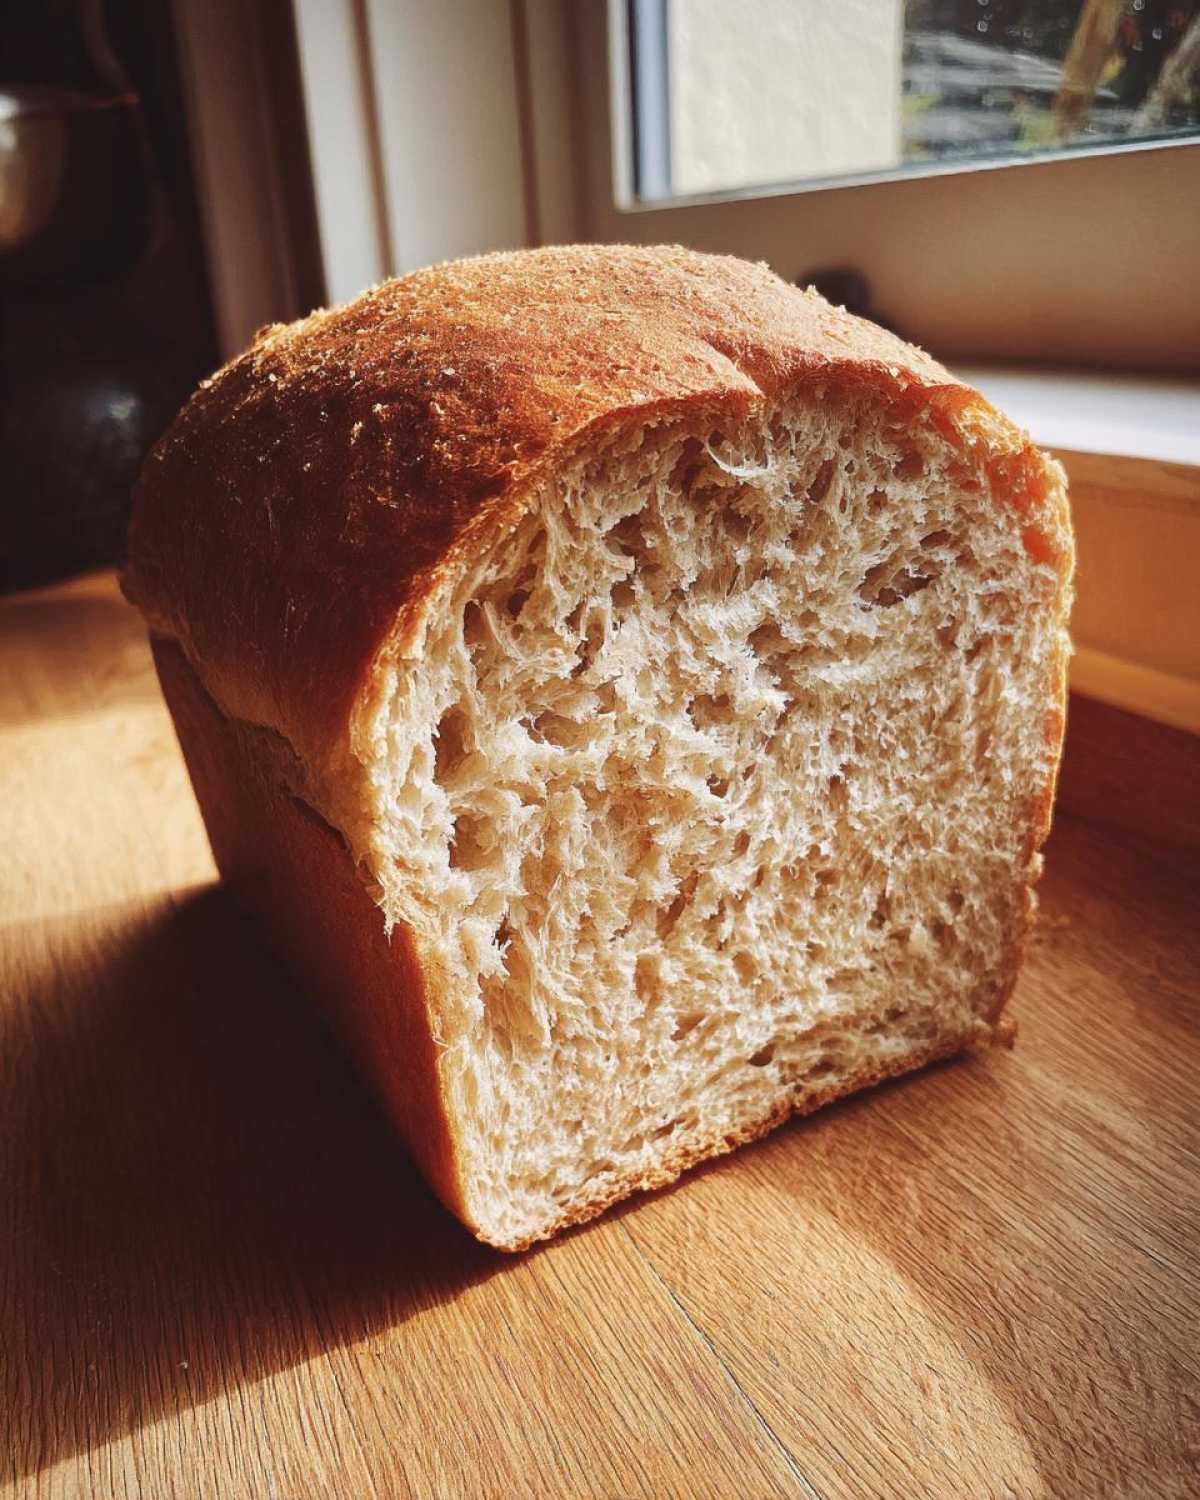
The Importance of Kneading for Great Whole Wheat Bread
Whole wheat flour is harder to work with than all-purpose because of the bran chopping up the gluten strands, but we can help it along! You must knead this dough for a solid 8 to 10 minutes. When you think it’s smooth, give it another minute. The goal is skin-like elasticity and it should still feel a bit tacky or slightly sticky to the touch, not dry. This extended kneading develops the structure needed to hold the air during that long second rise, which is key to a fluffy **whole wheat bread**.
Gathering Ingredients for Soft Whole Wheat Bread
Okay, bread baking requires me (Ethan) to be very specific about quantities, but Chloe always teases that getting the ingredients ready is half the fun! You need just six things, but paying attention to the details we list here is crucial for that soft texture. We use quality ingredients because that hearty flavor really shines through when there aren’t too many things competing.
- 1 cup warm water (aim for 105-115°F—feel it on your wrist!)
- 2 teaspoons active dry yeast
- 3 tablespoons honey (Don’t skimp here!)
- 1/4 cup vegetable oil
- 1 1/2 teaspoons salt
- 3 cups whole wheat flour, plus more for dusting when kneading
Ingredient Notes and Substitutions for Perfect Whole Wheat Bread
Let’s talk yeast activation first: if that water isn’t right, you won’t get foam, and if you don’t get foam, you won’t get rise! It’s that serious. For sweetness, the three tablespoons of honey is the baseline for that classic taste, but if you like your **whole wheat bread** slightly sweeter, feel free to bump that up to a scant 1/4 cup. That’s Chloe’s little tweak when she’s feeling extra indulgent.
Step-by-Step Instructions to Make Your Whole Wheat Bread
Alright, time to get our hands dirty! This is where my structure comes in handy, keeping everything in order so we don’t miss a single step. The whole process is straightforward—mix, knead, rest, shape, rest again, then bake. Listen, bread is patient, but your yeast isn’t, so follow these steps closely and you’ll be rewarded beautifully.
Activating Yeast and Mixing the Whole Wheat Bread Dough
First things first, we wake up the yeast. In a large bowl, combine that warm water (remember, 105-115°F!), the yeast, and the honey. You need to just let this sit quietly for about five to ten minutes. If you see a lovely layer of foam bubbling up on top? Success! That means your yeast is alive and ready for action. If it’s flat, stop right there and start over with fresh yeast because that’s the whole foundation we are building on.
Once it’s foamy, stir in your vegetable oil and salt. Now for the flour. Don’t dump it all in at once; that’s how you get cement! Add the 3 cups of **whole wheat bread** flour one cup at a time, mixing with a wooden spoon until you get a shaggy, messy collection of dough. Don’t worry if it looks weird; that’s just what whole wheat does before you work it!
The First Rise: Developing Flavor in Your Whole Wheat Bread
This first rise is crucial. This is where the good, wholesome flavor develops in your loaf. Turn that shaggy dough out onto a lightly floured counter and knead it for a good 8 to 10 solid minutes until it becomes wonderfully smooth and elastic. It will feel a little sticky—that’s okay! Lightly oil a clean bowl, drop the dough in, and turn it over so it’s coated everywhere. Cover it tightly.
Now we wait! Place the bowl in a warm spot—think on top of the fridge or near a sunny window. If your house is chilly, I always cheat by putting the bowl in the turned-off oven with just the light on. Let that dough hang out for 1 to 1.5 hours, or until it has properly doubled. This long rest is what makes this **whole wheat bread** so fantastic.
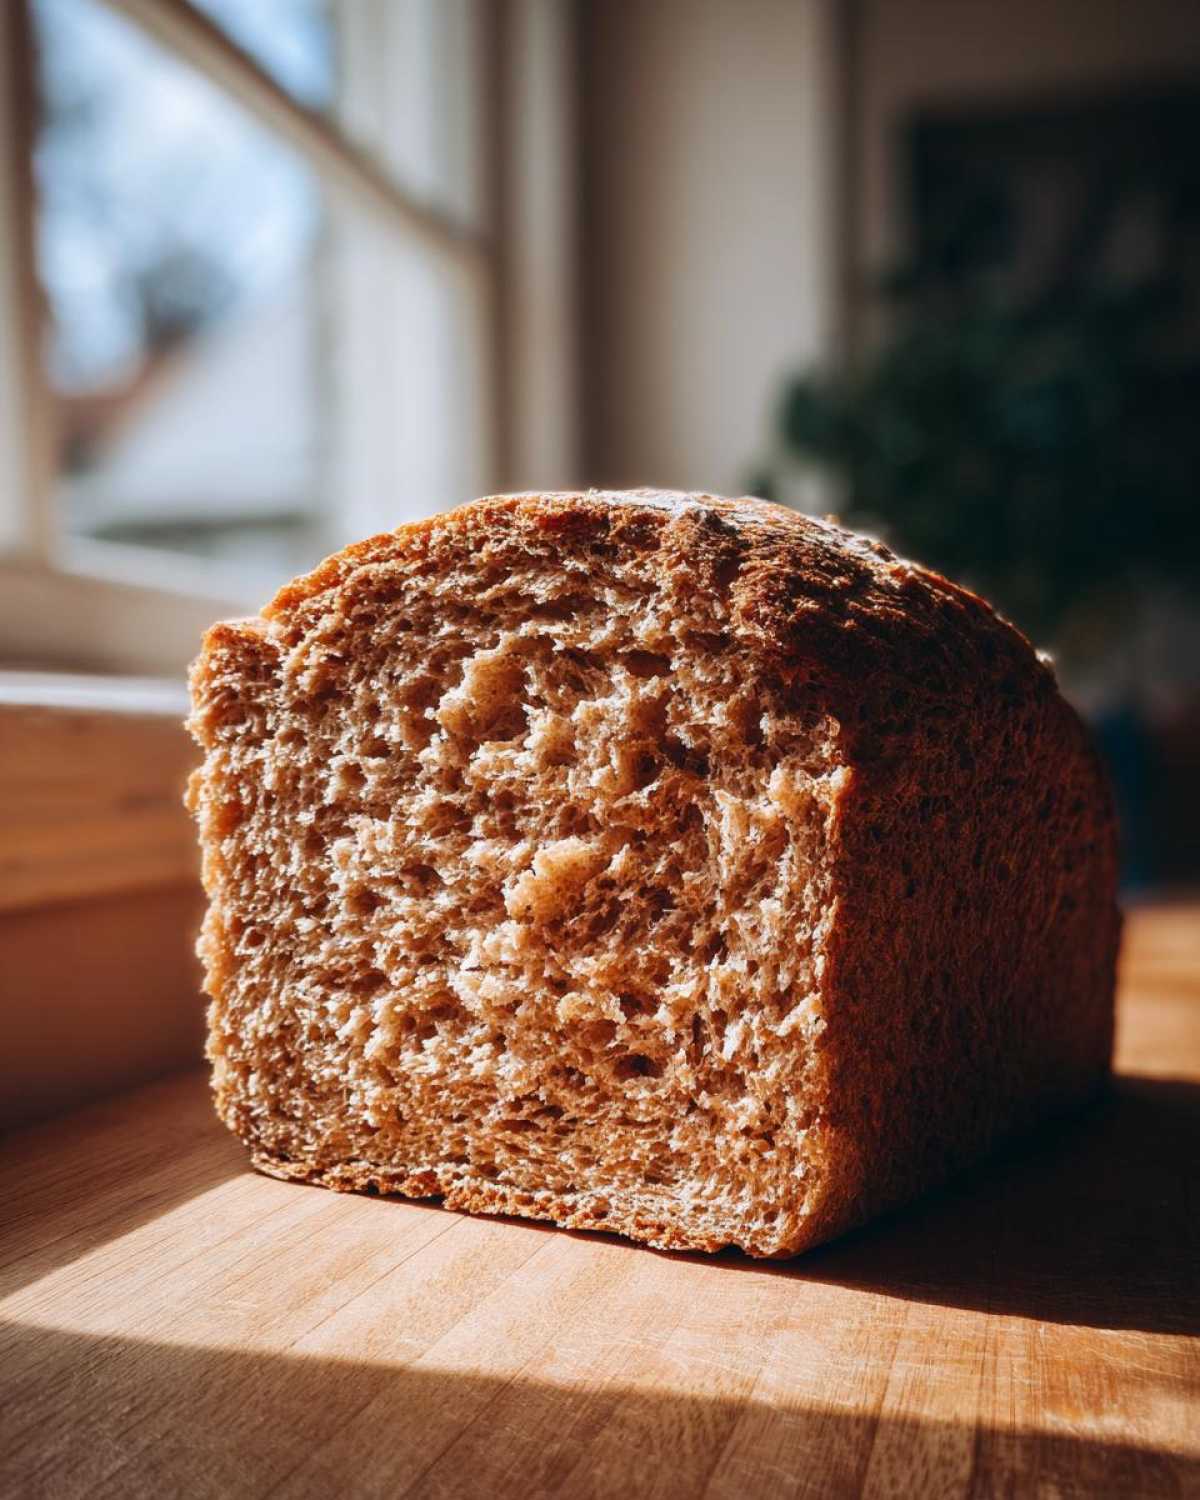
Shaping and Second Proofing for the Final Whole Wheat Bread Loaf
When it’s doubled, gently punch the dough down—I mean *gently*! We don’t want to totally deflate all that air we worked so hard to generate. Turn it out and shape it quickly into a neat loaf shape and tuck it into your greased 9×5 inch pan. Cover it loosely again and let it proof for another 30 to 45 minutes. You are looking for the dough to crest about an inch or so over the top rim of the pan before it goes into the oven.
If you’re interested in other dough adventures, check out my tips on making soft stovetop naan bread!
Baking Your Hearty Whole Wheat Bread to Perfection
Okay, listen up, because timing that oven preheat is where my planning personality really shines! You want to get the oven warmed up to 375°F (190°C) about 15 minutes before your dough looks perfectly proofed from that second rise. If you rush this, the crust sets too fast and you end up with a denser loaf, and nobody wants that.
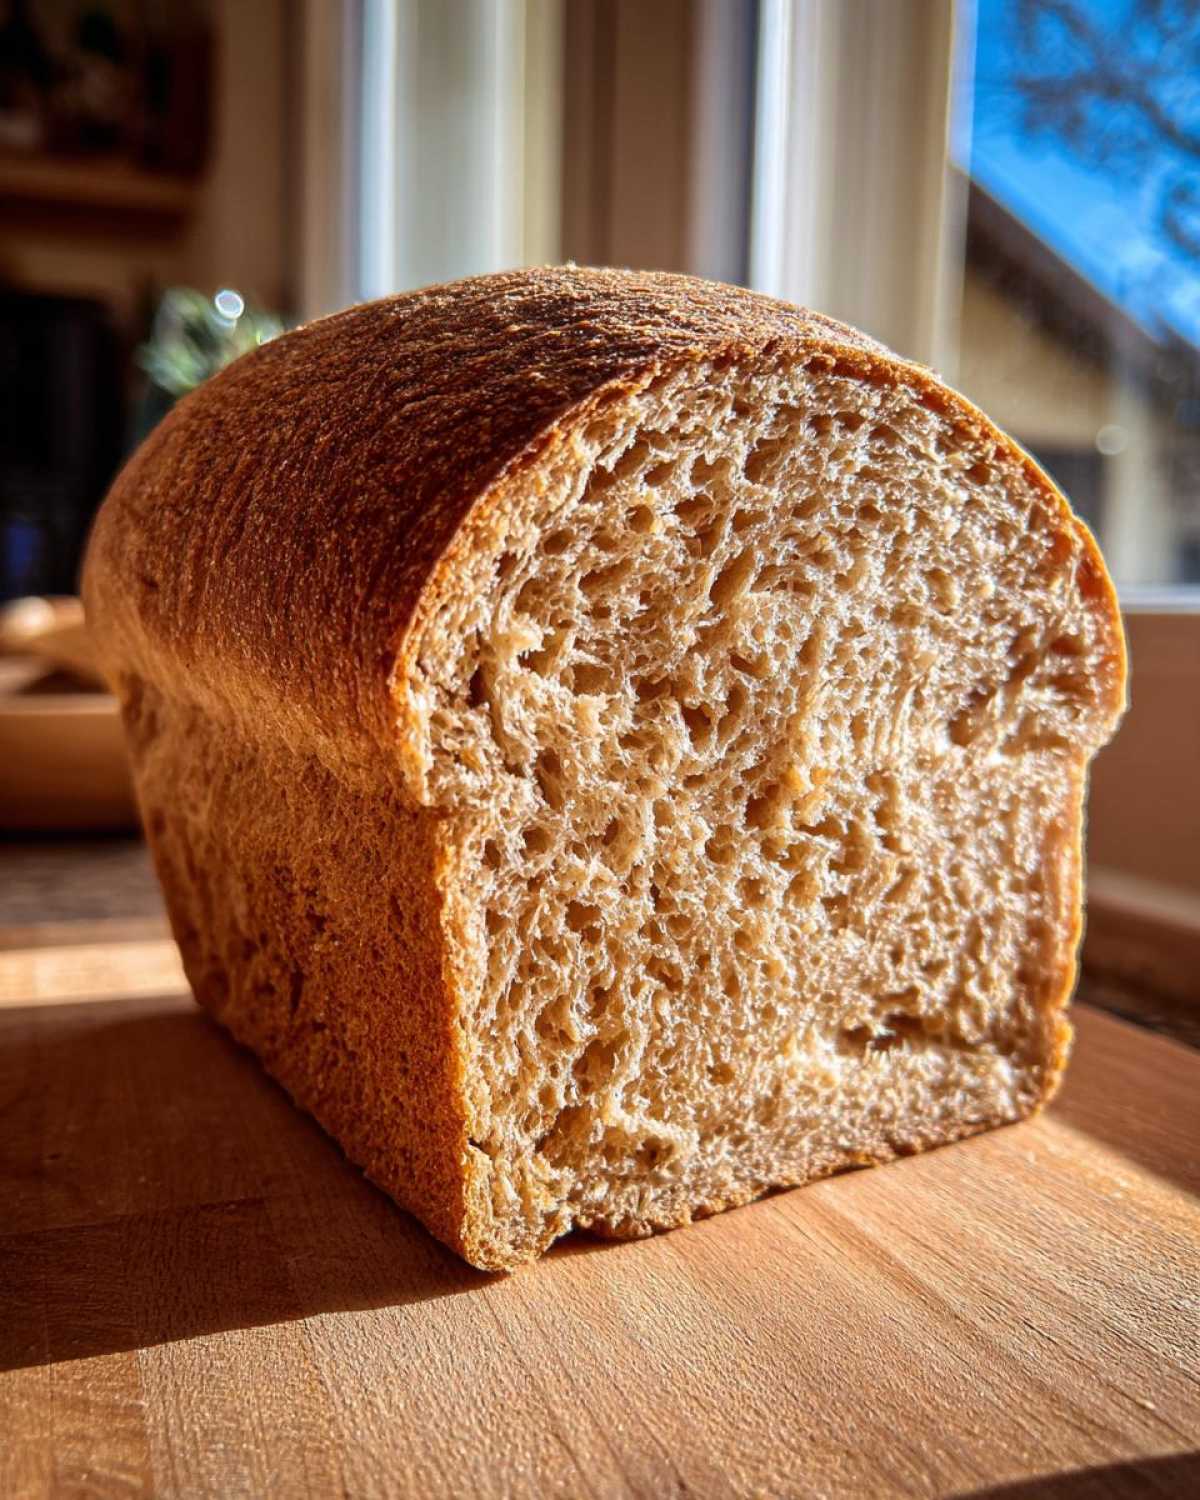
Once the temperature is steady, slide that loaf in gently. We bake this **whole wheat bread** for about 30 to 35 minutes. Don’t just rely on color, though! While you want that gorgeous golden brown top that Chloe always notices first, the real marker of done-ness is the internal temperature. Pull it out when you hit 200°F (93°C) right in the middle. It’s such a reliable trick that makes every loaf turn out right.
If you want to try another great baked good, I highly recommend our garlic butter naan bread recipes for next week!
For reference on other great bakes, I always peek at what Goodies Recipes is doing!
Cooling and Slicing Your Fresh Whole Wheat Bread
Okay, this is the hardest part, folks, because the smell of this glorious **whole wheat bread** is practically torture when you know it’s hot! But you absolutely must resist the urge to slice into it right away. If you cut it while it’s hot, all that wonderful steam escapes too fast, and the interior turns gummy and dense—we fought too hard for softness to ruin it now!
Immediately get that loaf out of the metal pan and set it directly onto a wire cooling rack. Let it cool—and I mean *completely* cool—before you take a knife to it. Trust me on this one. It’s the final, non-negotiable step for that perfect texture.
Tips for Success When Making Whole Wheat Bread
Baking is always chemistry, but bread is often more about feel. When we first started making **whole wheat bread**, we struggled constantly with the texture—it would look great going into the oven, but by the time it cooled, it was like playing a game of dense bread roulette! Chloe’s favorite trick, which I now religiously write down, is about managing moisture.
The rising environment really matters. If you have a chilly kitchen—and ours can get drafty in the winter—don’t just let the dough sit on the counter. Use the oven light trick! Just turn the oven light on (don’t turn the actual oven heat on, obviously!) and let the dough proof inside the slightly warmed space. It keeps the yeast super happy.
Also, don’t forget to pre-slice if you plan on freezing it later; that way, you can just pop out what you need! If you want to try another delicious, slightly different loaf, check out our cranberry walnut bread recipe.
For more detailed advice, Sally’s Baking Addiction has some fantastic general tips on making soft loaves, too, which you can see here: Whole Wheat Bread Tips.
Storage and Reheating Instructions for Whole Wheat Bread
So, you’ve got this incredible, soft loaf. Congratulations! The real question is how to make sure it stays perfect for the next few days. Honestly, this bread is so good we usually eat the whole thing in about 36 hours, but when we manage to save some, I have a method I stick to religiously.
If you know you won’t finish it quickly, the freezer is your best friend. But here’s the trick I learned the hard way: Slice it completely first! Seriously, don’t put a whole, unsliced loaf in the plastic bag; it traps humidity poorly and the texture suffers later. Once it’s fully cooled—and I mean room temperature cool from the rack—slice it into your preferred thickness, stack the slices loosely in a heavy-duty freezer bag, and tuck it away.
When you want a piece, don’t try to toast it straight from the freezer, or you’ll just dry it out. Pop a slice (or two!) directly into the toaster, or if you want that truly just-baked softness back, microwave it for about 10 to 15 seconds. That little burst of heat and steam brings back all the tenderness we worked so hard to achieve in the oven!
Frequently Asked Questions About Baking Whole Wheat Bread
I know you might have a few lingering questions, especially if this is your first time tackling 100% whole wheat! It’s totally normal. Chloe and I always end up getting bogged down in the details when we try something new, so I gathered up the most common things people ask us about achieving that perfect, soft loaf. If you have more questions after trying it out, don’t hesitate to reach out via our contact page—we love hearing from our crew!
Why does my homemade whole wheat bread always come out dense?
That’s the million-dollar question! Usually, density comes from one of two places: either the liquid temperature was off, which killed your yeast before the rise even started, or you didn’t let it develop enough gas during the proofing stages. Whole wheat needs that time to breathe and stretch! This recipe uses oil and honey specifically to fight that density, so if yours is heavy, try giving the first rise an extra 15 minutes next time.
Can I substitute white flour for some of the whole wheat flour?
You absolutely can! If you’re nervous about the texture or are aiming for a lighter sandwich slice, swapping half of the flour (so 1.5 cups) for all-purpose white flour is a great starting point. It will lighten the color and make it a little easier to handle. However, if you want the full nutritional punch and the real nutty flavor, stick with 100% **whole wheat bread** flour, and just trust the kneading process!
What is the best way to tell if the loaf is fully baked?
Color is nice, but temperature never lies! While it should look beautifully golden brown on top, always stick an instant-read thermometer into the center of the loaf. Anything below 190°F means it still needs more time in the heat. We look for that perfect 200°F (93°C) reading, which guarantees that the inside is cooked through without drying out the edges.
Can I use bread flour instead of basic whole wheat flour?
That’s a great technical question! If your recipe happens to call for ‘whole wheat bread flour’ specifically, that’s ideal because it has higher protein content, which helps build a stronger gluten network. If you are using standard ‘whole wheat flour,’ the 8 to 10 minutes of kneading in this recipe compensates for the weaker structure. It works either way, but the higher-protein flour gives you just a tiny bit more leverage!
Estimated Nutritional Data for This Whole Wheat Bread
Now, I know some folks check this section first! I’m Ethan, so I love that we have these numbers, but I always have to give a little disclaimer here. Since we are making this in our kitchen with honey amounts that sometimes fluctuate based on how sweet we’re feeling, these stats are just an educated guess based on the standard calculations. They’re here to give you a good idea, but they aren’t official lab results, of course!
This chart breaks down what you can generally expect from a single slice of this hearty loaf, based on the recipe provided. It’s a pretty good profile for a staple bread!
| Nutrient | Amount |
|---|---|
| Serving Size | 1 slice |
| Calories | 150 |
| Carbohydrates | 27g |
| Protein | 6g |
| Total Fat | 4g |
| Fiber | 4g |
| Sugar | 3g |
| Sodium | 250mg |
We tried to keep the ingredients simple and wholesome, so you’ll notice the fiber content is pretty solid, thanks to that 100% whole wheat flour! Just remember, this data can shift slightly depending on which brand of grain or honey you decide to use in your fleet!
PrintSoft and Fluffy Homemade Whole Wheat Bread

Bake a wonderfully soft and hearty loaf of 100% whole wheat bread at home. This easy recipe gives you bakery-quality results perfect for sandwiches or toast.
- Prep Time: 20 min
- Cook Time: 35 min
- Total Time: 2 hours 5 minutes
- Yield: 1 loaf
- Category: Baking
- Method: Kneading and Baking
- Cuisine: American
- Diet: Vegetarian
Ingredients
- 1 cup warm water (105-115°F)
- 2 teaspoons active dry yeast
- 3 tablespoons honey
- 1/4 cup vegetable oil
- 1 1/2 teaspoons salt
- 3 cups whole wheat flour, plus more for dusting
Instructions
- In a large bowl, mix the warm water, yeast, and honey. Let this sit for 5 to 10 minutes until it becomes foamy. This shows your yeast is active.
- Stir in the vegetable oil and salt into the yeast mixture.
- Gradually add the whole wheat flour, one cup at a time, mixing until a shaggy dough forms.
- Turn the dough out onto a lightly floured surface. Knead for about 8 to 10 minutes until the dough is smooth and elastic. It will feel slightly sticky, which is normal for whole wheat.
- Lightly grease a large bowl with oil. Place the dough in the bowl, turning it once to coat. Cover the bowl with plastic wrap or a clean kitchen towel.
- Let the dough rise in a warm place for 1 to 1.5 hours, or until it has doubled in size. This long rise develops great flavor.
- Gently punch down the risen dough. Shape it into a uniform loaf and place it into a greased 9×5 inch loaf pan.
- Cover the pan loosely and let the dough rise again in a warm spot for 30 to 45 minutes, or until it has crested about 1 inch over the rim of the pan.
- Preheat your oven to 375°F (190°C) about 15 minutes before the second rise is complete.
- Bake for 30 to 35 minutes, or until the top is golden brown and the internal temperature reaches 200°F (93°C).
- Remove the loaf from the pan immediately and let it cool completely on a wire rack before slicing. Enjoy your fresh, homemade whole wheat bread!
Notes
- If your kitchen is cool, place the dough in your oven with just the light on to create a warm environment for rising.
- For a slightly sweeter loaf, increase the honey to 1/4 cup.
- This bread freezes well once completely cooled. Slice it first, then store in an airtight freezer bag.
Nutrition
- Serving Size: 1 slice
- Calories: 150
- Sugar: 3g
- Sodium: 250mg
- Fat: 4g
- Saturated Fat: 0.5g
- Unsaturated Fat: 3.5g
- Trans Fat: 0g
- Carbohydrates: 27g
- Fiber: 4g
- Protein: 6g
- Cholesterol: 0mg