

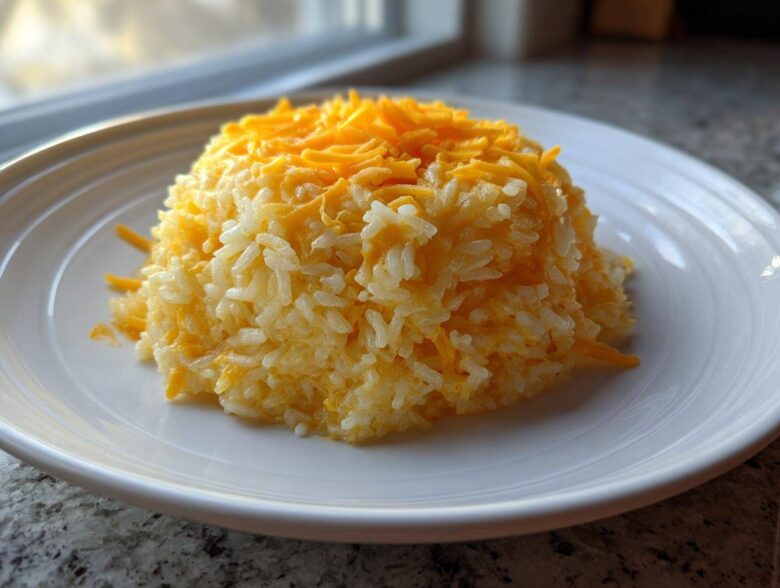
You know those nights, right? You look at whatever protein you pulled out of the freezer, and you think, “This needs a side dish, but I need it done fast before everyone gets grumpy.” That’s exactly where we live, and honestly, it’s why this cheesy rice recipe sailed right onto our main menu! This isn’t some heavy, fussy casserole you bake for an hour; this is pure, glorious, creamy comfort food made right on the stovetop in under 30 minutes. I’m Ethan, and while Chloe might throw spices in with intuition, I’m the guy who tested making this cheesy rice five separate times until the broth-to-cheese ratio was absolutely perfect and dependable. Trust me, this recipe sails smooth. For more about how we balance structure and chaos in our kitchen, take a peek at our About Us page!
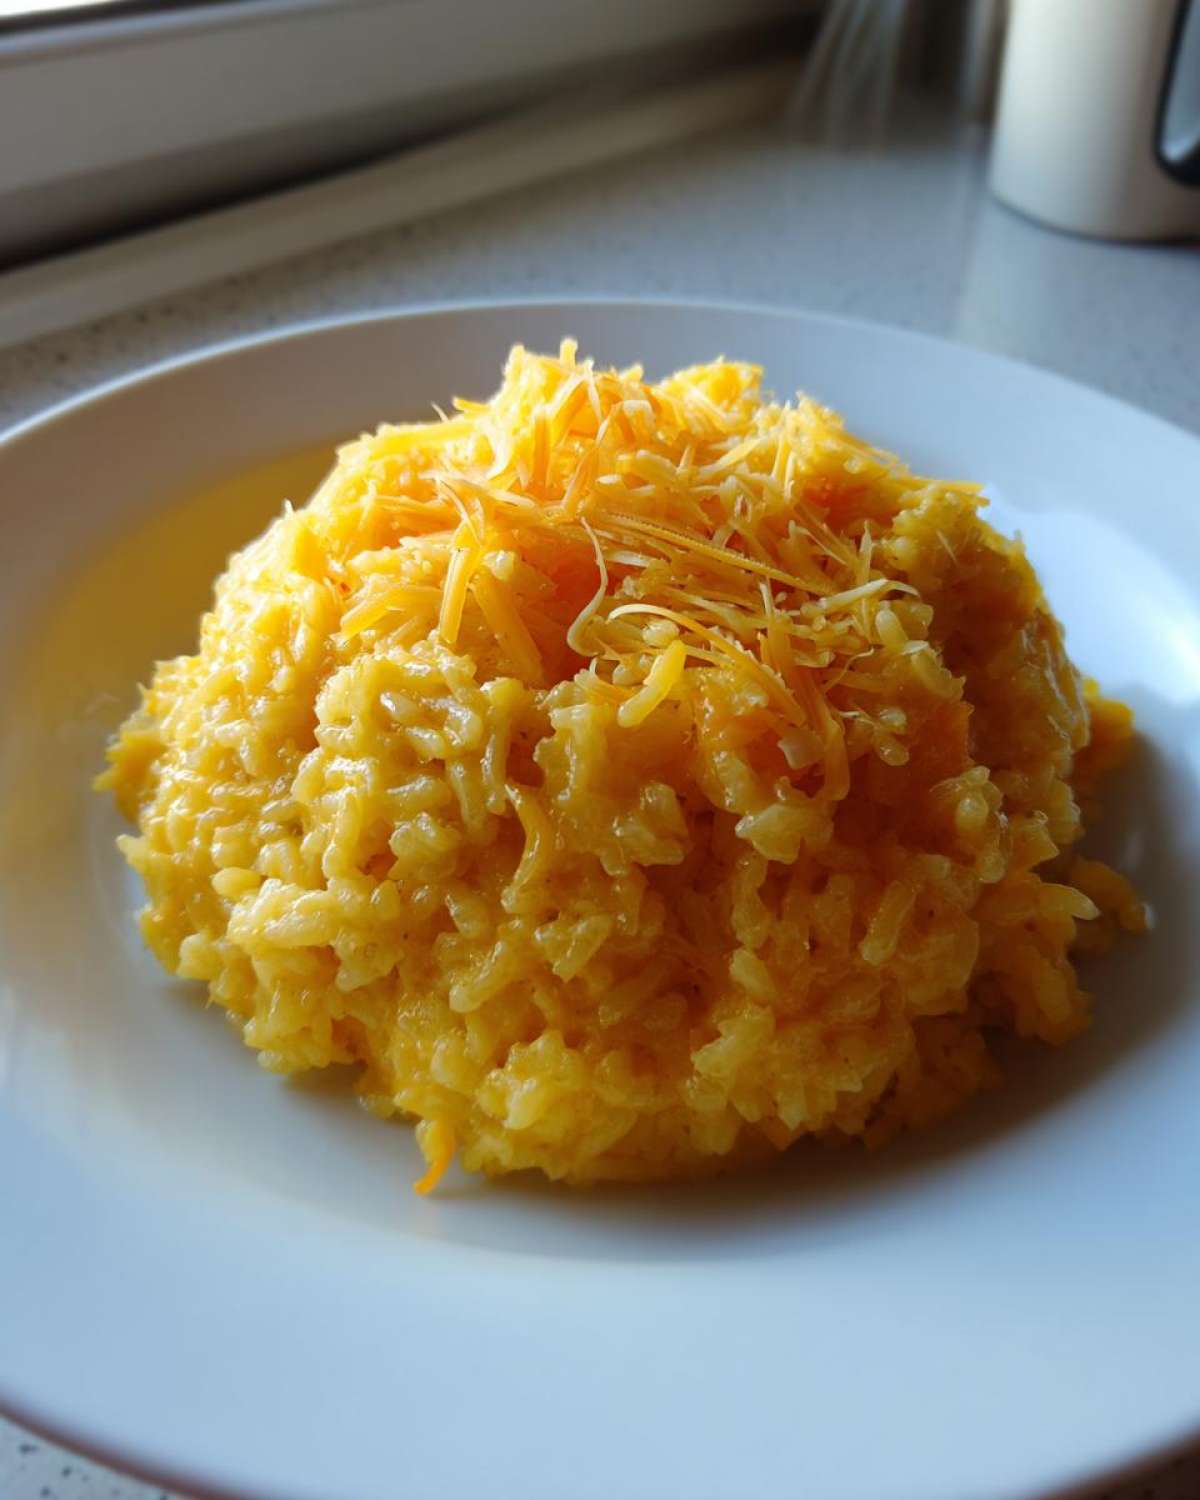
Why This Creamy Stovetop Cheesy Rice Recipe Works (The Fleet Approach)
When we first nailed down this recipe, we knew we had a keeper. It perfectly embodies the Recipes Fleet philosophy: structure meets spontaneity. I made sure every measurement was exact so you get that perfect, buttery texture every time you make this Easy Cheesy Rice Recipe. Chloe ensured the flavor profile—a little garlic, a lot of sharp cheddar—makes it the ultimate Comfort Food Rice dish your family will ask for weekly.
We’ve tested the shortcuts, and this stovetop method wins hands-down over anything baked.
Speed and Simplicity: A True 30 Minute Rice Side
Seriously, who has time for long oven times after a long day? This is one of those fantastic Quick Side Dishes with Rice that comes together faster than most boxed mixes, but tastes a million times better. Set your timer for 30 minutes total, and you’re golden. It’s fast enough for Tuesday but delicious enough for Saturday.
The Secret to Perfect Cheesy Rice Texture
The magic really happens right on the burner. By using chicken broth and milk together, we get that rich absorption without needing any heavy cream cheese hidden in there—though feel free to add it if you’re feeling extra indulgent! This quick Stovetop Cheesy Rice cooks evenly, absorbing all that savory goodness before we fold the cheeses in right at the very end.
Gathering Ingredients for Your Cheesy Rice
Okay, now that you know this is fast and unbelievably creamy, let’s talk about what you need. Because I’m the planner in this duo, I insist that precise measurements are key for reliability, especially when we aren’t baking. This recipe uses real butter and a mix of two powerhouse cheeses to give you that incredible flavor profile. When we served this with Chloe’s famous shrimp dish—you can check out that recipe for Garlic Parmesan Rice pairing here—the salt level was perfect!
Expert Tip: Trust me on this one—always shred your own cheddar cheese if you can. That pre-shredded stuff is coated in stuff to keep it from clumping in the bag, and that stuff makes your beautiful cheesy rice grainy instead of smooth. We want velvety, not gritty!
Ingredient List for Cheesy Rice
You’ll need these exact quantities to hit that 30-minute mark perfectly:
- 1 tablespoon unsalted butter
- 2 cloves garlic, minced
- 1 cup long-grain white rice, uncooked
- 2 cups chicken broth
- 1/2 cup whole milk
- 1/2 teaspoon salt
- 1/4 teaspoon black pepper
- 1 cup sharp cheddar cheese, shredded
- 1/4 cup Parmesan cheese, grated
Step-by-Step Instructions for Stovetop Cheesy Rice
Alright, let’s get this operation running smoothly. Since we are keeping this on the stovetop, it’s all about managing those steps properly to get that ultra-creamy texture without turning it into a mushy mess. This is truly the best One Pan Cheesy Rice you’ll ever try, and it’s ready almost before you’ve picked what main course you’re serving it with! If you’re looking for other great rice options we’ve developed, check out the technique in this French Onion Butter Rice Recipe.
Sauté Aromatics and Toast the Rice
Grab that medium saucepan and get the butter melted over medium heat. Toss in your minced garlic—but listen to me, don’t walk away! Garlic burns so fast, and burnt garlic tastes bitter. We just want it fragrant, maybe 30 seconds top. Next, the uncooked rice goes in. Stir it around constantly for about a minute. Toasting the grains like this, right at the start, helps them keep their shape when they soak up all that liquid later on.
Simmering the Rice Perfectly
Now for the liquid phase! Pour in your chicken broth and milk, add salt and pepper, and bring the whole thing up to a strong boil. Once it’s rolling, immediately drop that heat way down to low. This is crucial: cover it tightly and let it simmer for 15 to 18 minutes. I mean it—do not lift the lid during this time! You need that trapped steam to cook the rice evenly. Once the time is up, take the whole pan off the heat and just let it sit, still covered, for 5 minutes.
Achieving Maximum Creaminess in Your Cheesy Rice
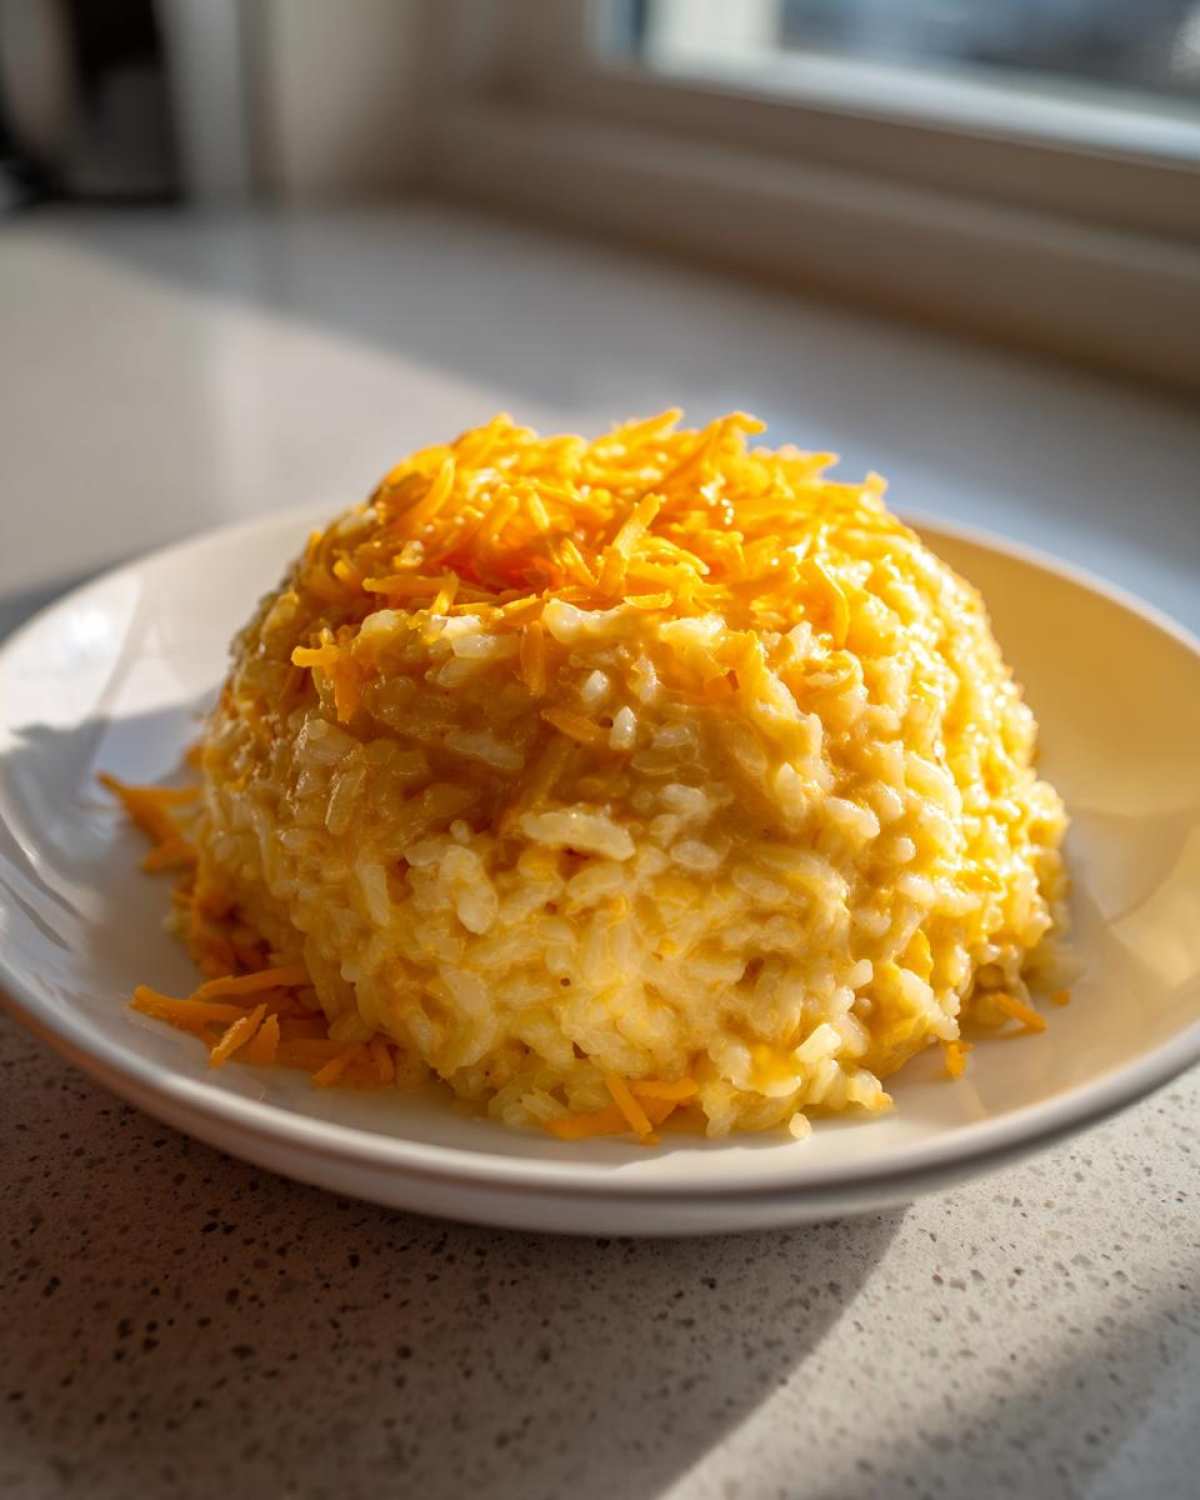
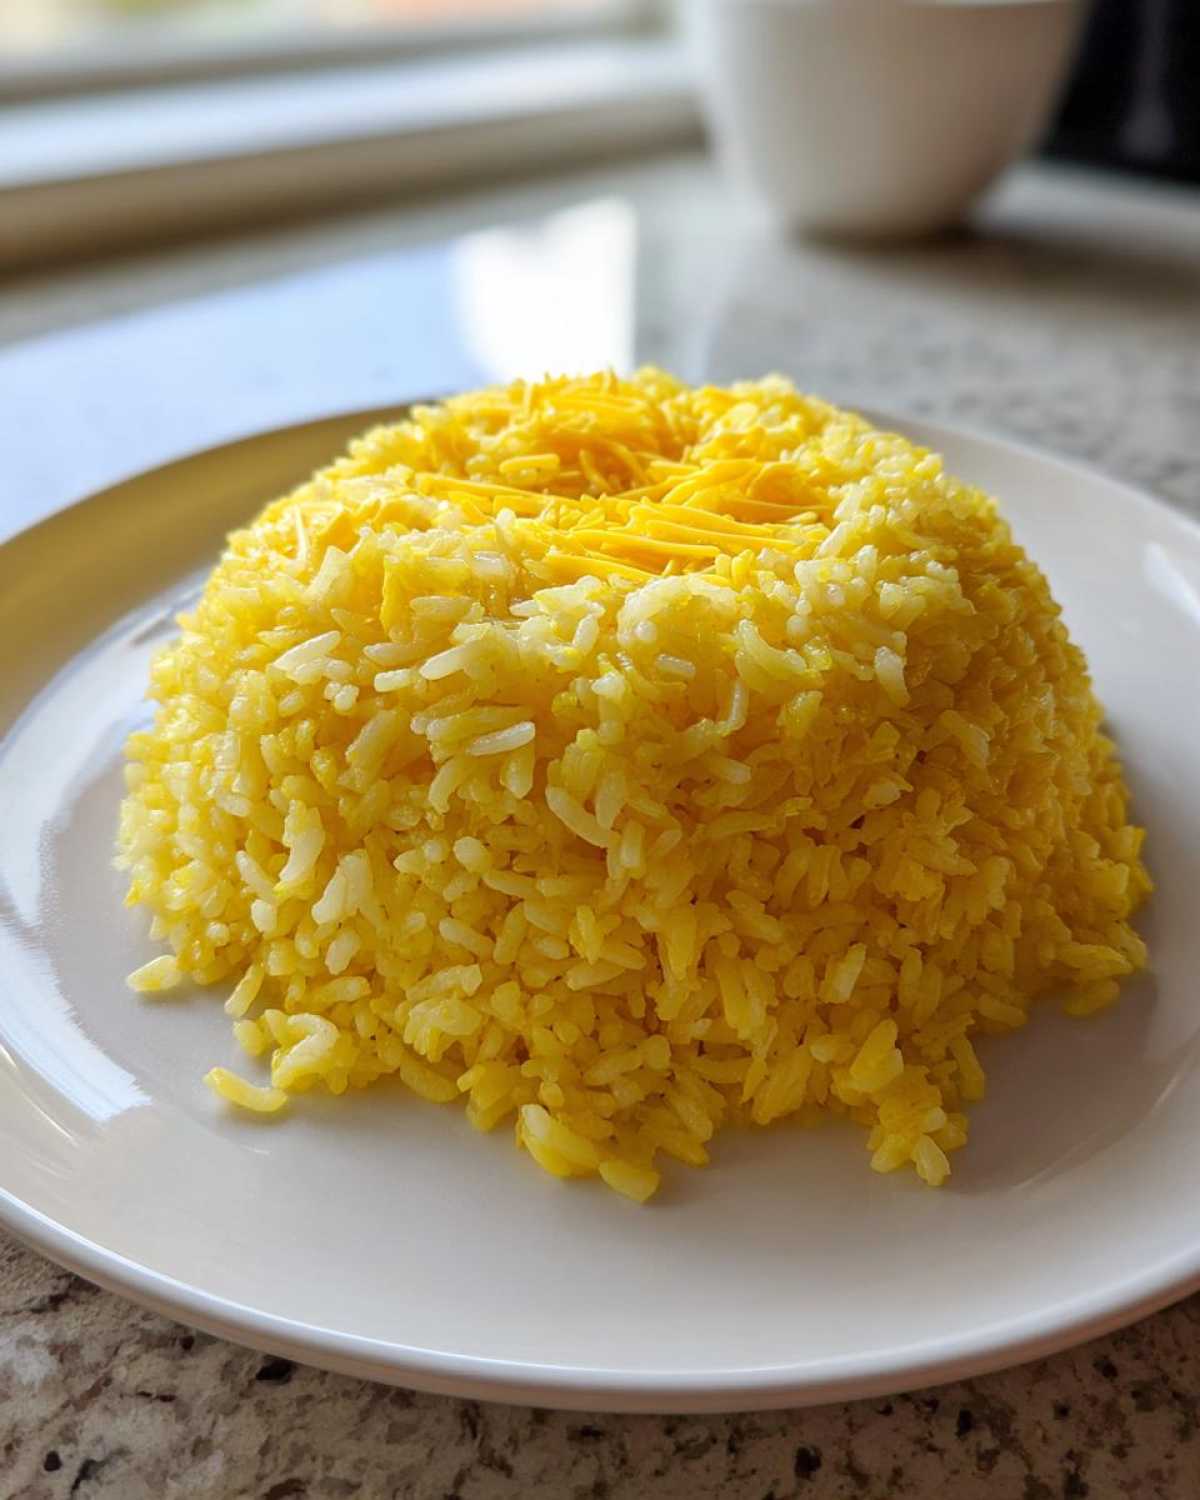
Okay, the resting time is over! Uncover the pan (you’ll see beautiful, fluffy rice). This is where the magic really happens for our Creamy Rice Side Dish. Immediately stir in both the sharp cheddar and the grated Parmesan. Keep stirring gently until that cheese totally melts in and everything binds together into that gorgeous, savory sauce. This combination creates our signature Cheddar Parmesan Rice. Serve it right away while it’s piping hot and spoon-able!
Tips for the Best Homemade Cheesy Rice
We’ve covered the basics, but if you want this to be the absolute greatest batch of Homemade Cheesy Rice your family has ever tasted, there are a couple of things Chloe and I learned through pure trial and error. These little tweaks move a good side dish into the ‘you have to tell people where you got the recipe’ category. We like to think this is where my need for exact quality control really pays off for you!
Ingredient Quality for Cheesy Rice Flavor
I mentioned this briefly before, but it bears repeating because it is *so* important for that luxurious melt. You absolutely must use freshly shredded cheese here. I remember the first time Chloe tried to sneak in a bag of pre-shredded cheddar because she was running late. Wow, did that turn into a texture disaster! Instead of melting into one glorious, creamy blanket, it stayed gritty and sort of clumped weirdly. That’s because those bags have a little bit of anti-caking powder in there, which messes with the cheese’s ability to bond smoothly with the warm liquid. Take the extra five minutes to grate that block—it makes the entire dish.
Making This Cheesy Rice a Complete Dinner
If you’re serving steak—and you should be on occasion—this creamy rice is a much faster and frankly, better, alternative to mashed potatoes. It has that savory depth that stands up well to a hearty cut of beef. We also love serving it alongside baked salmon; the dairy sweetness really balances the richness of the fish.
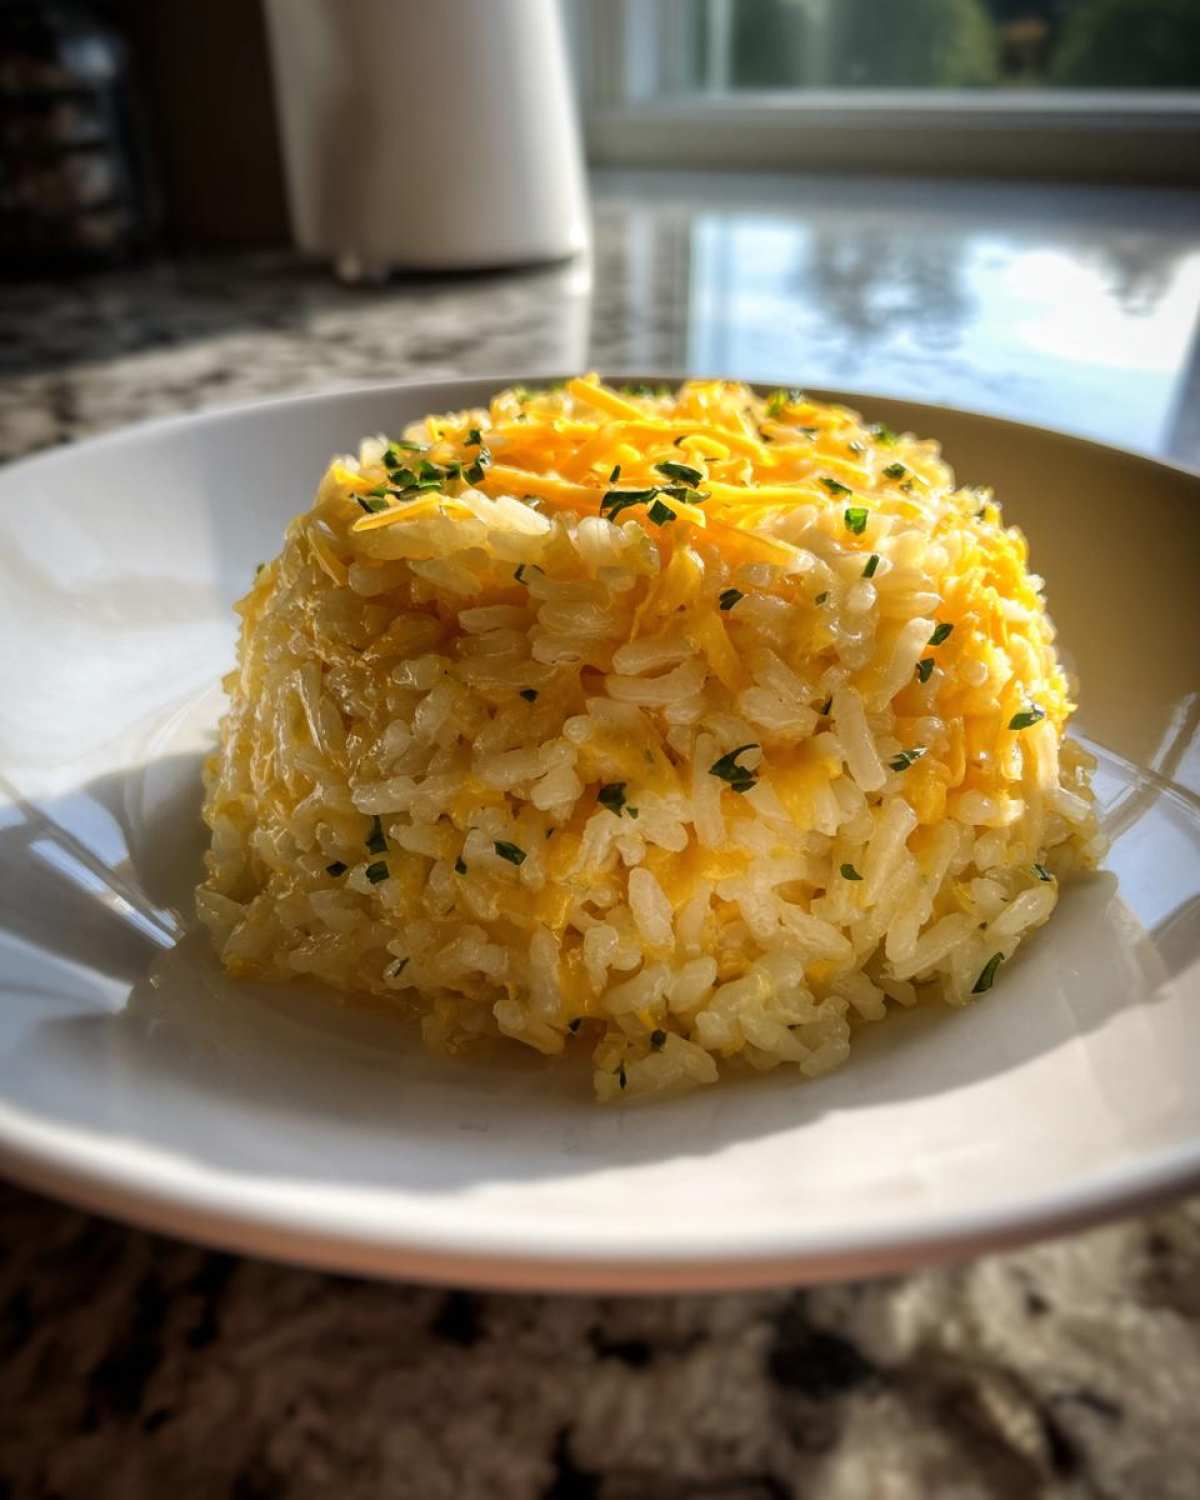
While this recipe is fantastic as is, it loves to be modified! If you want to truly amp up that creamy factor, especially if you plan on letting leftovers sit for a bit, stir in about two tablespoons of plain cream cheese right when you add the shredded cheddar. It melts right in and adds a lovely little tang. Also, we often turn this into a fuller meal for a quick supper. If you want to sneak in some veggies—and I highly recommend it—toss a cup of frozen broccoli florets into the simmering rice during the last five minutes of cooking. It steams perfectly underneath the lid! For other delicious pairings, check out our thoughts on Garlic Herb Roasted Veggies.
Serving Suggestions for Your Quick Cheesy Rice Dinner
So, you’ve got this beautifully creamy, perfectly textured cheesy rice hot off the stove. Now what? This isn’t just a filler side dish; it’s practically begging to be the star player next to something simple! Because it’s so rich and flavorful thanks to the sharp cheddar and Parmesan, you don’t need a complicated main course to go with it.
For a foolproof weeknight meal, this recipe works beautifully as Simple Cheesy Rice for Chicken. Think about grilled chicken breasts seasoned simply with salt, pepper, and maybe a squeeze of lemon. The richness cuts through the leaner protein perfectly.
If you’re serving steak—and you should be on occasion—this creamy rice is a much faster and frankly, better, alternative to mashed potatoes. It has that savory depth that stands up well to a hearty cut of beef. We also love serving it alongside baked salmon; the dairy sweetness really balances the richness of the fish.
Remember, the moment you take the lid off and stir in the cheese, you need to get this on a plate! It’s best enjoyed immediately while it’s still molten hot and velvety smooth. If you’re planning a big spread and need ideas for rich desserts to follow this satisfying Quick Cheesy Rice Dinner, you might want to check out our recipe for the Ultimate Moist Spice Cake!
Storing and Reheating Leftover Cheesy Rice
Now, I know what you’re thinking. Is this cheesy rice going to be any good tomorrow? Because that creamy texture goes hard in the fridge! And yes, leftovers definitely happen, especially since this recipe makes enough for a small army. The good news is, with a little planning, you can keep this batch tasting like the very Best Cheesy Rice Recipe even on day two.
First things first: storage. You need to get any leftovers into an airtight container pretty quickly after serving. If you leave it sitting out too long, the cheese mixture starts to set up like a delicious, savory brick. Once it’s chilled in the fridge, it will definitely look denser than when it was hot. That’s totally normal! We usually aim to eat it within three days, though frankly, we rarely have it last that long.
Reheating is where you bring back the magic. And here’s my absolute number one trick that I learned from Ethan’s rigid adherence to texture: do not microwave it completely dry!
If you’re just heating up a single serving, pop it in the microwave, but you have to add a little bit of liquid back in. I grab the carton of chicken broth or sometimes even just regular water, add about a tablespoon per cup of leftover rice, cover it loosely, and then microwave in short bursts. The liquid turns to steam, and that steam rehydrates the rice and gently melts the cheese again. It gets you back to that lovely, soft, creamy consistency without turning the cheese into weird oily pools.
If you’re heating a larger portion, the stovetop works even better. Use a non-stick pan over medium-low heat, add that splash of liquid like I mentioned, cover the pan, and stir every minute or so. Keep the heat low so you’re warming it gently rather than frying the bottom. That gentle heat ensures you bring back that fresh-off-the-burner creaminess every single time.
Frequently Asked Questions About Cheesy Rice
We get a ton of questions about this recipe, which just goes to show how much everyone loves a good, solid comfort food side dish! I’ve compiled a few of the most common ones we hear. Honestly, if you’re making this for kids, you’ll find it’s wonderfully Kid Friendly Cheesy Rice; they usually just ask for less of the garlic!
Can I use brown rice instead of white rice in this cheesy rice?
That’s a great question, and yes, you certainly *can* swap it out! Brown rice is healthier, which is nice, but it is much tougher than the long-grain white rice we call for. If you use brown rice, you need to give it way more time to cook—we’re talking at least 40 to 45 minutes of simmering, maybe even longer, and you might need to add a little extra broth because it drinks up liquid so much more slowly. For this quick stovetop method, white rice is truly king.
How do I make this cheesy rice recipe vegetarian?
This recipe is already vegetarian friendly aside from one ingredient: the broth! We call for chicken broth because it adds a depth of savory flavor that’s hard to skip, but if you’re keeping it strictly vegetarian, the substitution is incredibly easy. Just swap the 2 cups of chicken broth for 2 cups of good quality vegetable broth. It works beautifully and doesn’t change the wonderful melty texture or the cooking time at all. We love that it can easily fit into any diet!
What if my cheesy rice turns out too thick?
Don’t panic if you pull the lid off and it looks more like a cheese brick than a creamy side! This usually happens if you accidentally simmered it a little too long or if your cheese just absorbed all the last bits of liquid faster than expected. Here’s the fix: grab a tiny splash of either milk or plain water—we’re talking one tablespoon at a time. Put the lid back on for just a minute over very low heat, or stir it very gently on the stovetop. That little bit of added liquid will steam into the rice and bring back that perfectly soft, luscious consistency you want. It’s a simple fix that saves the whole batch!
Estimated Nutritional Snapshot for Cheesy Rice
I always believe in total transparency here at Recipes Fleet. Chloe says knowing what’s in your food is just as important as knowing how to cook it, and honestly, she’s right. While I’m usually focused on the *process* of getting the right creamy texture, I’ve pulled together the estimated nutritional information for this cheesy rice for you. Remember, this is based on splitting the recipe exactly into four servings using the ingredients listed. If you add cream cheese or extra butter, those numbers are going to shift!
This snapshot helps you plan your whole meal. It confirms that this is a hearty Comfort Food Rice that packs a good punch of energy!
- Serving Size: 1 cup cooked
- Calories: 380
- Fat: 16g
- Saturated Fat: 9g
- Protein: 14g
- Carbohydrates: 45g
- Fiber: 1g
- Sodium: 650mg (This is why using low-sodium broth is a pro move!)
- Sugar: 2g
- Cholesterol: 35mg
We try to keep things well-rounded in the fleet, even on the side dishes. This breakdown just reiterates why this Easy Cheesy Rice Recipe is so satisfying!
Share Your Cheesy Rice Creations
That’s it, folks! You’ve got the map, you’ve got the ingredients, and now you know the secrets to making the best, creamiest, fastest cheesy rice around. Chloe and I put our hearts into making sure this recipe is totally reliable, but the real fun starts once it hits your kitchen.
We absolutely *love* hearing from you! Did you dress this up with roasted peppers? Did you serve it next to a roast chicken? Don’t be shy—head down to the comments section below and tell me how your voyage went! Your feedback helps us make the fleet even stronger, and honestly, seeing your amazing creations makes our day.
If you snap a picture of your beautiful, melty Comfort Food Rice, please tag us over on social media! We want to see that perfect cheesy pull. And hey, if you thought this recipe was a keeper, please give it a rating up top—it lets other cooks know this ship is worth sailing on. We hope this Quick Stovetop Cheesy Rice joins your regular rotation!
If you’re looking for other side dish inspiration, I found this great recipe for cheesy rice over at The Toasty Kitchen that might also hit the spot when you need something fast!
PrintQuick Stovetop Cheesy Rice with Sharp Cheddar

Make this easy cheesy rice recipe on the stovetop in under 30 minutes. It is a creamy, comforting side dish perfect for weeknights.
- Prep Time: 5 min
- Cook Time: 25 min
- Total Time: 30 min
- Yield: 4 servings
- Category: Side Dish
- Method: Stovetop
- Cuisine: American
- Diet: Vegetarian
Ingredients
- 1 tablespoon unsalted butter
- 2 cloves garlic, minced
- 1 cup long-grain white rice, uncooked
- 2 cups chicken broth
- 1/2 cup whole milk
- 1/2 teaspoon salt
- 1/4 teaspoon black pepper
- 1 cup sharp cheddar cheese, shredded
- 1/4 cup Parmesan cheese, grated
Instructions
- Melt the butter in a medium saucepan over medium heat. Add the minced garlic and cook for 30 seconds until fragrant. Do not let the garlic burn.
- Add the uncooked rice to the saucepan and stir constantly for 1 minute to toast the grains slightly.
- Pour in the chicken broth and milk. Add the salt and pepper. Bring the mixture to a boil.
- Once boiling, reduce the heat to low, cover the saucepan, and simmer for 15 to 18 minutes, or until the liquid is absorbed and the rice is tender. Do not lift the lid during this time.
- Remove the saucepan from the heat. Keep it covered and let it stand for 5 minutes.
- Uncover the rice. Stir in the shredded cheddar cheese and grated Parmesan cheese until the cheese melts completely and the rice becomes creamy.
- Serve your homemade cheesy rice immediately as a side dish for chicken or steak.
Notes
- For extra creaminess, you can stir in 2 tablespoons of cream cheese along with the shredded cheese.
- If you want to add vegetables, stir in 1 cup of frozen broccoli florets during the last 5 minutes of simmering.
- Use freshly shredded cheese for the best melt; pre-shredded cheese often contains anti-caking agents that prevent smooth melting.
Nutrition
- Serving Size: 1 cup cooked
- Calories: 380
- Sugar: 2
- Sodium: 650
- Fat: 16
- Saturated Fat: 9
- Unsaturated Fat: 7
- Trans Fat: 0.5
- Carbohydrates: 45
- Fiber: 1
- Protein: 14
- Cholesterol: 35