

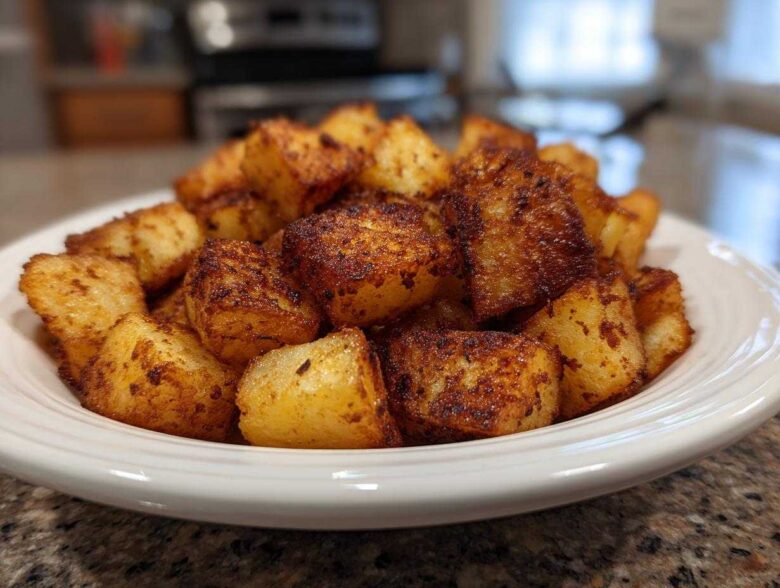
Oh, the tragedy of a soggy potato! There’s nothing worse than digging into what you thought would be crispy, golden perfection, only to find that mushy, undercooked disappointment waiting for you. That’s exactly why I had to create this definitive guide to making the absolute **best breakfast potatoes**. Trust me, Chloe used to think I was crazy obsessing over the precise amount of drying time, but my structured approach finally cracked the code. For more dependable morning eats, check out all our favorites over at our breakfast hub!
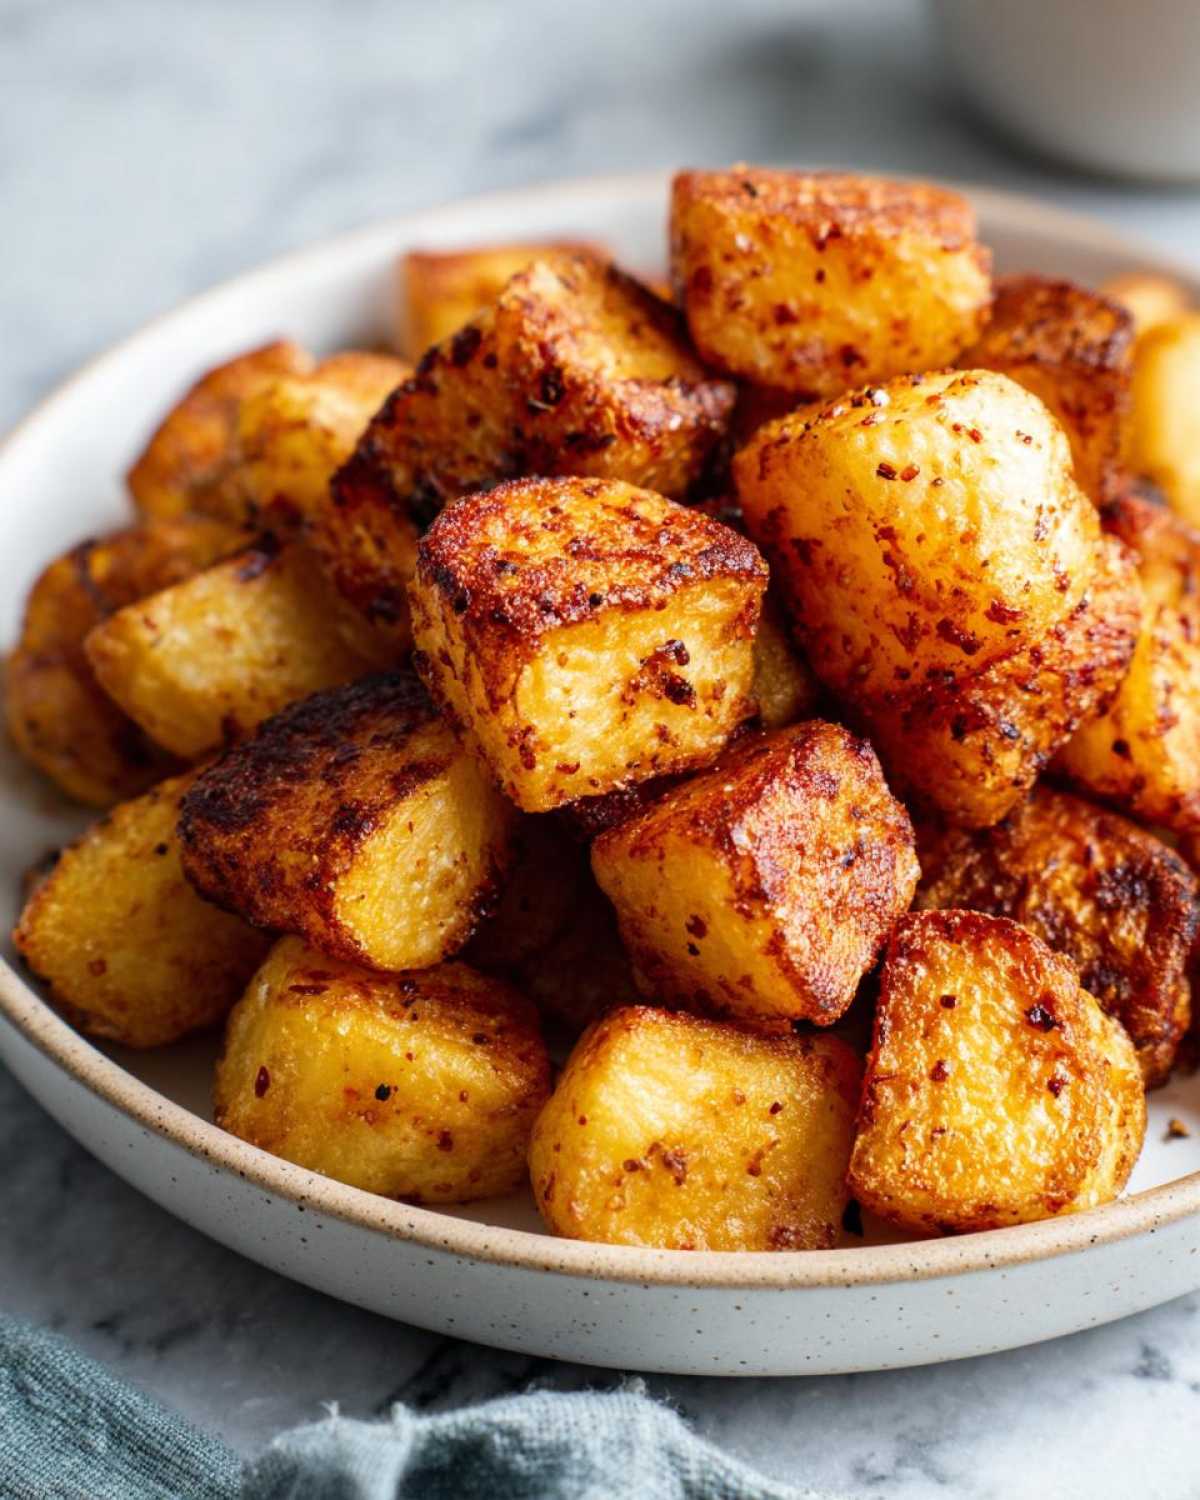
We’re moving past the sad, limp sides, folks. These **breakfast potatoes**—whether you roast them up in the oven or tackle them on the stovetop—are going to be shatteringly crisp on the outside and gloriously fluffy inside. I promise you, once you learn the starch removal trick, you’ll never look back. We’re sharing all the secrets that make these a staple in our kitchen!
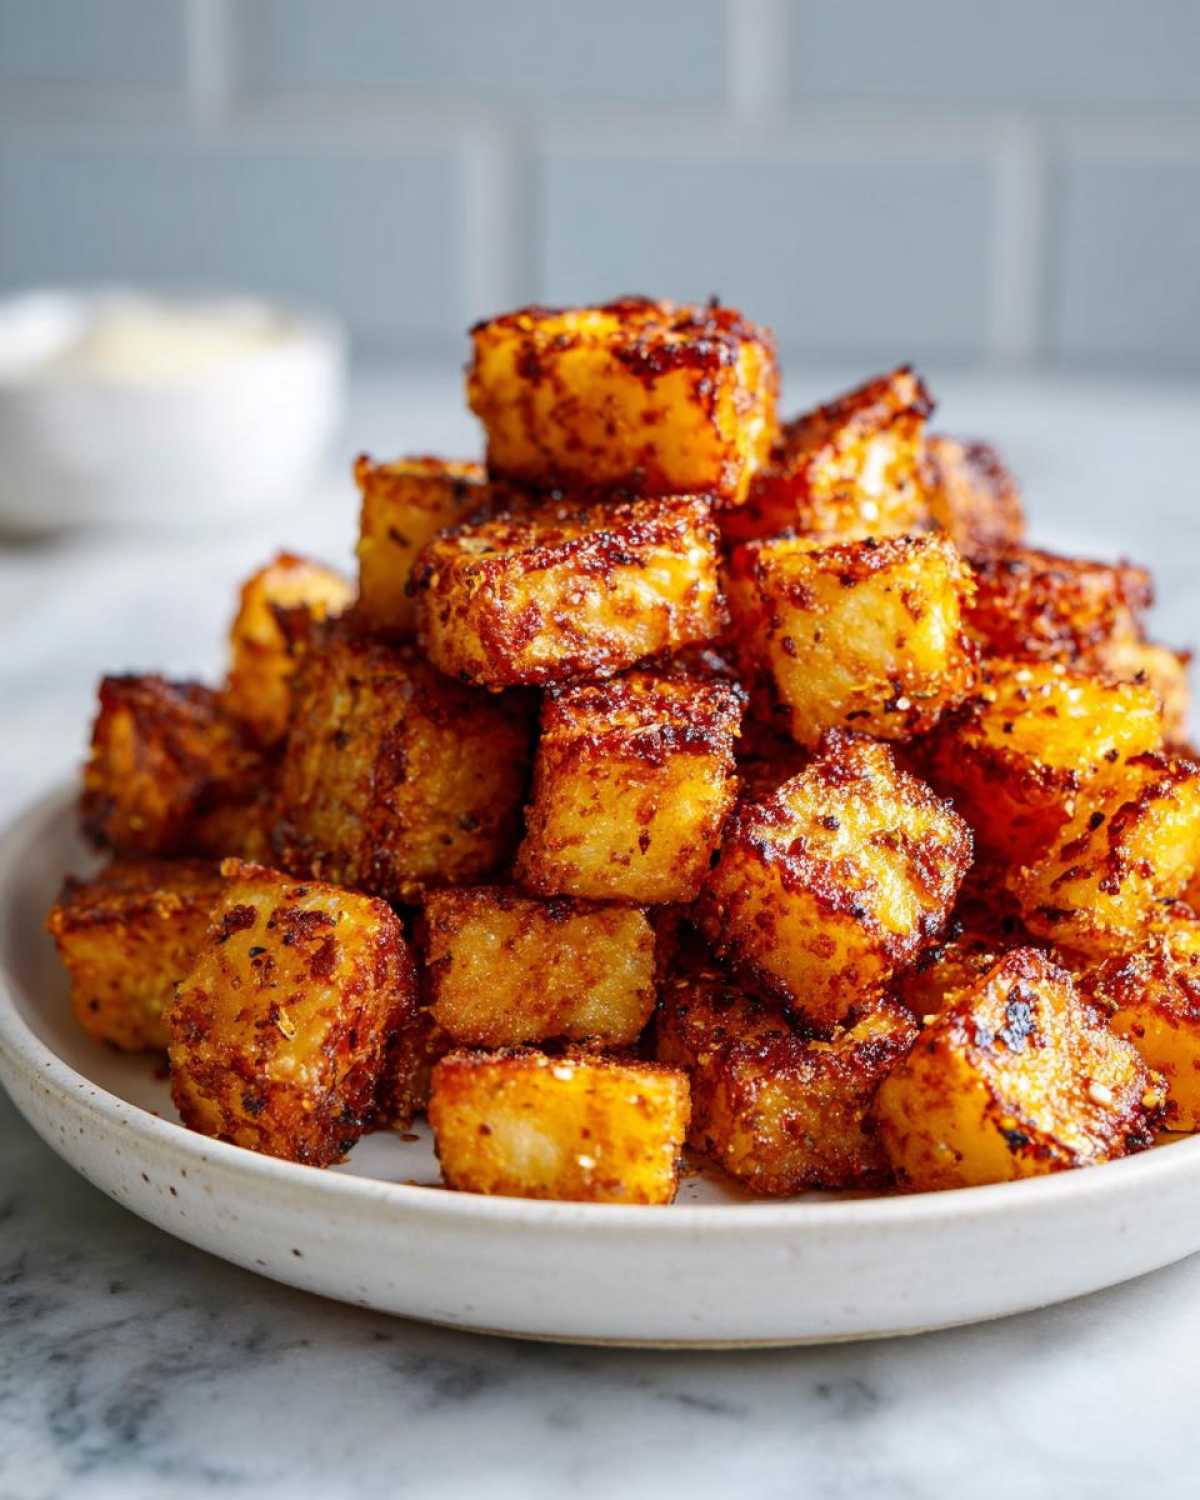
Why You Need This Recipe for Crispy Breakfast Potatoes
Look, I get it. Mornings are hectic. You want something satisfying, something flavorful, but you don’t have hours to babysit a pan. That’s why this recipe is a permanent feature in our fleet! It solves the giant problem everyone has with potatoes: sogginess. Here’s why you need to bookmark this one right now:
- Guaranteed Crispiness: We show you the two non-negotiable steps that result in perfectly crunchy edges every single time. Forget limp potatoes!
- Speed for Busy Days: These are wonderfully easy breakfast potatoes, meaning less time fussing and more time enjoying your coffee.
- Incredible Flavor Base: The seasoning mix is simple but hits all the right notes—smoky, savory, and herbaceous. It’s the perfect foundation for any meal.
- Simple Flexibility: Whether you swear by the oven or prefer the quick action of the skillet, we cover both methods perfectly. If you want to see another great take on this, check out this version for more inspiration!
Gathering Ingredients for Flavorful Morning Potatoes
Okay, time to talk shopping! Even though this is an easy breakfast potatoes recipe, the quality of what you toss in still matters. I’m the guy who insists on writing everything down precisely, and that’s because the structure of the ingredients really sets up the final crispiness. For the best results, you absolutely need a starchy potato. That’s why I always grab Russets—they break down just enough in the soak stage to release the starch, which is our secret weapon for texture later on. We’re keeping the seasoning straightforward but potent!
Essential Ingredients for Perfect Breakfast Potatoes
Here’s what you need lined up before Chloe starts wondering where the cutting board went:
- 2 lbs Russet potatoes, scrubbed and diced into 1/2-inch cubes
- 3 tablespoons avocado oil or other high-heat oil (Don’t skimp here; the oil carries the heat!)
- 1 teaspoon smoked paprika (This gives us that gorgeous color.)
- 1 teaspoon garlic powder
- 1/2 teaspoon onion powder
- 1/2 teaspoon dried rosemary
- 1/2 teaspoon salt, plus more for seasoning when they come out
- 1/4 teaspoon black pepper
- 1 small yellow onion, diced (This is optional, but it adds such sweet depth towards the end.)
The Secret Technique: How to Make Crispy Breakfast Potatoes
Alright, this is where the magic happens, and where I usually get the side-eye from Chloe. Cooking potatoes perfectly is all about starch management, not just heat! If you skip the soaking, you’ll end up with steamed potatoes instead of crunchy ones. We are striving for those beautiful, **golden brown potatoes**, remember? Soaking those diced Russets in cold water for at least 30 minutes sucks out all that excess starch. Chloe always complains, saying, “Ethan, it takes too long!” But I remind her: “Babe, this is the key to getting restaurant-quality crispy **breakfast potatoes**!” For the most thorough guide on achieving that perfect crunch, make sure you check out this deep dive on getting crispy golden perfection.
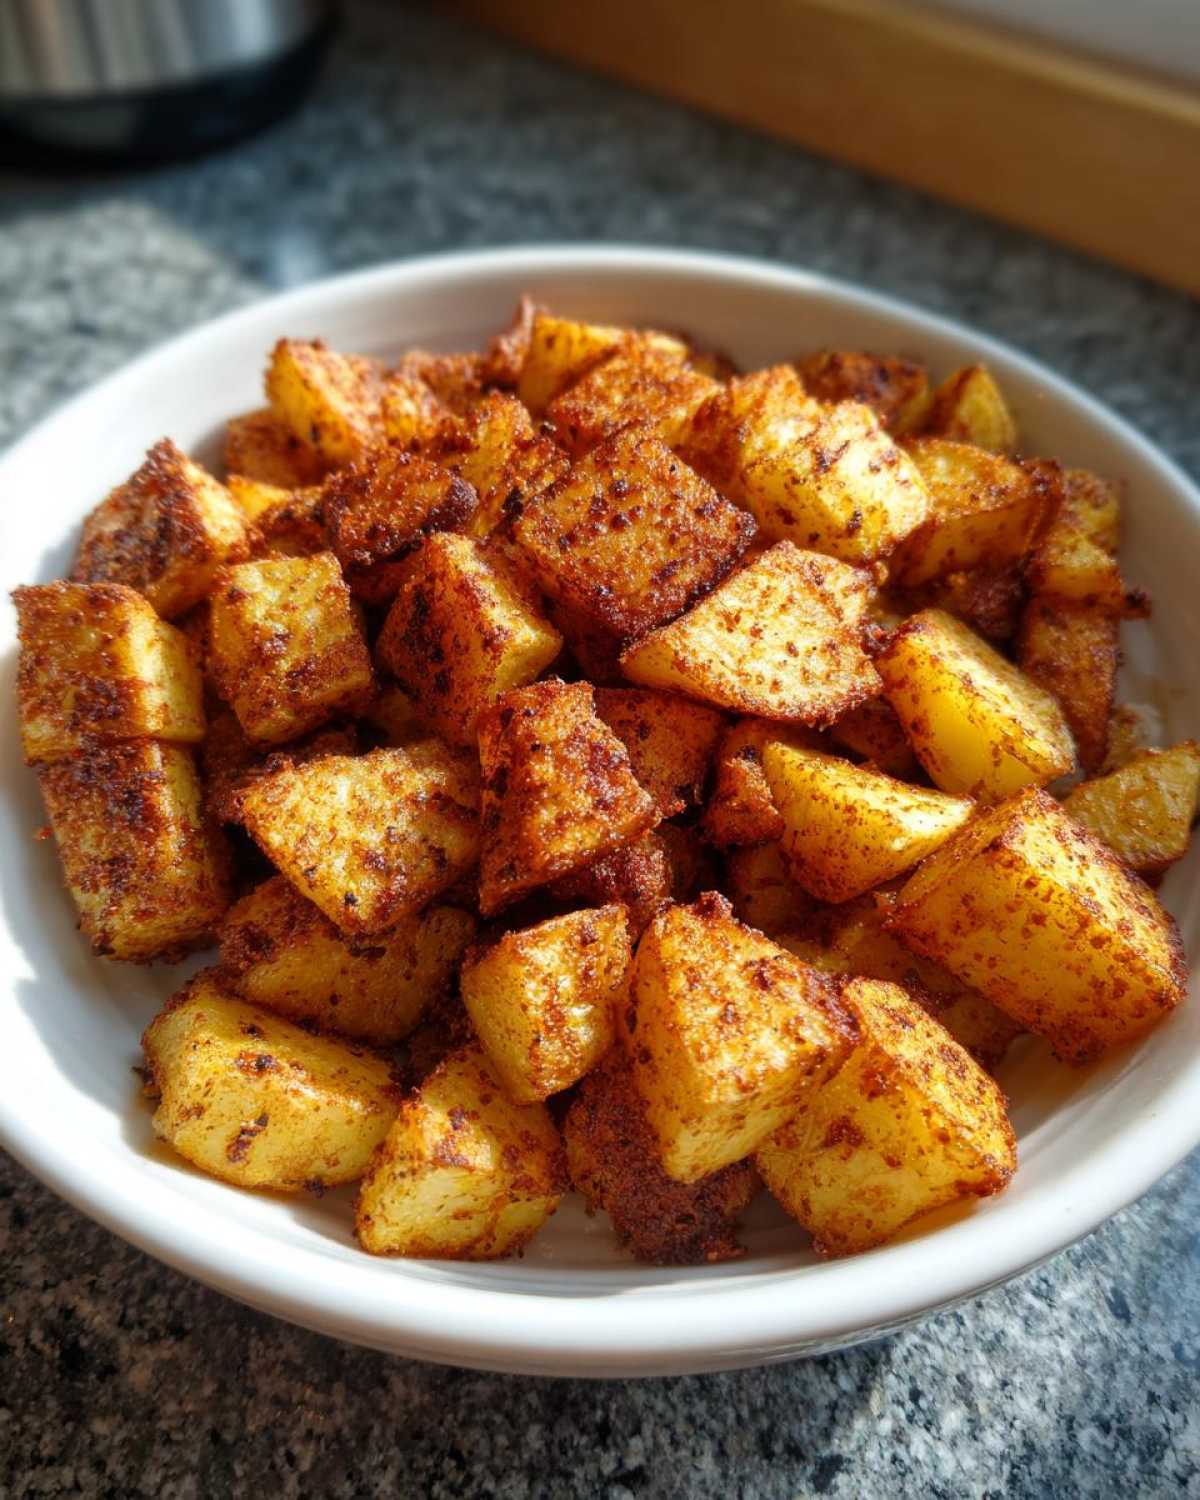
Step 1: Preparation for Golden Brown Potatoes
Once they’ve soaked, you need to treat them like they’re precious jewels—because, for crispiness, they basically are! Drain them out of the water, and then comes the absolute, non-negotiable part: you must dry them completely. I mean bone dry. Spread the cubes out on a clean kitchen towel or a stack of paper towels. Pat them, press them, roll them around until you swear there isn’t a single speck of moisture left. Any wet spot will instantly turn into steam, and steam equals soggy potatoes. Don’t skip this; it defines the whole outcome!
Step 2: Cooking Methods for Your Breakfast Potatoes
Once dry, you get to choose your adventure! If you’re making a big holiday brunch, the oven is your friend for hands-off cooking. For oven roasted potatoes breakfast style, make sure that baking sheet is screaming hot when those seasoned potatoes hit it—425°F is the sweet spot. Spread them out in a single layer; crowding kills the crisp factor!
If you’re aiming for speed, the skillet method is faster. Get that cast iron pan ripping hot with your oil. Tip: Don’t stir them immediately! Let them sit for 5 to 7 minutes. This allows that initial crust to form. After that initial sear, you can reduce the heat and keep tumbling them until they are done. Either way, these **breakfast potatoes** are going to bring the texture you’ve always dreamed of!
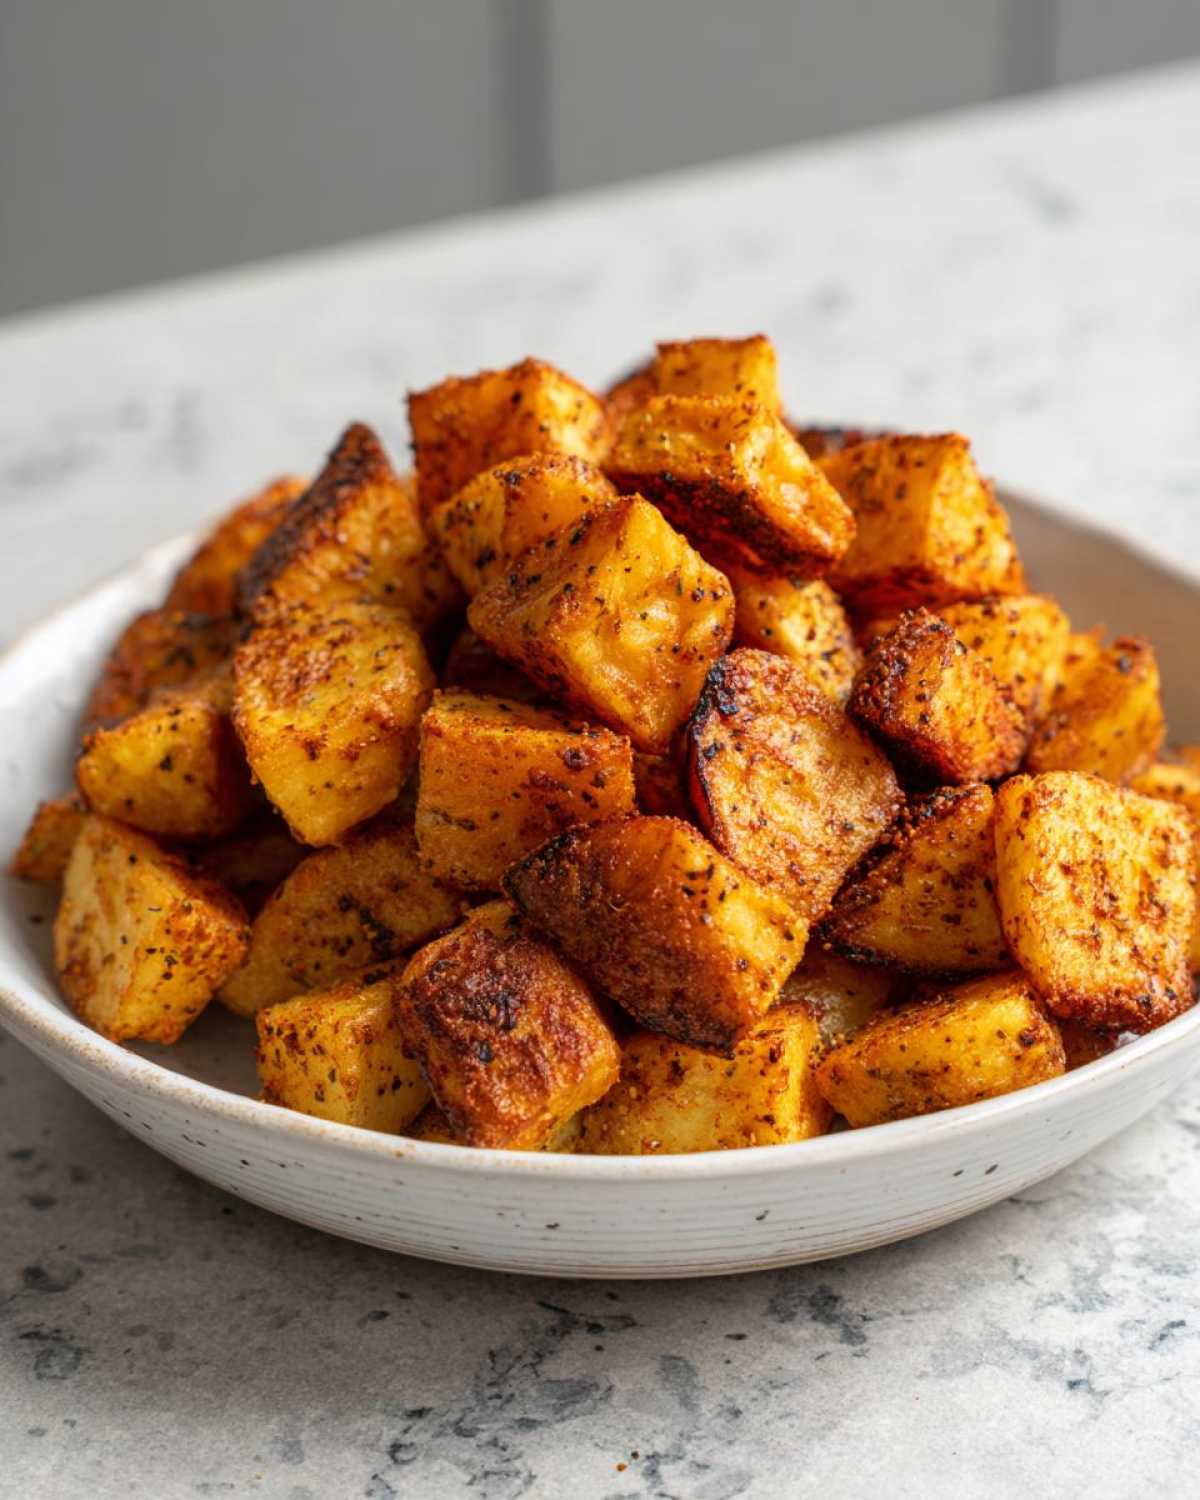
Tips for Success with Homemade Breakfast Potatoes
Since we’ve established the core method for these **homemade breakfast potatoes**, let’s quickly cover a couple of things I learned the hard way—mostly because Chloe likes making things complicated! These are the little things that take your simple dish into ‘must-make-every-weekend’ territory. First off, don’t be afraid to amp up the flavor a tiny bit if you’re feeling bold. I found that swapping the regular pepper for a bit of coarse ground black pepper or tossing in a tiny pinch of cayenne pepper gives these **easy breakfast potatoes** a fantastic little kick without making them spicy for the kids.
Also, remember that high-heat oil we talked about? It’s crucial. I always stick to avocado oil for the roasting because it handles that 425°F blast beautifully. If you’re looking for another great flavor profile, you absolutely have to see these garlic and paprika-heavy roasted breakfast potatoes for inspiration!
My biggest rule when making these is: when in doubt, add more salt *after* they are done cooking. Seasoning at the start helps the flavor penetrate, but the final sprinkle right before serving makes those golden edges really sing on your tongue. They’ll be so good, you won’t believe how simply they came together!
Variations: Making Your Breakfast Potatoes Your Own
So, maybe you’re feeling ambitious for a weekend brunch and want to take our perfectly crispy base recipe and turn it into a full-blown star. That’s the fun part! While I love sticking to the basics, Chloe is always suggesting ways to load these potatoes up. If you want to transition these from a simple side to a main event, you totally can!
For example, if you’re feeling totally decadent, you can fold in about a cup of sharp cheddar cheese during the last five minutes of cooking, whether you use the oven or the skillet method. Just watch them melt until they’re bubbly and browned—heaven! Or, if you’re looking for something heartier, you can easily mix in some cooked breakfast sausage or crispy crumbled bacon right alongside your seasonings.
If you’re feeling *really* creative and want an impressive centerpiece, you can look into the whole twice-baked concept. It’s a bit more work, but the results are incredible, especially if you check out how they do it over at this twice baked recipe. Either way, use that crispiness we worked so hard for as your starting point!
Serving Suggestions for Perfect Breakfast Potatoes
Okay, you’ve got your batch of golden, crispy potatoes—they shouldn’t sit around getting cold! These flavorful morning potatoes are fantastic all on their own, but they really shine when you pair them up. The absolute classic, of course, is serving them right next to some perfectly fried eggs. You can’t go wrong with hearty **potatoes with eggs**!
But don’t stop there! They are amazing with crumbled bacon or sausage, or you can use them as the base for a lazy Saturday brunch. Pile them high with sliced avocado and a drizzle of hot sauce. If you’re looking for something really impressive for a brunch crowd, check out these ideas for dressed-up twice baked potatoes for a savory side dish experience!
Storage and Reheating Instructions for Breakfast Potatoes
Now, this is where my structured planning comes in handy! I love making a big batch of these **homemade breakfast potatoes** on Sunday so they are ready for quick weekday meals. Store your leftovers in an airtight container—don’t seal them while they are still warm; let them cool down first! They hold up really well in the fridge for about four days. That’s great for meal prep!
The key, though, is **reheating**. You can’t just nuke them in the microwave if you want that crispiness back; you’ll just reintroduce steam! The best way to revitalize them is in the oven or, even better, your air fryer for about 5–8 minutes at 375°F. They’ll pop right back to life, ready to serve alongside your eggs. For more tips on making your breakfast routine easier, check out the advice over at Barefeet in the Kitchen!
Frequently Asked Questions About Breakfast Potatoes
You know how it is—after all the cooking, sometimes you just have one quick question left buzzing in your head! We love hearing what you’re wondering about our **easy breakfast potatoes**. Since I’m the detail guy, I put together the answers to the most common things people ask me when they are trying to master this side dish. Don’t forget to check out the tips over at Berry Chefy for more brilliant ideas on making morning dishes quick!
What is the best type of potato for crispy breakfast potatoes?
This is an easy one, and it all comes down to starch, just like we talked about! You absolutely want a high-starch potato if your goal is getting those magnificent **crispy breakfast potatoes**. That means Russets—the classic baking potato—are my number one pick because they break down perfectly when we soak them. Yukon Golds are a really close second if you want a slightly smoother interior with the crispy outside. Avoid the waxy kinds, like red potatoes; they just turn waxy instead of fluffy inside, and we are aiming for fluffy!
Can I make these breakfast potatoes ahead of time?
Yes, you totally can! That’s why they are such a lifesaver for weekend brunch crowds. You can cook the potatoes all the way through following either the oven roasted potatoes breakfast method or the skillet method, let them cool completely, and then store them in an airtight container in the fridge for a few days. When you’re ready to serve them the next morning, do not use the microwave! Instead, spread them back out on a baking sheet and pop them into a hot oven (about 400°F) for about 10 minutes until they heat through and that beautiful exterior crisps up again. It’s honestly like making them fresh!
Sharing Your Delicious Breakfast Potatoes
Alright, crew, that’s the whole journey! We’ve navigated the soaking, the drying, the high heat, and now you have a pile of the absolute best **breakfast potatoes** you’ve ever made. I really hope you’re looking at a baking sheet full of golden goodness right now!
Honestly, Chloe and I live for seeing what you all do with our recipes. Chloe gets so excited when people try one of our staples. We want to know: Did you go with the **skillet breakfast potatoes** or did you trust my roasting methods? Did you add that optional onion, or maybe you went totally wild and tossed in some smoked Gouda?
Seriously, drop a rating below if these were the crispy potatoes you’ve been dreaming of! And if you tried a flavor variation we haven’t thought of yet—maybe you added sage or went heavy on the paprika—please share it in the comments. That’s how we grow our fleet! You can see what others have made with this staple at Good Eats Home for some more ideas. Happy cooking, and I can’t wait to hear about your perfect batch!
PrintThe Ultimate Guide to Perfectly Crispy Breakfast Potatoes Every Time

You deserve breakfast potatoes that are perfectly golden and crispy on the outside while remaining tender inside. This recipe shows you the simple secrets to achieving this texture, whether you use the oven or a skillet. These flavorful morning potatoes are the best side dish for your weekend brunch or quick weekday meal.
- Prep Time: 10 min
- Cook Time: 35 min
- Total Time: 45 min
- Yield: 4 servings
- Category: Side Dish
- Method: Oven Roasting/Skillet
- Cuisine: American
- Diet: Gluten Free
Ingredients
- 2 lbs Russet potatoes, scrubbed and diced into 1/2-inch cubes
- 3 tablespoons avocado oil or other high-heat oil
- 1 teaspoon smoked paprika
- 1 teaspoon garlic powder
- 1/2 teaspoon onion powder
- 1/2 teaspoon dried rosemary
- 1/2 teaspoon salt, plus more for seasoning
- 1/4 teaspoon black pepper
- 1 small yellow onion, diced (optional)
Instructions
- If you want the crispiest breakfast potatoes, soak the diced potatoes in cold water for at least 30 minutes. This removes excess starch.
- Drain the potatoes completely. This step is crucial: spread them on a clean kitchen towel or paper towels and pat them completely dry. Any moisture prevents crisping.
- Preheat your oven to 425°F (220°C) for oven roasting, or heat a large, heavy-bottomed skillet (cast iron works best) over medium-high heat for the skillet method.
- If using the oven: Toss the dry potatoes with the avocado oil, paprika, garlic powder, onion powder, rosemary, salt, and pepper until evenly coated. Spread them in a single layer on a baking sheet. Roast for 30–35 minutes, flipping halfway through, until golden brown and crisp.
- If using the skillet: Add the oil to the hot skillet. Once shimmering, add the potatoes in a single layer (work in batches if necessary to avoid crowding). Cook for 5–7 minutes without stirring to allow a crust to form.
- Reduce the heat to medium. Continue cooking, stirring occasionally, for another 15–20 minutes until the potatoes are tender inside and golden brown outside.
- If using onion, add the diced onion during the last 10 minutes of cooking time and cook until softened.
- Taste and add more salt if needed. Serve your golden brown potatoes immediately with eggs or your favorite breakfast items.
Notes
- For extra flavor, add 1 teaspoon of coarse ground black pepper or a pinch of cayenne pepper to the seasoning mix.
- If you are meal prepping, store cooled potatoes in an airtight container in the refrigerator for up to 4 days. Reheat in an oven or air fryer to restore crispness.
- Do not skip drying the potatoes after soaking; this is the secret to making crispy breakfast potatoes that are not soggy.
Nutrition
- Serving Size: 1 serving
- Calories: 280
- Sugar: 1
- Sodium: 350
- Fat: 12
- Saturated Fat: 1.5
- Unsaturated Fat: 10.5
- Trans Fat: 0
- Carbohydrates: 40
- Fiber: 4
- Protein: 4
- Cholesterol: 0