

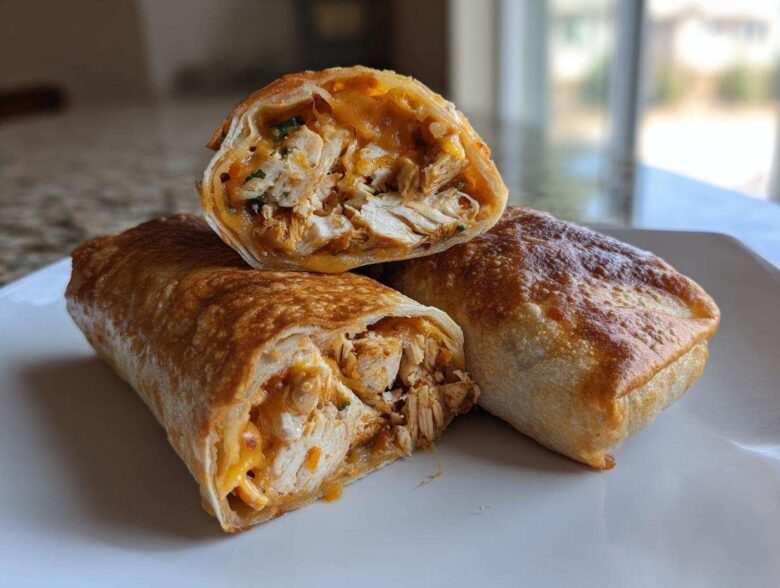
Oh, you know those nights, right? You’re craving that super savory, utterly crunchy comfort food, but the thought of dealing with a giant pot of bubbling oil makes you want to just order pizza instead. Well, don’t you dare! I’ve finally perfected my method for making amazing, crispy, cheesy Chimichangas without ever having to deep-fry them. Seriously, we’re talking golden-brown perfection straight from the oven. This Crispy Baked Chicken and Cheese Chimichanga recipe is my go-to for conquering those crazy weeknight Tex-Mex cravings. They come together so fast, and honestly, I think they taste even better because they aren’t greasy. It’s my little secret for mastering easy dinner recipes!
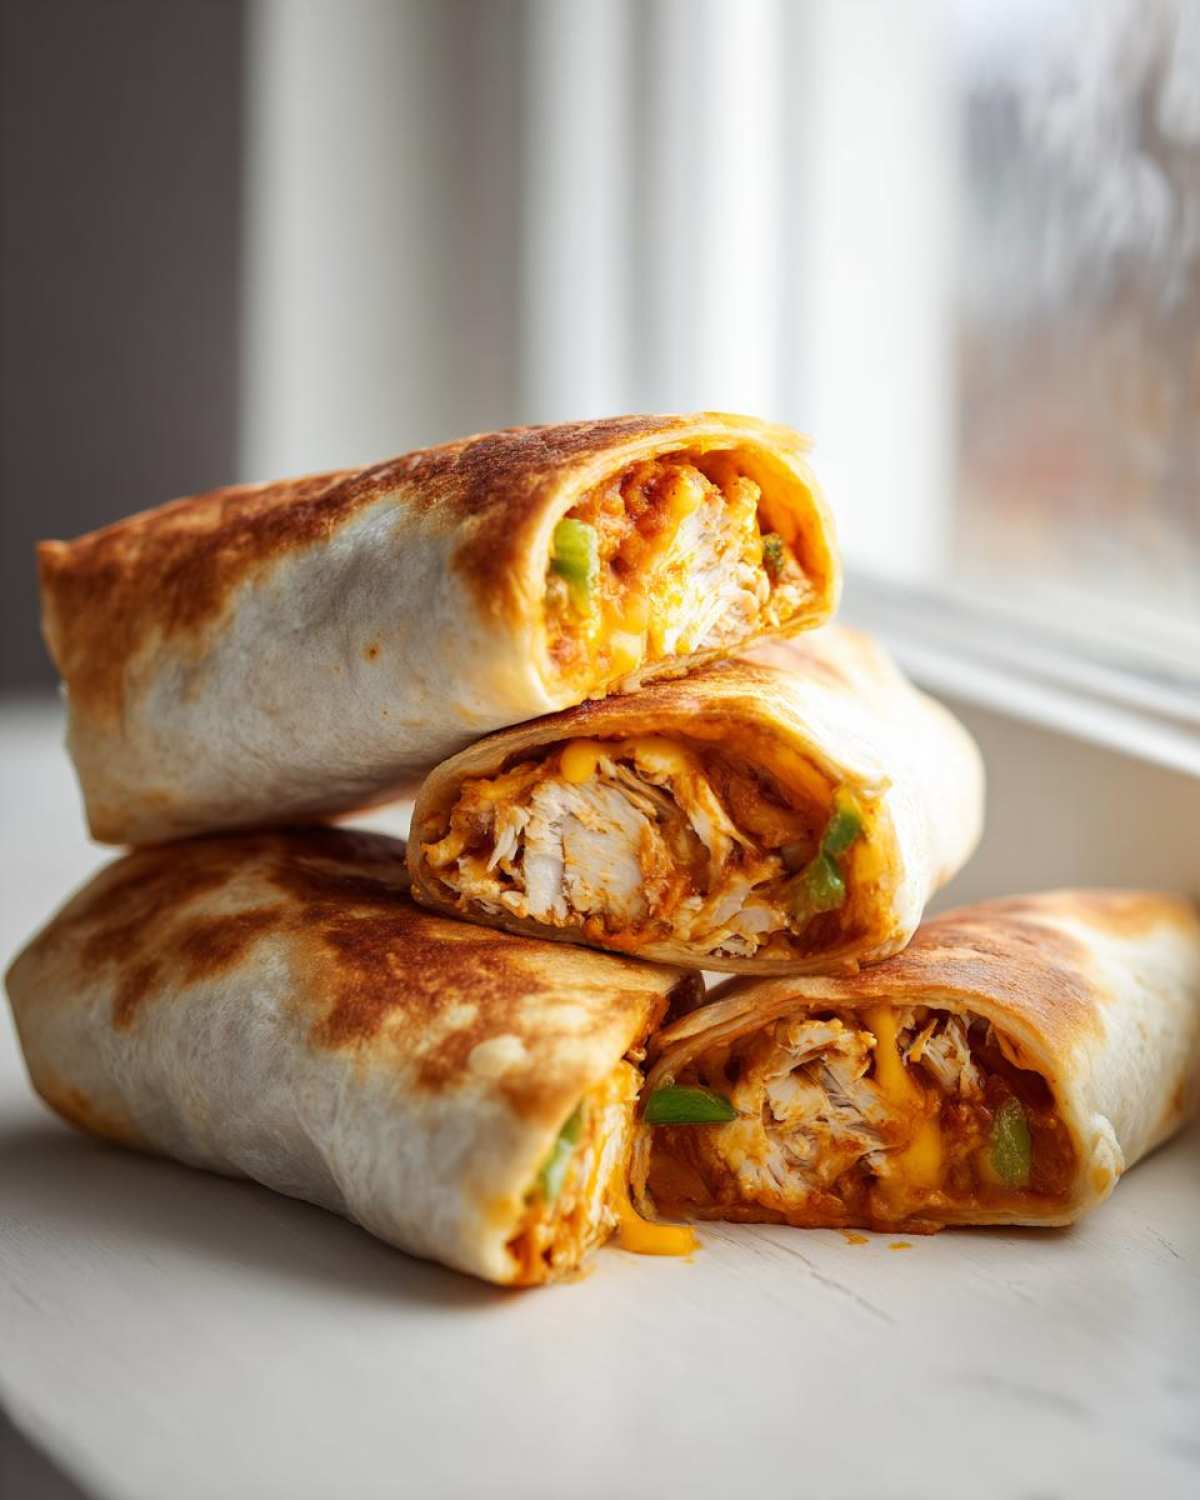
Why This Baked Chicken Chimichanga Recipe Works So Well
I know, I know, the word ‘baked’ next to ‘Chimichangas’ sounds wrong because traditionally, these are deep-fried pockets of joy. But trust me on this one! Baking eliminates the messy oil splatter while still giving you that satisfying crunch. It’s hands-down the best way to make a Quick Tex Mex Meal when you’re short on time. This truly is a Healthy Chimichanga Recipe upgrade without sacrificing flavor or texture.
- It requires almost no monitoring once it’s in the oven.
- We skip about 80% of the fat you get from traditional frying.
- The cooking spray gives you a beautiful, even golden color.
Speed and Simplicity for Weeknight Dinner Ideas
My favorite thing about this process is the total time commitment. We are looking at about 15 minutes of prep work, and then it’s 18 minutes in the oven. That means you can have fully assembled, totally comforting meals on the table in just over half an hour! These have become one of my absolute favorite Weeknight Dinner Ideas because they satisfy that craving fast. You absolutely will not believe how simple this is.
Essential Ingredients for Perfect Baked Chimichangas
Okay, for these shredded chicken dinner variations, ingredient quality really matters, even though it cooks up so fast. I’ve listed out exactly what you need below, but don’t skip reading the notes afterward—that’s where the real wisdom is hidden on making these sing!
- 1 tablespoon olive oil
- 1 pound cooked, shredded chicken breast
- 1 cup salsa verde
- 1 teaspoon cumin
- 1/2 teaspoon chili powder
- 8 large flour tortillas
- 1 1/2 cups shredded Monterey Jack cheese
- Cooking spray
Ingredient Notes and Substitutions for Your Chimichangas
The chicken is your base, and if you’re aiming for speed, grabbing a rotisserie chicken from the store is totally acceptable expertise! Just make sure you shred it finely. If you don’t have Monterey Jack, feel free to mix it! Colby Jack melts beautifully, or a little sharp cheddar adds a nice tang that works wonders in these Cheesy Chimichangas. The salsa verde is important—it binds everything without making the mixture too liquidy, which would lead to soggy wrapping later on. Don’t substitute it with a chunky tomato salsa unless you want an entirely different dish!
Step-by-Step Instructions for Crispy Oven Baked Chimichangas
Now for the fun part—putting these beautiful, crispy oven baked Mexican food pockets together! The key here is speed and ensuring your tortillas are warm enough to fold without cracking. I always start by getting the oven preheated to 400 degrees Fahrenheit right away, and I grab my baking sheet so I can move quickly once the filling is ready. We want everything sealed up tight before it hits the heat!
First, mix up that delicious filling! Toss your shredded chicken with the salsa verde, cumin, and chili powder until every piece is coated. It shouldn’t be swimming in liquid, just nicely seasoned. Next, warm those eight flour tortillas—I microwave mine for about 15 seconds total, just until they feel soft and stretchy. Now for the rolling, which trips people up sometimes!
Lay a tortilla flat. Put a scoop of the chicken mixture (about a quarter cup) down in the center, leaving space on the sides. Sprinkle that cheese right over the top. You fold the two sides in first, like closing an envelope. Then, roll it up tightly from the bottom edge, just like you’re rolling a burrito. Make sure the final seam is on the bottom so it seals itself when you place it seam-side down on your greased sheet.
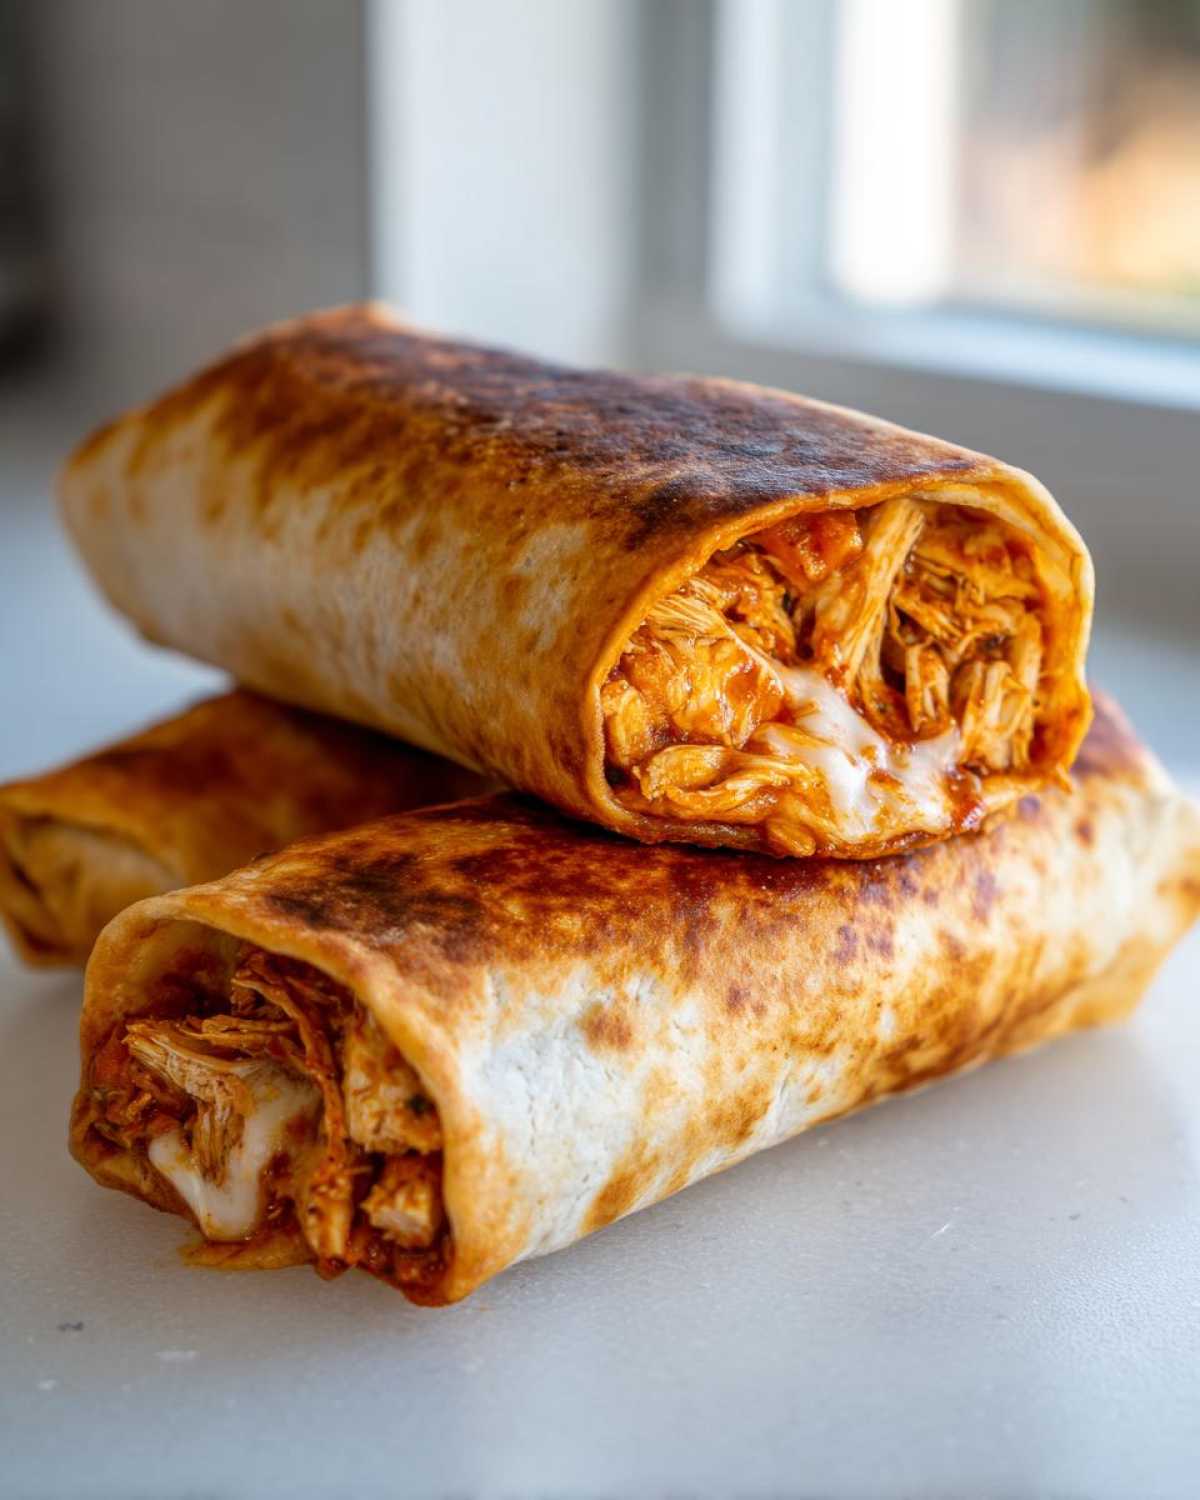
Repeat that until all your Chimichangas are lined up. This is where the magic happens: grab that cooking spray and give the top of every single roll a really generous coating. That spray is what turns into that gorgeous, crunchy shell when baked. Bake them for 15 to 18 minutes, but seriously, flip them halfway through. Watching them turn golden is the best part of making Chimichangas this way!
Tips for Achieving Maximum Crunch on Your Chimichangas
To get that signature crispiness without frying, you need to treat the outside of the tortilla right before it goes into the high heat. That cooking spray I mentioned? Don’t skimp! It creates the perfect barrier.
Also, placement matters. Make sure you give them a little bit of space on that baking sheet. If they are touching, the steam gets trapped, and you end up with soft spots instead of that glorious crunch we’re aiming for. If you want to go the extra mile, melt a tablespoon of butter and lightly brush it over the tops right before the first bake. Butter equals supreme crispiness, hands down!
Making Ahead and Storing Your Homemade Chimichangas
One of the best parts about making these is knowing they are truly excellent for planning ahead! If you need some quick Freezer Friendly Meals on deck for those super busy days, these baked Chimichangas are champions.
You should assemble them completely—filling, folding, sealing—just as the directions say. Once they are all rolled up and sitting seam-side down on a baking sheet, stick the entire sheet into the freezer for about an hour until they are firm. This prevents them from sticking together. Once they are firm little logs, take them off the sheet and wrap each one individually in plastic wrap. Toss them into a freezer bag or container. They are fantastic as Make Ahead Dinners!
When you are ready to eat them straight from the freezer, you absolutely must add extra time to the baking. Don’t try to thaw them first, that ruins the crispiness attempt! If baking from frozen, add about 5 to 10 minutes to the total cook time. Keep an eye on them; you want them piping hot all the way through and wonderfully golden on the outside. They still cook up great, I promise!
If you made too many and just want to store the leftovers in the fridge, that’s easy too. They will last about three days. When reheating leftovers, skip the microwave if you can! That makes them chewy. Pop them on a baking sheet at 350 degrees for about 8 to 10 minutes. That blast of dry heat brings back most of that original baked crunch on your leftover Chimichangas.
Serving Suggestions for Your Chicken Chimichanga Night
Okay, no Mexican Food Night is complete without a serious spread of toppings! Think of the toppings as the jewelry for your crispy, savory pocket. Since we kept the filling pretty straightforward with chicken and cheese, you have a ton of room to go wild with fresh, cooling flavors to balance that savory goodness.
My must-haves? A giant dollop of cold sour cream right on top—it’s the perfect contrast to the hot, crispy shell. Then, you need some fresh pico de gallo or even just some diced fresh tomatoes and cilantro for brightness. We always make a slightly spicy, bright green guacamole for dipping because, well, chips and guac are life!
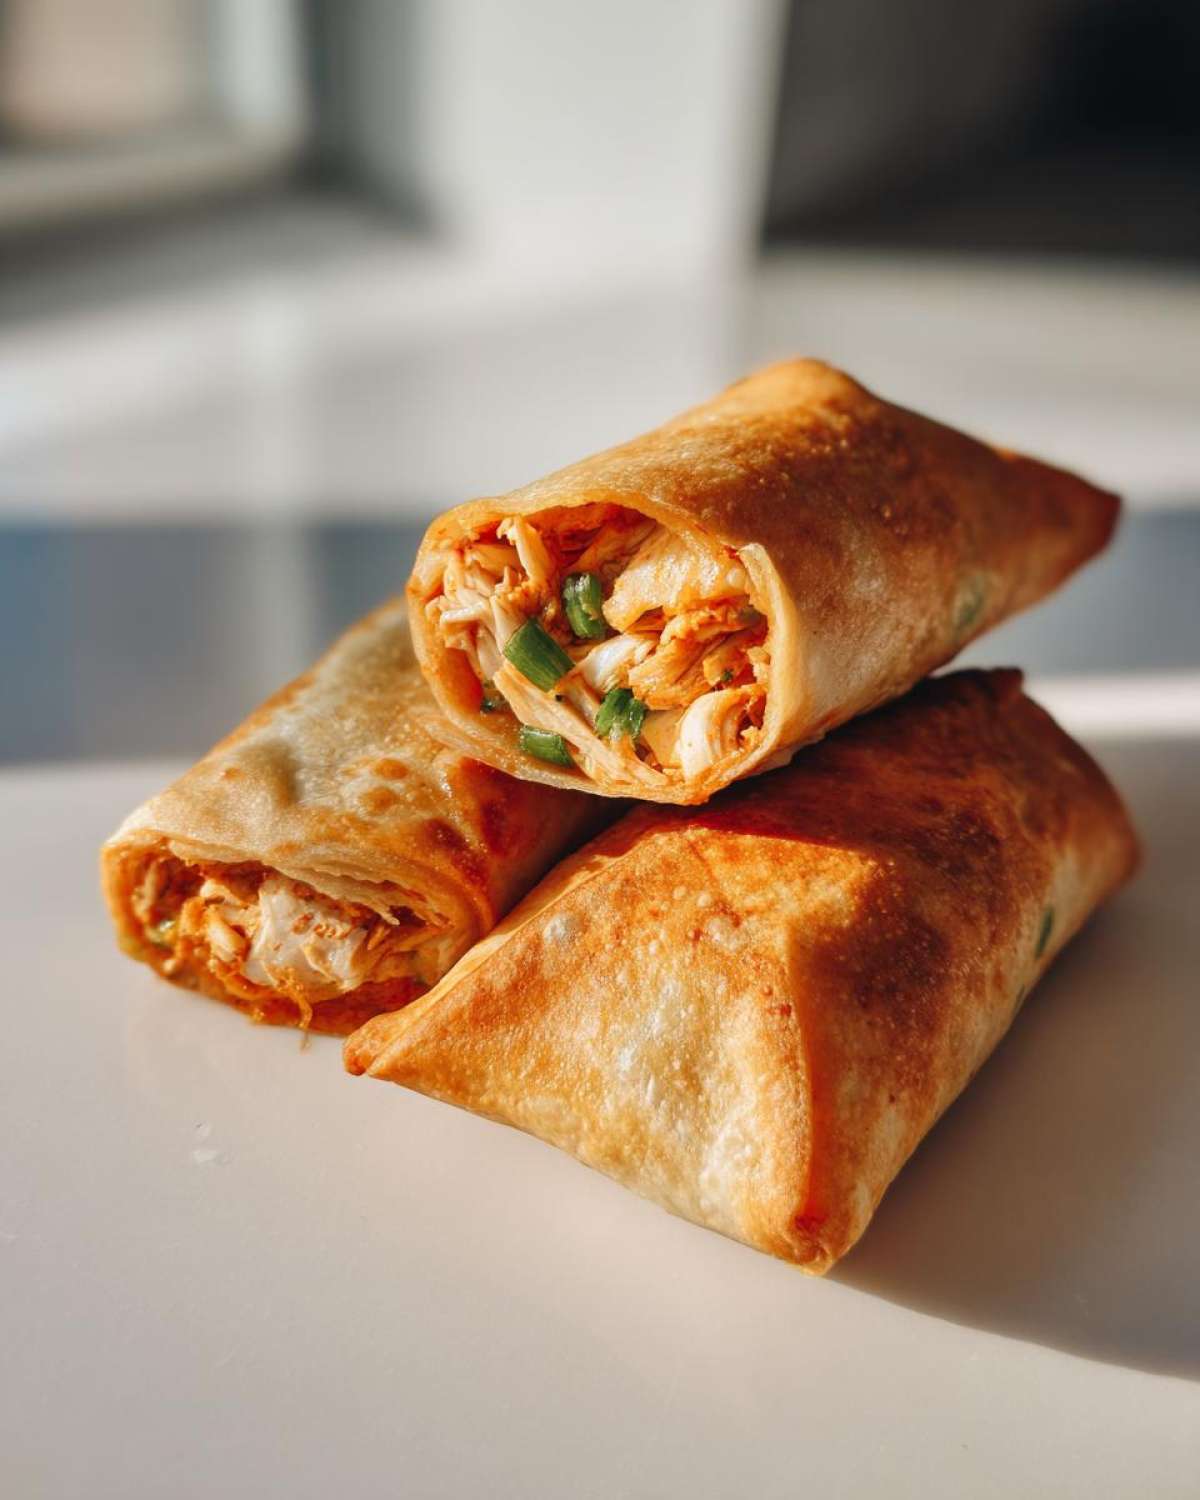
For an extra kick, I love having a little bowl of my favorite homemade salsa verde on the side for drizzling. If you’re feeling extra generous, throw some shredded lettuce, black olives, and maybe even a few pickled jalapeños on the plates. It turns a simple weeknight meal into a full-blown fiesta, and nobody feels heavy afterward because we skipped the deep fryer!
Troubleshooting Common Issues When Making Chimichangas
Even though this baked method is super forgiving, sometimes things go a little sideways, right? It happens in every kitchen, including mine! When you’re trying to get that perfect, sealed crunch on your Crispy Burritos, a couple of things can throw you off. But don’t sweat it! Since we aren’t deep frying, the cleanup is easy, and we can fix most issues with a quick adjustment before they go in the oven.
Let’s talk about leakage first. If your filling is oozing out while you’re rolling, it’s almost always one of two things. One: you used too much filling! Stick to that 1/4 cup measure. Two: your liquid content is too high. That salsa verde needs to bind the chicken, not make it soupy. If your mix feels wet, add another tablespoon of shredded cheese to absorb the extra moisture before rolling your Chimichangas.
Now, what if those tortillas are cracking when you roll them? This is 100% about temperature. If your tortillas are cold or straight from the package, they’ll tear like tissue paper when you try to fold them. You absolutely must warm them up, even if it’s just for 10 seconds in the microwave or over a very low burner for a moment. That pliability is your best defense against leakage and tearing when making these baked Chimichangas.
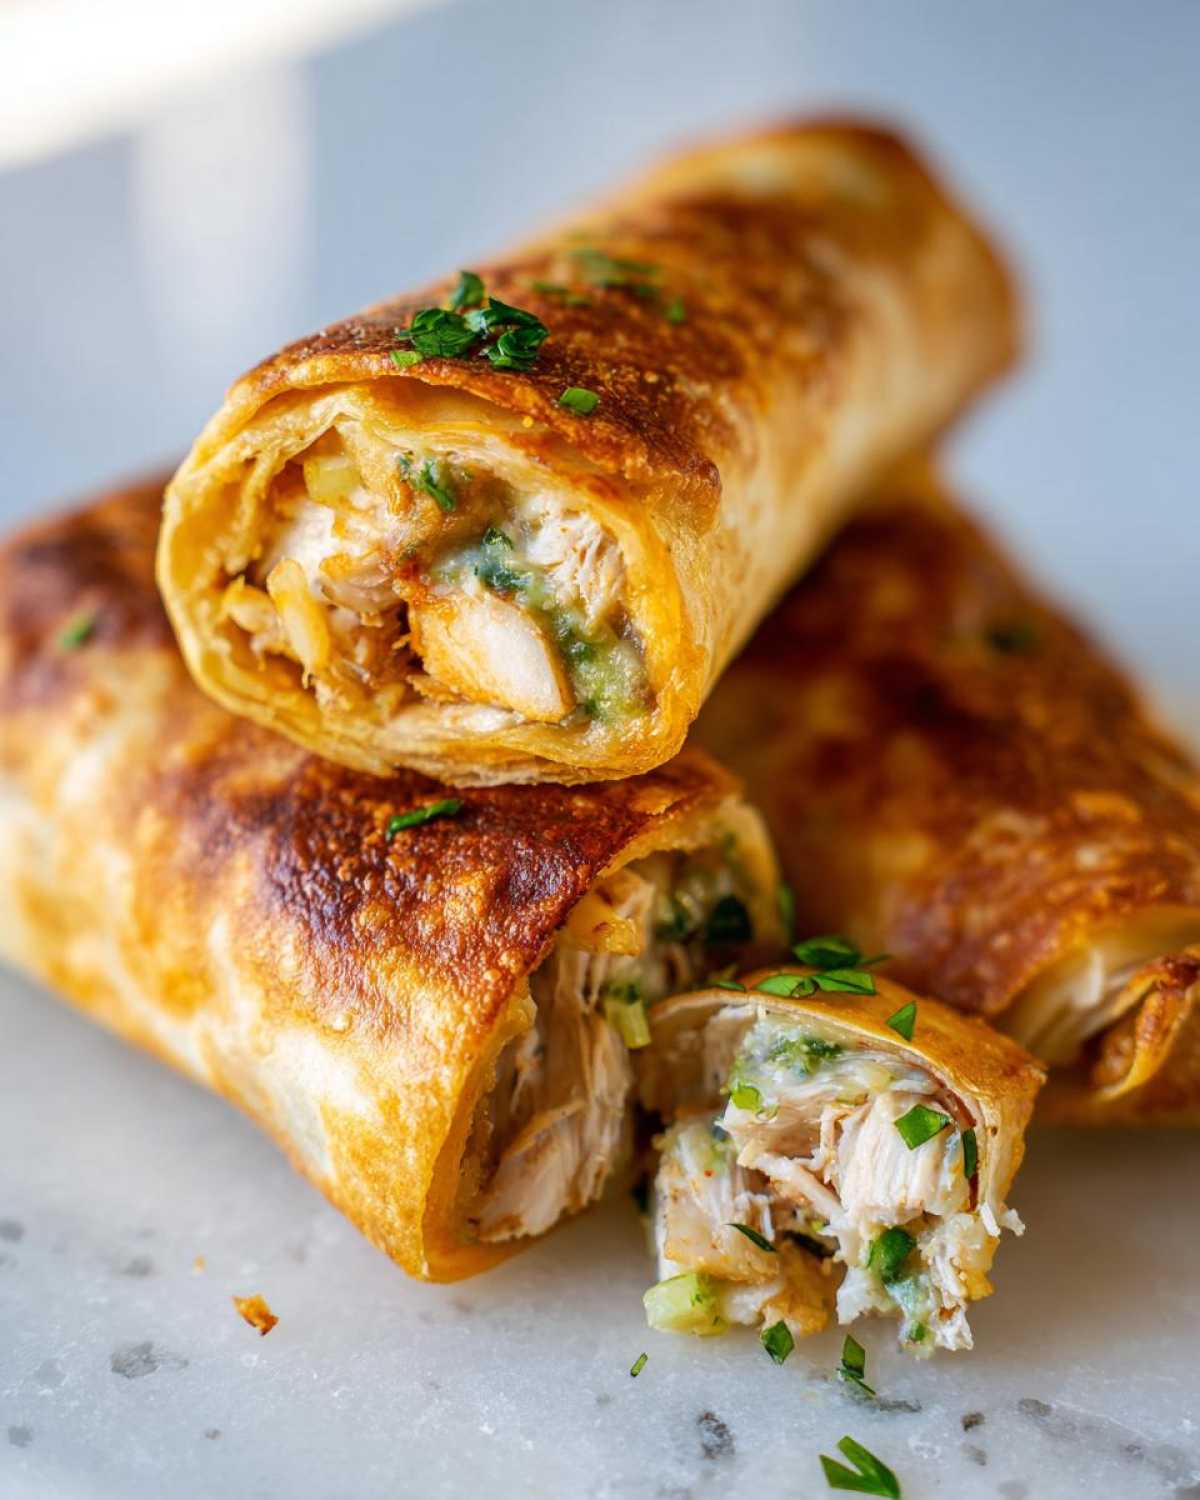
Finally, the biggest worry for baked versions: not getting that beautiful crisp. If you pull them out and they look pale or soft, they probably didn’t get enough fat coating or enough heat circulation. Next time, ensure you spray the tops generously with cooking spray, and make sure they aren’t touching each other on the baking sheet. A little space lets the hot air circulate and crisps up the shell perfectly for your next batch of Chimichangas.
Frequently Asked Questions About Baked Chimichangas
I get so many questions every time someone tries these baked Chimichangas! It’s a little different from the deep-fried kind, so folks always want to make sure they are getting the texture right. Here are the most common things I hear people ask when they are trying to nail their first batch of crispy wraps!
How long do I bake these Chimichangas for?
For standard, room-temperature rolled wraps, you’re looking at about 15 to 18 minutes total at 400 degrees Fahrenheit. The trick here, and remember this for perfect results, is that you must flip them halfway through! That ensures both sides get that gorgeous golden color and crunch. If you are baking them straight from frozen, you’ll need closer to 25 minutes, give or take, so keep an eye on them!
Are these lighter than traditional fried Chimichangas?
Oh, absolutely! By switching from deep frying to baking, we drastically reduce the amount of oil absorbed. This recipe uses just a light coating of cooking spray on the outside, making them feel much less heavy and much more appropriate for an Americanized Chimichangas night! They satisfy the craving for a crispy shell without the guilt.
Can I use ground beef instead of chicken in these Chimichangas?
Yes, you totally can! Ground beef is a fantastic substitute, and it makes for a great Ground Beef Recipe variation. If you use ground beef, you’ll want to brown it first, drain off all that fat completely, and then mix in your salsa verde and spices. Make sure you use slightly less salsa verde than you would with shredded chicken, just because ground beef doesn’t soak up liquid quite the same way.
How do these compare to Air Fryer Chimichangas?
That’s a great question since my friends are always asking about their air fryers! Air Fryer Chimichangas often brown up a little faster and can sometimes get *crispier* faster overall because the heat element is so direct. However, the oven method allows you to cook a bigger batch (like the eight specified here) all at once, which is better for feeding a family. The air fryer is better for reheating or small single servings, in my opinion!
What if I want a little more heat in my Chimichangas?
If you want them spicy, you have a few options beyond upping the chili powder! You could dice up a finely minced jalapeño and mix it right in with the chicken filling. Or, even simpler, swap out the salsa verde for your favorite fiery red hot sauce. Just remember, if you add extra liquid, you need to compensate with a bit more cheese to keep that filling nice and tight for rolling!
Estimated Nutrition for These Cheesy Chimichangas
Because we use lean chicken breast and bake them instead of frying, these come out surprisingly reasonable for how comforting they are! Just remember these numbers are estimates based on the specific ingredients I listed—use your own favorite cheese or salsa, and the numbers will shift a little bit, naturally.
- Serving Size: 2 chimichangas
- Calories: 450
- Fat: 18g (with 8g saturated)
- Carbohydrates: 45g
- Protein: 35g
It’s a great balance of protein and satisfying carbs, which is why these make such a perfect cheesy dinner!
Share Your Crispy Chimichangas Creations
I really hope you and your family love these baked Chimichangas as much as we do. They are a staple in my house now, and I love that I can get that authentic, crunchy craving satisfied without turning on the deep fryer—it just makes weeknights so much easier! If you made these, please, please come back and let me know how they turned out for you. Drop a rating below, and tell me what toppings you served them with!
Seeing your photos of these golden, crispy Chimichangas makes my day. Don’t be shy—tag me when you share them online! Happy cooking, and enjoy your healthier, faster Tex-Mex night!
Estimated Nutrition for These Cheesy Chimichangas
Because we use lean chicken breast and bake them instead of frying, these come out surprisingly reasonable for how comforting they are! Just remember these numbers are estimates based on the specific ingredients I listed—use your own favorite cheese or salsa, and the numbers will shift a little bit, naturally.
- Serving Size: 2 chimichangas
- Calories: 450
- Fat: 18g (with 8g saturated)
- Carbohydrates: 45g
- Protein: 35g
It’s a great balance of protein and satisfying carbs, which is why these make such a perfect cheesy dinner!
Share Your Crispy Chimichangas Creations
I really hope you and your family love these baked Chimichangas as much as we do. They are a staple in my house now, and I love that I can get that authentic, crunchy craving satisfied without turning on the deep fryer—it just makes weeknights so much easier!
If you made these, please, please come back and let me know how they turned out for you. Drop a rating below, and tell me what toppings you served them with! Hearing from you about how these Chimichangas worked in your kitchen really helps me keep making my recipes better and better.
Seeing your photos of these golden, crispy Chimichangas makes my day. Don’t be shy—tag me when you share them online! Happy cooking, and enjoy your healthier, faster Tex-Mex night!
PrintCrispy Baked Chicken and Cheese Chimichangas
Make quick, crispy chicken chimichangas in the oven instead of deep frying. This recipe provides an easy, weeknight-friendly Tex-Mex dinner.
- Prep Time: 15 min
- Cook Time: 18 min
- Total Time: 33 min
- Yield: 4 servings
- Category: Dinner
- Method: Baking
- Cuisine: Tex-Mex
- Diet: Low Lactose
Ingredients
- 1 tablespoon olive oil
- 1 pound cooked, shredded chicken breast
- 1 cup salsa verde
- 1 teaspoon cumin
- 1/2 teaspoon chili powder
- 8 large flour tortillas
- 1 1/2 cups shredded Monterey Jack cheese
- Cooking spray
Instructions
- Preheat your oven to 400 degrees Fahrenheit. Lightly grease a baking sheet.
- In a medium bowl, combine the shredded chicken, salsa verde, cumin, and chili powder. Mix until the chicken is evenly coated.
- Warm the tortillas briefly in the microwave to make them pliable.
- Place about 1/4 cup of the chicken mixture onto the center of each tortilla. Top the chicken with about 3 tablespoons of shredded cheese.
- Fold the sides of the tortilla inward over the filling, then roll tightly from the bottom to create a sealed wrap. Place seam-side down on the prepared baking sheet.
- Repeat with the remaining tortillas and filling.
- Spray the tops of the rolled chimichangas generously with cooking spray.
- Bake for 15 to 18 minutes, flipping halfway through, until the tortillas are golden brown and crispy.
Notes
- You can use leftover rotisserie chicken for faster preparation.
- For extra crispiness, you can brush the tops with melted butter before baking.
- These freeze well; assemble them completely, wrap individually in plastic wrap, and freeze. Bake from frozen, adding 5-10 minutes to the cook time.
Nutrition
- Serving Size: 2 chimichangas
- Calories: 450
- Sugar: 4
- Sodium: 650
- Fat: 18
- Saturated Fat: 8
- Unsaturated Fat: 10
- Trans Fat: 0
- Carbohydrates: 45
- Fiber: 3
- Protein: 35
- Cholesterol: 95