

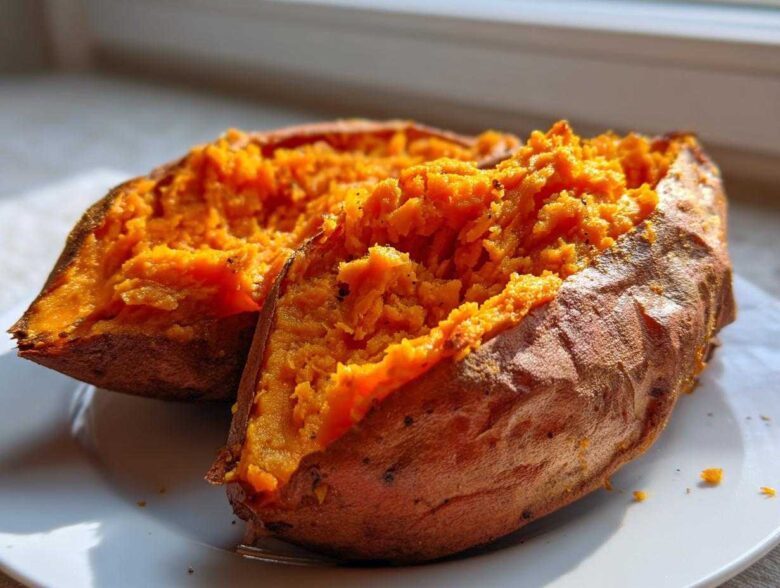
You know, when Ethan and I first started cooking together, I swear I could mess up toast. But the one thing that surprisingly brought us to a truce—my chaos meeting his clipboard—was this ridiculously simple method for a baked sweet potato. Seriously, this is the easiest, absolutely no-fuss way to get that beautiful, creamy, fluffy interior every single time. Forget fussy recipes; this technique is foolproof. Ethan almost choked when I told him we didn’t even need aluminum foil for the best results, but trust me, this is the technique we landed on that makes the skin perfectly caramelized. Check out our story on how we merged our cooking styles over on our ‘About Us’ page!
Why This Method Guarantees the Best Baked Sweet Potato
I know there are a million ways to wrap these beauties up, but if you skip these two non-negotiable steps, you’re missing out on the absolute best texture. I’m talking about a skin so good you could eat it, and an inside that melts in your mouth. Seriously, mastering the baked sweet potato is easier than you think because it relies on simplicity, not complication. We tested foil versus no foil about a hundred times standing right next to the oven!
We share lots of our little kitchen discoveries over on the Recipes Fleet blog, which is full of things we learned the hard way!
The Secret to a Fluffy Baked Sweet Potato Interior
You have to prick them. Don’t skip this. Think about it: all that natural moisture inside turns into steam when it heats up, right? If that steam can’t escape, bad things happen—usually a potato explosion, which makes a huge mess! We prick ours deep, using a fork on all sides. This gives the steam little escape routes. It’s not about being gentle; you need about five or six good, solid pokes all around the potato. This simple action is the key to that wonderfully light and airy texture we love.
Achieving Crispy Skin on Your Baked Sweet Potato
This is where Ethan always looks at me like I’m crazy, but trust me on the skin! You must pat them totally dry after washing them. Moisture equals steam, steam equals soft skin. We want crispy! Also, ditch the foil. Wrapping the baked sweet potato in foil traps the moisture and basically steams the skin, making it rubbery. By placing them right on the rack, the dry heat hits the oil and salt coating directly, caramelizing it perfectly.
Gathering Your Ingredients for the Perfect Baked Sweet Potato
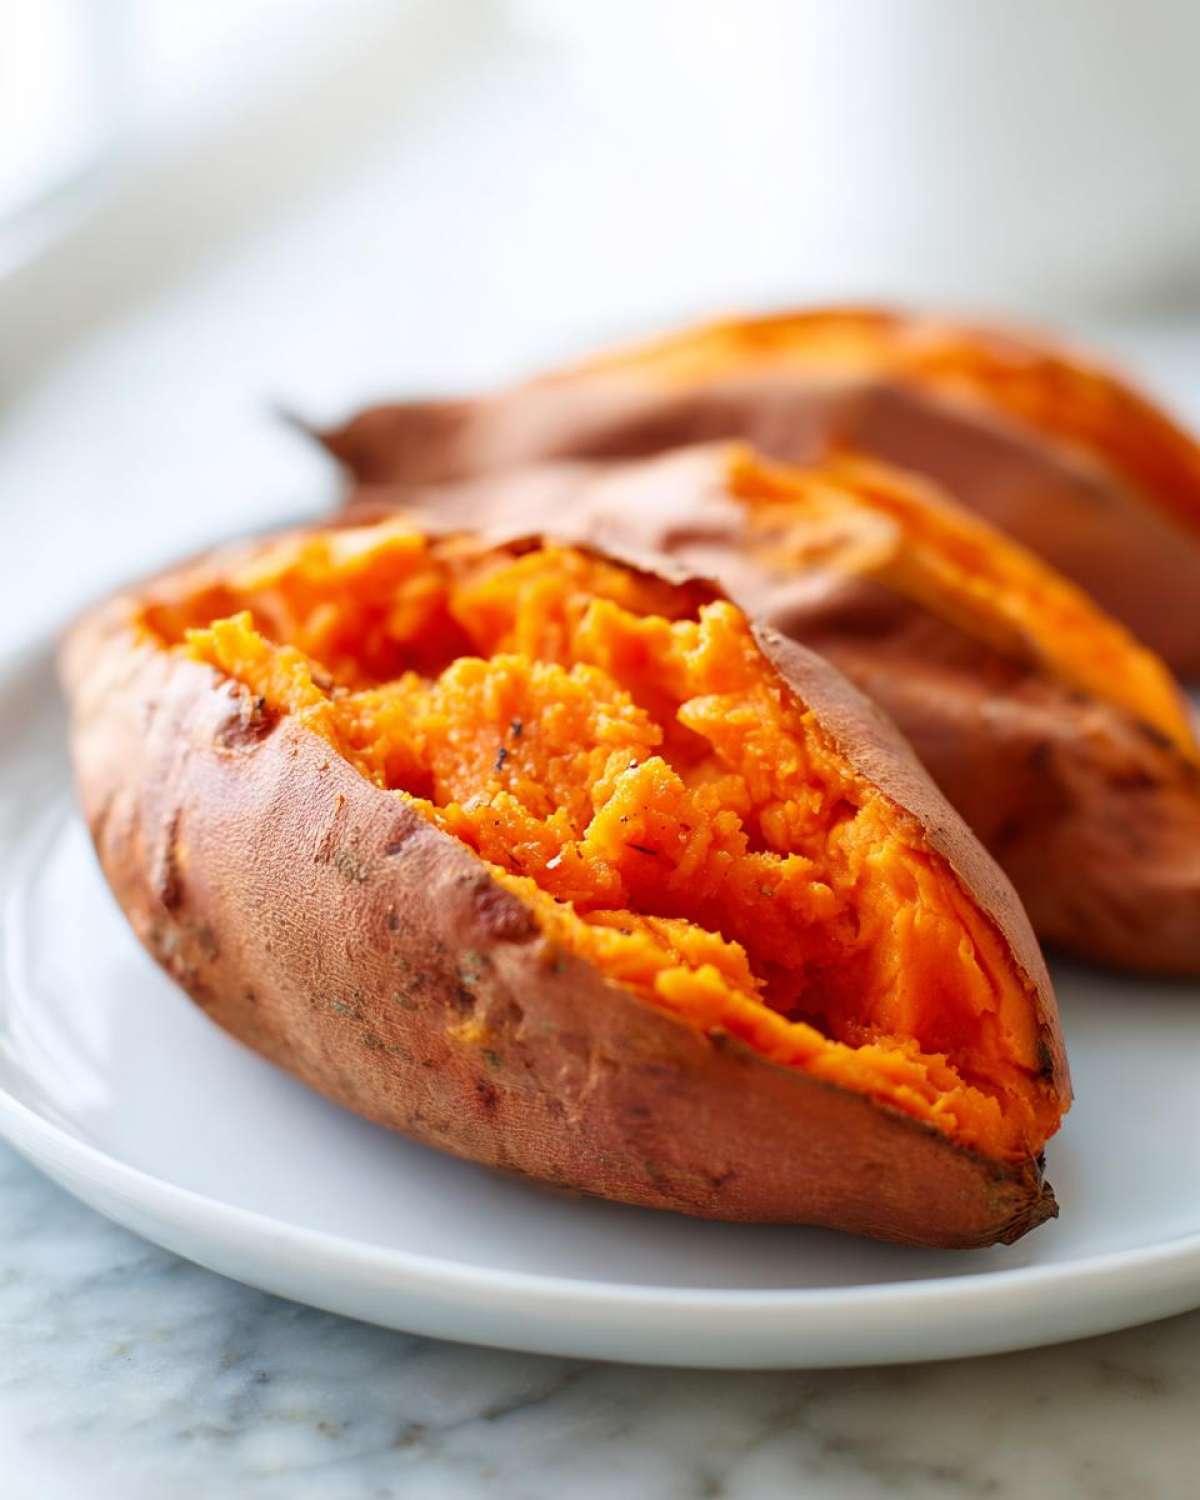
Okay, this is the easy part! Since we aren’t making anything fancy yet—just the perfect base for anything you want to throw on top—the ingredient list is super short. Seriously, four things! You’ll need four medium sweet potatoes. It’s best if they’re all roughly the same size so they cook evenly when you bake them. Grab your olive oil or melted butter—whichever you prefer—and make sure you have coarse salt. That coarse salt really helps give the skin some bite! Finally, your black pepper. That’s it for preparing your best-ever baked sweet potato!
Step-by-Step Instructions for a Flawless Baked Sweet Potato
Getting that ideal texture for your baked sweet potato is all about following the sequence. Don’t rush the preheat, and don’t lift the oven door every five minutes! Ethan is usually hovering over the oven while I’m trying to get the toppings ready, but trust me, patience is key here. It takes about an hour from start to finish, but the work involved is minimal. We want everything happening inside that oven to set us up for success. If you’re thinking about other ways to use these lovely tubers, we have an amazing sweet potato pie recipe that uses a similar flavor profile!
Preparation and Seasoning for Your Baked Sweet Potato
First things first: crank that oven up to 400 degrees Fahrenheit. Once it’s humming, grab your sweet potatoes and give them a good scrub—think dirt removal, not scrubbing off the flavor. Pat them bone-dry afterward; remember, dry skin equals crispy skin! Now, grab that fork and give each potato at least five solid pricks, deep down. Next, take your olive oil or melted butter and rub it all over, making sure every spot is coated. That’s when you hit them with the coarse salt and pepper. Season generously! This preparation is what turns a simple starch into the ultimate baked sweet potato.
Baking Time and Checking for Doneness
Time to go straight onto the rack—no baking sheet wrestling needed! They’ll bake for about 45 to 60 minutes. The timing really depends on how big those spuds are, so don’t panic if yours need a little longer than mine did. You’ll know they are ready when the outside skin looks a little tight and crusty, and you can easily slide a fork right into the center with almost no resistance. If there’s any firmness, give it another 10 minutes. Once they pass that fork test, pull them out. After letting them cool down just enough so you don’t completely burn your fingers (about 10 minutes), slice them right down the middle lengthwise and get ready to stuff them!
Ingredient Notes and Simple Baked Sweet Potato Substitutions
Even with such a simple recipe, the quality of your ingredients really makes a difference, right? That’s something Ethan and I learned quickly when we started cooking together. You don’t have to stress about fancy spices here, but we do have strong opinions on the basics.
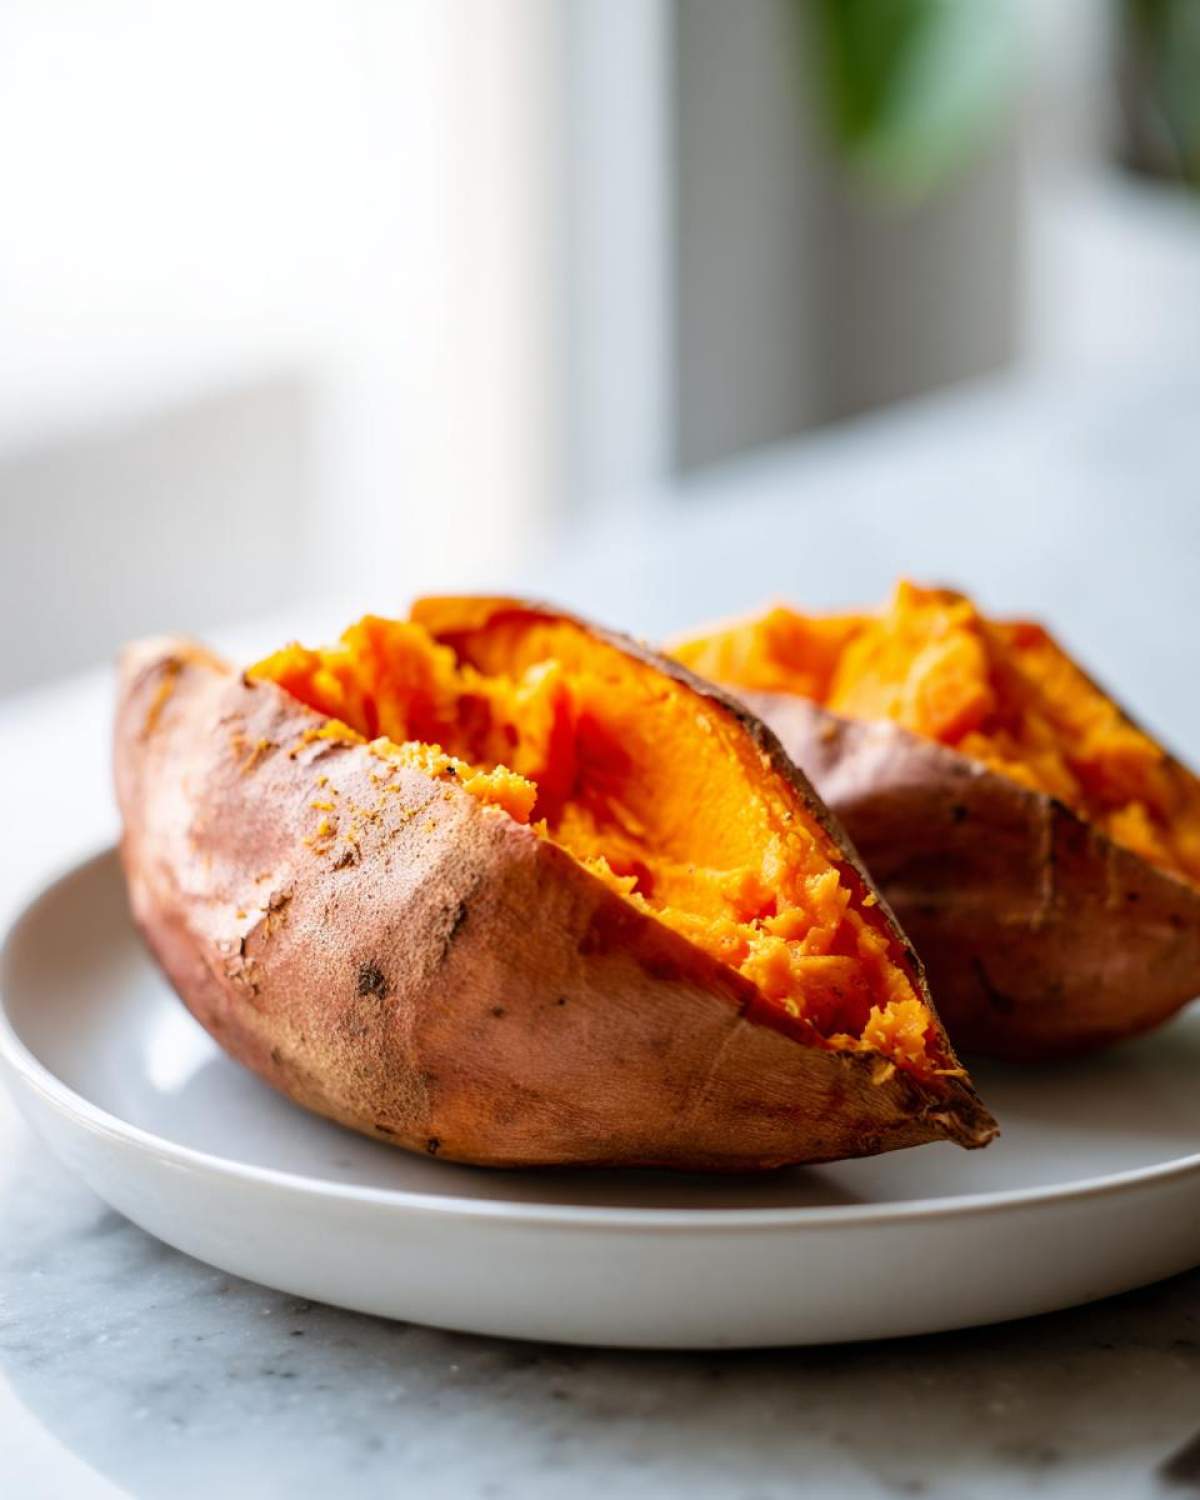
When it comes to oil versus butter, either works beautifully for crisping the skin. Olive oil gives you a slightly nuttier flavor, which I love. Melted butter, though, adds a certain richness that feels extra cozy. Use what you have on hand, seriously, but just make sure you toss it all together well so the whole potato is covered before salting.
That coarse salt I mentioned? It’s not just for looks! Those bigger crystals help create a slightly crunchy exterior when they bake onto the oil. You can use regular table salt if that’s all you have, but the texture won’t be quite as satisfyingly crusty. Don’t skimp on the seasoning just because it’s a simple side, either—flavor deserves attention!
My biggest piece of non-ingredient advice is about selection. Try really hard to pick potatoes that are similar in weight and size. If you put one tiny potato next to a huge one, the little one will be dried out and sad by the time the big one is actually cooked through. We always try to get four that feel the same in my hand. It’s one of those small things that ensures everything comes out perfectly done at the same time. If you’re looking for more ways to use tubers, you absolutely have to check out the recipe for our sweet potato cornbread—it’s the perfect mix of sweet and savory!
Tips for Success When Making a Baked Sweet Potato
When we first figured out this method, we had a few batches where we wanted something just slightly different, or maybe we were running short on time. It’s important to know that while the rack-baking method is my favorite for that super crisp skin on the baked sweet potato, you can absolutely change it up without ruining the core flavor.
If you’re dealing with very large potatoes, or maybe you just prefer incredibly soft skin—not crispy—you *can* wrap them loosely in aluminum foil before they go into the oven. Just make sure it’s loose! Wrapping them tightly traps too much steam and can lead to a slightly gummy texture inside, which defeats the purpose of going fluffy, but sometimes you just want that super tender result, especially if you’re going to mash it later.
Now, here is my personal chaos tip, Ethan wasn’t thrilled I was writing this down! If, for whatever reason—maybe your oven rack is totally filthy, or you need to catch drips—you absolutely *must* use a baking sheet, don’t just plop the oiled potatoes on the metal. The skin will steam against the pan surface and stick terribly. Instead, line that baking sheet with parchment paper, and then sprinkle the paper *liberally* with coarse salt before setting the oiled potatoes on top. The salt acts almost like tiny feet, elevating the potato just slightly away from the pan surface, allowing air to circulate underneath and crisping up that bottom skin.
Also, remember the note about making them ahead? If you bake your baked sweet potato the day before a big dinner party, don’t sweat it! Just let them cool, store them airtight in the fridge, and when you’re ready to serve, pop them back into a 350-degree oven for about 10 to 15 minutes. They come out tasting almost fresh-baked! If you love flavorful sides like this, you should check out our recipe for Garlic Herb Roasted Veggies; they sit perfectly alongside these potatoes on a holiday plate!
Serving Suggestions for Your Flavorful Baked Sweet Potato
Now that you have the perfect fluffy base, it’s time to have some fun! This is where my creative side really takes over, and honestly, all you need is butter and some imagination. The classic, cozy upgrade is my cinnamon butter—it feels like dessert but it’s totally acceptable as a savory side dish during the fall. Just mix softened butter with a little cinnamon and maybe a tiny drizzle of maple syrup if you’re feeling decadent.
But if you want to lean savory, oh my goodness, you have to try goat cheese, fresh black pepper, and a little sprinkle of thyme or rosemary. The tanginess cuts right through the sweet starch in the baked sweet potato so beautifully. This side is practically begging to be served next to something hearty, like our Easy Oven Roast Prime Rib. Whether you go sweet or savory, remember that using a perfectly baked sweet potato means your toppings just melt right into that creamy interior!
Storage and Reheating Instructions for Baked Sweet Potatoes
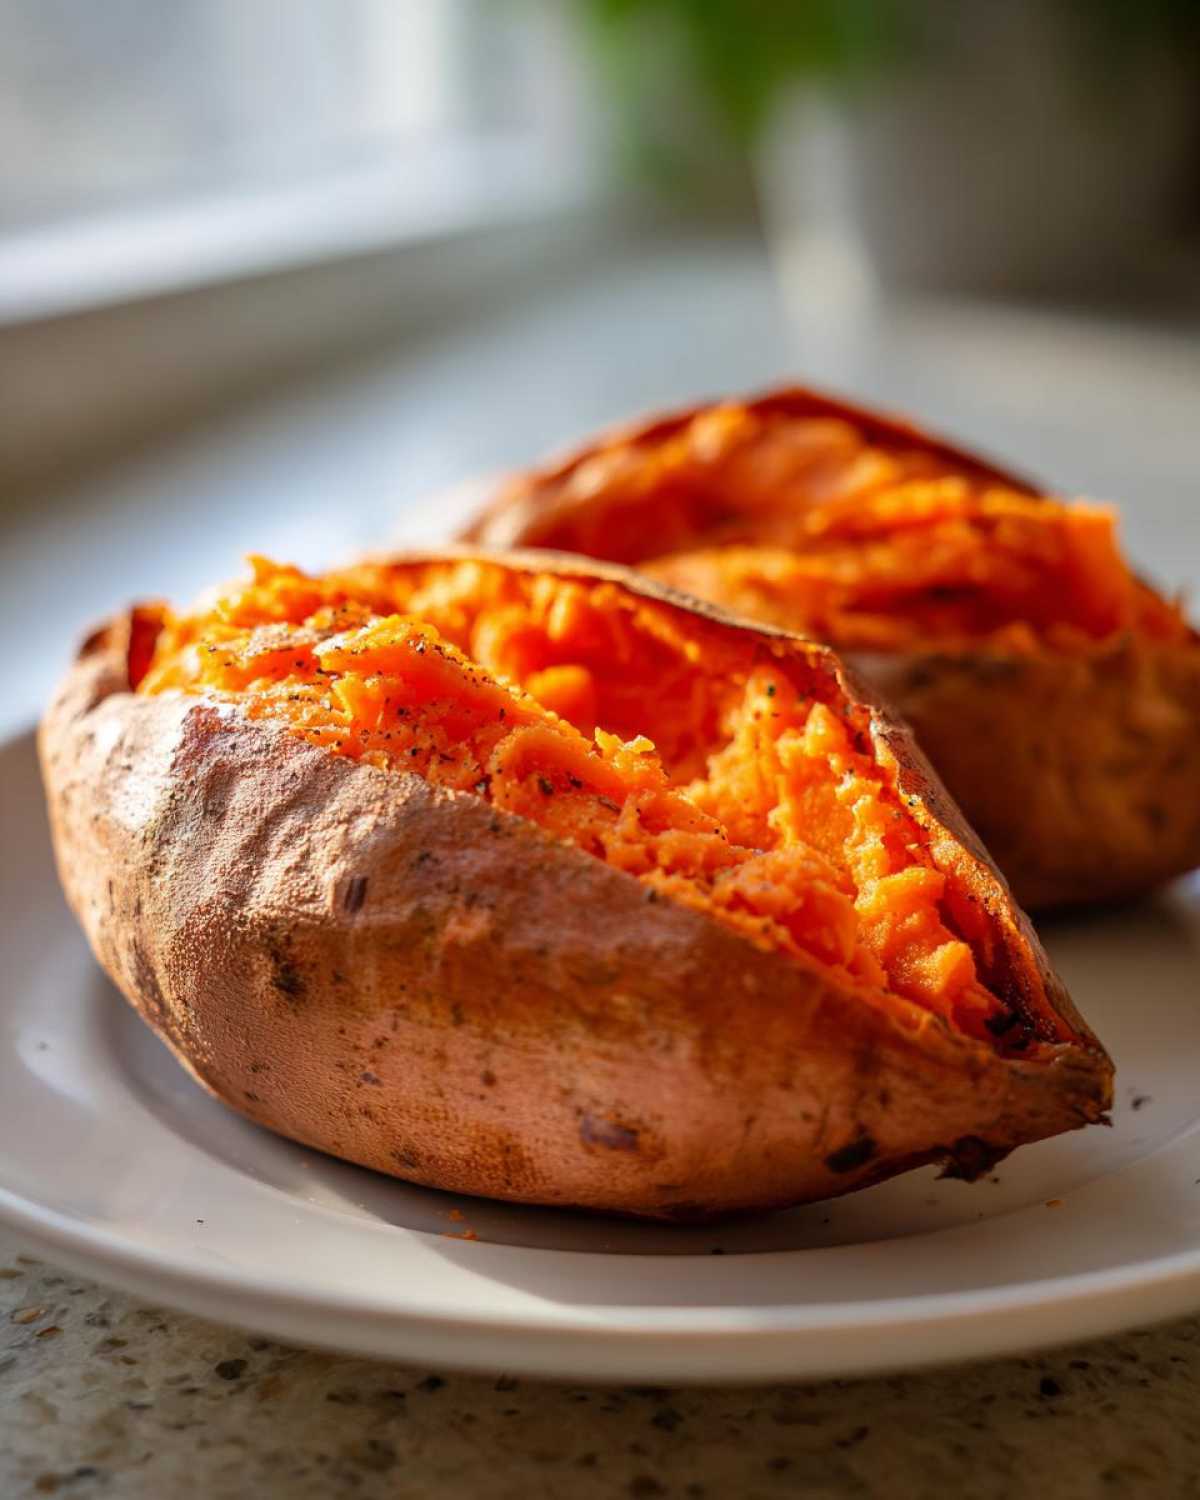
Don’t toss those extras! Seriously, leftover baked sweet potatoes are gold for quick lunches later in the week. The most important thing here is cooling them down properly before they head into storage. Remember how I told you to let them cool for about 10 minutes on the counter after they came out of the oven? That’s partly so you don’t burn your hands, but it’s also important for safe food storage. You don’t want to seal up piping hot food in plastic; you want to let that residual steam escape first.
Once they’re just warm to the touch, wrap each potato individually in plastic wrap or toss them into an airtight container—I usually use a big Ziplock bag for convenience. They keep really nicely in the fridge for about four days. Ethan has tried eating them cold straight from the fridge, and while he insists it’s fine, it just isn’t the same texture!
When it comes time to reheat them and bring back that fluffy goodness, you’ve got options, but the oven is always the champion for reviving that crispy skin. If you’re only reheating one or two, you can use the microwave for speed, but honestly, they turn out a bit mushy. For the best results, preheat your oven back to 375 degrees Fahrenheit. Just slice the cooled potato open lengthwise again, place it cut-side-up on a small baking sheet (you can use parchment paper here!), and heat them for about 15 to 20 minutes. They come out steaming hot and almost as good as new!
If you are doing meal prep for the week and planning ahead, these potatoes are also fantastic chopped up and thrown into stir-fries. We often chop up leftovers and add them into our Chicken Zucchini Stir-Fry to bulk it up for lunch the next day. They soak up the sauce beautifully!
Frequently Asked Questions About Baking a Sweet Potato
Whenever Ethan tries to rush things, he asks these very questions, so I figured I owe it to all of you fellow cooks to spell out the answers clearly! We want your final product to be that perfectly fluffy baked sweet potato, not a shortcut disaster!
Can I bake a sweet potato faster in the microwave?
Oh, you absolutely can speed things up with a microwave, but I’m going to warn you upfront—it’s just not the same experience. Microwaving gives you soft, cooked sweet potatoes in about 6 to 8 minutes total, which is amazing when you need one *right now*. But here’s the catch: the microwave steams the potato from the inside out. You lose that slightly caramelized, slightly chewy skin we worked so hard to achieve by baking directly on the rack. Plus, the texture inside tends to be wetter and less fluffy. If you need a quick, healthy side dish base for dinner tonight, go for the microwave. If you want the *best* oven baked sweet potatoes, stick to the 400-degree method we shared!
What size sweet potato works best for this recipe?
This advice comes straight from trial and error—and frankly, a lot of wasted sweet potatoes! The absolute best size for this recipe is medium. I’m talking about potatoes that fit comfortably in the palm of your hand, usually weighing between 6 and 8 ounces each. We want uniformity because the baking time is based on that average size. If you mix huge ones in with tiny ones, the small ones are going to finish cooking in 40 minutes, and by the time the massive one is done at the 60-minute mark, the first batch is getting dry and sad. Whenever you shop, try to grab four potatoes that look and feel like they weigh about the same!
If you’re ever looking for dips to serve with dinner, our secret recipe for Buffalo Chicken Dip is always a crowd-pleaser!
Estimated Nutritional Value of One Baked Sweet Potato
Okay, so Ethan is all about the numbers, and I’m all about tasting, so we compromised right here! This nutrition breakdown is for one plain, oven baked sweet potato made using just the oil, salt, and pepper—no cinnamon butter or goat cheese added, sorry! This makes it a really great, healthy side dish option for any night of the week. It’s amazing how much goodness is packed into that simple, fluffy interior. We usually have this alongside our Garlic Parmesan Rice!
- Serving Size: 1 potato
- Calories: 180
- Fat: 4g
- Carbohydrates: 35g (with 6g Fiber)
- Protein: 3g
- Sugar: 13g
- Sodium: 300mg
These numbers are just an estimate, of course, but they show you’re getting a wonderfully nutritious staple on your plate!
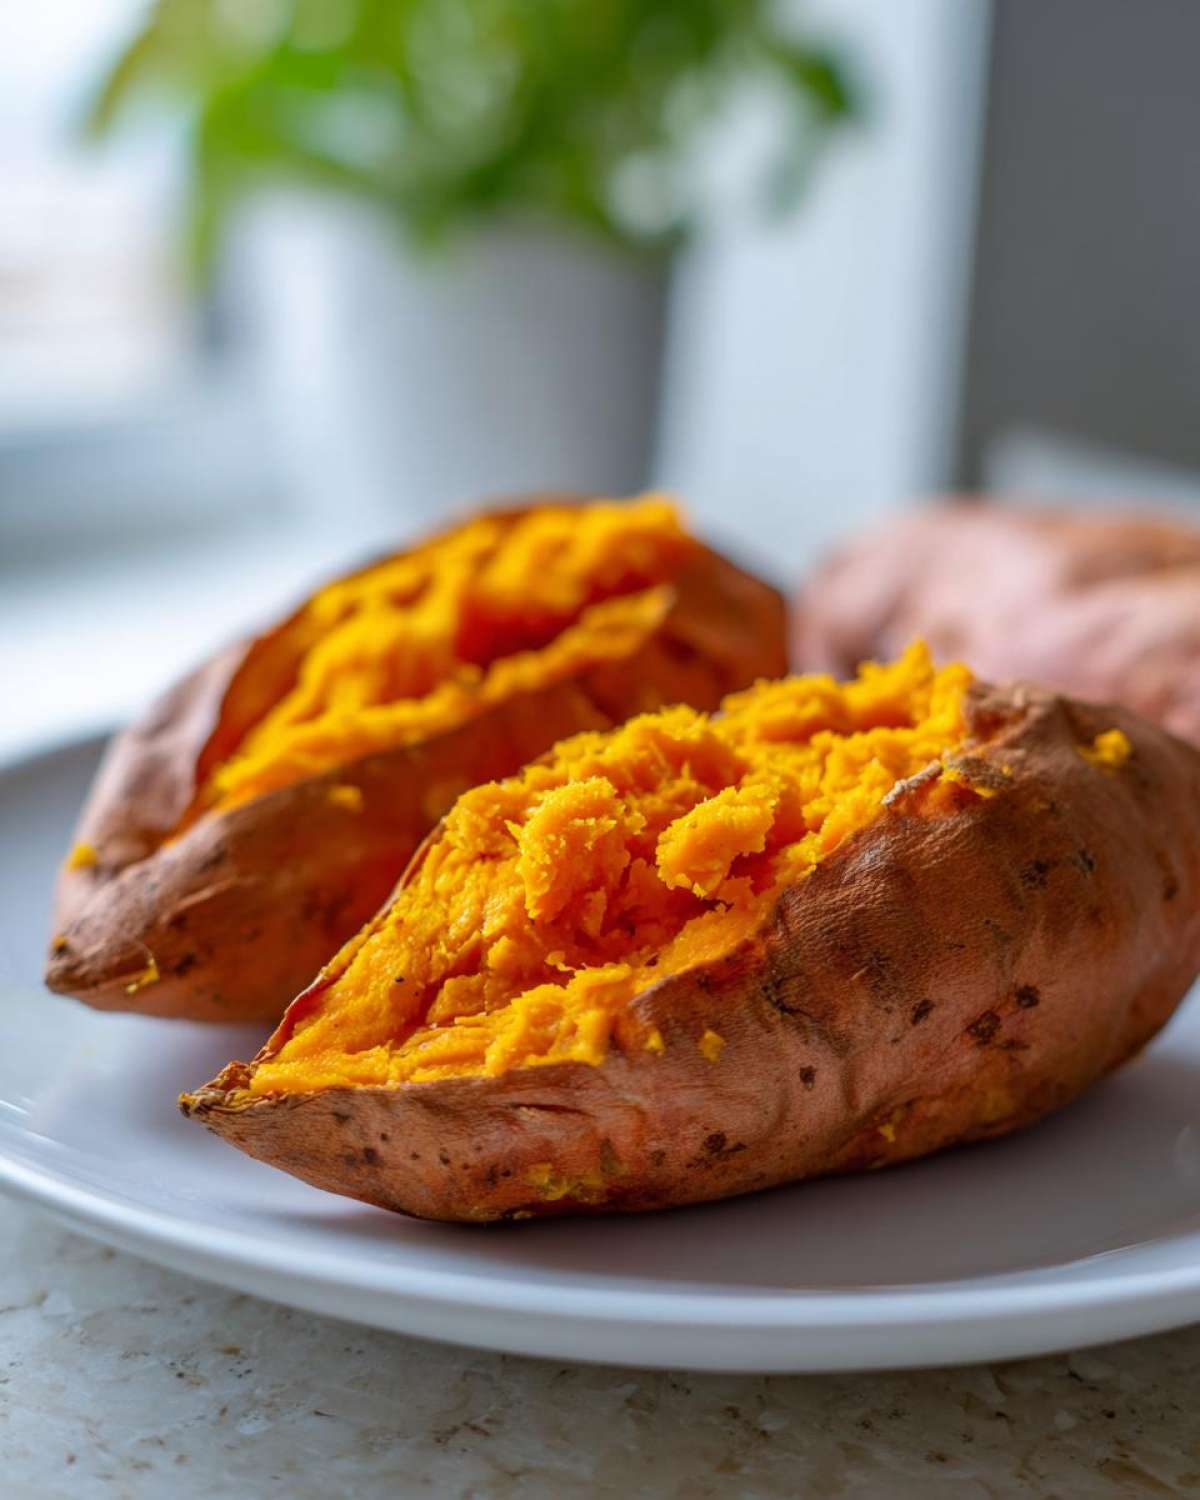
How to Bake Perfect Sweet Potatoes: Fluffy and Tender Every Time

Learn the simple, no-fuss method for baking sweet potatoes that results in a creamy interior and perfectly caramelized skin. This is your go-to recipe for a healthy, delicious side dish.
- Prep Time: 5 min
- Cook Time: 50 min
- Total Time: 55 min
- Yield: 4 servings
- Category: Side Dish
- Method: Baking
- Cuisine: American
- Diet: Vegetarian
Ingredients
- 4 medium sweet potatoes
- 1 tablespoon olive oil or melted butter
- 1 teaspoon coarse salt
- 1/2 teaspoon black pepper
Instructions
- Preheat your oven to 400 degrees Fahrenheit (200 degrees Celsius).
- Scrub the sweet potatoes well under running water to remove any dirt. Pat them completely dry with a paper towel.
- Prick each sweet potato several times deeply all over with a fork. This lets steam escape and prevents them from bursting.
- Rub the outside of each potato with olive oil or melted butter.
- Sprinkle the potatoes evenly with coarse salt and black pepper.
- Place the prepared sweet potatoes directly onto the oven rack. Do not use a baking sheet or foil for the best skin crispness.
- Bake for 45 to 60 minutes. The exact time depends on the size of your potatoes. They are done when the skin is slightly crispy and you can easily pierce the center with a fork.
- Remove from the oven. Let them cool for about 10 minutes before slicing them open lengthwise.
- Serve immediately with your favorite toppings.
Notes
- For an extra fluffy interior, you can wrap the potatoes loosely in aluminum foil before baking, though this will result in a softer skin.
- If you are preparing these for a holiday dinner, you can bake them ahead of time and reheat them briefly in the oven before serving.
- Try topping these with cinnamon butter for a sweet treat or goat cheese and herbs for a savory side dish.
Nutrition
- Serving Size: 1 potato
- Calories: 180
- Sugar: 13
- Sodium: 300
- Fat: 4
- Saturated Fat: 1
- Unsaturated Fat: 3
- Trans Fat: 0
- Carbohydrates: 35
- Fiber: 6
- Protein: 3
- Cholesterol: 0