

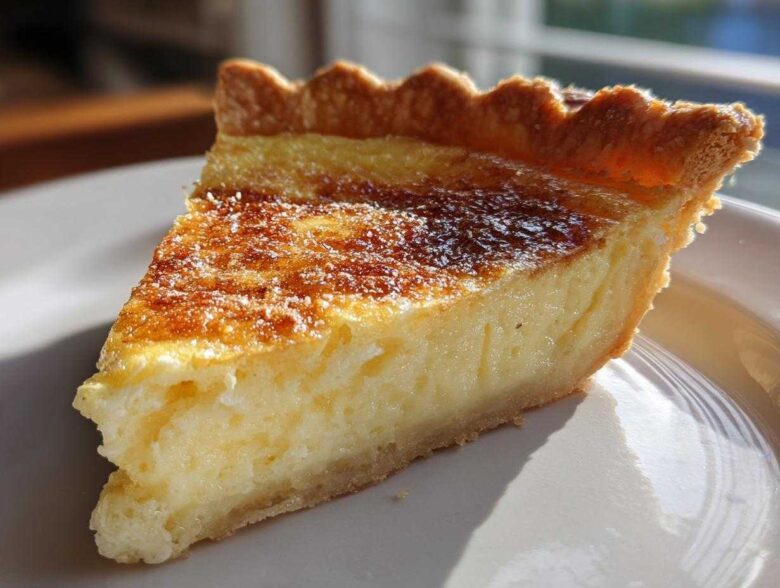
There’s something about those truly old-fashioned desserts, isn’t there? The ones that smell like a warm hug and taste like childhood. If you’ve ever been intimidated by making a homemade custard—worried about curdles or cracks—you can finally relax! Ethan and I spent way too much time testing this because we wanted the absolute best, and trust me, we nailed it. This is our **Old Fashioned, Fail-Proof Baked Egg Custard Pie** recipe, and it’s genuinely foolproof. It delivers that smooth, gentle set you dream about when you think of a perfect egg custard. Learning to trust simple, classic recipes like this, the ones that rely on quality basic ingredients, has really been the secret to our success in the kitchen. Forget the complicated stuff; this one is pure comfort.
Why This Old Fashioned Egg Custard Pie is Your New Go-To Dessert
I know we all love those fancy, layered desserts, but sometimes you just need something simple and deeply satisfying. That’s what this pie is!
This recipe shines because it cuts out all the unnecessary fuss but keeps all the amazing flavor. We nailed the technique so you get that silky, smooth result every single time. It really is one of the best comfort food desserts out there.
- Perfect Texture Guaranteed: Seriously, zero cracks and a filling that melts in your mouth.
- Incredibly Easy: If you can whisk two things together, you can make this classic baked custard.
- Nostalgic Flavor: That perfect balance of sweet vanilla and warm nutmeg feels like coming home.
Ingredients for the Perfect Creamy Egg Custard Filling
When you’re making a true custard pie from scratch, the ingredients list is gloriously short. That’s how you know it’s good! We’re counting on a few simple items to deliver maximum creamy flavor. We keep the amounts precise here because, even though Chloe likes to guess, for this easy egg custard recipe, measurement matters for that smooth set we are aiming for.
Here is what you’ll need before you start mixing:
- 1 unbaked 9-inch pie crust (use your favorite recipe or store-bought)
- 3 large eggs
- 1/2 cup granulated sugar
- 2 2/3 cups whole milk (or 2% milk for a lighter custard)
- 1 teaspoon pure vanilla extract
- 1/4 teaspoon salt
- Freshly grated nutmeg, for topping
Ingredient Notes and Substitutions for Your Egg Custard
Since the ingredient list is so tight, quality really counts! I always tell Chloe to grab the truly pure vanilla extract for the best vanilla custard recipe flavor. You can absolutely use 2% milk if you want a slightly lighter texture, but honestly, whole milk really helps create that rich mouthfeel.
Just a quick note: while we love experimenting, this recipe is built for the classic version. If you’re looking for specialized baking like Keto Egg Custard, you’ll need to head to a different specific recipe, but for that traditional dessert experience, stick to this list!
Step-by-Step Instructions for Fail-Proof Egg Custard
Okay, now for the fun part—putting it all together! Don’t let the simplicity fool you; making a perfect egg custard comes down to respecting the ingredients and moving gently. We start by setting our oven to 350 degrees F and getting that unbaked crust settled into our 9-inch pie plate. Don’t rush the prep work here; a happy crust makes for a happy filling!
The key to this entire recipe lies in the whisking you do next. We want something smooth, not something aggressively aerated. Remember, we are aiming for that signature fail proof baking tips result!
Mixing Tips for a Smooth Egg Custard
This advice is the reason we call this recipe fail-proof! Grab your eggs and just gently whisk them until the yolks and whites are barely acquainted. Over-beating is what creates those tiny air bubbles that puff up and then crack the surface later—we don’t want that drama on our pie!
Mix in your sugar and salt slowly until you see the sugar dissolve a bit. Then, whisk in the milk and vanilla. Now for Chloe’s secret weapon for that gorgeous, uniform texture: strain the entire liquid mixture through a fine-mesh sieve! Seriously, do it. It catches any bits of white or tough chalazae, guaranteeing you the smoothest egg custard possible before it ever sees the oven heat.
Baking and Setting the Classic Baked Custard
Pour that beautiful, strained liquid into your crust, dust the top with nutmeg (this is non-negotiable for that classic baked custard look!), and slide it onto the center rack. Bake this beauty for about 45 to 55 minutes.
You’re looking for the edges to be firm, but the very center should still have a little wobble, like gelatin. If a knife inserted near the edge comes out clean-ish, you’re done! Overbaking is the enemy of texture here. Once it’s out, the real magic happens during the cool-down. Let it rest on a rack for two good hours, then cover it and chill it completely—at least four hours, but overnight is best for that perfect creamy egg custard filling.
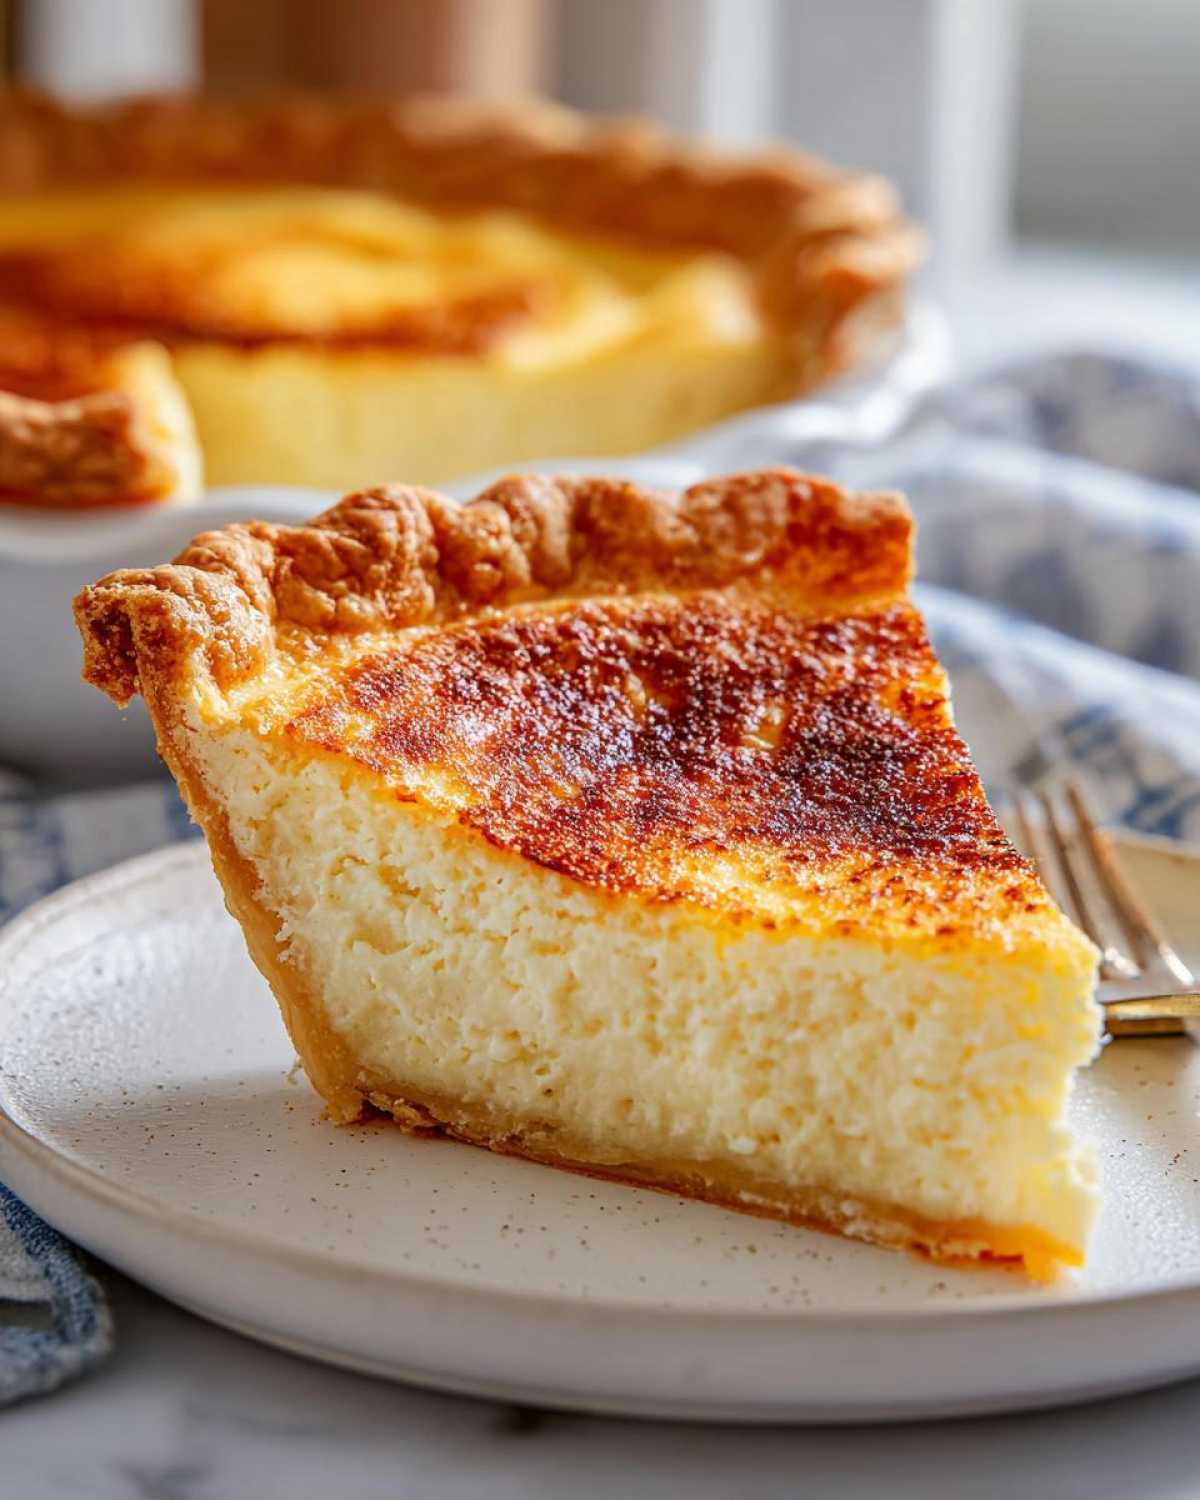
Expert Tips for Achieving the Best Homemade Egg Custard
Since we want this homemade egg custard to be legendary, I wanted to share a couple of extra secrets that take it from “very good” to “why didn’t I make this sooner?” Remember my earlier point about gentle whisking? That’s the most important takeaway for avoiding cracks. If you see too many little foamy bubbles forming when you mix the eggs and sugar, stop immediately, let them settle, and only then add the milk.
Now, for the advanced move—the *bain-marie* or water bath. This is how the fancy bakeries keep things perfectly even. Place your filled pie dish inside a slightly larger, oven-safe roasting pan. Carefully pour boiling water into the roasting pan until it comes about halfway up the side of your pie dish.
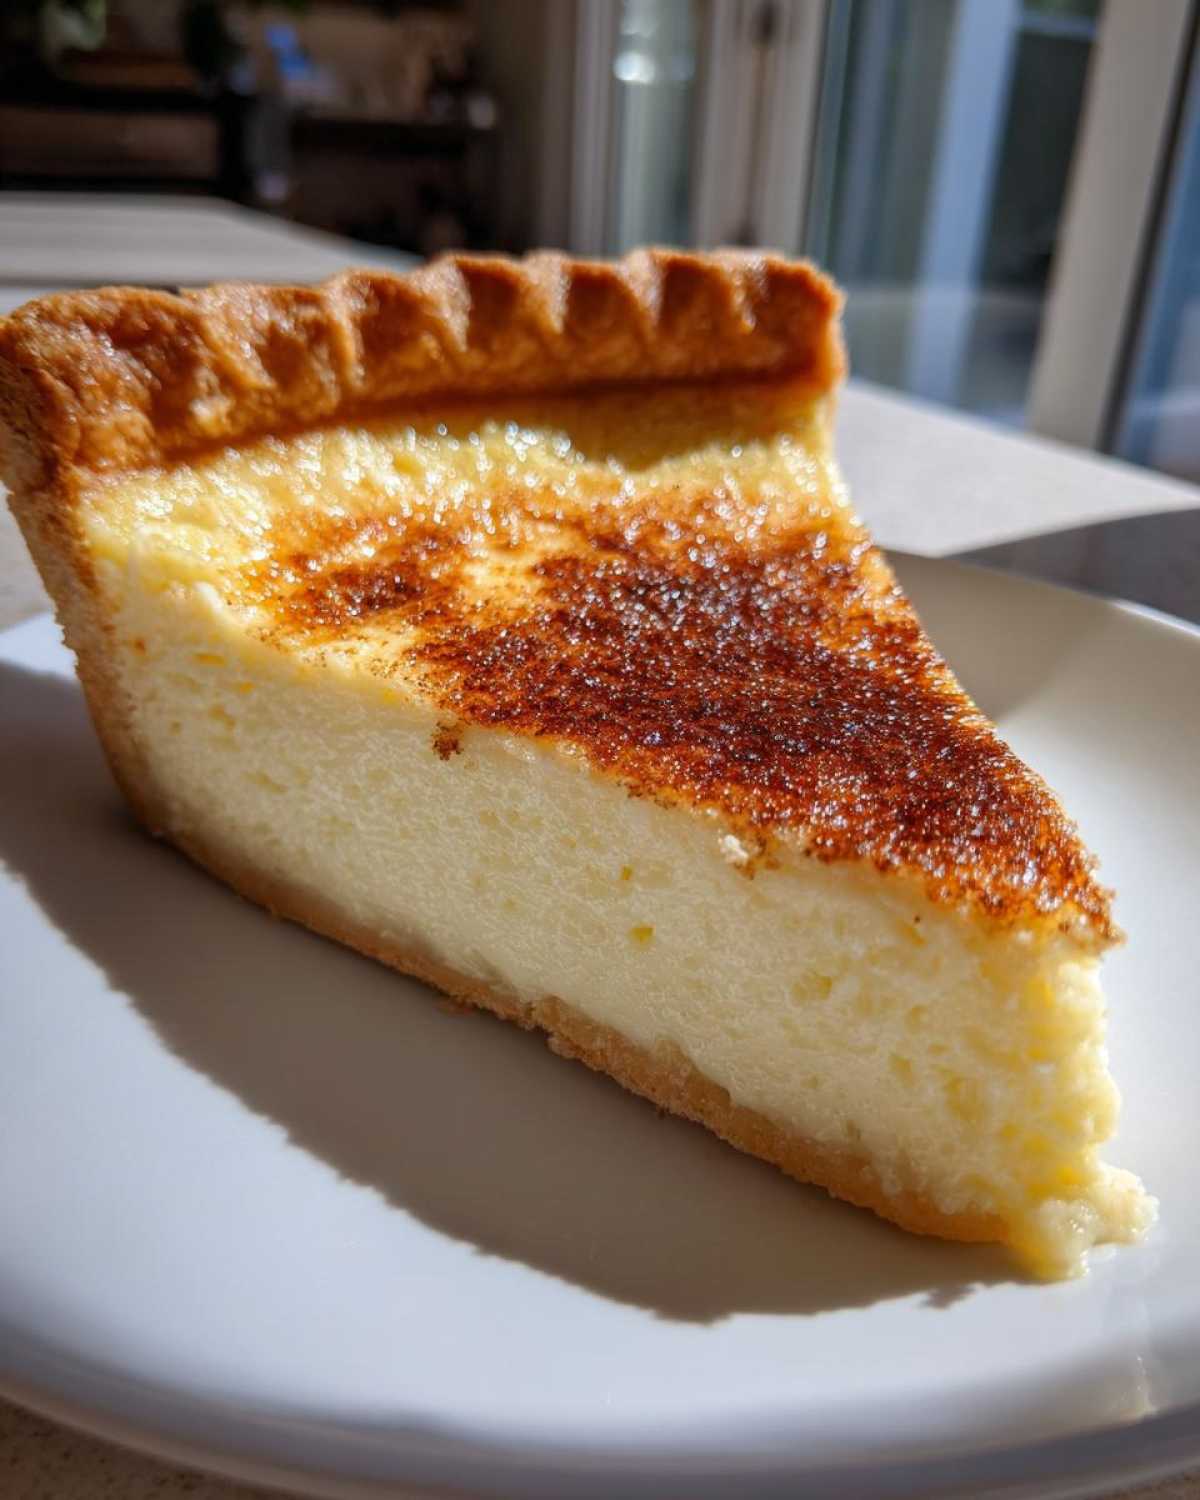
This gentle steam environment cooks the custard much slower and keeps the edges from setting way before the center, leading to the silkiest texture imaginable. It’s a little extra step, but if you want the absolute best, creamiest result—especially for a holiday spread—this is the way to do it for your next egg custard!
Serving Suggestions for Your Egg Custard Pie
When it comes to serving this gorgeous, chilled pie, we stick to simple pairings that let that lovely nutmeg and vanilla shine through. Remember, this old fashioned dessert tastes best when it’s completely cold—that’s when the texture is its silkiest, trust me!
We usually just serve big wedge slices all on their own. But if you want a little extra something on the side, a dollop of fresh, unsweetened whipped cream is perfection. You could also pair it with some lightly spiced poached apples or maybe just a drizzle of caramel sauce if you’re feeling extra indulgent for an easy holiday pie!
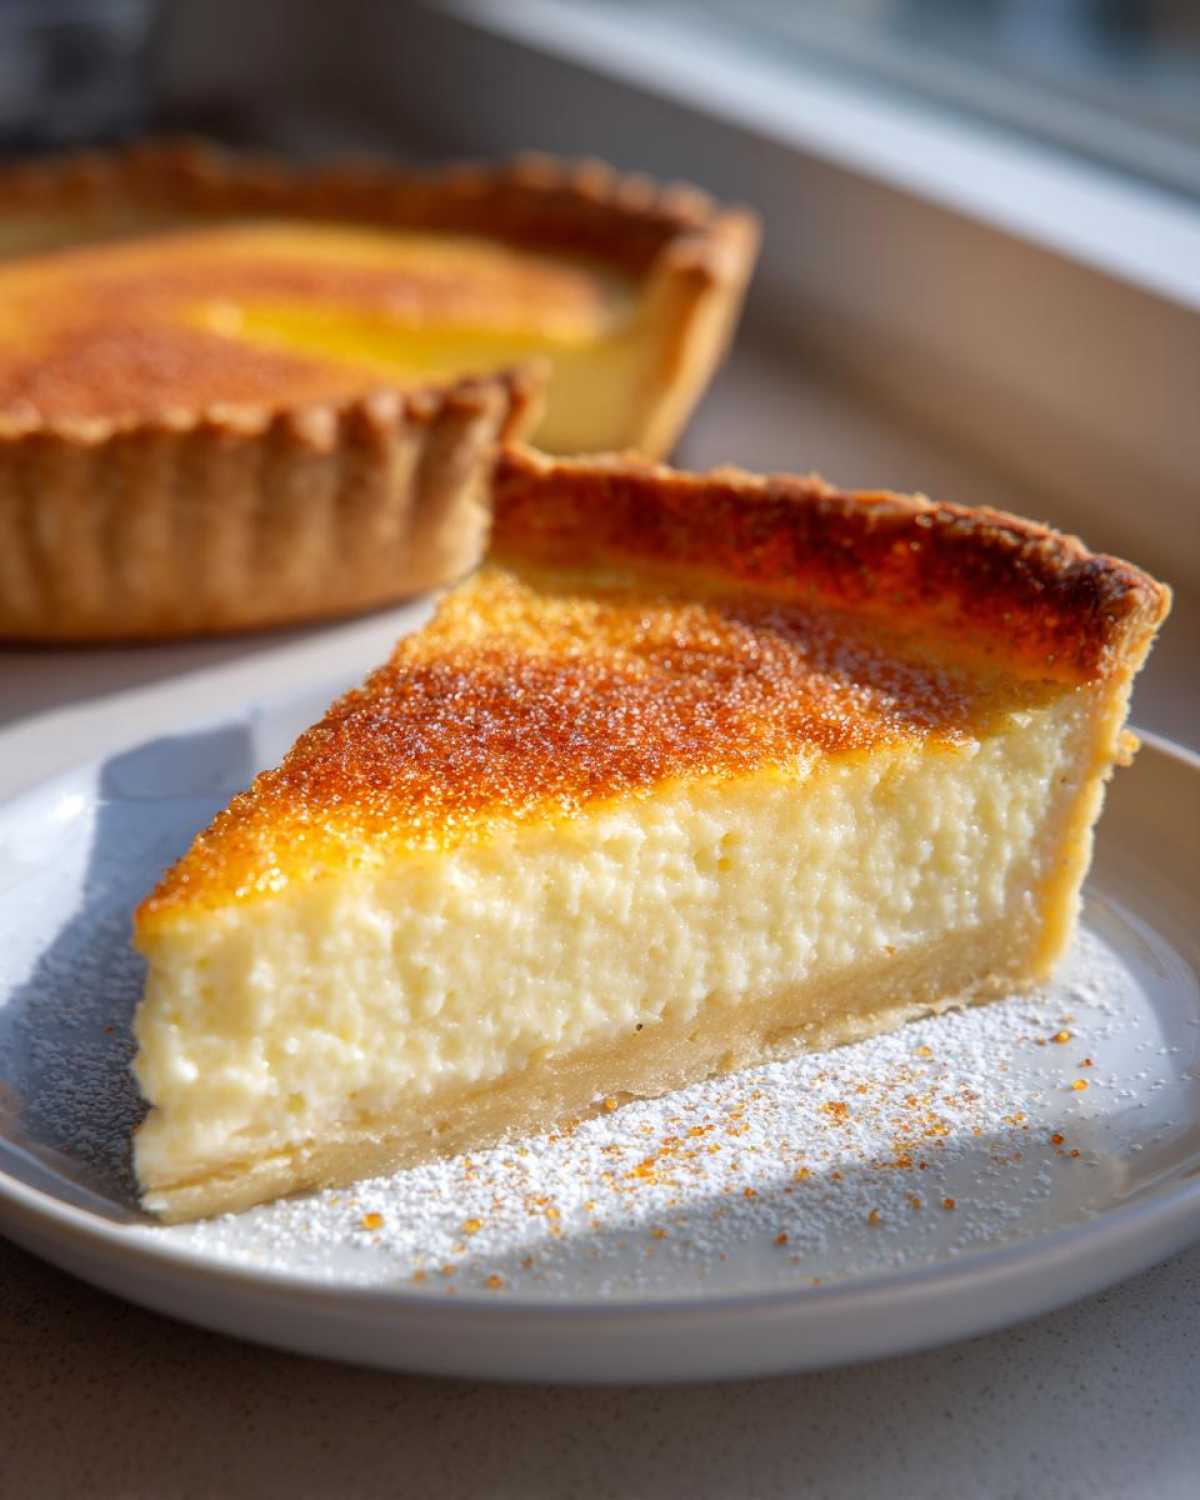
Storage and Reheating Instructions for Egg Custard
Because this is a delicate, creamy dessert, storage is just as important as the baking! This pie is wonderful made a day ahead. Keep your chilled pie covered tightly in the refrigerator. It stays delicious for about three to four days, but honestly, it’s usually gone by day two.
Please, do not try to reheat this! Reheating a baked egg custard essentially means reheating eggs and dairy that have been set, and it will turn grainy or watery really fast. The beauty of this pie is that it has to be served cold. Just pull it from the fridge 15 minutes before slicing!
Frequently Asked Questions About Egg Custard Pie
These are all such good questions! When you’re trying to master something as wonderfully classic as this egg custard pie, little details make all the difference. We get asked about cracking, crusts, and spices all the time, so I pulled together the most common things folks want to know about making a great traditional custard dessert.
Why did my egg custard crack on top?
Oh, the dreaded crack! This almost always comes down to two things we talked about: overcrowding the air bubbles or overbaking. When you over-beat the eggs, you whip in too much air. When that air tries to escape during the heat of baking, it essentially pushes the top layer apart, causing cracks. Also, if you bake it until the center is rock solid—instead of just a slight wobble—it shrinks too much as it cools. Remember to mix gently and pull it when the center still quivers a tiny bit!
Can I make this a simple custard recipe without a pie crust?
Absolutely! This recipe works beautifully if you want a quicker, crust-less version, which turns it into a truly simple custard recipe. Just divide your strained liquid mixture among buttered ramekins or small oven-safe bowls. You’ll likely need to bake them for a shorter time, maybe 30 to 35 minutes, checking for that signature jiggle. These little baked treats are perfect for portion control and still deliver that wonderful easy homemade custard experience.
What is the best way to get that classic nutmeg sprinkled dessert look?
This is where that nostalgic smell comes from! For the ultimate nutmeg sprinkled dessert flavor and look, you must use freshly grated nutmeg. The pre-ground stuff just doesn’t have the essential oils needed. Save it for the very last second before the pie goes into the oven. If you add it too early, the heat can dull the flavor before you even serve it. A light, even dusting across the whole top is all you need to make it look perfectly traditional!
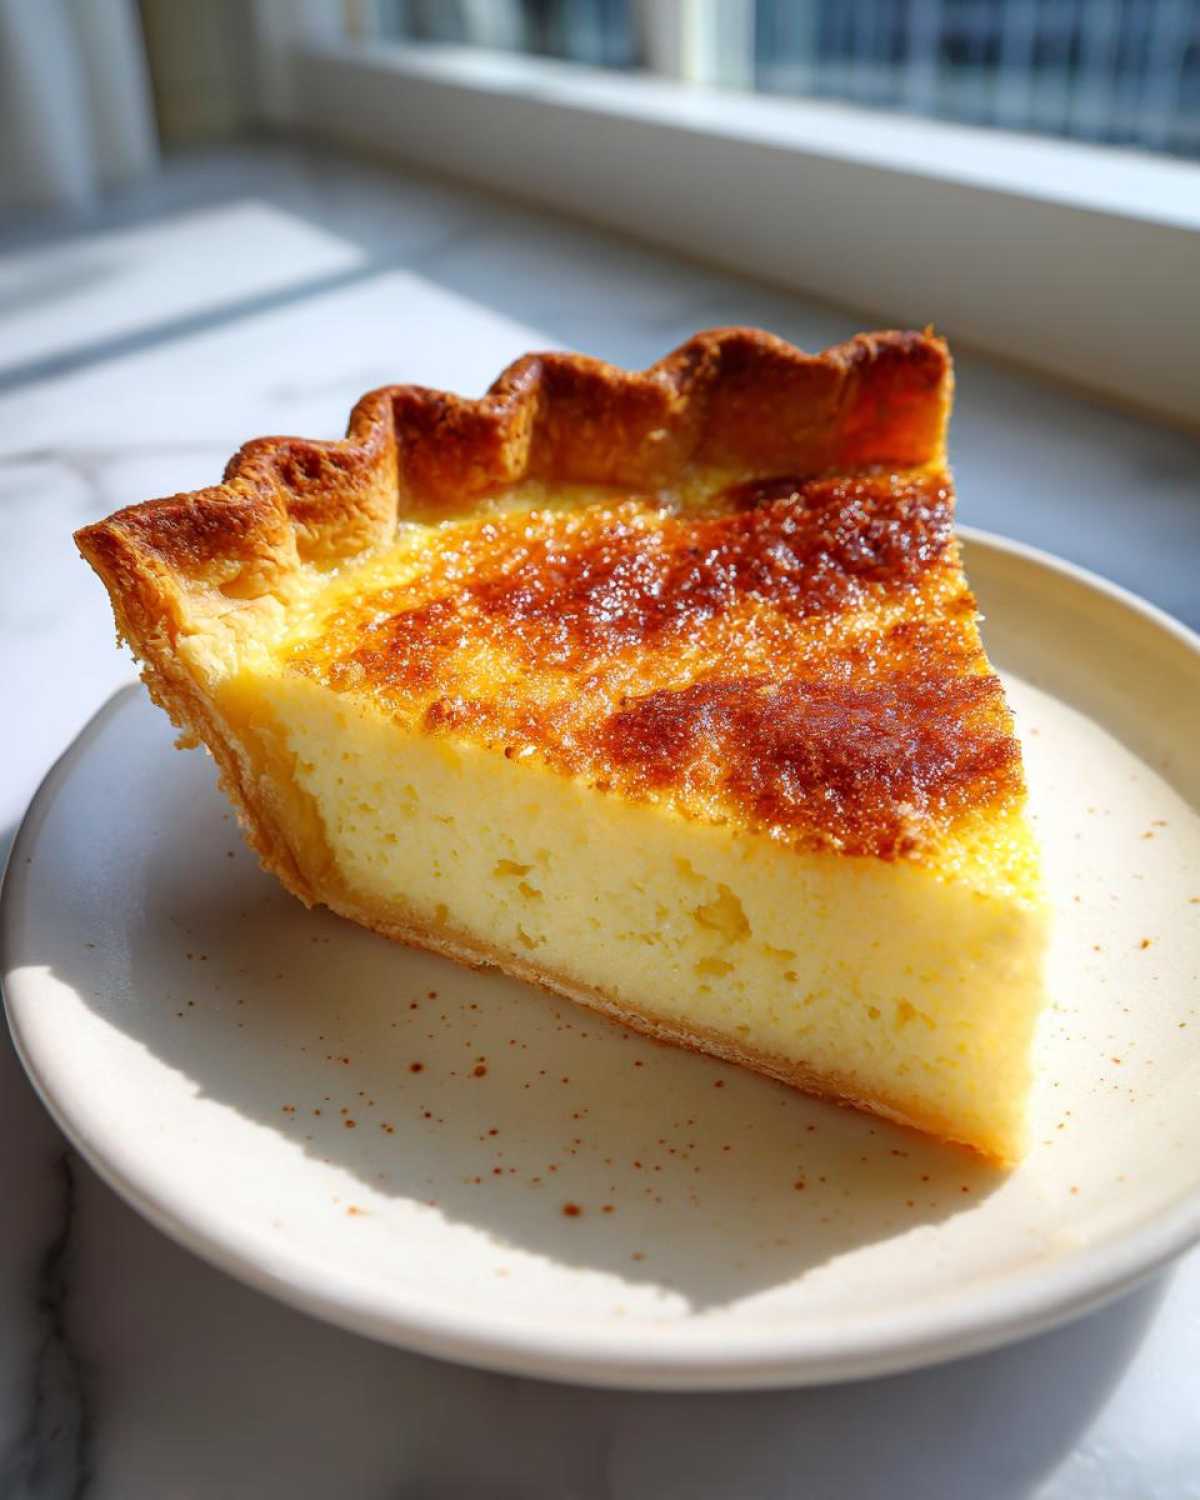
Nutritional Estimate for This Classic Baked Custard
You know I love that clean, structured data Ethan insists on, right? Even though this classic baked custard is an old fashioned dessert, we still track the basics! Please keep in mind that these numbers are just estimates based on standard ingredients; your homemade crust or specific milk choice will change things a little. This breakdown is perfect for seeing the big picture for one slice.
- Serving Size: 1 slice
- Calories: 280
- Sugar: 22g
- Protein: 9g
- Fat: 13g
Share Your Perfect Egg Custard Creation
That’s it, friend! You’ve successfully navigated making a truly perfect, smooth egg custard pie. I’m so proud of you for tackling this easy egg custard recipe. Now, please, don’t be shy! I really want to see your wobbling pie center before it chills!
Take a photo, tag us online, and leave a rating right here on the recipe card. Hearing from you guys—knowing this recipe brought a little bit of comfort food joy to your table—is seriously the best reward!
PrintGrandma’s Fail-Proof Old Fashioned Egg Custard Pie

This recipe delivers a creamy, smooth, old fashioned egg custard pie that is easy to make. Follow these simple steps for a truly fail-proof dessert perfect for any gathering.
- Prep Time: 15 min
- Cook Time: 55 min
- Total Time: 70 min
- Yield: 8 servings
- Category: Dessert
- Method: Baking
- Cuisine: American
- Diet: Vegetarian
Ingredients
- 1 unbaked 9-inch pie crust (use your favorite recipe or store-bought)
- 3 large eggs
- 1/2 cup granulated sugar
- 2 2/3 cups whole milk (or 2% milk for a lighter custard)
- 1 teaspoon pure vanilla extract
- 1/4 teaspoon salt
- Freshly grated nutmeg, for topping
Instructions
- Preheat your oven to 350 degrees F. Place your unbaked pie crust into a 9-inch pie plate.
- In a medium bowl, lightly whisk the 3 large eggs until the yolks and whites are just combined. Do not over-beat, as this incorporates too much air and can cause cracking.
- Add the 1/2 cup of sugar and 1/4 teaspoon of salt to the eggs. Whisk gently until the sugar begins to dissolve.
- Slowly whisk in the 2 2/3 cups of milk and 1 teaspoon of vanilla extract until the mixture is uniform.
- For the smoothest custard, strain the liquid mixture through a fine-mesh sieve into a large measuring cup or pitcher. This removes any chalazae or unmixed bits.
- Pour the strained custard mixture carefully into the unbaked pie shell.
- Sprinkle the top lightly with freshly grated nutmeg. This is the classic touch!
- Bake the pie on the center rack for 45 to 55 minutes. To prevent the edges from browning too quickly, you can loosely cover the crust edges with foil halfway through baking.
- The custard is done when the edges are set, but the center still has a slight jiggle (like gelatin). A knife inserted near the center should come out mostly clean.
- Remove the pie from the oven and let it cool completely on a wire rack for at least 2 hours before slicing. The custard will continue to set as it cools.
- Chill the pie in the refrigerator for at least 4 hours, or preferably overnight, before serving for the best creamy texture.
Notes
- For a truly fail-proof, creamy egg custard, avoid over-beating the eggs. You want to mix them just enough to combine them with the sugar and milk.
- Baking in a water bath (bain-marie) is a professional technique that helps prevent cracking, but for this simple recipe, simply watch the edges and remove it when the center still wobbles slightly.
- If you want a richer flavor, substitute 1/2 cup of the milk with heavy cream.
- This classic baked custard tastes best when served cold.
Nutrition
- Serving Size: 1 slice
- Calories: 280
- Sugar: 22
- Sodium: 180
- Fat: 13
- Saturated Fat: 7
- Unsaturated Fat: 6
- Trans Fat: 0.3
- Carbohydrates: 30
- Fiber: 1
- Protein: 9
- Cholesterol: 110