

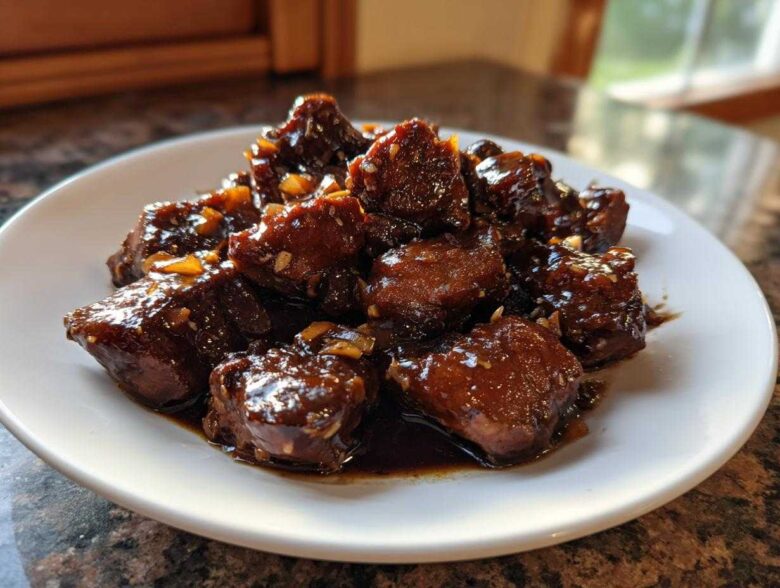
Oh my gosh, if I could bottle up the smell of onions, garlic, and simmering vinegar, I’d sell it as pure comfort! Filipino food has this incredible way of hitting every note—salty, sour, savory—all at once, and nothing shouts ‘home’ louder than Chicken Adobo. Seriously, everybody has their version, but I spent years messing around with ratios, nearly ruining dinner with vinegar that was way too sharp or soy sauce that was too salty.
Trust me when I say I finally cracked the code for true flavor harmony. This isn’t just a recipe; it’s the definitive guide to making authentic Filipino Chicken Adobo. Once you nail that perfect balance between the savory punch and the bright tang, you’ll never look back. It’s easy, foolproof, and honestly, it tastes even better the next day!
Why This is the Best Filipino Chicken Adobo Recipe You Will Make
I know, I know—everyone claims they have the *best* recipe, but stick with me here. This version is designed to eliminate the two biggest Adobo fails: watery sauce and overly sharp vinegar flavor. We are locking in flavor from the very first step!
Here’s why you should put your trust in this method:
- We insist on searing the chicken first. That light browning creates a depth of flavor the simmer alone just can’t touch.
- The crucial step of boiling off the vinegar top-note guarantees that beautiful, complex tang instead of raw sourness.
- We use bone-in thighs, which is non-negotiable for that rich mouthfeel and sauce texture.
- You get just the right amount of sauce—enough to soak your rice, but reduced enough to cling beautifully to the meat.
Classic Adobo Ingredients List for Authentic Filipino Chicken Adobo
Okay, let’s talk about what goes into this pot. When you’re making true Filipino Chicken Adobo, you only need a few very powerful players. Forget loading it up with too many extras; the beauty here is simplicity, which means ingredient quality matters!
You absolutely need bone-in chicken pieces—I swear by thighs here—because the bone leaches flavor right into that gorgeous sauce. Your garlic has to be smashed! Don’t mince it fine; you want those big, fragrant cloves released slowly during the simmer. And if you can find cane vinegar, grab it. If not, regular white vinegar works its magic, too.
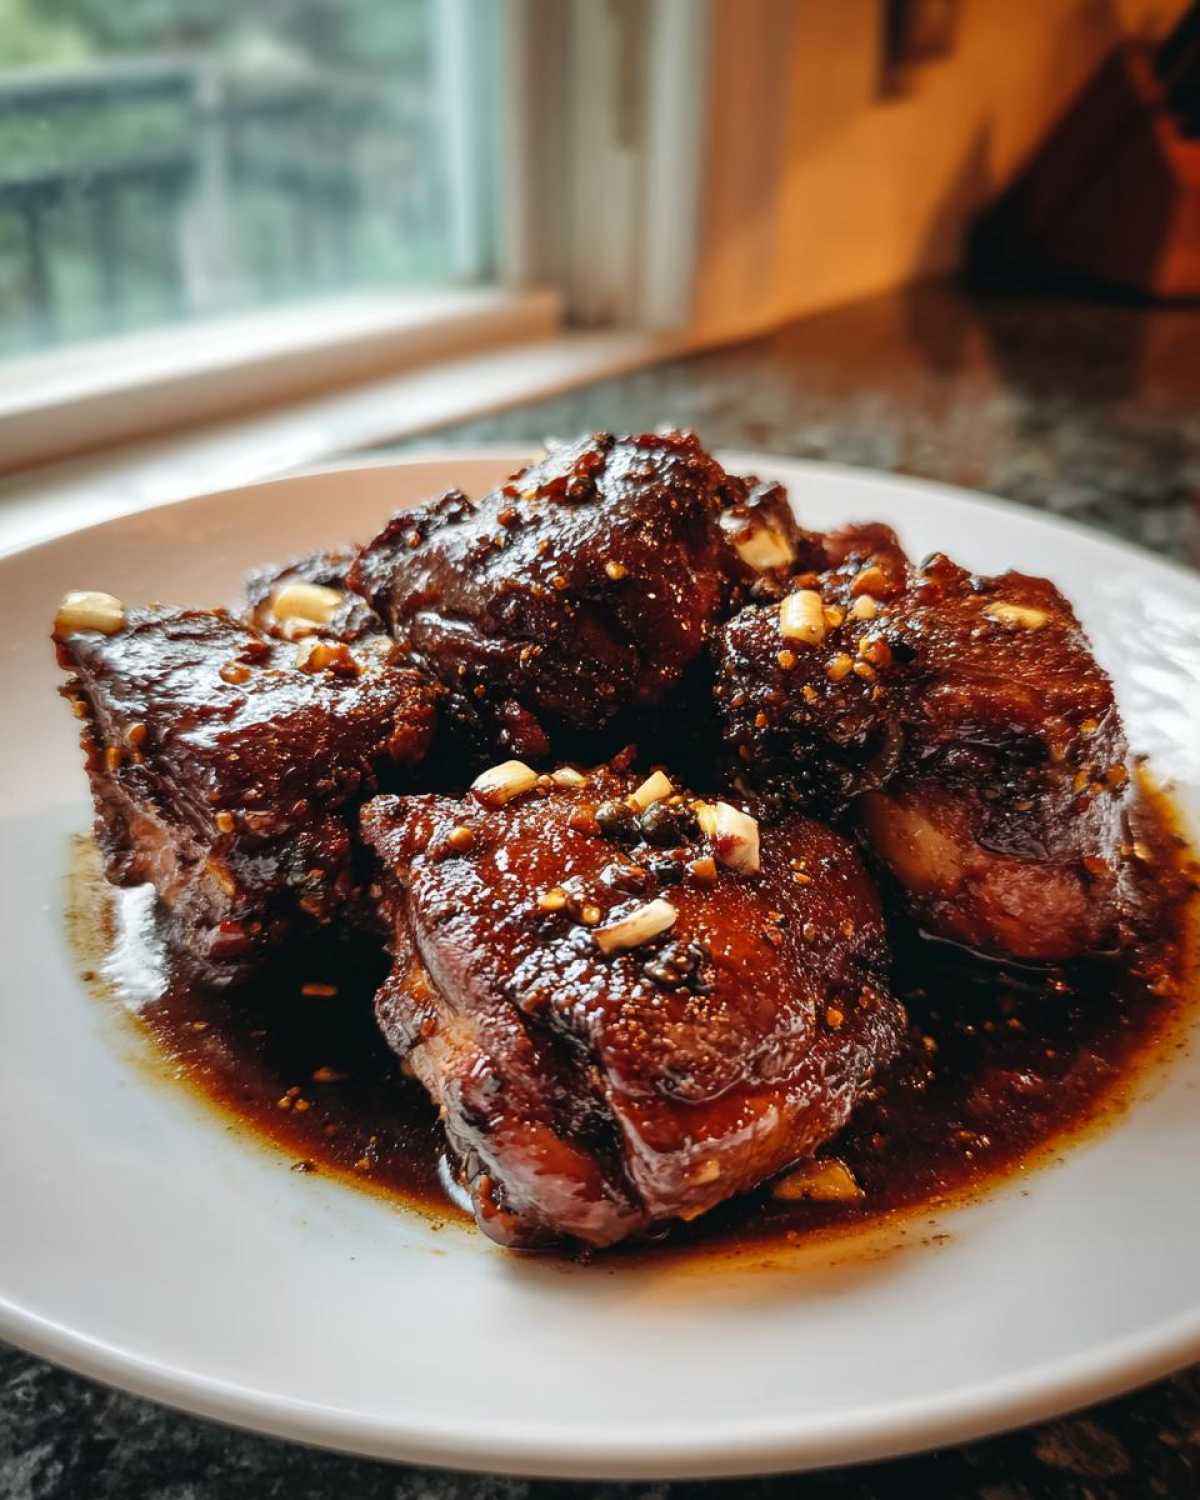
Ingredient Ratios: Mastering the Savory and Sour Balance
This is the make-or-break part for any proper Filipino Chicken Adobo. We stick to a strict 1:1 ratio for our main braising liquids: half a cup of soy sauce to half a cup of vinegar. It looks like a lot, but trust me! The vinegar cooks down beautifully.
If you know your vinegar is particularly harsh, or if you just prefer a smoother, almost sticky sauce coating, tossing in just a tiny bit of brown sugar—maybe a tablespoon—at the end helps neutralize that edge and gives the sauce a lovely, shiny finish. It’s totally optional, but I usually add it for that classic comfort food vibe!
How to Cook Filipino Chicken Adobo the Filipino Way: Step-by-Step
Alright, this is where the magic happens! Cooking this classic Filipino Chicken Adobo really comes down to timing and respecting the ingredients. Don’t rush the marination, and promise me you’ll follow my golden rule about the vinegar—it’s the secret to a smooth flavor!
Step 1 & 2: Marinating and Searing for Deep Flavor in Filipino Chicken Adobo
First things first: we marry the chicken with the soy sauce, flavorings, and half that gorgeous smashed garlic. You need this flavor soak time, so aim for at least 30 minutes, but honestly, 2 hours in the fridge is where it gets really good. Once marinated, pull the chicken pieces out and pat them a little dry—this helps with browning!
Heat up your oil in a heavy pot, and brown those chicken pieces on all sides. Don’t crowd the pan! We’re looking for deep golden color, not steam. Those lovely brown bits sticking to the bottom of the pot? That’s pure flavor waiting to be saved by our sauce later.
Step 3 & 4: Simmering and Tenderizing the Chicken Adobo
Now, everything goes back in: the reserved marinade, the vinegar, the rest of the garlic, and the water. Listen to me: the absolute most important rule for authentic Filipino Chicken Adobo is this: Pour the vinegar in, and then DO NOT STIR IT for a good five minutes! You let it just bubble away, uncovered, so that sharp, harsh alcoholic smell cooks right off. It’s non-negotiable!
Once that smell is gone, reduce the heat way down low, put the lid on, and let it gently simmer for about 35 to 40 minutes. That slow simmer is what makes the meat fall-off-the-bone tender. No rushing allowed!
Step 5: Achieving the Perfect Garlic Adobo Sauce Reduction Techniques
When the chicken is tender, it’s time for the sauce payoff! Take the lid off and turn the heat up to medium. We want that liquid to bubble gently and reduce down until it’s thick enough to coat the back of a spoon beautifully. If you like it saucier for drowning your rice, pull it off the heat when it’s slightly thinner.
If you’re using that optional brown sugar for balance, this is when you stir it in until it melts right into the sauce. Fish out those bay leaves, and that’s it. You’ve got the ultimate savory, sour, perfect sauce clinging to every piece of chicken!
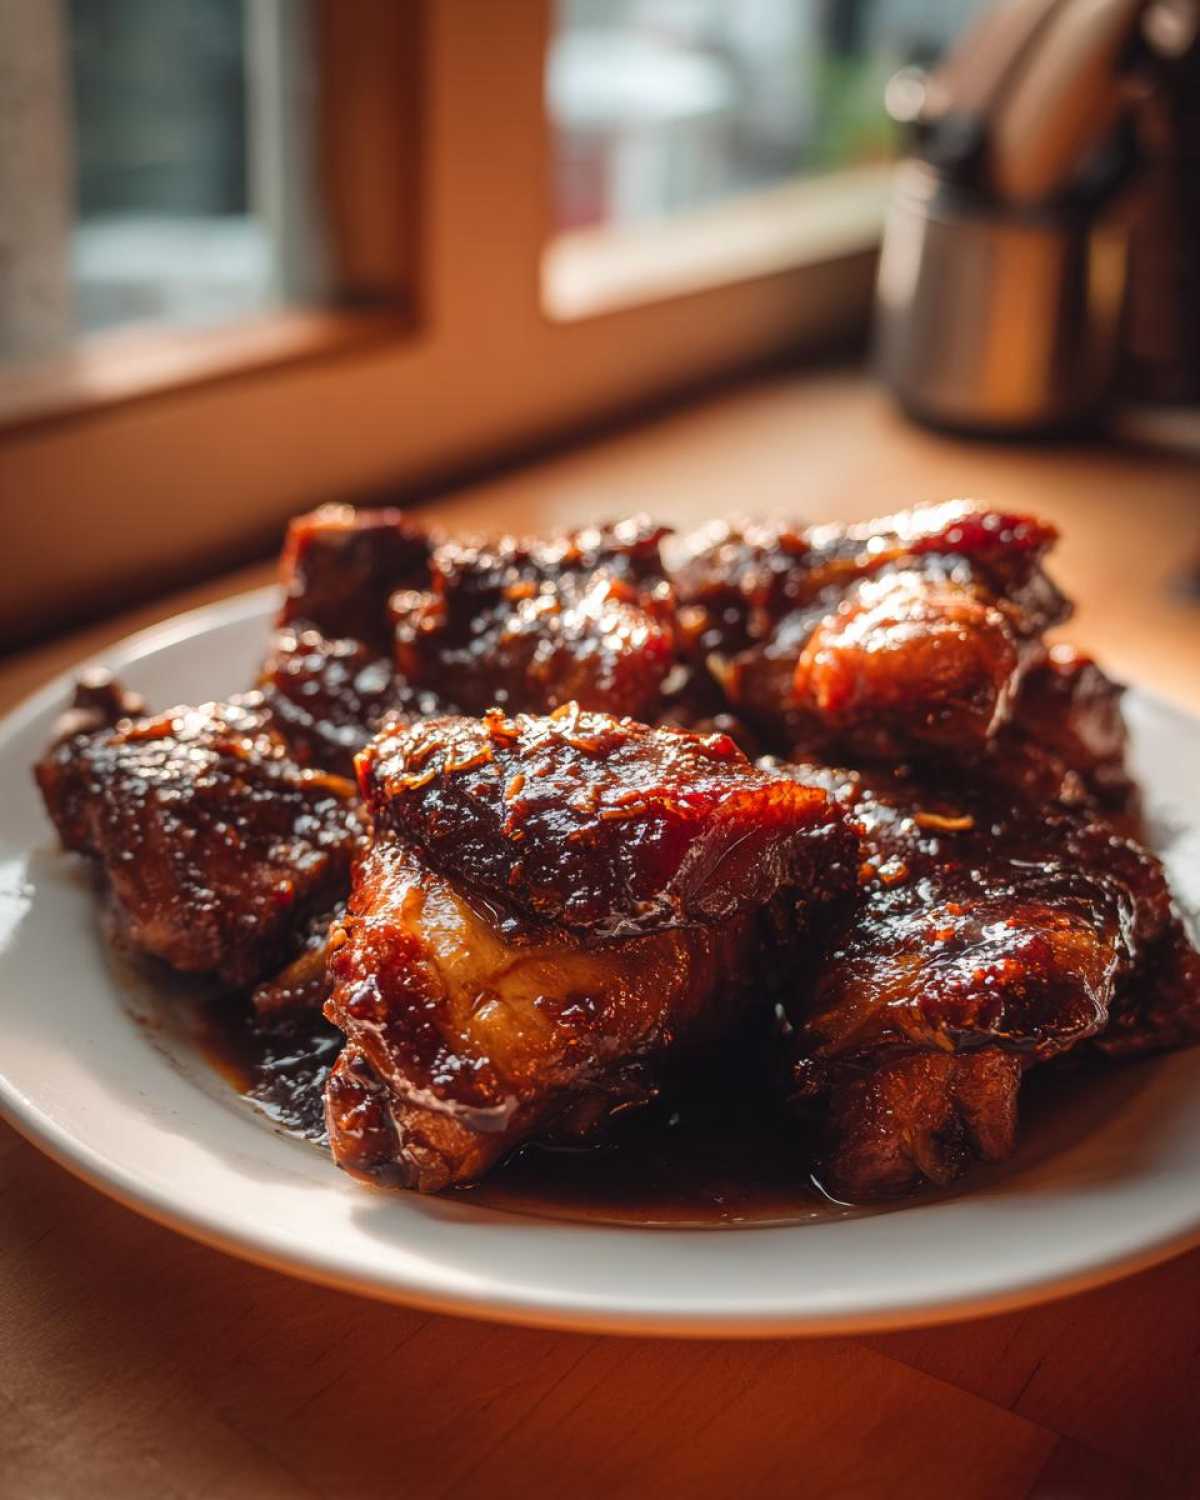
Making Crispy Adobo Flakes: A Popular Filipino Chicken Adobo Variation
Okay, sometimes you just don’t want that lovely braising sauce, right? Sometimes you want texture! That’s when we turn our saucy Filipino Chicken Adobo into Crispy Adobo Flakes, or just super crispy chicken pieces. I love doing this when I have leftovers, honestly!
First, after the chicken is fully cooked and tender in Step 4, gently pull all the pieces out of the pot, leaving that glorious reduced sauce behind. You’ll want about 1/2 inch of oil in a separate skillet on medium-high heat. Carefully place the chicken pieces into that hot oil.
Fry them until the skin gets wonderfully brown and crispy—this might take 5 to 8 minutes depending on how much skin is left. Once they are beautifully crisp, lift them out and put them on a paper towel for just a second. Then, put them right back into the simmering sauce for a quick 30-second toss. That little bath of sauce just before serving makes them taste incredibly rich and crispy all at once!
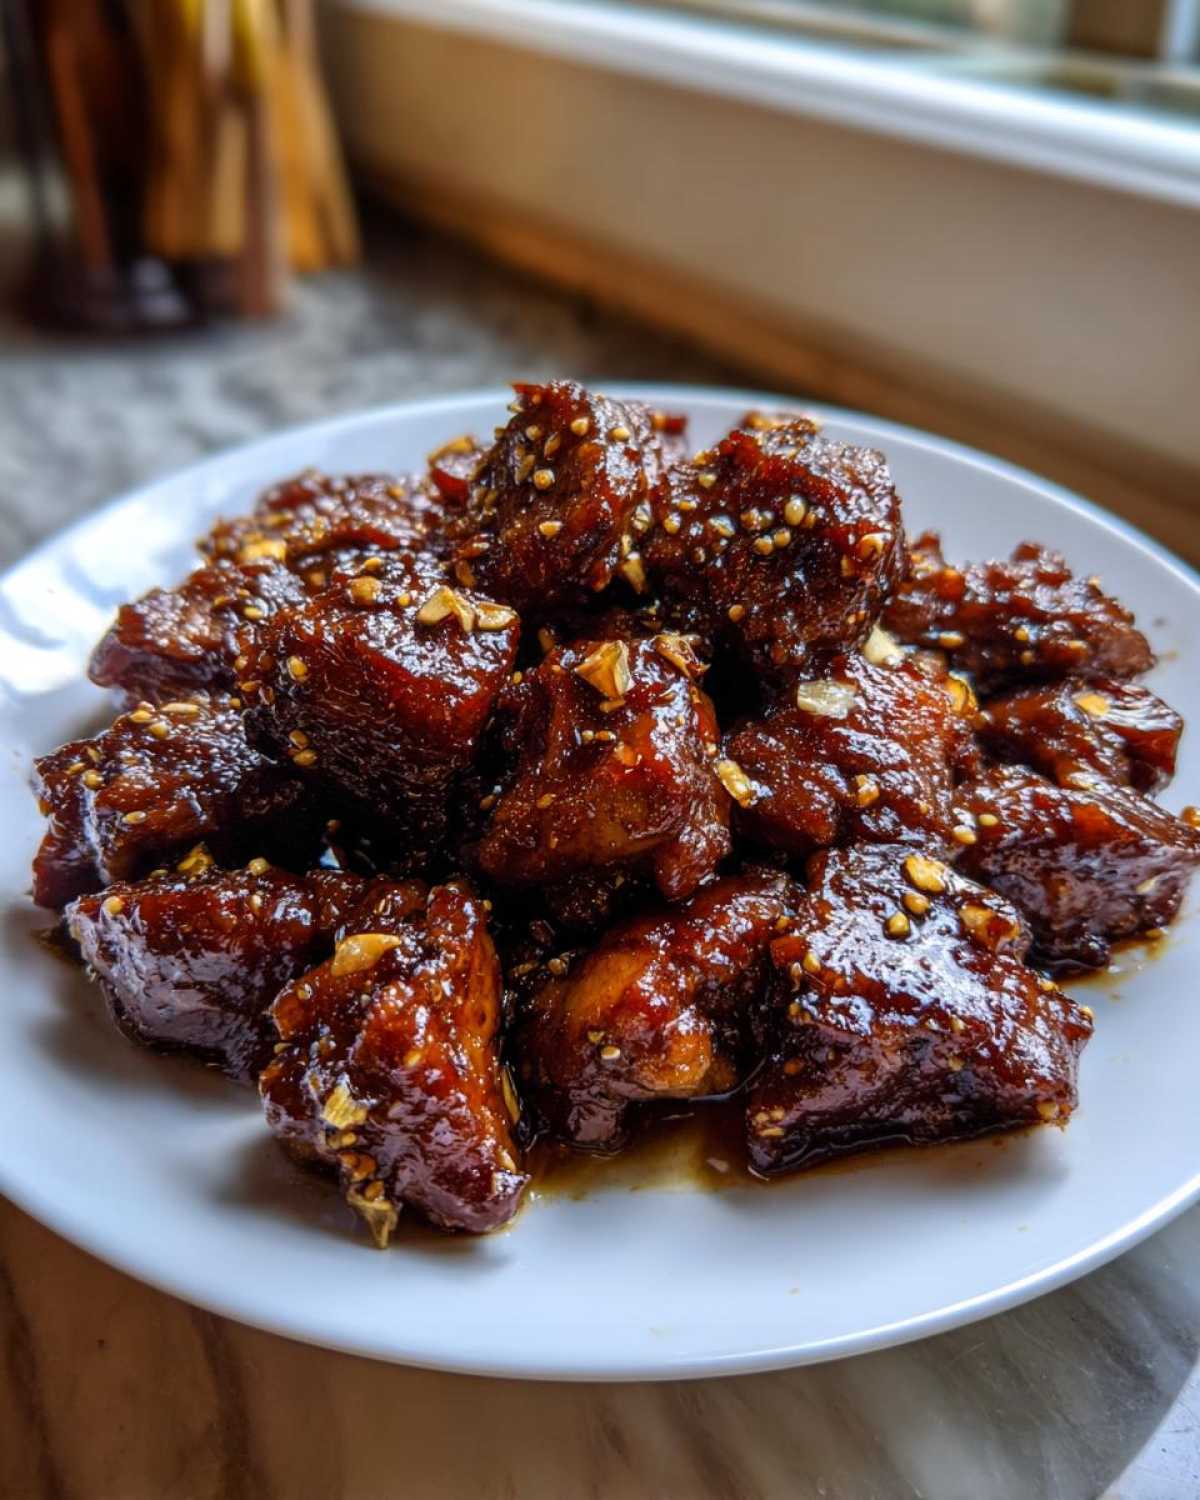
Equipment Needed for the Best Filipino Chicken Adobo
You don’t need a dozen fancy gadgets for this classic Filipino Chicken Adobo recipe, but having the right big pot makes all the difference! My absolute favorite vessel for this is a heavy-bottomed Dutch oven. Why? Because it distributes the heat so evenly, which is crucial when you’re searing the chicken first and then letting it happily simmer.
If you don’t have a Dutch oven, any heavy pot that has a tight-fitting lid will work wonders. Cast iron is fantastic here. It holds the heat steady while we let those flavors meld for almost an hour. Resist using a thin stainless steel pot if you can, because you’ll end up with hot spots that might scorch that lovely marinade.
Now, if you’re a total busy body like I sometimes am (oops!), you can certainly adapt this! For those days when you just don’t want to stand over the stove, the slow cooker is your best friend. Just combine everything, add the vinegar last, let it cook low and slow, and then you can always reduce the sauce quickly on the stovetop afterward. But honestly? The stovetop version where you control the sauce reduction is the way to go!
Chicken Adobo Cooking Tips and Tricks for Flavor Depth
Now that you know the basic steps for making perfect Filipino Chicken Adobo, let me give you a few little secrets that take this from ‘great’ to ‘I need the recipe!’ These are the tiny things I picked up watching my Lola cook for decades.
First, don’t drain the fat! When you sear the chicken, you’re rendering out some incredible chicken fat. After you remove the browned chicken pieces, leave that fat right there in the pot. When you pour in the marinade and vinegar, the chicken fat emulsifies with the soy and vinegar, giving your final sauce an unbelievable richness and body. It’s way better than adding a tablespoon of separate oil later.
Second, really lean into that garlic. I always tell people that if you think you’ve added *enough* garlic, add one more clove. Adobo *needs* that garlicky punch. I use at least a full head, and I make sure I smash the cloves hard enough to break them open, but I leave them whole so they don’t burn during the long simmer. They break down a little, infusing everything with their warm flavor.
My third tip is about time, which is your best cooking ingredient! If you have the chance, this is one of those rare dishes that is genuinely better the next day. The vinegar mellows, the soy sauce penetrates deeper, and the spices really bloom. If you are meal prepping, go ahead and cook it all through, let it cool, and then keep it in the fridge. When you reheat it tomorrow, you can reduce the sauce down until it’s super thick and almost like a glaze. You can see some of the flavors I love bringing into other meals, like my garlic herb roasted veggies, taste even better the next day, too!
Serving Suggestions: Side Dishes for Adobo Rice Pairing
You simply cannot eat Filipino Chicken Adobo without rice, right? It’s like trying to wear socks without shoes—just feels wrong! Plain, hot, steamed white rice is the bedrock here. It’s the perfect, neutral canvas that soaks up every drop of that salty, tangy sauce. Don’t even think about fancy rice yet; just white rice is essential for the best side dishes for adobo rice pairing.
If you want something to cut through the richness of the sauce, a simple fresh tomato and onion salad dressed lightly with salt and vinegar works wonders. Or, if you made Crispy Adobo Flakes, you can crumble those right over the top of your rice for an extra textural blast! It’s pure Filipino comfort food heaven.
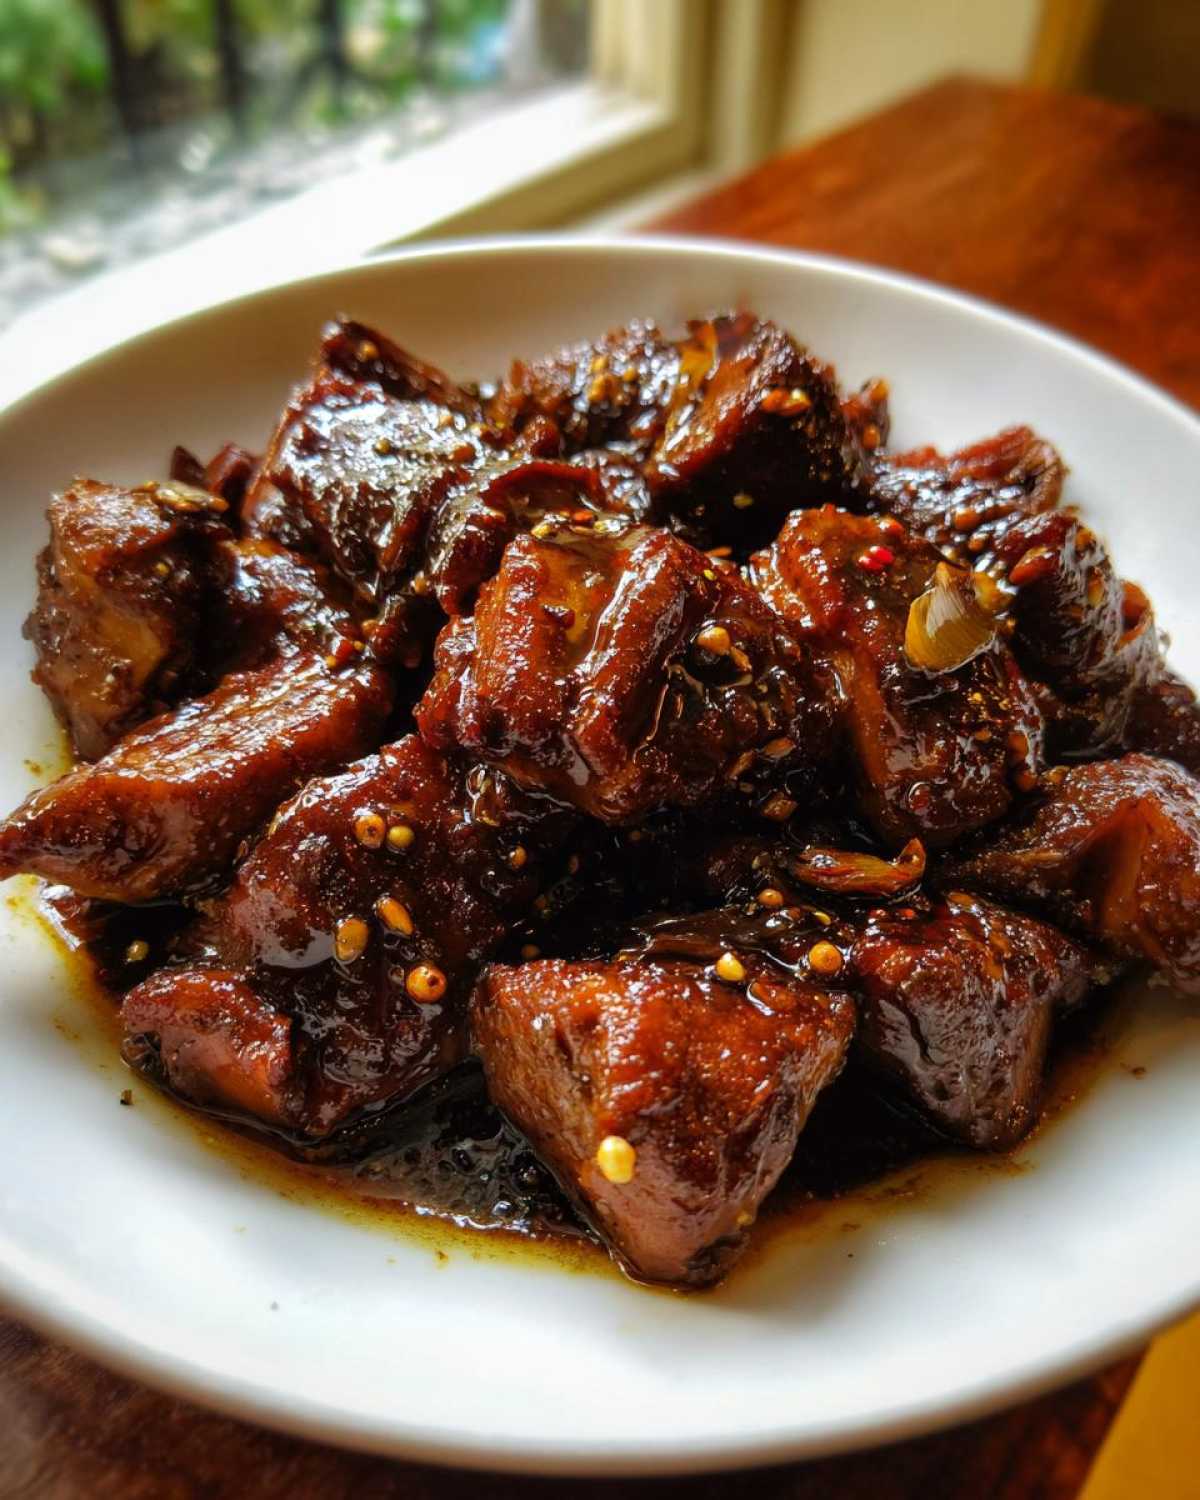
Storing and Reheating Your Leftover Filipino Chicken Adobo
Hands down, Adobo is one of those dishes that gets angrier—in the best way possible—the next day! The flavors actually have more time to marry and deepen overnight once they’ve cooled down, so that sauce you thought was perfect suddenly tastes even more complex and balanced. I always make a double batch just so I have lunch the next day.
You can keep your leftover Filipino Chicken Adobo in an airtight container in the fridge for up to three or four days. Just make sure you get all those lovely little bits of garlic and peppercorns in there, too, because they keep infusing everything even while chilling!
When it comes to reheating, you have two paths depending on what you loved about the initial cook. If you like that saucy, braise consistency, just reheat everything gently in a covered pot on the stove over medium-low heat. You might need to splash in just a tiny bit of water or broth if the sauce got too sticky while cooling, but generally, it warms up beautifully as is.
Now, if you were a purist and made those amazing crispy pieces we talked about earlier? Honestly, reheating those crispy bits back in the original sauce isn’t the best idea, because the sauce will immediately soften them right back up. For crispy leftovers, you need to reheat the chicken pieces separately. Pop them in an oven or air fryer at about 350°F (175°C) for just 5 to 7 minutes to crisp that skin back up. Then, when you serve them over fresh rice, drizzle just a little bit of the reserved sauce from the fridge right over the top for moisture. That way, you get the texture *and* the flavor!
Frequently Asked Questions About Filipino Chicken Adobo
Can I use boneless chicken for this Filipino Chicken Adobo recipe?
Oh, you absolutely *can* use boneless chicken, and if you’re in a huge rush or only have breast meat, go for it! But I have to tell you, for the *best* experience of this Filipino Chicken Adobo recipe, bone-in thighs are the way to go. The bones release collagen and marrow, which naturally thickens your sauce and gives it a richer body during the simmer. If you do use boneless pieces, just watch your cooking time carefully—they’ll be fully tender way faster, maybe 25 minutes instead of 40!
What is the difference between Adobo and Humba?
That’s a fun question! Both are amazing Filipino comfort food classics, but they are definitely different. Adobo is all about that sharp, bright contrast between soy sauce and vinegar—it’s tangy and salty, right? Humba, on the other hand, is richer and sweeter. Humba usually includes fermented black beans (tausi) and often uses banana blossoms, and it cooks down with a lot of sugar, making the sauce thick and almost caramelized. Adobo is usually saucier and tarter; Humba is sweet and earthy!
What type of vinegar works best for Authentic Adobo preparation?
When aiming for Authentic Adobo preparation, the champion is definitely Filipino cane vinegar. It has a lighter, cleaner sourness that complements the soy sauce perfectly. White distilled vinegar is the very close second choice—it’s sharp but won’t muddy the other flavors. I’d say avoid things like thick balsamic or super fruity vinegars like apple cider if you are trying to nail that traditional taste. Stick to the clear, sharp stuff!
PrintAuthentic Filipino Chicken Adobo Recipe
Follow these steps to prepare a classic Filipino Chicken Adobo, balancing savory soy sauce with tangy vinegar and aromatic garlic.
- Prep Time: 15 min
- Cook Time: 50 min
- Total Time: 65 min
- Yield: 4 servings
- Category: Main Dish
- Method: Braising
- Cuisine: Filipino
- Diet: Low Fat
Ingredients
- 2 lbs chicken pieces (bone-in thighs and drumsticks recommended)
- 1/2 cup soy sauce
- 1/2 cup white vinegar or cane vinegar
- 1 whole head garlic, cloves smashed
- 1 tablespoon whole black peppercorns
- 3 dried bay leaves
- 1 cup water
- 1 tablespoon brown sugar (optional, for balance)
- 1 tablespoon cooking oil
Instructions
- Marinate the chicken: In a bowl, combine the chicken, soy sauce, half of the smashed garlic, peppercorns, and bay leaves. Let it sit for at least 30 minutes, or up to 4 hours in the refrigerator.
- Sear the chicken: Heat the oil in a heavy-bottomed pot or Dutch oven over medium-high heat. Remove the chicken from the marinade, reserving the liquid. Brown the chicken pieces on all sides, working in batches if necessary.
- Simmer the adobo: Return all the chicken to the pot. Pour in the reserved marinade, the vinegar, the remaining smashed garlic, and the water. Do not stir immediately after adding the vinegar; let it boil uncovered for 5 minutes to cook off the sharp edge of the vinegar.
- Cook: Reduce the heat to low, cover the pot, and simmer for 30 to 40 minutes, or until the chicken is tender.
- Reduce the sauce: Remove the lid. If you prefer a thicker sauce, increase the heat to medium and let the sauce simmer and reduce until it thickens slightly and coats the chicken. Stir in the brown sugar now, if using.
- Serve: Remove the bay leaves before serving. Serve hot over steamed white rice.
Notes
- For a richer flavor, let the chicken braise longer on low heat until the sauce is significantly reduced and coats the meat well.
- To make crispy adobo, remove the cooked chicken from the sauce after step 4. Pan-fry the pieces in a little oil until the skin is golden brown and slightly crisp before returning them to the sauce briefly.
- If using a slow cooker, combine all ingredients (except oil) and cook on low for 6-8 hours or high for 3-4 hours. Reduce the sauce separately on the stovetop if needed.
Nutrition
- Serving Size: 1 serving
- Calories: 350
- Sugar: 5
- Sodium: 950
- Fat: 18
- Saturated Fat: 5
- Unsaturated Fat: 13
- Trans Fat: 0
- Carbohydrates: 8
- Fiber: 1
- Protein: 38
- Cholesterol: 110