

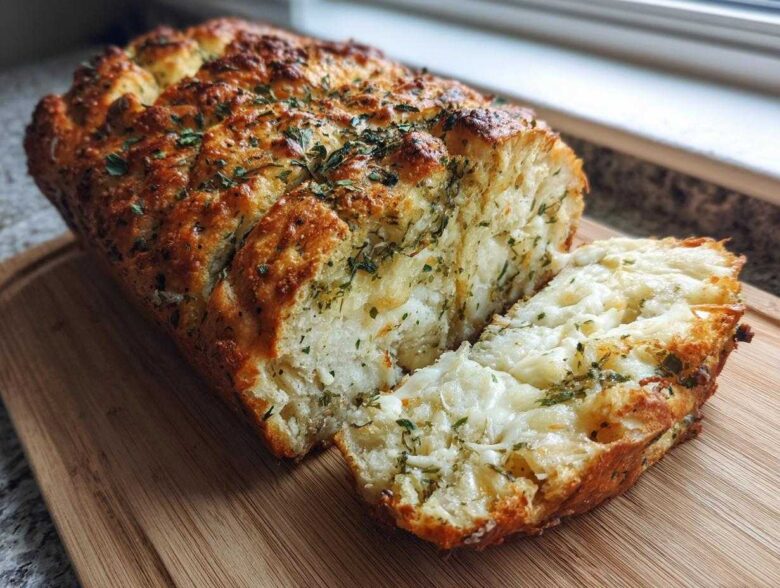
If you’ve ever looked at your bread machine and thought, “You’re just collecting dust,” let me tell you: you are missing out on the single easiest, most ridiculously flavorful loaf you’ll ever make! Chloe and I both agree that setting up this Italian herb and cheese bread is practically cheating. I’m Ethan, and as the resident map-maker here at Recipes Fleet, I live for exact measurements—especially when cheese and yeast are involved. This recipe is the perfect handshake between my need for structure and Chloe’s love for Italian flavors. We talk a lot about how we found our rhythm over food on our About Us page. Trust me, this foolproof loaf is the best way to welcome any beginner to the wonderful world of bread baking.
Why This Italian Herb and Cheese Bread Machine Recipe Works (Beginner Bread Machine)
Honestly, this recipe is the definition of foolproof! It takes all the guesswork out of making that amazing parmesan herb bread you usually have to knead by hand. Because the machine handles the mixing and the timed rises, you get a perfect texture every single time. When we first tried tossing Parmesan and mozzarella into the pan, expecting a disaster, the loaf came out browned perfectly on top—it was a monumental success! It’s one of our favorite easy bread machine recipes because it just works. We’ve never had a bad result. If you need more ideas for kitchen adventures, check out our main Blog section!
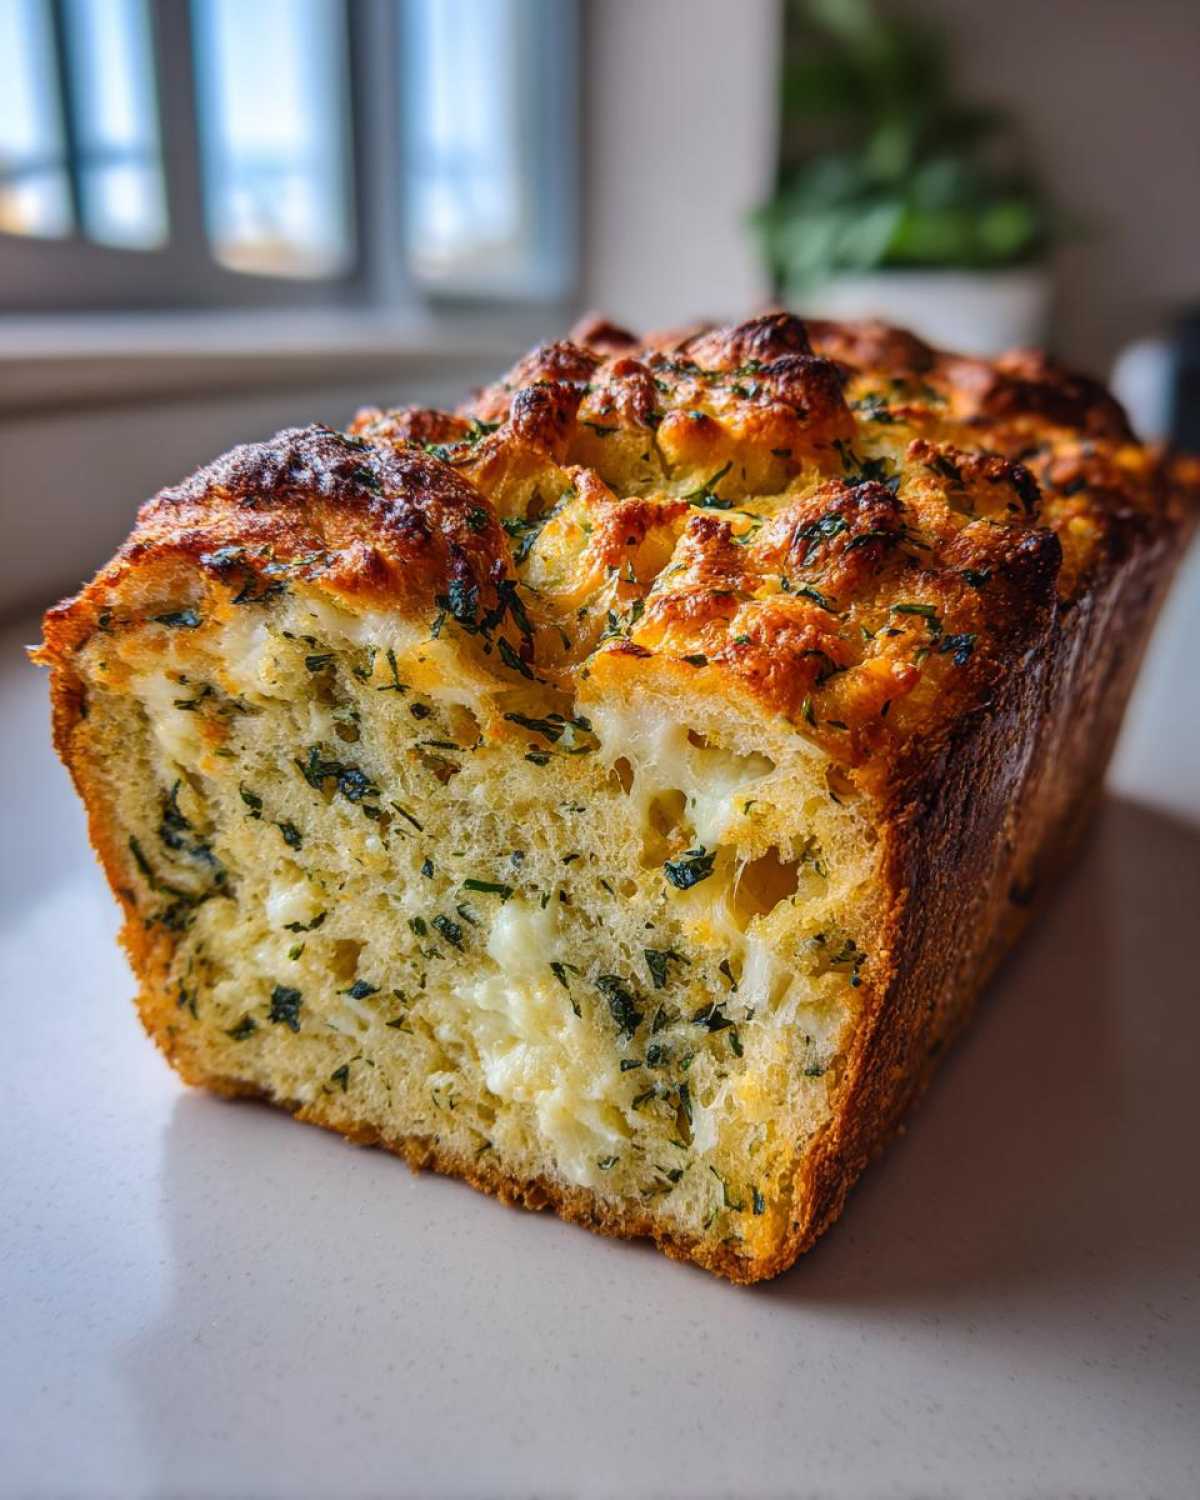
Perfect Slicing for Your Sandwich Loaf
That beautifully built-in cycle is exactly what gives you that gorgeous, clean slice we all want for our sandwiches. The secret isn’t just in the ingredients, though; it’s in patience! You absolutely must let this loaf cool completely on the rack. If you rush it, the interior steam condenses too fast, and you end up with a slightly gunky, gummy middle. Wait a few hours, and I promise, you will be able to cut perfect pieces for dinner or for loading up with deli meat.
Gathering Ingredients for Your Italian Herb and Cheese Bread
Okay, this is where my meticulous side comes out! Since we are using a beloved machine to do the heavy lifting, we need to make sure every single component—from the water temperature to how we measure that yeast—is spot on. Getting this initial setup right guarantees you end up with the most savory Italian herb and cheese bread imaginable. Chloe always teases me for measuring the water with a thermometer, but trust me, the machine relies on that consistent warmth to wake up the yeast correctly! Here are the exact things you need ready to go before you even touch the machine pan.
- 1 1/4 cups water, warm (about 80°F)
- 2 tablespoons unsalted butter, softened
- 3 cups bread flour
- 1 1/2 teaspoons salt
- 2 tablespoons granulated sugar
- 1 tablespoon dried Italian seasoning blend
- 1 teaspoon garlic powder
- 1/2 cup shredded Parmesan cheese, plus 2 tablespoons for topping
- 1 cup shredded mozzarella cheese
- 2 teaspoons active dry yeast
Ingredient Notes and Substitutions for Parmesan Herb Bread
The flour choice here is non-negotiable: you have to use bread flour. It has higher protein content, which is exactly what you need to support all that cheese weight and still get a decent rise in the bread machine. Remember, a standard sandwich loaf needs that structure!
For the herbs, our recipe calls for a general Italian blend, but if you happen to have a great store-bought mix that heavily features rosemary and oregano, go for it! That’s the kind of happy deviation Chloe loves. Also, please use real, block-shredded cheese if you can manage it. Pre-shredded cheese usually has anti-caking agents that can sometimes interfere with the melt, and we want those gooey pockets, right?
Step-by-Step Instructions for Easy Bread Machine Recipes
Alright, buckle up! This is where the magic happens, and honestly, it’s so simple you’ll wonder why you ever stood over a kneading board. The order you add things to the bread machine pan is incredibly important because we don’t want the yeast to activate early or get salted out. Think of it like building layers for the perfect bread machine herb bread!
First up, liquids and butter go in the bottom—water first, then the soft butter. Next, we layer the dry stuff on top: the flour, salt, sugar, and all those wonderful seasonings. Don’t mix them yet! Now, create a tiny little divot or well right in the middle of that flour layer. That’s where the yeast goes. Keep that yeast totally separated from the salt and liquid for now. Finally, sprinkle the bulk of your cheeses—the Parmesan and mozzarella—on top of the flour, making sure they are also far away from that yeast well. This deliberate layering is the entire key to a successful loaf.
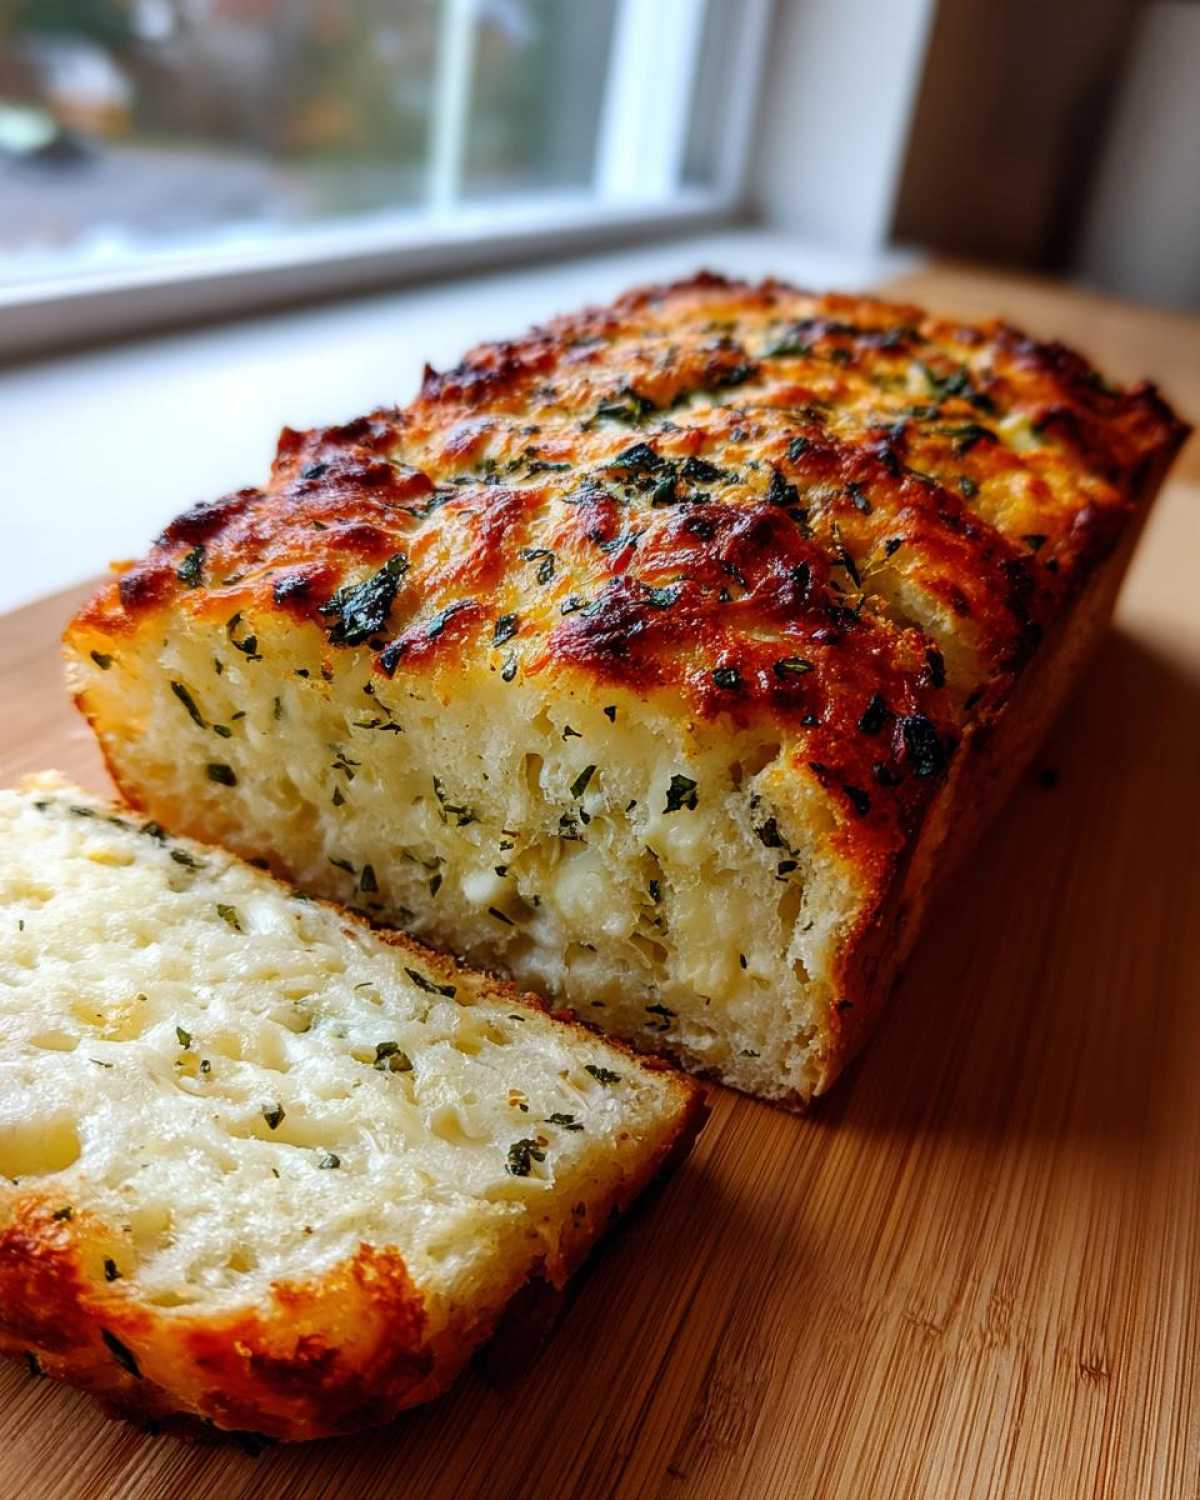
Once everything is layered correctly, select your cycle and step back. If you need a refresher on making delicious savory things, check out this awesome recipe for garlic butter naan bread, but stick with the basic white cycle here!
Selecting the Right Bread Machine Cycle and Crust Setting
For this loaf, you’re going to pick the standard Basic White Bread cycle. That’s the one that handles the standard rise times best for a heavier sandwich loaf like this one. Make sure you set your crust to Medium unless you love a really dark top crust, which might burn the cheese.
Here’s the part where you need to pay attention! Most machines beep about 10 to 15 minutes before the bake cycle ends. That is your cue! Open the lid quickly—be careful of the steam—and sprinkle those last two tablespoons of Parmesan on top. You want that second layer of cheese to melt and crisp up nicely without burning during the main bake. Close it up fast so the machine doesn’t lose too much heat, and let it finish its job. That little peek gives you the perfect finishing touch!
Tips for Perfect Cheesy Dinner Bread from Your Machine
Because we rely on the machine for everything, sometimes we need an extra little manual trick up our sleeve, right? This is where knowing the machine helps, especially if you’re a beginner bread machine owner! If your dough looks super sloppy and wet early in the kneading cycle, the cheese might be adding an unexpected bit of moisture. Don’t panic! A beginner’s fix is to open the machine and add one tablespoon of flour at a time until the dough forms a nice ball again. Remember, the recipe notes mentioned avoiding the delay start feature? That’s because leaving the cheese sitting with the yeast overnight is a recipe for a flat loaf. We want that cheese layering right before the final bake for maximum satisfaction!
Storing and Reheating Your Italian Cheese Bread
Great news! This Italian herb and cheese bread is just as fantastic the next day, or even next week, thanks to that wonderful bread machine crust. But you absolutely cannot skip the cooling step. I know it’s tough; the smell of garlic and melting cheese filling your kitchen is almost unbearable, but if you cut into that loaf while it’s hot, you’ll get that gummy texture we specifically tried to avoid earlier. Let it rest on the wire rack for a minimum of two full hours. Seriously, walk away!
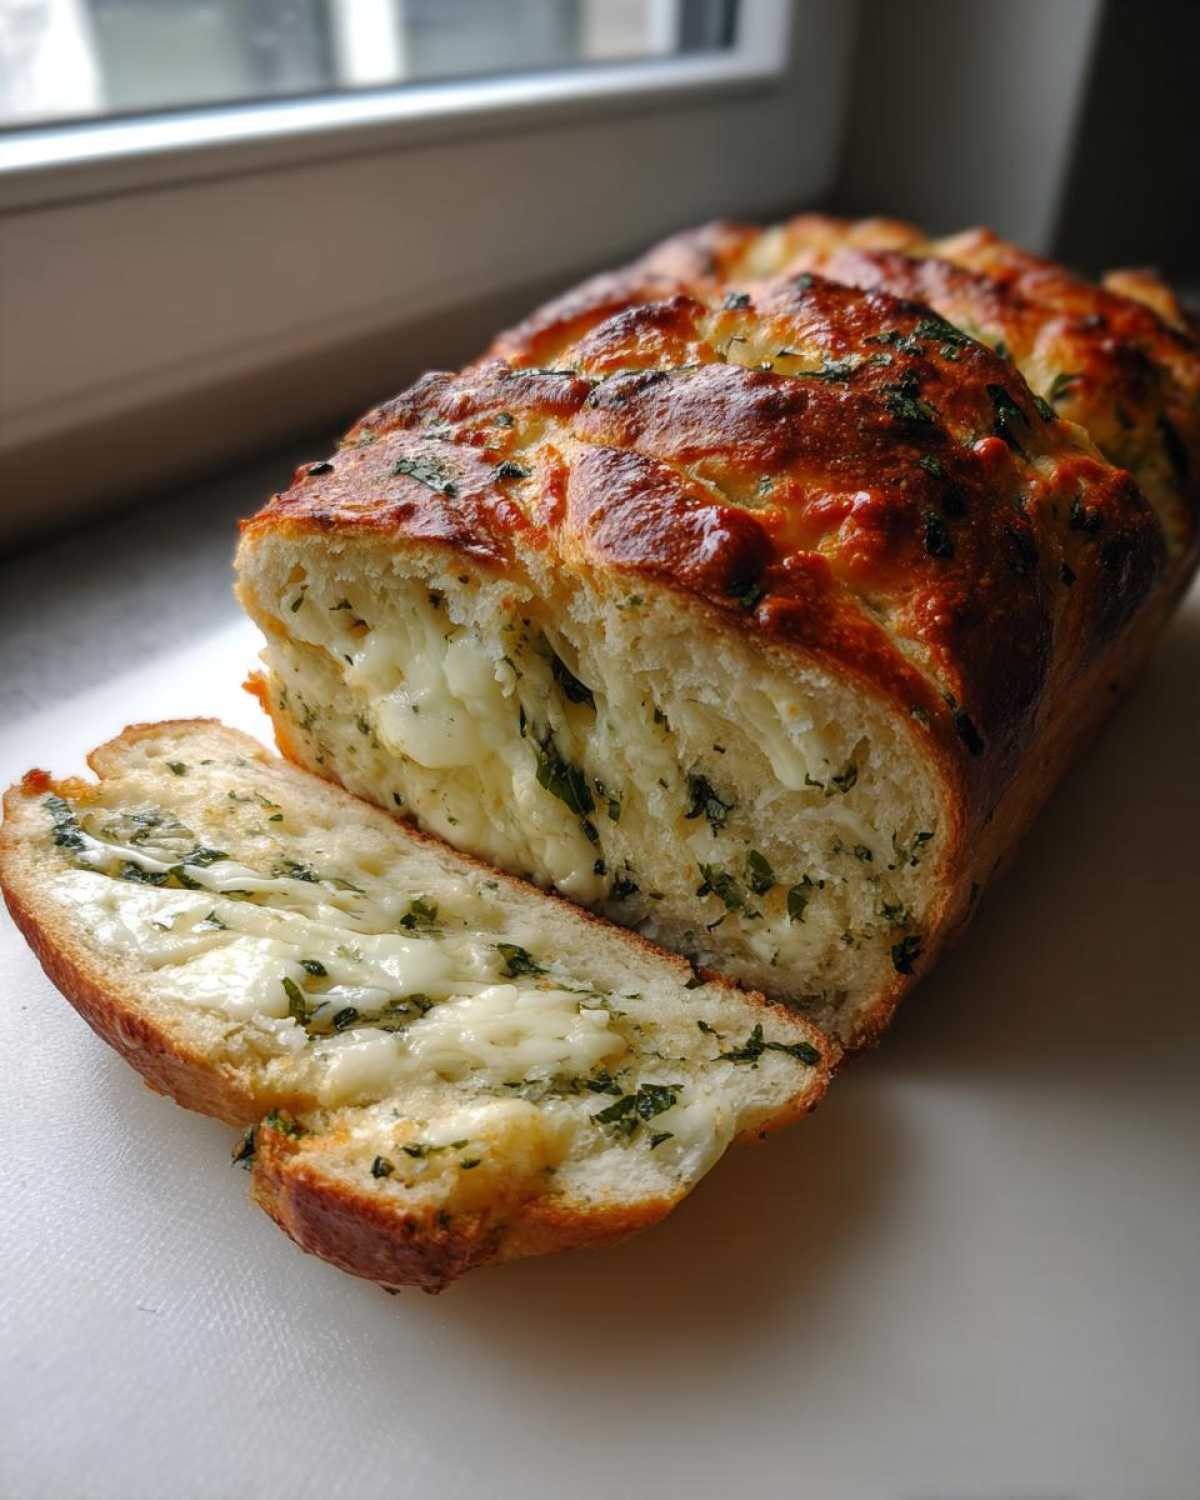
Once it’s totally cool, slicing is easy. If you know you won’t finish the loaf in a day or two, I highly recommend freezing what’s left. Just slice it up first—it’s nearly impossible to slice cleanly once it’s frozen solid!
We found that if you wrap the slices tightly in plastic wrap and then put them into a heavy-duty freezer bag, this cheesy bread stays perfect for three months. When you are ready for a slice, just pop it straight from the freezer into the toaster oven or under the broiler for a minute or two. It crisps right back up, and that Parmesan topping gets magically re-crisped. It’s the best way to keep that homemade taste ready for a quick snack!
Serving Suggestions for This Garlic Herb Bread
Now that you have this incredible, sturdy loaf fresh from the machine, the real question is: what are you going to eat it with? This isn’t just a bread for the breadbasket, folks; this is a supporting actor that deserves a starring role alongside your main meal! I find the combination of rosemary, oregano, and cheese is just so comforting, especially when the weather turns.
Because this garlic herb bread has such a sturdy crumb, it’s absolutely perfect for dipping. Think about soaking up the last bit of broth from Chloe’s famous Italian Penicillin Soup—you need a bread that won’t dissolve into mush, and this one holds up beautifully.
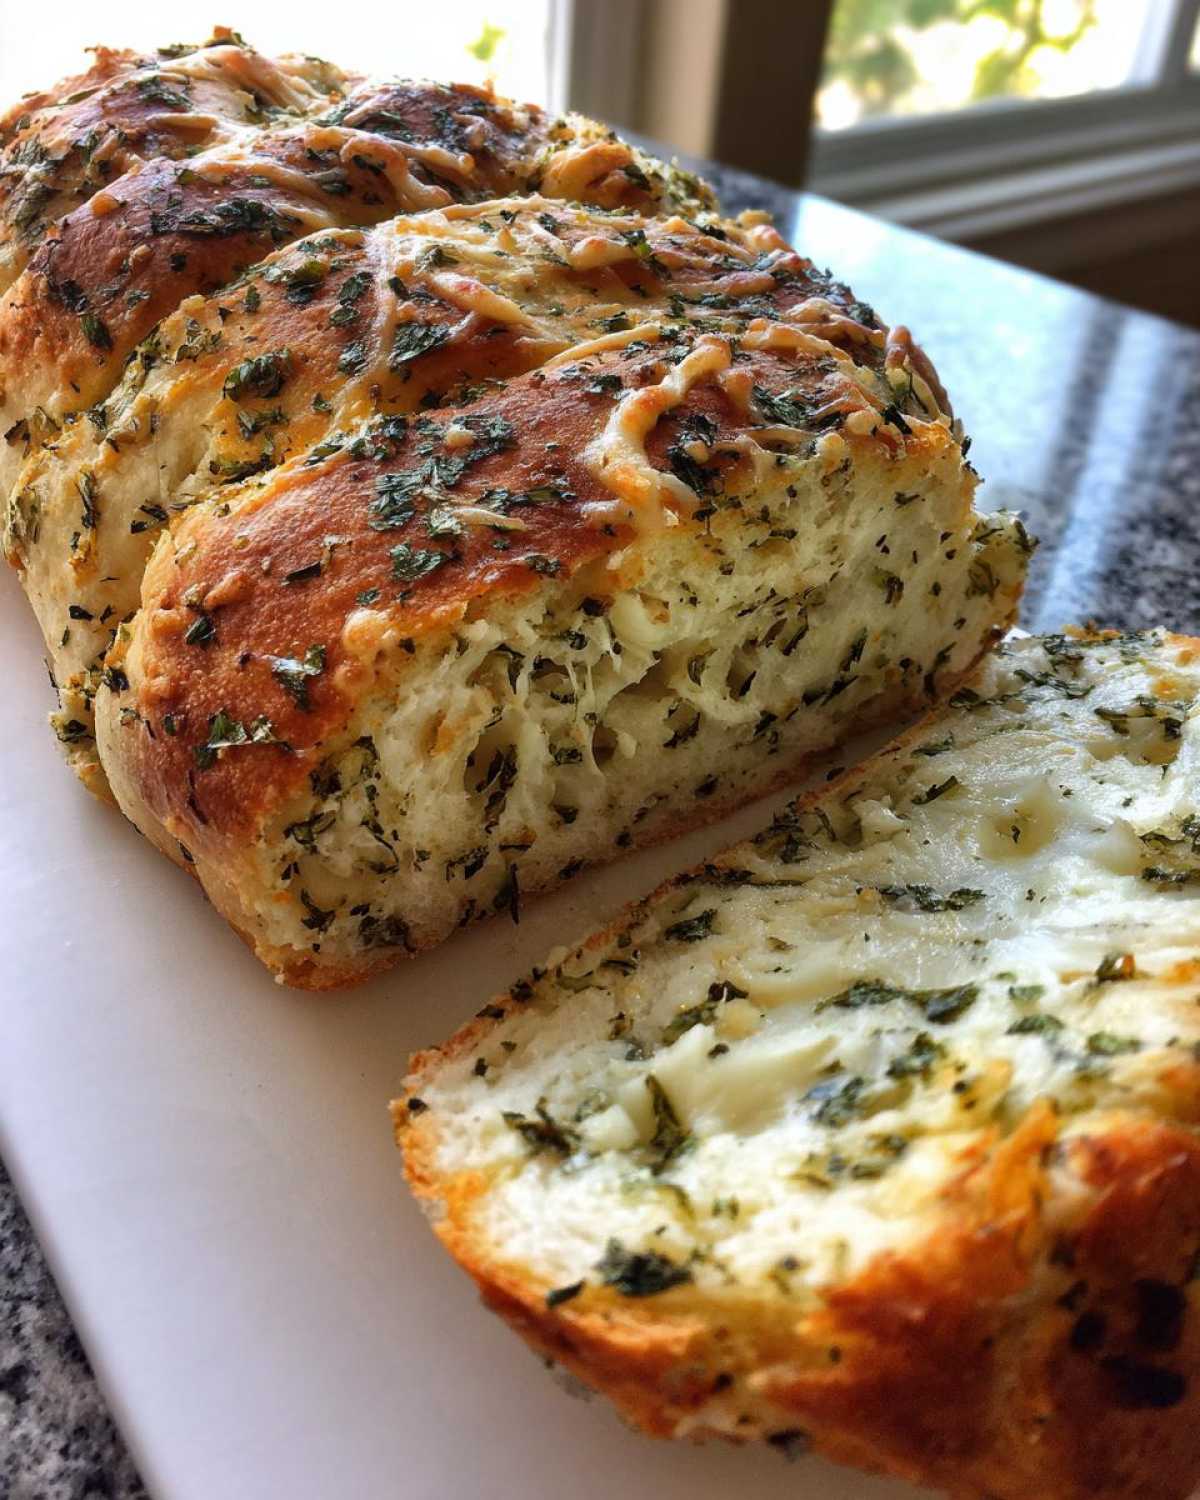
It’s also fantastic alongside something hearty like lasagna or baked ziti. If you happen to be roasting vegetables, you can slice this loaf thick, brush it with a little extra olive oil, and toast it right alongside some wonderful seasonal veggies. We toss ours with a mix like this when we make our garlic herb roasted veggies—it soaks up all those savory juices perfectly. It even makes a decent base for a super fancy grilled cheese if you’re feeling ambitious!
Frequently Asked Questions About Italian Herb and Cheese Bread
I’ve tried to cover everything, but I know when you’re dealing with a machine, sometimes you just have a random question pop up. Don’t worry, we’ve got you covered here with the things we hear most often when people try this for the first time. It’s all about making sure your kitchen stays happy and your bread machine delivers!
Can I use fresh herbs instead of dried in this bread machine herb bread?
That’s a great question! Fresh herbs are powerful, so you definitely can, but you have to adjust for the moisture. If you use fresh herbs, cut the dried amount in half—so if we called for 1 tablespoon of dried herbs, use about 1.5 teaspoons of finely chopped fresh herbs. Fresh herbs contain water, and we already have a lot of moisture from the cheese. Too much liquid can upset the balance of your Italian herb and cheese bread.
What is the best cycle for a soft sandwich loaf?
Stick with the Basic White Bread cycle. It’s timed perfectly for this recipe because it gives the dough the right amount of time to rise before baking. While it’s called “white bread,” it handles denser, richer recipes like this parmesan herb bread beautifully. It ensures a good rise while still producing that hearty interior you want in a perfect sandwich loaf.
Nutritional Snapshot of Your Homemade Italian Herb and Cheese Bread
I like to keep track of what we’re eating, and I know many of you do too! Since this is homemade using standard ingredients you’d typically buy, I wanted to pull together a quick look at what nutrition looks like per slice. This information is super helpful if you’re counting macros or just trying to keep track of your daily intake. Remember, because we are using real butter and quality cheese in this Italian herb and cheese bread, the numbers reflect that deliciousness!
Here is the basic breakdown based on the recipe as written. These are my best estimates, but if you use different cheese brands or flour types, things might shift slightly. We always recommend looking at our full disclaimer here for the complete details on how we calculate these estimates.
- Serving Size: 1 slice
- Calories: 195
- Fat: 5g
- Protein: 6g
- Carbohydrates: 32g
- Sugar: 2g
- Sodium: 350mg
- Fiber: 1g
See? Not bad at all for something that tastes this indulgent! When you skip the store-bought stuff and make your own cheesy dinner bread, you control exactly what goes in, and that’s a win in my book.
Share Your Italian Herb and Cheese Bread Success
And just like that, you’re done! You’ve made the absolute best, most flavorful loaf of Italian herb and cheese bread possible without even kneading anything. Seriously, take a moment to admire that crust and the aroma filling your house. This is what home baking should feel like—joyful, easy, and incredibly rewarding.
Chloe and I live for hearing from our crew. We really want to know what you thought! Did the timing on that last Parmesan sprinkle work perfectly in your machine? Did you enjoy slicing up that sturdy sandwich loaf for dinner last night? Don’t be shy!
Please take a minute to leave a rating for the recipe right below this section. If you managed to snap a picture of your golden, cheesy creation, tag us on social media! Seeing your ships sail out of your kitchen and onto your tables is genuinely the best part of running Recipes Fleet. Happy baking, we can’t wait to see what you all create next!
PrintEasy Italian Herb and Cheese Bread Machine Loaf
Make a flavorful, cheesy Italian herb bread right in your bread machine. This recipe is perfect for a beginner and yields a loaf that slices well for sandwiches or serving with dinner.
- Prep Time: 10 min
- Cook Time: 3 hr 30 min (machine cycle time)
- Total Time: 3 hr 40 min
- Yield: 1 loaf (about 12 slices)
- Category: Baking
- Method: Bread Machine
- Cuisine: Italian
- Diet: Vegetarian
Ingredients
- 1 1/4 cups water, warm (about 80°F)
- 2 tablespoons unsalted butter, softened
- 3 cups bread flour
- 1 1/2 teaspoons salt
- 2 tablespoons granulated sugar
- 1 tablespoon dried Italian seasoning blend
- 1 teaspoon garlic powder
- 1/2 cup shredded Parmesan cheese, plus 2 tablespoons for topping
- 1 cup shredded mozzarella cheese
- 2 teaspoons active dry yeast
Instructions
- Add the warm water and softened butter to the bread machine pan in the order recommended by your machine’s manual.
- Add the bread flour, salt, sugar, Italian seasoning, and garlic powder on top of the liquid ingredients. Create a small well in the flour layer.
- Place the active dry yeast into the well you created in the flour. Do not let the yeast touch the liquid or salt yet.
- Add the 1/2 cup of Parmesan cheese and the mozzarella cheese on top of the flour, away from the yeast well.
- Select the Basic White Bread cycle (or the appropriate cycle for a standard sandwich loaf) and the Medium crust setting on your bread machine.
- Start the machine. The machine will mix, knead, rise, and bake the bread automatically.
- About 10 minutes before the end of the final bake cycle, the machine will beep. Carefully open the lid and sprinkle the remaining 2 tablespoons of Parmesan cheese over the top of the loaf. Close the lid quickly.
- When the cycle finishes, carefully remove the bread pan from the machine. Turn the pan upside down onto a wire cooling rack to release the loaf.
- Let the Italian herb and cheese bread cool completely on the rack before slicing. This prevents a gummy texture.
Notes
- For the best flavor in your bread machine herb bread, use fresh, high-quality dried herbs.
- If your machine has a delay start, avoid using it, as the cheese needs to be added during the kneading or rising phase, not at the beginning with the yeast.
- This cheesy dinner bread freezes well once cooled. Slice it first, then store in an airtight bag for up to three months.
- If you prefer a stronger garlic flavor, substitute the garlic powder with 1 teaspoon of garlic salt, but reduce the added salt to 1 teaspoon.
Nutrition
- Serving Size: 1 slice
- Calories: 195
- Sugar: 2
- Sodium: 350
- Fat: 5
- Saturated Fat: 3
- Unsaturated Fat: 2
- Trans Fat: 0
- Carbohydrates: 32
- Fiber: 1
- Protein: 6
- Cholesterol: 15