

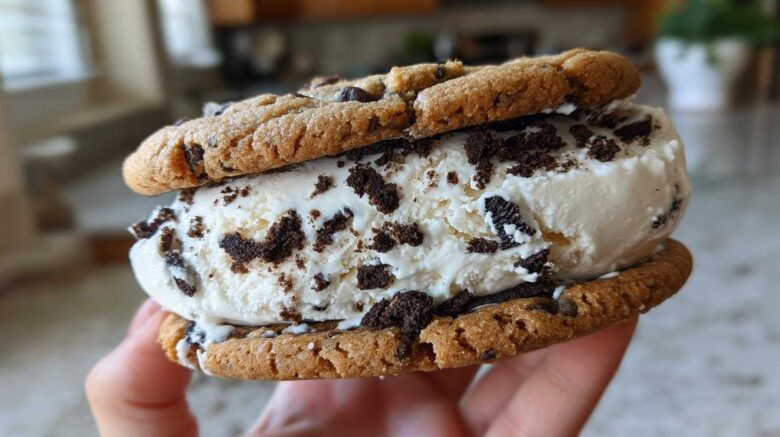
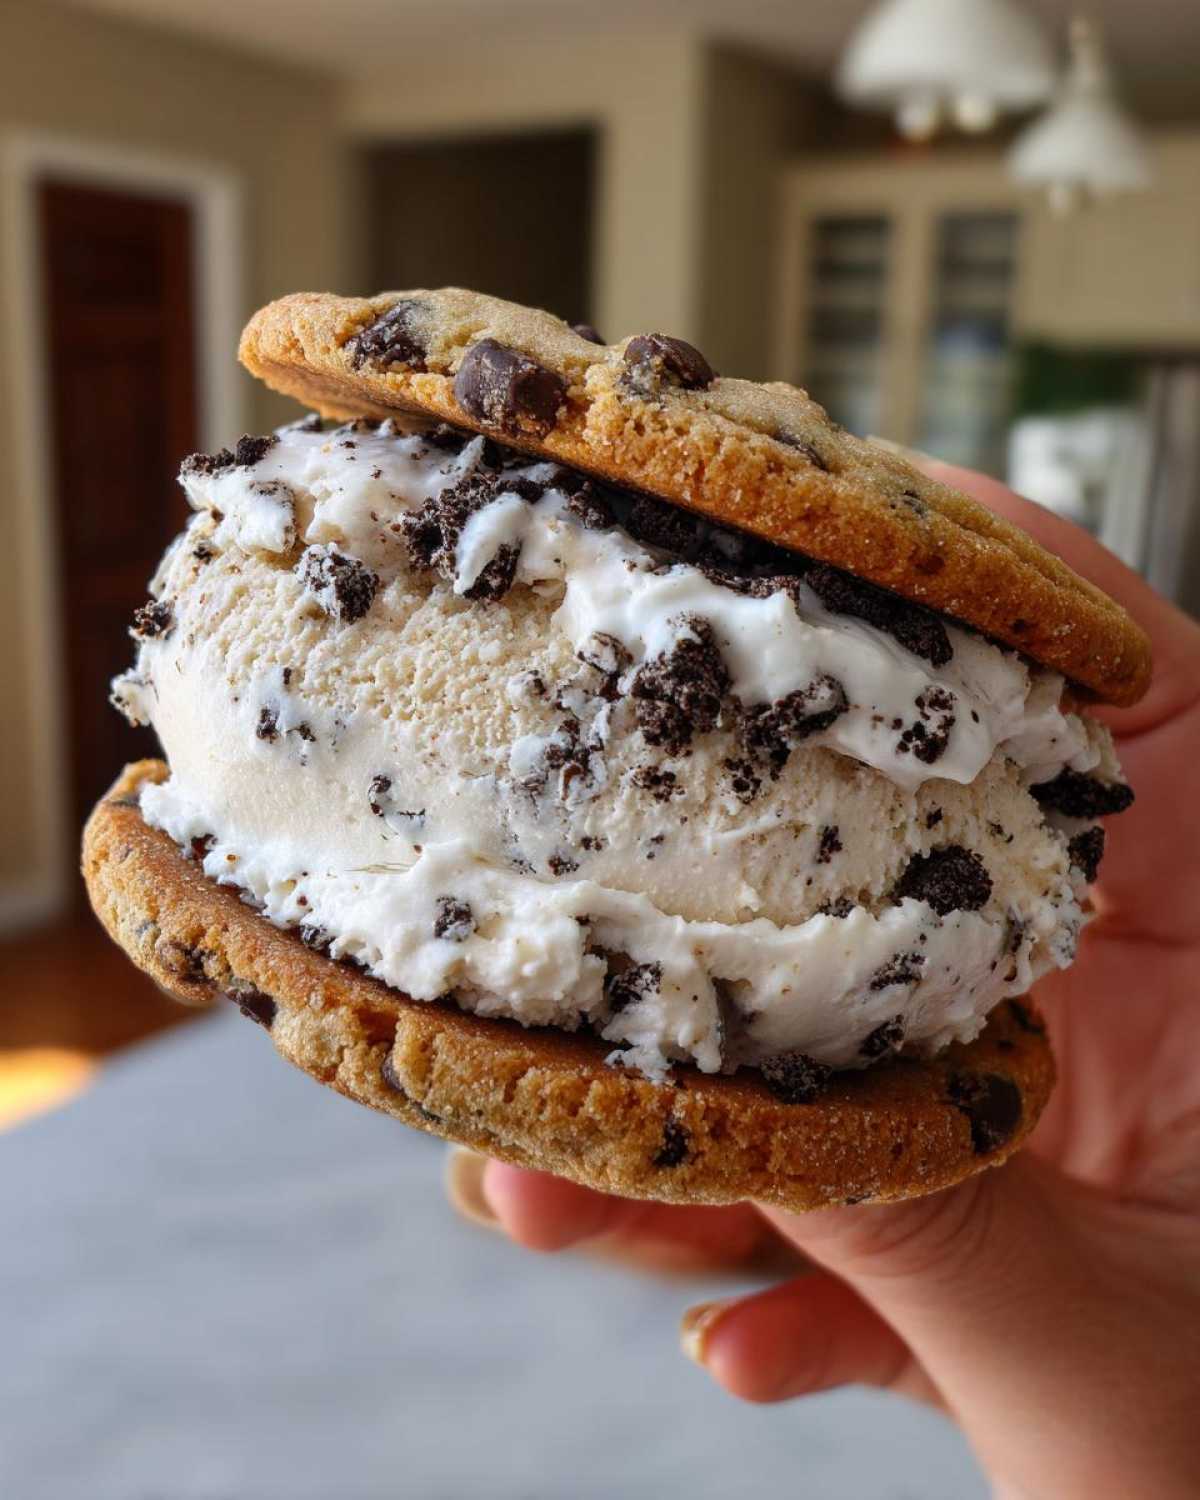
Remember those classic ice cream truck days? We bottled that magic! Get ready for the ultimate homemade treat: No-Churn Cookies & Cream Ice Cream Sandwiches. It’s like a blast from the past, but even better because it’s made right in your own kitchen. Chloe and I have spent countless hours in our kitchen, turning simple ingredients into pure joy. This recipe is a perfect example of our journey – a little bit of Ethan’s precision and a whole lot of Chloe’s creative flair. We guarantee these will bring smiles all around.
Why You’ll Love Our No-Churn Cookies & Cream Ice Cream Sandwiches
Get ready for pure summer bliss! These treats are:
- Super Easy: Seriously, no ice cream maker needed.
- Incredibly Delicious: Creamy cookies & cream ice cream meets chewy cookies.
- Nostalgic Fun: They bring back those happy ice cream truck memories.
- Minimal Equipment: Just a few bowls and a freezer.
We love how simple they are to make. You’ll be enjoying a taste of childhood in no time. It’s a win-win for everyone!
Gather Your Ingredients for No-Churn Cookies & Cream Ice Cream Sandwiches
Alright, let’s get our kitchen ready for some fun! Making these delightful No-Churn Cookies & Cream Ice Cream Sandwiches is super simple when you have all your ingredients prepped. You’ll need:
- 2 cups of heavy whipping cream. Make sure it’s really cold! This is key for getting those lovely stiff peaks.
- One can of sweetened condensed milk. This is what makes our ice cream so creamy and sweet without churning.
- A teaspoon of vanilla extract. It adds that classic comforting flavor we all know and love.
- One cup of crushed chocolate sandwich cookies. About ten of your favorite sandwich cookies will do the trick. Any kind works great.
- And the stars of the show: 36 chocolate chip cookie dough cookies. You can totally use store-bought ones, or if you’re feeling adventurous, whip up your own homemade batch!
Having everything measured out makes the process so smooth. It’s like laying the foundation for a delicious adventure. Trust me, the little bit of prep work makes all the difference!
Crafting Your No-Churn Cookies & Cream Ice Cream Sandwiches
Now for the really fun part – bringing these amazing No-Churn Cookies & Cream Ice Cream Sandwiches to life! It’s easier than you think. We’ll break it down step-by-step.
Preparing the No-Churn Cookies & Cream Ice Cream Base
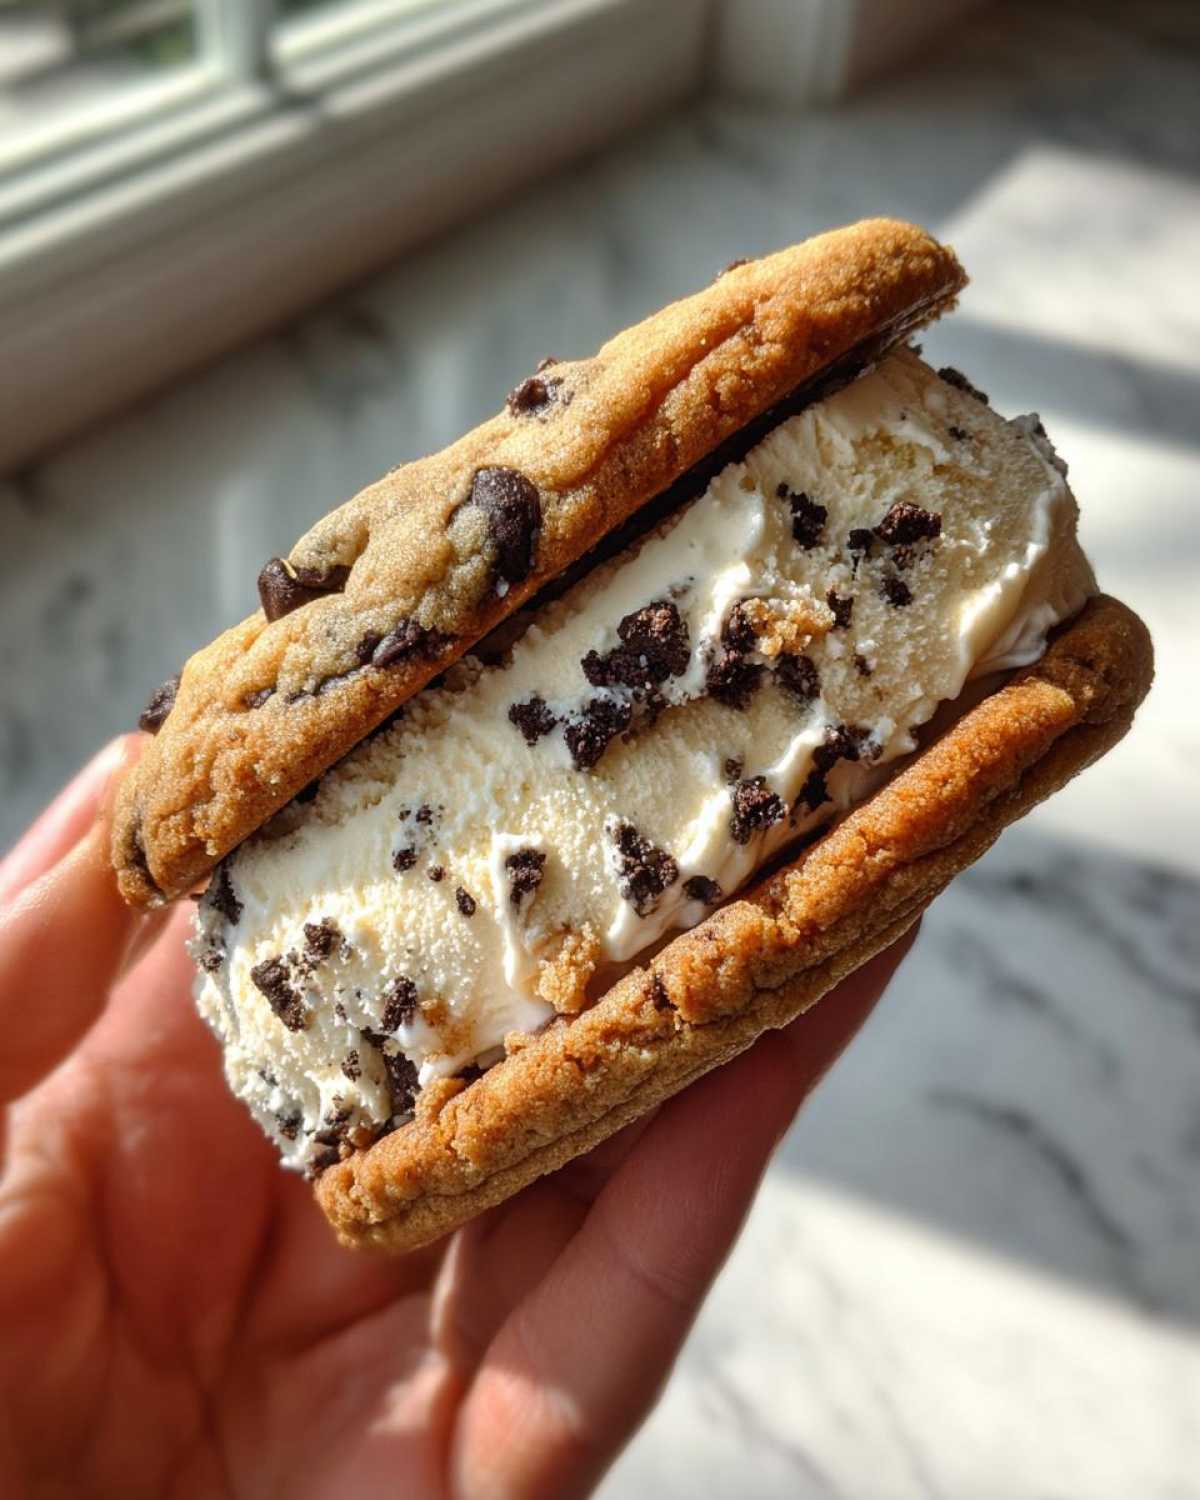
First, grab a big bowl. For the best results, make sure it’s chilled. Add your super cold heavy whipping cream. Whip it up! You’re looking for stiff peaks. This means when you lift the whisk, the cream holds its shape. It’s like magic happening in your bowl! In another bowl, mix the sweetened condensed milk and that teaspoon of vanilla extract. They’ll blend into a smooth, luscious base. Now, gently fold the whipped cream into this mixture. Use a spatula. Be gentle! We want to keep all that air we whipped in. Finally, fold in your crushed chocolate sandwich cookies. Again, go easy. You want little pockets of cookie goodness throughout. This creates our dreamy cookies and cream ice cream base.
Freezing the Ice Cream Mixture
Next, get a loaf pan ready. Line it with parchment paper. This is a little trick Ethan taught me. It makes removing the ice cream so much easier later. Spread your glorious ice cream mixture evenly into the pan. Smooth the top. Now, cover it up tightly. Pop it into the freezer. You need to let it freeze for at least 6 hours. I know, waiting is the hardest part! But it’s crucial for it to get nice and firm, perfect for sandwiching.
Assembling the No-Churn Cookies & Cream Ice Cream Sandwiches
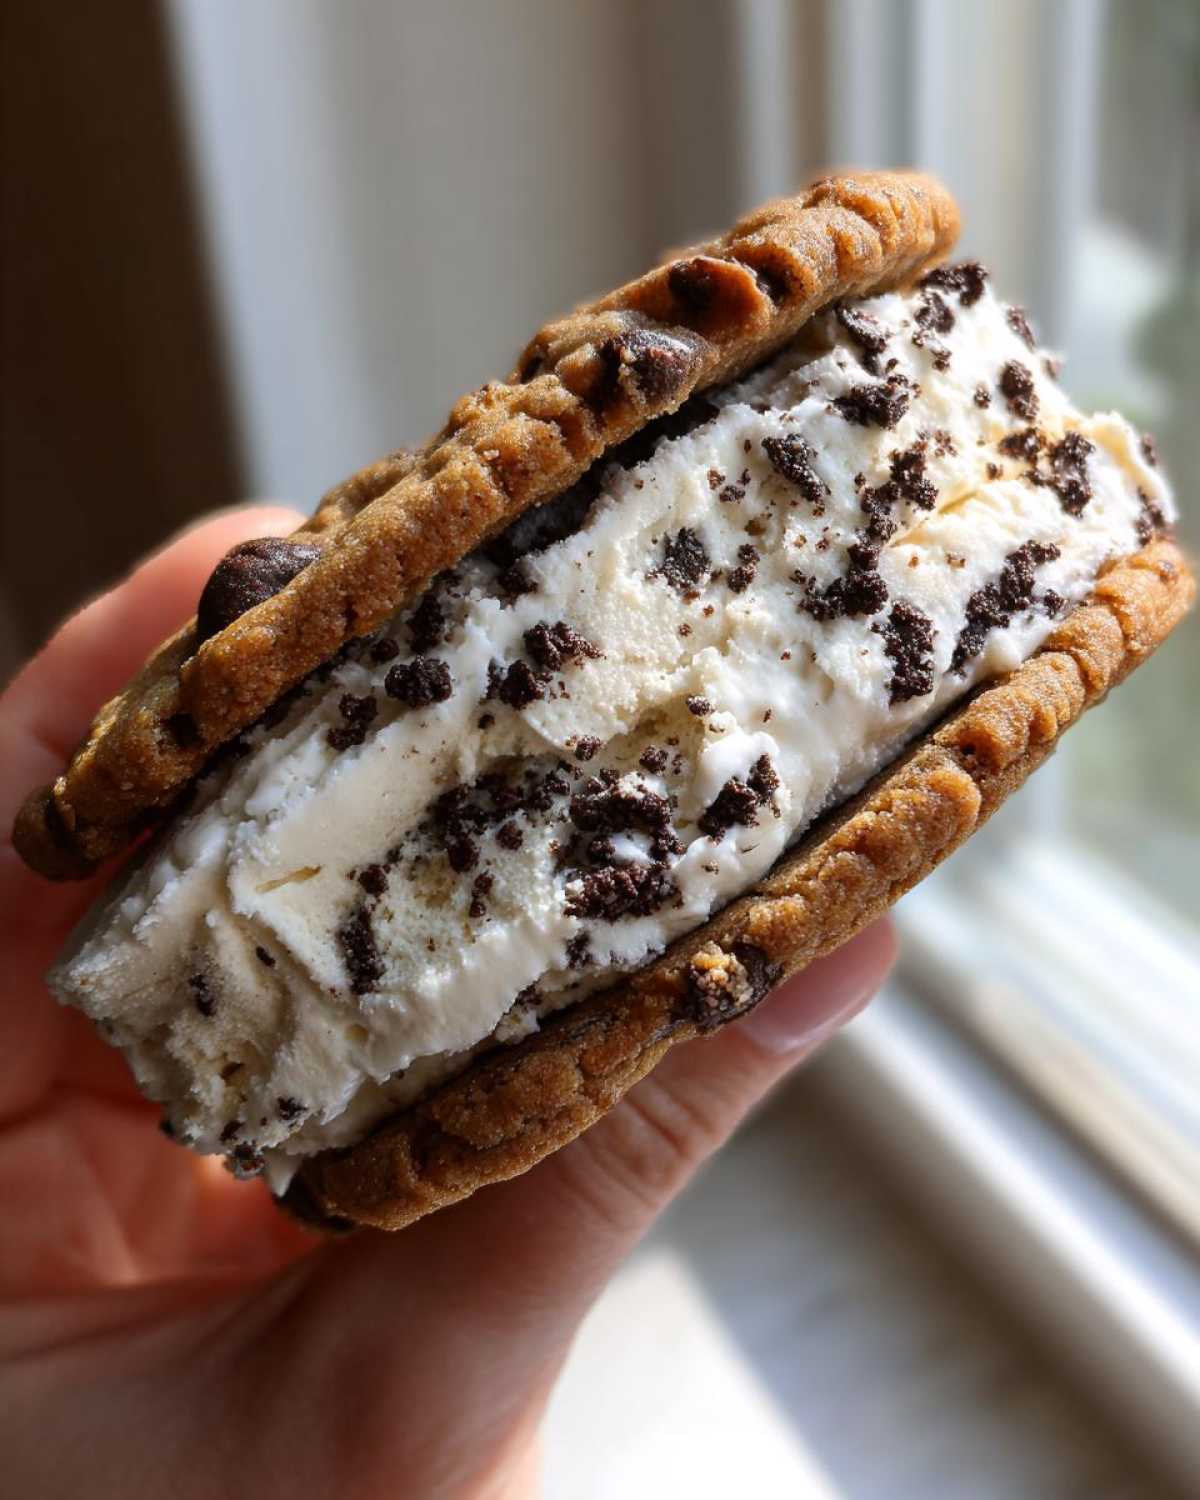
Once your ice cream is frozen solid, it’s assembly time! Take out your 36 chocolate chip cookie dough cookies. You’ll need two cookies for each sandwich. Grab your loaf pan. Use the parchment paper to lift the entire block of ice cream out. You can slice it into portions that fit your cookies. Or, use a cookie scoop to get a nice round ball of ice cream. Place one scoop of our no-churn cookies & cream ice cream onto the flat side of one cookie. Top it with another cookie, flat side down. Gently press them together. You want the ice cream to spread just a little bit to the edges. But don’t press too hard, or your cookies might break! Serve them right away for that perfect soft cookie, slightly melty ice cream combo. Or, wrap each sandwich individually in plastic wrap or parchment paper and pop them back in the freezer for later. They store beautifully!
Tips for Perfect No-Churn Cookies & Cream Ice Cream Sandwiches
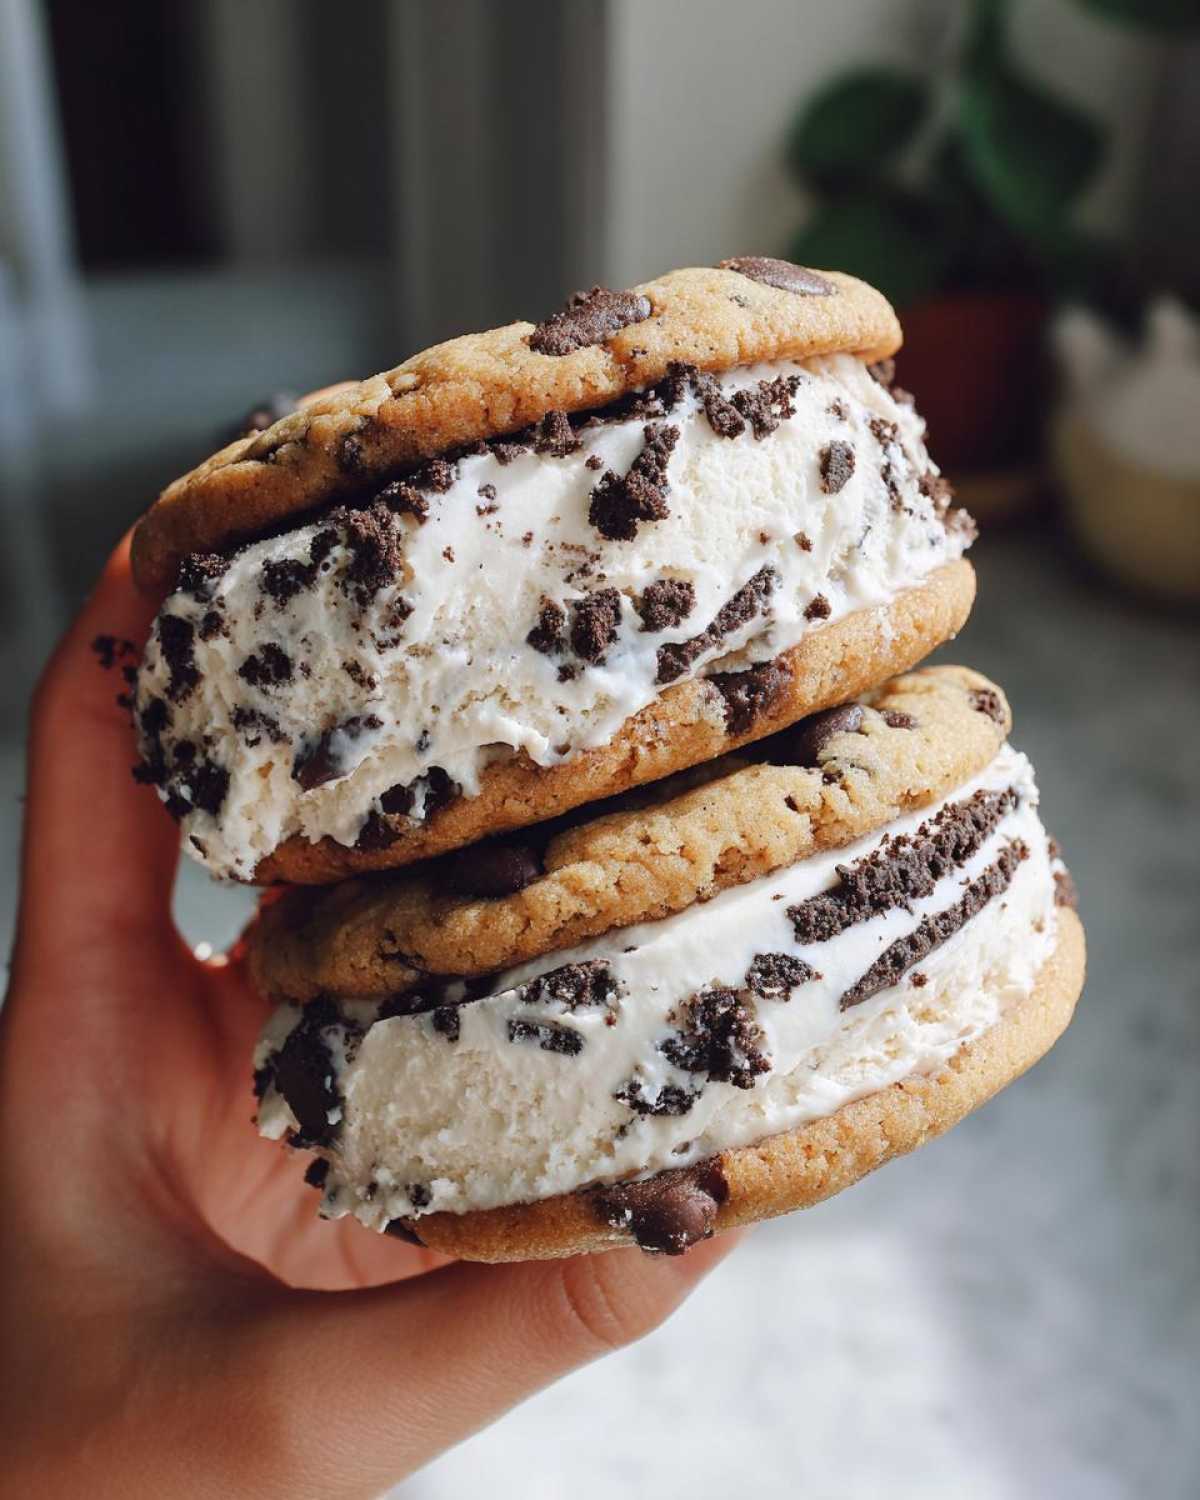
Want your homemade ice cream sandwiches to be absolutely perfect? I’ve picked up a few tricks along the way. Here are my top tips:
- Chill Everything: For the fluffiest whipped cream, make sure your heavy cream, bowl, and even whisk are super cold. This really helps achieve those stiff peaks we talked about.
- Gentle Folding is Key: When you’re combining the whipped cream with the condensed milk mixture, and then adding the cookies, fold gently. This keeps the ice cream light and airy, not dense.
- Cookie Choice Matters: While any chocolate sandwich cookie works for crushing, consider the cookies you use for the outside. Slightly softer, chewy cookies make for a better sandwich experience than very crisp ones.
- Even Freezing: Try to spread the ice cream mixture evenly in the pan. This ensures it freezes uniformly, making it easier to slice and assemble later.
Following these little tips will make a big difference. You’ll get that delightful texture and flavor every single time!
Ingredient Notes and Delicious Variations
Let’s talk about the stars of our No-Churn Cookies & Cream Ice Cream Sandwiches! The chocolate sandwich cookies you use for crushing can totally be your favorite. Whether it’s Oreos or a similar brand, they all bring that yummy chocolatey crunch. I like to crush mine in a zip-top bag with a rolling pin – it’s a great stress reliever and gives you good control over the texture. For the cookies holding the ice cream, chocolate chip is classic! But oh, the possibilities!
You could try soft-baked sugar cookies or even peanut butter cookies. Imagine a peanut butter ice cream sandwich! For the ice cream itself, why not add a handful of mini chocolate chips along with the crushed cookies? Or, a swirl of hot fudge sauce before freezing? Get creative! Our kitchen is all about experimentation, and these sandwiches are the perfect canvas for your culinary adventures.
Frequently Asked Questions About No-Churn Cookies & Cream Ice Cream Sandwiches
Got questions about whipping up these awesome No-Churn Cookies & Cream Ice Cream Sandwiches? I’ve got answers!
Can I make the cookies yourself?
Absolutely! While store-bought cookies are super convenient, making your own chocolate chip cookies for the sandwich base is fantastic. It lets you control the sweetness and texture. Just be sure they are baked and cooled completely before assembling. This ensures they’re sturdy enough to hold the ice cream.
How long will the ice cream sandwiches last in the freezer?
Stored properly, these homemade ice cream sandwiches can last for about 1 to 2 weeks in the freezer. It’s best to wrap each sandwich tightly in plastic wrap or parchment paper to prevent freezer burn and keep them tasting fresh. They’re so good, though, I doubt they’ll last that long!
What if I don’t have a loaf pan?
No worries if a loaf pan isn’t in your kitchen! You can use any freezer-safe container, like a square or rectangular baking dish. Just make sure to line it well with parchment paper, leaving some overhang. This overhang acts like handles, making it easier to lift the frozen ice cream block out later. The freezing time might vary slightly depending on the container’s depth.
Can I use a different type of cookie for crushing?
Yes, you can! While chocolate sandwich cookies are classic for cookies and cream, feel free to experiment. Any chocolate cookie or even some types of vanilla sandwich cookies would work. The goal is to get that delicious cookie flavor and texture mixed into the ice cream base. Just crush them up and fold them in!
Storing and Reheating Your Homemade Ice Cream Sandwiches
Got leftovers? Hooray! To keep your No-Churn Cookies & Cream Ice Cream Sandwiches tasting their best, proper storage is key. Wrap each sandwich snugly in plastic wrap or parchment paper. This creates a barrier against freezer air. Then, place them in a freezer-safe container or bag. This double-wrapping helps prevent ice crystals from forming. This keeps the ice cream creamy and the cookies from getting soggy. Since these are frozen treats, reheating isn’t really a thing! Just let them sit out for a minute or two to soften slightly before enjoying your delicious creation.
Understanding the Nutrition of Your No-Churn Cookies & Cream Ice Cream Sandwiches
When we make these delightful No-Churn Cookies & Cream Ice Cream Sandwiches, we often get asked about the nutrition. It’s important to remember that the nutritional values are just estimates. They can change quite a bit! This is especially true depending on the brands of ingredients you use. The type of cookies you choose for crushing and for the sandwich itself really makes a difference. We always encourage you to check the packaging of your specific ingredients for the most accurate information.
PrintEasy No-Churn Cookies & Cream Ice Cream Sandwiches

Create classic ice cream truck favorite No-Churn Cookies & Cream Ice Cream Sandwiches at home. This recipe shows you how to make no-churn cookies-and-cream ice cream and then sandwich it between cookies.
- Prep Time: 20 minutes
- Cook Time: 6 hours (freezing)
- Total Time: 6 hours 20 minutes
- Yield: 18 sandwiches
- Category: Desserts
- Method: No-Churn
- Cuisine: American
- Diet: Vegetarian
Ingredients
- 2 cups heavy whipping cream
- 1 can (14 ounces) sweetened condensed milk
- 1 teaspoon vanilla extract
- 1 cup crushed chocolate sandwich cookies (about 10 cookies)
- 36 chocolate chip cookie dough cookies (store-bought or homemade)
Instructions
- In a large bowl, whip the heavy cream until stiff peaks form.
- In a separate bowl, mix together the sweetened condensed milk and vanilla extract.
- Gently fold the whipped cream into the condensed milk mixture until just combined.
- Fold in the crushed chocolate sandwich cookies.
- Spread the mixture into a loaf pan lined with parchment paper.
- Cover and freeze for at least 6 hours, or until firm.
- To assemble, place a scoop of ice cream between two cookies.
- Press gently to form a sandwich.
- Serve immediately or wrap individually and freeze for later.
Notes
- For best results, ensure your heavy cream is very cold.
- You can use any type of chocolate sandwich cookie you prefer.
- Feel free to experiment with different cookie flavors for the sandwich.
Nutrition
- Serving Size: 1 sandwich
- Calories: Approx. 350-400 (will vary based on cookie type)
- Sugar: Approx. 30-40g
- Sodium: Approx. 100-150mg
- Fat: Approx. 20-25g
- Saturated Fat: Approx. 10-15g
- Unsaturated Fat: Approx. 10-15g
- Trans Fat: 0g
- Carbohydrates: Approx. 40-50g
- Fiber: Approx. 1-2g
- Protein: Approx. 3-5g
- Cholesterol: Approx. 40-50mg