

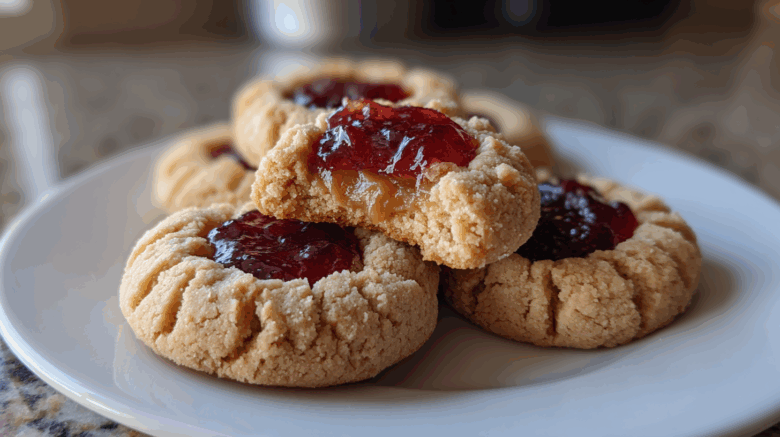
PB&J Thumbprint Cookies: A Taste of Childhood
Remember those lunchboxes? That classic combo of peanut butter and jelly just hits different. We’ve captured that magic in these delightful PB&J Thumbprint Cookies. They’re like a hug from your past. Seriously, making these brings back so many happy memories. Ethan and I love how simple they are. They’re perfect for little hands. Or for grown-ups needing a sweet escape. We think you’ll agree. These cookies are pure joy.
Why You’ll Love These PB&J Thumbprint Cookies
These cookies are a winner for so many reasons:
- They’re incredibly easy to make.
- They’re a hit with kids of all ages.
- That classic PB&J flavor is pure nostalgia.
- They’re simple, sweet, and satisfying.
- They’re perfect kid-friendly cookies for snacks.
Our Story Behind These PB&J Thumbprint Cookies
When Chloe and I first started cooking together, our kitchen was quite the adventure. I liked following recipes exactly. Chloe preferred to wing it with a bit of this and that. It often led to some… interesting results. But one day, we were craving something simple and comforting. We thought about our childhoods. So, we decided to try making PB&J Thumbprint Cookies. I remembered my mom making something similar. Chloe added her creative flair. We found that perfect balance. It’s like our kitchen story in a cookie. It really shows the love in between our different styles. These easy cookies are a reminder of how far we’ve come. They truly embody our Recipes Fleet spirit.
Gather Your Ingredients for PB&J Thumbprint Cookies
Let’s get baking! You’ll find all of these ingredients are kitchen staples. This makes whipping up a batch of our PB&J Thumbprint Cookies super simple. No fancy trips needed. Just pure, delicious fun waiting to happen.
Essential Ingredients for PB&J Thumbprint Cookies
- 1 cup (2 sticks) unsalted butter, softened to room temperature.
- 1/2 cup creamy or crunchy peanut butter.
- 3/4 cup granulated sugar.
- 1 large egg, at room temperature.
- 1 teaspoon pure vanilla extract.
- 1 3/4 cups all-purpose flour, spooned and leveled.
- 1/2 teaspoon baking soda.
- 1/4 teaspoon salt.
- 1/2 cup your favorite jelly or jam. Strawberry, grape, or raspberry are classic choices.
How to Prepare the Perfect PB&J Thumbprint Cookies
Ready to bake some magic? Making these PB&J Thumbprint Cookies is really straightforward. We’ll walk you through each step. You’ll have a batch of these nostalgic treats in no time. Let’s get our hands a little floury!
Step-by-Step Guide to PB&J Thumbprint Cookies
First, let’s get that oven ready. Preheat it to 375°F (190°C). Grab two baking sheets. Line them with parchment paper. This makes cleanup a breeze!
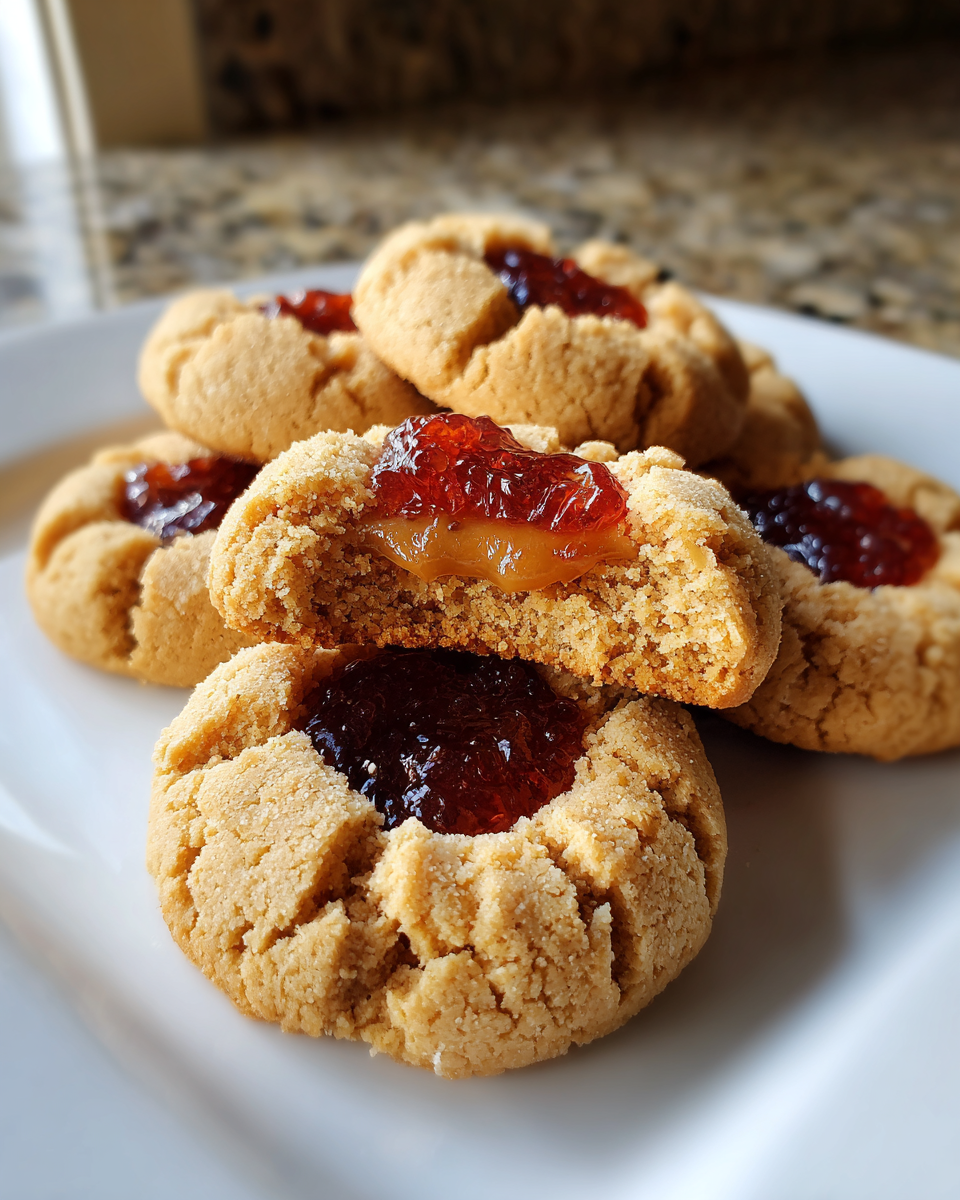
In a big mixing bowl, cream together the softened butter and peanut butter. Beat them until the mixture is super smooth. It should look like creamy frosting.
Now, add the granulated sugar. Beat it in well. You want the dough to be light and fluffy. This step makes a big difference in texture.
Beat in the egg next. Add the vanilla extract too. Mix until everything is fully combined. Your dough is starting to smell amazing!
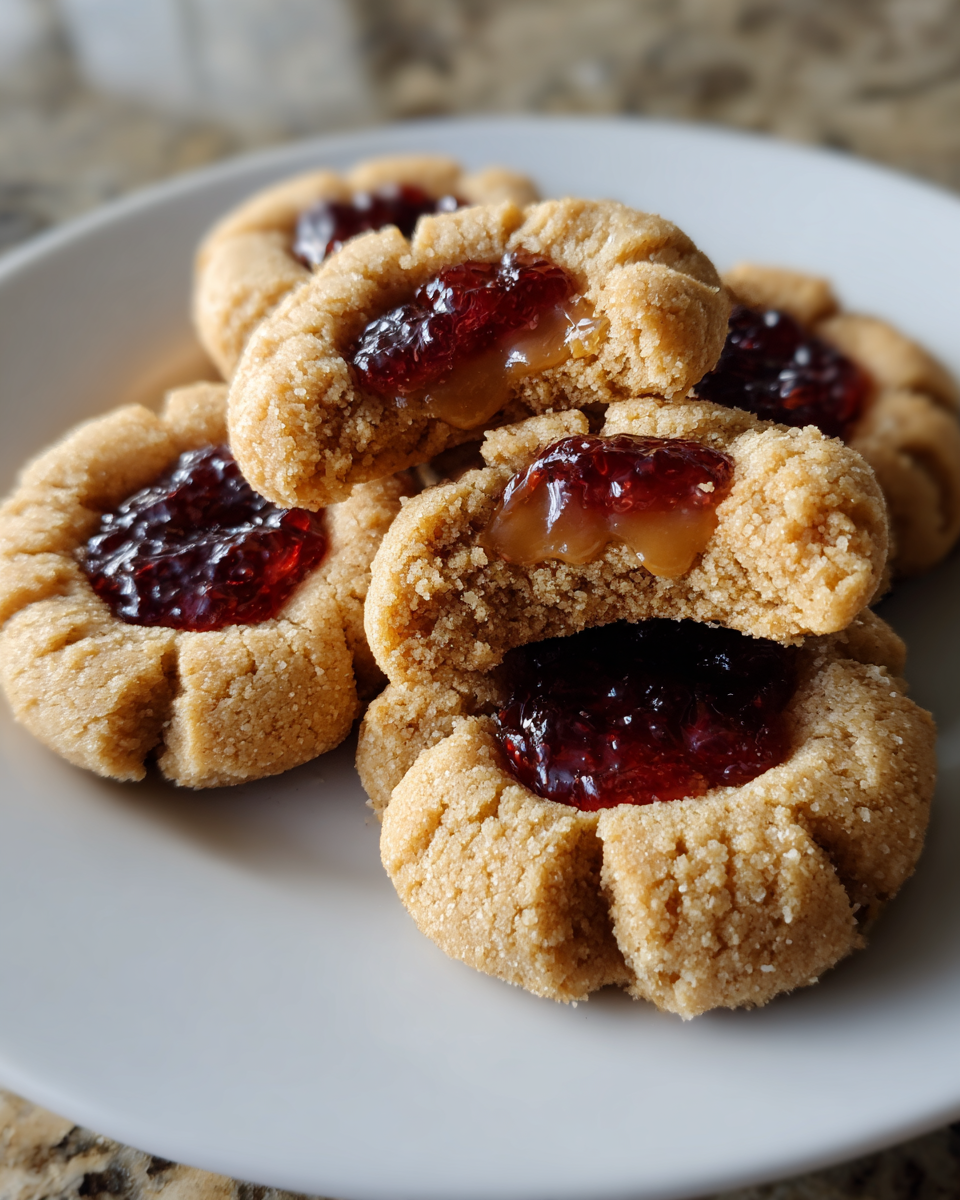
In a separate, medium bowl, whisk together the flour, baking soda, and salt. This ensures the leavening agents are evenly distributed.
Gradually add the dry ingredients to your wet ingredients. Mix on low speed or by hand. Stop mixing when it’s just combined. Don’t overmix the dough. Overmixing makes cookies tough.
Scoop the dough into 1-inch balls. You should get about 24 lovely cookies. Roll them gently between your hands.
Place these dough balls onto your prepared baking sheets. Leave about 2 inches between each cookie. They will spread a bit.
Now for the fun part! Use your thumb. Or the back of a small spoon. Make a nice indentation in the center of each cookie. This is where the jam goes!
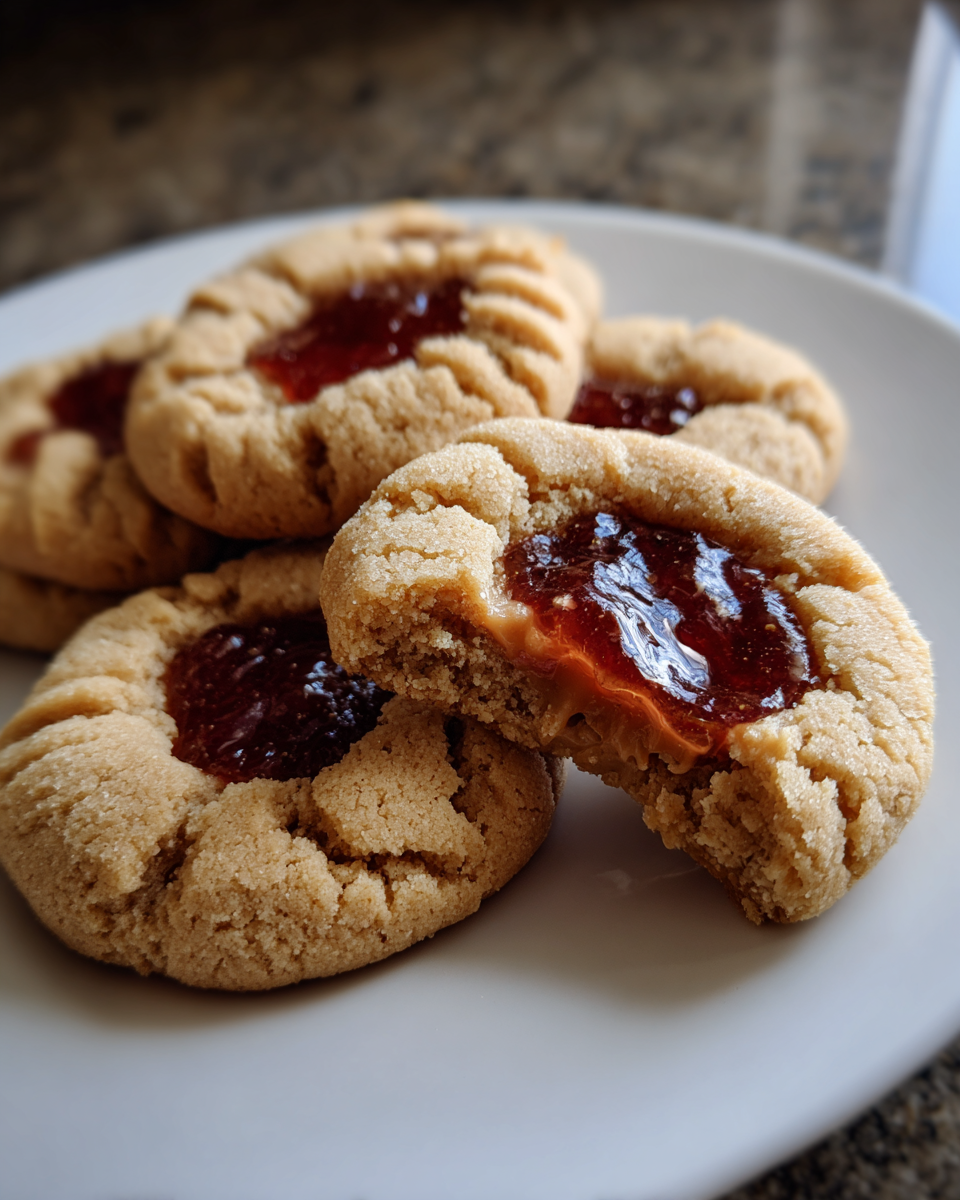
Spoon about 1/2 teaspoon of jelly or jam into each little well. Try not to overfill it. You want the jam to nestle in perfectly.
Bake these beauties for 10-12 minutes. Watch for lightly golden brown edges. The centers might still look a little soft. That’s okay!
Let the PB&J Thumbprint Cookies cool on the baking sheets. Give them about 5 minutes. Then, carefully transfer them to a wire rack. Let them cool completely. Enjoy your homemade childhood treats!
Sweet Success: Tips for Your PB&J Thumbprint Cookies
Want your PB&J Thumbprint Cookies to be absolutely perfect? I’ve got a few tricks up my sleeve. Softened butter is key for creaming. It makes the dough light and airy. Don’t overmix the dough once you add the flour. Too much mixing makes cookies tough. It’s a common mistake! The thumbprint depth matters too. Make it deep enough to hold the jam. But not so deep that it breaks the cookie. If your kitchen is warm, chill the dough. Just 15 minutes helps prevent spreading. These little tips make a big difference!
Achieving the Perfect PB&J Thumbprint Cookie Texture
Getting that ideal texture for your PB&J Thumbprint Cookies is all about a few key details. First, make sure your butter is truly softened. Not melted, just soft. This helps it cream nicely with the peanut butter. It makes for a tender cookie base. When you add the flour, mix just until it’s combined. Overmixing develops the gluten too much. This can lead to tougher cookies. So, be gentle!
The thumbprint itself is important. Press gently with your thumb. You want a good little well for the jam. But don’t push all the way through the dough. This holds the jam beautifully. If you live somewhere warm, or your kitchen gets hot, consider chilling the dough. A quick 15-minute chill in the fridge helps. It stops the cookies from spreading too much. These small steps ensure a delightful texture every time.
Customizing Your PB&J Thumbprint Cookies
Want to make these classic PB&J Thumbprint Cookies even more your own? It’s so easy to add a personal touch. Think about those fun flavors you loved as a kid. Or maybe a little something extra for a grown-up twist. These jam cookies are a perfect canvas.
Fun Variations for Your PB&J Thumbprint Cookies
Let’s get creative with these peanut butter cookies! You can swap out the jelly for any flavor you adore. Raspberry, apricot, or even a tart cherry jam works beautifully. For a festive look, try rolling the edges of the dough balls in colored sugar before baking. It adds a lovely sparkle! For a grown-up touch, a tiny sprinkle of flaky sea salt on top of the jam after baking is pure magic. It balances the sweetness wonderfully.
Serving and Storing Your Delicious PB&J Thumbprint Cookies
These PB&J Thumbprint Cookies are best served slightly warm or at room temperature. They pair wonderfully with a cold glass of milk. You could also arrange them on a festive cookie platter. They always disappear fast!
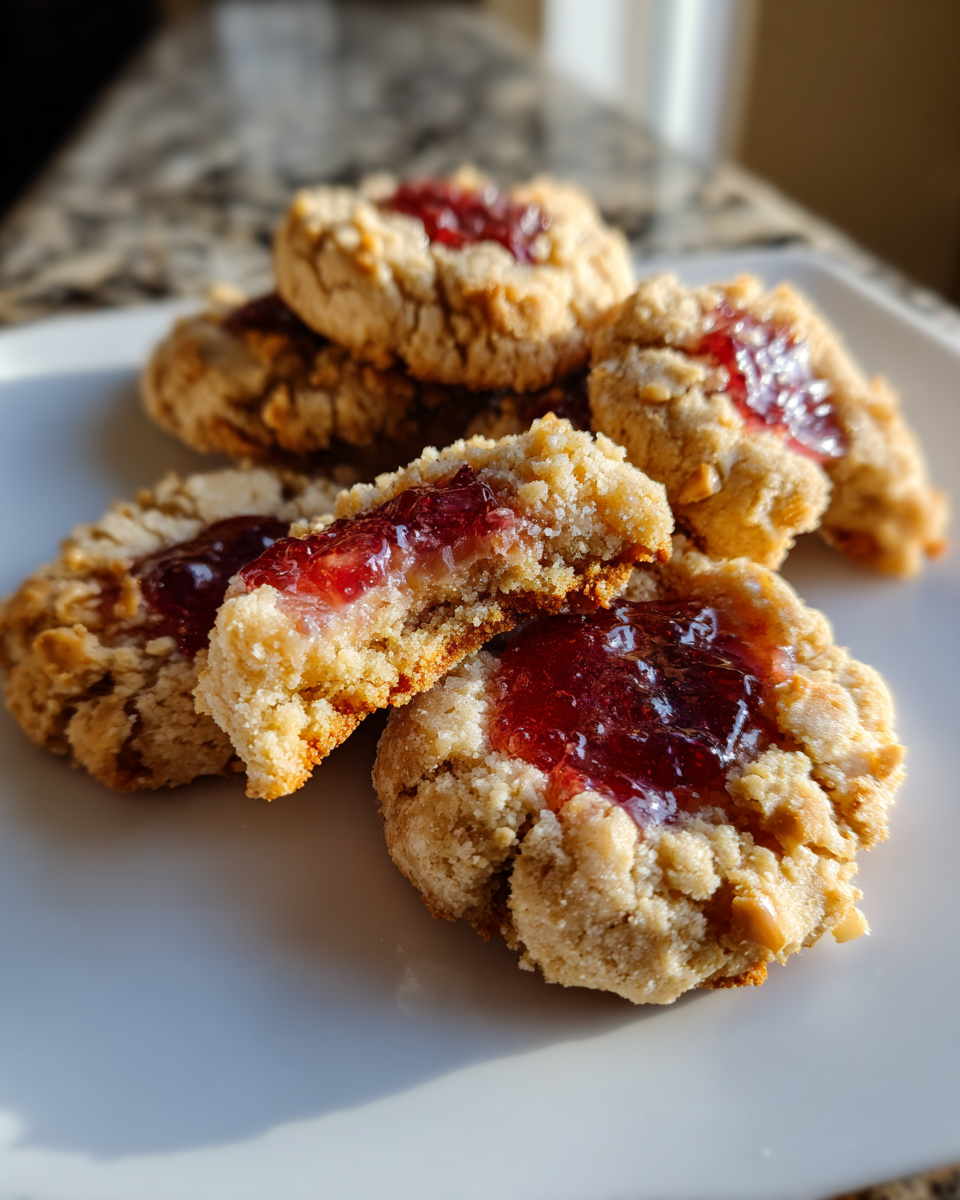
To keep them fresh, store your cooled cookies in an airtight container. Keep them at room temperature. They’ll stay tasty for about 3 to 4 days. Just a heads-up, the jam might make them a little softer as time goes on. That’s part of their charm, though!
Enjoying and Storing Your PB&J Thumbprint Cookies
Enjoy these little bites of nostalgia! They’re perfect with a tall glass of milk. Or add them to a cookie spread for any occasion. They’re always a crowd-pleaser.
Store your finished PB&J Thumbprint Cookies in an airtight container. Keep them at room temperature. They should stay fresh for up to 4 days. You might notice they get a bit softer with time. That jam does its magic!
Frequently Asked Questions about PB&J Thumbprint Cookies
Got questions about these nostalgic treats? We’ve got answers! These PB&J Thumbprint Cookies are pretty forgiving. But a few tips can make them even better. Let’s dive into some common queries.
Common Questions for PB&J Thumbprint Cookies
Can I use crunchy peanut butter? Absolutely! Crunchy peanut butter adds a lovely texture. It makes these peanut butter cookies even more interesting. Just make sure it’s well-stirred before measuring.
What kind of jam is best for PB&J Thumbprint Cookies? Any flavor you love works great! Classic choices like grape or strawberry are always a hit. Raspberry jam also adds a nice tartness.
Why did my cookies spread too much? This usually happens if your butter wasn’t softened enough. Or maybe you overmixed the dough after adding the flour. Chilling the dough briefly can help prevent spreading. For more baking tips, you can check out King Arthur Baking’s ingredient substitution guide.
Can I make these ahead of time? Yes! You can chill the dough balls for up to 2 days. Or bake the cookies and store them. They stay fresh for a few days.
Are these cookies nut-free? No, these are peanut butter cookies. They are not suitable for anyone with peanut allergies. Always keep allergies in mind! For more information on food allergies, consult the Food Allergy Research & Education (FARE) website.
Nutritional Estimate for PB&J Thumbprint Cookies
Here’s an approximate nutritional breakdown. This is for one cookie. Actual values may vary slightly. Calories: 150. Fat: 9g. Protein: 3g. Carbohydrates: 16g. Enjoy these sweet treats responsibly! For a detailed understanding of nutritional information, refer to the Recipes Fleet disclaimer.
PrintPB&J Thumbprint Cookies: 5 Nostalgic Delights
These PB&J Thumbprint Cookies bring back childhood memories with every bite. They are fun, easy-to-make cookies that perfectly capture the classic peanut butter and jelly flavor. Perfect for a sweet treat for kids or a nostalgic snack for adults.
- Prep Time: 20 minutes
- Cook Time: 12 minutes
- Total Time: 32 minutes
- Yield: 24 cookies
- Category: Dessert
- Method: Baking
- Cuisine: American
- Diet: Vegetarian
Ingredients
- 1 cup butter, softened
- 1/2 cup peanut butter
- 3/4 cup granulated sugar
- 1 egg
- 1 teaspoon vanilla extract
- 1 3/4 cups all-purpose flour
- 1/2 teaspoon baking soda
- 1/4 teaspoon salt
- 1/2 cup jelly or jam
Instructions
- Preheat your oven to 375°F (190°C). Line baking sheets with parchment paper.
- In a large bowl, cream together the softened butter and peanut butter until smooth.
- Add the granulated sugar and beat until light and fluffy.
- Beat in the egg and vanilla extract.
- In a separate bowl, whisk together the flour, baking soda, and salt.
- Gradually add the dry ingredients to the wet ingredients, mixing until just combined.
- Roll the dough into 1-inch balls and place them on the prepared baking sheets.
- Use your thumb or the back of a spoon to make an indentation in the center of each cookie.
- Fill each indentation with about 1/2 teaspoon of jelly or jam.
- Bake for 10-12 minutes, or until the edges are lightly golden.
- Let the cookies cool on the baking sheets for a few minutes before transferring them to a wire rack to cool completely.
Notes
- You can use any flavor of jelly or jam you prefer.
- For a fun twist, sprinkle the cookies with a little extra sugar before baking.
- Ensure your butter is truly softened for the best texture.
Nutrition
- Serving Size: 1 cookie
- Calories: 150
- Sugar: 10g
- Sodium: 70mg
- Fat: 9g
- Saturated Fat: 3g
- Unsaturated Fat: 6g
- Trans Fat: 0g
- Carbohydrates: 16g
- Fiber: 1g
- Protein: 3g
- Cholesterol: 20mg