

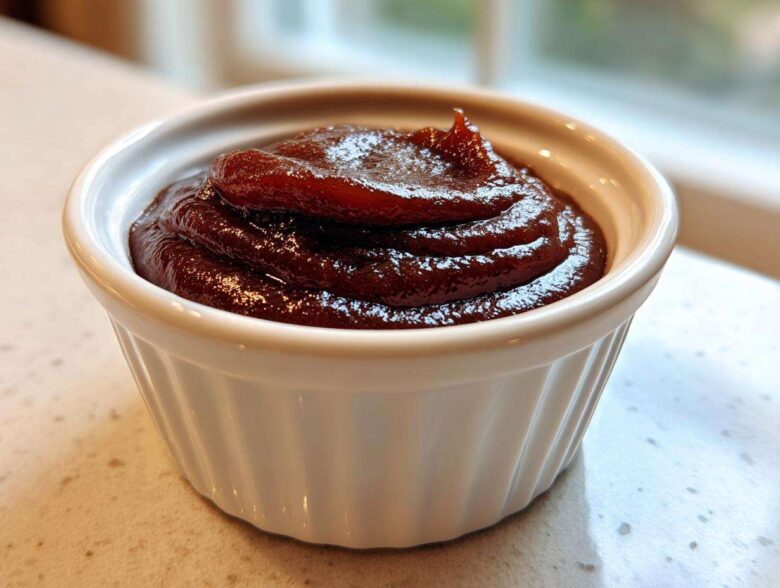
Oh my goodness, if there is one smell that just screams cozy autumn perfection, it’s the rich, sweet, spiced aroma of apple butter bubbling away on the stove. Seriously, you walk into my house when I’m making this, and you instantly know fall has arrived! I remember my very first batch of homemade apple butter—I used apples from my neighbor’s tree, and they turned out so sweet and dark, I thought I’d done something magical.
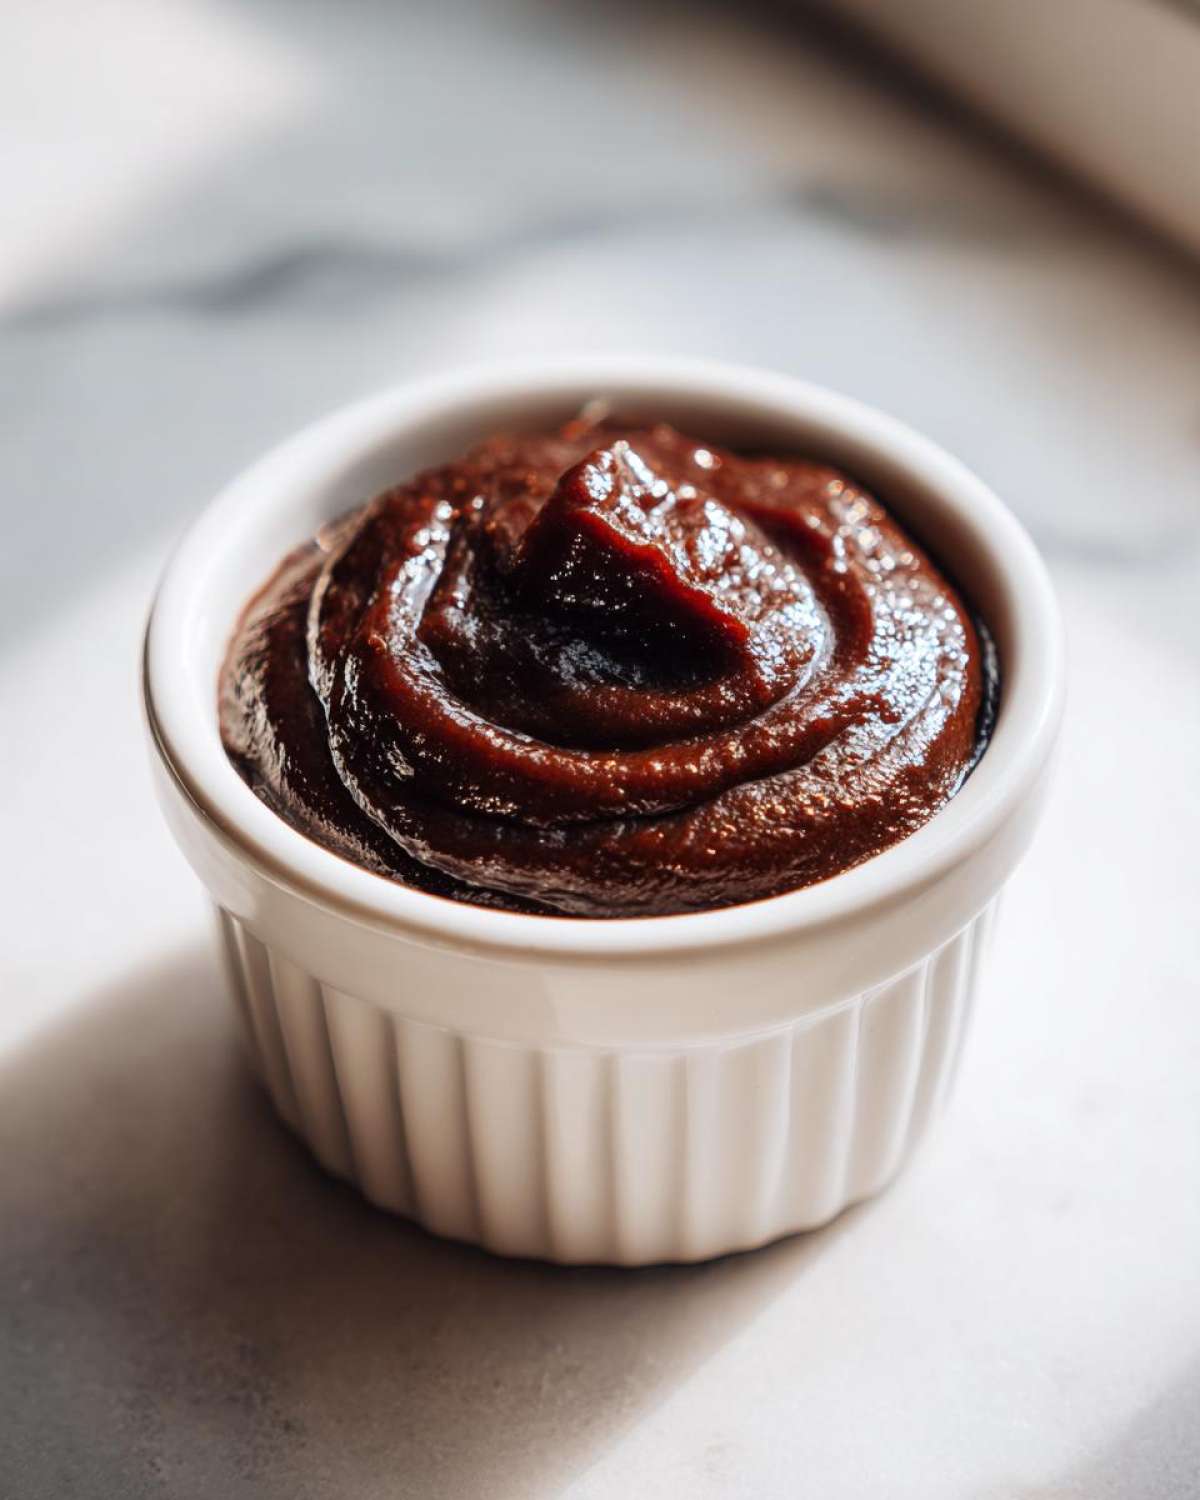
That first batch set the bar high, and honestly, I haven’t looked back. What I want to share with you today isn’t just one way to make it, but two foolproof paths to the most incredible flavor you’ll ever taste in a spread. This guide covers both the slow, hands-off magic of the slow cooker and the monitored attention of the stovetop method for our classic spiced apple butter. Trust me when I say this is, hands down, the Best Apple Butter Recipe out there because the depth of flavor we achieve is just unmatched.
We’re going to talk about how we take everyday apples and turn them into this dark, velvety preserve. And because we want you to enjoy this all year long, I’m also walking you through the simple steps for safe canning so you can bask in glorious apple butter season even in July!
If you’re curious about my journey and why I share these recipes, you can always learn more about me right here.
Why This Easy Apple Butter Recipe Works So Well
What really sets this recipe apart from the ones I tried when I was first learning how to make apple butter is the way it practically guarantees success. Whether you’re short on time or looking to put something on the counter while you’re gone for the day, we have you covered. It’s truly an Easy Apple Butter Recipe once you get started!
- The biggest win here is having two ways to cook it, so you can use your preferred kitchen tool—stovetop or slow cooker!
- We use just the right mix of sugar and spices, which means you get deep flavor without overwhelming the natural apple taste.
- The blending/milling step is non-negotiable, and it’s what gives you that beautifully smooth apple butter texture you see in the jars.
The Magic of Slow Simmering for Perfect Apple Butter
You can’t rush perfection, especially when dealing with fruit concentrates. The long, slow simmer—whether it’s four hours or eight hours—is what drives out all that extra water. When that water evaporates, the natural sugars in the apples and the brown sugar we add get dense and almost caramelized. That’s why this apple butter gets so dark and rich. It’s not food coloring or molasses; it’s chemistry happening slowly over low heat! It concentrates the spices beautifully too.
Gathering Ingredients for Classic Spiced Apple Butter
Alright, let’s talk about what you need for this batch of incredible apple butter. Since this recipe yields about six lovely half-pint jars, we start with a serious stack of fruit—aim for about five pounds of apples total, which usually works out to around 15 medium apples, peeled, cored, and quartered. We also need four cups of apple cider or just plain water to help them get soft. For that signature dark sweetness, I use two full cups of packed brown sugar, but definitely taste as you go! The spice blend is classic: a tablespoon of cinnamon, a teaspoon each of allspice and cloves, and about half a teaspoon of nutmeg. Don’t forget that quarter cup of lemon juice; it keeps the color bright and balances the sweetness perfectly.
Ingredient Substitutions for Homemade Apple Butter
I know everyone has slightly different pantries, and sometimes you just want to tweak things, so don’t panic if you can’t hit these ingredients exactly. If you’re trying to make a No Sugar Added Apple Butter, you can use a quality sugar substitute that equals two cups of sugar, or what I sometimes do for a slightly different flavor is just use concentrated apple cider instead of the water and sugar entirely. It’s sweeter, but it changes the final texture a little.
As for the spices, they are pretty firm for that classic flavor, but if cloves scare you a little—and they can be potent!—feel free to cut the cloves and allspice down by half. That’s a wonderful little adjustment that keeps the core flavor but tones down the punch. Remember, we are making Homemade Apple Butter, so it should taste like *your* favorite fall!
How to Make Apple Butter Using the Stovetop Apple Butter Method
If you don’t have a slow cooker or you just love that old-fashioned process, the stovetop method for your Stovetop Apple Butter is absolutely the way to go. You start the same way: get those apples, cider or water, and lemon juice into your *biggest*, heaviest pot. I mean really heavy—we’re talking Dutch oven territory here so the bottom doesn’t burn!
Get the heat set to medium. You’ll let this cook, stirring every 15 or 20 minutes at first, until those apples are ridiculously tender. This initial cook takes maybe an hour to an hour and a half. Once they are mushy enough to practically fall apart, take them off the heat and blend them until they are smooth. You can follow the blending steps from the next section—a food mill is great here!
Now comes the key part for the stovetop. Return that smooth mush to the pot, stir in your brown sugar and spices, and bring it back to a *very* low simmer. I mean barely a bubble. You must stir this every 10 to 15 minutes. I set a timer because I get distracted! If you don’t stir, especially when it gets thick, the bottom layer scorches instantly, and you’ll ruin the whole batch. Keep simmering, stirring, and watching until it’s super dark and sticks to the spoon—that might take a few more hours, but wow, the smell is worth fighting for!
Preparing Slow Cooker Apple Butter: Set It and Forget It
Now, if you’re feeling like you prefer your kitchen gadgetry to do the hard work, using the slow cooker is honestly my go-to for making apple butter these days. You toss everything in—the apples, the cider, the lemon juice—and switch it on low. That’s the beautiful contrast: while the stovetop method demands you stand there nursing the pot to stop it from burning, the Crock Pot Apple Butter method is wonderfully hands-off.
You cook it on low for about 6 to 8 hours to get those apples perfectly tender. Once they are soft enough to collapse under a fork, you pull them out, blend them super smooth like we talked about, add the sugar and the spices back in, and then put it all back into the slow cooker. Setting it on LOW again, but this time *uncovered*, is the trick for letting that moisture evaporate.
You want that final reduction to take another 4 to 6 hours. It’s a long haul, yes, but you only have to stir it once every hour or so. Resist the urge to lift the lid constantly, though, because you lose heat! The payoff? A deep, dark, richly flavored apple butter with way less chance of scorching than my poor Dutch oven sometimes endures. It’s foolproof, really! Before you go saving this amazing batch, make sure you read my Terms and Conditions just to keep up with all my latest kitchen policies!
Achieving Smooth Apple Butter Texture After Cooking
Okay, your apples have simmered themselves into submission, they smell divine, and they are tender—but right now, you have chunky apple mush, not the glossy, perfect apple butter we are aiming for. Getting it smooth is the most important physical step! You have a couple of tools available for this transformation, depending on what you have in your gadget drawer.
First, you can use an immersion blender, which is super convenient. Just stick the stick blender right into the hot pot (be careful, it splatters!) and buzz away until most of the big chunks are gone. Now, that works, but for me, if I’m aiming for that truly glossy, velvety texture, I always grab my old food mill. If you have one, use it! The food mill does an incredible job of separating the tiny bits of skin and tough core fibers that sometimes hang around, creating a much finer puree than any blender can manage on its own.
Here is the pro tip, the one that makes people ask, “Where did you buy this store-bought apple butter?!” Once you’ve blended or milled the apples, if you want that truly show-stoppingly Smooth Apple Butter, you have got to push that puree through a fine-mesh sieve. Yes, it’s extra work, and yes, you have to scrape the bottom of the sieve with a rubber spatula to push all that gorgeous, silky stuff through. But when you return that super-fine puree to the pot for the final slow simmer, you will see the results instantly—it catches the light differently, and it spreads like liquid velvet. It’s worth every single extra second, I promise you!
Apple Butter Canning Recipe: Preserving Your Fall Harvest
So, you made a giant batch of the most glorious apple butter ever. Congratulations! Now, we have to make sure it lasts longer than five minutes under the watchful eyes of my family. Canning is my favorite way to preserve the harvest, but you have to follow the safety rules. Please, please never skip the sterilization part! You need to have your jars and lids ready to go—make sure all your glass jars are scrubbed and heated according to your canner instructions.
Once your apple butter has reached that perfect, thick, spoon-coating stage, you take the pot off the heat. Fill those hot jars with the hot apple butter, but you must leave exactly 1/4 inch of empty space at the top—that’s called headspace, and it’s crucial for a good seal. Wipe the rims immediately, put the lids on finger-tight, and get those jars into your actively boiling water bath canner.
Gently lower them in, make sure they are covered by about an inch of water, and process them for 10 minutes. If you happen to live somewhere very high up, you need to add a few extra minutes, depending on your altitude, so please check your local extension service charts! Once the time is up, turn off the heat, wait five minutes, and then carefully lift the jars out and set them on a towel on the counter to cool completely overnight. We listen for that satisfying *ping* as the seals set. This is how you secure your very own safe, shelf-stable Apple Butter Canning Recipe!
Freezer Friendly Apple Butter Storage Options
Now, I know canning can feel a bit intimidating if you’re new to it. If you prefer an easier way to save your apple butter for when those winter cravings hit, the freezer is your best friend! It’s so easy for portions, too.
The key here is patience again—you cannot put hot apple butter into the freezer; it can crack your containers or create weird texture spots. You need to let it cool completely on the counter, maybe even sticking it in the fridge to get it nice and chilled first. Then, scoop the chilled apple butter into heavy-duty freezer-safe containers or even thick zip-top bags. If you use bags, try to lay them flat on a baking sheet as they freeze so they become “bricks” you can stack neatly later. This makes for a wonderfully Freezer Friendly Apple Butter stash you can reach for anytime!
Creative Apple Butter Uses Beyond Toast
This is my favorite part! Once you’ve perfected your batch of rich, spiced apple butter, the possibilities are endless. I mean, yes, spreading it thick on a warm slice of brioche or cornbread is heaven, but honestly, that would be an insult to all the hard work we put into that long simmer!
Think about it this way: apple butter is basically super-concentrated apple sauce with spices, so it acts like a thick, flavored jam or a sweet fruit paste. I use it all the time when I’m throwing together something quick for dinner. My absolute favorite hack is whisking about a spoonful or two into pan drippings when I’m roasting pork chops—it makes an instant, luxurious sauce. It’s fantastic swirled into plain yogurt or cottage cheese for a healthy mid-morning snack, too!
For the bakers out there, you can swap out half the fat (like applesauce or oil) in muffins or quick bread recipes with apple butter for incredible moisture and warmth. It works shockingly well in oatmeal cookies to give them a lovely autumnal twist. You’re talking about deep, natural sweetness without artificial flavors clogging everything up.
And since we made enough to last us through the winter, this is prime time for thinking about Homemade Fall Gifts. Decant some into cute little jars, tie a piece of twine and a sprig of rosemary around the neck, and suddenly you have the perfect neighbor gift! People always rave when they receive jars of my Autumn Apple Recipes preserved this way. Forget those sickly sweet jellies; this is the real deal!
Frequently Asked Questions About Homemade Apple Butter
I always get so many questions swirling around after people try this recipe for the first time, which is fantastic! It just shows how many people love making their own apple preserves. Here are the things I hear most often when folks are deep into their Homemade Apple Butter making, especially when they are trying to keep it shelf-stable.
How long does this apple butter last if I don’t can it?
That’s a great question! If you make a batch but decide not to go through the canning steps, you can keep it in the fridge. Because we use so much sugar and lemon juice, it has some natural preservative power. Honestly, sealed tightly, it lasts a good three to four weeks in the refrigerator, maybe longer if you are disciplined about using clean spoons every time you dip in! If I know I won’t get through it that fast, I just funnel the cooled product into freezer-safe containers.
What kind of apples are best for Old Fashioned Apple Butter?
For that truly deep, rich flavor that makes it taste like Old Fashioned Apple Butter, you actually want a mix! If you use only very sweet apples like Red Delicious, the final product can taste flat, even once you add sugar. I always try to mix sweet varieties with some tart ones to give it complexity. Granny Smith is my absolute favorite tart balancer because they hold their shape just enough during the initial cook. But honestly, whatever you have a surplus of from the orchard—the ones you need to process quickly because they are just past their prime for eating—those are usually perfect for preserving!
What do I do if my apple butter is too thin after cooking?
Don’t panic if your final simmer didn’t thicken it quite enough! This happens a lot with the slow cooker method because the lid traps a bit more steam. If it’s thin, just turn the heat up ever so slightly on the stovetop (or if you are using a Crock Pot, switch it to high uncovered) and keep stirring frequently. You might only need another hour or two. It’s ready when you can drag a wooden spoon across the bottom of the pot, and the trail you create stays open for a full three seconds before the thick butter oozes back in to fill the gap. That’s the sign!
If you run into any other tricky spots while cooking, feel free to reach out to me through my contact page; I love hearing about your Apple Preserves adventures!
Troubleshooting Common Apple Butter Issues
I’ve certainly learned the hard way how to fix things gone slightly wonky in the kitchen, and apple butter is no exception. If you notice that your finished product is gritty, it almost always means you skipped the food mill or the fine-mesh sieve step!
For grit, the remedy is painful but necessary: you have to reheat the finished but *unprocessed* apple butter slightly, then run it all through that sieve. Yes, you have to scrape hard to push it through, but it only takes about 15 minutes to transform that grainy texture into the delightful smoothness we want.
Now, the big boo-boo: scorching. If you see any black, burnt patches stuck to the bottom of your heavy pot halfway through the simmer, stop immediately! Take every un-scorched portion of the apple butter out of that pot and transfer it to a clean one. Gently scrape the bottom of the original pot to remove only the truly burnt sections, being careful not to scrape up any more burnt bits stuck to the sides. Then, move the *unaffected* good apple butter back into the clean pot, add a tablespoon of fresh apple cider to loosen it up a touch, and return it to a lower heat setting. A little bit of scorching can ruin the whole jar’s flavor, so always save the good stuff!
Understanding the Nutrition of This Spiced Apple Butter
When we talk about homemade treats, sometimes people worry about the sugar content, especially since we are using brown sugar here in our classic version. I wanted to give you a basic snapshot of what’s in a standard serving size of this preserved goodness. Please remember these are just estimates, because the exact amount of sugar you use and the type of apples definitely change the final numbers!
A typical two-tablespoon serving size of this spiced apple butter clocks in around 90 calories. Since the fruit has natural sugars and we add brown sugar, you’ll see about 22 grams of sugar per serving, which is why we don’t slather it on too thick! Good news is, it’s fat-free and cholesterol-free. It offers a tiny bit of fiber from the fruit, and protein clocks in at zero, as you’d expect from a fruit preserve. If you ever need more details about my recipe standards, check out my official disclaimer here.
If you’re trying to keep the sugar down, remember our earlier swap suggestions in the FAQ section! Making those changes will dramatically lower that sugar count while still giving you that terrific flavor from the cinnamon and cloves!
PrintClassic Spiced Apple Butter: Stovetop and Slow Cooker Methods
Make rich, smooth apple butter using fresh apples. This recipe provides instructions for both stovetop simmering and slow cooker preparation, including safe canning steps.
- Prep Time: 45 min
- Cook Time: 6 hours
- Total Time: 6 hours 45 min
- Yield: About 6 half-pint jars
- Category: Preserves
- Method: Stovetop/Slow Cooker
- Cuisine: American
- Diet: Vegetarian
Ingredients
- 5 lbs apples (about 15 medium), peeled, cored, and quartered
- 4 cups apple cider or water
- 2 cups packed brown sugar (adjust to taste)
- 1 tablespoon ground cinnamon
- 1 teaspoon ground allspice
- 1 teaspoon ground cloves
- 1/2 teaspoon ground nutmeg
- 1/4 cup lemon juice
Instructions
- Combine apples, cider or water, and lemon juice in a large pot or slow cooker.
- Cook on medium heat (stovetop) or low (slow cooker) until apples are very soft, about 1 to 2 hours. Stir occasionally.
- If using the stovetop, transfer the cooked apples to a slow cooker or let cool slightly before proceeding.
- Use an immersion blender or food mill to process the cooked apples until completely smooth. For a very smooth texture, press the puree through a fine-mesh sieve.
- Return the smooth puree to the pot or slow cooker. Stir in the brown sugar and all the spices.
- Simmer uncovered on low heat (stovetop) or low (slow cooker) for 4 to 8 hours, stirring frequently, especially near the end, to prevent scorching. The apple butter is done when it is thick, dark brown, and a spoon drawn across the bottom leaves a trail that does not immediately fill in.
- For canning: Prepare your water bath canner and jars. Ladle hot apple butter into hot, sterilized jars, leaving 1/4 inch headspace. Wipe rims, apply lids and bands. Process in a boiling water bath for 10 minutes (adjust time for altitude).
- Cool jars completely on a counter. Check seals after 24 hours.
Notes
- For a no-sugar-added version, substitute the brown sugar with a sugar substitute equivalent to 2 cups of sugar, or use only apple cider concentrate for sweetness.
- If you prefer a less intense spice flavor, reduce the cloves and allspice by half.
- Apple butter freezes well if you do not wish to can it. Cool completely before transferring to freezer-safe containers.
Nutrition
- Serving Size: 2 tablespoons
- Calories: 90
- Sugar: 22g
- Sodium: 2mg
- Fat: 0g
- Saturated Fat: 0g
- Unsaturated Fat: 0g
- Trans Fat: 0g
- Carbohydrates: 23g
- Fiber: 1g
- Protein: 0g
- Cholesterol: 0mg