

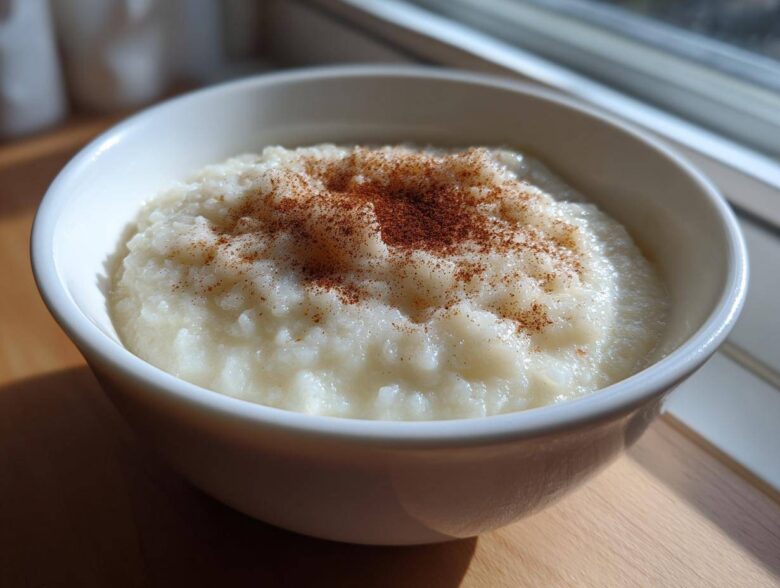
Oh, you know those nights, right? The ones where the world outside feels too loud, and all you truly need is something warm, sweet, and hugging you from the inside out? That’s why we had to share our absolute favorite comfort food secret weapon: this classic, Old-Fashioned Stovetop Creamy Rice Pudding. Forget complicated steps; this is the real deal made with just five simple ingredients that taste exactly like the best parts of childhood.
When Chloe and I first started cooking together, trying to nail that perfect, silky smooth pudding texture that melts in your mouth was an adventure! But we finally figured out the old-school stovetop trick that keeps the grains tender and the whole thing impossibly creamy. Seriously, this simple rice pudding brings me right back to helping my mom shell peas on the porch—pure nostalgia in a bowl.
Why This Old Fashioned Rice Pudding is Your New Comfort Dessert Staple
If you’re looking for true, honest-to-goodness comfort, this is it. We’ve managed to boil down the entire experience of a cozy evening into one saucepan. This Old Fashioned Rice Pudding isn’t fussy, and that’s where its charm lies. It checks every box you didn’t even know you had!
- It relies on just five ingredients—no weird stabilizers here!
- It delivers that rich, velvety mouthfeel we all dream about.
- It takes you straight back to simpler, sweeter times.
It truly deserves a spot in your lineup of favorite Comfort Dessert Ideas.
Achieving the Best Rice Pudding Texture
Okay, this is where Ethan’s structured side comes in handy: the rice matters! You absolutely need short-grain white rice, like Arborio or even plain sweet rice. The starch content in these grains is way higher than long-grain rice. As we slowly cook it down, that starch releases into the milk, and *poof*—you get that incredible, naturally thickened, luxurious coating. That slow simmering is what builds the Best Rice Pudding Texture without needing any cornstarch!
Gathering Ingredients for Your Easy Homemade Pudding
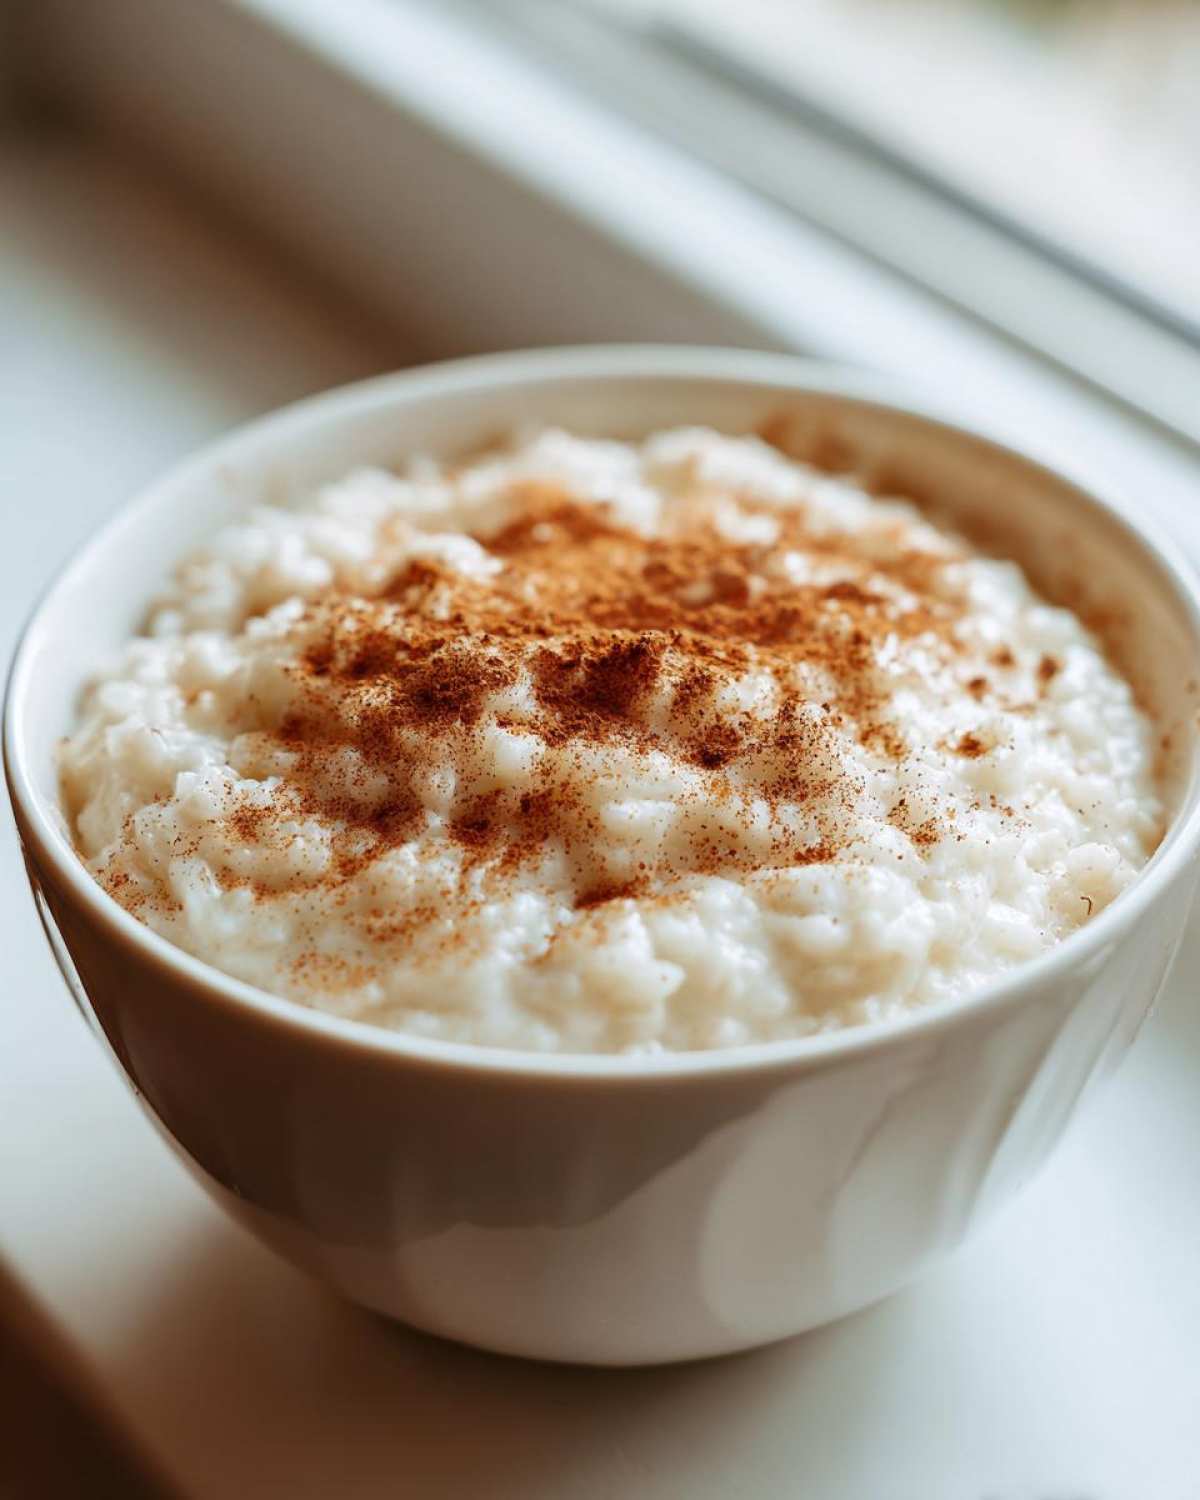
Look at this list! Can you believe this entire batch of cozy magic comes from just five things? That’s the beauty of real, Easy Homemade Pudding. When you keep things this simple, the quality of the few ingredients really shines through. There’s no need to run all over the grocery store; you probably have most of this waiting in the pantry right now!
This is truly a Simple 5 Ingredient Dessert experience. Here is what Chloe measures out (and I dutifully write down!):
- 1 cup short-grain white rice (remember, the starchy kind!)
- 4 cups of whole milk (yes, whole milk is non-negotiable for that richness, folks!)
- 1/2 cup granulated sugar
- 1/4 teaspoon salt (Don’t skip it; it wakes everything up!)
- 1 teaspoon vanilla extract (The good stuff, please!)
That’s it! With these components, we build a dessert that tastes like the highest-end restaurant treat. Isn’t that just brilliant?
Step-by-Step Stovetop Rice Pudding Instructions
Making this classic Stovetop Rice Pudding is all about setting yourself up for success early on. We start by tossing the rice, whole milk, sugar, and that pinch of salt right into a heavy-bottomed saucepan. I always stress heavy-bottomed, just because nobody wants scorched pudding stuck to the bottom of the pan, trust me on this one!
Next, we put it over medium heat. You just want to bring everything up slowly until it starts to gently steam and simmer—that’s the initial heat phase. Don’t get impatient and blast the heat! Once it’s whispering nicely, you immediately drop the heat down to low right before it tries to boil over.
The Crucial Simmer: Developing Creamy Rice Pudding
This is the main event, honey. From this point, it’s a 40 to 50-minute commitment, and you need to stir it every five to seven minutes. I know, I know, some recipes say stir constantly, but for this specific Creamy Rice Pudding Recipe, a little break is fine, as long as you don’t let it sit for ten minutes straight. This slow process lets the rice swell up beautifully and releases all that starch needed to thicken the milk into that gorgeous, coating texture. Keep stirring, and you are halfway to dessert heaven!
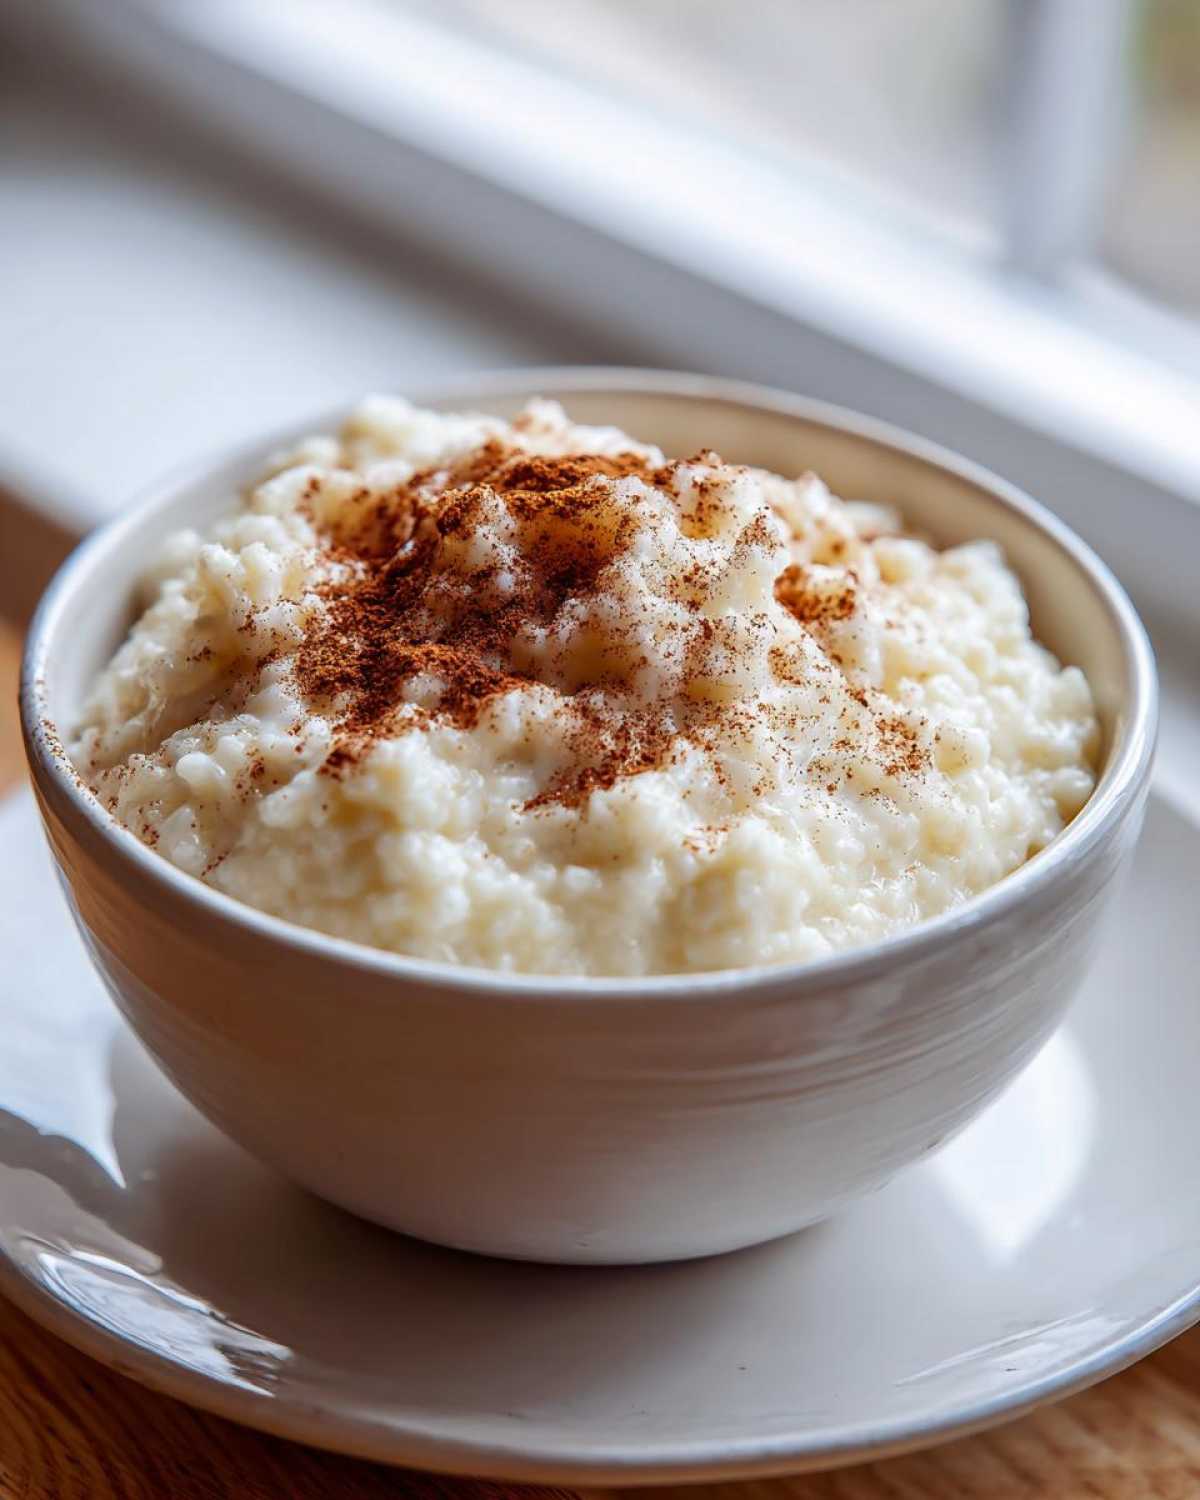
When it looks thick—thick enough to really stick to the back of your spoon when you pull it out—kill the heat. Then, stir in that teaspoon of vanilla extract right at the end. That’s the quiet magic that pulls all those simple flavors together.
Flavor Enhancements: Vanilla Cinnamon Pudding Tips
Now, while our base recipe is purely five ingredients—which I adore for its simplicity—sometimes you just need that extra little hug of spice, right? Especially if you’re serving leftovers the next day. That’s where our favorite toppings and mix-ins come in handy for turning this into the perfect Vanilla Cinnamon Pudding.
My absolute number one rule is adding the vanilla extract *only* after the heat is off. Vanilla is so delicate; if you boil it with the milk, you lose all that beautiful aromatic depth. Stir it in when the pudding is steaming hot but no longer cooking on the burner.
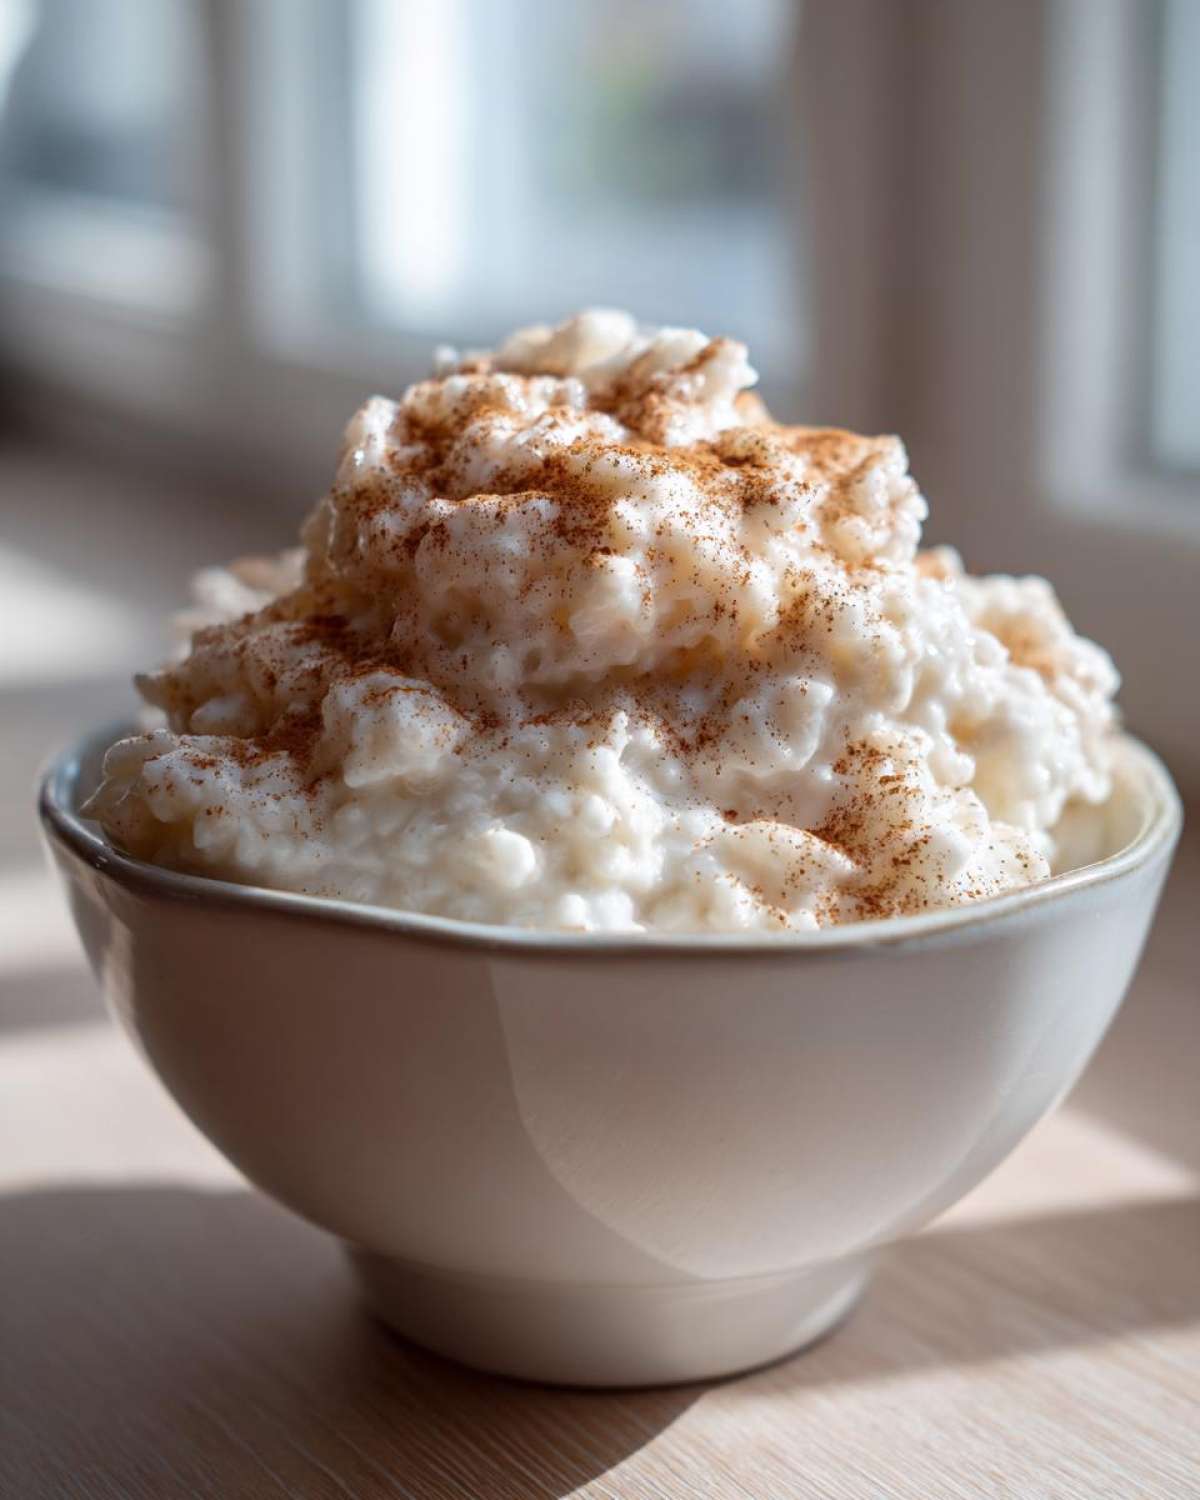
As for cinnamon? You can mix about half a teaspoon right in with the sugar at the beginning if you want the flavor infused throughout the whole batch. But honestly, the best experience of this rice pudding is when you sprinkle a fresh, warm dusting of ground cinnamon right on top just before serving. The aroma hits you first, and wow, it seals the deal on comfort!
Serving and Storing Your Nostalgic Sweet Treats
This is the best part: deciding how you want to eat it! Our rice pudding is divine served warm, scooped right out of the saucepan while it’s still steaming softly. That’s pure heaven if you are looking for Warm Pudding Desserts on a chilly evening.
But if you want it completely chilled, you have to plan just a tiny bit ahead. As it cools down outside of the fridge, it’s going to firm up—a lot! When you pull your finished pudding out, immediately press a sheet of plastic wrap *directly* onto the surface of the pudding before chilling. This stops that weird, rubbery skin from forming. Seriously, that trick is essential for creamy consistency!
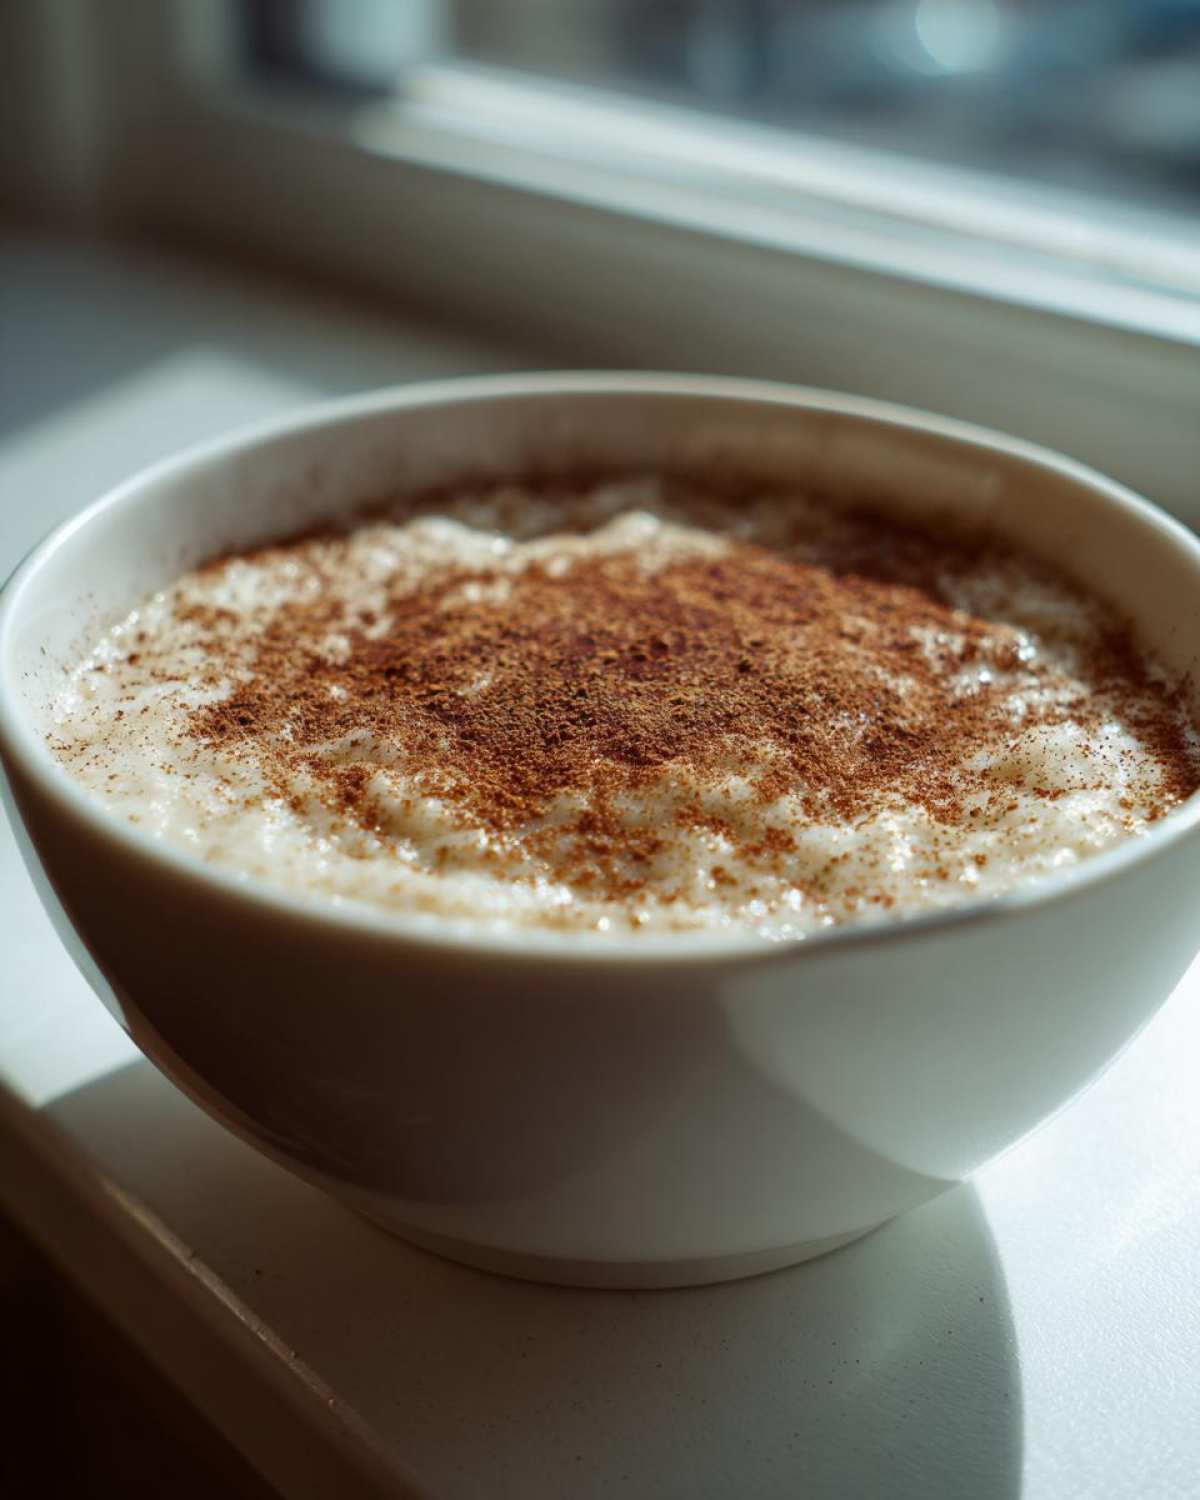
When you take that chilled pudding out later, it will be quite thick, almost like a soft block. Don’t panic! Just stir in a splash of whole milk—maybe a tablespoon or two—until you reach the perfect, spoonable texture again. These perfect Nostalgic Sweet Treats keep beautifully in the fridge for about three or four days, though I doubt they last that long in our house!
Troubleshooting Common Rice Pudding Issues
Even with the best old-fashioned recipes, sometimes things don’t go exactly as planned, right? That’s totally okay! If your pudding ends up too thick when it cools, don’t stress; just thin it out with a splash of milk when reheating or before serving chilled. If it ever feels too thin after that 50 minutes, just keep it on the absolute lowest heat and stir constantly for five more minutes—it will thicken!
And if you ever see bits sticking on the bottom? That means it was scorching slightly. Always use a heavy-bottomed pot and stir religiously toward the end. To fix a slightly scorched batch, carefully scoop the good pudding off the top layer into a clean bowl, ditching the burnt bottom bits. We learned that trick the hard way making Ethan’s favorite cheesy dips!
Frequently Asked Questions About Classic Dessert Recipes
I get so many messages asking about tweaks to this simple recipe. I totally get it; everyone wants their perfect bowl of comfort! Here are the most common questions I field about turning this stovetop wonder into your preferred Classic Dessert Recipes.
Can I use long-grain rice for this recipe?
Oh, I really, really caution against it! While you certainly *could*, you won’t get that glorious, natural creaminess we spent all that time talking about. Long-grain rice just doesn’t release the necessary starch into the milk during the cooking process. You’ll end up with fluffy, separate rice grains swimming in thin milk, which, frankly, isn’t fun pudding. Stick to short-grain or medium-grain rice for the right texture!
Can I bake this rice pudding instead?
While our recipe is designed for the stovetop—which gives you that intense control over the thickness—you can definitely adapt it for baking! If you want the baked version, mix everything, pour it into a baking dish, and bake it at 325°F (160°C) until the custard sets, usually around an hour. Keep in mind, baking yields a firmer, more custard-like texture, not quite the same slow-simmered creaminess we get from stirring constantly on the stove.
How do I make this recipe richer, maybe even using eggs?
That’s a great question for stepping it up! If you want to push this into super-rich territory, add one egg yolk—just the yolk—to the sugar before you mix it with the milk. Whisk it really well! You’ll need to temper it, though: slowly drizzle about a cup of the hot milk mixture into the yolk, whisking constantly, before pouring that tempered egg mixture back into the main pot on the low heat. This gives you a beautiful, rich, golden color and a deeper body to the pudding.
Nutritional Snapshot of This Creamy Rice Pudding Recipe
Okay, let’s talk fuel! Since this is such a simple, classic dessert, the nutrition breakdown is pretty straightforward—mostly milk and rice goodness, and a little sugar to make it happy. Remember, since this is a homemade recipe, these are just my best estimates, but they give you a good general idea!
For one serving (about 1 cup), here’s the scoop:
- Calories: around 310 to keep you cozy
- Total Fat: about 7g
- Protein: 10g
- Carbohydrates: 55g
- Sugar: 22g
It’s a wonderful treat, perfect for satisfying that craving for homemade desserts without feeling too heavy!
Share Your Cozy Food Recipes Experience
Now that you have the secrets to the creamiest, most comforting stovetop rice pudding ever, I absolutely need to know what you think! Ethan and I live for hearing how our kitchen adventures translate to yours.
Please, give this recipe a whirl next time you need a little hug in a bowl—that slow simmer really does wonders. If you tweak the cinnamon amount or decide to go heavy on the vanilla (which I highly recommend!), drop a comment below and tell us exactly what you did! We love seeing all your variations on these foundational Cozy Food Recipes.
Don’t forget to leave a rating right above this section so others know just how reliably delicious this old-fashioned treat is. Happy stirring, friends!
PrintOld-Fashioned Stovetop Creamy Rice Pudding

This recipe delivers the ultimate comfort dessert: a creamy, old-fashioned rice pudding made simply on the stovetop. It captures that nostalgic flavor you remember, using just a few basic ingredients for a rich, smooth texture.
- Prep Time: 5 min
- Cook Time: 50 min
- Total Time: 55 min
- Yield: 4 servings
- Category: Dessert
- Method: Stovetop
- Cuisine: American
- Diet: Vegetarian
Ingredients
- 1 cup short-grain white rice
- 4 cups whole milk
- 1/2 cup granulated sugar
- 1/4 teaspoon salt
- 1 teaspoon vanilla extract
Instructions
- Combine the rice, whole milk, sugar, and salt in a heavy-bottomed saucepan.
- Place the saucepan over medium heat. Stir the mixture frequently until it begins to simmer gently. Do not let it boil rapidly.
- Once simmering, reduce the heat to low. Continue to cook, stirring every 5 to 7 minutes, for 40 to 50 minutes. The rice should swell, and the pudding should thicken to a creamy consistency. You want the texture to coat the back of a spoon.
- Remove the saucepan from the heat. Stir in the vanilla extract.
- Serve the rice pudding warm, or transfer it to a bowl, press plastic wrap directly onto the surface to prevent a skin from forming, and chill it completely before serving cold.
Notes
- For an extra creamy result, stir more often, especially during the last 15 minutes of cooking.
- You can substitute 1/2 cup of the whole milk with heavy cream for added richness.
- Sprinkle ground cinnamon or nutmeg on top just before serving for classic flavor.
- This pudding thickens significantly as it cools. If serving cold, you may need to stir in a splash of milk to reach your desired consistency.
Nutrition
- Serving Size: 1 cup
- Calories: 310
- Sugar: 22
- Sodium: 180
- Fat: 7
- Saturated Fat: 4
- Unsaturated Fat: 3
- Trans Fat: 0
- Carbohydrates: 55
- Fiber: 1
- Protein: 10
- Cholesterol: 25