

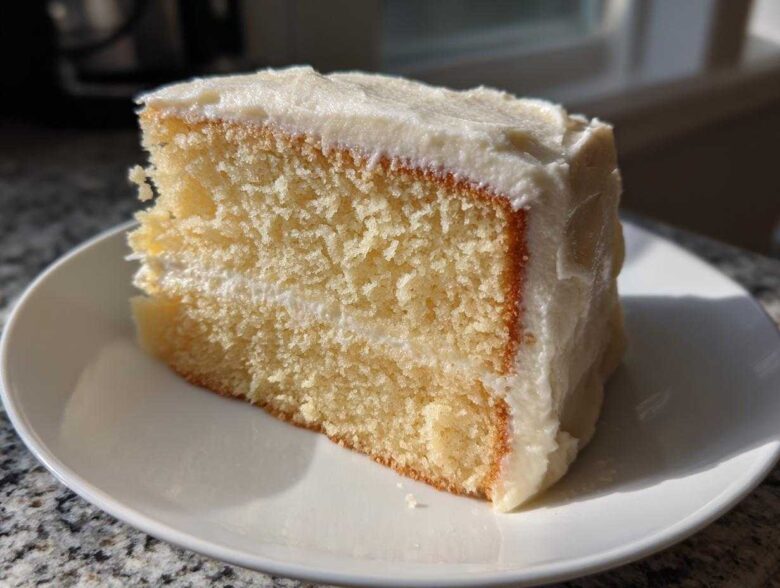
You know those moments? The ones that scream for a cake that isn’t just *good*, but absolutely legendary? Maybe it’s a milestone birthday or a big anniversary, and you need something that tastes like pure celebration. That’s why I guard this vanilla cake recipe like it’s the family map. Ethan—bless his structured heart—used to think I could throw flour around and get perfection, but trust me, for layers that hold up beautifully and a crumb this moist and fluffy, precision pays off!
When we started Recipes Fleet, we knew we needed the ultimate foundation, and this vanilla layer cake is IT. It’s soft, it’s got that beautiful clean flavor we all crave, and it never, ever lets us down when it matters most. It’s the one we rely on, and now it’s yours too! We believe this cake recipe captures the love we put into our kitchen.
Why This is the Perfect Vanilla Cake Recipe for Special Occasions
If you’re serious about birthdays or just need that showstopper dessert, this is the one. Forget fussy techniques; this recipe is designed to give you the absolute best vanilla cake recipe results every single time. It really shines because the batter creates a structured crumb—that means no sinking or squishing when you stack those layers high! This is our go-to classic birthday cake recipe for a reason.
I remember one year our main anniversary cake totally bombing two hours before guests arrived—don’t ask! I panicked and whipped up a quick batch of this vanilla layer cake instead. Nobody could tell it was a last-minute save. It looked spectacular once frosted, and everyone raved about how soft it was. It truly saved the day!
Achieving That Signature Moist Vanilla Layer Cake Texture
Moisture is non-negotiable in my book! The secret to that dreamy moist vanilla layer cake texture lies in two places. First, we need everything room temperature—the eggs, the milk—so they blend seamlessly into that butter and sugar without deflating. Second, when you mix the butter and sugar, you need to beat it until it’s genuinely pale and fluffy. That initial aeration is what traps the air and keeps the final cake soft and light, never dense or heavy!
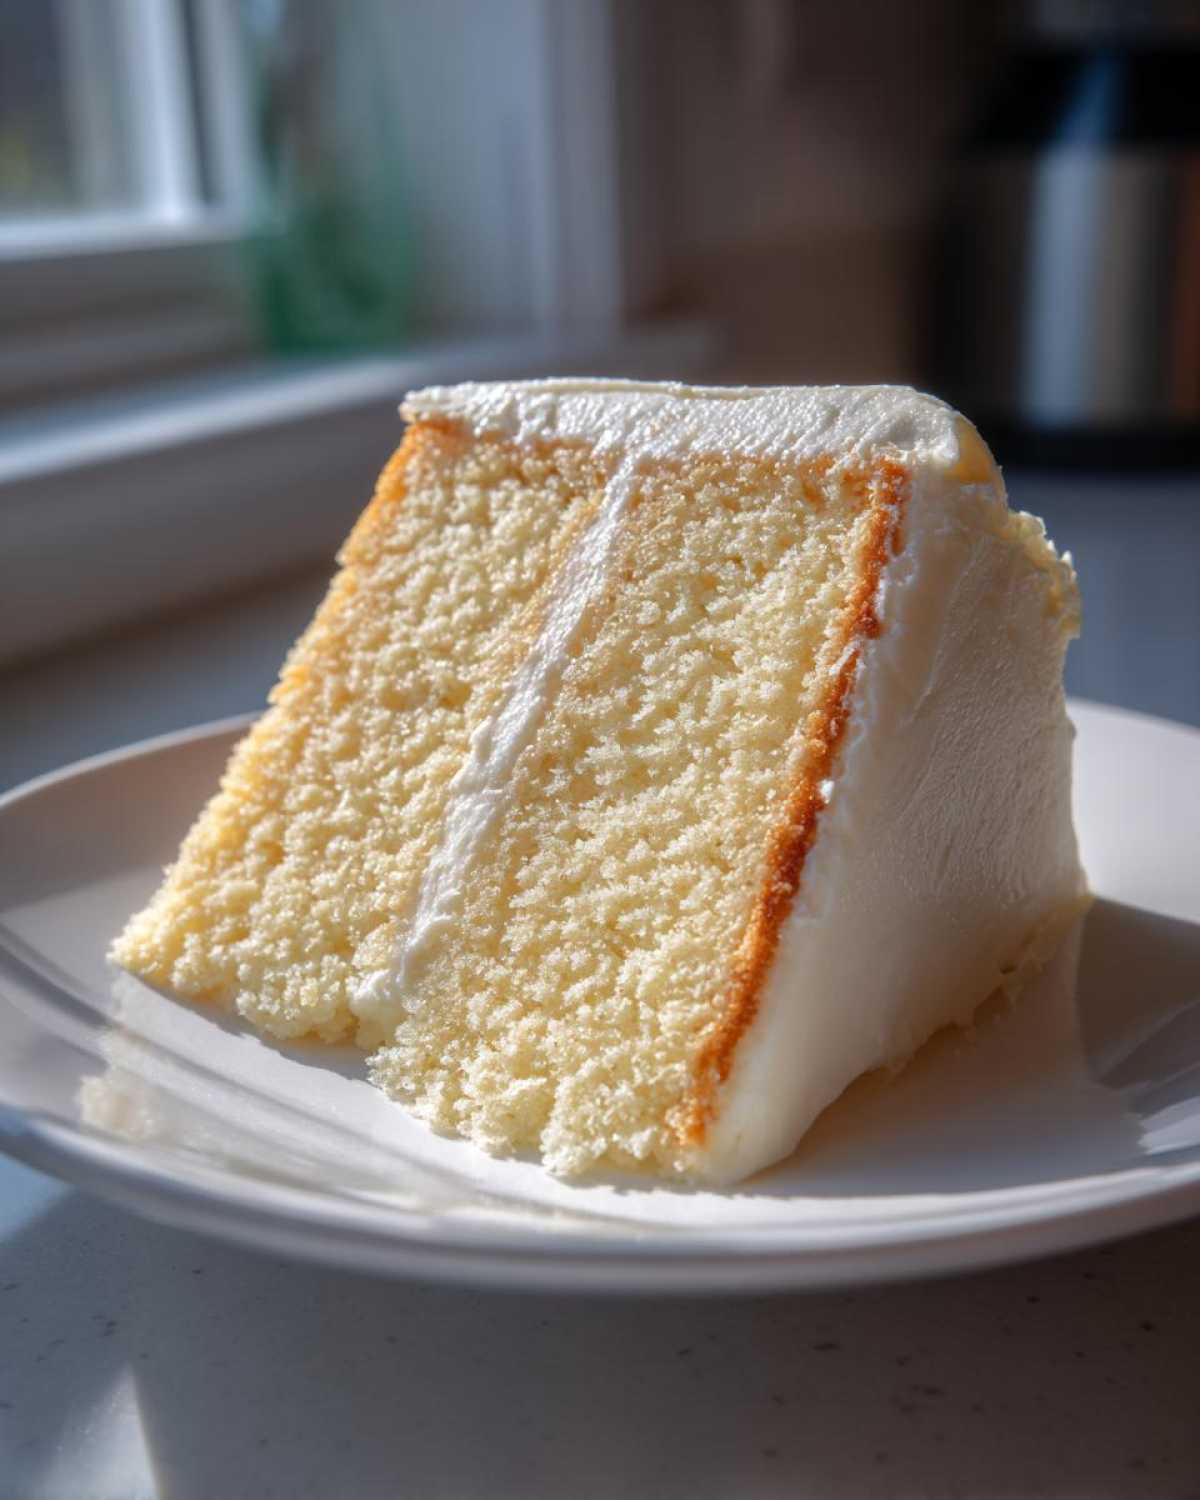
Gathering Ingredients for Your Fluffy Vanilla Cake From Scratch
Okay, now for the practical part! Baking this fluffy vanilla cake from scratch relies on knowing which ingredients need special love before you even start mixing. Don’t just grab things out of the fridge—we need room temperature dairy and eggs for this to work its magic. When we talk about the difference between a good cake and the *best* cake, it often comes down to paying attention to these tiny preparation steps upfront. This list is everything you need for the softest layers and the creamiest topping!
If you want to see how we approach ingredients in our other baking projects, check out my notes over on the chocolate chip banana bread recipe—it’s all about respecting what you’re working with!
Ingredients for the Moist Vanilla Cake Recipe
- 2 1/4 cups all-purpose flour
- 1 1/2 cups granulated sugar
- 1 tablespoon baking powder
- 1/2 teaspoon salt
- 1 cup unsalted butter, softened (super important it’s room temp!)
- 4 large eggs, room temperature
- 1 cup whole milk, room temperature
- 2 teaspoons pure vanilla extract
Ingredients for the Homemade Vanilla Buttercream Frosting
- 1 cup unsalted butter, softened
- 4 cups powdered sugar, sifted (don’t skip the sifting!)
- 1 teaspoon pure vanilla extract
- 3-4 tablespoons heavy cream
- Pinch of salt
Step-by-Step Instructions for the Perfect Vanilla Cake Recipe
Alright, darling, let’s get baking! This is where my structured side meets Chloe’s intuitive flair. We follow the recipe exactly, especially in the mixing stage, because that determines if you get a perfectly moist cake or something dense. Don’t rush the creaming! The total time might seem long, but the active work is quick. Once you mix this vanilla cake recipe using these steps, you’ll see why everyone says it’s the gold standard.
Preparing the Pans and Oven
First things first: get that oven preheated to 350\u00b0F (175\u00b0C). Don’t wait until the batter is mixed! Next up are your two 8-inch round cake pans. I highly suggest greasing them really well and then dusting them with flour, or grab some parchment paper and cut out perfect circles for the bottoms. This ensures zero sticking later—a smooth release means a beautiful layer cake!
Mixing the Soft Vanilla Sponge Cake Batter
In a big bowl, whisk together all your dry stuff: flour, sugar, baking powder, and salt. Now, add the softened butter. Turn your mixer on low—and I mean really low at first—until that mixture starts looking like coarse sand. This coats the flour just right for a tender crumb. Keep the mixer going low and slowly pour in half of your wet ingredients (milk, eggs, vanilla combo). Mix until you just see it barely come together. Then, crank the speed up to medium, beat that batter for one solid minute—scrape the sides!—and pour in the rest of the wet mixture. Beat for one more minute until smooth. Stop mixing right there! Don’t let the machine run for an extra second, or you’ll fight the gluten.
Baking and Cooling the Layers
Divide that beautiful batter evenly between your two prepared pans. Pop them into the hot oven for 30 to 35 minutes. How do you know they’re done? Stick a toothpick right in the center. If it comes out clean, you’re good to go! Let them sit in the pans on a cooling rack for about 10 minutes—this firms them up a bit—then gently flip them out onto the rack to cool completely. Do NOT try to frost them warm; the frosting will melt into a sad, sweet puddle.
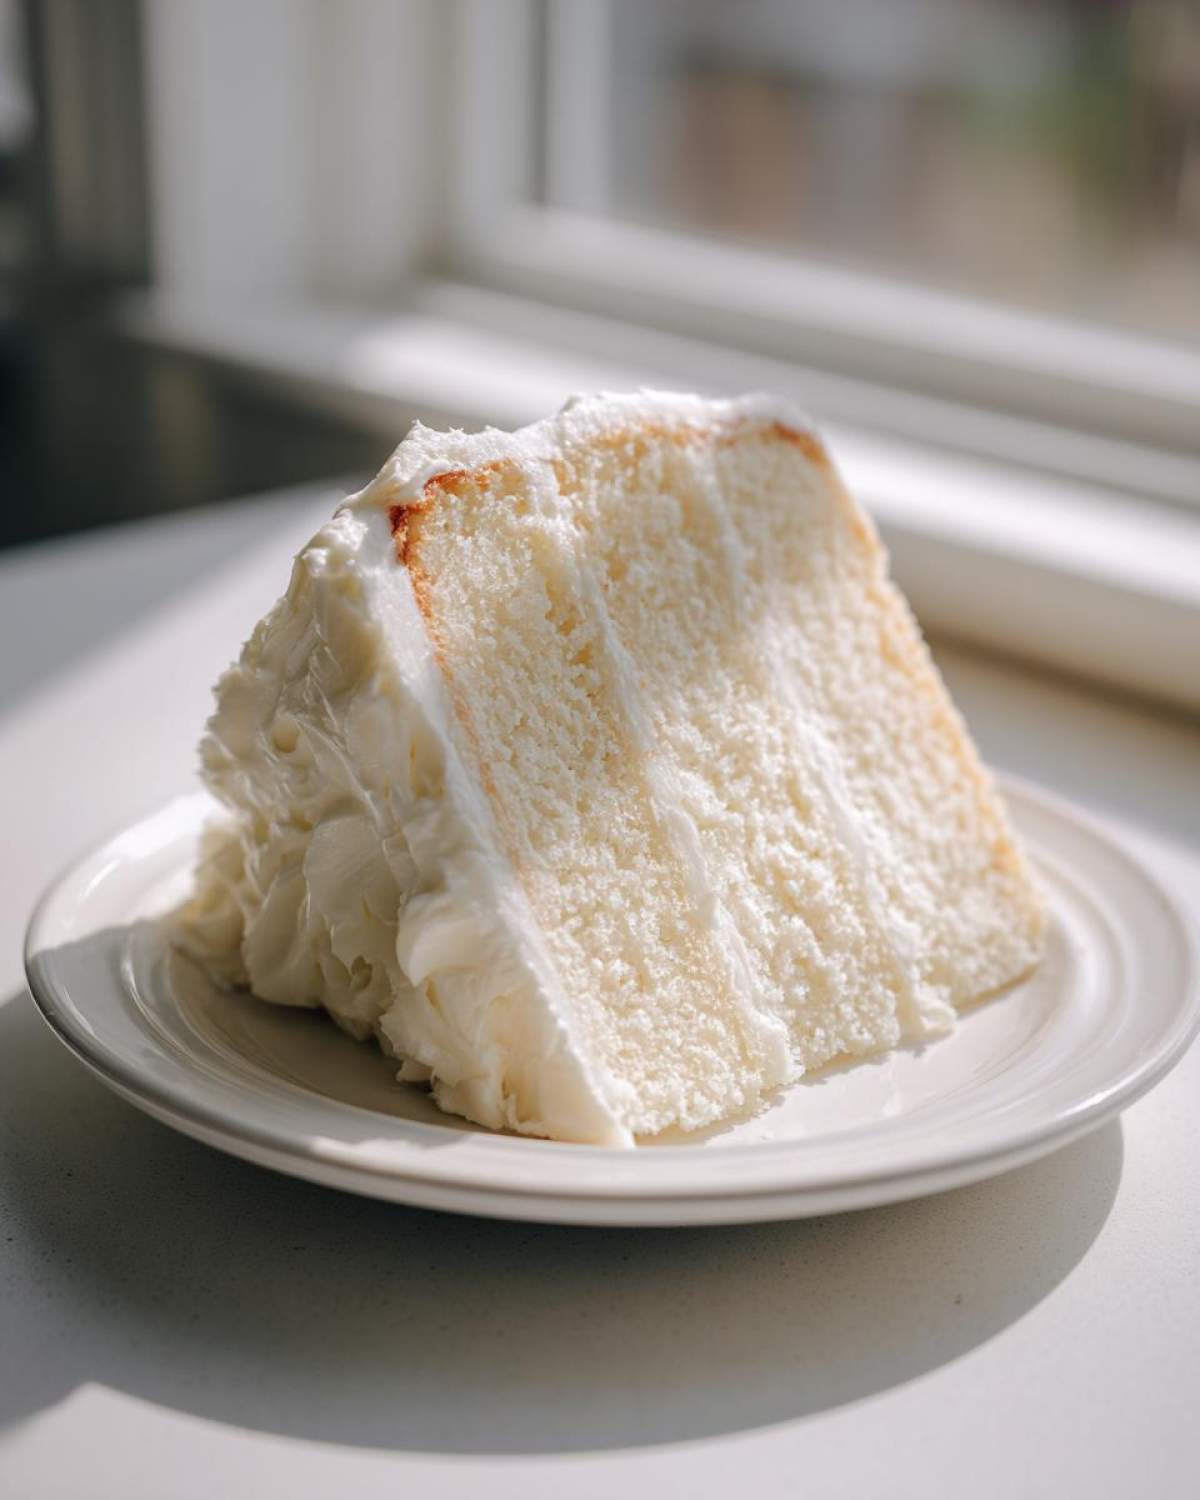
Whipping the Creamy Vanilla Buttercream Frosting
Time for the magic topping! Put that softened butter in your bowl and beat it until it looks super creamy. Now, start adding that sifted powdered sugar slowly—low speed so you don’t create a sugar cloud in your kitchen! Once it looks mostly combined, add the vanilla and salt. Then, add the heavy cream, starting with 3 tablespoons. Beat this on medium-high speed until it looks light and fluffy, that’s the key texture! If it feels too stiff, add that last tablespoon of cream until it’s perfectly spreadable. It should look like silky vanilla heaven.
Tips for Success with Your Easy Vanilla Cake Recipe
Baking is chemistry, but it’s fun chemistry, I promise! If you’re worried about this being too much for a first-timer, don’t be. This is truly a Beginner Friendly Vanilla Cake because if you pay attention to just three little things, you’ll get those results you see in magazines. These aren’t complicated extra steps; they are just non-negotiables for that incredible soft crumb we are famous for.
I’ve learned that troubleshooting a tricky bake almost always traces back to temperature control or messing with the ingredients too much after they are combined. We’ve all been there with Ethan telling me to stop whisking! Trust me on these two core concepts, and you won’t have to worry about density or dryness.
Ingredient Temperature Matters for a Perfect Vanilla Cake Recipe
I cannot stress this enough: room temperature dairy and eggs are the backbone of a beautifully emulsified batter. If your eggs or milk are ice cold when they hit that creamed butter and sugar, they shock the mixture. That shock causes the butter to seize up and separate slightly, resulting in a tight, denser cake structure instead of that fluffy cloud we are aiming for. Just set your milk and eggs out on the counter about an hour before you plan to start mixing—it’s easy!
When the butter, eggs, and milk are all sitting at the same gentle temperature, they merge beautifully with the sugar, creating tiny pockets of air we need. Those little air pockets expand in the oven, giving you that tender, soft texture that makes this vanilla cake recipe so divine. It’s worth the wait, I swear!
Variations on the Classic Vanilla Cake Recipe
Sometimes you want the classic beauty standing tall as a layer cake, and sometimes, well, life calls for a cake that’s easier to transport to a picnic or potluck. This vanilla cake recipe is surprisingly adaptable! Ethan and I love switching things up depending on the crowd we’re baking for, and the base recipe holds up so well to minor changes.
Don’t be afraid to experiment just a little once you’ve mastered the original structure. We’ve found that a few tweaks can turn this into completely different, equally delicious desserts. If you’re looking for something fun for a casual gathering, try what we did with our Christmas poke cake—you can totally adapt that technique here!
The easiest way to change things up without messing with the delicate balance of wet and dry ingredients is by altering the pan size. If you need something faster or less fussy than stacking layers, this works perfectly as a Vanilla Sheet Cake Recipe.
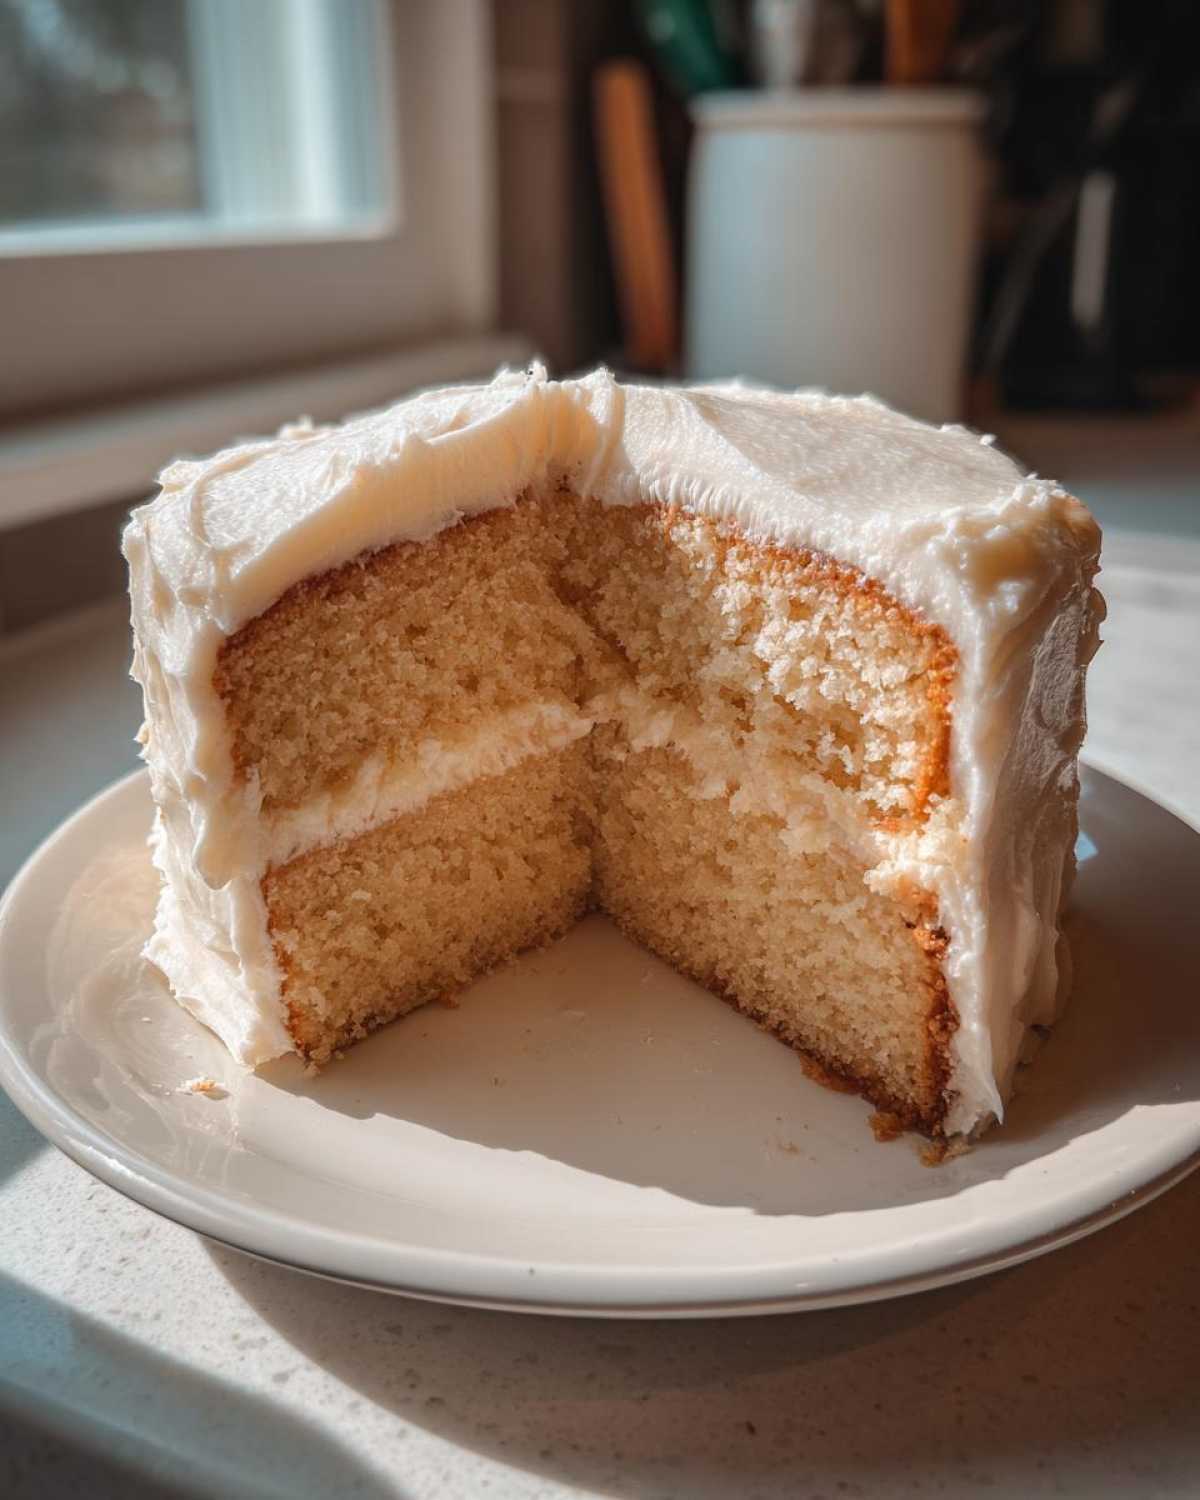
To make it into a sheet cake, just use a greased and floured 9×13 inch pan instead of your two rounds. You’ll be baking it for a touch longer—maybe 35 to 40 minutes—because the depth changes how the heat bakes through the center. You can still use the vanilla buttercream, but spreading it right over the top and serving wedges is just so much easier after a busy week!
Another super simple switch is altering the extract; if you want a deeper, almost amber flavor note, try swapping half of the pure vanilla extract for clear vanilla extract. It gives the cake a slightly different, more ‘bakery style’ profile without changing the structure at all. It’s subtle, but I notice it!
Make Ahead Vanilla Cake and Storage Instructions
One of the best things about having this rock-solid vanilla cake recipe in your arsenal is knowing you can prep ahead! Life gets hectic when you’re planning a big event, so why not bake the layers a day or two early? It actually lets those flavors settle in and meld beautifully.
When it comes to storage, treating your cake layers right before they get frosted makes a huge difference. For un-frosted layers, wrap each cooled cake tightly in plastic wrap first. I usually do two tight layers of plastic wrap to seal out any air. Then, slide that wrapped cake into a large zip-top bag or an airtight container. They do great sitting on the counter for about two days, or even better, tucked away in the fridge for up to four days if your kitchen is humid.
Speaking of making ahead, this cake freezes like a dream! If you know you won’t get to it for a week or more, wrap those cooled, plastic-wrapped layers very securely in aluminum foil after the plastic. You can freeze the layers for up to three months. When you finally pull them out to thaw, just let them sit on the counter, still wrapped, for an hour or two. Once the condensation forms on the *outside* of the wrapper, you know they are ready to unwrap and frost. This is one of my favorite shortcuts, especially when planning big parties!
If you need more general tips on timing out your baking schedule, I put together a whole breakdown on how to make ahead cakes for busy weekends. It should help you timeline your frosting assembly!
Once the cake is frosted, it just needs to be stored in an airtight container at room temperature for a day or two, unless your kitchen is super warm, in which case the fridge is safer for the buttercream. I generally take the frosted cake out of the fridge an hour before serving so the cake softens up again!
Serving Suggestions for Your Simple Vanilla Dessert
Now that you’ve poured your love and a bit of technical precision into this magnificent cake, you deserve to enjoy it in the best possible way! Honestly, this particular vanilla cake recipe is so perfectly balanced that it stands up beautifully all on its own. It’s a classic for a reason—pure, sweet comfort!
But if you’re setting up a dessert table or enjoying a cozy afternoon bite, I always have a few favorite pairings ready to go. These additions really elevate the experience without overpowering that wonderful, soft vanilla flavor we worked so hard to achieve.
My current obsession is pairing a thin slice of this cake with something bright and tart. Fresh raspberries or sliced strawberries cut through the richness of the buttercream just perfectly. If you dust a little extra powdered sugar over the berries before placing them beside the slice, it looks incredibly elegant, almost like a professional plating!
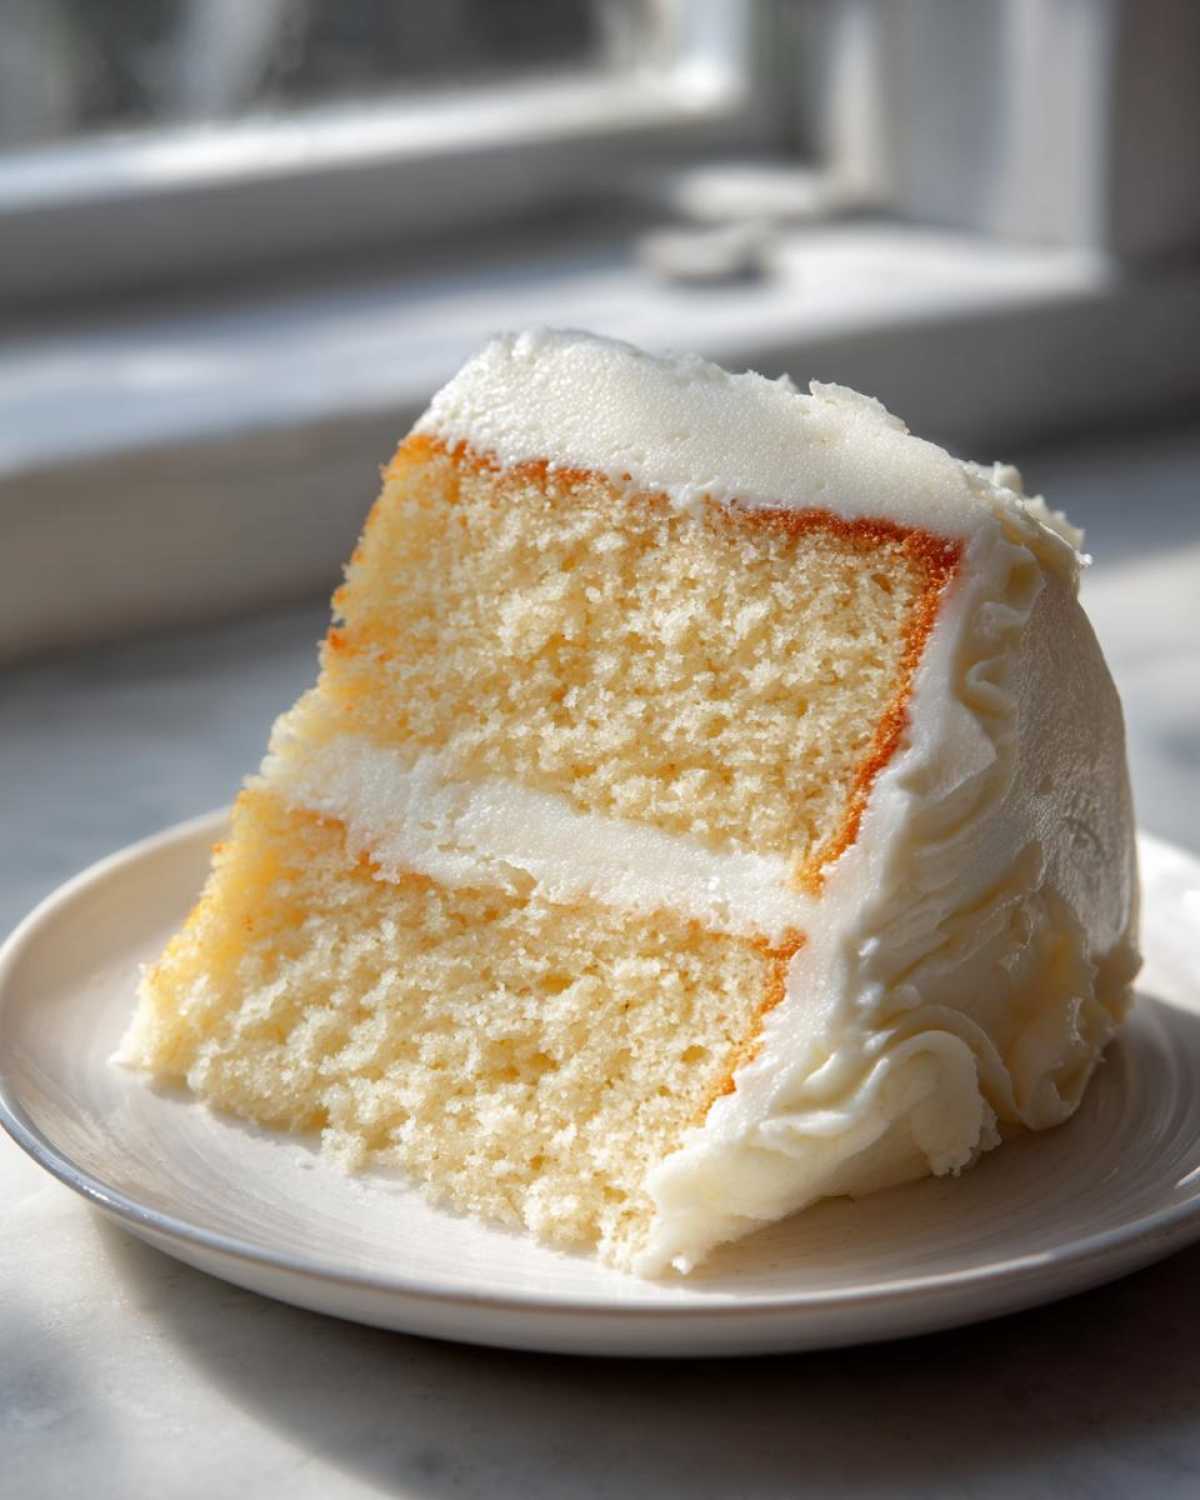
For those cozy weekend mornings, Ethan and I sometimes skip the massive slice of frosting assembly and just cut a small wedge to go alongside our coffee. I often make a batch of my London Fog Iced Lattes when the weather is warm, and the subtle tea flavor is just such a lovely background note for this simple vanilla dessert. It makes a quiet afternoon feel special!
If you’re looking for something even more decadent but keeping it simple, try toasting a few slivered almonds lightly in a dry pan until they just start smelling nutty, and sprinkle those over the top of the buttercream. That little bit of crunch and warmth really wakes up the whole dessert!
Frequently Asked Questions About This Vanilla Cake Recipe
I know when you bake something this important, you might have a few little questions pop up, especially if you’re trying to nail that perfect vanilla cake recipe for the first time. It’s okay! We’ve all had those baking scares. Here are a few things folks usually ask me about achieving that fluffy, moist texture and making sure these layers stack up beautifully. If you still need help after reading these, you can always reach out to us over at our contact page!
Can I substitute the whole milk in this vanilla cake recipe?
That’s a great question about substitution! While the recipe calls for whole milk for its fat content, which helps create a softer crumb, you do have options if whole milk isn’t handy. You can absolutely use 2% milk, but the cake might be just a tiny bit less rich. Another trick I love when I want an extra tender, almost velvety crumb is to swap out the milk for buttermilk or half-and-half. If you use buttermilk, you might notice a slight tang, which sometimes makes the cake taste even richer, but the acidity helps with tenderness. Avoid skim milk if you can, because we really need that fat content for our moist vanilla layer cake!
How do I ensure my cake layers are level for stacking?
Leveling is crucial if you’re stacking layers for a towering, beautiful presentation! My non-negotiable tip is this: cool the cakes completely, and I mean *completely*, before you even think about touching them with a knife. Slicing into a warm cake guarantees crumbs and wobbly layers. Once they’re cold, there are two ways I handle it. The easy way is using a long, serrated knife, holding it dead horizontal, and using the natural dome of the cake as a guide for your first cut. The other pro trick I’ve picked up is using a cake leveler tool—they are inexpensive and designed specifically to give you a perfectly even top slice every single time. This tool makes stacking so much less stressful for a beginner!
Why did my cake bake up dense instead of fluffy?
Ugh, density is the enemy of a good party cake! Usually, this happens for one of two major reasons when making a fluffy vanilla cake from scratch. First, overmixing. Once you add the wet ingredients to the dry after the creaming stage, you mix until *just combined*. Overbeating develops the gluten in the flour, which makes the cake chewy or dense instead of soft. Second, cold ingredients! If your eggs or milk are straight from the fridge, they won’t emulsify correctly with the creamed butter, leading to a curdled or tight batter. Always remember to bring your dairy out ahead of time to ensure that soft, airy structure we’re aiming for!
I don’t have an electric mixer; can I still make this easy vanilla cake recipe?
Ethan always jokes that my early baking attempts were done entirely with arm strength, so yes, you absolutely can! The key here is patience, especially during the creaming stage. You need to beat the butter and sugar *hard* for a good five to seven minutes, using a sturdy wooden spoon or a wire whisk attachment if you have a hand mixer base. You’re looking for that same pale color and airy texture. It’s a workout, but it guarantees that you incorporate enough air to keep this easy vanilla cake recipe tender!
Nutritional Estimates for This Classic Moist Vanilla Cake
Okay, real talk time. We are bakers, not dietitians, so please remember that these numbers are just estimates based on the ingredients listed! We use pure butter and sugar because, well, that’s what makes it taste like the best thing ever, so we know this isn’t a low-calorie treat. That said, transparency is important, especially when you’re serving something decadent for a big event!
If you need to check out our official disclaimers on nutrition before diving in, you can read more about how we calculate these estimates over on our official disclaimer page. Every slice of this classic moist vanilla cake is meant to be enjoyed guilt-free, knowing you baked it with love!
- Serving Size: 1 slice (based on 12 servings)
- Calories: 450
- Sugar: 45g
- Sodium: 250mg
- Fat: 22g
- Saturated Fat: 14g
- Unsaturated Fat: 8g
- Trans Fat: 0.5g
- Carbohydrates: 60g
- Fiber: 1g
- Protein: 5g
- Cholesterol: 110mg
See? It’s rich, but that’s because it’s made with real ingredients—real butter, real eggs, and lots of sugar, which is what keeps this vanilla cake recipe so delightfully moist and tender. Enjoy every bite!
PrintClassic Moist Vanilla Layer Cake with Creamy Vanilla Buttercream Frosting
You need a reliable, soft, and fluffy vanilla cake recipe perfect for birthdays and special occasions. This recipe delivers a moist crumb every time and pairs beautifully with homemade vanilla buttercream.
- Prep Time: 20 min
- Cook Time: 35 min
- Total Time: 55 min
- Yield: 12 servings
- Category: Dessert
- Method: Baking
- Cuisine: American
- Diet: Vegetarian
Ingredients
- 2 1/4 cups all-purpose flour
- 1 1/2 cups granulated sugar
- 1 tablespoon baking powder
- 1/2 teaspoon salt
- 1 cup unsalted butter, softened
- 4 large eggs, room temperature
- 1 cup whole milk, room temperature
- 2 teaspoons pure vanilla extract
- For the Frosting: 1 cup unsalted butter, softened; 4 cups powdered sugar, sifted; 1 teaspoon pure vanilla extract; 3-4 tablespoons heavy cream; Pinch of salt
Instructions
- Preheat your oven to 350°F (175°C). Grease and flour two 8-inch round cake pans, or line the bottoms with parchment paper circles.
- In a large bowl, whisk together the flour, sugar, baking powder, and salt.
- Add the softened butter to the dry ingredients. Beat with an electric mixer on low speed until the mixture resembles coarse sand. This step helps coat the flour particles for a tender cake.
- In a separate bowl, whisk together the eggs, milk, and vanilla extract until combined.
- With the mixer running on low speed, gradually add half of the wet ingredients to the dry mixture. Mix until just combined.
- Increase the mixer speed to medium and beat for one minute. Scrape down the sides of the bowl.
- Add the remaining wet ingredients and beat on medium speed for another minute until the batter is smooth. Do not overmix.
- Divide the batter evenly between the prepared cake pans.
- Bake for 30 to 35 minutes, or until a toothpick inserted into the center comes out clean.
- Let the cakes cool in the pans for 10 minutes before inverting them onto a wire rack to cool completely.
- To make the frosting, beat the softened butter until creamy. Gradually add the sifted powdered sugar, beating until smooth.
- Add the vanilla extract, a pinch of salt, and 3 tablespoons of heavy cream. Beat on medium-high speed until light and fluffy. Add the remaining cream only if needed to reach a spreadable consistency.
- Once the cakes are completely cool, frost and assemble your layer cake.
Notes
- Use room temperature ingredients (eggs and milk) for the best emulsion and softest crumb.
- For a bakery style vanilla cake, use clear vanilla extract for a whiter color, though pure vanilla offers superior flavor.
- You can make this a vanilla sheet cake recipe by baking the batter in a greased and floured 9×13 inch pan for about 35-40 minutes.
Nutrition
- Serving Size: 1 slice
- Calories: 450
- Sugar: 45g
- Sodium: 250mg
- Fat: 22g
- Saturated Fat: 14g
- Unsaturated Fat: 8g
- Trans Fat: 0.5g
- Carbohydrates: 60g
- Fiber: 1g
- Protein: 5g
- Cholesterol: 110mg