

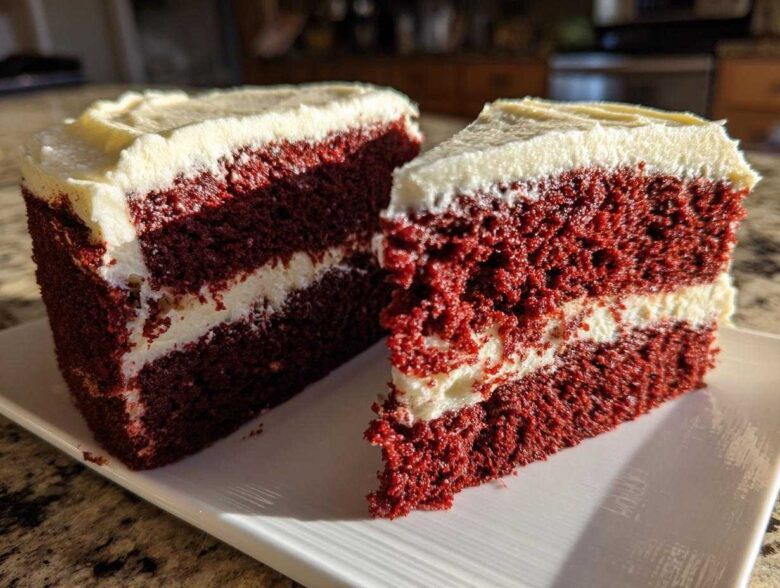
If you’ve ever dreamed of pulling a truly show-stopping dessert from your oven—one that looks like it took three days but actually came together surprisingly fast—you are in the right place! Forget those dry, disappointing versions you might have tried before. When Ethan and I first started cooking together, I learned quickly that even my soul-guided baking needed a little structure, which is something you can read more about on our About Us page! We finally perfected this absolute winner. I’m Chloe, and I promise you, this is The Best Southern Style Moist Red Velvet Cake From Scratch with Classic Cream Cheese Frosting. It’s soft, it’s perfectly fluffy, and yes, it’s the definitive red velvet cake you’ve been searching for. Get ready to wow everyone!
Why This Moist Red Velvet Cake Recipe Stands Apart
Honestly, I used to think these cakes were just chocolate cake dyed red, but I was so wrong! This recipe is rooted in true Southern tradition, and that’s why it comes out so incredibly moist and soft every single time. We aren’t just dumping in food coloring; the secret really lies in that subtle tang we get from the combination of buttermilk and a very tiny bit of cocoa powder. That balance is everything for an authentic red velvet cake. If you want that bakery-quality tender crumb, you have to trust the process we worked out over many messy kitchen afternoons.
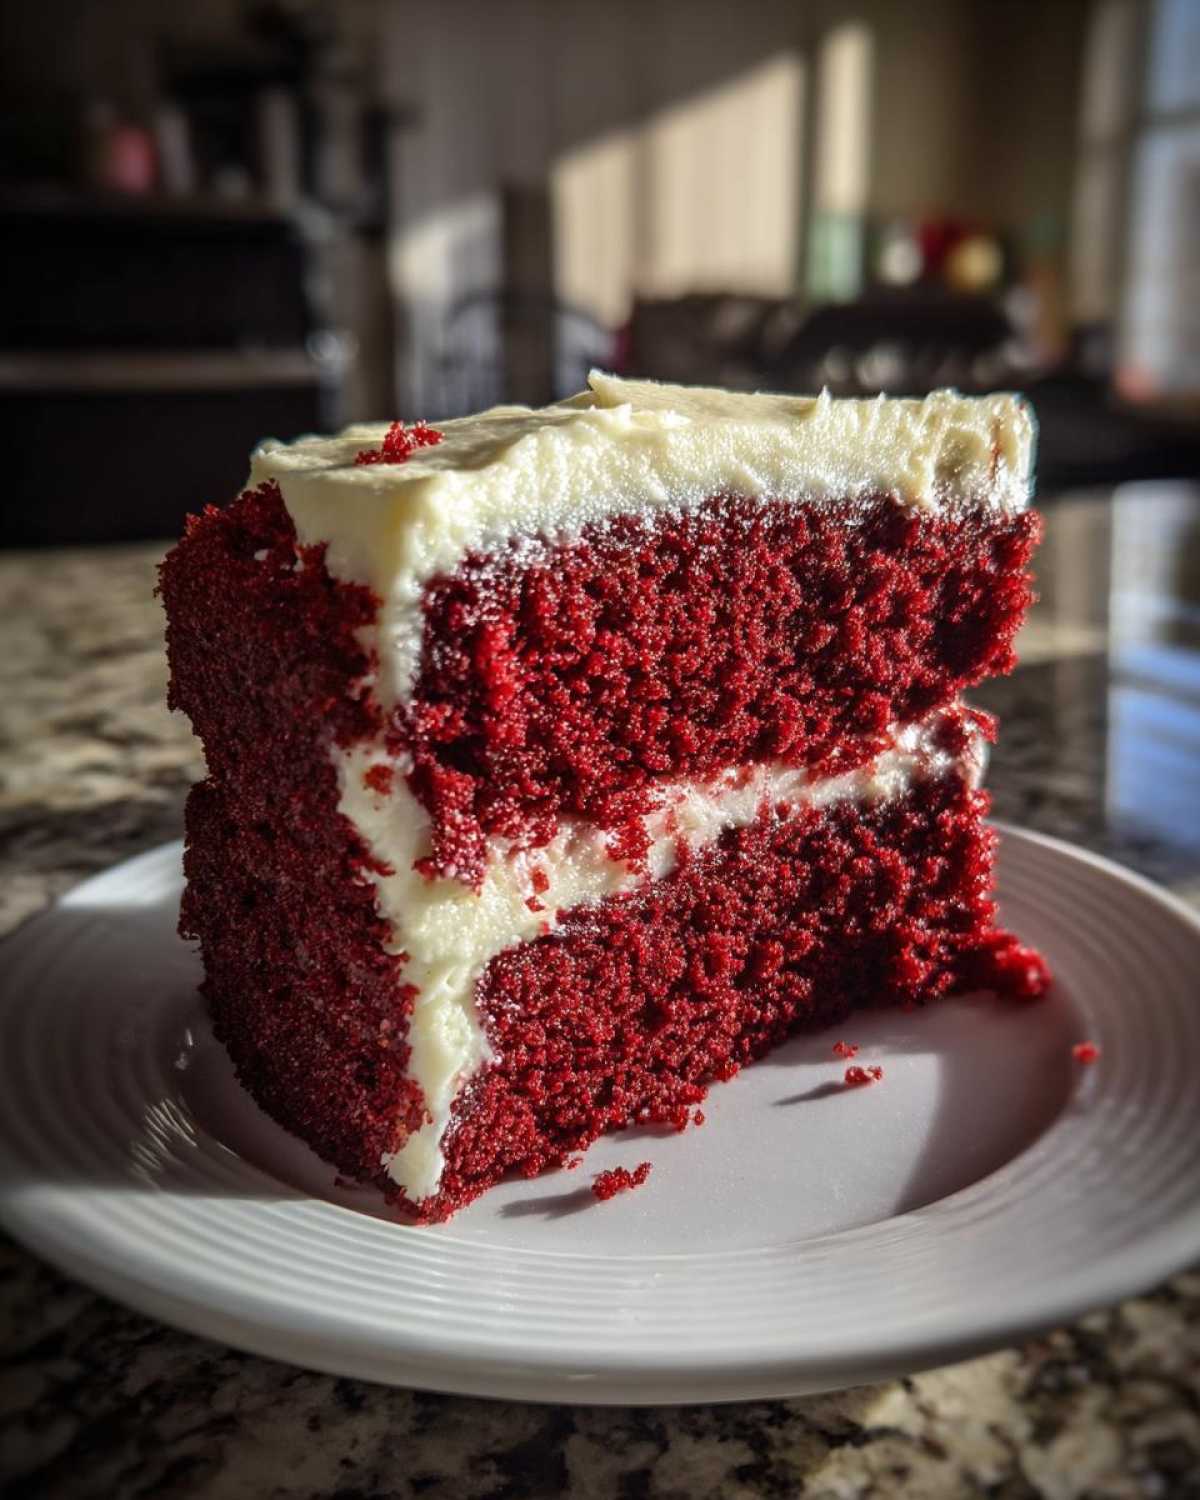
We know you’ve probably been disappointed before, but trust Ethan and me on this one. This recipe, developed through lots of trial and error (mostly mine!), delivers that melt-in-your-mouth experience we all chase. For endless inspiration and more of the recipes that built our fleet, be sure to check out our main blog page!
Achieving the Signature Vibrant Red Velvet Cake Color
Let’s talk color, because nobody wants a pale pink cake! Liquid food coloring works, sure, but if you want that deeply saturated, iconic red look—the kind that really pops on a holiday table—you absolutely must use gel food coloring. I learned this the so the hard way when my first few attempts looked more like dusty roses! Gel drops are highly concentrated, so you use way less, and they mix into the buttery batter without watering it down. Just a couple of drops of a good quality gel color, and you get that stunning hue without affecting the delicate texture.
The Secret to a Fluffy Red Velvet Cake Texture
The magic ingredient that gives you that fluffy red velvet cake texture is chemistry, plain and simple! When you mix the buttermilk and the vinegar together, you create a homemade acid. This gets a fantastic reaction when it meets the baking soda right before it goes into the oven. It creates all those tiny bubbles that make the cake wonderfully light and soft, instead of dense and heavy. It’s one of those easy baking recipe secrets that makes all the difference for a soft homemade cake!
Gathering Ingredients for Your Red Velvet Cake From Scratch
Okay, now for the fun (and slightly more structured) part: gathering your goods! When it comes to baking something this iconic—a true red velvet cake from scratch—precision is everything. Ethan always reminds me that baking is science, and while I love my messy creativity, for this, we need exact measurements. Make sure you pull your butter and cream cheese out early because using ingredients that are too cold is the quickest way to end up with lumpy frosting or stiff batter. This recipe hinges on quality basics, so let’s make sure you have everything ready to go before you even think about preheating that oven.
Cake Layer Ingredients
For the cake layers themselves, try to measure your flour gently—don’t scoop it with the cup, or it packs down too much! Remember, we have two spots where baking soda shows up, so pay attention to the instructions in the steps below:
- 2 1/2 cups all-purpose flour
- 1 teaspoon baking soda (for the dry mix)
- 1 teaspoon salt
- 1 tablespoon unsweetened cocoa powder (just enough for that classic subtle flavor!)
- 1 cup unsalted butter, softened (I mean truly soft, not melty!)
- 1 1/2 cups granulated sugar
- 2 large eggs
- 1 teaspoon vanilla extract
- 1 cup buttermilk (don’t skip this, please!)
- 1 teaspoon white vinegar
- 1 to 2 bottles (1 ounce each) red food coloring (Remember, gel is best for that vibrant red velvet cake look!)
- 1 teaspoon baking soda (this gets dissolved separately)
Best Cream Cheese Frosting Recipe Components
We are making the best cream cheese frosting recipe right here, and honestly, it’s half the reason we make this cake! Make sure your dairy ingredients are softened, even if they seem a little greasy—that’s what gives you that luxurious, spreadable texture we’re aiming for.
- 1 (8-ounce) package cream cheese, softened
- 1/2 cup unsalted butter, softened
- 1 teaspoon vanilla extract
- 4 cups powdered sugar, sifted (Sifting prevents those little hard sugar lumps that ruin a beautiful spread!)
Step-by-Step Instructions for the Red Velvet Layer Cake
Alright, time to put those beautiful ingredients to work! This is where my need for structure (Ethan’s influence!) really helps make this an easy red velvet cake. The key here is patience during mixing; rushing means losing out on that perfect soft texture we’re aiming for. Remember to preheat your oven to 350°F (175°C) right now and make sure those two 9-inch round pans are greased and floured. We don’t want any sticky surprises later! If you are looking for other baking adventures, check out the recipe for our chocolate cake too.
Mixing the Authentic Southern Red Velvet Batter
First, whisk together your flour, the first teaspoon of baking soda, salt, and that tiny bit of cocoa powder in a medium bowl. Set that dry lineup aside. In your big mixing bowl, cream that cup of butter and the sugar until it’s light and fluffy—this builds the air pockets! Beat in those eggs separately. Now for the alternating part: add about a third of your dry mix, mix just gently, then add half of your colored buttermilk mixture. Repeat this pattern, ending with the dry ingredients. Stop mixing the second you don’t see white streaks! For maximum fluffiness, quickly stir that final teaspoon of baking soda dissolved in a tablespoon of water right into the batter. Work fast here!
Baking and Cooling the Soft Homemade Cake
Divide that gorgeous red batter evenly between your prepared pans. Bake them for 25 to 30 minutes. You’re looking for the center to spring back lightly when you touch it, or have a pick come out clean. Resist the urge to check it too early! Once they are done, let them sit in the pans for just 10 minutes—this helps them firm up slightly. Then, flip them out onto a wire rack to cool completely. I cannot stress this enough: waiting until they are stone cold before frosting is the only way to get that perfect red velvet layer cake presentation and avoid a melted mess. This waiting period is crucial for a soft homemade cake!
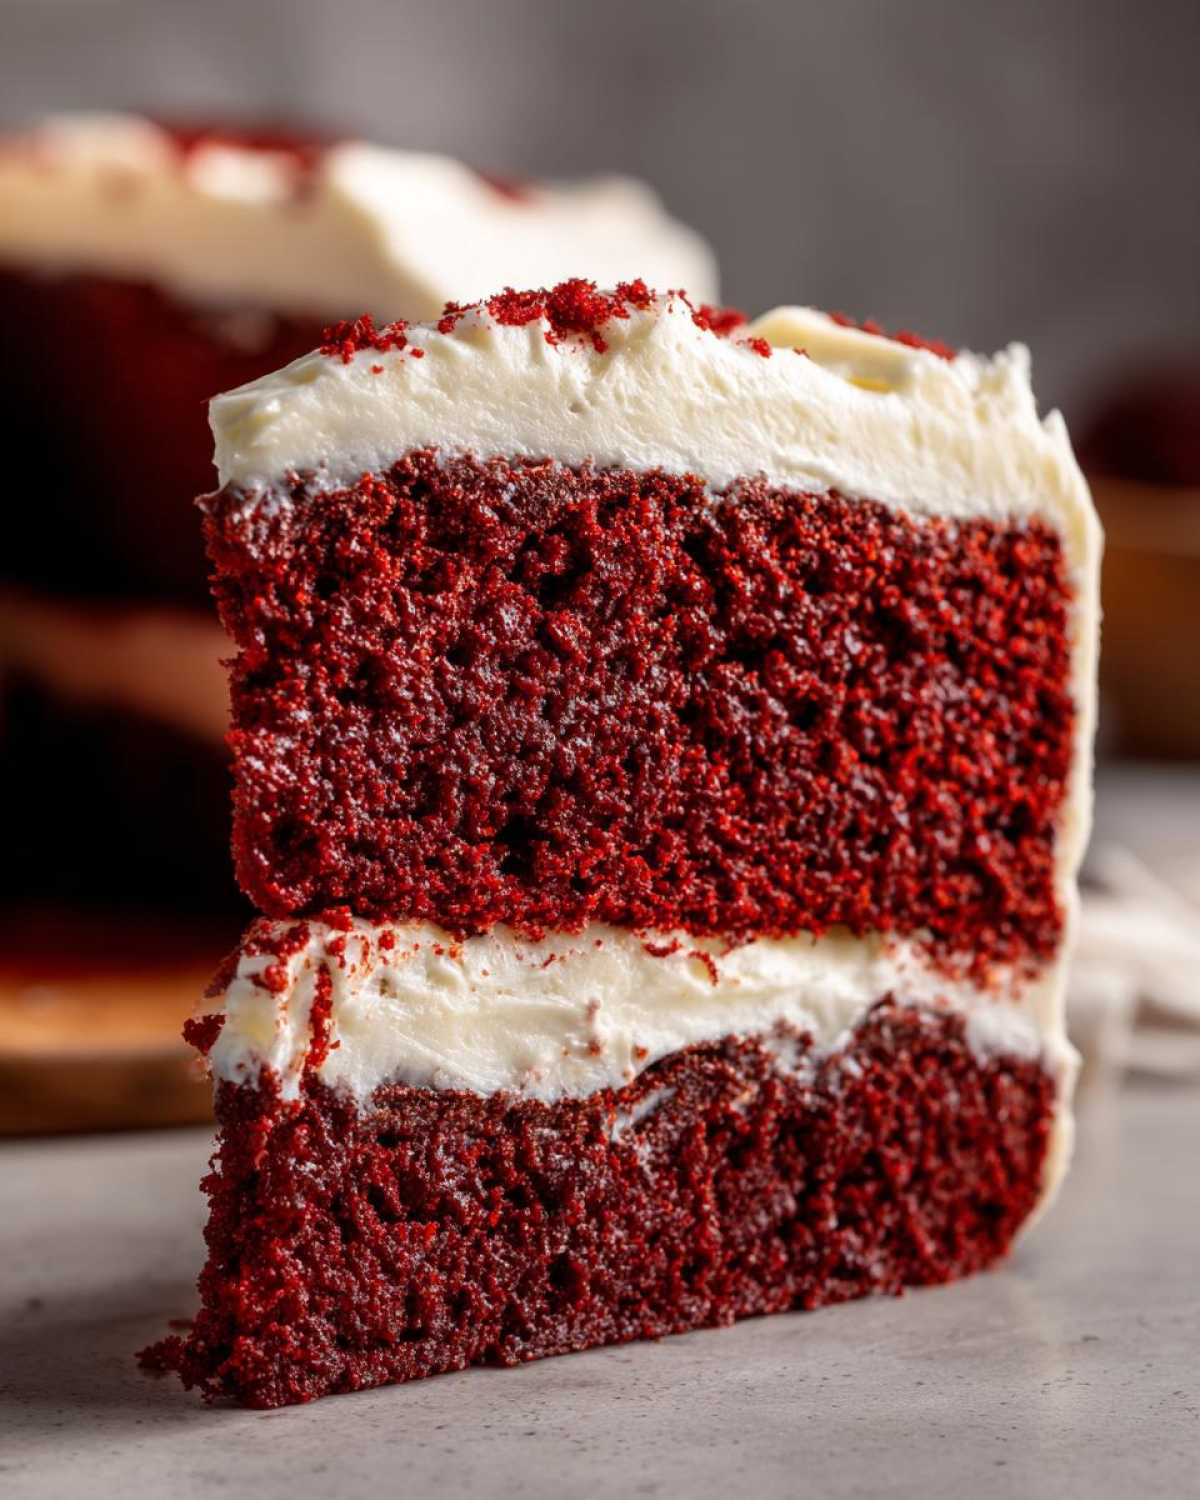
Preparing the Classic Cream Cheese Frosting
While the layers are getting cold (pacing is important here!), we whip up the best topping. Beat that softened cream cheese and the half-cup of softened butter until they are perfectly smooth—if they’re cold, your frosting will be lumpy, trust me! Mix in the vanilla, then slowly start adding that sifted powdered sugar, one cup at a time. If you dump it all in at once, your kitchen will look like a snowstorm hit! Beat until it’s light, creamy, and completely spreadable. If it seems too stiff, add milk a tiny bit at a time until it’s exactly how you want it for easy spreading on your lovely layers.
Tips for a Perfect Red Velvet Cake Tutorial
Okay, now that you know the core recipe, let me share a few things I learned the hard way—usually involving a mixer explosion or a very sad-looking, slightly orange cake. When I first started following Ethan’s structured recipes compared to my old “a splash of this” style, I realized how much temperature control actually matters, especially for a showstopper like this red velvet cake. These little pro-tips will take your cake from good to absolutely unforgettable!
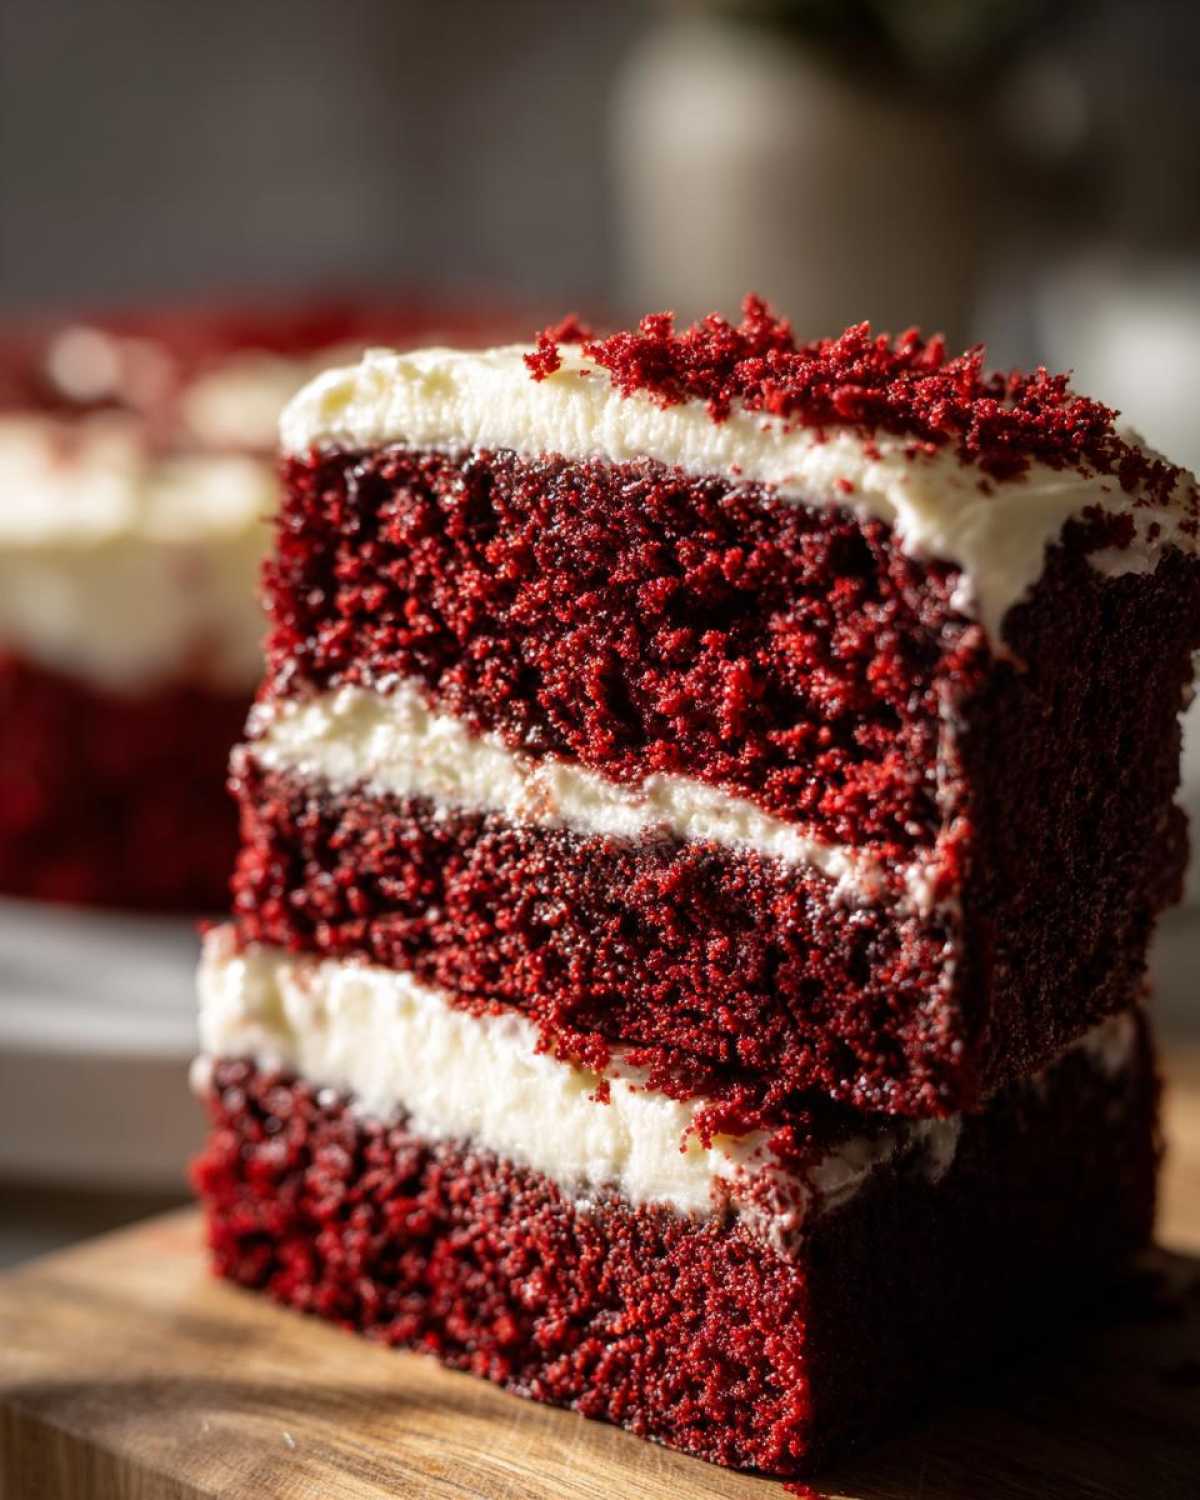
For extra guidance on simplifying your baking life, check out our collection of easy baking recipes. Sometimes less fuss means more flavor!
Ingredient Temperature Matters for the Red Velvet Cake
This isn’t the time to be working with cold butter straight from the fridge! For a proper emulsion, your eggs, butter, and especially that buttermilk need to be at room temperature. When the ingredients are too cold, they don’t blend smoothly with the creamed butter and sugar. They clump up, which ruins the air pockets we worked so hard to create back during the creaming stage. This leads to poor structure—and definitely won’t give you that beautiful, vibrant red velvet cake that looks like it came from a real bakery.
Preventing a Dry Cake: Buttermilk Cake Recipes Wisdom
The real backbone of this recipe, which sets it apart from just a simple chocolate cake with red dye, is the buttermilk. If you look at other classic buttermilk cake recipes, you see the same principle at work: the acid in the buttermilk tenderizes the proteins in the flour beautifully. This is what keeps the cake crumb incredibly soft and moist, even days later. It’s a small step, but it ensures you nail that ultra-moist texture every single time.
Serving Suggestions for Your Showstopping Red Velvet Cake
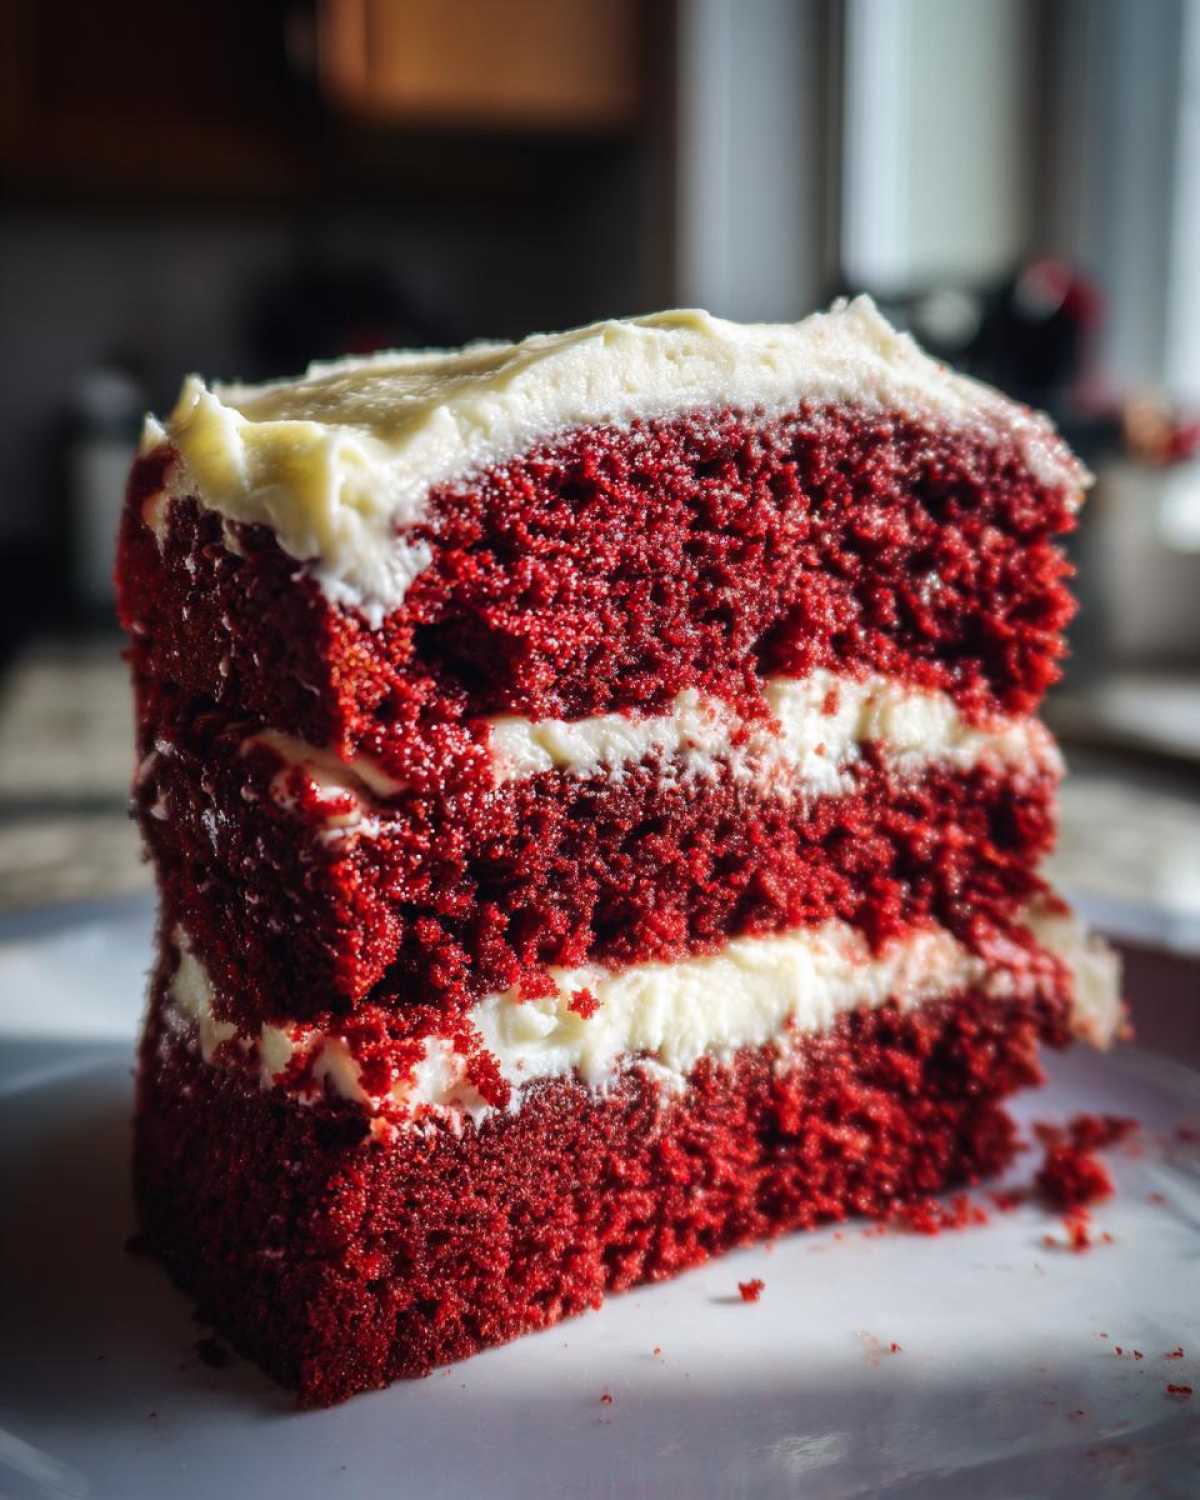
Okay, your layers are frosted, the cream cheese frosting is perfectly peaked, and you have this incredible, deep red showstopper sitting on your counter. Now what? This cake is so naturally gorgeous it barely needs anything extra, but presentation is everything, right? This is the perfect centerpiece for any big event, from birthdays to holidays, because that red just pops! If you are looking for other formal occasion ideas, don’t forget to check out our guide on Valentine’s Day desserts for presentation inspiration.
Pairing with Holiday Cake Recipes
Because of that amazing color combination—deep red velvet against bright white frosting—this cake just screams celebration. It’s almost mandatory for Valentine’s Day desserts, isn’t it? The richness in the cake feels so decadent and special for that day. But don’t stop there! It looks absolutely stunning on a Christmas dessert table, too. Those colors mix perfectly with green and gold decorations. We always make a slightly smaller version when we bake it for Christmas parties because it feels so festive and elegant compared to heavier holiday baked goods.
Storage and Make-Ahead Tips for Red Velvet Cake
You’ve made the perfect red velvet cake, and now you need to keep it looking perfect! If you’re somehow not eating it all in one sitting (which is a real challenge in our house!), storage is key. Because we use that lovely, real cream cheese frosting, the best rule is refrigeration. Wrap those beautiful frosted layers tightly in plastic wrap, or place them under a cake dome in the fridge. They keep well for three or four days this way.
Here’s a little Ethan-approved trick for planning ahead: you can totally bake the layers a day or two ahead! Let them cool totally, wrap them tightly in plastic wrap, and then slip them into the freezer. They freeze beautifully for up to a month! Just let them gently thaw on the counter for a few hours before you get the frosting out. If you’re curious about adapting the cake base for other fun treats, like a poke cake, check out our thoughts linked over on the recipe for Christmas Poke Cake!
Frequently Asked Questions About Red Velvet Cake
We get so many great questions about this recipe whenever I post it online! I know it seems intimidating when you’re attempting a show-stopping classic, but honestly, most of the worries disappear once you understand those key flavor components. Ethan and I compiled the most common things people ask so you can tackle this with total confidence!
Is Red Velvet Cake just Chocolate Cake with Red Dye?
Oh, I hear this all the time, but no, it’s definitely not! If you use enough cocoa powder to taste like actual chocolate, the bright red color gets totally overwhelmed and disappears. The traditional Southern recipe, which inspired this moist red velvet cake recipe, uses only about a tablespoon or two of cocoa. That small amount gives you a whisper of chocolate complexity, but the main flavors come from the tanginess of the buttermilk and vinegar reacting with the baking soda. That reaction is crucial for texture AND flavor—proving it’s way more nuanced than just a chocolate cake with red dye!
What can I use if I don’t have buttermilk for this moist red velvet cake recipe?
If you’re staring at your fridge and realize you’re fresh out of buttermilk, don’t panic! You absolutely do not need to run to the store. This substitution works perfectly and mimics the acidity we need to tenderize the crumb. Just take one cup of regular milk—whole milk is best if you have it—and stir in one tablespoon of white vinegar or fresh lemon juice. Let that sit on the counter for about five to ten minutes until it looks slightly curdled or thickened. That’s your substitute buttermilk, ready to go for your moist red velvet cake recipe!
Can I make this a Red Velvet Poke Cake?
Yes, you totally can turn this into an absolute party favorite! A red velvet poke cake is such a fun, easy baking recipe. After your layers have baked and cooled completely (this is important so the pudding doesn’t melt!), just use the end of a wooden spoon or a thick straw to poke holes all over the top of the cake layer. You can then pour a creamy filling—maybe a store-bought vanilla pudding or even a mixture of condensed milk—over the top before you frost it. It soaks right in and makes the cake even more ridiculously moist! It’s a great way to change things up when you want something a little different from the standard layer cake.
Nutritional Estimates for This Red Velvet Cake
Now, I’m Chloe, so I usually want to put the numbers away once the cake is in the oven, but Ethan (ever the planner!) insists we include this for you folks. Remember, baking is beautiful chaos, and using different brands of butter or slightly more or less frosting can change things up. So, treat these figures as a helpful guide, not an exact science. For the official word, you can always check out our full disclaimer linked over on the site:
Based on the ingredients used in this specific red velvet cake recipe, here are the general estimates per slice (assuming 12 servings):
- Calories: About 450
- Fat: Around 24g (Be generous with that cream cheese frosting!)
- Carbohydrates: Roughly 60g
- Protein: About 4g
- Sugar: This comes in around 55g, so definitely a treat!
It’s such a rich dessert, perfectly balanced with that tangy frosting, so it’s meant for special occasions like birthdays or Valentine’s Day, not an everyday snack! Enjoy every single bite without guilt, because you made this beauty entirely from scratch! For more information on how we handle these numbers, please read our disclaimer.
Share Your Best Red Velvet Cake Creations
Whew! If you made it this far, you are officially my favorite kind of baker! We put our heart and soul into making this red velvet cake work perfectly for us, blending all those careful measurements with just enough kitchen magic. Now, the best part is seeing what you all create!
I absolutely live for seeing your brightly colored layers and perfectly frosted cakes popping up online. When you try out this recipe, please, please take a picture and tag us! We love seeing your triumphs, whether this is for a birthday cake idea or just a snowy Sunday treat. I’m always hovering over my phone hoping to see one of our fleet ships sail into your kitchen!
If you loved how moist this turned out, don’t keep that love bottled up—leave a rating below! Stars tell other new cooks that this recipe is reliable. And if you had any questions while you were mixing, or if you tried a fun variation (like maybe turning it into a cheesecake swirl!), drop a comment below. Ethan and I read every single one, and I’m always happy to jump in and help if you ran into any little snags. Head over to our contact page if you have a huge question, but comments usually work fastest!
Happy baking, friends. Can’t wait to see that gorgeous red!
PrintThe Best Southern Style Moist Red Velvet Cake From Scratch with Classic Cream Cheese Frosting
You deserve a show-stopping dessert! This recipe delivers an authentic Southern Red Velvet Cake that is perfectly moist, soft, and fluffy. We blend just the right amount of cocoa with buttermilk for that classic flavor, and we pair it with the best homemade cream cheese frosting.
- Prep Time: 25 min
- Cook Time: 30 min
- Total Time: 55 min
- Yield: 12 servings
- Category: Dessert
- Method: Baking
- Cuisine: American
- Diet: Vegetarian
Ingredients
- 2 1/2 cups all-purpose flour
- 1 teaspoon baking soda
- 1 teaspoon salt
- 1 tablespoon unsweetened cocoa powder
- 1 cup unsalted butter, softened
- 1 1/2 cups granulated sugar
- 2 large eggs
- 1 teaspoon vanilla extract
- 1 cup buttermilk
- 1 teaspoon white vinegar
- 1 to 2 bottles (1 ounce each) red food coloring (use more for a vibrant red velvet cake)
- 1 teaspoon baking soda (for the frosting reaction)
- 1 (8-ounce) package cream cheese, softened
- 1/2 cup unsalted butter, softened
- 1 teaspoon vanilla extract
- 4 cups powdered sugar, sifted
Instructions
- Preheat your oven to 350°F (175°C). Grease and flour two 9-inch round cake pans.
- In a medium bowl, whisk together the flour, 1 teaspoon baking soda, salt, and cocoa powder. Set this dry mixture aside.
- In a large bowl, cream together the 1 cup of softened butter and 1 1/2 cups of granulated sugar until the mixture is light and fluffy. This step helps create a soft homemade cake texture.
- Beat in the eggs one at a time, mixing well after each addition. Stir in 1 teaspoon of vanilla extract.
- In a separate small bowl, mix the buttermilk, vinegar, and red food coloring until you achieve your desired vibrant red color.
- Alternate adding the dry ingredients and the buttermilk mixture to the butter mixture, beginning and ending with the dry ingredients. Mix only until just combined. Do not overmix.
- In a very small bowl, dissolve the remaining 1 teaspoon of baking soda in 1 tablespoon of water. Quickly stir this into the batter.
- Divide the batter evenly between the prepared cake pans. Bake for 25 to 30 minutes, or until a wooden pick inserted into the center comes out clean.
- Let the cakes cool in the pans for 10 minutes before inverting them onto a wire rack to cool completely.
- Prepare the Cream Cheese Frosting: In a large bowl, beat the softened cream cheese and 1/2 cup softened butter until smooth. Beat in 1 teaspoon of vanilla extract. Gradually add the sifted powdered sugar until the frosting is creamy and spreadable.
- Once the cakes are completely cool, frost and stack them to create your red velvet layer cake.
Notes
- For the most authentic Southern red velvet flavor, do not skip the buttermilk and vinegar; they react with the cocoa powder to give the cake its signature subtle tang.
- If you want a truly vibrant red velvet cake, use a good quality gel food coloring instead of liquid drops.
- You can make this an easy baking recipe by preparing the layers a day ahead and storing them tightly wrapped at room temperature.
Nutrition
- Serving Size: 1 slice
- Calories: 450
- Sugar: 55
- Sodium: 350
- Fat: 24
- Saturated Fat: 14
- Unsaturated Fat: 10
- Trans Fat: 0.5
- Carbohydrates: 60
- Fiber: 1
- Protein: 4
- Cholesterol: 80