

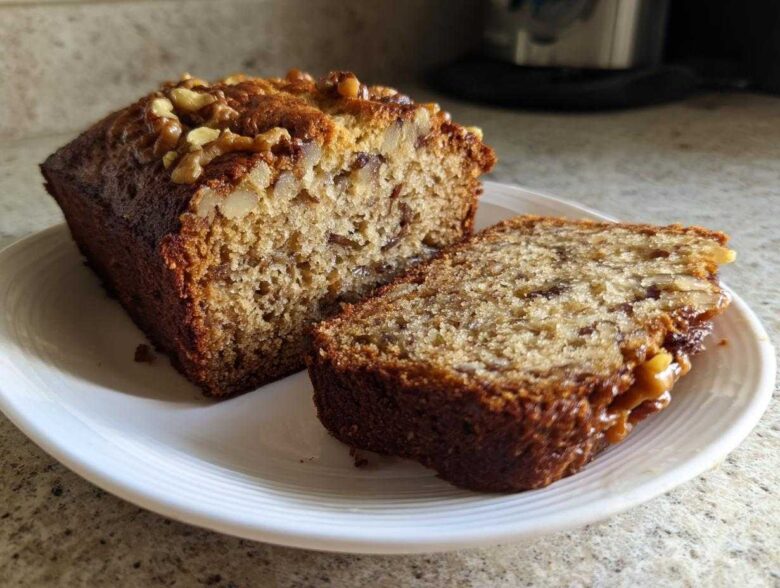
There’s just something about a loaf of homemade bread pulled warm from the oven. It fills the whole house! If you’re looking for that ultimate comforting slice, forget complicated yeast recipes—we’re making the **Moist Date Nut Bread** today. This is one of those foundational recipes Chloe and I worked on together because it needed both my need for exact measurements and her wild intuition to get it right. After many test bakes (thanks, neighbors!), we nailed the perfect balance for this classic quick bread. It’s pure, nostalgic joy in loaf form, and it’s so easy to whip up for breakfast or gifting. I think you’re going to love this one as much as we do. Don’t forget to check out our story on how we got here over at our About Us page!
Why This Easy Date Loaf Recipe is Your New Favorite Quick Bread Baking Staple
We put this recipe through the wringer until we got it perfect. Why? Because an Easy Date Loaf Recipe shouldn’t be fussy, but it absolutely must be rich and soft. I thrive on precision for Quick Bread Baking; Chloe just wants flavor! This loaf is our sweet spot. It uses simple pantry staples but delivers that deep, comforting, old-fashioned taste we crave, especially when it’s chilly outside.
It’s fast, it’s forgiving once you know the main trick, and it smells incredible while it bakes. Trust me, this will become your go-to!
The Secret to Truly Moist Date Nut Bread
Seriously, don’t skip this tiny step—it’s what separates a good loaf from a legendary one. You need to soak your chopped dates in boiling water mixed with baking soda right before you mix them in. The hot water plumpens the sticky fruit right up, and the baking soda helps them break down slightly as they steam in the oven.
Do this while you cream your butter; that way, they are perfectly ready to go when you need them. This guarantees you get that unbelievably Moist Date Nut Bread texture.
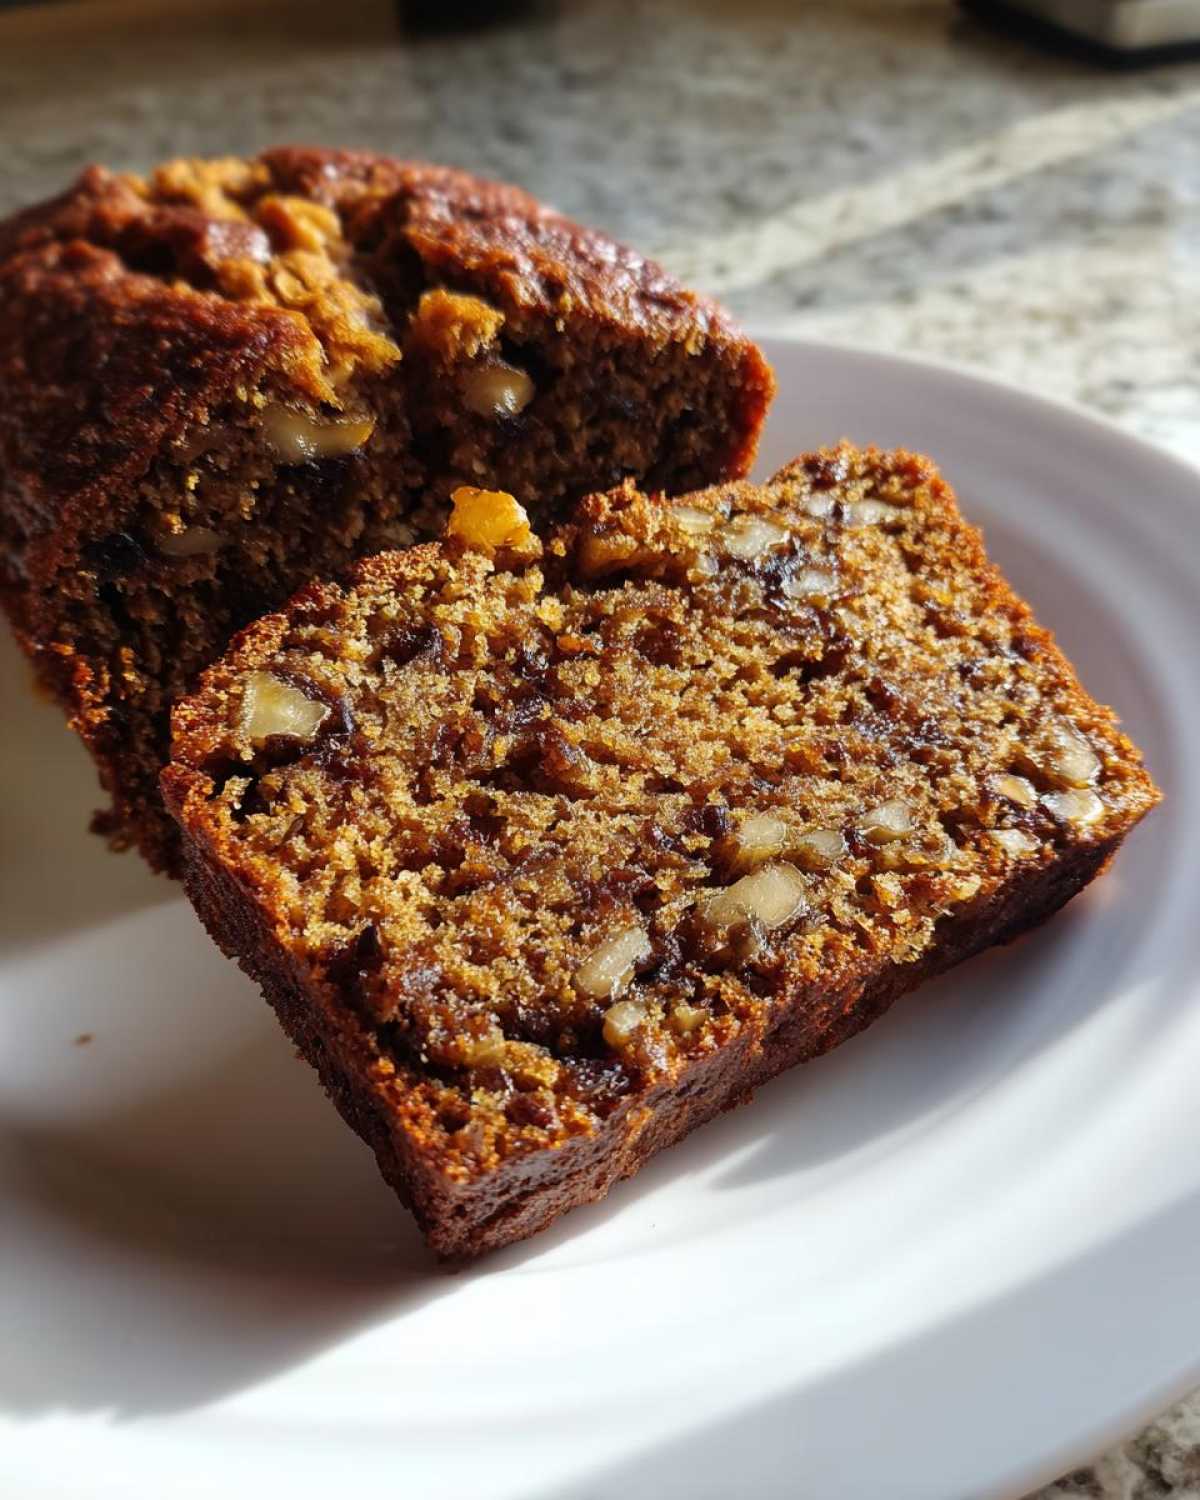
Gathering Supplies for the Best Date Nut Bread Recipe
Alright, let’s talk ingredients. Since this is a quick bread—where there’s no yeast to fix mistakes—we really need Chloe and me to agree on the exact measurements. This is where my planning skills come in handy! Getting the butter softened just right and making sure those dates are prepped correctly makes all the difference in the final texture. It’s a short list, but every item plays a huge role in making this a genuinely Old Fashioned Nut Bread experience.
Ingredient Notes and Substitutions for Date and Walnut Bread
A couple of pointers before you start raiding the pantry. If you can find Medjool dates, use them! They are plumper and give a deeper, almost caramel-like flavor to the loaf. For the nuts, if walnuts aren’t your thing, pecans work just as beautifully, or you could even skip them entirely if you have an allergy, but I highly recommend keeping some crunch in there.
If you want to lean into that Wholesome Snack Bread vibe, you can swap out half of the all-purpose flour for whole wheat flour. Just be aware that whole wheat absorbs a little more liquid, so make SURE you don’t skimp on the liquid from the date soaking process!
Step-by-Step Instructions for Old Fashioned Nut Bread
Now for the fun part—mixing! Since this is a true Old Fashioned Nut Bread that relies on chemical leavening, the order we mix matters a whole lot. I’ve laid out the steps based on what worked perfectly in my measuring cups. We preheat that oven to 350°F right away so it’s ready when your batter is mixed. Remember to grease and flour that 9×5 inch pan well; nobody likes a stuck loaf!
Once your dates are softening, move quickly through the creaming and mixing phases. We have a couple of linked recipes, like our Cranberry Walnut Bread, that follow a similar method, but the date step here is unique!
Preparing the Dates: The Key to Moist Date Nut Bread
Step two is crucial for that unbelievably Moist Date Nut Bread you want. Pour the boiling water and baking soda right over those dates. This isn’t just hydrating them; the heat plus the soda is starting the reaction early! Let that sit for a good 10 minutes while you handle the butter and eggs. All that liquid, plump goodness needs to go into the batter, so don’t drain a single drop!
Mixing and Baking Your Date Nut Bread
Cream that butter and brown sugar until Chloe would nod approvingly—pale and fluffy! Then we add the eggs one by one. Next, we alternate the dry goods (flour, cinnamon, salt) with the wet stuff, mixing only until streaks disappear. Overmixing quick bread batter is the number one way to get a tough loaf, so be gentle! Finally, fold in the walnuts and the whole date mixture—liquid and all. Pour it in and bake for about 55 to 65 minutes. If the top starts getting too dark around the 40-minute mark, just tent it loosely with foil. For more tips on timing, check out this guide on classic date bread techniques.
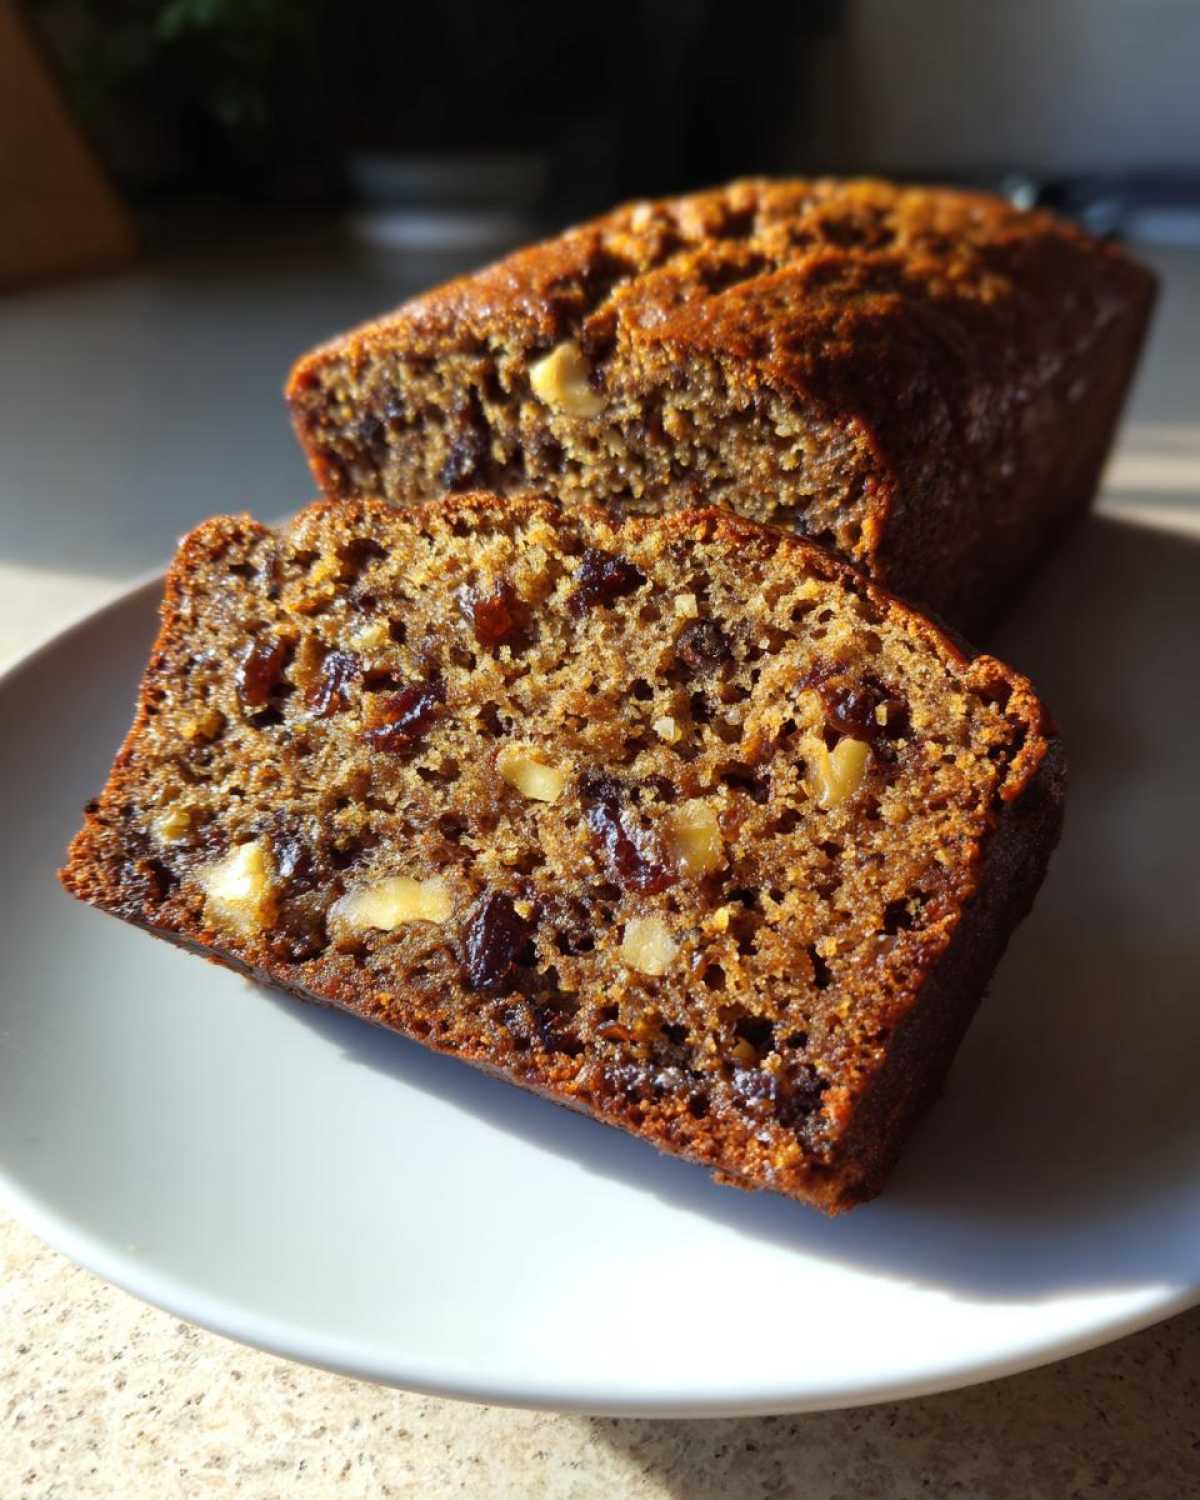
Tips for Success: Baking the Perfect Date Nut Bread Loaf
Even with a great recipe, baking is still a little bit of science! To ensure your loaf comes out tender and never dry, I have a few things Chloe and I learned the hard way—usually involving way too much scrubbing to get a loaf out of the pan!
First, let’s talk pan prep again. Since dates are heavy and sugary, they love to stick right to the bottom. I use a homemade cake goop—equal parts shortening, oil, and flour whipped together—and brush it right into all the corners of that 9×5 pan. It works better than just butter and flour, trust me. This gives the bread a clean release every time, saving you heartache later.
Second, don’t cut into the bread the second it comes out! I know, I know, that warm, sweet aroma is torture, but quick breads are still cooking even after they leave the heat. If you slice them hot, the texture collapses and they can seem underdone in the middle. Let it cool in the pan for a solid 10 minutes. That first cooling period lets the structure set up perfectly.
After those 10 minutes, gently turn it onto a wire rack. This allows air to circulate all around the loaf, preventing that soggy bottom that ruins perfectly good homemade quick breads. If you check out our general baking tips on the blog, you’ll see we stress proper rack cooling for nearly all of our baked goods.
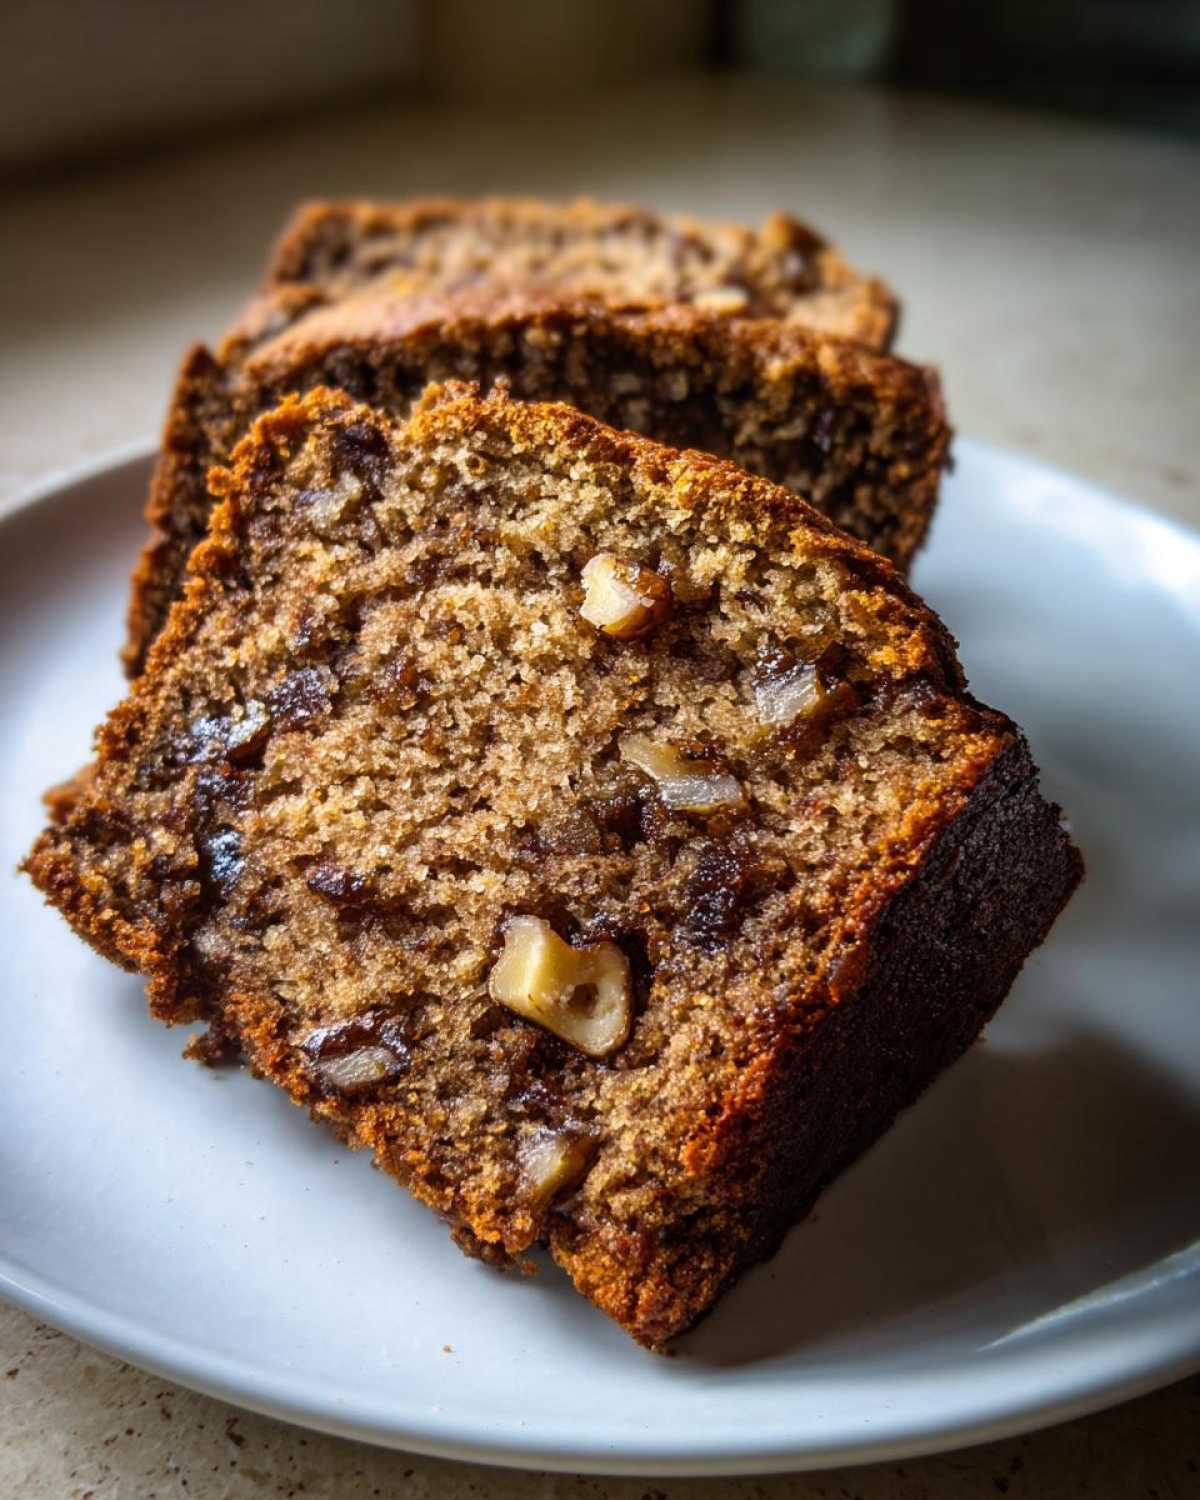
Finally, remember that altitude can play tricks on baking times! If you live somewhere high up, you might need to slightly reduce your baking soda or check the loaf about 5 minutes sooner than the recipe calls for. It’s all about paying attention to what the batter is doing!
Serving Suggestions for Your Homemade Quick Breads
So, you managed not to eat half the loaf fresh out of the oven (good job!). Now what? This loaf transitions seamlessly from a chilly morning treat to an afternoon pick-me-up. It really shines when treated like the ultimate Comfort Food Baking centerpiece it is.
My absolute favorite way to serve this is warm, right after it has cooled down enough to handle, spread thick with good quality salted butter. The butter melts right into those little nutty crevices, and honestly, it’s heaven. Chloe tends to go for a smear of thick cream cheese—the slight tang cuts through the richness of the dates perfectly.
This also makes a fantastic start to any day! When we think of Breakfast Loaf Recipes, this easily beats store-bought muffins. It’s dense enough to feel substantial.
If you want a beverage pairing, this bread just screams for a warm, cozy sip. We usually reach for a strong black tea, but if you’re looking for something fancy, try serving a slice alongside our recipe for an iced London Fog latte. The subtle vanilla and Earl Grey notes are just *chef’s kiss* with the spices in the bread!
It’s amazing how such a simple loaf can feel so special, isn’t it? It proves that sometimes the easiest bakes are the most satisfying.
Storage and Make-Ahead Tips for Date Nut Bread
Listen, I know you want to eat this whole loaf right now, but you need to save some for later! Since this is a very moist quick bread, storage is slightly different than for a standard cake. At room temperature, keep it wrapped tightly in plastic wrap or tucked into an airtight container. It will stay great for about three to four days. Don’t leave it sitting out uncovered, or those lovely dates will dry out on you!
If you want to make this ahead of time—which I highly recommend, especially if you are baking for the holidays—freezing is your best friend. After the loaf is completely cool, wrap it super tightly first in plastic wrap and then wrap that entire package in a layer of foil. This double wrapping protects against freezer burn. You can easily freeze this for up to three months, then just thaw it on the counter overnight when you need a comforting slice ready to go!
Variations on the Classic Date Nut Bread
Part of the fun in our kitchen, thanks to Chloe’s spontaneous ideas, is tweaking a solid recipe once we know it works perfectly. This basic formula for date nut bread is so sturdy and satisfying that it handles additions beautifully! You can customize it to fit whatever mood or season you’re in without losing that comforting texture we worked so hard to achieve.
If you’re looking for something extra for a holiday platter, try adding a cup of dried cranberries along with your walnuts! It gives the loaf a festive pop of color and a little tartness, turning it into the perfect Holiday Date Loaf suggestion. Just toss them in when you add the nuts.
Banana Date Nut Bread Variation
This is one of Chloe’s favorite hacks, especially when we have bananas staring us down on the counter that are just a little too brown to eat normally. If you want the Banana Date Nut Bread Variation, it’s super simple! You just need about 1/2 cup of really ripe, mashed banana. Add that right in with your eggs and vanilla during Step 3 of the mixing process.
Because the banana adds extra moisture and sweetness, the loaf might bake up a touch softer. I find it pairs really well with our chocolate chip banana bread recipe, flavor-wise, though it’s excellent plain too. If you try this swap, just keep an eye on the center depth—it might need an extra minute or two in the oven. You can find a similar idea over at Wake Up and Kale for more inspiration on that sweeter swirl!
Spice it Up (or Down!)
The recipe calls for cinnamon, which is a classic for a reason, but don’t feel locked in! For a warmer feel, especially around the holidays, I sometimes swap out half the cinnamon for ground cloves or allspice. Just a tiny bit goes a long way. If you hate cinnamon (I don’t know you, but I hope we can still be friends!), you can leave it out almost entirely, though the loaf will taste a little less “spiced bread” and more just “sweet date bread.” But honestly, the dates do most of the heavy lifting on flavor anyway!
Frequently Asked Questions About Date Nut Bread
I know diving into a whole new recipe can bring up a few last-minute questions, especially when you’re aiming for that perfect, tender texture. We’ve spent so much time getting the details right on this Easy Date Loaf Recipe, so let me answer some things I always wonder before I commit to baking!
Can I make this a gluten-free date nut bread?
That’s a great question, and one that Chloe always pushes me on because she knows adapting things can be tricky! Yes, you absolutely can try this as a gluten-free option, but since quick breads rely a lot on gluten structure to hold up those heavy, moist inclusions (dates and nuts), you need to be careful. I’d recommend using a high-quality 1-to-1 gluten-free flour blend that already contains xanthan gum. If you do swap out the flour, don’t skip that date soaking step, because you need every drop of moisture available to keep the final product from crumbling!
How long does this moist date nut bread stay fresh?
This is the wonderful part about having a really Moist Date Nut Bread. If you keep it well-wrapped, it stays fantastic at room temperature for about three to four days. They actually taste even better on day two once the spices have really settled into the loaf. Now, if you need it to last longer than that, skip the fridge! Cold temperatures tend to dry out most baked quick breads faster than you’d think.
Instead, wrap it up well and pop it in the freezer! As I mentioned before, it freezes beautifully for up to three months. When you’re ready to eat it later, just thaw it on the counter and maybe warm the slice up for just a few seconds. It’s perfect for having a slice of Comfort Food Baking on hand whenever you need it. For more on keeping recipes safe, you can always check out our policy page for context on how we handle information—though that’s less about bread preservation and more about digital security!
Why is the batter so sticky and thick?
That thick, almost gluey texture you get when you fold everything together is totally normal for this recipe, so please don’t panic and add extra flour! Remember, you are adding a whole cup of soaked dates, including all their liquid, on top of the flour, butter, and eggs. This batter is designed to be very heavy and dense. That density is exactly what gives you that satisfying, almost fudgy texture that makes this the Best Date Nut Bread Recipe out there!
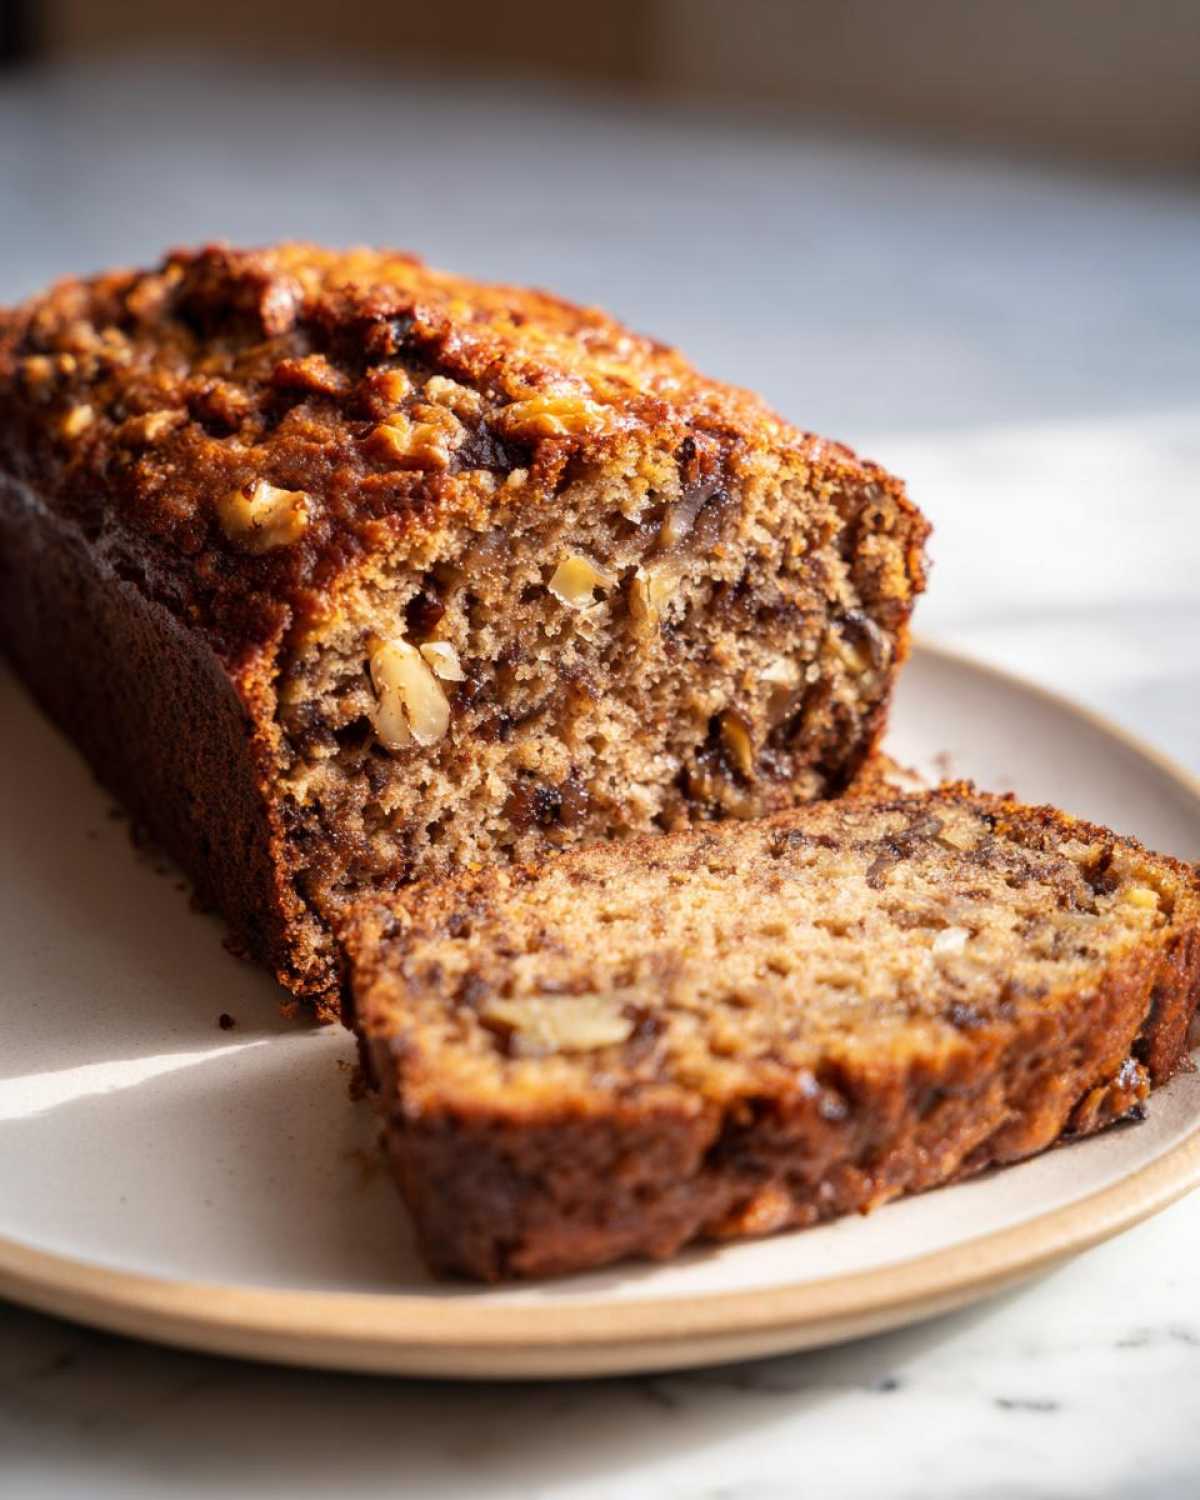
Nutritional Snapshot of Your Date Nut Bread
Sometimes we need to know what we’re putting into our bodies, even when we’re indulging in the best comfort food baking! I’ve pulled together the estimated nutritional facts for one slice of this recipe, but I need to be super clear about something first.
Because Chloe and I always encourage small tweaks—like using more pecans instead of walnuts, or maybe adding in that banana variation—these numbers are based *exactly* on the ingredient list provided at the start of this guide. Think static measurements, not your glorious, creative kitchen magic!
These counts are based on 10 generous slices per loaf. If you cut thinner slices, these numbers will obviously be lower!
- Calories: Approximately 280 per slice
- Fat: Around 13g
- Carbohydrates: Roughly 40g
- Protein: About 5g
It’s a pretty substantial slice with a decent amount of natural energy from the dates and nuts! It certainly feels like a wholesome snack bread when you look at those numbers stacked up. Enjoy that slice guilt-free, because you absolutely earned it after baking this classic loaf!
Share Your Date and Walnut Bread Creations
Now that you’ve got a beautiful, fragrant loaf of date and walnut bread cooling on your rack, the best part of cooking starts: sharing! Chloe and I absolutely live for hearing about your kitchen adventures. Did you try adding a little maple syrup instead of brown sugar? Did you sneak in some chopped dried apricots for an extra fruity kick?
We want to see it! Snap a photo of your loaf—maybe sliced thick and spread with butter, or sitting out on your counter ready for snacking. Tag us on social media or send a picture over through the Contact page. Seeing your bakes brings us so much joy and proves that our little culinary fleet is sailing smoothly into kitchens everywhere.
And if you really loved how easy and moist this quick bread turned out, please don’t forget to leave a star rating and a comment right here on the post! Your feedback helps others in our crew feel confident trying out this recipe for the first time. We read every single comment, and it helps us decide what ships to launch next for Recipes Fleet!
Happy baking, and thanks for sailing with us!
PrintEasy, Moist, Old-Fashioned Date Nut Bread
Bake a comforting, moist date nut bread loaf. This easy quick bread recipe delivers classic flavor, perfect for breakfast, snacking, or holiday gifting.
- Prep Time: 15 min
- Cook Time: 60 min
- Total Time: 75 min
- Yield: 1 loaf (about 10 servings)
- Category: Quick Bread
- Method: Baking
- Cuisine: American
- Diet: Vegetarian
Ingredients
- 1 cup boiling water
- 1 cup packed pitted dates, chopped
- 1 teaspoon baking soda
- 1/2 cup (1 stick) unsalted butter, softened
- 1 cup packed light brown sugar
- 2 large eggs
- 1 teaspoon vanilla extract
- 1 3/4 cups all-purpose flour
- 1 teaspoon ground cinnamon
- 1/2 teaspoon salt
- 1 cup chopped walnuts, plus extra for topping
Instructions
- Preheat your oven to 350°F (175°C). Grease and flour a standard 9×5 inch loaf pan.
- Place the chopped dates in a small bowl and pour 1 cup of boiling water over them. Stir in the baking soda and let the mixture sit for 10 minutes to soften the dates. This step helps ensure a very moist loaf.
- In a large bowl, cream together the softened butter and brown sugar until light and fluffy. Beat in the eggs one at a time, then stir in the vanilla extract.
- In a separate medium bowl, whisk together the flour, cinnamon, and salt.
- Gradually add the dry ingredients to the wet ingredients, mixing just until combined. Do not overmix.
- Gently fold in the chopped walnuts and the date mixture (including all the liquid). The batter will be thick.
- Pour the batter into the prepared loaf pan. Sprinkle a few extra chopped walnuts over the top, if desired.
- Bake for 55 to 65 minutes, or until a wooden skewer inserted into the center comes out clean. If the top browns too quickly, loosely tent it with aluminum foil after about 40 minutes.
- Let the bread cool in the pan for 10 minutes before carefully turning it out onto a wire rack to cool completely. Slice and serve warm or at room temperature.
Notes
- For the best moisture, do not skip soaking the dates in hot water with the baking soda; this activates the dates and creates steam while baking.
- This classic quick bread freezes well. Wrap the cooled loaf tightly in plastic wrap and then foil before freezing for up to three months.
- If you prefer a slightly sweeter loaf, you can add 1/2 cup of mashed ripe banana along with the eggs.
Nutrition
- Serving Size: 1 slice
- Calories: 280
- Sugar: 25
- Sodium: 180
- Fat: 13
- Saturated Fat: 5
- Unsaturated Fat: 8
- Trans Fat: 0
- Carbohydrates: 40
- Fiber: 3
- Protein: 5
- Cholesterol: 55