

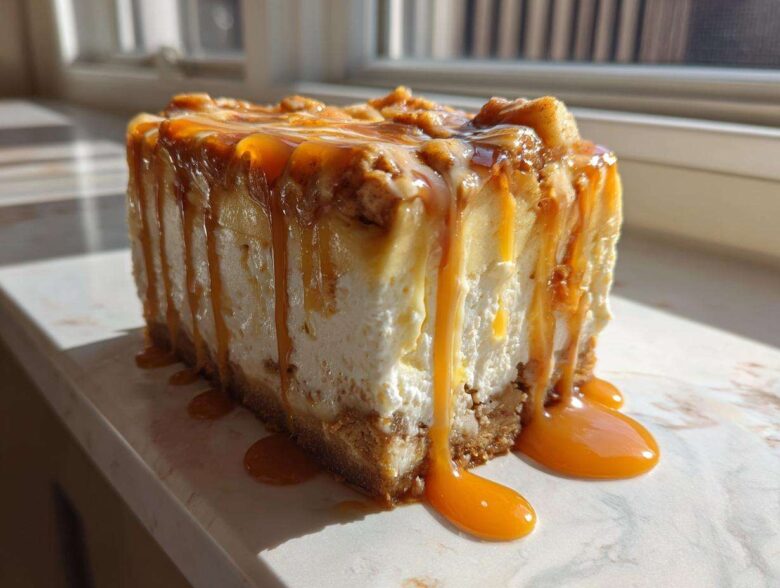
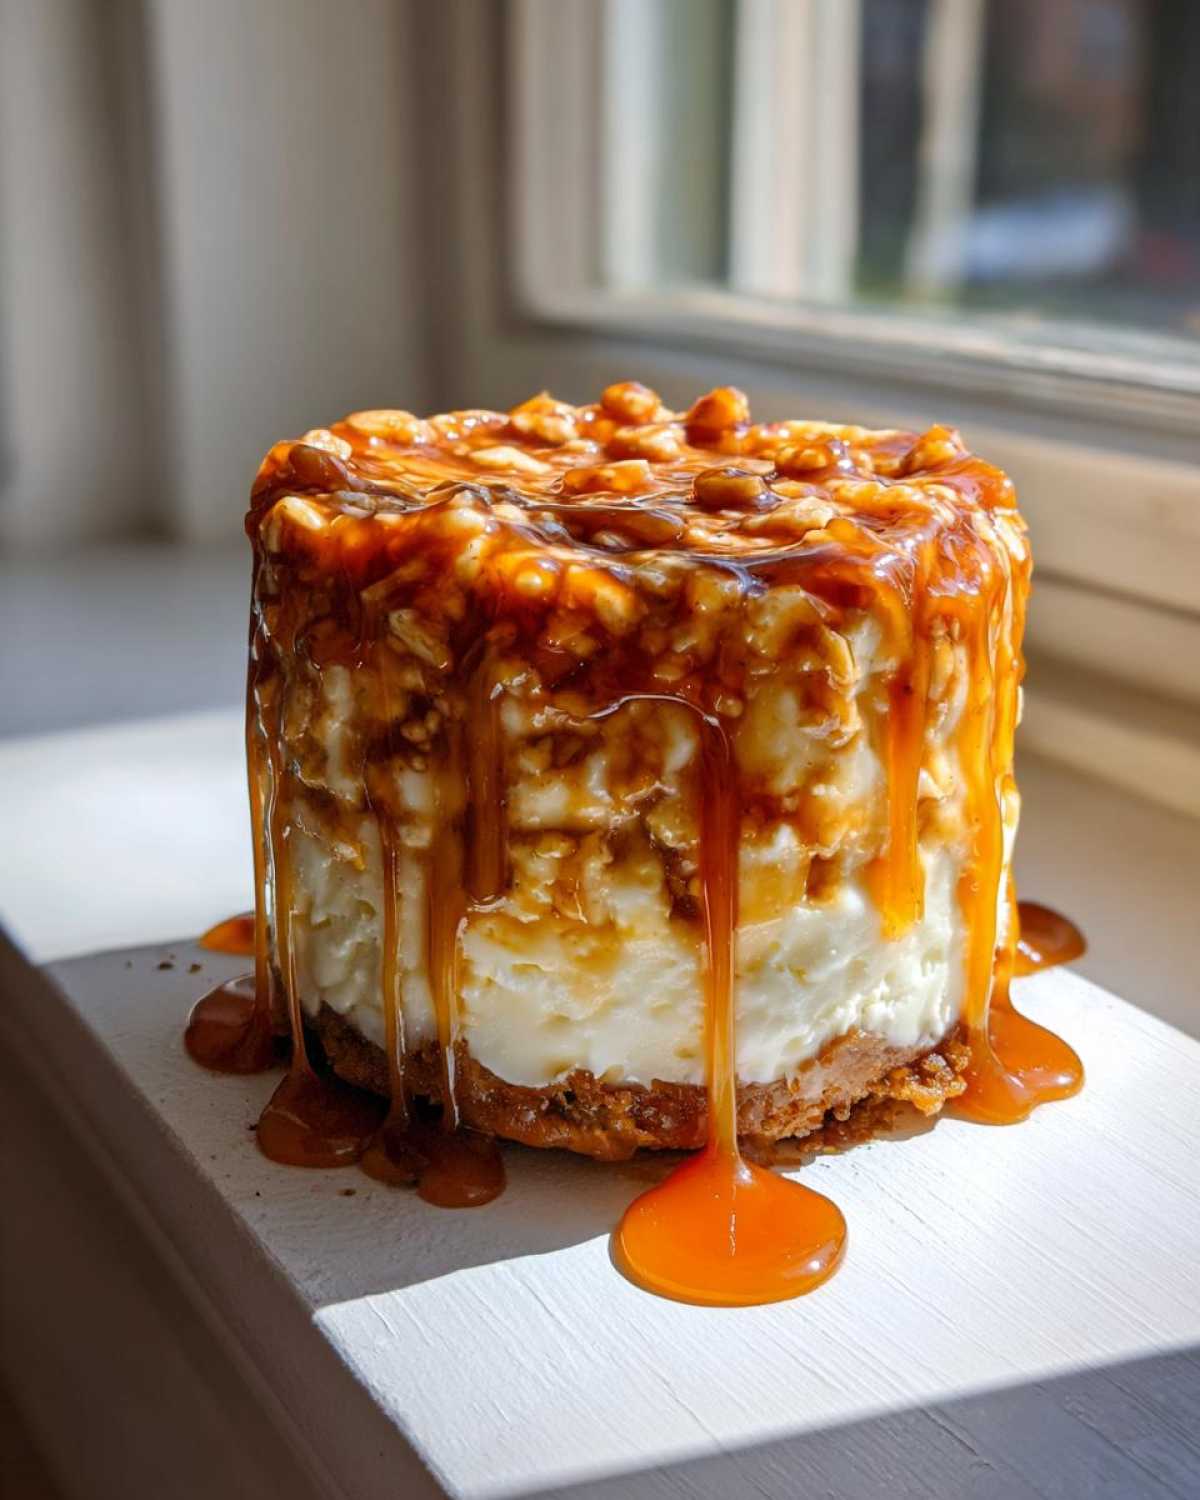
Okay, listen up, because I’m about to let you in on my absolute favorite holiday baking secret! Fusion desserts are the best, right? They take two amazing things and make them even better. That’s exactly what we’re doing with this Classic Baked Apple Pie Cheesecake with Salted Caramel Swirl. Forget choosing between pumpkin pie and cheesecake; this beauty brings spiced apples and creamy filling together in one perfect bite.
I swear, the first time I brought this apple pie cheesecake to a Thanksgiving potluck, people lost their minds. It looks gorgeous, tastes like fall heaven, and honestly? It’s easier than you think! I got so many requests that I had to start keeping detailed notes, which you can actually check out over on our About Us page to see how we develop these great recipes. Once you master this technique, you’ll be making it every year. Let’s get baking!
Why This Apple Pie Cheesecake Recipe Works (Showstopper Desserts for Parties)
Honestly, if you need one dessert that guarantees everyone asks for the recipe, this is it. This apple pie cheesecake isn’t just a dessert; it’s the main event. It nails that seasonal flavor profile we all crave without being overly heavy. Trust me when I say this is destined to become one of your go-to Showstopper Desserts for Parties.
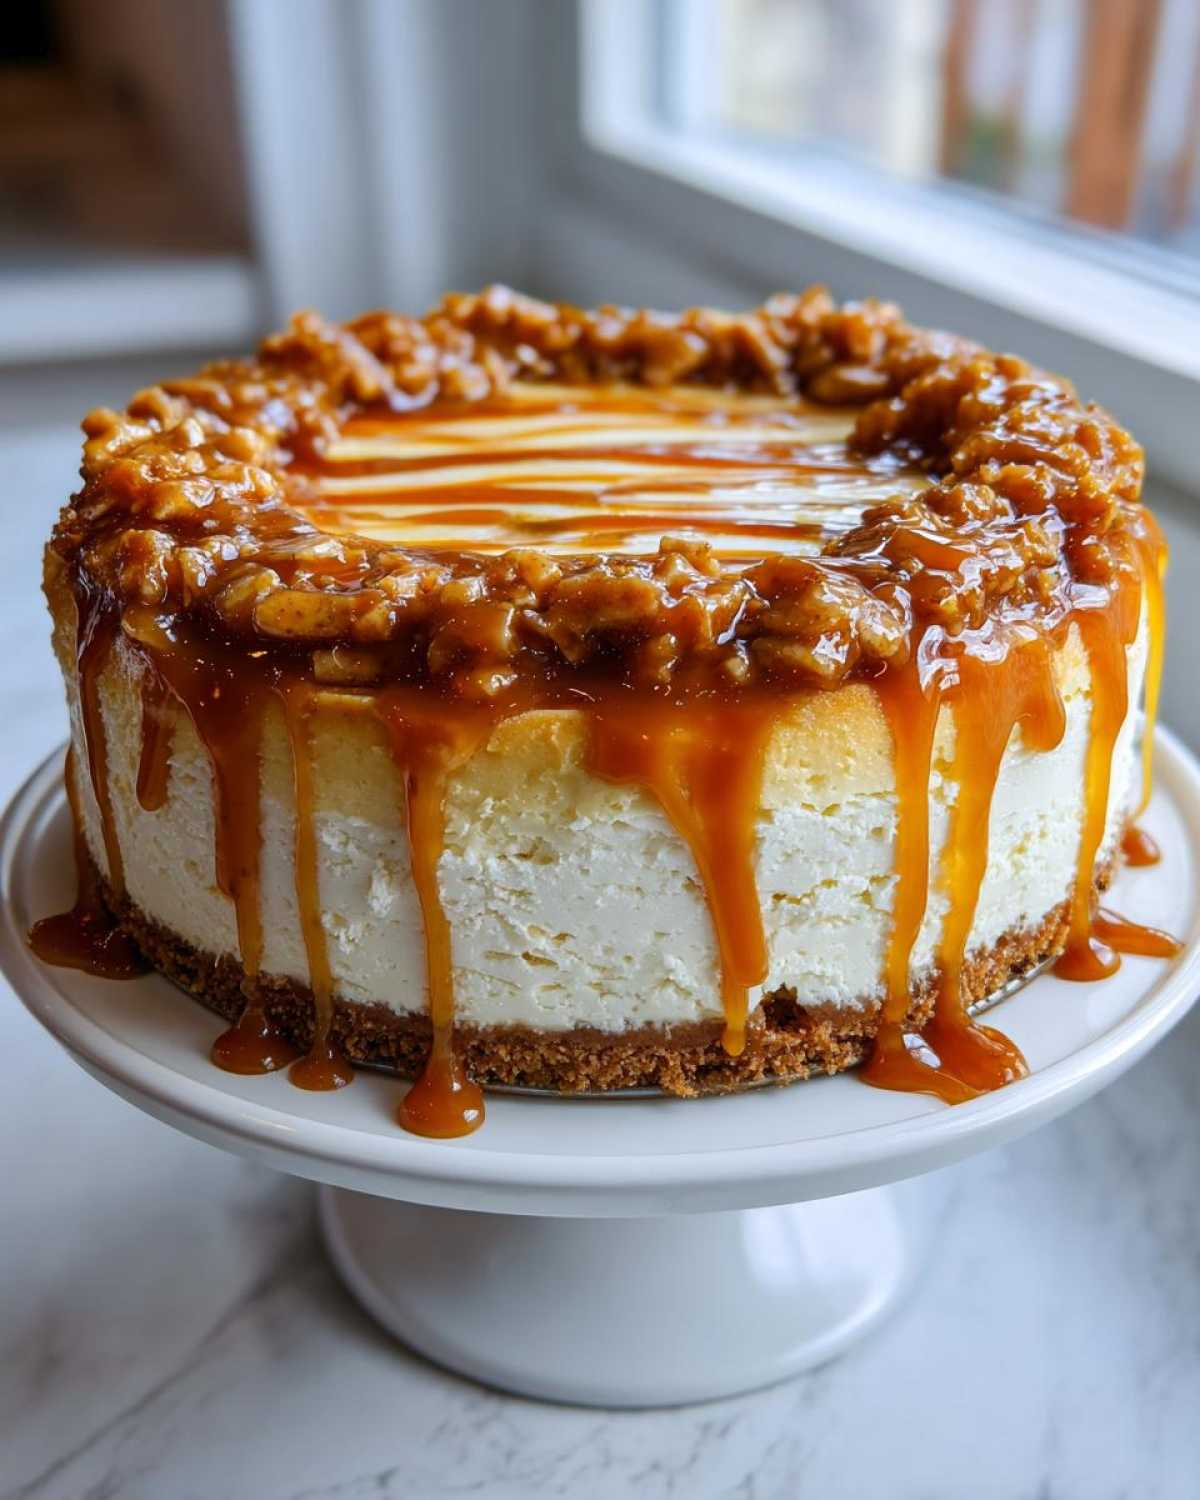
- The perfect marriage of tart apples and silky, creamy tang.
- That salted caramel drizzle just takes it into Decadent Cheesecake Recipes territory—it’s pure indulgence!
- It looks rustic yet elegant, making it perfect for Thanksgiving or any cozy fall evening.
We’ve worked hard to make sure the texture is flawless every single time, which is why we recommend checking out our Red Velvet Cheesecake recipe for comparison on technique!
Achieving the Perfect Creamy Apple Cheesecake Dessert Texture
The secret to avoiding that gritty cheesecake texture is temperature and steam. Seriously, use room temperature cream cheese and eggs—it lets everything blend into one gloriously smooth base. Then, the water bath method is non-negotiable! It surrounds the cheesecake with gentle, moist heat, which guarantees that unbelievably silky finish we’re aiming for in this Creamy Apple Cheesecake Dessert. It keeps everything perfectly tender.
Essential Ingredients for Your Apple Pie Cheesecake Recipe
Okay, let’s talk about what goes into this masterpiece. Getting the ingredients right is half the battle, and like any great baked dessert, the quality really shows through here in our apple pie cheesecake recipe. I always lay everything out ahead of time—it makes the assembly process so much smoother. You’ll need three main groups of components for this beauty.
For the crust, keep it simple: we need graham cracker crumbs, a bit of sugar, and melted butter. You can find my favorite method for making a great crust (and how to crush those crackers perfectly) related to graham cracker toffee here if you want to go the extra mile!
The filling is where the magic happens. Grab three full packages of cream cheese—must be softened, don’t try to rush that step! We mix that with more sugar, vanilla, sour cream for a little tang, and, crucially, those three large eggs added one by one. Finally, grab 2 cups of your favorite apple pie filling. Store-bought is totally fine for this recipe because the caramel and cheesecake flavors dominate, but homemade is always a treat!
Ingredient Notes and Substitutions for Apple Pie Cheesecake
Seriously, the single most important tip I can give you for the batter is patience with your components. Make sure that cream cheese is truly soft and your eggs are completely at room temperature. This helps everything combine into that luscious, lump-free base. If you forgot to pull the sour cream out, don’t panic! You can substitute it with an equal amount of plain Greek yogurt, though I stick to sour cream for that classic, slight sharpness that cuts through the sweetness.
Also, remember those notes I mentioned? If you want a *thicker* apple layer—and trust me, you might—just bump that apple filling up to 3 cups, but keep the batter amounts the same. This is your apple pie cheesecake, make it your own!
How to Make Apple Pie Cheesecake: Step-by-Step Instructions
Alright, it’s time to put all those amazing ingredients to work! Making this apple pie cheesecake is a process, but I walk you through every crucial moment so you can feel confident pulling a perfect slice out of your oven. This whole procedure really satisfies that “I need the How to Make Apple Pie Cheesecake” guide you were looking for. Ready to go? First things first, preheat your oven to 350°F (175°C) and get that 9-inch springform pan wrapped like a mummy in heavy-duty foil—that water bath prep is crucial!
Preparing the Graham Cracker Crust Cheesecake Base
This is the foundation, so we treat it right! Mix those graham cracker crumbs, the small amount of sugar, and your melted butter until it looks like damp sand. Then, you need to **press that mixture firmly** into the bottom of your foil-wrapped pan. I use the bottom of a measuring cup to really compact it down. Pop that base into the oven and **bake it for 10 minutes** just to set it up before it cools down slightly while you whip up the creamy layer.
Assembling and Baking the Apple Pie Cheesecake Dessert
Now for the filling! Beat your softened cream cheese, sugar, vanilla, and sour cream until it’s gorgeous and smooth. Here’s a major point for the best texture: beat in the eggs one at a time, and I mean *one at a time*, mixing only until it disappears. If you overmix the eggs, you get air bubbles, and we want smooth, not puffy! Spread half the batter onto your crust. Then, equally space out those 2 cups of apple pie filling right on top. Finally, gently pour the remaining batter over the apples.
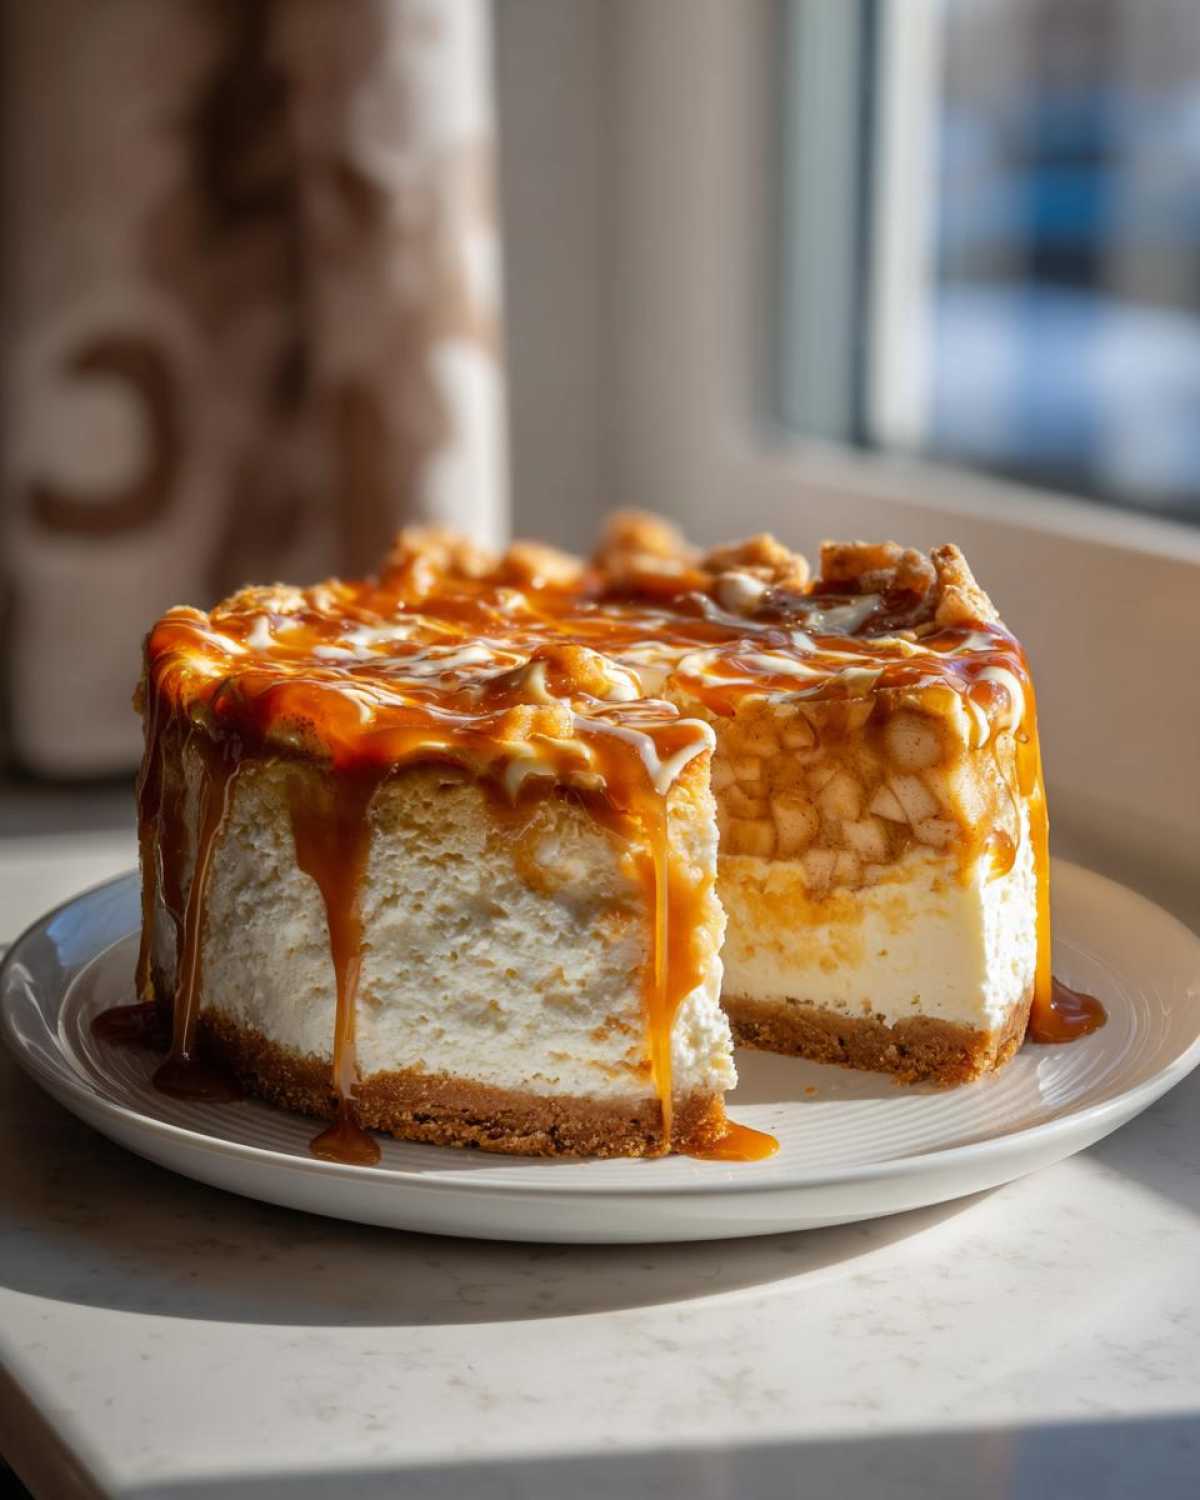
This is where we bring in the steam! Set the springform pan inside a larger roasting pan, and then carefully pour hot water into the roasting pan until it’s halfway up the sides of your cheesecake pan. This water bath is your secret weapon against cracks! Bake this beauty for about 60 to 75 minutes. When it’s done, the edges should be set, but the middle should still wobble just a tiny bit, like Jell-O. Head over to see my guide for more baked cheesecake recipes for other tips!
After the timer goes off, **turn the oven off, crack the door open**, and let it chill in the residual heat for a full hour—seriously, don’t skip this slow cool-down! Then, once it’s room temperature, cover it and kick it into the fridge to chill for at least six hours, but honestly, overnight is where the flavor really develops. Oh, and if you’re making your own apple filling, you absolutely need to see my tips for the best homemade caramel apple recipe to drizzle on top later!
Tips for the Best Apple Pie Cheesecake Success
Even after following the steps perfectly, sometimes cheesecake resists cooperating, right? This is where a few tried-and-true tips come in handy to guarantee you get the absolute prettiest and tastiest slice of this apple pie cheesecake. We want to avoid moisture issues and those dreaded cracks that ruin a presentation. This is the hub for all the advice that upgrades your dessert from good to truly the Best Apple Cheesecake Recipe.
First, let’s talk about the cooling process again—it’s crucial. That slow, hour-long cool-down inside the still-warm, door-cracked oven stops the drastic temperature change that makes the center contract too quickly and crack. After that hour, let it sit on the counter until it’s just room temperature before you wrap it up. Chilling is flavor development time, so don’t cut the minimum 6 hours short!
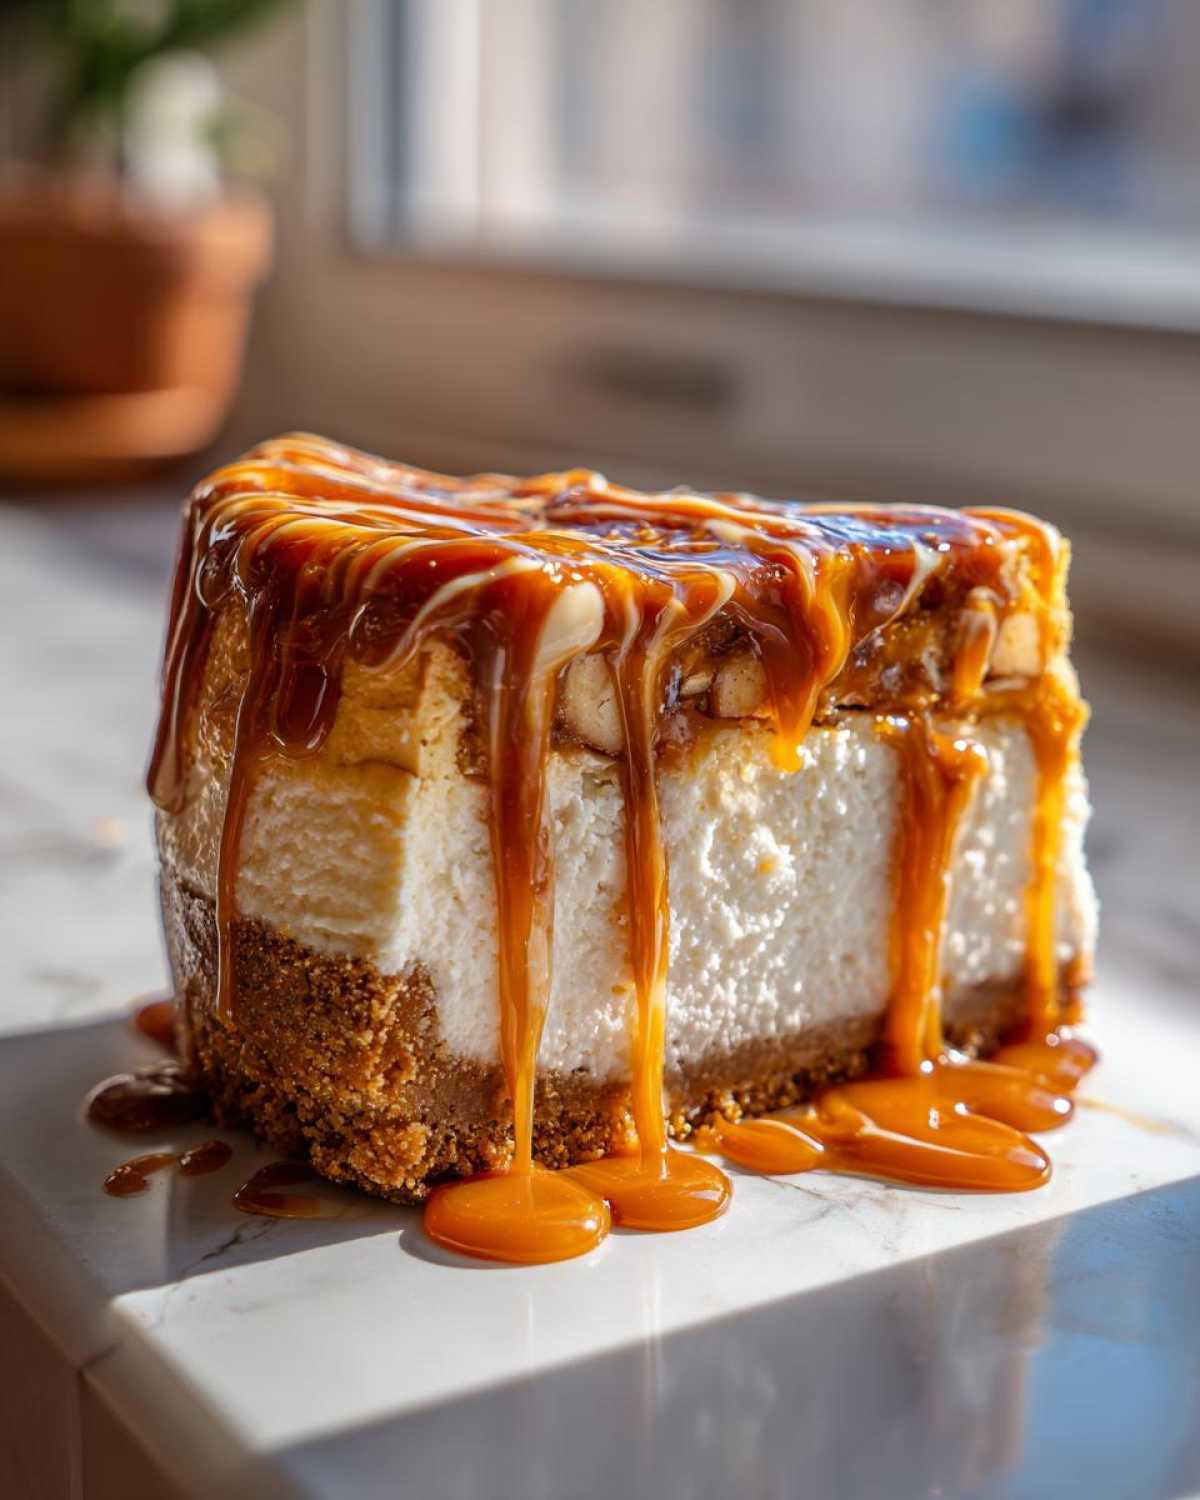
When it comes to slicing, forget using a regular knife the first time. You want *clean* cuts for those beautiful layers on display. Heat up a long, thin knife in a tall glass of hot water, wipe it completely dry between every single slice, and then cut. This melts the fat just enough to slice through cleanly. For more cream cheese marvels, check out my guide for cream cheese brownies!
Finally, always, always use that salted caramel drizzle right before serving. If you drizzle it too early, it can seep into the cheesecake top while it spends the night in the fridge. Fresh drizzle equals maximum visual impact!
Storage and Reheating Instructions for Your Apple Pie Cheesecake
I know this magnificent apple pie cheesecake is likely going to disappear pretty fast, but if, by some miracle, you have leftovers—and trust me, you’ll want them—storage is simple.
First things first: you simply cannot eat this right away! It MUST chill for at least six hours, but if you can wait overnight, the flavor profile truly melds together perfectly. Once it’s totally chilled, cover the pan (or the slices) tightly with plastic wrap before popping it in the fridge. It stays wonderfully fresh this way for about four or five days.
When you’re ready to serve those leftovers, ditch the microwave! Microwaving ruins that beautiful creamy texture. Just pull a slice out about 20 minutes before you plan to eat it. Letting it warm up slightly on the counter is the absolute best way to bring back that perfect serving temperature without drying it out.
Frequently Asked Questions About Apple Pie Cheesecake
I know you’re going to have questions once you start baking, because this fusion dessert isn’t your run-of-the-mill slice! Everyone wonders about substitutions or timing, especially when planning for a busy holiday menu. Here are a few things I get asked most often about making this apple pie cheesecake the best it can be.
Can I adapt this to a No Bake Apple Pie Cheesecake?
That’s a great question if you’re short on oven space! Unfortunately, this particular recipe relies heavily on the baked structure to support those thick layers of apple filling and caramel. The cream cheese batter needs that oven time to set properly into that signature dense and creamy texture. If you’re set on a chilled version, you’ll definitely want to search specifically for a dedicated No Bake Apple Pie Cheesecake recipe, as those use different setting agents like gelatin to keep everything firm!
What are the best Thanksgiving Dessert Ideas using this apple pie cheesecake?
Since this is such a fantastic option for your large spread, my favorite tip for Thanksgiving Dessert Ideas is to bake it completely on Wednesday. Seriously, let it chill overnight—it actually tastes better that way! On Thanksgiving Day, all you have to do is let it sit on the counter for about 30 minutes while you finish cooking, then drizzle on that fresh salted caramel right before you bring it out. It looks beautiful sitting next to the pumpkin pie!
How do I get that perfect Salted Caramel Apple Pie Cheesecake swirl?
For the best look, you don’t want just a drizzle at the end; you want that swirl mixed in with the batter, right? When you get to the step of layering the batter and the apples, try this: before spooning the second layer of batter over the apples, add a few nice dollops of your salted caramel sauce right on top of the apple layer. Then, take a butter knife and gently swirl the knife through the top batter layer a couple of times. Don’t over-swirl, or you’ll lose the separation! This creates those gorgeous pockets of flavor that peek out when you slice it.
Can I substitute the graham cracker crust with something else?
You totally can, but it changes the flavor profile quite a bit! If you wanted to try something different, a shortbread cookie crust works really well because it still bakes up firm. If you’re feeling adventurous and want to save some time, try crushing up some gingersnap cookies instead! That ginger spice plays so nicely with the fall apples. Just follow the exact same measurements for the crumbs and butter—the technique stays the same for a nice sturdy base for your cheesecake. If you like cookie crusts, you might want to check out my guide on no-bake Snickers pie, which has a fantastic crunchy base!
Nutritional Estimates for This Decadent Cheesecake Recipes
Now, look, this is a truly decadent dessert, so let’s not pretend it’s a light snack! This is meant to be enjoyed as a special treat, which is why I always recommend making it for holidays or big gatherings. It’s rich, it’s amazing, and it’s worth every single bite.
Here’s a general idea of what you are looking at for one hearty slice of this apple pie cheesecake, based on the ingredients we used:
- Calories: Around 450
- Fat: About 28g
- Carbohydrates: Near 45g
- Sugar: 45g
- Protein: 7g
Just remember, these are just estimates, right? Things change based on the brand of cream cheese or the sweetness of your caramel, so always check the link to our full nutritional disclaimer if you’re tracking things closely. Don’t let the numbers stop you from enjoying this slice!
Share Your Apple Pie Cheesecake Creations
Whew! We made it all the way through, and now it’s your turn to shine! I truly hope this apple pie cheesecake becomes a yearly tradition in your home just like it is in mine. Please don’t keep this magic to yourself!
If you successfully created this layered wonder, hop down to the comments below and leave me a rating—I keep track of which recipes folks love most! If you snapped a photo of your stunning caramel drizzle, tag us on social media so I can see your gorgeous results. I love connecting with you all, and you can always reach me via the Contact page if you run into any snags!
PrintClassic Baked Apple Pie Cheesecake with Salted Caramel Swirl
Make a rich, creamy cheesecake topped with spiced apple pie filling and finished with a salted caramel drizzle. This dessert combines two favorites into one showstopper.
- Prep Time: 25 min
- Cook Time: 75 min
- Total Time: 120 min
- Yield: 12 servings
- Category: Dessert
- Method: Baking
- Cuisine: American
- Diet: Vegetarian
Ingredients
- 1 1/2 cups graham cracker crumbs
- 1/4 cup granulated sugar
- 6 tablespoons unsalted butter, melted
- 3 (8 ounce) packages cream cheese, softened
- 1 1/2 cups granulated sugar
- 1 teaspoon vanilla extract
- 1/4 cup sour cream
- 3 large eggs
- 2 cups prepared apple pie filling (store-bought or homemade)
- 1/2 cup salted caramel sauce, for drizzling
Instructions
- Preheat your oven to 350°F (175°C). Wrap the outside of a 9-inch springform pan tightly with heavy-duty aluminum foil.
- Prepare the crust: Mix graham cracker crumbs, 1/4 cup sugar, and melted butter until combined. Press the mixture firmly into the bottom of the prepared springform pan. Bake for 10 minutes. Remove and let cool slightly.
- Prepare the cheesecake batter: In a large bowl, beat the softened cream cheese, 1 1/2 cups sugar, vanilla extract, and sour cream until smooth. Beat in the eggs one at a time, mixing just until combined after each addition. Do not overmix.
- Pour half of the cheesecake batter over the cooled crust. Spoon the apple pie filling evenly over the batter layer. Gently pour the remaining cheesecake batter over the apple filling.
- Create a water bath: Place the foil-wrapped springform pan inside a larger roasting pan. Carefully pour hot water into the roasting pan until it reaches halfway up the sides of the springform pan.
- Bake for 60 to 75 minutes, or until the edges are set but the center still has a slight jiggle.
- Turn off the oven, crack the door open slightly, and let the cheesecake cool inside the oven for 1 hour.
- Remove the cheesecake from the water bath and let it cool completely on a wire rack. Once cool, cover and refrigerate for at least 6 hours, or preferably overnight.
- Before serving, remove the springform ring. Drizzle generously with salted caramel sauce.
Notes
- For the best texture, bring your cream cheese and eggs to room temperature before starting the batter.
- If you prefer a thicker apple layer, use 3 cups of apple pie filling.
- Chill the cheesecake completely before slicing to prevent cracking and ensure clean cuts.
Nutrition
- Serving Size: 1 slice
- Calories: 450
- Sugar: 45
- Sodium: 250
- Fat: 28
- Saturated Fat: 17
- Unsaturated Fat: 5
- Trans Fat: 0.5
- Carbohydrates: 45
- Fiber: 1
- Protein: 7
- Cholesterol: 110