

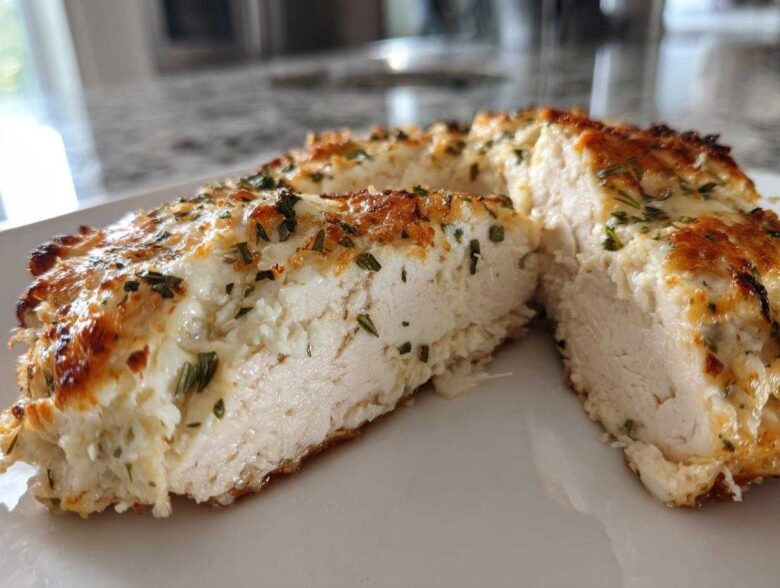
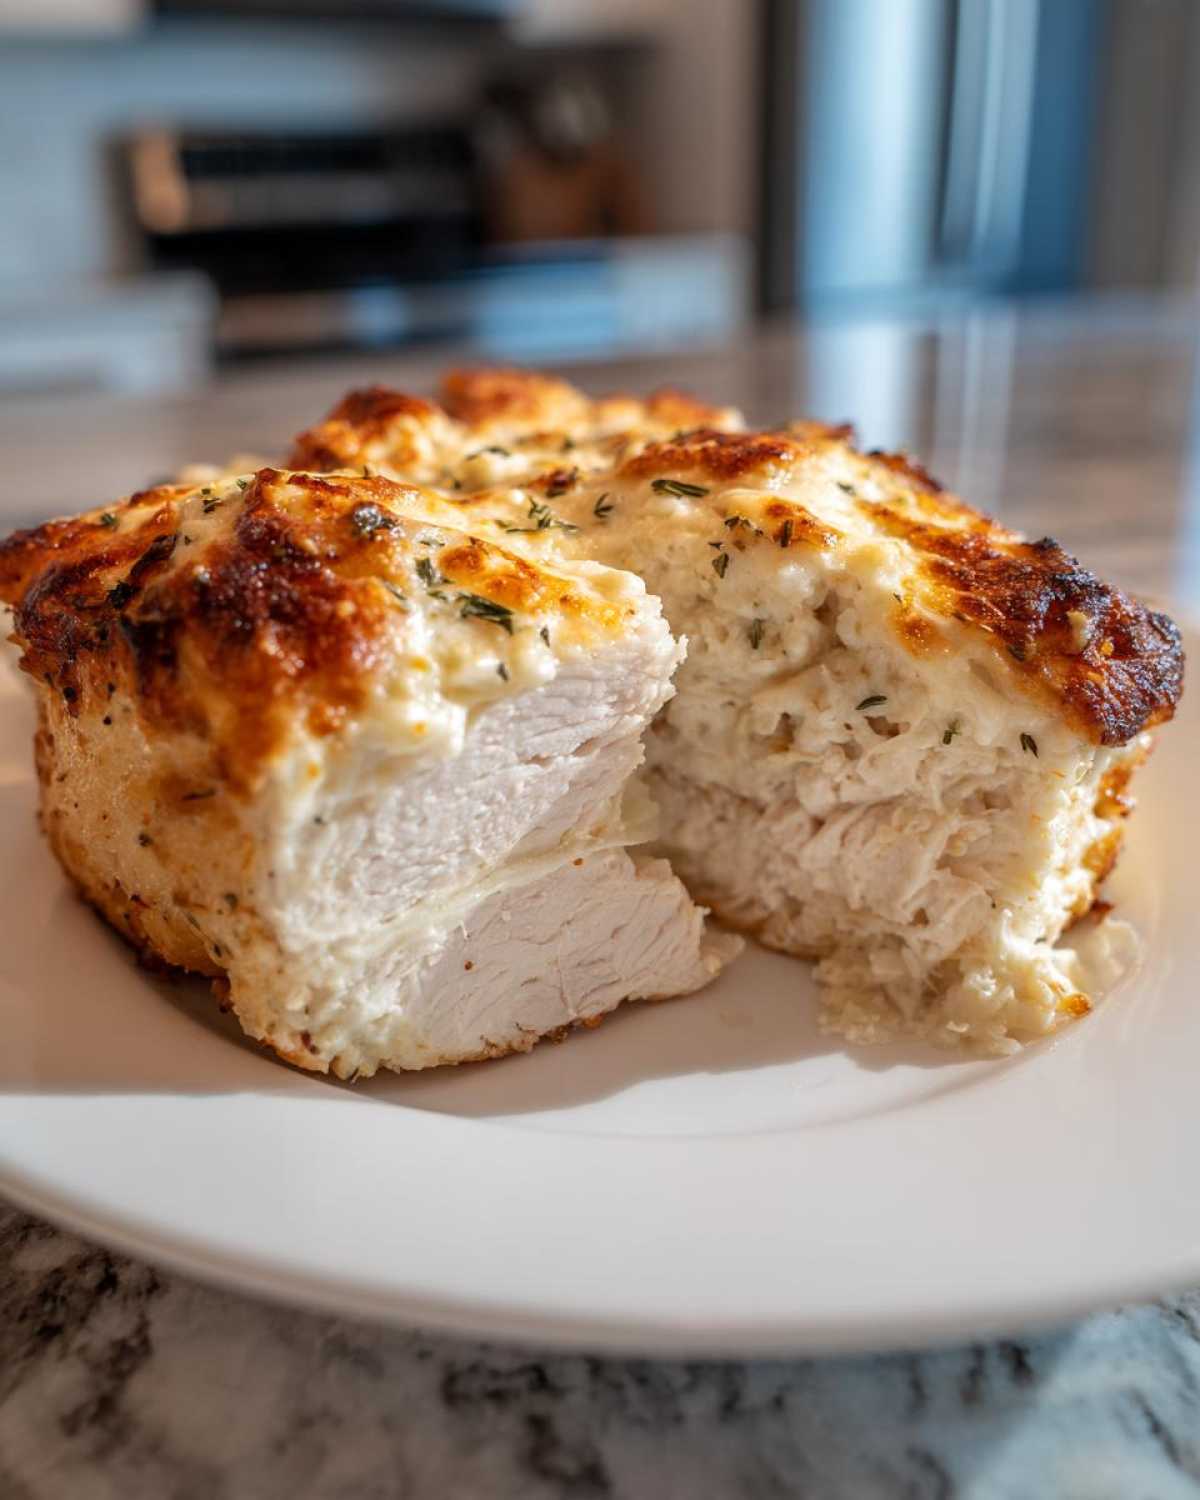
Oh my gosh, are you drowning in the 5 PM panic yet? I know I used to be! Trying to get a delicious, flavorful dinner on the table that everyone actually wants to eat feels like a monumental task on a Tuesday night. Well, stop stressing, because I finally perfected my go-to recipe that saves my weeknights constantly. This incredible baked ranch chicken takes five ingredients—yes FIVE!—and turns them into the juiciest, savory chicken you’ve ever pulled out of the oven. I’ve tested countless quick dinners, and this one is the absolute champion for guaranteed family approval.
I swear by this recipe because it’s virtually foolproof. If you need a reliable, delicious, and lightning-fast meal, this is it. You can find my general baking philosophy and why I insist on certain techniques over on my main blog page here: check out my baking philosophy. Seriously, let’s get this **baked ranch chicken** done so you can sit down!
Why This Baked Ranch Chicken Recipe Works So Well (Weeknight Chicken Bake)
The magic isn’t in complicated steps; it’s in the simplicity that delivers huge flavor. This **Weeknight Chicken Bake** is my secret weapon when I have zero energy left. It’s all about getting maximum payoff for minimum effort.
- It truly is a **Minimal Ingredient Chicken** dish—seriously, just five things stand between you and dinner.
- The mayonnaise coating locks in juices, meaning no more dry chicken disappointments!
- Prep takes less than ten minutes, so you can put your feet up sooner.
- The Parmesan cheese creates a wonderfully savory crust once it bakes up golden.
If you’re looking for other fast ways to use up chicken, you’ve got to try my chicken zucchini stir-fry next week!
Gather Your Ingredients for Juicy Baked Ranch Chicken
Okay, let’s get the good stuff ready! This is why I call it my five-ingredient wonder—it uses things that are probably already hiding in your fridge or pantry right now. We need about two pounds of boneless, skinless chicken pieces; I usually use a mix of breasts and thighs for variety. Then grab that packet of dry ranch seasoning mix, half a cup of mayo, a quarter cup of grated Parmesan cheese, and just one tablespoon of olive oil. That’s literally it!
Seriously, these pantry staples make for such a **Flavorful Baked Chicken**. If you want to see how I manage my flavor arsenal for all my chicken dishes, check out my all-purpose marinade guide, but for tonight, this simple list is perfect.
Ingredient Notes and Substitution Tips for Baked Ranch Chicken
Since we are keeping this simple, we need to talk about substitutions, because I know everyone has different stuff on hand. If you are watching your calories or just prefer a little tang, swap the mayonnaise out for sour cream! It works just as beautifully to hold that delicious ranch seasoning onto the meat. You can use chicken breasts or thighs, but here’s my pro tip: thighs are much harder to dry out. If you only have breasts, just be super diligent about checking that temperature!
Also, make sure that Parmesan is *grated*, not shredded hard slices. The finely grated kind melts into the coating better so you don’t get weird clumps. Trust me on this level of detail; it makes all the difference in the final texture of your **baked ranch chicken**!
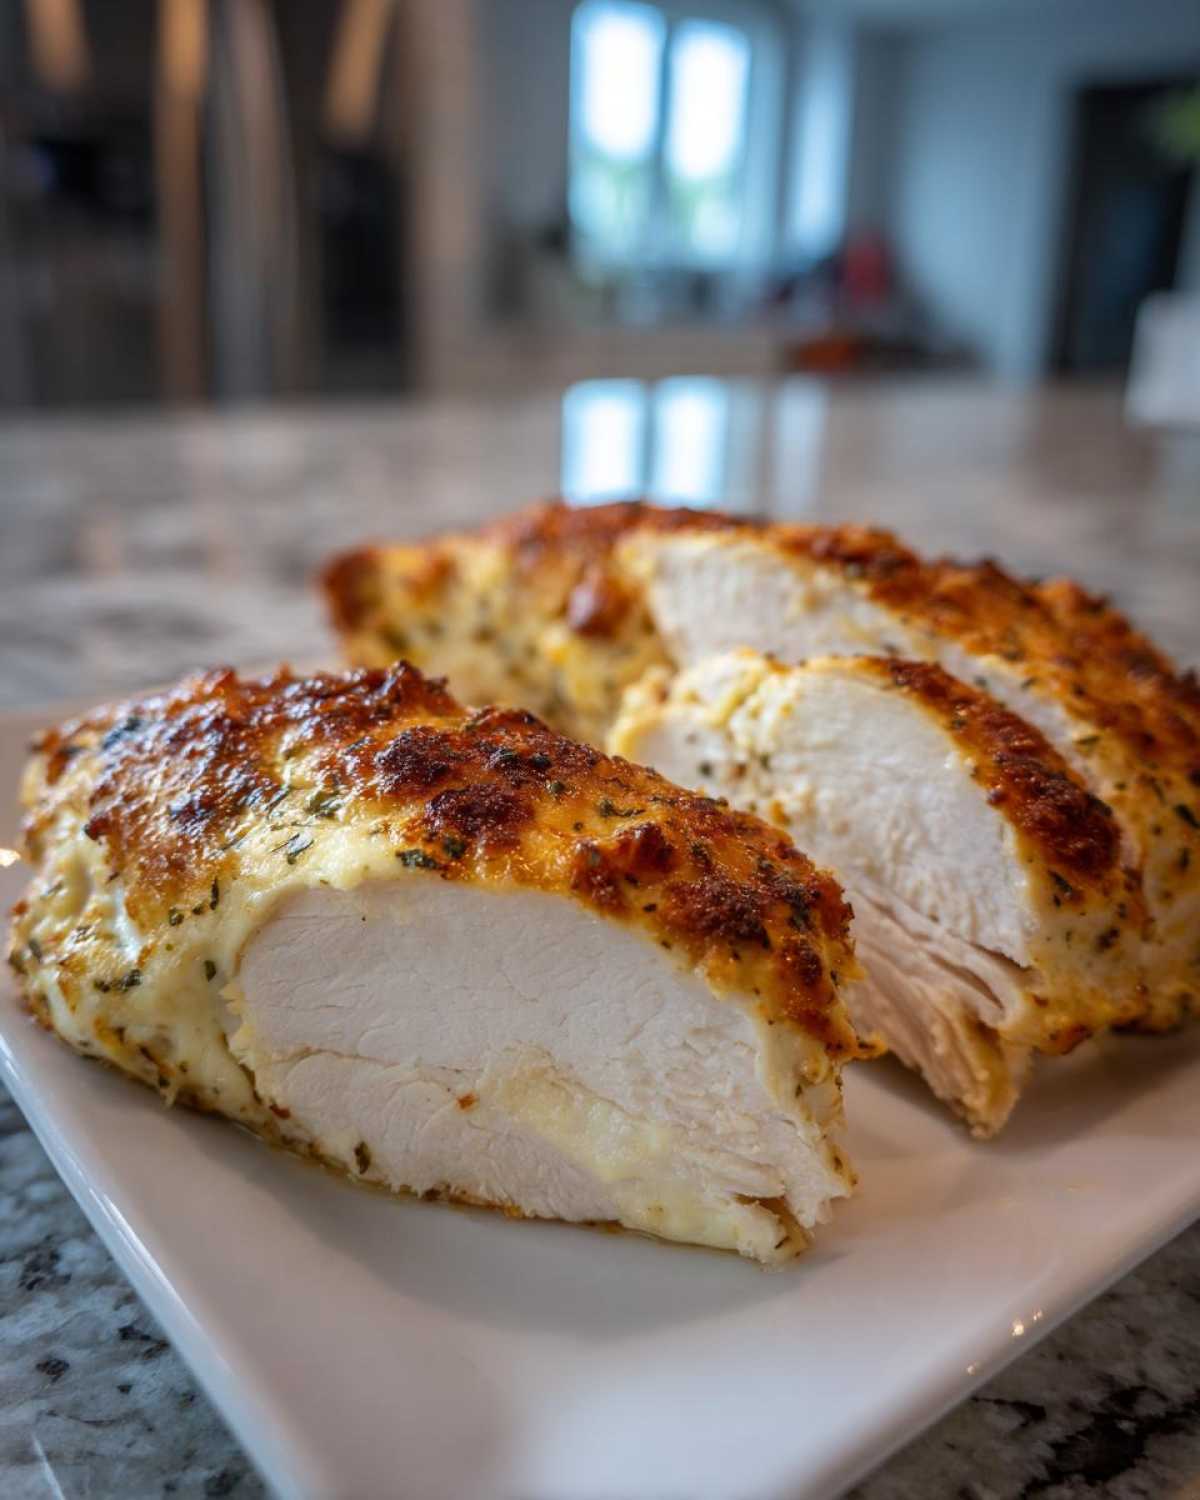
Step-by-Step Instructions for Perfect Baked Ranch Chicken
Alright, let’s get this show on the road! Since this **baked ranch chicken** recipe is so quick to pull together, you need to start by getting the oven nice and hot—400 degrees Fahrenheit is what we are looking for. While that’s warming up, grab your baking dish and give it a quick spray of oil or line it with parchment paper. Having everything ready beforehand is half the battle when you’re trying to pull off a fast dinner.
If you need a detailed guide on oven techniques in general, like how I always prep pans, check out my article on how to make juicy baked chicken. Now, focus on the coating!
Preparing the Creamy Ranch Coating
This is the fun part! Grab your mixing bowl and toss in the mayo, the dry ranch seasoning packet, and all that grated Parmesan cheese. Now, take a whisk or a fork and just mix it, mix it, mix it until it’s totally smooth. You want zero clumps of dry seasoning visible. We are aiming for one thick, luscious, creamy ranch spread that is ready to cling to the chicken.
Coating and Baking Your Simple Ranch Chicken
First thing: grab your chicken pieces and pat them *very* dry with paper towels. This is non-negotiable if you want the coating to stick! Brush them lightly all over with your olive oil. Then, spread that wonderful **Simple Ranch Chicken** mixture generously over the top surface of each piece—press it down a little so it doesn’t slide off in the oven. Pop that dish right into your preheated oven and let it go for about 20 to 25 minutes. Remember, folks, the absolute key here is checking that internal temp—it needs to hit 165°F to be safe and ready to eat!
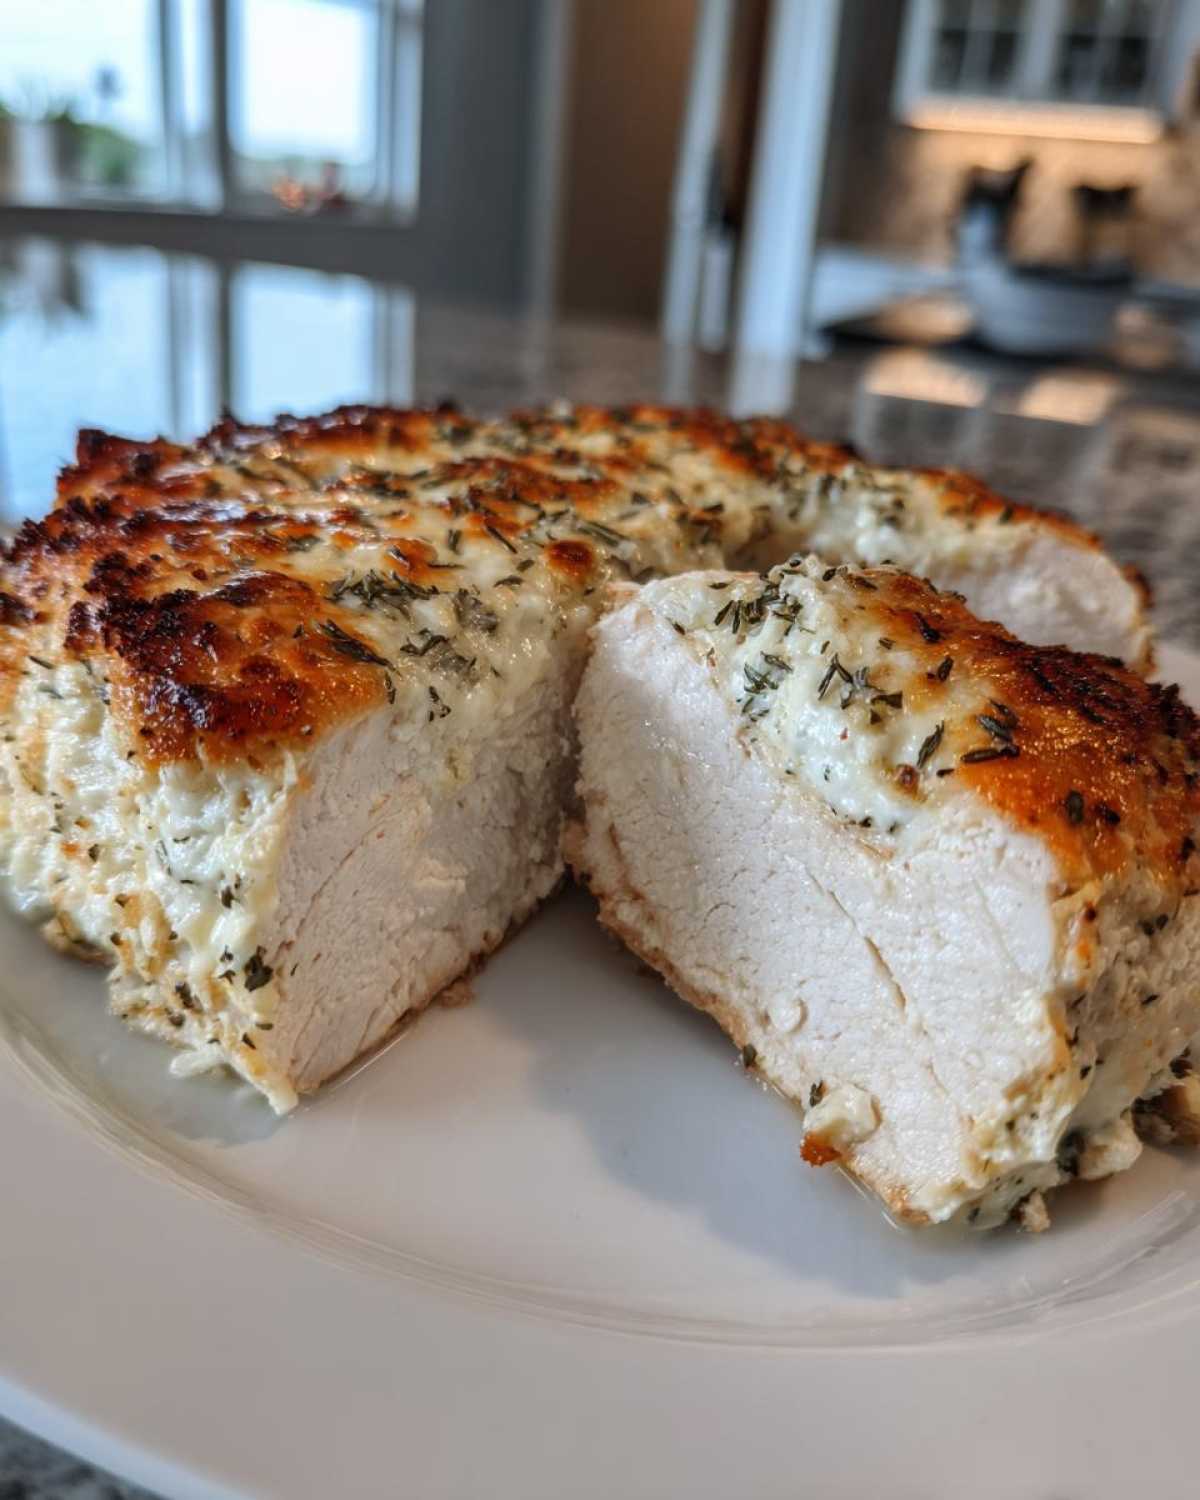
Tips for the Juiciest Baked Chicken Recipe Every Time
Even with a great coating like this ranch mixture, chicken *can* dry out if you aren’t careful. I learned this the hard way when I was first starting out; I once totally forgot about a batch and ended up with chicken that tasted like cardboard! That horrible experience taught me the golden rules for a perfect **Juicy Baked Chicken Recipe**.
Rule number one, which I mentioned above but needs repeating: use a reliable meat thermometer. Don’t guess! 165°F is the finish line. Seriously save yourself the stress and use a digital one. They are lifesavers.
Also, promise me you won’t skip the resting step. When that chicken comes out of the oven, those juices are running wild inside. Taking it out of the heat just stops the cooking, but if you slice it immediately, all that wonderful moisture runs right out onto your pan. I let mine rest for a solid five minutes—I cover it loosely with foil—and that time lets the juices settle back into the meat. It’s the difference between good chicken and *amazing* chicken, and you can learn more about my process here: how to make juicy baked chicken.
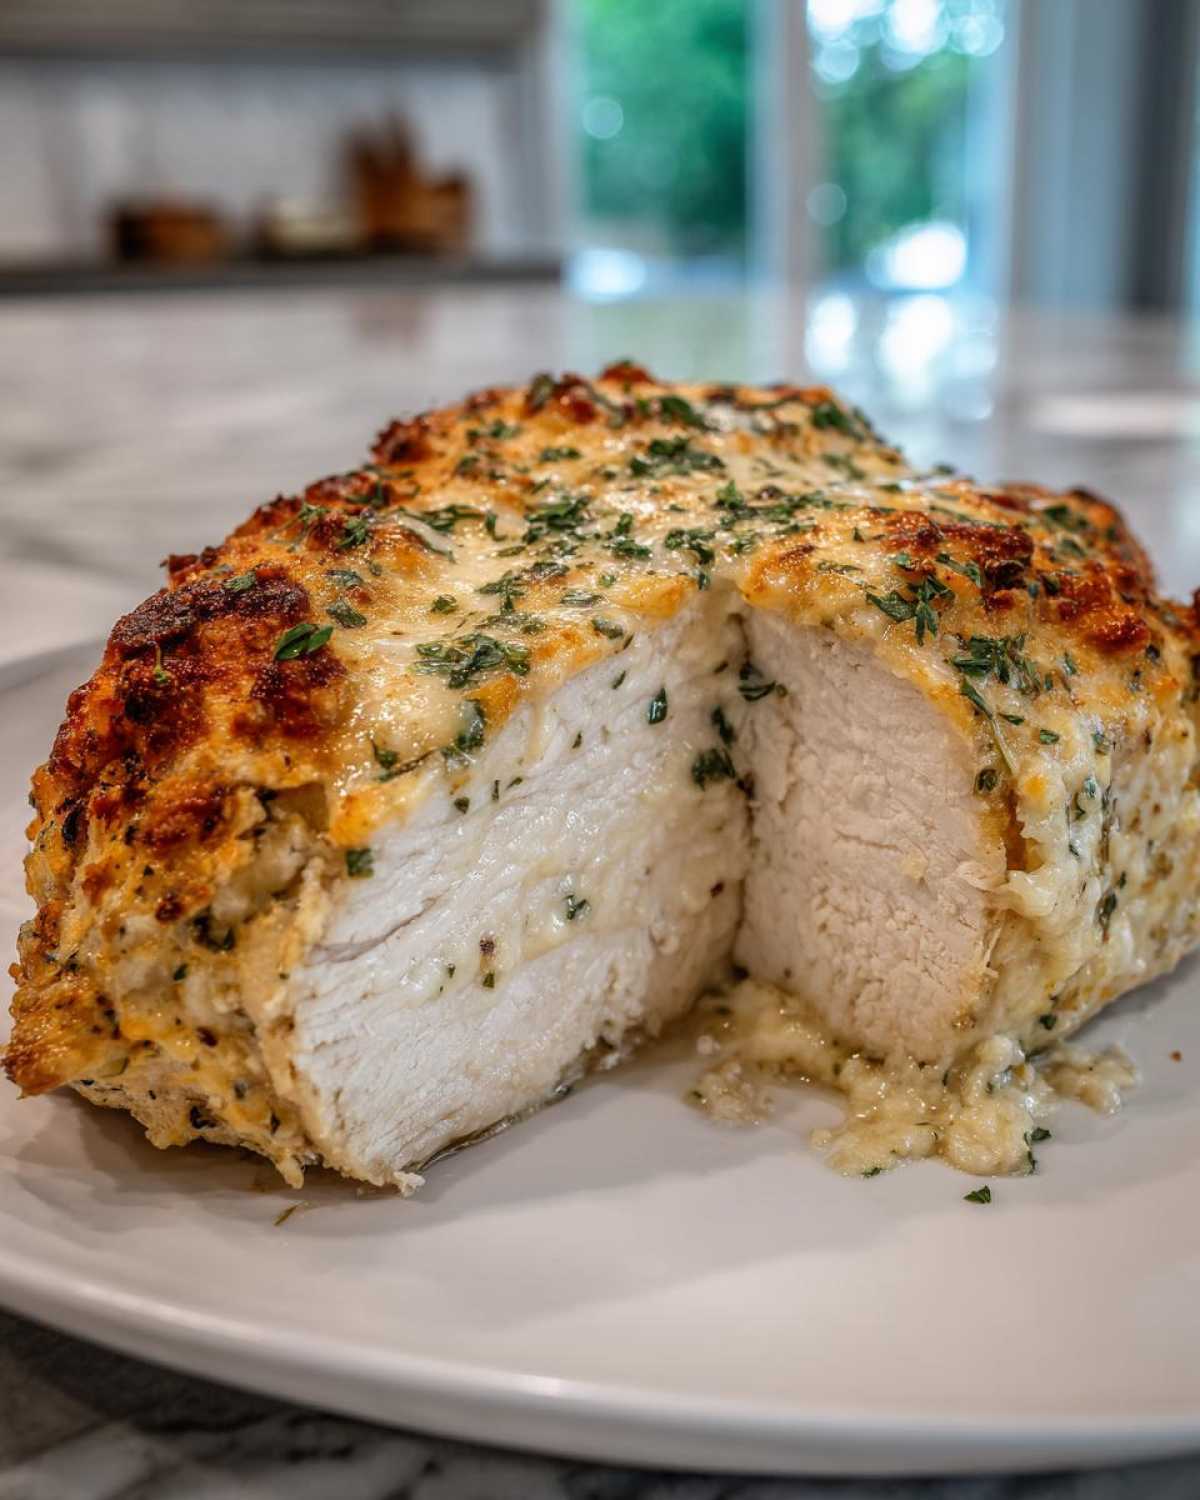
Finally, don’t glob on the coating! We want a nice, even layer. If you pour on a giant mound of the mayo-ranch mixture, the outsides will burn before the center is done cooking, which definitely ruins the juiciness!
Making Variations of Your Baked Ranch Chicken
The beauty of this **baked ranch chicken** is how adaptable it is! Since the base recipe is so simple, it’s just begging you to experiment a little. Don’t feel locked into just mayo and Parmesan, though those are my favorites for the standard version.
If you’re looking for true comfort food, let’s amp up the cheese factor! You can easily turn this into a glorious **Cheesy Baked Ranch Chicken** by adding about half a cup more Parmesan or tossing some shredded mozzarella right on top during the last five minutes of baking. It gets super gooey and satisfying!
For an even quicker clean-up, make it a **Sheet Pan Ranch Chicken**. Just toss some hearty vegetables—I love broccoli florets or thick-cut zucchini—with a little olive oil and salt, spreading them around the chicken in the pan *before* applying the ranch coating. Everything cooks at the same time!
And if you’re counting carbs, rest assured this is wonderfully low-carb already, but you need to grab a low-carb or Keto-friendly ranch seasoning packet if you are sticking strictly to macros. It’s all about making my recipes fit your life, and you can check out my cheesy chicken pasta if you need some other comfort food inspiration later: cheesy chicken pasta recipe.
Serving Suggestions for Your Flavorful Baked Chicken
Now that you have this amazingly **Flavorful Baked Chicken** ready to go, you need things to put next to it, right? You don’t want to just eat rich, savory chicken by itself! Since the ranch coating is already quite bold and comforting, I always lean toward bright, fresh sides to balance everything out.
My absolute favorite pairing is simple roasted green beans—you know, tossed with just salt, pepper, and maybe a tiny splash of lemon juice at the end. Or, if you want something that feels a little fancier but is still ridiculously easy, check out my recipe for garlic herb roasted veggies; those herbs really complement the thyme and dill that are in the ranch mix.
If it’s summer, a simple crisp green salad with a light vinaigrette is perfect to cut through the richness of the mayonnaise coating. Dinner is officially solved!
Storage and Reheating Instructions for Leftover Baked Ranch Chicken
Phew! Having leftovers from this **baked ranch chicken** is the best part of the whole process, because now you have easy lunches sorted out! When you’re putting away what’s left, make sure it cools down slightly first, and then you want to stick it in a truly airtight container. Don’t leave it just sitting out too long; fridge time starts fast! It will keep perfectly fine in the refrigerator for about three to four days, making this a fantastic option for **Chicken Meal Prep Ideas** later in the week.
When you are ready to reheat, skip the microwave if you can—it tends to make things rubbery, even the juicy bits. The absolute best way to bring this back to life is in a low oven, maybe at 300 degrees Fahrenheit, until it’s just warmed through. If you’re in a massive rush, pop it in the microwave but add just a tiny splash of water or chicken broth underneath the piece before covering it. It creates steam and keeps everything nice and moist. See more tips on prepping ahead by checking out my chicken meal prep ideas page!
Frequently Asked Questions About Baked Ranch Chicken
I know you’re probably already planning around this **baked ranch chicken**, but I always get a few last-minute questions from folks trying to make it perfect the first time. Don’t sweat it; I’ve got the answers right here!
Can I use chicken breasts, or should I stick to thighs?
You absolutely can use chicken breasts! That’s why this recipe is such a great **quick chicken breast recipe** option. Just remember what I mentioned earlier: breasts run drier, faster. You must use that meat thermometer—seriously, don’t guess—and pull them out the second they hit 165°F. Thighs are more forgiving for a **Simple Ranch Chicken** night, but breasts work great if you are careful!
How do I make this recipe crispy instead of just creamy?
This is a fantastic question if you prefer that crunch! For a crispier topping, you can do two things. First, swap the mayo for sour cream, as I mentioned, which tends to bake up a little firmer. Second, and this is the big one: about two minutes before the cooking time is up, switch your oven setting to broil. Watch it like a hawk—I mean that! Broiling happens fast, but you’ll get a beautiful golden, crispy top layer. If you’ve mastered this, maybe try my chicken scampi next time for a change of pace!
Which type of ranch seasoning mix works best in this Easy Baked Chicken Dinner?
Honestly, any standard packaged dry ranch seasoning mix works wonderfully for this **Easy Baked Chicken Dinner**. I usually just grab the standard one—not the buttermilk or low-sodium versions—because the flavor profile is designed to pair perfectly with the fat in the mayo and the saltiness of the Parmesan. If you use a super low-sodium mix, you might want to add a tiny pinch of salt to the coating just to boost that savory flavor!
Estimated Nutritional Data for This Baked Ranch Chicken
I always get asked about the numbers, so here’s a quick look at what you can expect from one serving of this **baked ranch chicken**. Remember, since we are using pantry staples that vary from brand to brand, these are just estimates based on the recipe I used today.
For a standard serving (about 4 oz of cooked chicken), you’re looking at roughly 350 calories. It’s packed with about 32 grams of protein, which is fantastic, and it comes in around 22 grams of fat. We’re keeping the carbs super low here, usually just 3 grams. This is a winner for simple, satisfying weeknight meals!
For the fine print on how these numbers are calculated and what they mean for your diet, absolutely check out my official nutritional disclaimer page. Happy cooking!
PrintThe Ultimate Juicy 5-Ingredient Baked Ranch Chicken

Make this simple, flavorful baked ranch chicken using only five main ingredients. It is perfect for a quick weeknight dinner and stays juicy when cooked in the oven.
- Prep Time: 10 min
- Cook Time: 25 min
- Total Time: 35 min
- Yield: 4 servings
- Category: Dinner
- Method: Baking
- Cuisine: American
- Diet: Low Calorie
Ingredients
- 2 lbs boneless, skinless chicken pieces (breasts or thighs)
- 1 packet (1 oz) dry ranch seasoning mix
- 1/2 cup mayonnaise
- 1/4 cup grated Parmesan cheese
- 1 tablespoon olive oil
Instructions
- Preheat your oven to 400 degrees Fahrenheit. Lightly grease a baking dish or line it with parchment paper.
- In a medium bowl, combine the mayonnaise, dry ranch seasoning mix, and Parmesan cheese. Mix until you have a smooth coating.
- Pat the chicken pieces dry with paper towels. This helps the coating stick better.
- Brush the olive oil lightly over all sides of the chicken.
- Spread the ranch mixture evenly over the top surface of each piece of chicken, pressing gently so it adheres.
- Place the coated chicken in the prepared baking dish.
- Bake for 20 to 25 minutes, or until the internal temperature reaches 165 degrees Fahrenheit and the topping is lightly golden brown.
- Let the chicken rest for 5 minutes before serving.
Notes
- For crispier chicken, you can place the baking dish under the broiler for the last 1-2 minutes, watching closely to prevent burning.
- Chicken thighs generally stay juicier than breasts; adjust cooking time based on the thickness of your pieces.
- You can substitute sour cream for the mayonnaise for a slightly tangier flavor profile.
Nutrition
- Serving Size: 4 oz cooked chicken
- Calories: 350
- Sugar: 2
- Sodium: 650
- Fat: 22
- Saturated Fat: 5
- Unsaturated Fat: 17
- Trans Fat: 0
- Carbohydrates: 3
- Fiber: 0
- Protein: 32
- Cholesterol: 100