

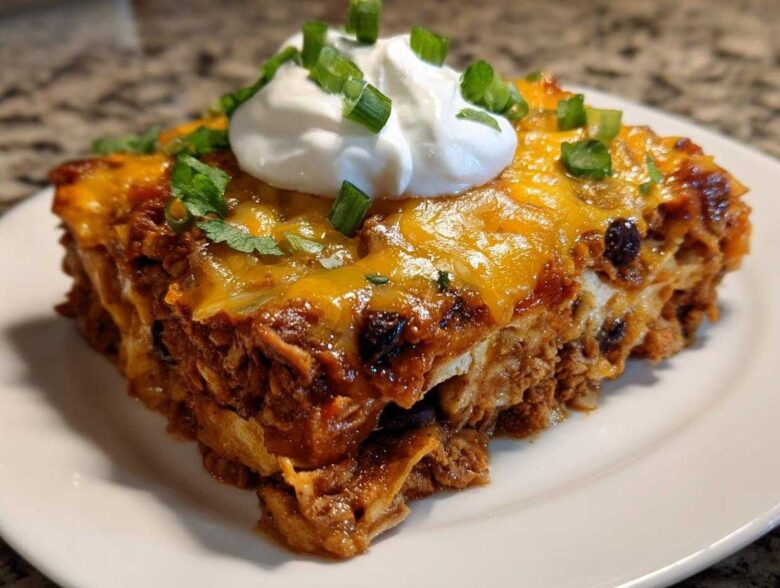
Oh, the weeknight scramble! You know the moment—it’s 6 PM, everyone is hangry, and the thought of dirtying seven different pans feels impossible. I swear, some days I think dinner should just magically appear on the table. That’s exactly why I live and die by what I affectionately call my ultimate comfort solution: the Layered Chicken and Black Bean Burrito Bake Casserole. Honestly, mastering this quick burrito bake saved my sanity last school year.
When things get hectic, I just grab my 9×13 dish, and bam! We have a bubbly, cheesy, magnificent Mexican casserole dinner. It’s so much better than throwing soggy takeout containers in the recycling bin. Trust me, this is the dish you pull out when you want all the flavor of a loaded burrito but none of the rolling drama.
Why This Layered Burrito Bake is Your New Weeknight Hero
I know you’re tired of complicated meals, and honestly, so am I! This layered bake is truly a gift for anyone running around during the week. It tastes like you spent hours layering everything perfectly, but in reality, it’s shockingly fast. It hits all the right notes for that cozy, satisfying meal we all crave.
- It’s the definition of a one pan burrito bake—less cleanup is always a win!
- It’s packed with flavor from the taco seasoning and fresh salsa.
- Everyone gets those glorious, melted cheese pulls.
Quick Prep for Maximum Flavor in Your Burrito Bake
The prep time is only about 15 minutes, which is insane! You’re just chopping an onion and mixing a few cans. This fact alone makes it my go-to quick dinner bake when I get home late. Seriously, don’t let the layers scare you; assembly is faster than ordering pizza.
The Ultimate Family Friendly Burrito Bake Recipe
If you need a real crowd-pleaser, this is it. Kids love digging into the layers, and parents love how hearty it is—it’s a brilliant comfort food casserole. Every bite feels like a rich, satisfying cheesy baked burrito, but without the frustration of it falling apart on your plate.
Gathering Ingredients for Your Chicken Burrito Casserole Bake
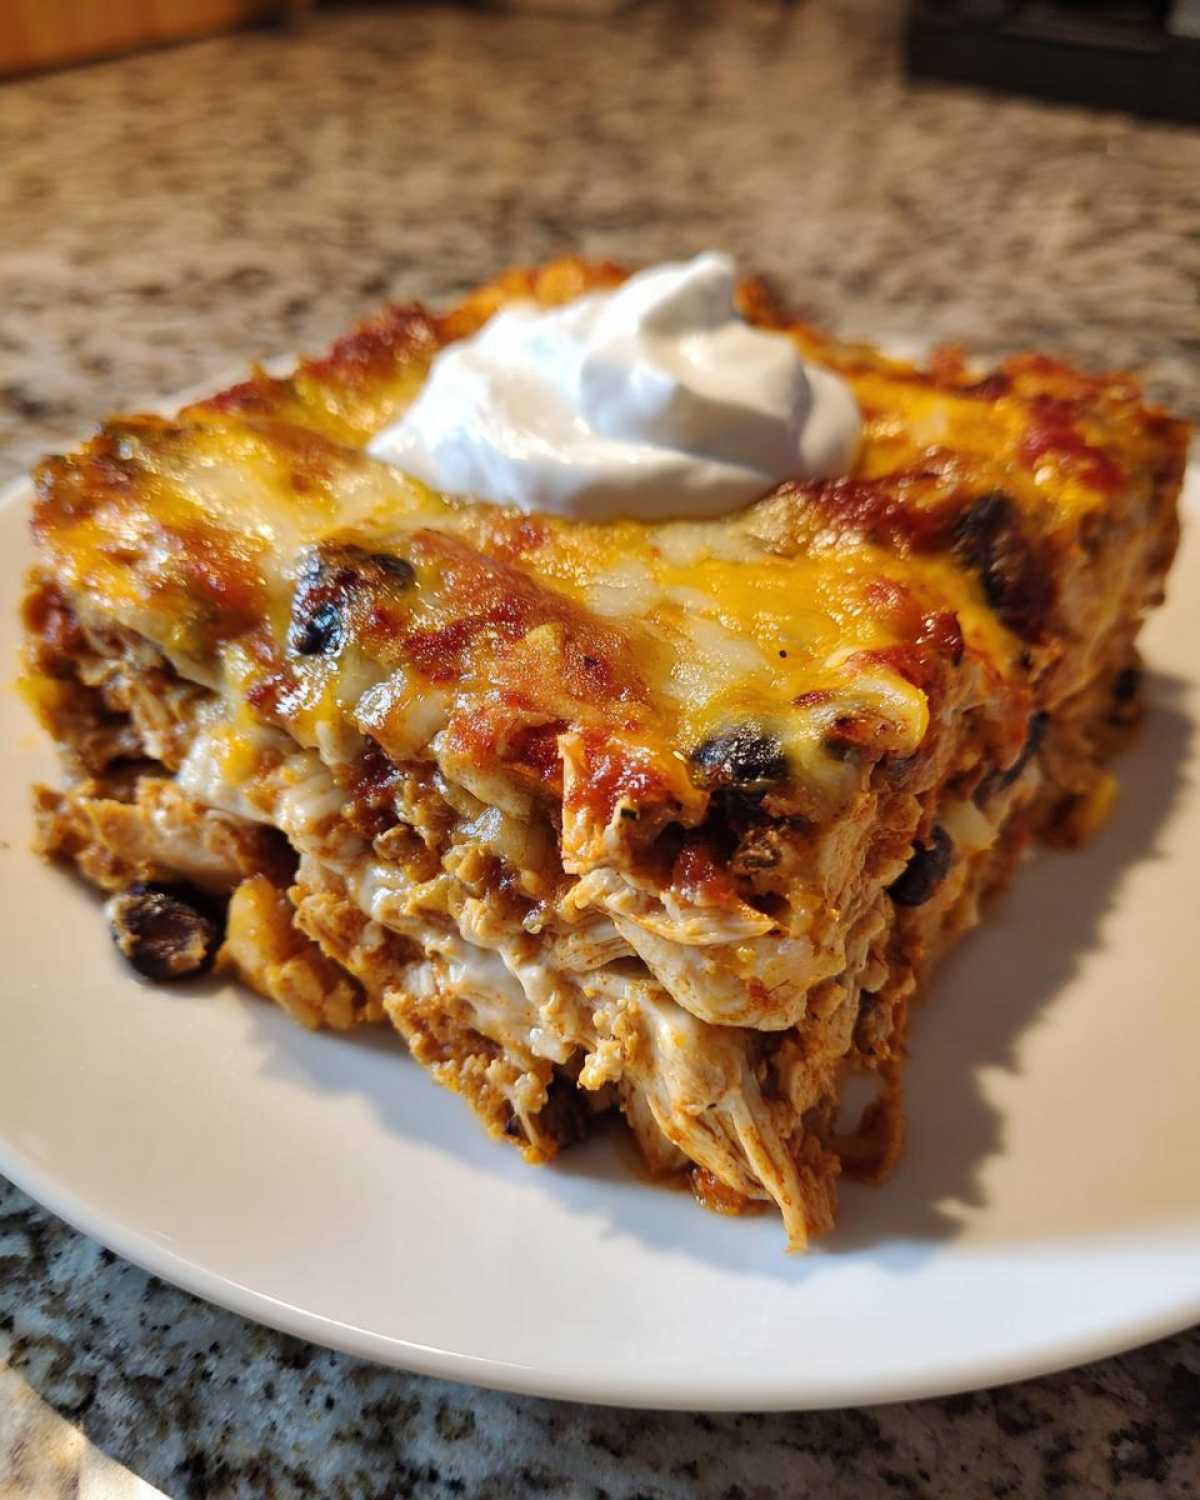
Okay, ingredient quality matters even in a dump-and-bake situation, so pay attention here! For the base, we need one tablespoon of olive oil to get those onions sweating nicely. Speaking of onions, you need one medium one, chopped up small so it disappears into the great overall flavor. The star protein is a pound of chicken—either ground chicken cooked until crumbly or if you’re feeling smart, pre-shredded, cooked chicken.
Then we hit the flavor town with that taco seasoning packet—don’t skip it! We stir that into a can of black beans that absolutely must be rinsed and drained, otherwise, your **burrito bake** will be swimming. Next up is flavor booster number two: one cup of salsa, and I prefer medium heat for that little kick. We bring in volume with one cup of cooked white rice, and the real structural element comes from ten medium flour tortillas, which you’ll want to cut into quarters before you start layering. Finally, grab two cups of that glorious shredded Mexican cheese blend. Don’t skimp!
Ingredient Notes and Smart Substitutions for the Burrito Bake
You can absolutely pivot this recipe if you need to. I often swap the chicken out for ground beef when I’m feeling a bit richer, or even pulled pork if I have leftovers. It makes for an amazing Tex Mex bake recipe variation. Just remember that if you use ground beef, make sure you drain off all that extra fat after browning, or things get greasy fast!
If you’re looking to cut a few fat points without sacrificing creaminess on top, use plain Greek yogurt instead of sour cream for the dollop at the end. It gives you that lovely tang needed to balance the spice, but with less fat overall. See? Super adaptable!
Step-by-Step Assembly of the Layered Burrito Bake
Right, now for the fun part—the construction! This is where we turn our cooked filling into a glorious, stackable masterpiece. First things first, make sure that oven is humming along at 375 degrees Fahrenheit, as noted in step one. While it’s warming up, take your 9×13 baking dish and give it a really good grease. I mean it, a good slathering of butter or cooking spray—we don’t want any sticking drama later, especially with a recipe this easy layered casserole!
We start building from the bottom up. Spread a really thin layer of that seasoned chicken and bean mixture right across the base of the dish. This is crucial because it acts like glue for our first batch of tortillas. Remember, we cut those ten tortillas into quarters—now it’s time to place one-third of those quarters evenly over the chicken base. Don’t overlap them too much; we really want full coverage!
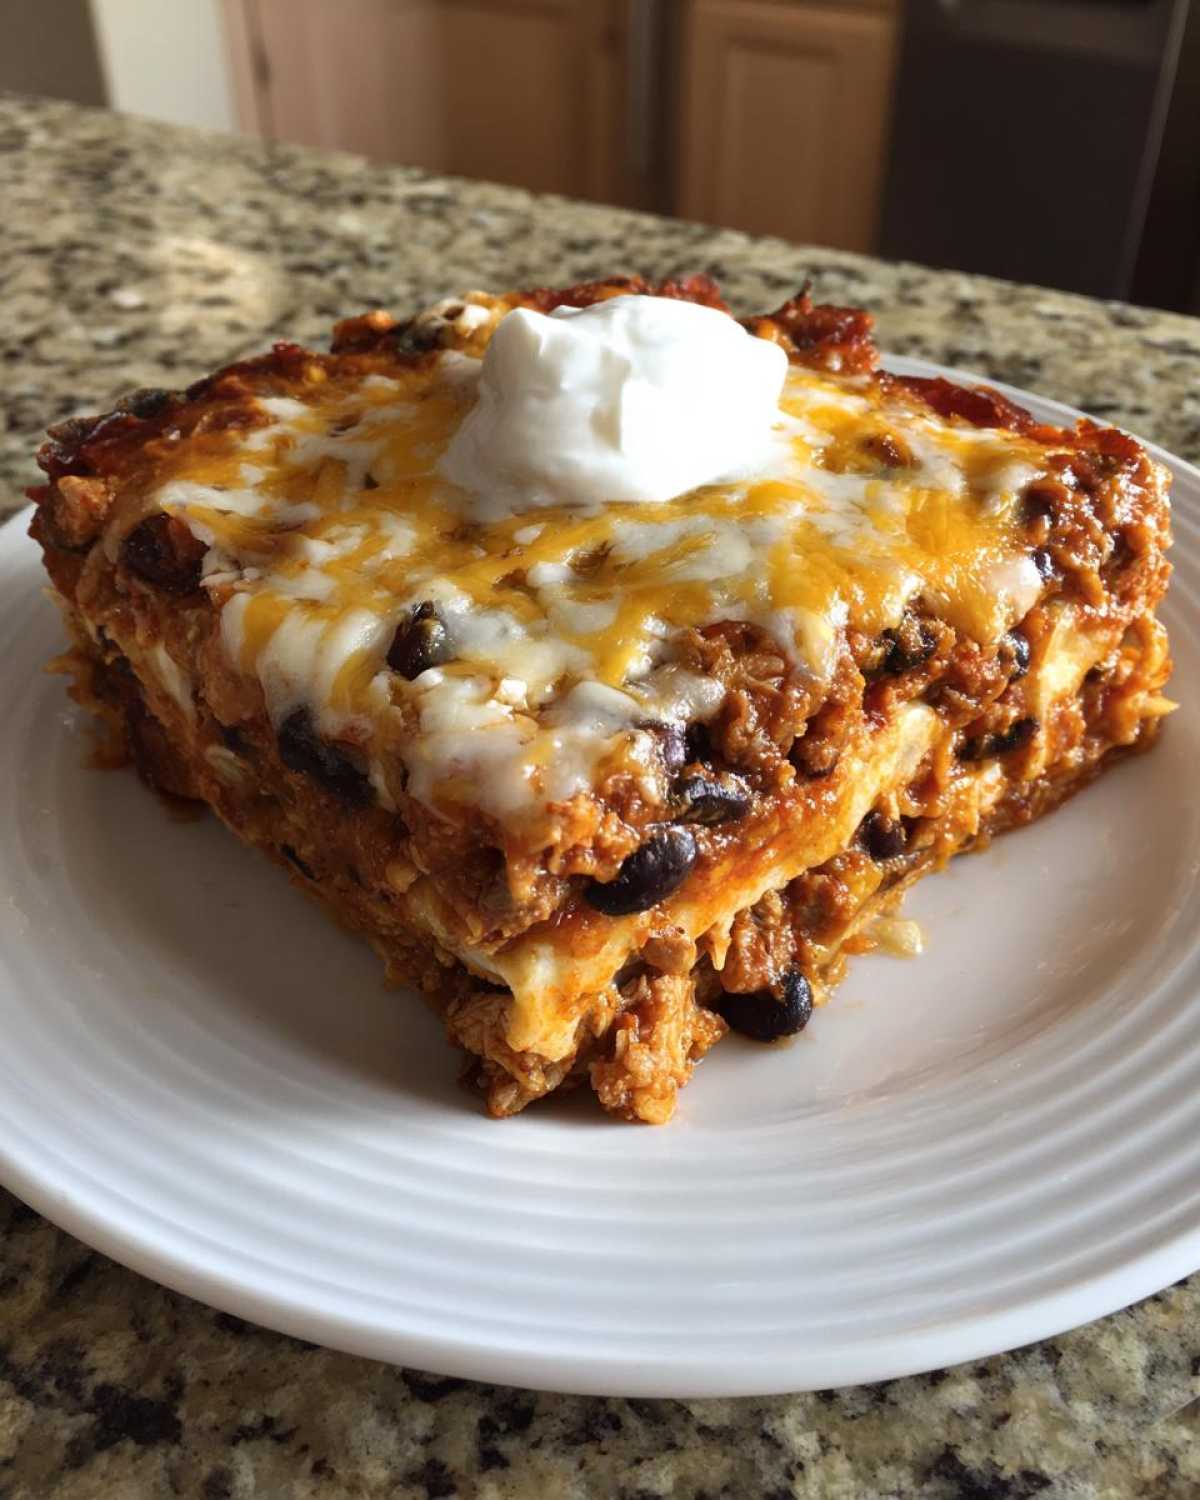
Next, we layer the filling again. Spoon about half of what’s left of the chicken mixture directly over that first tortilla layer. Then, sprinkle on one-third of your glorious shredded cheese blend. We repeat that wonderful sequence: the next layer of tortillas, the remaining savory filling, and another third of the cheese sprinkled on top. Finally, use the last of those tortilla quarters, drape them over everything, and top it off with the remaining cheese. That complete stratification is what makes this a perfectly **layered burrito bake**!
Expert Tip for Perfecting Your One Pan Burrito Bake
I learned the hard way that you cannot have any exposed tortilla edges sticking out past the chicken mixture, especially around the sides of the pan. If a corner of tortilla hangs out, it gets dry and burns before the middle is even warm! When you lay down those tortilla pieces, gently press them down into the layer below them as you build this **one pan burrito bake**. If you see any dry spots peeking through the side walls, use a tiny bit of leftover salsa or even just a splash of water to moisten that spot before cheese goes on. It’s little things like this that guarantee a perfect, gooey middle every time!
Baking and Serving Your Cheesy Baked Burrito
This is the moment of truth, right? You’ve done all that layering, and now the oven takes over! Make sure your oven is holding steady at 375 degrees Fahrenheit. Pop your beautiful, fully assembled dish right into the center rack. The recipe calls for 20 to 25 minutes of baking time. You’re waiting for two things: one, that cheese on top needs to be completely melted and gloriously bubbly, and two, you want to see just the slightest hint of golden brown starting around the edges of the pan. Don’t wander off!
Now, this next part sounds small, but please trust me on this for the best texture in your **burrito bake**. Once you pull it out of the oven, you HAVE to let it rest for five full minutes. If you get impatient and try to serve it immediately, the layers will slide around like a wet landslide on your plate! Those five minutes allow the juices to redistribute and the structure to set up just enough. If you love deeply comforting casseroles, you might want to check out some tips on serving creamy cheesy casserole dishes, because the resting principle is similar!
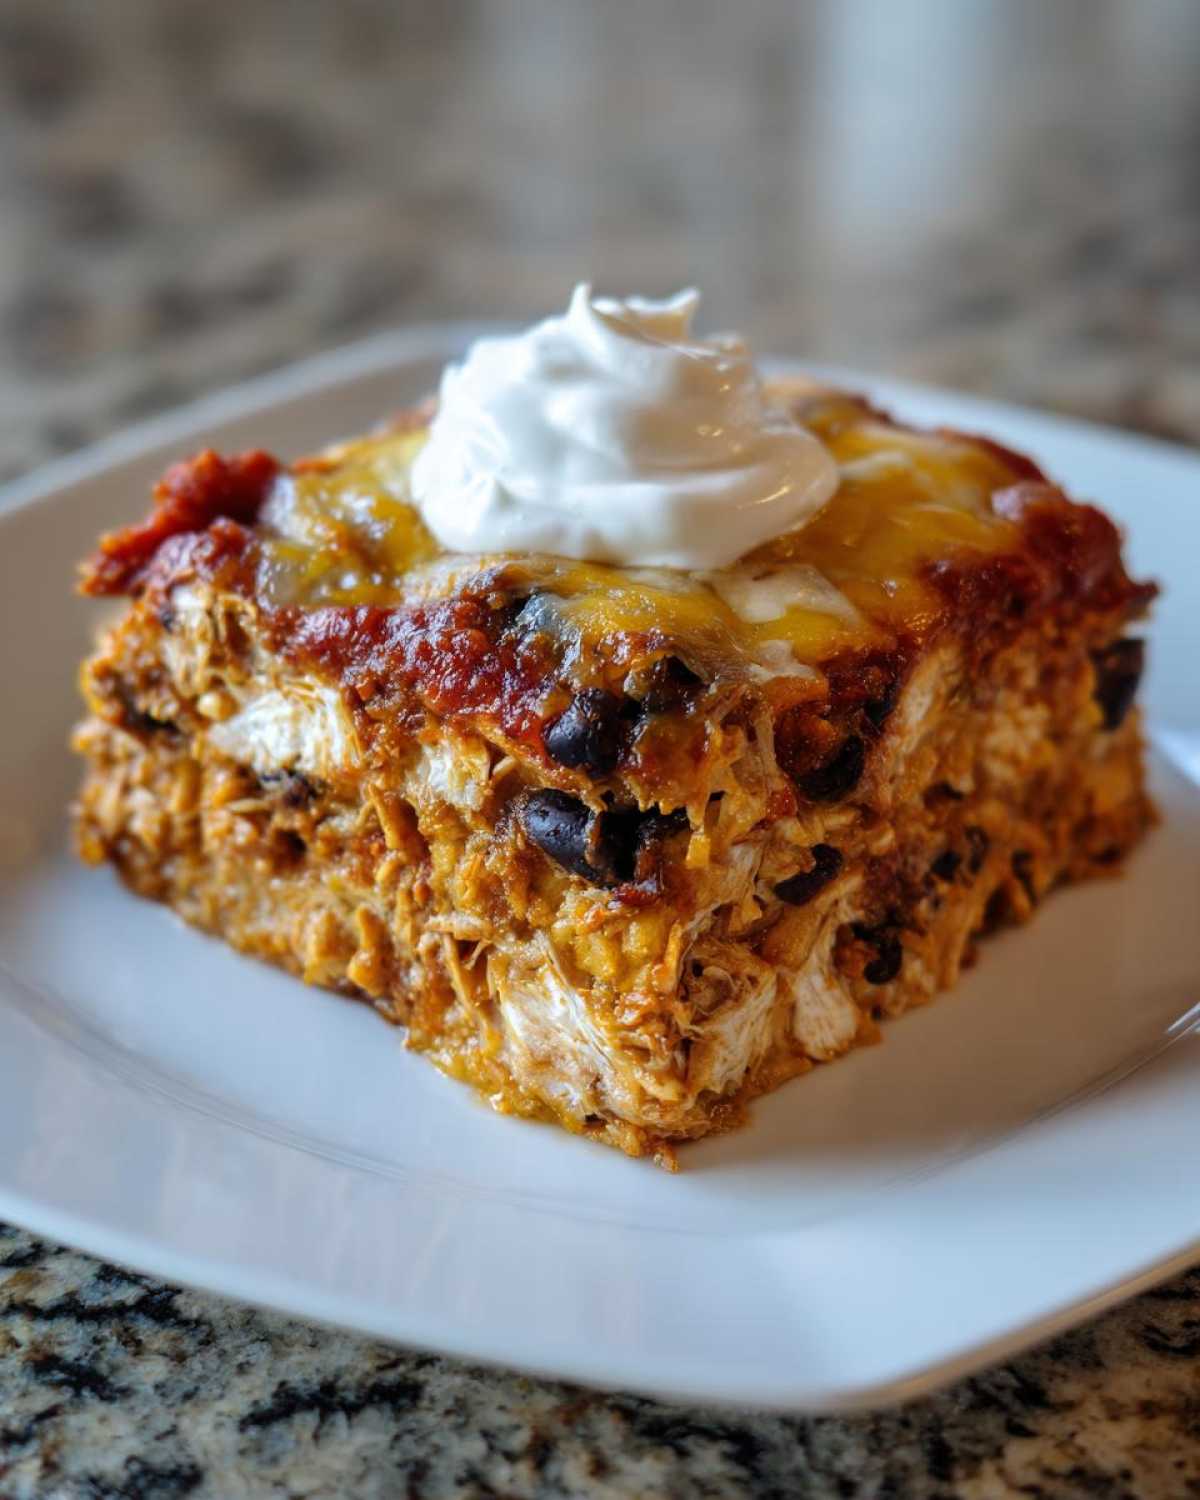
After the rest, it’s serving time. We finish this off simply. Grab your dollop of choice—either sour cream or plain Greek yogurt if you went for the lighter route—and put just a spoonful right on top of each warm serving. The coolness of the dairy against the hot, cheesy filling is just perfection. Honestly, watching everyone dig into this **cheesy baked burrito** always makes me feel like I won the weeknight dinner jackpot.
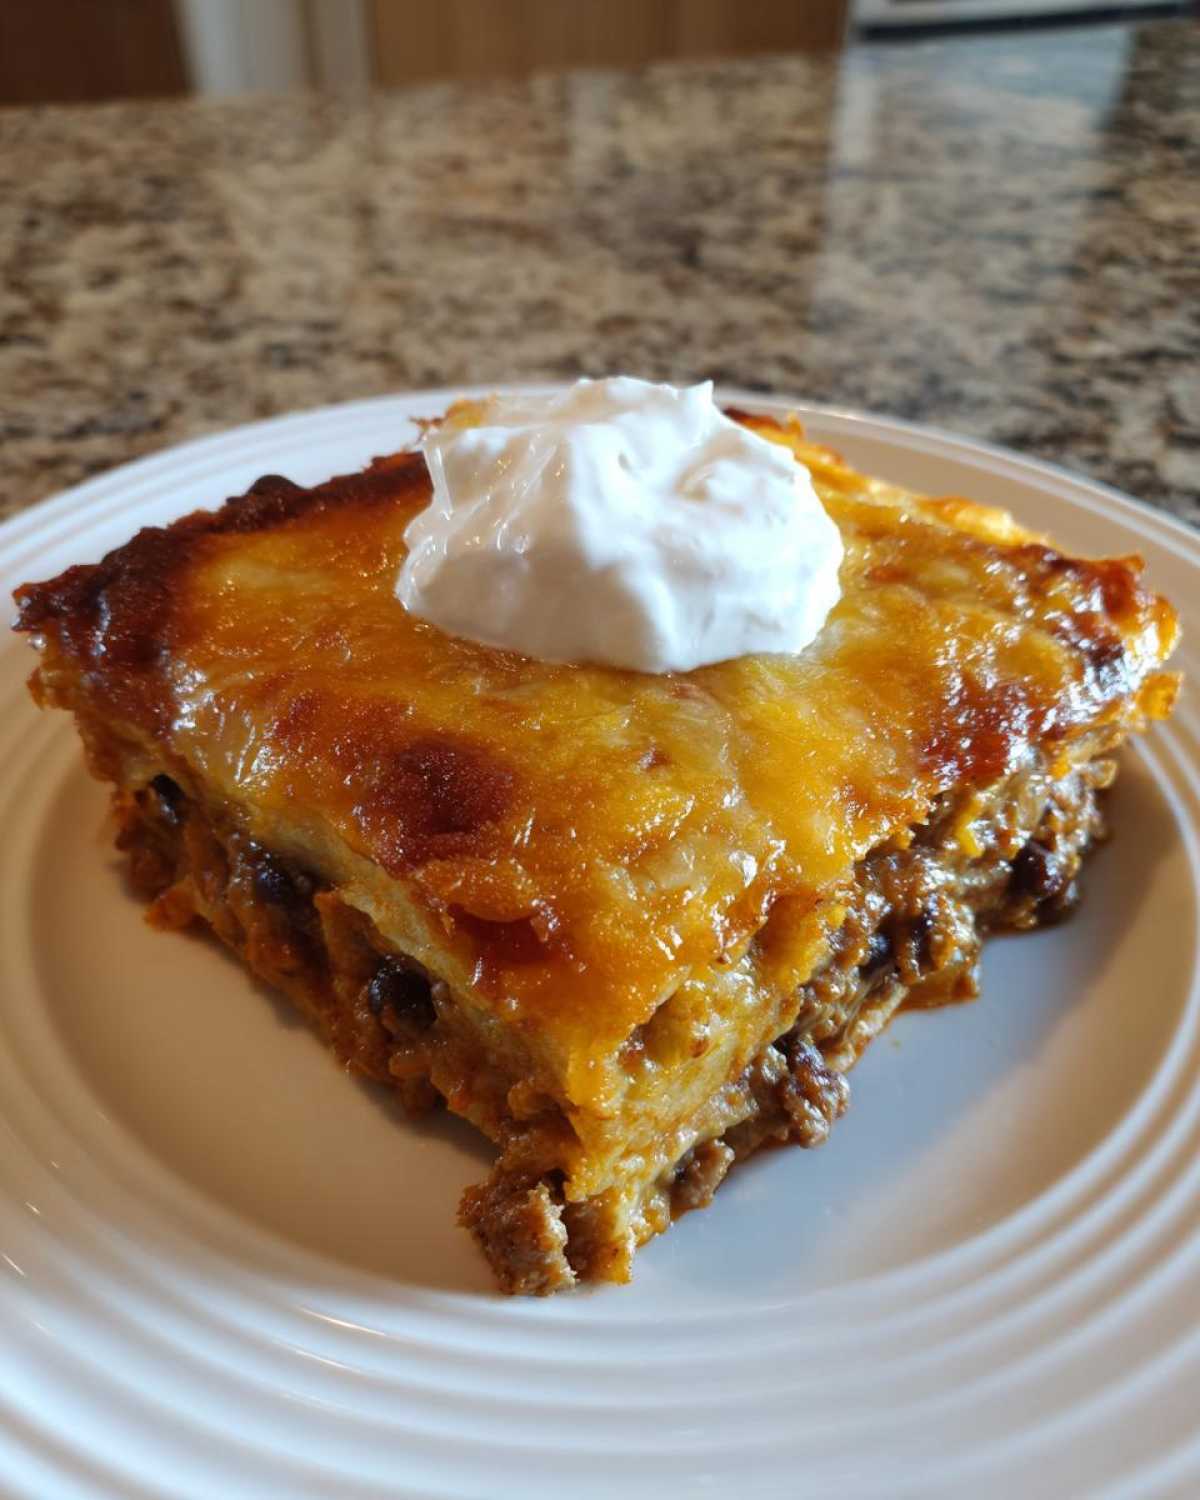
Making Ahead and Storing This Freezer Friendly Burrito Bake
I have a secret weapon for survival during busy weeks, and it involves planning ahead. If you’re like me and want dinner done before the chaos starts, this recipe shines because it is truly a fantastic freezer friendly burrito bake contender. You can assemble the entire dish right up until the point you add the final sprinkle of cheese, cover it tightly with plastic wrap and foil, and pop it right into the fridge.
The recipe notes say you can keep it refrigerated for up to 24 hours. That means you can spend an hour on Sunday prepping this incredible Tex Mex bake recipe, and then when Monday night hits, you’re already halfway there! This makes it one of my go-to dinner ideas for busy families.
Now, here’s the super important part you can’t forget if you’re baking from the fridge: you must adjust your time. Since the casserole is cold when it hits the hot oven, you need to add about 10 extra minutes to the baking time. You’re aiming for that bubbling center, so keep an eye on it! If you end up freezing it solid—which I sometimes do if I’m feeling extra organized—you might need to let it thaw in the fridge overnight first, or just add a good 20 minutes to the bake time to ensure everything heats through properly. Keeping that structure intact makes serving this **burrito bake** so easy later on!
Serving Suggestions for Your Mexican Casserole Dinner
Once you’ve got your perfectly baked, cheesy creation out of the oven and it has rested for those critical five minutes, you might think you are done, but presentation matters, even for a relaxing family meal! This **Mexican casserole dinner** is hearty enough on its own, but a few simple fresh additions really elevate it from good to absolutely fantastic. You don’t want to pull out anything complicated, though, because we are aiming for easy mode here.
The best thing you can do is add a punch of freshness. I almost always keep a bowl of freshly chopped cilantro nearby. A quick sprinkle of that bright green herb right over the dollop of sour cream adds color and a necessary herbal pop that cuts through all the richness. It makes the whole dish look like you actually tried!
Avocados are another must-have in my house when serving this **Tex Mex bake recipe**. You can either dice them up chunky and let everyone spoon them on themselves, or if you have kids who are picky about texture, whip up a super quick, chunky guacamole. A side of sliced lime wedges is also non-negotiable for me. A good squeeze of fresh lime juice over the top right before taking that first bite brightens everything up immensely!
If you need a substantial side that still keeps things very simple, skip the plain rice next time and try something like my favorite Mexican street corn salad recipe. It’s mostly corn and cheese, so it’s an easy win, but it adds a nice texture contrast. If that’s too much effort, just put out a bowl of tortilla chips for scooping up any extra cheesy bits that escape the main dish!
Frequently Asked Questions About the Burrito Bake
I always get emails after people try this dish, and usually, they have the best little tweaking questions! I love hearing how you adapt things for your own family, but here are a few things I get asked all the time about getting this **burrito bake** just right.
Can I make this a ground beef burrito casserole?
Absolutely, yes! You can totally make this a **ground beef burrito casserole**. I switch it up depending on what I find on sale. If you use ground beef, just make sure you use a slightly leaner percentage, like 85/15 or 90/10. Brown it really well with your onion, and then—and this is key—make sure you tilt your skillet just before you mix in the seasoning and drain off every last bit of fat. Nobody wants a greasy **Mexican casserole dinner**!
What is the best way to ensure this burrito bake is protein packed?
If you’re focused on making sure this turns out **protein packed**, you’ve already got a great start with the chicken and the black beans! But if you want to boost it even further, try tossing an extra half-cup of shredded cheese into the filling layers, not just on top. Another trick is swapping out the white rice for quinoa if you happen to have some on hand—it adds an extra little protein punch without changing the flavor profile much at all. It always stays satisfying, whether you serve it as a full meal or just need a great dinner option!
Estimated Nutritional Snapshot for This Burrito Bake
Okay, let’s talk numbers for a second. Because this is such a satisfying, hearty, **comfort food casserole**, I know the nutritional breakdown is important for some of you who are watching your intake! Remember, since this is a recipe that relies on layering and cheese, the exact numbers can swing a bit depending on what brand of tortillas, beans, or how much cheese you sneak in when nobody’s looking.
These estimates below are based on dividing the entire recipe into 6 generous servings, as directed. Every time I crunch the numbers on this **chicken burrito casserole bake**, I’m pretty happy that we get almost 30 grams of protein per slice! We’re using those fresh ingredients, and being smart with our Greek yogurt swap helps keep the balanced profile.
- Serving Size: 1 serving
- Calories: 450
- Protein: 28g
- Fat: 22g (with about 10g saturated)
- Carbohydrates: 38g
- Fiber: 5g
- Sodium: 750mg
- Sugar: 6g
As always with homemade meals, these figures are just guidelines to help you plan. For the most accurate details on your final dish, especially if you’re using specialty ingredients like low-sodium rice or low-fat cheese, you might want to check out a detailed breakdown on our nutrition disclaimer page. But for a quick check on this fantastic **easy weeknight casserole**, these numbers show it packs a great balance for a family dinner!
Share Your Thoughts on This Easy Weeknight Casserole
Okay, you made magic! Now that you’ve pulled that bubbly, perfect **burrito bake** out of the oven and everyone has had seconds (because they absolutely will), I really, *really* want to know how it went.
Did you use ground beef or stick with the chicken? Are your kids now demanding this **cheesy baked burrito** every Tuesday? Don’t keep the details to yourself!
The best part of being a cook is sharing the wins, so please head down to the comments section below. Give this recipe a star rating—did it earn five glorious stars in your house? Let me know how this made your week easier! If you have any wild adaptations, share those too! For questions about shipping leftovers or partnership inquiries, you can always get in touch via our main contact page, but for recipe chat, the comments are where the fun happens!
PrintLayered Chicken and Black Bean Burrito Bake Casserole

Make this easy, cheesy chicken and black bean burrito bake for a simple weeknight dinner. This one-pan casserole uses layered tortillas, seasoned chicken, and beans baked until bubbly.
- Prep Time: 15 min
- Cook Time: 25 min
- Total Time: 40 min
- Yield: 6 servings
- Category: Dinner
- Method: Baking
- Cuisine: Tex-Mex
- Diet: Vegetarian
Ingredients
- 1 tablespoon olive oil
- 1 pound ground chicken or shredded cooked chicken
- 1 medium onion, chopped
- 1 packet (1 ounce) taco seasoning mix
- 1 can (15 ounces) black beans, rinsed and drained
- 1 cup salsa, medium heat
- 1 cup cooked white rice
- 10 medium flour tortillas, cut into quarters
- 2 cups shredded Mexican cheese blend
- 1 cup sour cream or plain Greek yogurt (for topping)
Instructions
- Preheat your oven to 375 degrees Fahrenheit. Lightly grease a 9×13 inch baking dish.
- Heat olive oil in a large skillet over medium heat. Add onion and cook until soft, about 5 minutes.
- Add ground chicken (if using) to the skillet. Cook until browned, breaking it up as it cooks. If using pre-cooked chicken, skip cooking and proceed.
- Stir in taco seasoning, black beans, salsa, and cooked rice. Cook for 5 minutes, stirring occasionally, until heated through.
- Spread a thin layer of the chicken mixture on the bottom of the prepared baking dish.
- Arrange one-third of the cut tortillas over the chicken mixture.
- Spoon half of the remaining chicken mixture over the tortillas. Sprinkle with one-third of the cheese.
- Repeat the layering: tortillas, remaining chicken mixture, and another third of the cheese.
- Top with the final layer of tortillas and the remaining cheese.
- Bake for 20 to 25 minutes, or until the cheese is melted and bubbly and the edges are lightly browned.
- Let the casserole rest for 5 minutes before serving. Top each serving with a dollop of sour cream or Greek yogurt.
Notes
- You can prepare the entire casserole, cover it, and refrigerate it up to 24 hours before baking. Add 10 minutes to the baking time if cooking straight from the refrigerator.
- Use ground beef or shredded pork instead of chicken for a variation.
- For a lower-fat option, use reduced-fat cheese and plain Greek yogurt instead of sour cream.
Nutrition
- Serving Size: 1 serving
- Calories: 450
- Sugar: 6
- Sodium: 750
- Fat: 22
- Saturated Fat: 10
- Unsaturated Fat: 12
- Trans Fat: 0.5
- Carbohydrates: 38
- Fiber: 5
- Protein: 28
- Cholesterol: 75