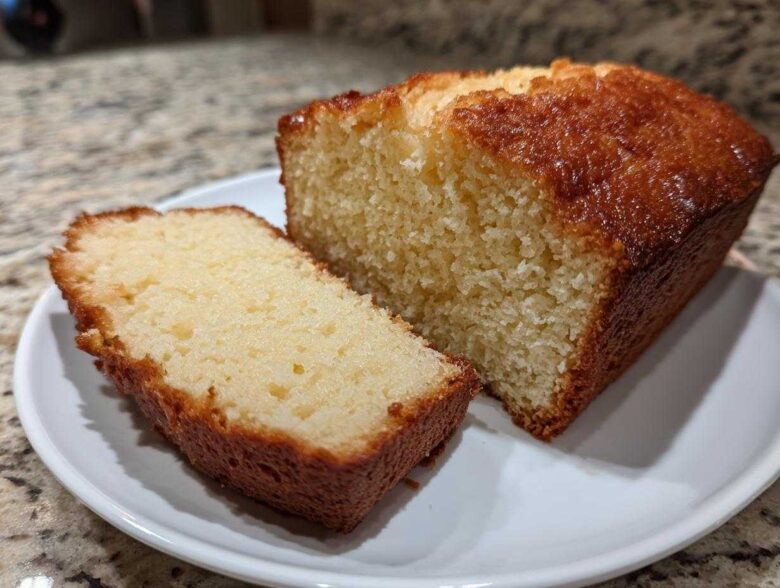
Oh my gosh, you know those nights? The chili’s simmering, the stew is smelling amazing, and you realize you completely forgot to make *something* to sop up all that goodness? Seriously, that was me last Tuesday. I needed bread fast, and I wasn’t waiting around for yeast to wake up! That’s when I turned to this absolute lifesaver: the Quick & Easy 3-Ingredient No-Yeast Beer Bread.
This recipe is my go-to simple homemade bread when I need a weeknight dinner side dish that tastes way better than the time it took to mix. It comes together in about five minutes, and the best part? It’s the perfect, sturdy base for anything saucy. Trust me, this easy beer bread recipe is foolproof, even if you’ve never baked bread before in your life. It’s incredibly reliable! You can check out more of my quick fixes over at the blog.
We’re making this fluffy beer bread with minimal fuss here. It’s designed for true beginners, and the resulting crispy crust bread is just heavenly brushed with butter while it’s hot. If you’re looking for a game day bread that’s ready before the commercial break ends, you found it!
Why This Quick & Easy Beer Bread Recipe Works (Beginners Bread Recipe)
I seriously believe this is the best introduction to baking you could ever ask for. This recipe delivers that satisfying, substantial comfort food side dish feel without any of the hard work. You absolutely do not need to worry about kneading, proving, or babysitting yeast with this no yeast bread. That’s the secret to why this easy beer bread recipe is so reliable for me, even on my busiest days.
It’s fantastic when you’re hosting a crowd for the game or just need a fast bread without any fuss. I’m telling you, this is the definition of a beginners bread recipe. Seriously, if you can mix two things together, you can nail this loaf almost instantly. If you ever want to try a slightly different flatbread approach, check out my recipe for garlic butter naan, but for a hearty loaf, stick right here!
The Magic of 3 Ingredient Beer Bread
How does it work without yeast? Simple: the carbonation in the beer provides the lift, and the baking powder already included in the self-rising flour does the heavy lifting. That’s why this 3 ingredient beer bread is such a phenomenon! The beer interacts with the flour to help it rise beautifully in the oven, giving us that fluffy interior without waiting hours.
Gathering Ingredients for Your Beer Bread
You won’t believe how simple the ingredient list is for this loaf. Honestly, it feels like cheating, but it works every single time! We’re only talking about three core items to make the basic body of this amazing beer bread. You’ll need three cups of self-rising flour, one cup of granulated sugar, and one full (12-ounce) can of beer.
And don’t forget the amazing finale: those four tablespoons of unsalted butter, melted, to brush on top later for that wonderful, buttery beer bread finish! If you’re looking for a completely different type of comfort side, my sweet potato cornbread is also a crowd-pleaser, but it requires a bit more pantry diving.
Now, about that beer choice—this is important! Avoid anything super dark or too hoppy, like a heavy stout or a bitter IPA. They will change the flavor profile way too much. Stick to a light, standard American lager or whatever pale ale you have on hand. The carbonation is what matters most for the lift!
Ingredient Notes and Substitutions for Perfect Beer Bread
Let’s talk about substitutions, because I know not everyone keeps self-rising flour stocked. If you run out, don’t panic! You can easily make your own right here. Just take three cups of regular all-purpose flour, and mix in one tablespoon of baking powder and one teaspoon of salt. Whisk it all up really well, and you’ve got the perfect dry mix!
The absolute must-have detail for success, though, is the beer temperature. Make sure that 12-ounce can of beer is at room temperature. If it’s ice cold, it can sometimes react oddly with the flour and baking powder, leading to a denser result. Room temp beer just mixes in smoother, giving you the best structure for your loaf.
How to Prepare Your Fluffy Beer Bread Step-by-Step
Alright, let’s get this show on the road! Since we aren’t dealing with any yeast, the prep time is wonderfully short—seriously, this is bread without kneading magic. First things first, you need to crank that oven up to 375°F (that’s 190°C for my international baking pals). Grab a standard 9×5 loaf pan and give it a good grease and flour treatment. You want this bread to slide out easily later!
Next, take your bowl with the dry ingredients—that’s the flour and sugar—and give them a quick whisk together just to make sure they’re friends. Then, the fun part! Pour that whole can of room-temperature beer right into the mix. This is where you need to take a breath, because how you mix next dictates whether you get truly fluffy beer bread or a brick!
Mixing the Beer Bread Batter Correctly
I cannot stress this enough: STOP MIXING when the ingredients are just combined. You’ll see a few streaks of flour, and maybe some bubbles forming. That’s perfect! If you keep stirring trying to make it look smooth, you’re activating all that gluten in the flour. Overmixing is the #1 enemy of a tender, light quick bread. We want tender, not tough, so stir just until the dry spots disappear. That’s it!
Scrape that shaggy batter into your prepared pan—it won’t look like traditional dough at all, which is normal for this simple homemade bread method. Pop it straight into that hot oven. It’ll bake for about 45 to 55 minutes, or until your wooden skewer (or toothpick) comes out totally clean when you poke the center.
Achieving the Crispy Crust with Buttery Beer Bread Glaze
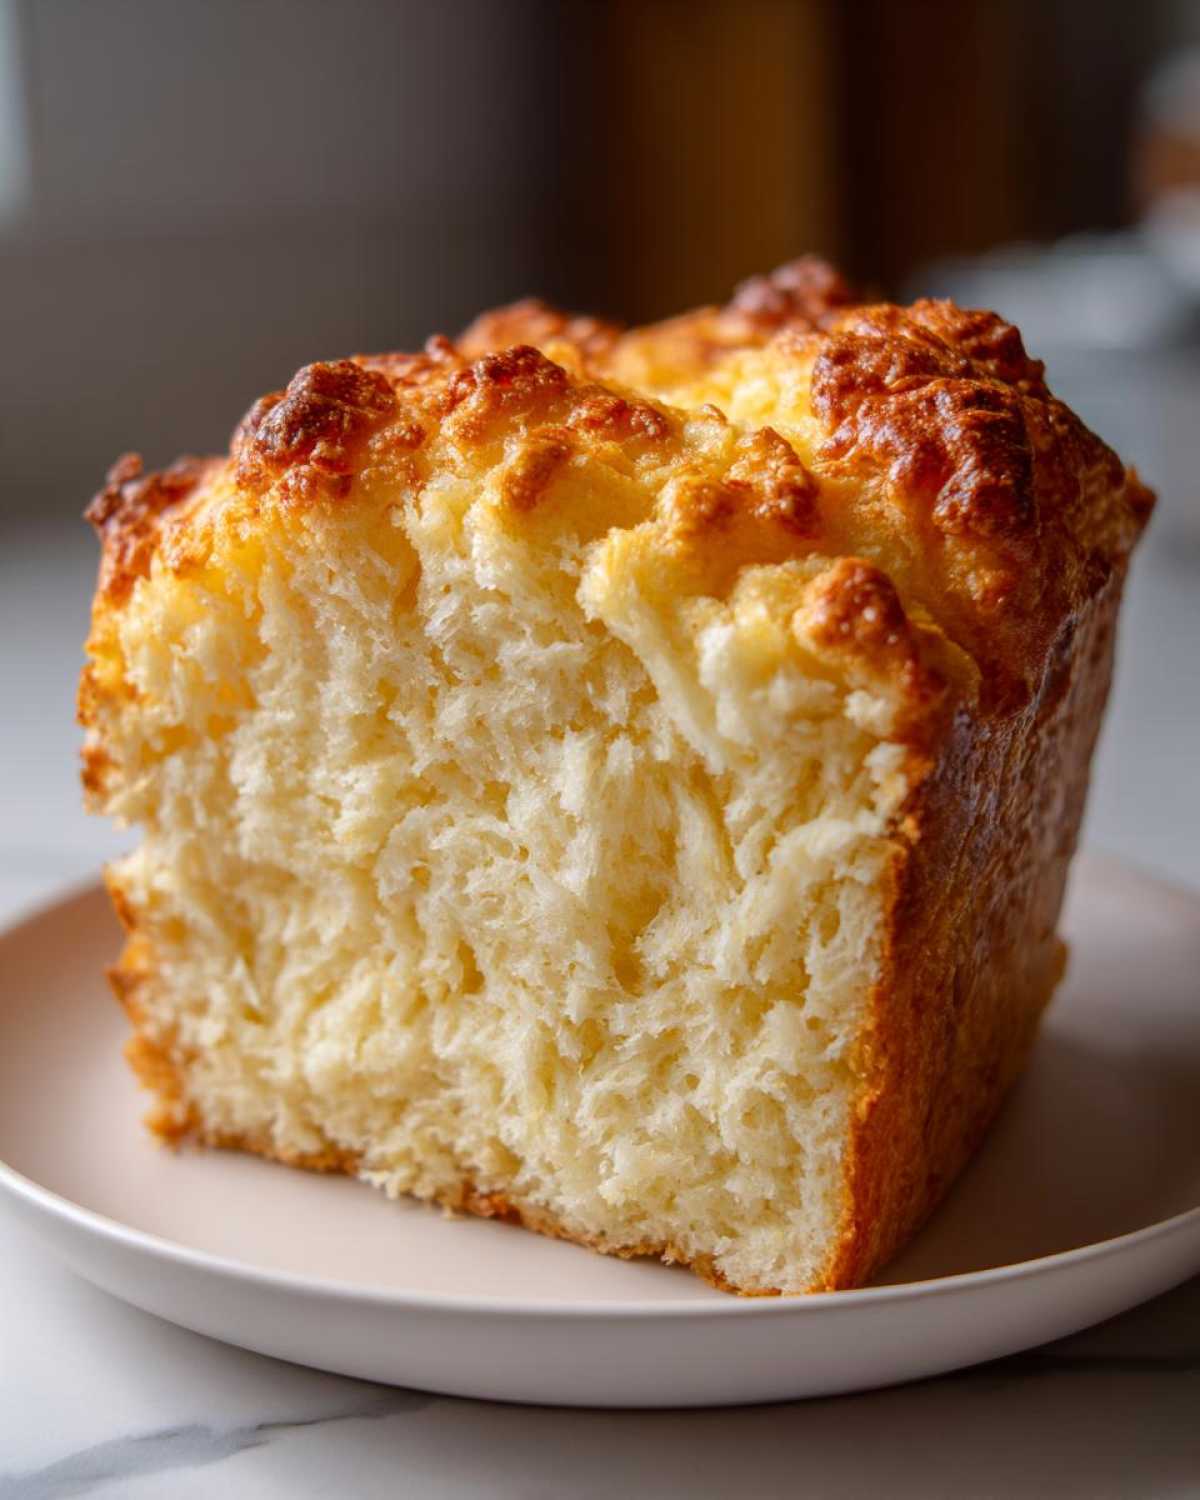
This is my favorite step, and it’s completely crucial for that perfect texture. As soon as that loaf comes out of the oven—while it’s still screaming hot—you grab those four tablespoons of melted butter and paint the top generously. This melts right into the exterior, creating that beautiful, shiny, crispy crust bread experience we all crave in a good beer bread.
Brush it all over, don’t save any! The hot crust absorbs the fat beautifully, guaranteeing that buttery beer bread flavor in every slice. Leave it to cool in the pan for about 10 minutes—just long enough for the sides to firm up a touch—before turning it out onto a wire rack. If you want an easy rescue for sticking later, remember my tips on no-knead bread prepping can sometimes help future loaves!
Tips for Success Making This Quick Bread Recipe
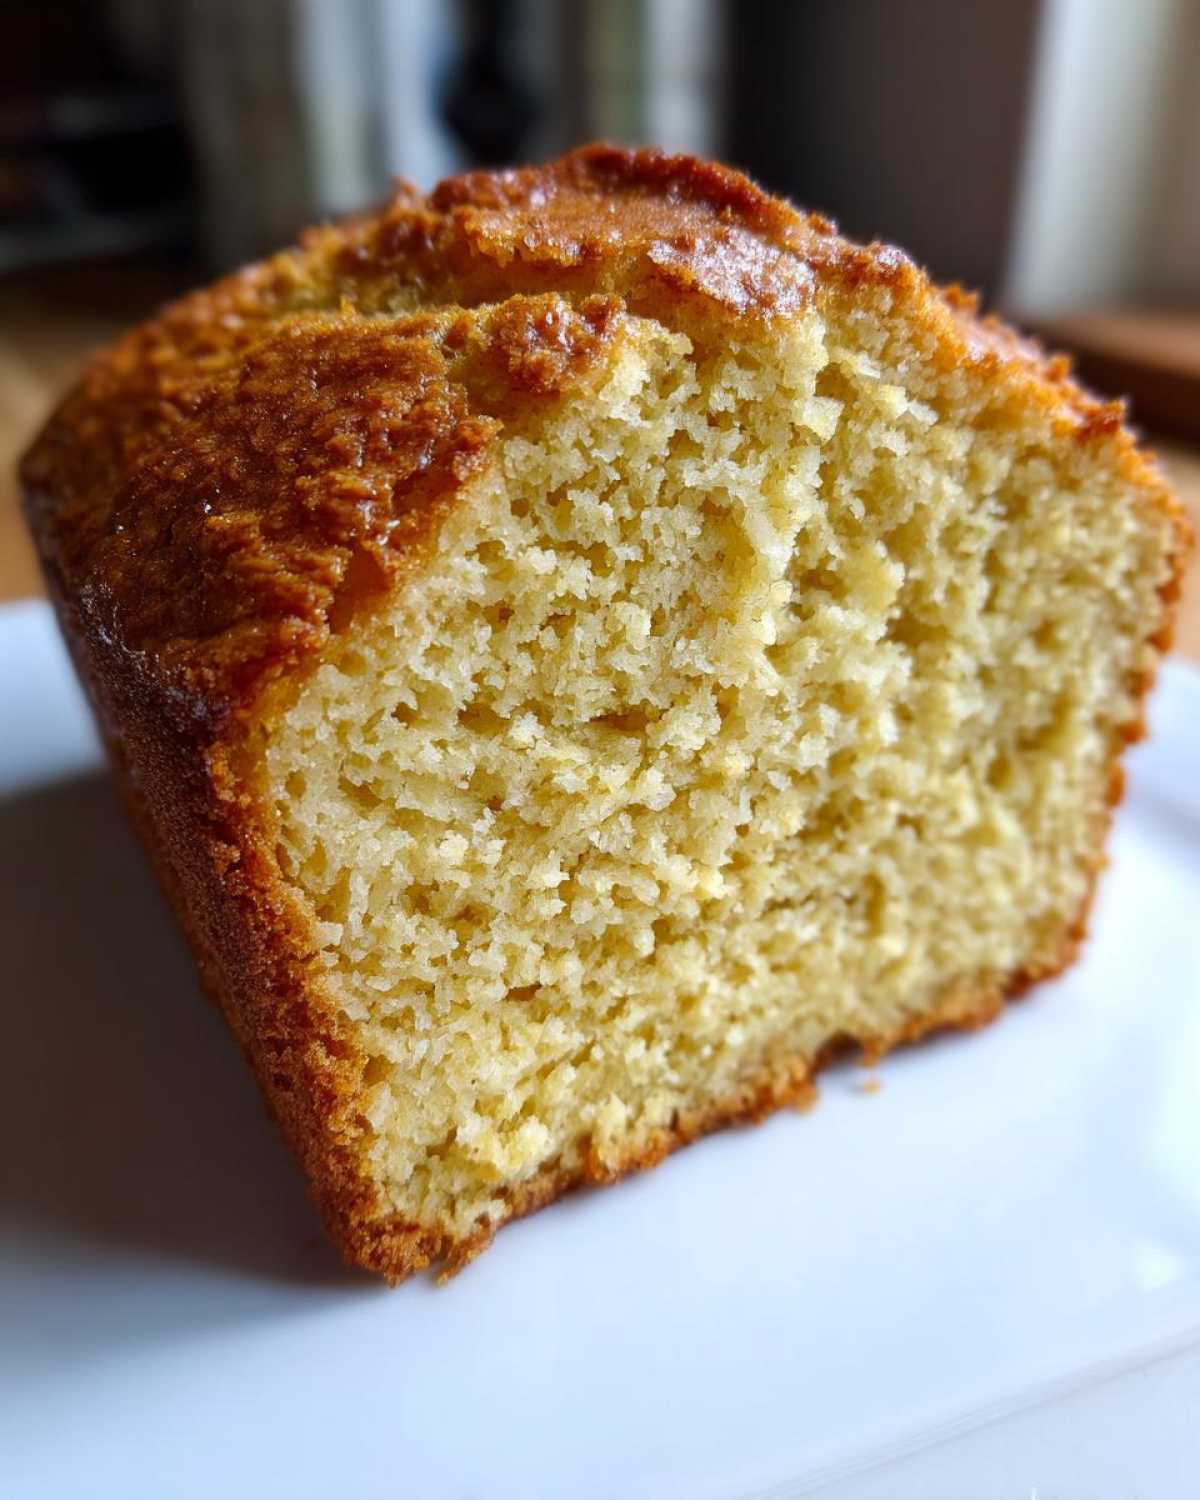
Even though this is a super simple recipe, a couple of quick tips will guarantee you nail that perfect texture every time. The first big one is about checking doneness. A skewer coming out clean is good, but what does ‘clean’ mean in our world? It means moist crumbs clinging to the wood, not wet batter!
If you pull it out too soon, your bread will collapse as it cools, especially since we aren’t using yeast to build structure. When you tap the top gently, it should feel springy and solid, not hollow or jiggly. This loaf absolutely needs that full baking time to set up properly.
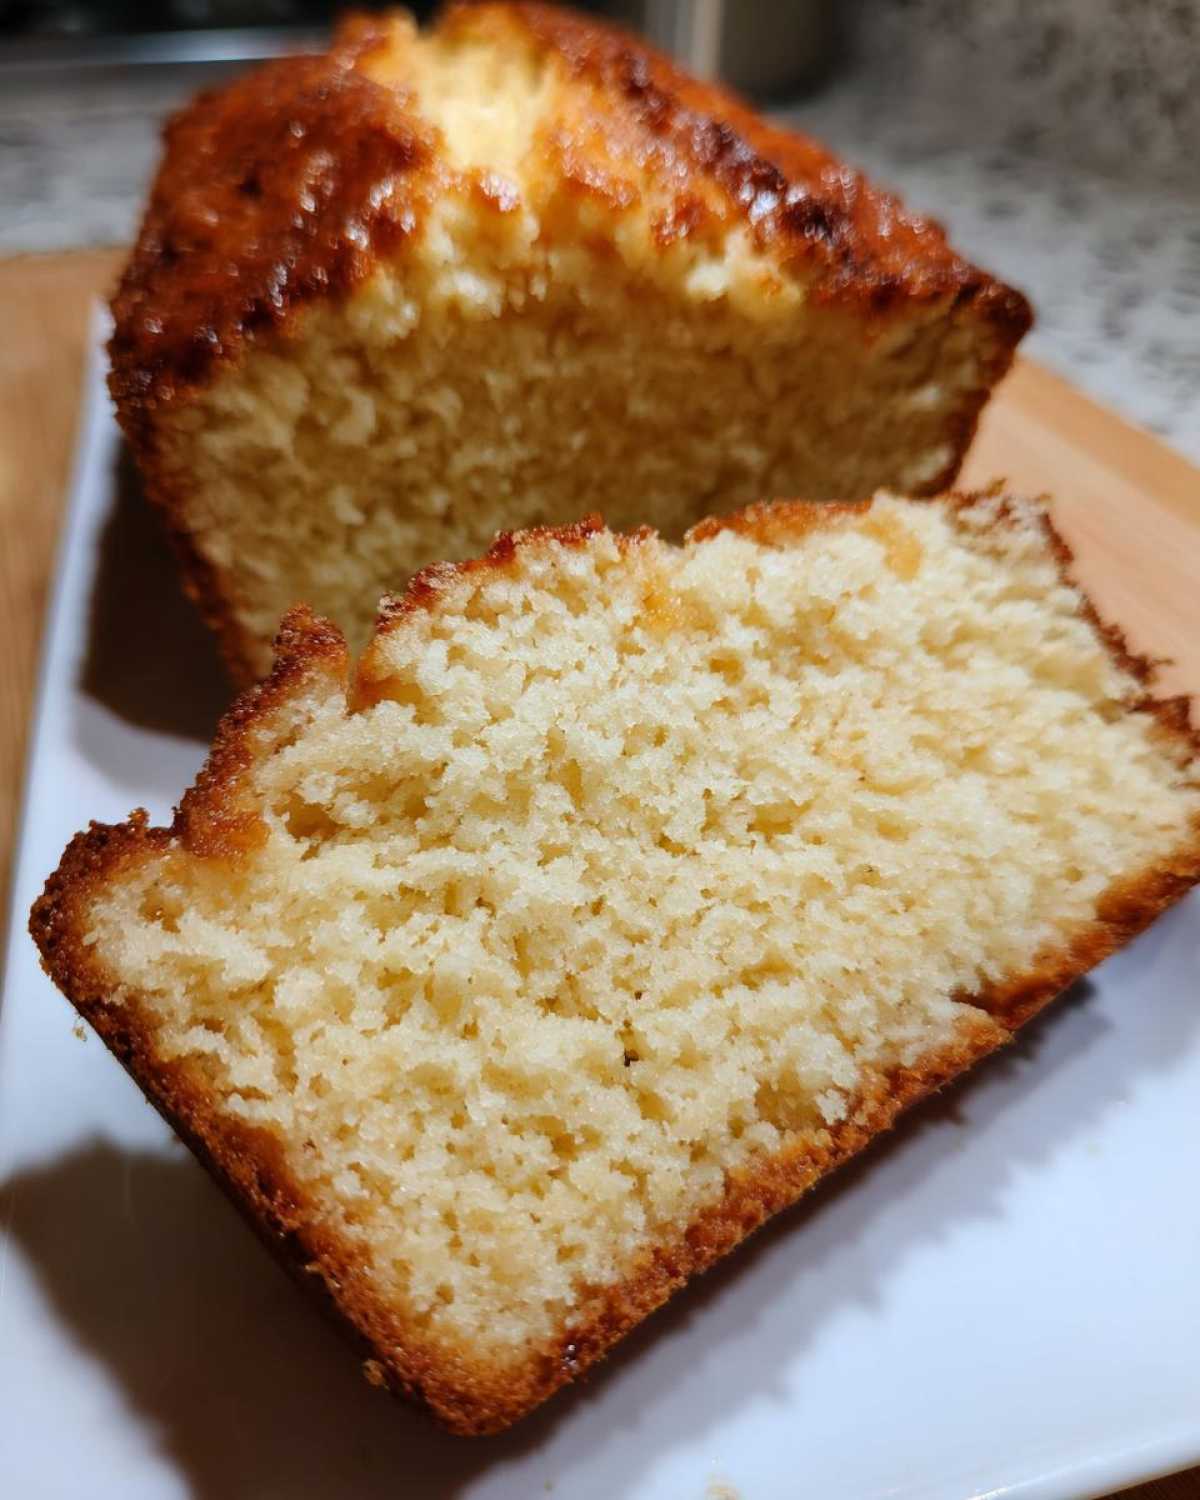
Cooling is key for getting those clean slices for your bread for soup pairings later. Let it rest in the pan for that 10 minutes I mentioned. If you rush it onto the rack, the trapped steam can make the bottom soggy. Keep these quick bread recipes simple, but respect the resting time!
If you want to see other quick fixes I rely on for busy nights, check out some other quick meals over on the blog!
Serving Suggestions for Your Simple Homemade Bread
This buttery beer bread isn’t just delicious on its own; it truly shines when it’s there to complement other heavy hitters on your table. Since this is such a fantastic comfort food side dish, I always plan it when I’m making something hearty that needs a good dunker. Forget fancy dinner rolls; this is what you need!
It is the ultimate bread for soup, hands down. The slightly sweet, slightly savory profile cuts through rich flavors perfectly. I often pair a loaf with my classic cheeseburger soup because dipping that crispy crust into that cheesy broth is just pure heaven. It’s also amazing alongside a bowl of chili, obviously.
When I’m trying to get dinner on the table fast during the week, this simple homemade bread makes the whole meal feel more complete. It stops the main course from tasting too heavy and just rounds everything out beautifully. It’s my favorite weeknight dinner side because it requires zero attention while you finish up your main dish.
And if you’re eating something like my creamy sausage tortellini soup, this beer bread soaks up that broth like a sponge! You won’t regret having this ready to go.
Variations: Turning Simple Beer Bread into Savory Quick Bread
While the basic, slightly sweet loaf is beautiful alongside dinner, I know so many of you are looking for that perfect savory quick bread option. You want something that tastes more like a dinner roll and less like a slightly less sweet cake, right? Good news! Because this base beer bread is so simple, it’s incredibly easy to turn it into a fantastic savory quick bread experience.
The best way to transform this is by skipping the granulated sugar entirely if you’re aiming for full savory mode, or just cutting it way back to maybe a quarter cup. Then, we start adding texture and amazing flavor! Think about what you’d normally put on garlic bread, but mix it right into the batter before baking.
If you love that fluffy texture but want a cheesy kick instead of sweetness, you have to try turning it into a garlic cheese bread variation. I sometimes use this recipe right before a big football game as an appetizer bread!
Heading: Making Garlic Cheddar Beer Bread My Way
This is my favorite upgrade for a savory quick bread. Right before pouring the batter into the pan, gently fold in about one cup of sharp shredded cheddar cheese. Sharp cheddar gives you the best melt and flavor payoff. Then, add one-and-a-half teaspoons of garlic powder and about one teaspoon of dried Italian herbs—oregano and basil are great.
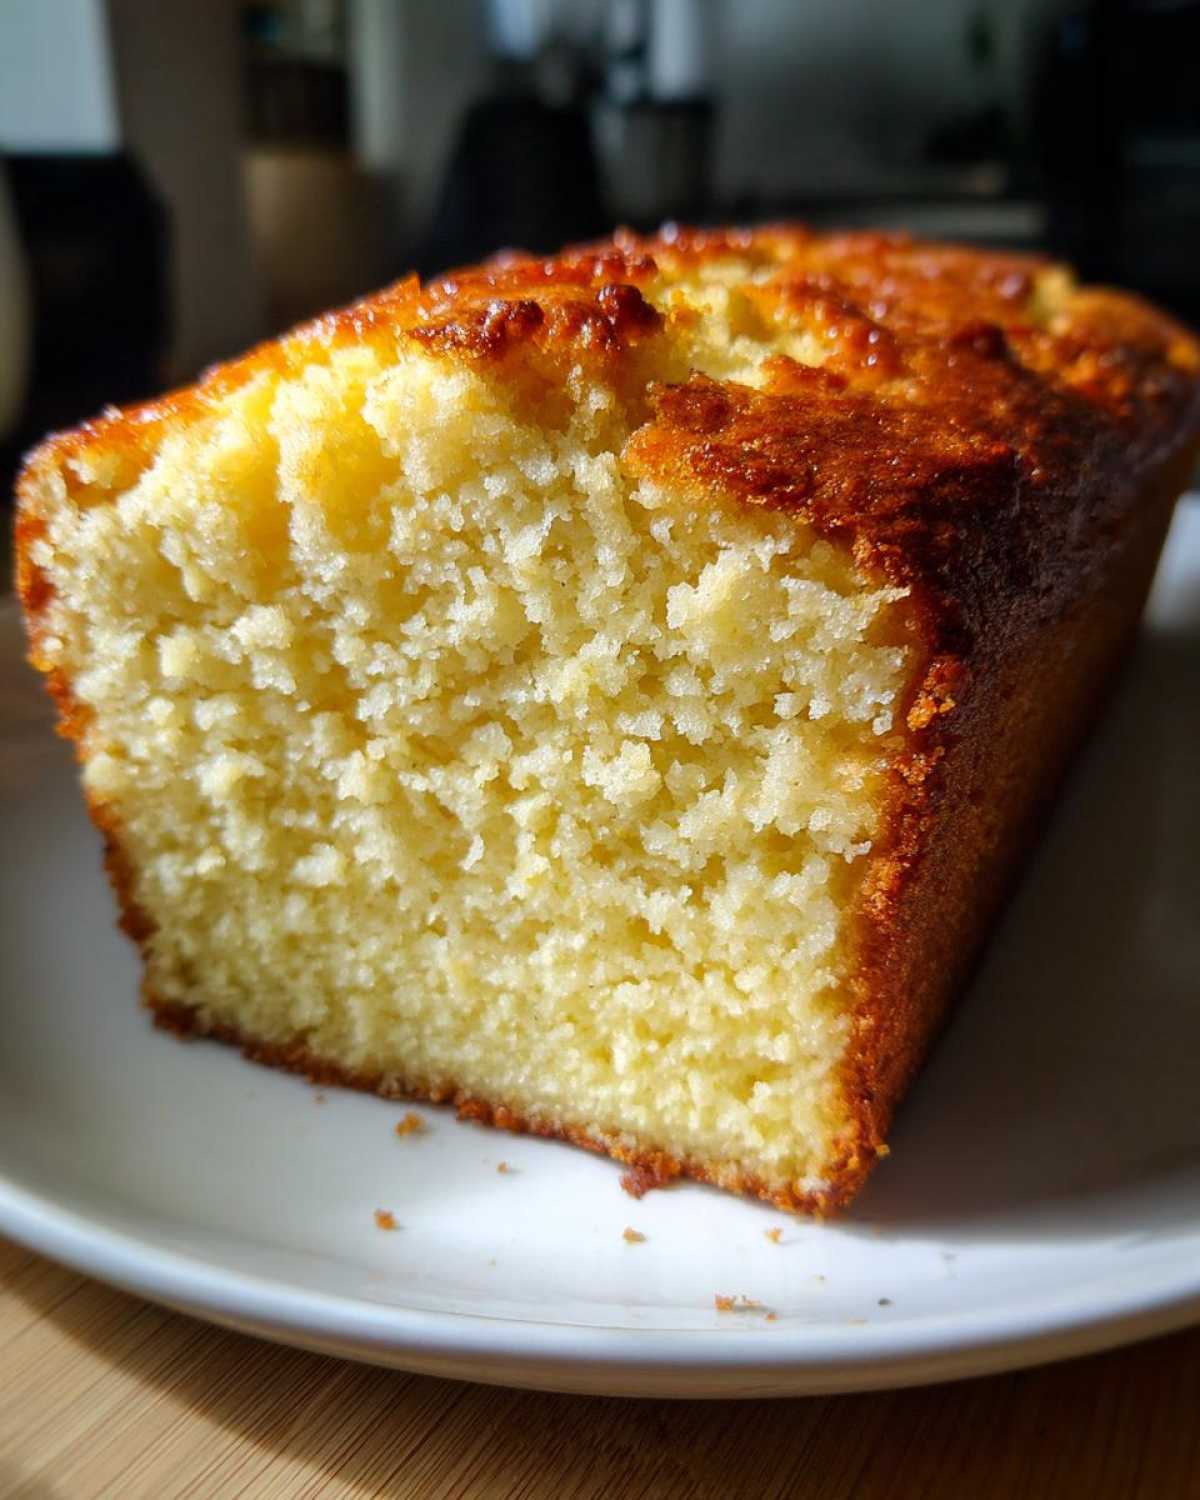
Seriously, just folding those savory ingredients in creates an amazing cheesy bread that’s perfect alongside something like marinara sauce or, of course, chili. If you want another great savory baking adventure, you must try my cheddar and chive savory scones next time you’re baking!
Heading: Herb and Spice Additions for a Loaf That’s Not Sweet
If cheese isn’t your thing, herbs alone can transform this! Try focusing on robust herbs. A solid tablespoon of dried rosemary, minced fresh chives, or even some smoked paprika will move this right out of the dessert category. If you use herbs, totally skip the sugar! This is now a true, honest-to-goodness bread substitution.
Remember that melted butter glaze we brushed on top? For the savory versions, you have to upgrade that too! Melt the butter with one minced clove of garlic and a pinch of salt. Brush that garlicky goodness on the hot loaf instead of plain butter. It makes the crust absolutely unbelievable! It’s so good, it barely needs anything else!