

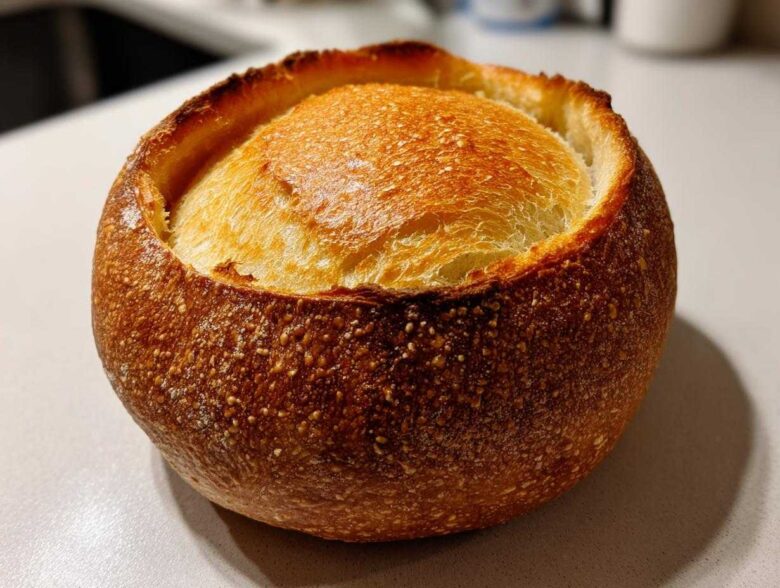
Oh, let’s be real—is there anything better than wrapping your hands around a steaming bowl of creamy potato soup, knowing the container itself is fluffy, warm bread? I swear, it’s the definition of comfort food perfection. After years of trying to replicate those amazing bakery versions, I finally cracked the code. Trust me, making your own bread bowls from scratch is shockingly easy, and the texture you get is unbeatable. We nailed the exterior crunch that keeps the soup from soaking through too fast, while keeping the inside beautifully soft. I spent so many weekends perfecting the rise and the bake time so you don’t have to deal with falling walls!
Why This Easy Bread Bowl Recipe Delivers Soft Bread Bowls From Scratch
Look, store-bought stuff is fine for a pinch, but it never quite measures up to something you make with your own two hands, right? This recipe isn’t just another batch of dough; it’s engineered for success, especially when you need those sturdy bread bowls to stand up to chili night. I learned so much perfecting other loaves, like my favorite garlic butter naan, which helped me understand yeast structure!
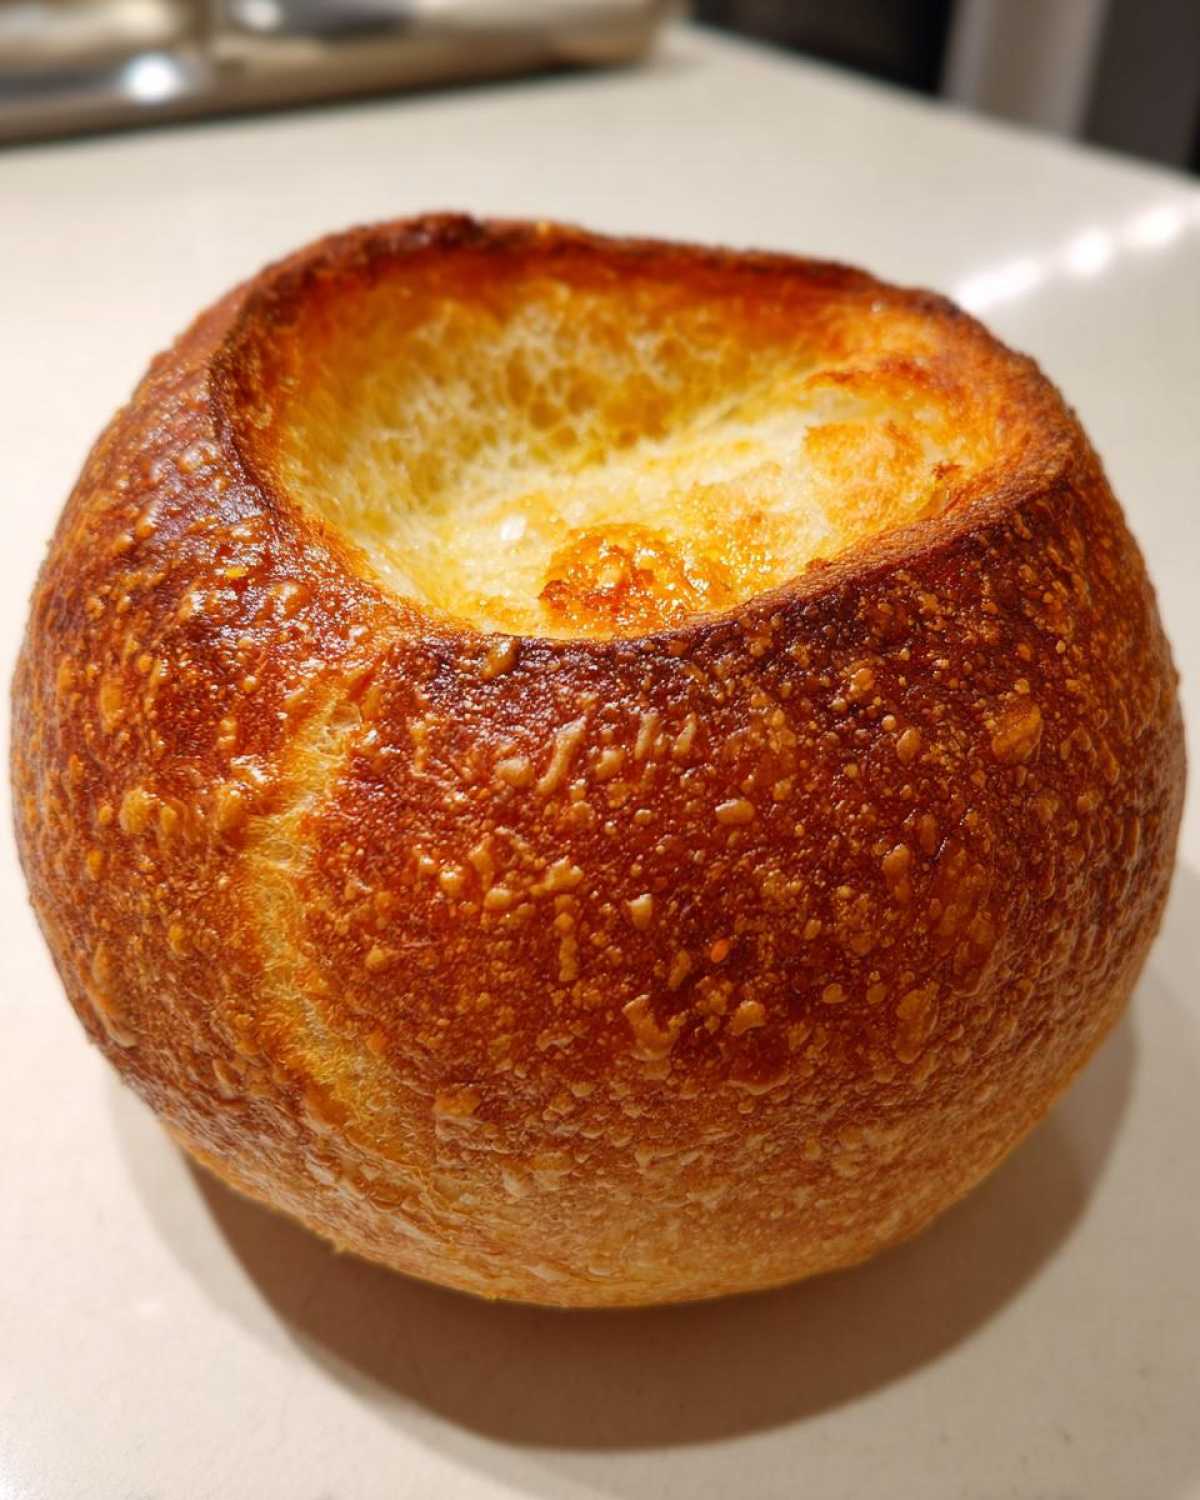
- We get that satisfying deep golden color without burning the edges.
- The interior crumb structure is designed to absorb flavor without dissolving into your chowder within five minutes.
- It’s simpler than you think! I promise, your first attempt will be fantastic.
Achieving the Perfect Crusty Bread Bowls for Soup Texture
The secret weapon for that bakery-quality crunch isn’t in the dough itself—it’s in the oven environment. You absolutely must create steam during the initial bake. If you put a shallow pan of hot water on the bottom rack while the oven preheats, that burst of steam sets the crust immediately. It traps moisture just long enough to encourage a beautiful, thin, and crispy exterior. Trust me, you’ll think you bought these from a professional!
Tips for Soft Bread Bowls From Scratch Interiors
For that dreamy, fluffy inside, it’s all about handling the dough gently after the first rise. We knead it just long enough to get that elasticity, which means good gluten development, but not so long that it toughens up. The key is letting those shaped bread bowls have that final, relaxed rest. That second rise lets the yeast do its final bit of magic, puffing up the loaves so they are tender and light once baked and ready for hollowing.
Ingredients Needed for Baking Perfect Bread Bowls
Okay, getting the ingredient list right is the foundation for any rock-solid recipe, and that’s especially true for anything yeasted. For these amazing bread bowls, we keep things simple, but precision matters, so pay attention to that water temperature! I always lay everything out before I even think about activating the yeast. It just makes the whole process flow smoothly, like following the instructions for making no-knead artisan bread.
- 1 packet active dry yeast (that’s about 2 1/4 teaspoons, don’t eyeball it!)
- 1 teaspoon granulated sugar (just to wake up the yeast)
- 1 cup warm water – and this is key—it needs to be between 105°F to 115°F. Too hot and you kill the yeast, too cold and it sleeps!
- 3 cups all-purpose flour, plus extra for dusting surfaces
- 1 1/2 teaspoons salt (for flavor, obviously!)
- 1 tablespoon unsalted butter, melted (for richness)
- 1 egg white, lightly beaten (mixed with 1 teaspoon of water for the shiny wash)
Step-by-Step: How to Make Bread Bowls
Alright, let’s get that dough moving! Turning these simple ingredients into amazing, edible containers takes a few organized steps, but I promise, you’ll feel like a total pro when you pull these out of the oven. Seriously, watch how quickly this comes together—it’s so much faster than ordering takeout!
Proofing the Yeast and Mixing the Dough for Your Bread Bowls
First things first, we need to wake up that yeast. You’ll mix your yeast, sugar, and that warm water (remember, 105°F to 115°F—check it with your wrist if you don’t have a thermometer!) in a small bowl. Give it like five to ten minutes. If it gets foamy and smells a little bready, you’re good to go! That means your yeast is alive and well. While that’s happening, just whisk your flour and salt together in your big mixing bowl. Then, dump the foamy yeast mixture and that melted butter right into the dry stuff. Mix it with a big wooden spoon until it’s too tough to stir—shaggy dough is what you’re aiming for.
Kneading and First Rise for Ideal Bread Bowls
Time to put some elbow grease into it! Turn that sticky dough out onto a floured counter and start kneading. You need to work it for a good six to eight minutes. This is crucial for developing the structure strong enough for your final bread bowls. When it feels smooth and elastic, place it into an oiled bowl, turn it over so it’s coated, and slap some plastic wrap on top. Stick that somewhere warm—like near the stove—and let it chill out for about an hour and a half, or until it’s doubled in size. Don’t rush this rise!
Shaping and Second Rise: Preparing the Edible Soup Bowls Recipe
Once it’s huge, gently punch the dough down—just deflate it a bit. Now, divide it exactly into four equal pieces. This is where you form your shape! Roll each piece into a super tight, smooth ball. You want them tight so there aren’t any gaps when you bake them. Place these four dough rounds onto a sheet of parchment paper, making sure they have tons of space around them—like three inches! Cover them loosely again and let them rest for just 30 minutes more. This slow rest sets the stage for a perfect artisan bread feel.
Baking Your Crusty Bread Bowls for Soup
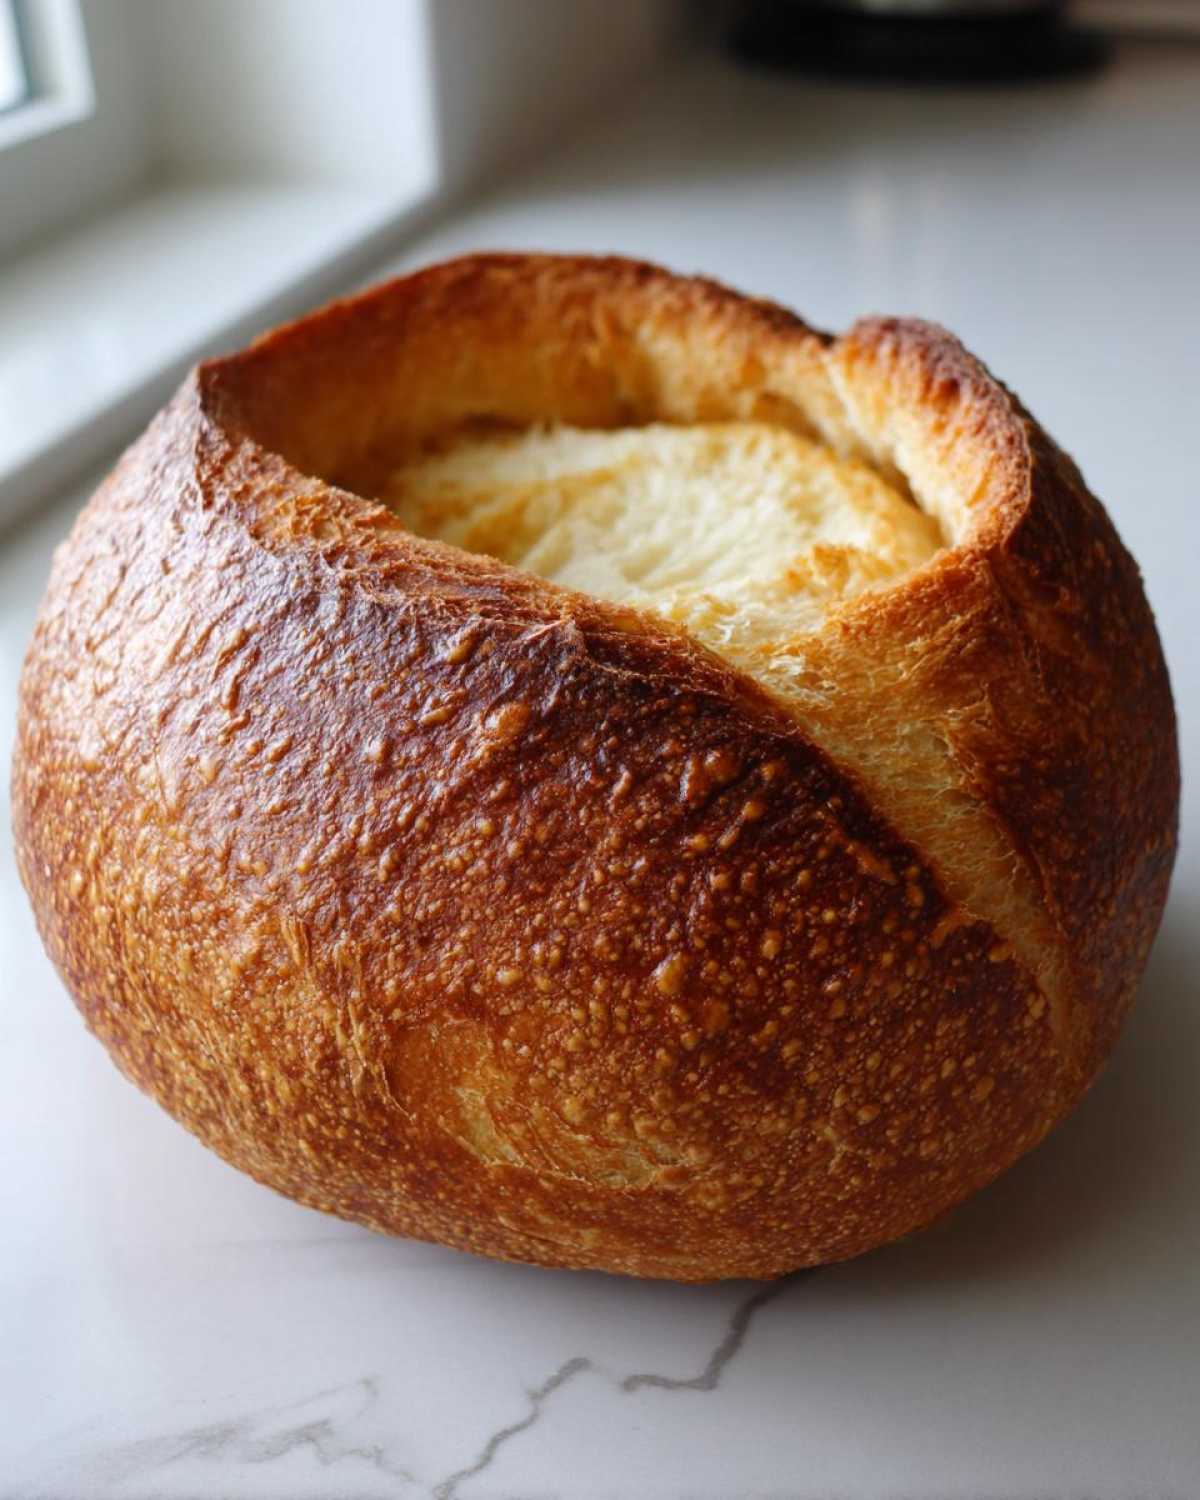
Crank that oven way up to 400°F! While it heats, get your egg white and water ready for the wash—that’s what gives you that professional shine. Brush that mixture all over the tops of your dough balls immediately before they go in. If you remembered to put that shallow pan of water on the bottom rack earlier, you’re set up for maximum crispness! Bake them for 20 to 25 minutes. You’re looking for a deep golden brown color all over. When they look perfect, take those gorgeous bread bowls out and let them cool completely before you even *think* about cutting into them!
Expert Tips for Hollowing Out Your Bread Bowls
Okay, this part feels scary, I know! You’ve baked these magnificent, crusty giants, and now you feel like you are going to ruin them by cutting into them. Don’t panic! This step is what turns a great loaf into amazing bread bowls.
First, you absolutely have to let them cool completely—I mean it. If you try to scoop when they are even slightly warm, the interior just pulls apart messily. Once cool, grab a sharp serrated knife. I always trace a circle on the top, leaving a sturdy three-quarter-inch border all the way around. That border is your structural support!
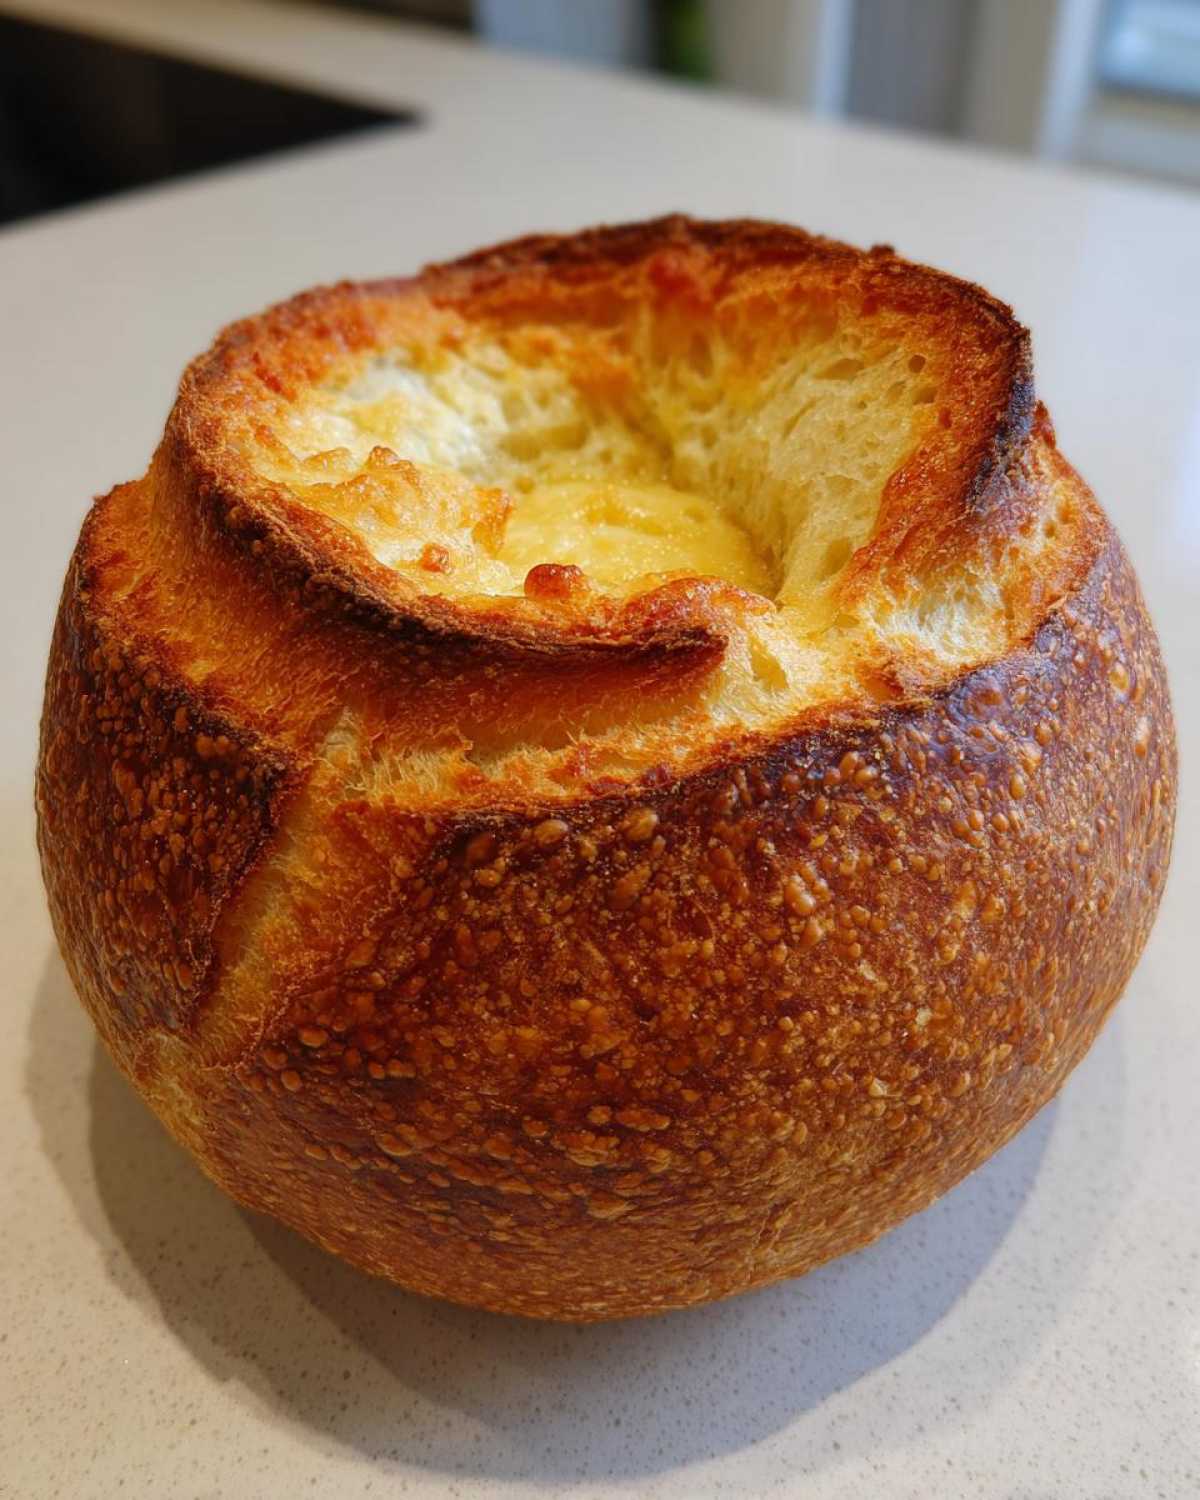
Then, hold the knife at a slight inward angle as you gently scoop out the center bread. Think of it like slowly carving out a boat without breaking the hull. Save every bit of that soft middle because it’s fantastic for dipping into soup or making crumbs, like the ones I use on my potato cakes!
Bread Bowl Dinner Ideas: Filling for Bread Bowls
Since you took the time to bake these gorgeous, sturdy loaves, you deserve the best fillings imaginable! The beauty of homemade is that the structure can handle practically anything you throw at it. Forget that thin, soggy stuff you sometimes get from restaurants—these are ready for the heavy hitters. We’re talking serious bread bowl dinner ideas here.
For the classic comfort experience, nothing beats a thick, creamy potato soup topped with bacon bits and chives. Or maybe you’re leaning toward something smoky? This dough holds up perfectly to a hearty, slow-cooked chili. You get that amazing chew from the bottom slice as you eat your way down!
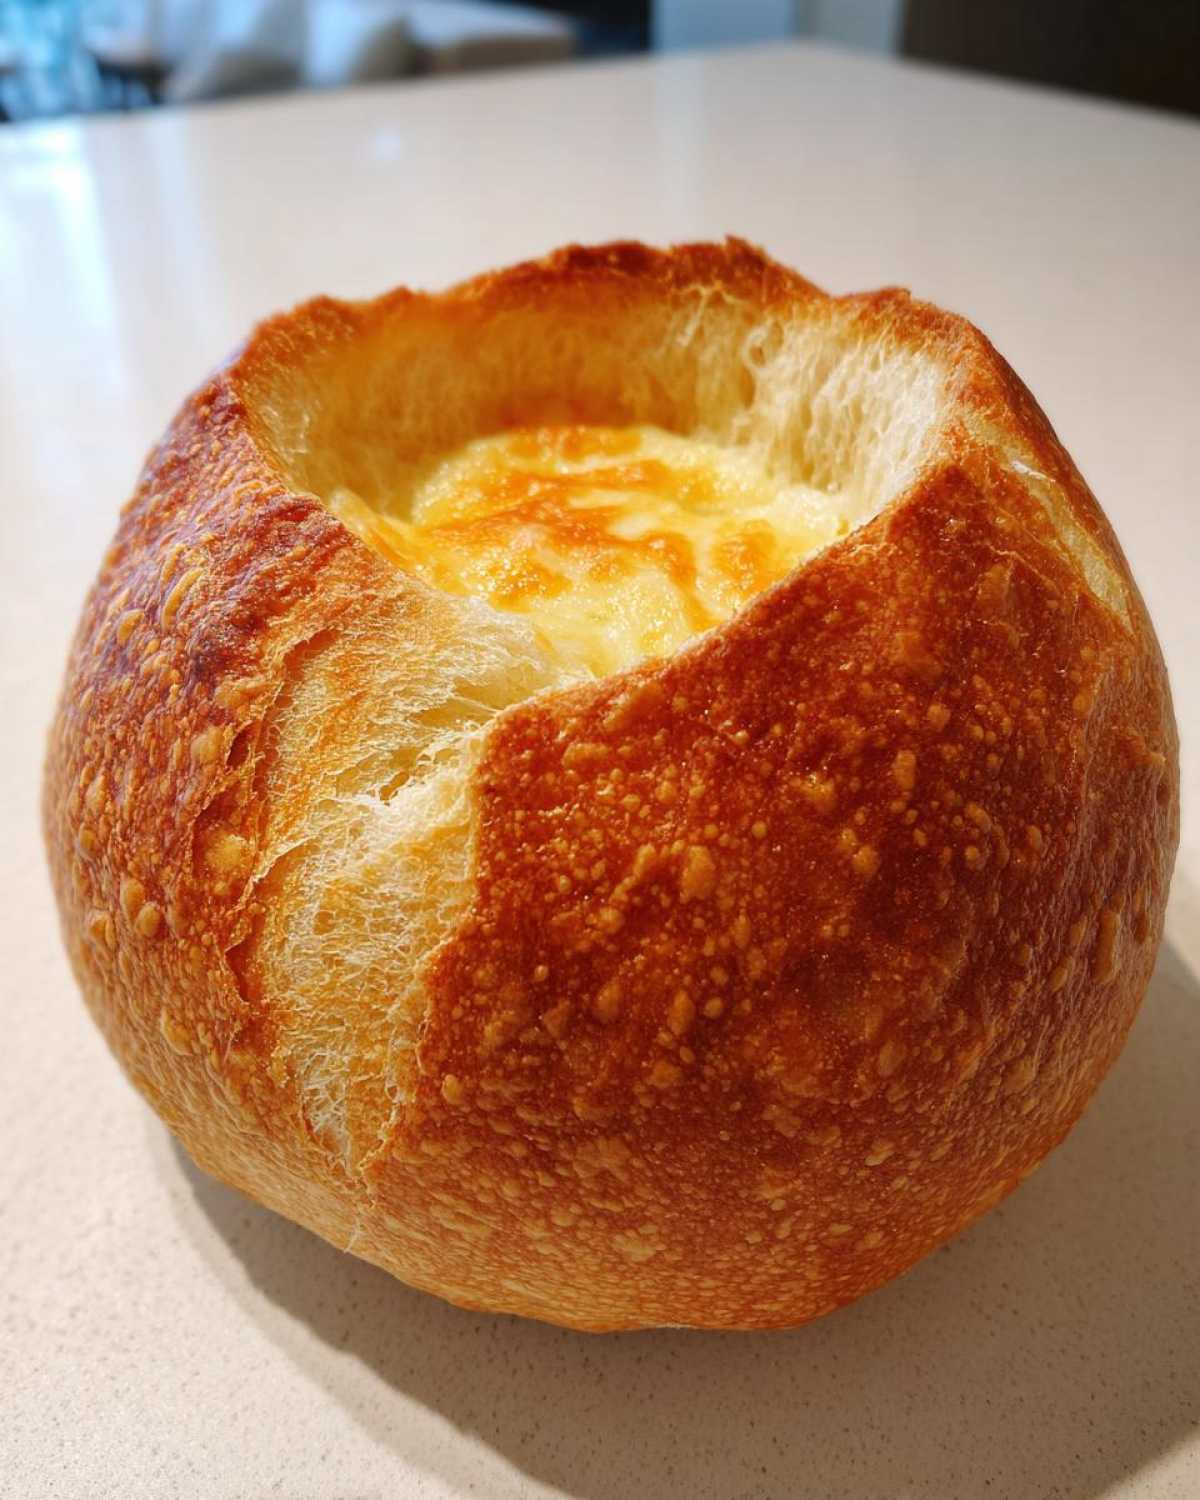
But hey, it doesn’t always have to be soup! I love making these when we have friends over for football Sundays. I’ll hollow out the loaf, leave the top piece near the bowl for dipping, and fill it to the brim with something hot and cheesy. If you’re feeling adventurous, try making a gigantic version of my buffalo chicken dip and serve it warm right in the middle of the table. Seriously, everyone goes crazy for that presentation!
And if you serve my rich cheeseburger soup in these, you’ll never need another vessel again. Remember to save those scooped-out insides—they are the perfect tool for dunking!
Variations: From Panera Style Bread Bowls to Pretzel Bread Bowls Tutorial
So, once you’ve mastered this foundation recipe, you can really start having fun! Everyone asks me how to get that perfect, slightly chewy, uniform look like the famous Panera style bread bowls. Honestly, it comes down to how tightly you shape those balls before the second rise. Really tuck the bottom seam underneath itself to create a smooth, taut surface. That tight skin sets up beautifully in the oven and locks in the soft interior we worked so hard for!
But what if you’re feeling even more adventurous? I had to include the pretzel variation because who doesn’t love that salty, chewy crust? You can actually turn these great **bread bowls** into pretzel versions easily enough. Remember that tip about boiling them? You use a bath of boiling water mixed with baking soda—it’s the baking soda that gives pretzels that signature dark, tangy crust.
You would shape your dough balls exactly as we did before, but instead of moving straight to the egg wash, you carefully drop each ball into that boiling mixture for about 30 seconds per side. Lift it out carefully with a slotted spoon, let the excess water drip off, and *then* apply your egg wash and pop them in the oven as normal. It changes the flavor profile entirely, making them absolutely phenomenal for serving thick, cheesy dips.
If you are feeling like going super rustic, you can also try making a few smaller ones and using them for stuffing during the holidays instead of a giant loaf! That’s another fantastic way to use this dough.
Storing and Reheating Your Homemade Bread Bowls
Now that you have these perfect, crusty golden masterpieces, you have to store them right! They are best eaten the day you bake them, obviously, but if you have leftovers—and you probably will, unless you invite a crowd—you need a plan. Do *not* put these in the fridge! Cold air is the enemy of good bread; it makes the crust stale and the interior tough really fast.
For storage, just wrap them up tightly once they are completely cool. I use beeswax wraps or just pop them into a large, airtight container on the counter. They should stay perfectly good at room temperature for two days. If you tried to make a huge batch, you can totally freeze them too! Just make sure they are completely cool, wrap them tight in plastic wrap, and then foil. They freeze beautifully for up to three months. Don’t forget to save those soft centers too! You can turn them into amazing croutons or crispy toppings for other recipes, like my banana bread crumbs if you get creative!
Reheating is how you bring back that wonderful, oven-fresh experience. If you are just warming up an already hollowed-out bowl, just pop the shell into a 350°F oven for about five to seven minutes. But if you want that crust to sing again, try this:
- If the bowl is whole (not hollowed out), lightly spritz the exterior with water.
- Bake at 375°F for about 8 to 10 minutes. The water turns to steam, and it refreshes that beautiful crackly crust like magic!
If you are reheating a frozen loaf, thaw it on the counter first, then follow those reheating steps. It brings back that lovely chewiness from the day you first made them!
Frequently Asked Questions About Bread Bowls
I know baking prompts a million questions, so I wanted to gather a few of the ones I hear most often about getting these bread bowls just right. If you’ve made it this far, you’re practically a pro, but here are the last few little tricks to ensure perfection!
Can I use quick bread methods for bread bowls?
Oh, that’s a tempting shortcut, but please don’t! If you want something sturdy enough to hold your favorite creamy soup, you really need that yeast. Quick breads, which use baking soda or powder, just don’t develop the strong gluten network that yeast does. Without that strong structure, the moment warm liquid hits the walls of your loaf, it’s going to sag or collapse right into your chowder. Stick with yeast for these, because reliability is key when you’re serving dinner!
How do I get my bread bowls to look exactly like Panera style bread bowls?
That iconic, uniformly round look is all about shaping and the final wash. When you divide your dough into four pieces, make sure you handle each one like you’re tucking in a baby. You want to pull the dough edges underneath itself until you have a very taut, smooth surface on top—that’s the key to preventing funny cracks or weird lumps. Then, about ten minutes before they go in the oven, apply that egg white wash evenly. That wash caramelizes beautifully at the high heat, giving you that perfectly deep, uniform color that screams bakery quality.
What is the best way to store the scooped-out bread from the bread bowls?
What—waste that soft, flavorful bread? Never! That’s the most resourcefulness part of baking, and I try to teach my kids that when we bake our holiday yeast rolls, too. The absolute best thing you can do is turn it into croutons right away. Just toss those bits with a little olive oil, salt, and maybe some dried herbs, and bake them at 350°F until they are completely crunchy. If you can’t use them immediately, pop those crumbs or chunks in a zip-top bag and freeze them. They are perfect for topping salads or even thickening up a roux later on!
Nutritional Estimates for These Homemade Bread Bowls
I always get asked about the details, and I totally understand! Since these are made from scratch with simple ingredients like flour, yeast, and water, you have a good handle on what you’re eating. But remember, these figures are just estimates based on my recipe breakdown, okay? Baking is an art, and if you add extra butter or use different flour, the numbers shift!
But for a standard serving size—that’s one of our gorgeous, sturdy bread bowls—here is what you can generally expect when you look at the raw nutrition from this batch of homemade bread bowls.
- Serving Size: 1 bread bowl
- Calories: Around 300, which is a perfect base for a heavy soup!
- Carbohydrates: About 60 grams
- Protein: A solid 9 grams to keep you feeling full
- Fat: Quite low, generally sticking around 3 grams total fat
- Sugar: Only about 3 grams, mostly from the small bit we use to feed the yeast.
See? Nothing scary here! It’s wholesome bread ready to soak up your favorite creamy soup recipe. You can feel really good about making these for your family!
Share Your Perfect Bread Bowls Creations
Well, we made it to the end! I’m so excited for you to try these. Honestly, making soft bread bowls from scratch is one of those baking projects that just fills the house with the best kitchen smell—it’s pure happiness.
Once you’ve hollowed yours out and filled it with that creamy potato soup or hearty chili you’ve been dreaming about, I absolutely need to know how it went! Did you follow the steam tip for that extra shatteringly good crust? What did you use for your filling? I’m always looking for new comfort food bread recipes inspiration.
Please, if this recipe worked its magic for you, leave me a rating below! Five stars would make my day, but even just hearing about your success—or any little snag you hit along the way—helps me make sure my instructions are crystal clear for the next person.
Snap a picture of your finished creation—especially if you tried the pretzel variation—and share it with me! There’s nothing I love more than seeing my favorite recipes out in the wild. Happy baking, my friend!
PrintEasy Homemade Bread Bowls: The Perfect Soft & Crusty Edible Bowl for Soup, Chili, and Dips
Follow this simple recipe to bake sturdy, flavorful bread bowls with soft interiors and firm crusts, ideal for holding your favorite soups, chilis, or dips.
- Prep Time: 20 min
- Cook Time: 25 min
- Total Time: 1 hour 55 min
- Yield: 4 servings
- Category: Baking
- Method: Baking
- Cuisine: American
- Diet: Vegetarian
Ingredients
- 1 packet active dry yeast (about 2 1/4 teaspoons)
- 1 teaspoon granulated sugar
- 1 cup warm water (105°F to 115°F)
- 3 cups all-purpose flour, plus more for dusting
- 1 1/2 teaspoons salt
- 1 tablespoon unsalted butter, melted
- 1 egg white, lightly beaten (for egg wash)
- 1 teaspoon water (for egg wash)
Instructions
- Activate the yeast: In a small bowl, mix the yeast, sugar, and warm water. Let stand for 5 to 10 minutes until foamy.
- In a large bowl, whisk together 3 cups of flour and the salt.
- Pour the yeast mixture and the melted butter into the dry ingredients. Mix with a wooden spoon until a shaggy dough forms.
- Turn the dough out onto a lightly floured surface. Knead for 6 to 8 minutes until the dough is smooth and elastic.
- Place the dough in a lightly oiled bowl, turning to coat. Cover the bowl with plastic wrap or a clean towel and let it rise in a warm place for 1 to 1.5 hours, or until doubled in size.
- Gently punch down the dough. Divide it into 4 equal pieces. Shape each piece into a tight, round ball.
- Place the dough balls on a baking sheet lined with parchment paper, leaving at least 3 inches between them. Cover loosely and let them rest for a second rise for 30 minutes.
- Preheat your oven to 400°F (200°C).
- In a small bowl, mix the egg white and 1 teaspoon of water to create an egg wash. Brush the tops of the dough balls evenly with the wash.
- Bake for 20 to 25 minutes, or until the bread bowls are deep golden brown.
- Remove the bread bowls from the oven and let them cool completely on a wire rack before hollowing them out.
- To serve, use a serrated knife to cut a circle around the top of each loaf, leaving a sturdy 3/4-inch border. Gently pull out the soft interior bread, leaving the walls intact.
Notes
- For a chewier crust, place a shallow pan of water on the bottom rack of the oven while preheating to create steam.
- If you want a pretzel bread bowl, boil the shaped loaves in a solution of 1 quart water and 1/2 cup baking soda for 30 seconds per side before applying the egg wash and baking.
- Save the scooped-out bread for dipping or making croutons.
Nutrition
- Serving Size: 1 bread bowl
- Calories: 300
- Sugar: 3
- Sodium: 350
- Fat: 3
- Saturated Fat: 1
- Unsaturated Fat: 2
- Trans Fat: 0
- Carbohydrates: 60
- Fiber: 3
- Protein: 9
- Cholesterol: 0