

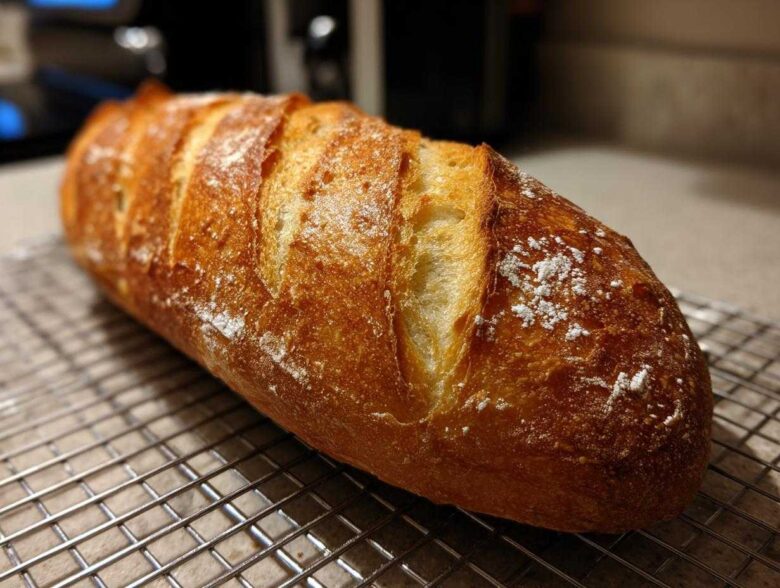
Oh my goodness, you walk into the kitchen five minutes before this bread is done, and that warm, yeasty, slightly caramelized aroma just hits you—it’s the best smell in the world, right? Ethan and I used to think truly crusty Italian bread only happened at a real bakery, but we cracked the code! This recipe proves you don’t need fancy equipment or hours of fuss to get that perfect, golden, crunchy exterior paired with the softest, chewiest inside. When we first started cooking together, I was all intuition and he was all timers; finding this recipe was proof that we could merge our styles. Trust me, if you’ve ever been intimidated by baking, this is the place to start your culinary voyage with us! We built Recipes Fleet on simple successes like this loaf.
Why This Homemade Italian Bread Recipe Works for You
I know bread baking can feel a little scary sometimes, but I promise you, this recipe is your new best friend for Easy Crusty Bread Baking. We designed it specifically so anyone can achieve bakery results without stress. It hits all the major checkpoints you’re looking for!
- It uses basic pantry staples—no weird flours required!
- It requires minimal hands-on time once the dough is mixed.
- It guarantees that satisfying, crunchy shell every single time.
If you’ve been searching for the secret to that ideal Soft Inside Crusty Outside Bread, keep reading. We nail the balance perfectly!
Achieving That Perfect Golden Brown Crust Bread
Okay, the crust is everything, right? The secret weapon here isn’t in the dough—it’s in the oven! We shoot for a high temperature (400°F) and, crucially, we create steam. When you pour that hot water into the lower pan right before baking, it traps moisture in the oven. This steam keeps the outside of the dough flexible long enough to expand fully before hardening. That gives you that beautiful, deep, golden brown crust bread that shatters just a little when you slice it!
The Secret to Soft Inside Crusty Outside Bread
The softness comes from properly developing the gluten, which is why kneading for that 5 to 7 minutes is important. You don’t want cake-soggy bread; you want that beautiful, slightly resistant pull—that’s your Chewy Italian Loaf texture! Then, we let it rest twice. The first rise builds flavor, and the short second rise lets the outside tension set up just right. It’s all about that controlled expansion!
Gathering Ingredients for Your Italian Bread
One of the best things about making this Italian bread at home is that it relies on the essentials—stuff you probably already have sitting in your pantry! There’s no need for specialty equipment or exotic additions here, just good fundamentals. When Ethan and I get started, we lay everything out so we can move fast when things start bubbling. Here is exactly what you need for one perfect loaf!
- 3 1/2 cups all-purpose flour
- 1 1/2 teaspoons salt
- 1 teaspoon granulated sugar
- 2 1/4 teaspoons active dry yeast (that’s one standard packet!)
- 1 1/2 cups warm water (seriously, check that temperature—aim for 105-115°F)
- 2 tablespoons olive oil, plus a little extra for greasing the bowl
Ingredient Notes and Simple Substitutions
Let’s talk quality control, because even simple ingredients matter! For the best texture in your homemade loaf, go ahead and use a standard all-purpose flour. Skip the bread flour this time; the AP flour works perfectly with our kneading time to give you that satisfying chew.
The biggest non-negotiable is that water temperature for your yeast. If it’s lukewarm, your yeast won’t wake up, and your bread won’t rise! If it’s too hot? Well, you just steamed your poor yeast to death. I always keep a little kitchen thermometer handy, just to be sure before I pour. Trust me, nailing that yeast activation is step one for a successful loaf!
Step-by-Step Instructions for Homemade Italian Bread Recipe
Alright, let’s get our hands dusty! This is where the magic really happens, moving from a pile of simple ingredients to a gorgeous, rustic loaf. I know Ethan sometimes gets worried I’m going to forget a step because I get distracted by the wonderful smells, but honestly, this Homemade Italian Bread Recipe is so intuitive once you get started. We’re walking through this together, so take your time on the mixing and kneading phases—that’s where you build the structure for that perfect chewiness. Don’t rush the rising, either; that time is crucial for flavor development. I’m also linking our recipe for garlic butter naan bread if you want another fun bread adventure after this one!
Activating the Yeast and Mixing the Italian Bread Dough
First things first, we wake up the yeast! In a small bowl, mix that 2 1/4 teaspoons of yeast right into your warm water (remember, 105° to 115°F!) along with that little bit of sugar. Whisk it gently and wait about five minutes. If you see foam or bubbles—hello, activation!—you’re good to go. If nothing happens, your water was too hot or too cold, and you need to start that step over with new yeast, okay? Don’t panic!
Next, grab your big bowl with the flour and salt, pour in the yeast water and the olive oil, and mix it all up with a sturdy spoon. Don’t try to make it perfect yet! We stop mixing when it just starts looking like a messy, wet clump—that’s what we call a “shaggy dough.” Perfect!
Kneading and the First Rise for Your Chewy Italian Loaf
Now comes the fun part! Dump that shaggy dough onto a lightly floured surface. You need to get in there and knead it for about 5 to 7 minutes until it feels smooth and snaps back when you poke it gently. This develops the gluten needed for that gorgeous, Chewy Italian Loaf texture. Once it’s smooth, lightly oil a clean bowl, pop the dough in, turn it around so it’s coated, and cover it up. Find a warm, draft-free corner in your kitchen—maybe near the stove or in a slightly warm, turned-off oven—and let it relax for an hour to an hour and a half until it’s totally doubled. Patience pays off here!
Shaping and Creating Steam for Bakery Style Italian Loaf
Once it’s doubled, gently punch the air out—it feels so satisfying! Now, shape it gently into a long oval. Think classic loaf, not skinny baguette. Place that shaped dough on a baking sheet covered in parchment paper. Cover it loosely again and let it sit for its second, short rest for about 30 minutes while you get the oven roaring hot to 400°F. Remember that shallow pan we talked about? Put it on the bottom rack while it preheats.
Right before it goes in, take a super sharp knife—be careful!—and make two or three diagonal cuts across the top. This is called slashing, and it helps control where the loaf expands. Then, the big finale for that Bakery Style Italian Loaf crust: carefully pour a cup of boiling water into that bottom pan and quickly shut the door. Go, go, go!
Tips for Perfect Artisan Bread at Home
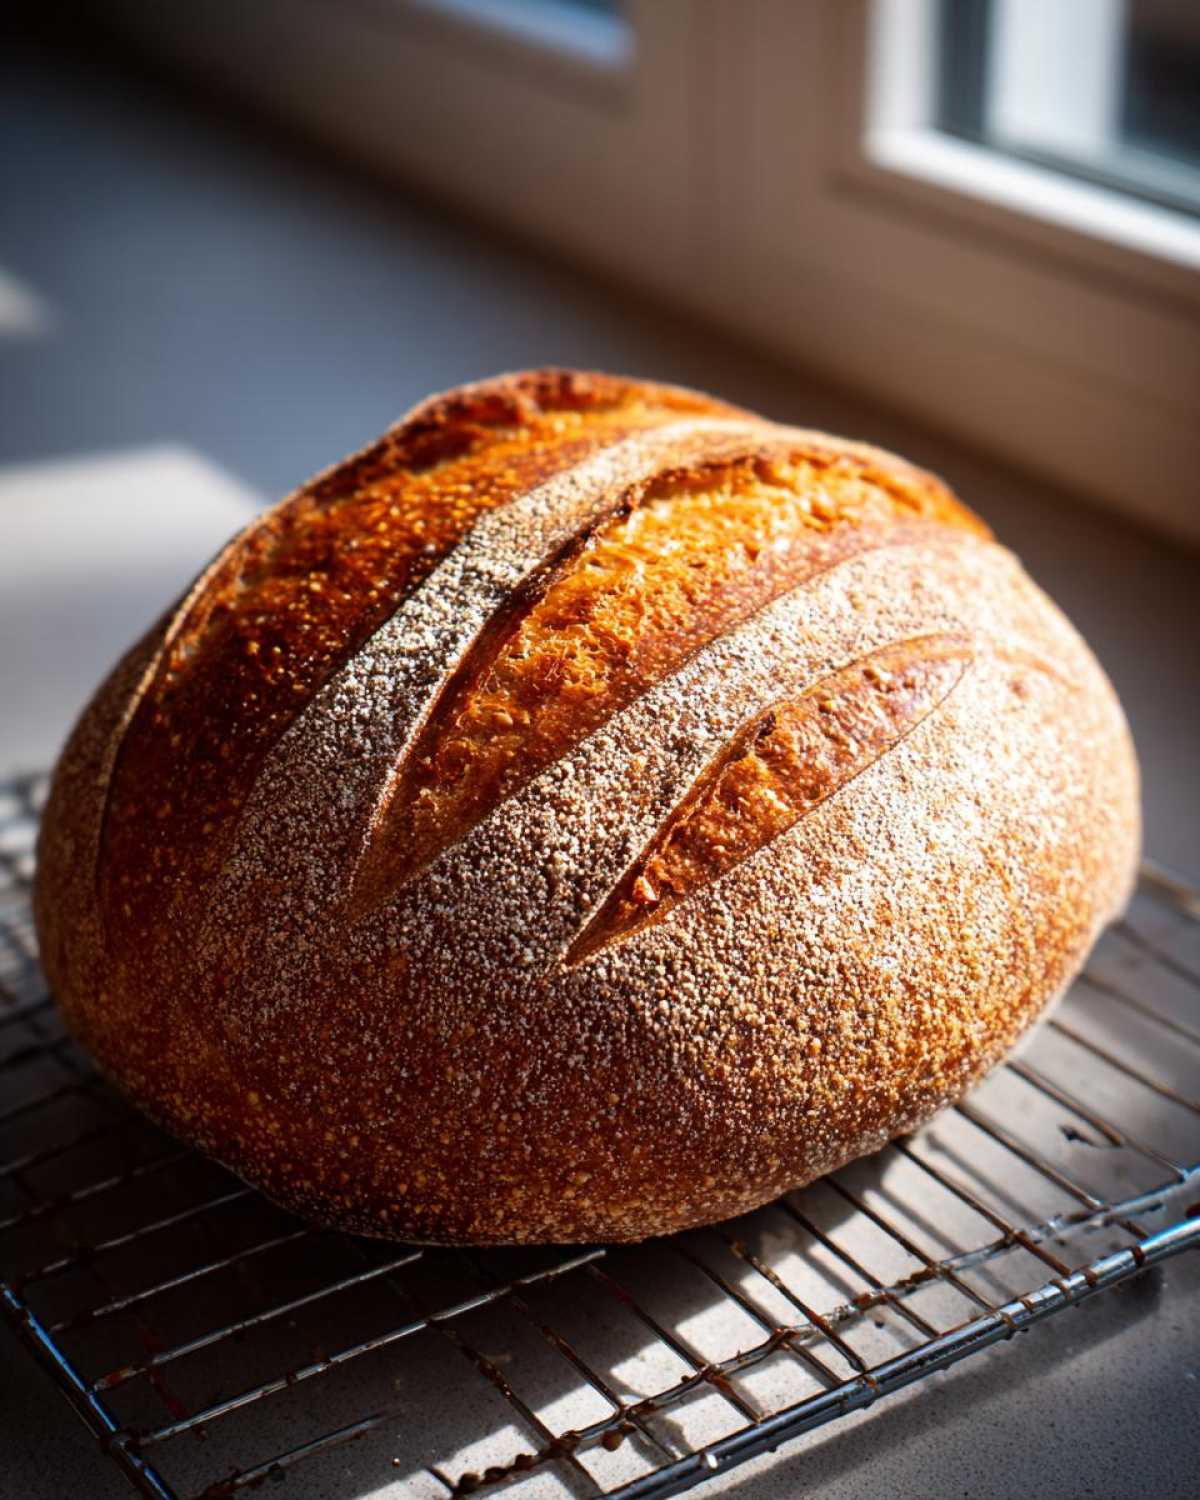
Even though this is an easy recipe, putting in a tiny bit of extra effort right at the end makes the difference between good bread and incredible, Artisan Bread at Home bread. Ethan laughs because I get really bossy about these last few steps, but honestly, they are what give you that professional snap in the crust. If you want to take your loaf over the top and really impress people, try these tricks!
The very first thing you must do is listen for the hollow sound. When the bread comes out and it sounds deep and empty when you tap the bottom, that’s when you know the moisture cooked out properly and the crust is set. If it sounds dull, put it back in for five more minutes. Don’t pull it early!
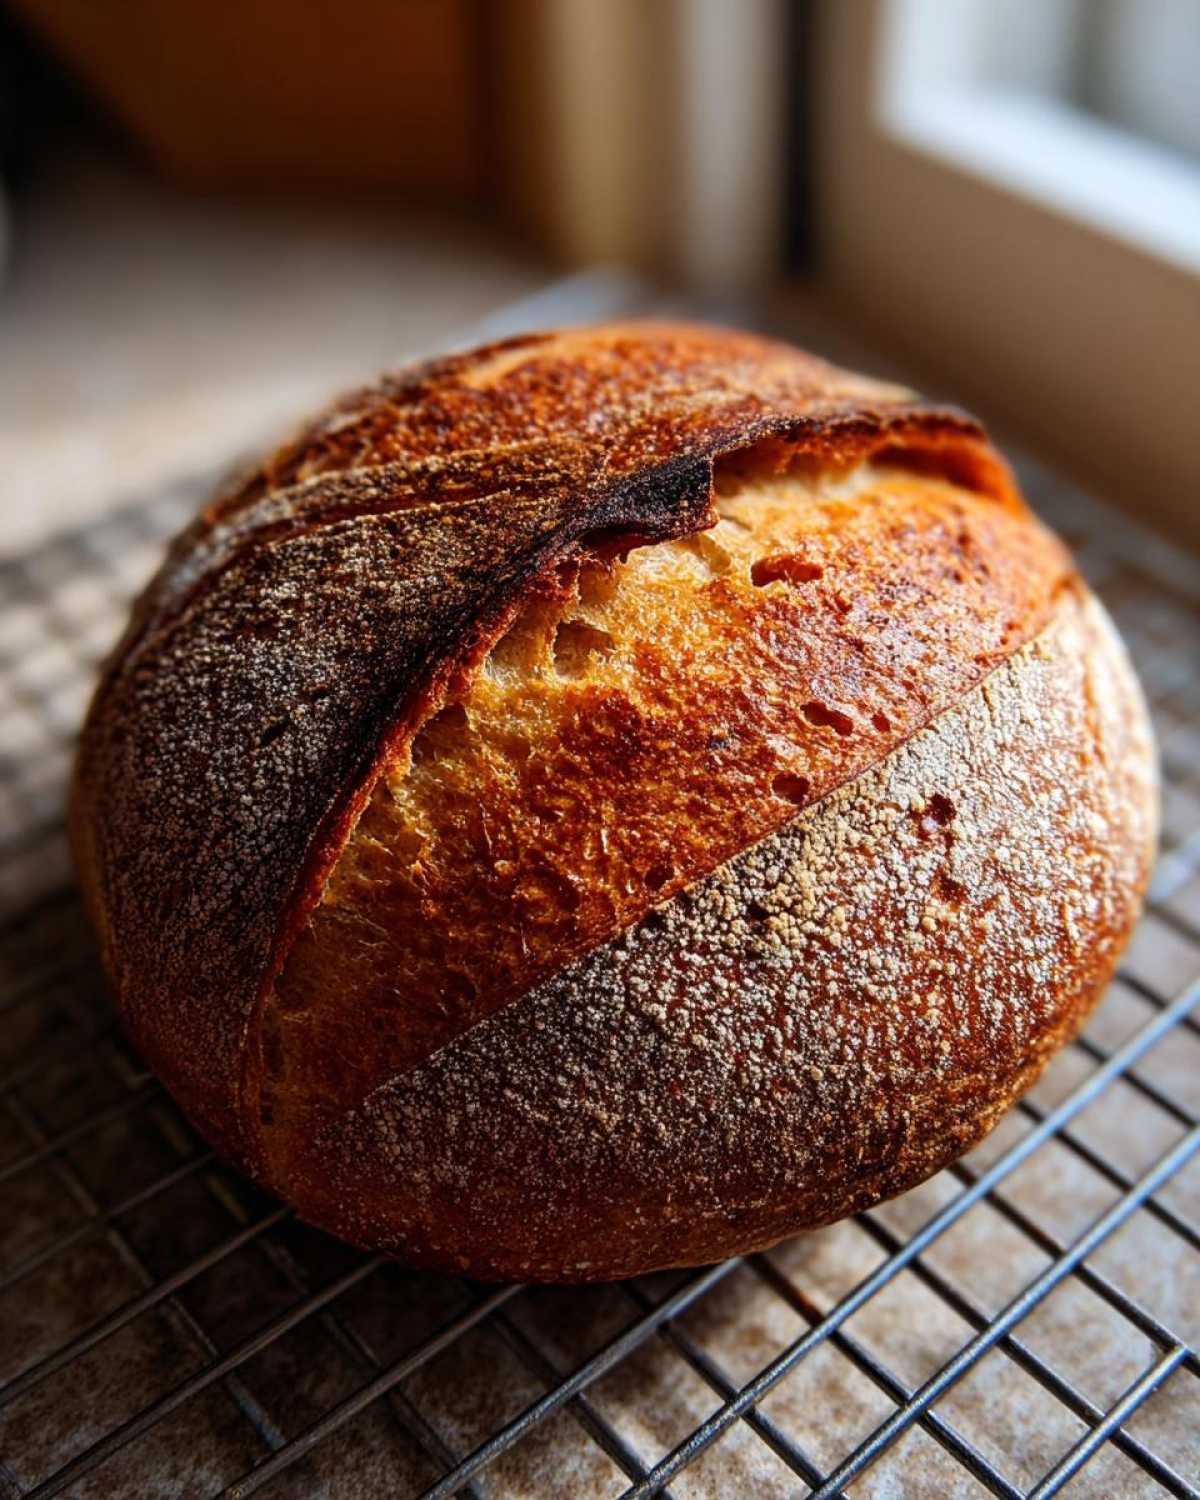
Now, about that ultra-crispy crust! My tip is to embrace the water spray. For the first 10 minutes of baking, grab a water bottle—a clean one, please!—and quickly spray the sides of the oven chamber 2 or 3 times. Don’t spray the bread directly, just the walls. This reintroduces fresh steam into the oven, which keeps that beautiful exterior soft enough to puff right up before it hardens into that perfect, shatteringly crisp shell. I found this trick years ago when reading about professional baking techniques, and it just works wonders for achieving that crispy finish outside. You can read more about achieving that perfect crust from some of my favorite bakers!
Also, cooling is NOT optional. Seriously, don’t cut into it while it is hot! That bread is still cooking internally. If you slice it right away, the steam rushes out, and you end up with dense, gummy spots. Get it on a wire rack immediately so air can circulate all around it. Wait at least an hour if you can stand it—your patience will be rewarded with the perfect texture inside.
Serving Suggestions for Your Fresh Baked Bread Aromas
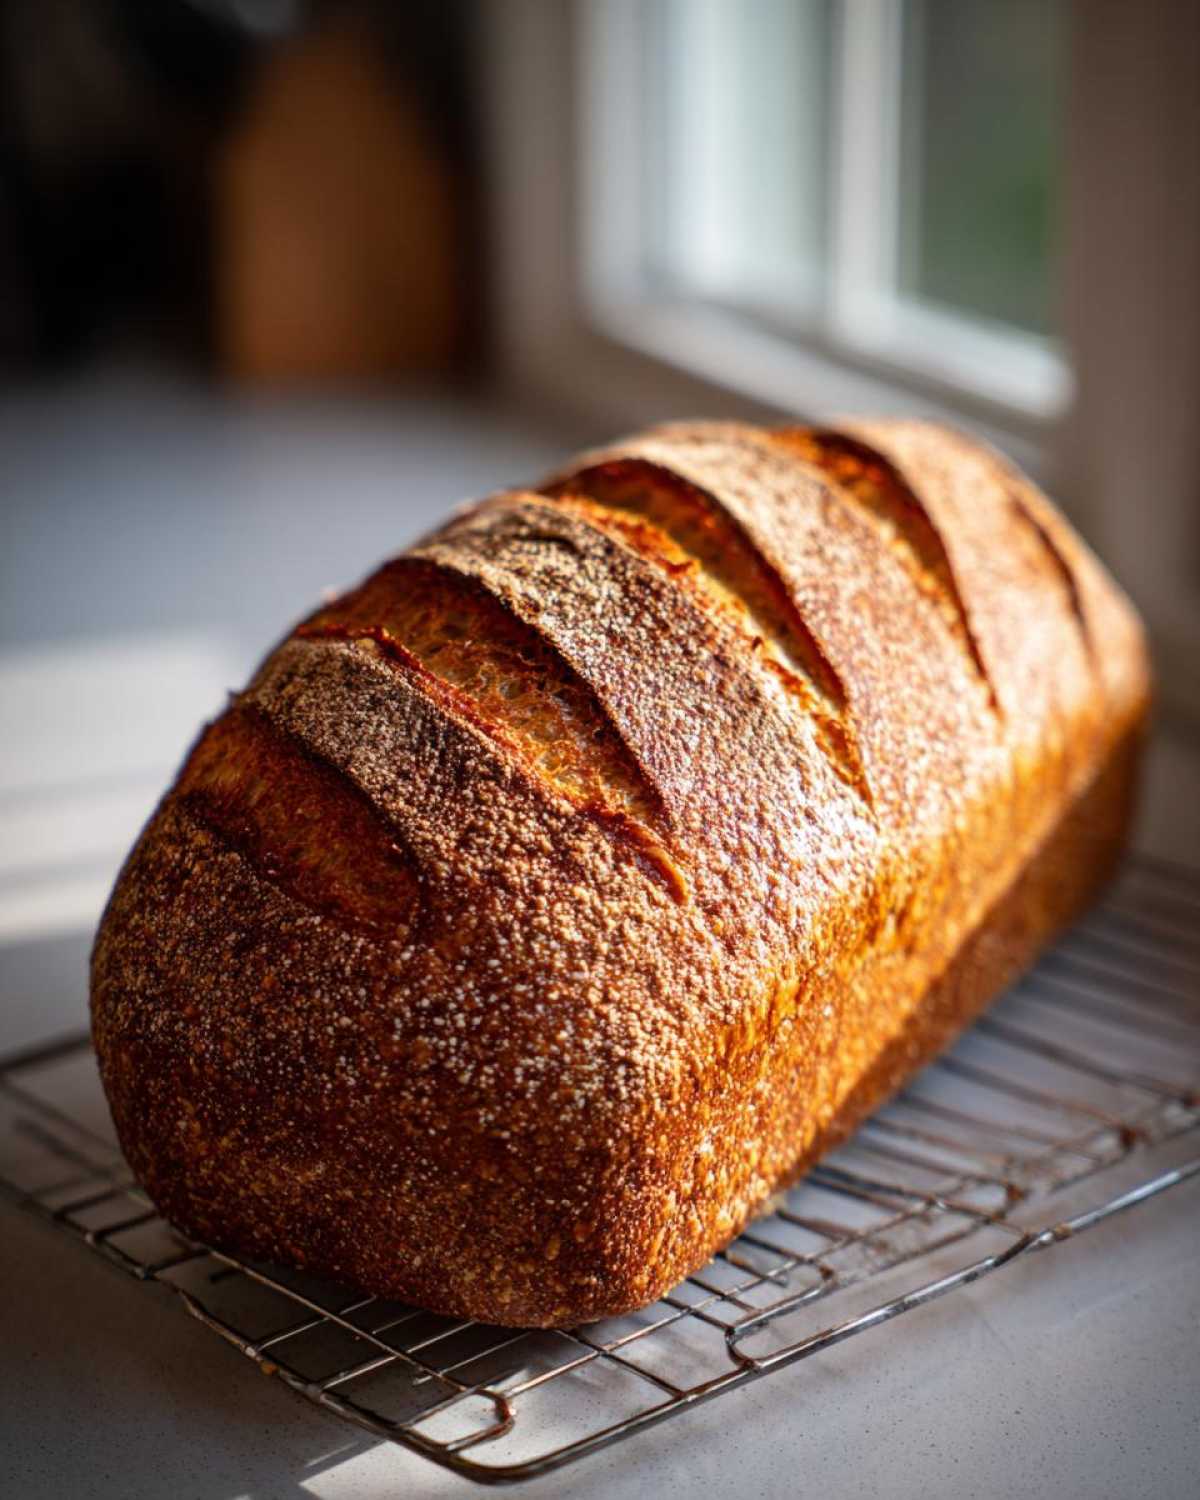
Doesn’t that smell just make you instantly hungry? The aroma of fresh Italian bread baking is unmatched, and honestly, I could eat this loaf plain before I even slice it! But because we want to maximize the joy this bread brings, we have a few favorite ways to serve it up for our dinner table. It’s a fantastic base for all sorts of things, though Ethan defaults to the simplest options.
If we’ve made a big pot of marinara or soup, this loaf is mandatory for soaking up every last drop—it makes for the best Dipping Bread Recipes experience ever. We often have it as our Dinner Side Bread Recipes staple. But my personal favorite is slicing it thick, brushing it with olive oil (you have to check out our killer garlic-herb dip recipe!), and toasting it lightly for thick-cut sandwiches the next day. Nothing beats that.
Storage and Reheating Instructions for Leftover Italian Bread
So, you might have a little bit of this amazing Italian bread left over—and trust me, that’s a good problem to have! But that crispy crust we worked so hard for? It can get a little sad sitting on the counter overnight. We’ve all been there, right? The key to keeping this bread nice is letting it cool completely before you even think about wrapping it up.
Once completely cool, you need to protect it, but not completely suffocate it. If you wrap it tightly in plastic wrap, the moisture that tries to escape will just condense and make the crust soggy. No thank you! I prefer using a clean kitchen towel and placing the loaf inside a paper bag before putting it in. That seems to offer the perfect balance—it keeps the interior soft while protecting the crust from drying out too quickly. Store it right on the counter, not in the fridge! Cold temperatures actually make bread go stale faster.
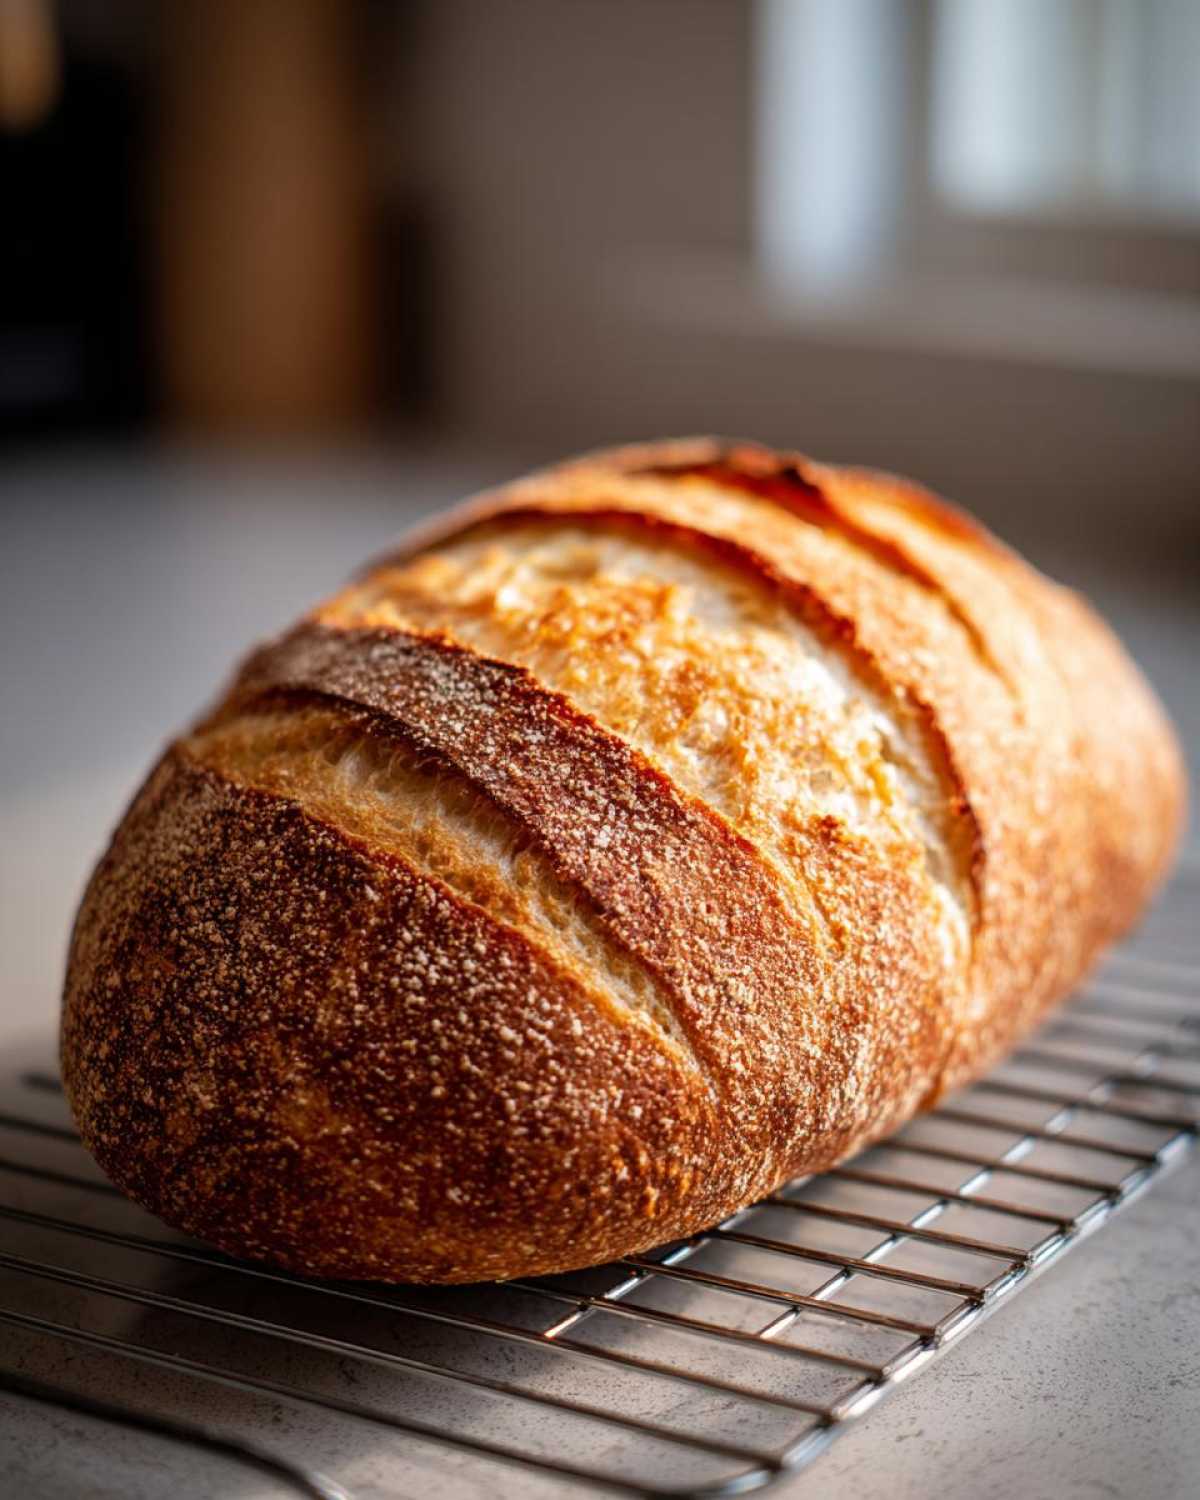
Now for reheating, because reheating soft bread is just sad. If you want that glorious, bakery-fresh snap back, this is what you do: Preheat your oven to about 350°F (175°C). Pop the entire loaf—or just the slices you need—directly onto the oven rack. Bake it for about 5 to 7 minutes. That quick blast of dry heat re-evaporates any surface moisture and brings that crackly, golden shell right back to life. It smells amazing all over again, too! That little bit of effort makes a huge difference when you’re serving it alongside dinner the next night.
Frequently Asked Questions About Making Italian Bread
I gathered up some of the questions Ethan and I always get asked when people try this recipe for the first time. Don’t worry if you’re new to this; we’ve all started somewhere! This quick rundown should help smooth out any bumps in your bread baking adventure.
Can I make this Italian bread recipe without kneading?
That’s the million-dollar question for everyone trying to get into Beginner Bread Making! For this specific loaf, I really, really recommend you knead it for those 5 to 7 minutes, even though it feels like a lot of work. Why? Because kneading builds the gluten structure necessary to hold up to that high heat and steam we use for the crust. If you skip it entirely, you won’t get that satisfying, chewy interior; you’ll end up with something more like a flatbread or a dense brick, not a true loaf!
If you absolutely cannot knead, you can try a ‘Stretch and Fold’ method—where you gently stretch the dough every 30 minutes for two hours instead of kneading all at once. But honestly, for the best Italian bread results, a short knead is your ticket!
How long does it take to make this Italian bread if I speed up the rise?
Oh, I totally get the need for a Quick Italian Bread Tutorial sometimes when company is coming over! The recipe lists about 2 hours 25 minutes total, but that is based on a standard room temperature. You can definitely speed up that first rise by making your environment warmer. Place the covered bowl inside an oven that’s preheated to its lowest setting, then immediately turn the oven OFF. The residual heat is usually perfect for getting that dough to double in about 45 minutes instead of an hour.
However, you cannot rush the second rise or the baking time. The second rest is important for the dough to relax before baking, and cutting the 30 minutes short might mean your crust cracks awkwardly. And please, never rush the cooling! That golden brown crust bread needs time on the rack to set its texture.
Estimated Nutritional Data for This Simple Sandwich Bread
So, you’ve made this incredible loaf of Italian bread, and now you’re probably wondering how it fits into the daily rotation. I like to keep things transparent around here, so while Ethan handles the precise measurements for baking, I handle the layout of this information. Keep in mind that since this is a homemade recipe using basic ingredients, these numbers are just great estimates based on the flour, oil, and yeast we used. They are meant to give you a general idea, not exact medical facts!
We calculated this based on yielding one large loaf, cut into roughly 12 good-sized slices of this Simple Sandwich Bread. Because we use olive oil instead of heavy shortening, the fat content is pretty reasonable, and there’s practically no sugar hiding in here!
- Serving Size: 1 slice (Approx. 1/12th of loaf)
- Calories: 150
- Fat: 2g
- Saturated Fat: 0.3g
- Carbohydrates: 30g
- Protein: 5g
- Fiber: 1.5g
- Sodium: 280mg
- Cholesterol: 0mg
A quick note, because I know you all appreciate honesty: these are estimates! If you swap out the olive oil for melted butter, those numbers will change a bit, naturally. But for a rustic, **crusty outside, soft inside bread** like this, these figures are fantastic. Enjoy that slice warm with some soup—that’s what counts!
Share Your Masterpiece Italian Bread Creation
Now for the best part: watching you all bring this fantastic bread into your own kitchens! Seriously, there is nothing that makes Ethan and me happier than seeing photos of our recipes out in the wild. This simple Italian bread deserves to be shown off!
When you bake this loaf—and I truly hope you do!—please take a picture of that beautiful, crackly, golden crust. Tag us on your socials! We absolutely love seeing how it looks on your dinner tables, whether you’re using it for a huge pot of sauce or just tearing off hunks for dipping.
If you have a moment, leaving a star rating right here on the page helps other bakers know they can trust this recipe too. Your feedback helps us keep our ‘fleet’ running smoothly! And hey, if you run into any weird issues or just want to share a flavor variation you tried, shoot us a message via the contact page. We read everything!
PrintEasy Homemade Crusty Italian Bread: Bakery-Style Loaf
You can bake bakery-quality Italian bread at home with this simple, beginner-friendly recipe. This loaf features a golden, crunchy crust and a soft, chewy interior, perfect for dipping or making sandwiches.
- Prep Time: 20 min
- Cook Time: 35 min
- Total Time: 2 hours 25 min
- Yield: 1 large loaf
- Category: Bread
- Method: Baking
- Cuisine: Italian
- Diet: Vegetarian
Ingredients
- 3 1/2 cups all-purpose flour
- 1 1/2 teaspoons salt
- 1 teaspoon granulated sugar
- 2 1/4 teaspoons active dry yeast (one packet)
- 1 1/2 cups warm water (about 105-115°F)
- 2 tablespoons olive oil, plus more for greasing
Instructions
- In a large bowl, whisk together the flour, salt, and sugar.
- In a separate small bowl, dissolve the yeast in the warm water. Let it sit for 5 minutes until foamy. This confirms your yeast is active.
- Pour the yeast mixture and the olive oil into the dry ingredients. Mix with a wooden spoon until a shaggy dough forms.
- Turn the dough out onto a lightly floured surface. Knead for 5 to 7 minutes until the dough is smooth and elastic. You want a soft, chewy texture.
- Lightly grease a large bowl with olive oil. Place the dough in the bowl, turning it once to coat. Cover the bowl with plastic wrap or a clean kitchen towel.
- Let the dough rise in a warm spot for 1 to 1.5 hours, or until it has doubled in size. This first rise develops the flavor.
- Gently punch down the risen dough. Shape it into a long, oval loaf shape.
- Place the shaped loaf onto a baking sheet lined with parchment paper or a pizza peel dusted with cornmeal. Cover loosely and let it rest for a second rise for 30 minutes.
- Preheat your oven to 400°F (200°C). Place a shallow pan on the bottom rack while the oven heats; this will hold water for steam.
- Just before baking, slash the top of the loaf two or three times with a sharp knife or razor blade.
- Carefully pour 1 cup of hot water into the shallow pan on the bottom rack to create steam. Quickly close the oven door.
- Bake for 30 to 35 minutes, or until the crust is deep golden brown and sounds hollow when tapped.
- Remove the bread from the oven and transfer it to a wire rack to cool completely before slicing. Enjoy your homemade Italian bread!
Notes
- For an extra crispy crust, spray the sides of the oven with water two times during the first 10 minutes of baking.
- If you prefer a slightly faster rise, ensure your water temperature is correct and place the dough in a slightly warmer spot, like inside a turned-off oven with the light on.
- This bread is fantastic for dipping in olive oil or serving alongside pasta dishes.
Nutrition
- Serving Size: 1 slice
- Calories: 150
- Sugar: 0.5
- Sodium: 280
- Fat: 2
- Saturated Fat: 0.3
- Unsaturated Fat: 1.7
- Trans Fat: 0
- Carbohydrates: 30
- Fiber: 1.5
- Protein: 5
- Cholesterol: 0