

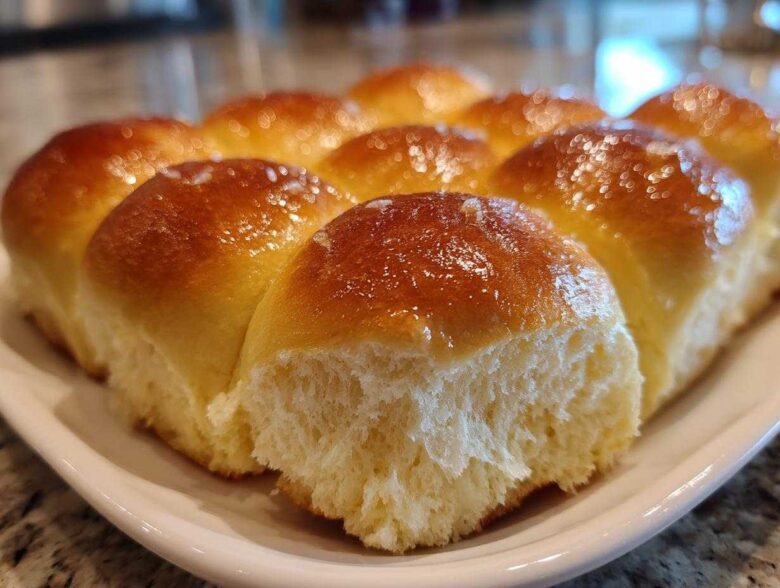
Oh, there is absolutely nothing that beats the smell of fresh-baked bread filling your house on a chilly evening. Seriously, it’s the ultimate comfort scent! Ethan (who loves his step-by-step instructions) sometimes worries about me, since I tend to throw things together based on what the dough feels like, but when it comes to yeast, I’m surprisingly meticulous. I’ve spent years figuring out exactly how active dry yeast likes to be coaxed. Today, I’m sharing the recipe that guarantees the fluffiest, melt-in-your-mouth magic: The Ultimate Soft and Fluffy Homemade Dinner Rolls (Classic Buttery Recipe). Trust me, these homemade **dinner rolls** will make any store-bought basket look absolutely sad!
Why You Will Love These Soft Dinner Rolls Recipe
I know you want rolls that are better than anything you can grab in a plastic bag at the grocery store. And oh boy, do these deliver! If you’ve been searching for that perfect texture, you’ve hit the jackpot. We tested batches until we achieved total reliability, so you don’t have to guess!
- They are intensely buttery! We use a generous amount of melted and softened butter to ensure a rich flavor in every bite of these Soft Dinner Rolls Recipe keepers.
- The texture is unmatched: we’re talking about that airy, cloud-like interior that defines truly Fluffy Homemade Bread.
- They are surprisingly hands-off once mixed! After a little kneading, the yeast does all the heavy lifting during the rises, giving you soft results without endless work.
- They are consistently perfect. I promise that if you follow the yeast activation step, you’ll get a perfect rise every single time. That’s the secret to the best homemade rolls!
- These are fantastic for holidays. They look stunning piled high on a platter for Thanksgiving or Christmas—a true showstopper side dish.
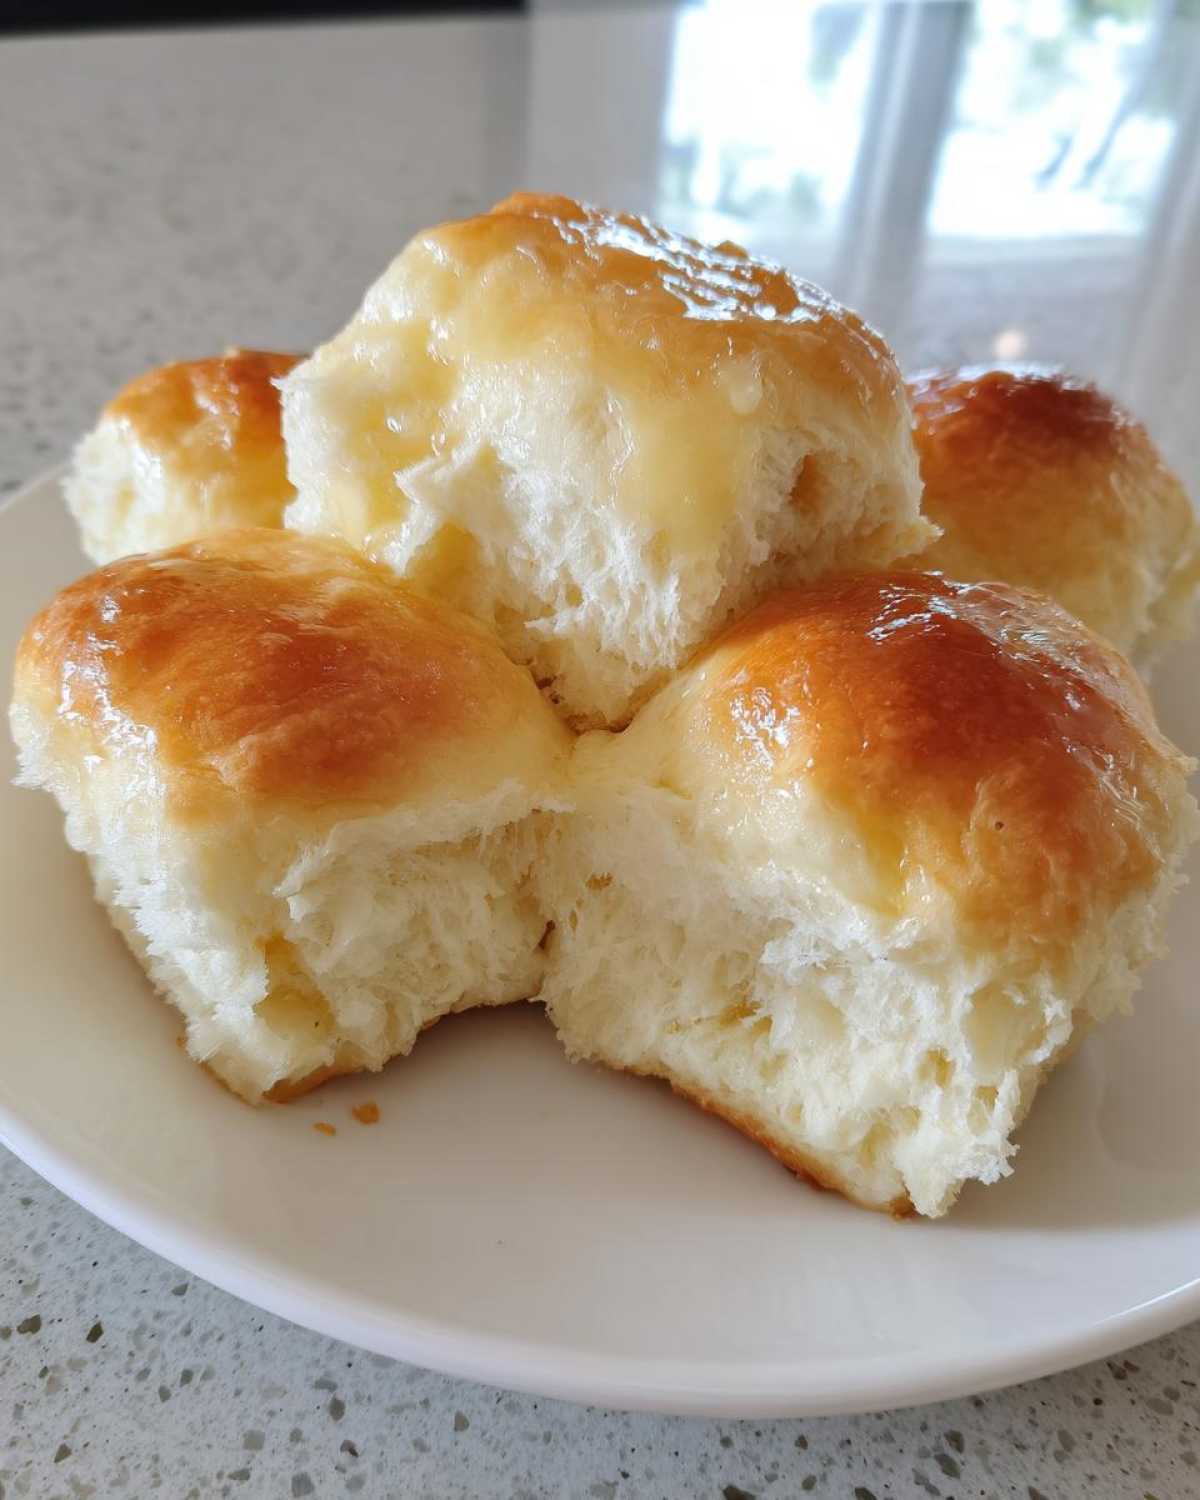
The Essential Ingredients for Buttery Yeast Rolls
Okay, since Ethan can’t bake without a precise list, here are the exact ingredients you need to get those amazing, soft results. Baking is chemistry, even when it feels like magic! You’ll need these core components lined up before you even turn on the oven.
- 1 cup warm milk (about 110°F)
- 2 1/4 teaspoons active dry yeast
- 1/4 cup granulated sugar, divided
- 1 large egg, room temperature
- 1/4 cup unsalted butter, melted
- 1 teaspoon salt
- 3 1/2 cups all-purpose flour, plus more for dusting
- 1/2 cup (1 stick) unsalted butter, softened, for brushing
Ingredient Notes and Substitutions for Your Dinner Rolls
The details matter here, especially for the yeast! We need that milk to be warm—think cozy bath water, around 110°F. If it’s too hot, you’ll kill the yeast instantly, and your dough won’t rise, leading to sad, dense little pucks. Don’t use cold milk, either!
Also, please take your egg out beforehand. A room temperature egg mixes into the batter much more smoothly than a cold one, helping everything emulsify nicely. This tiny step, along with the right sugar balance, helps us achieve that wonderfully soft texture without needing any fancy tricks later on.
How to Make Soft and Fluffy Dinner Rolls From Scratch
Alright, this is the fun part! Making these soft and fluffy dinner rolls is truly a process of rewarding steps. We start with waking up the yeast, which is my favorite litmus test for the whole batch. If the yeast fizzes up nicely, you know you’re on the right track for that light, airy texture we talk about! I always make sure my yeast is happy before I even think about mixing the flour, because a lazy yeast means flat bread, and we are definitely *not* here for flat bread!
Activating Yeast and Mixing the Dough for Perfect Dinner Rolls
First things first: we need to activate the yeast, which is how we guarantee Perfectly Risen Rolls. Pour your warm milk—remember, about 110°F, not scalding!—into a large bowl. Stir in the yeast and just a tiny bit of that sugar. Let it sit for about ten minutes. I always peek after five minutes; if it looks foamy on top, it’s happy and ready to work its magic in our dinner rolls batch!
Next, whisk in the rest of your sugar, the room-temperature egg, the melted butter, and the salt. Then, gently start working in the flour, one cup at a time. Don’t overmix yet! You’re aiming for what the instructions call a “shaggy dough.” It’ll look messy, but that’s exactly what we want before we move to the elbow grease part. If you’re looking for other great yeast basics, check out my tips on homemade garlic butter naan—it uses similar principles!
Kneading and Achieving the First Rise for Fluffy Homemade Bread
Now, turn that shaggy mess out onto a lightly floured counter. This is where I ask Ethan to step aside because I get into the zone! You need to knead this dough for a good 6 to 8 minutes. You are looking for smooth elasticity—when you give it a gentle poke, it should spring right back at you. That springiness tells us the gluten is developing nicely for that beautiful structure.
Once it feels right, pop it into an oiled bowl, turn it over so it gets coated, cover it up, and put it somewhere warm. We let this first rise go for about an hour to an hour and a half. We need that dough to double in size—that’s our non-negotiable step for achieving that ultimate Fluffy Homemade Bread! If you’re struggling with your yeast, this recipe over at The Best Dinner Rolls Recipe breaks down some good troubleshooting tips, too.
Shaping and the Second Rise for Your Dinner Rolls
When the dough has ballooned up, give it a gentle punch to deflate the air. This redistributes the food for the yeast. Next, divide the dough into exactly 12 even pieces. I use a kitchen scale sometimes to be precise, but eyeballing it usually works just fine for these yummy dinner rolls.
Roll each piece into a tight little ball with the palms of your hands. Nestle them snugly, close together, into your greased 9×13 pan. They need their beauty sleep afterward—cover them loosely and let them puff up again for about 30 to 45 minutes. They should look noticeably puffy and almost touching before they hit the oven!
Baking and Finishing Your Buttery Dinner Rolls
The oven is preheated to 375°F (190°C), and those puffy little balls are ready for their close-up! This part happens fast, so have your butter ready to go. You’re going to bake these beauties for about 15 to 18 minutes. Keep an eye on them—they should develop this gorgeous, warm golden-brown color on top. We are looking for that classic look of fantastic, Buttery Yeast Rolls.
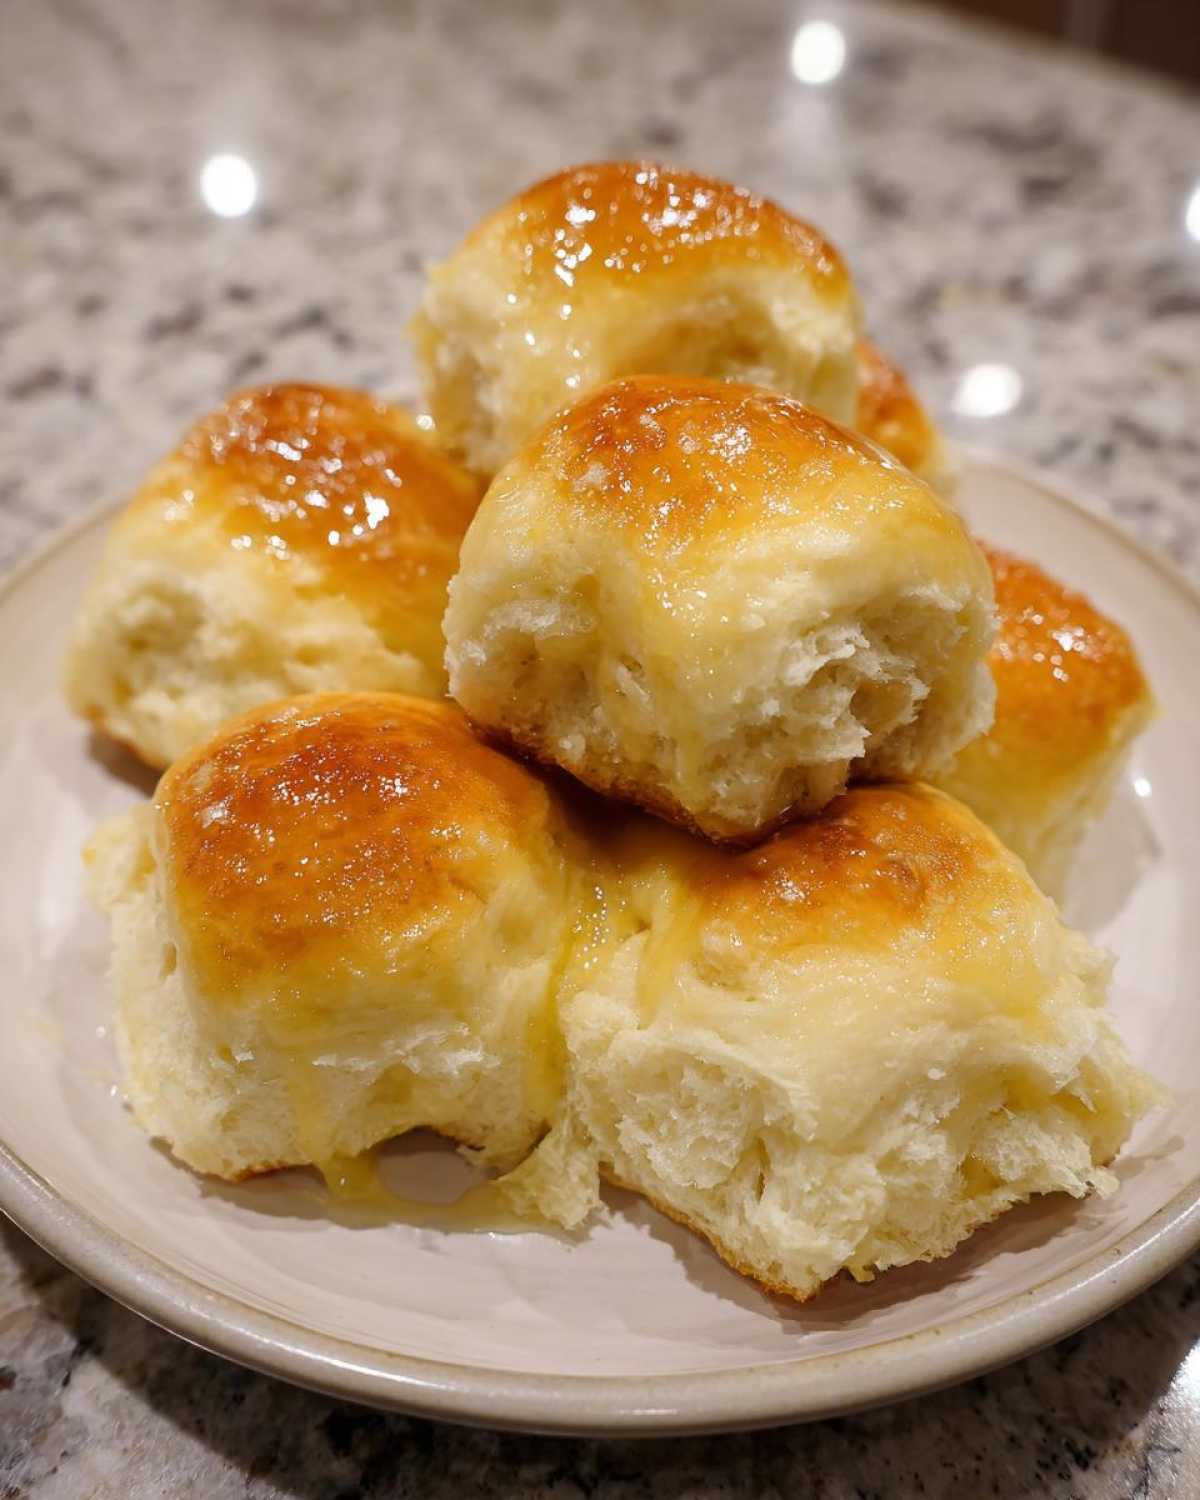
Now for the moment that takes these from good to totally irresistible: the immediate butter bath! The absolute second you pull that pan out of the oven, grab that 1/2 cup of softened butter and brush it generously all over the tops. Don’t be shy! The heat immediately melts that butter down into every little nook and cranny, creating the signature slick, soft crust that makes these the best homemade rolls around.
I love listening to the little sizzle sound they make when the hot butter hits the hot rolls. It’s super satisfying. Let them cool just long enough so you don’t burn your mouth off, but definitely serve them while they are still warm! If you need something incredible to sop up the last bits of butter, you have to try my recipe for French Onion Butter Rice—it’s a total comfort food pairing!
Texas Roadhouse Style Rolls Copycat Variation
Okay, I know these basic dinner rolls are amazing on their own—classic, buttery, perfect for Thanksgiving stuffing next month. But if you’re looking to kick things up and get that famous restaurant vibe, we absolutely need to talk about the topping variation! This little addition turns standard fluffy bread into something slightly sweet and totally addictive.
We’re making a quick cinnamon-honey butter glaze, inspired by the famous rolls you get when you go out. It’s what elevates these from excellent homemade bread to true indulgence. I swear, by the time I finish brushing this over the hot rolls, I always sneak an extra one before Ethan even gets a chance to sit down!
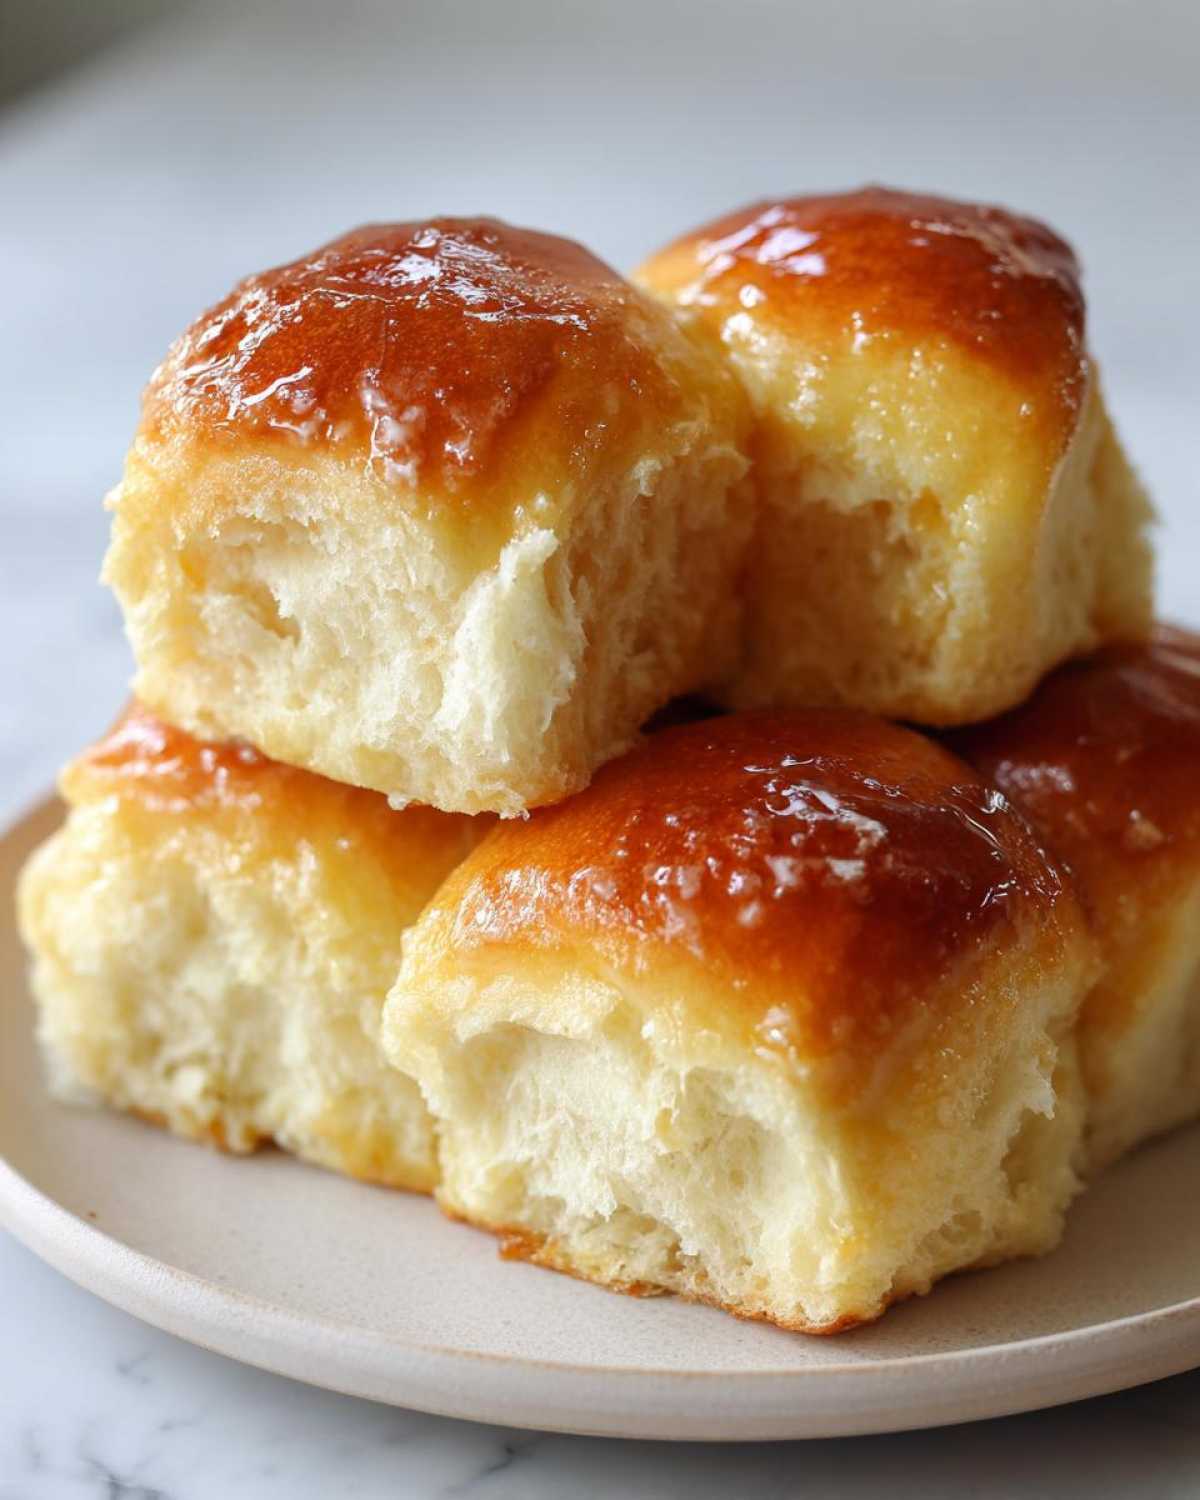
Here’s how you transform the batch:
- While the rolls are still piping hot from the oven (this is crucial!), you need to whip up the sweet coating.
- Simply mix together 1/2 cup powdered sugar, 1/4 cup melted butter (yes, more butter, I know!), about one teaspoon of honey, and a half teaspoon of ground cinnamon. Whisk it fast until it’s smooth.
- Brush that mixture heavily over the tops of the rolls immediately. The heat will melt it perfectly, letting that sweet, spicy goodness seep right down into the crust.
This might not be what my ancestors baked for a simple country supper, but I absolutely adore this twist. It’s a perfect blend of comfort food baking with a little bit of fun indulgence. If you want to see another recipe that nails that sweet/savory profile, you have to check out my recipe for creamy caramelized onion pasta—it has a similar unexpected flavor complexity! For a deep dive into the restaurant version, this guide on Texas Roadhouse Rolls Copycat is fantastic.
Tips for Success Making Dinner Rolls
Even though this is an Easy Dinner Roll Recipe, bread making always presents little challenges. Don’t sweat it if your first batch isn’t magazine-ready! The key to getting those Best Homemade Rolls is usually found in temperature control and patience during the rising stages. I’ve learned a few tricks over the years that help tame the dough gods—and these tips are what separate a “good” roll from an absolutely divine one.
The biggest mistake people make is rushing the yeast. Seriously, if you think the dough should rise faster because you’re hungry, resist the urge to crank up the heat! Putting the dough near a scorching radiator or cranking the oven really high is a recipe for disaster. It might rise fast, but you’ll burn the exterior before the interior cooks, and you might even “kill” the yeast flavor.
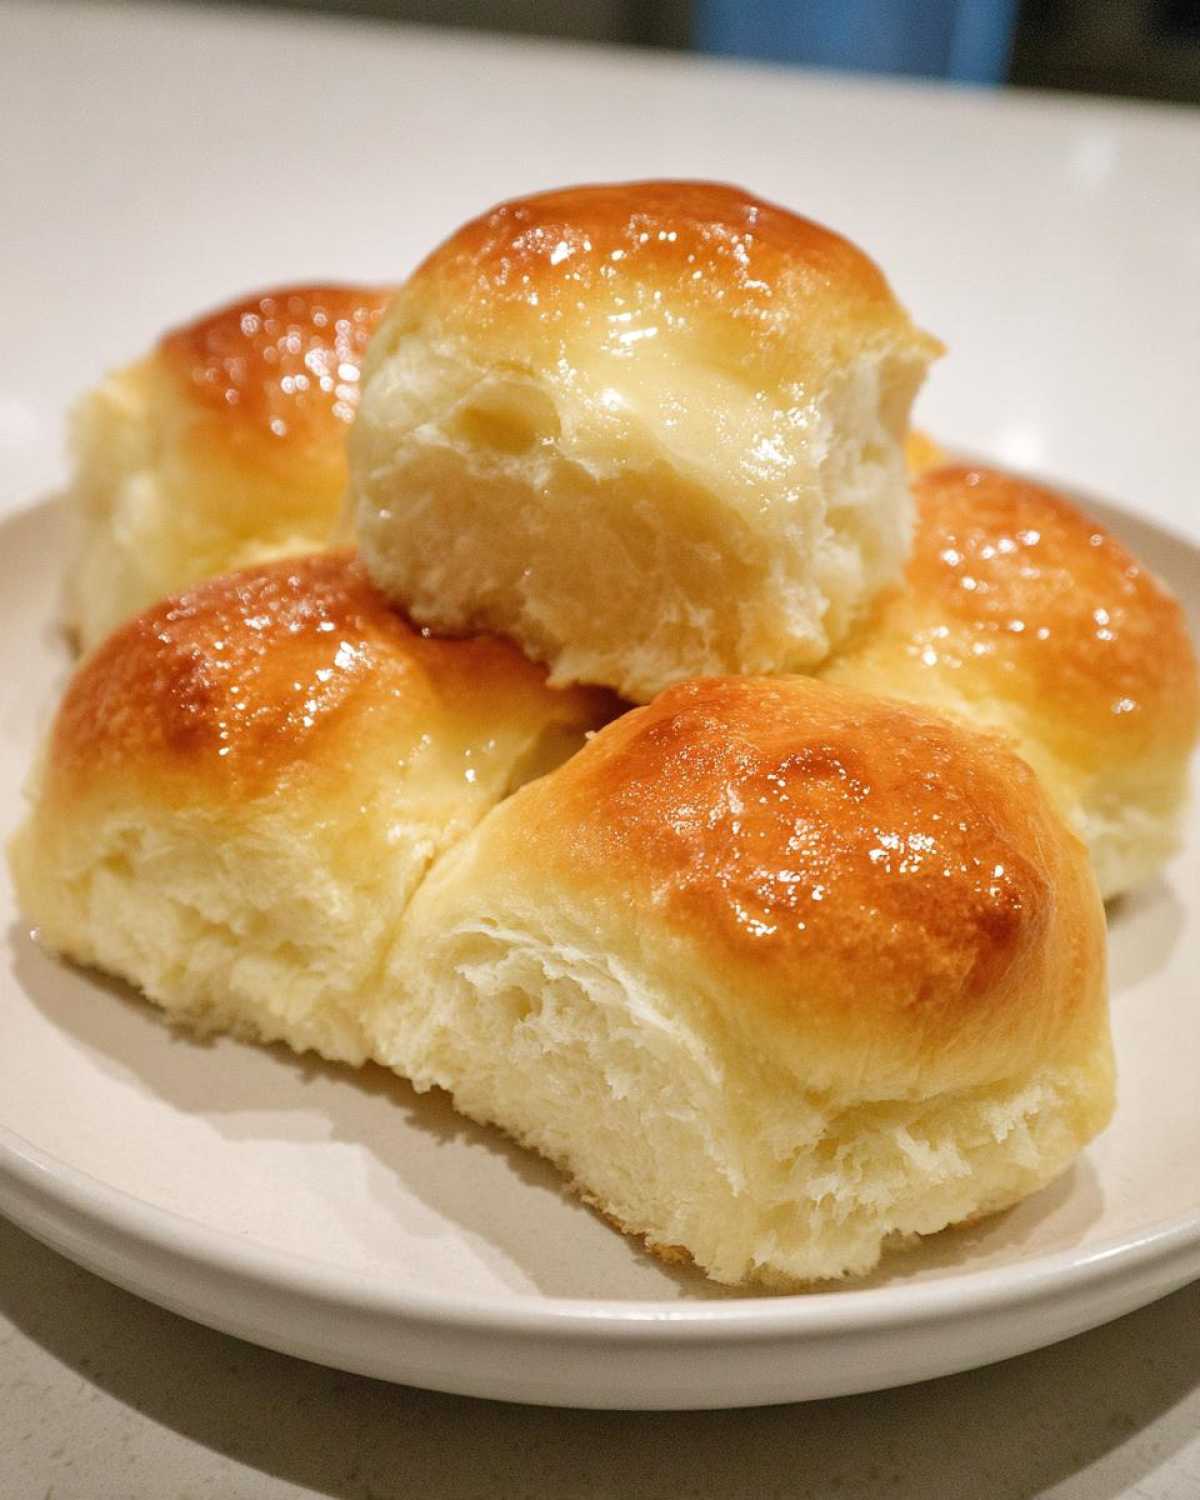
Here are my must-try tricks for flawless buns every time:
- Check the Yeast Environment: If your kitchen is cold—like mine in the winter—the dough will take forever to double. Instead of waiting half the day, make a DIY proofing box! Just turn your oven light on, close the door, and leave the dough inside. It creates a wonderfully warm, draft-free environment that yeast absolutely adores.
- Stop Over-Flouring: When kneading, I know it’s tempting to throw flour everywhere to stop sticking. But too much flour absorbs moisture and results in tough, dry rolls instead of fluffy ones. Dust your hands and surface *lightly*—just enough so you can handle the dough without it being crazy sticky.
- Butter While Hot: Remember that crucial step of brushing with melted butter immediately after baking? Do it! That initial burst of fat absorption is what locks in the moisture and gives you that rich, buttery mouthfeel that store-bought versions simply can’t replicate.
If you’re also looking for other great side dishes that shine next to warm bread, you have to try my recipe for sweet potato cornbread. It’s got that same cozy, comforting vibe!
Make Ahead Dinner Rolls and Storage Instructions
One of the best parts about mastering these dinner rolls? You don’t have to stress about making them all on the day you need them! If you’re hosting a big holiday meal or just want to save time during a hectic weeknight, these can totally be prepped in advance. This recipe is genuinely fantastic for planning ahead, which is a lifesaver when you’re juggling fifteen other things!
We want to keep that cloud-like fluffiness intact whether we are chilling them or saving the leftovers, so pay attention to these storage secrets. Luckily, keeping these buttery babies soft is pretty straightforward.
Preparing Your Dinner Rolls for Overnight Resting
For the make-ahead option, you follow every step right up until the baking time. Mix, knead, shape them into balls, and place them snuggly in that greased 9×13 pan. This is where you differ from the main recipe flow.
Instead of letting them do the second rise on the counter, you cover that pan tightly—I mean *tightly*—with plastic wrap. Then, slide the whole thing into your refrigerator. They can chill out there for up to 24 hours. Think of it as giving your dough a nice, slow, cold fermentation sleep. This slow proofing actually develops a slightly deeper flavor, which I love!
When it’s time to bake, you need to plan ahead again slightly. Since the dough is cold, it needs a little extra time to warm up and do its thing. You can either let them sit on the counter for about an hour before baking, or, if you’re in a rush, just add an extra 5 to 10 minutes onto the baking time provided in the instructions. Always check them with a light poke to see if they are puffy before putting them in the oven, regardless of thawing time. You can find more tips for making bread ahead of time on my primer on make ahead dinner rolls!
Storing Leftovers to Keep Them Soft
If you happen to have any leftovers—which, in my house, rarely happens—storage is easy. Buttermilk and butter are your friends here because they keep things moist longer than lean bread!
Once the rolls have completely cooled, transfer them to an airtight container or zip-top bag. If you want to keep them *super* soft, layer them between sheets of parchment paper inside a sealed container. They should stay wonderfully soft at room temperature for about two to three days.
If you need them to last longer (say, until next week’s dinner), pop them in the freezer! Wrap the already-cooled batch tightly in plastic wrap, then maybe add a layer of foil for extra protection against freezer burn. When you’re ready to enjoy them again, unwrap them slightly and reheat them in a 350°F oven or microwave wrapped in a damp paper towel for about 20-30 seconds. That little bit of steam brings back that fresh-out-of-the-oven fluffiness every time!
Frequently Asked Questions About Making Dinner Rolls
I know you might have a few questions bubbling up after diving into the dough process! It’s totally normal, especially when dealing with yeast. We want to make sure you feel confident making these the next time you need a batch of Quick Dinner Rolls for a last-minute meal. Here are some of the things Ethan and I get asked most often about achieving bakery-style perfection! Before you go too far researching other recipes, make sure you check out our cookie policy if you haven’t already!
Can I use instant yeast instead of active dry yeast in this dinner rolls recipe?
Yes, you absolutely can switch! In fact, if you’re looking for even Quick Dinner Rolls, instant yeast is your best friend because it saves a step. Instant yeast doesn’t need that separate 10-minute blooming session in the milk. You can skip Step 1 entirely! Just mix the instant yeast directly in with your dry ingredients (the flour, salt, and the rest of the sugar). Then, proceed directly to adding the wet ingredients into that mixture. It saves time but still yields incredibly soft results for your bread!
How do I get my rolls to be perfectly golden brown on top?
Getting that beautiful, even golden top is actually pretty easy once you control two things: oven precision and the post-bake finish. First, make sure your oven is actually up to temperature. I always suggest using a separate oven thermometer because built-in ovens lie! When your rolls look nicely golden brown after baking for 15-18 minutes, take them out. The absolute non-negotiable step here is brushing them immediately with softened butter—that rich fat helps them develop that shine and locks in softness. If you want that rich color *and* sweetness, try the Texas Roadhouse Style Rolls Copycat topping immediately after baking!
Are these considered Old Fashioned Dinner Rolls?
That’s a great question! I would say these lean heavily toward the Old Fashioned Dinner Rolls category, but with a slight modern upgrade for maximum fluffiness. The core principle—using milk, yeast, and plenty of fat—is classic turn-of-the-century baking. What makes them feel slightly modernized is the ratio, which ensures they are unbelievably soft and light, almost like brioche, rather than the slightly denser, drier bread you sometimes see associated with very old recipes. The heavy use of butter definitely keeps them firmly planted in the rich, comforting tradition of the best homemade rolls, even if the rise is more magnificent than what Grandma might have achieved!
Serving Suggestions for Your Homemade Dinner Rolls
Honestly, these soft, buttery beauties are so good they could stand alone as a snack, but we need to talk about what they should be served alongside! Because they are so rich and tender, they pair beautifully with rich mains or creamy soups. They are the perfect vehicle for soaking up every last drop of gravy or broth. This is what Holiday Side Dish Baking is all about, right?
If you’re looking for a showstopper main course that needs a perfect starchy companion, you absolutely have to try the massive flavor explosion of my easy garlic herb prime rib roast. Those rolls are the perfect fluffy counterpoint to that savory crust.
But sometimes, you just need serious comfort food, and that’s where these are non-negotiable. When the weather turns chilly, I always make a big pot of my cheeseburger soup—it’s hearty, cheesy, and you need something incredibly soft to dip into that creamy goodness. Don’t even bother with anything else; these warm buns are dipping perfection!
For a simpler weeknight, these rolls shine next to anything saucy. Think thick beef stew, saucy pulled pork, or even just a really good bowl of chili. Whatever you serve, you’ll find the entire family hovering over the basket, hoping there’s one left for the ride home!
PrintThe Ultimate Soft and Fluffy Homemade Dinner Rolls (Classic Buttery Recipe)

You can make incredibly soft, fluffy, and buttery dinner rolls from scratch. This easy recipe delivers bakery-style quality perfect for any family meal or holiday gathering, tasting much better than store-bought options.
- Prep Time: 25 min
- Cook Time: 18 min
- Total Time: 1 hour 58 min
- Yield: 12 rolls
- Category: Side Dish
- Method: Baking
- Cuisine: American
- Diet: Vegetarian
Ingredients
- 1 cup warm milk (about 110°F)
- 2 1/4 teaspoons active dry yeast
- 1/4 cup granulated sugar, divided
- 1 large egg, room temperature
- 1/4 cup unsalted butter, melted
- 1 teaspoon salt
- 3 1/2 cups all-purpose flour, plus more for dusting
- 1/2 cup (1 stick) unsalted butter, softened, for brushing
Instructions
- Activate the yeast: In a large bowl, combine the warm milk, yeast, and 1 teaspoon of the sugar. Let this mixture sit for 5 to 10 minutes until it becomes foamy. This shows your yeast is active.
- Mix wet ingredients: Whisk the remaining sugar, the egg, and the 1/4 cup of melted butter into the yeast mixture. Add the salt.
- Add flour: Gradually mix in the flour, one cup at a time, until a shaggy dough forms.
- Knead the dough: Turn the dough out onto a lightly floured surface. Knead for 6 to 8 minutes until the dough is smooth and elastic. It should spring back when lightly poked.
- First rise: Place the dough in a lightly oiled bowl, turning it once to coat. Cover the bowl with plastic wrap or a clean kitchen towel. Let the dough rise in a warm spot for 1 to 1.5 hours, or until it has doubled in size. This ensures perfectly risen rolls.
- Shape the rolls: Gently punch down the risen dough. Divide the dough into 12 equal pieces. Roll each piece into a smooth ball. Place the balls close together in a greased 9×13 inch baking pan.
- Second rise: Cover the pan loosely and let the rolls rise again in a warm place for 30 to 45 minutes, or until they are puffy.
- Bake: Preheat your oven to 375°F (190°C). Bake for 15 to 18 minutes, or until the tops are golden brown.
- Brush with butter: Immediately after removing the rolls from the oven, brush the tops generously with the 1/2 cup of softened butter. Let them cool slightly before serving warm.
Notes
- For Texas Roadhouse Style Rolls Copycat: While the rolls are still hot from the oven, mix 1/2 cup powdered sugar, 1/4 cup melted butter, 1 teaspoon honey, and 1/2 teaspoon cinnamon. Brush this mixture over the tops of the warm rolls for a sweet, buttery finish.
- Make Ahead Dinner Rolls: You can assemble the rolls in the pan, cover them tightly, and refrigerate them for up to 24 hours before baking. Add 5 to 10 minutes to the baking time if baking directly from the refrigerator.
- If your kitchen is cool, place the bowl of dough in your oven with just the light on to create a warm spot for rising.
Nutrition
- Serving Size: 1 roll
- Calories: 220
- Sugar: 5
- Sodium: 250
- Fat: 9
- Saturated Fat: 5
- Unsaturated Fat: 4
- Trans Fat: 0
- Carbohydrates: 32
- Fiber: 1
- Protein: 5
- Cholesterol: 25