

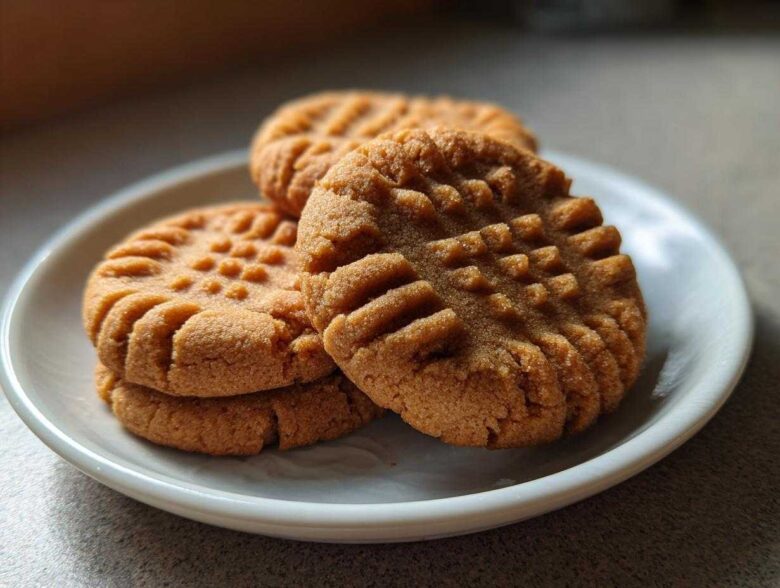
Oh my gosh, do you ever just get that uncontrollable, deep craving for a peanut butter cookie? Not just any cookie, though. I mean the absolute perfect one—the kind with those wonderfully crispy, golden edges that give way to a soft, almost melt-in-your-mouth center. That’s what we chased for months! When Chloe and I started Recipes Fleet, this recipe was the first one we perfected because it truly represents us. I’m Ethan, the guy who needs the map, and Chloe cooks from the heart. It took blending my love for exact steps and her intuitive touch to nail the right ratios for these ultimate peanut butter cookies. If you want to know more about how we blend structure and chaos in the kitchen, you can check out our whole story on our About Us page! Trust me, this one is going right onto your ‘must-bake’ list!
Why These are the Best Peanut Butter Cookies You Will Ever Make
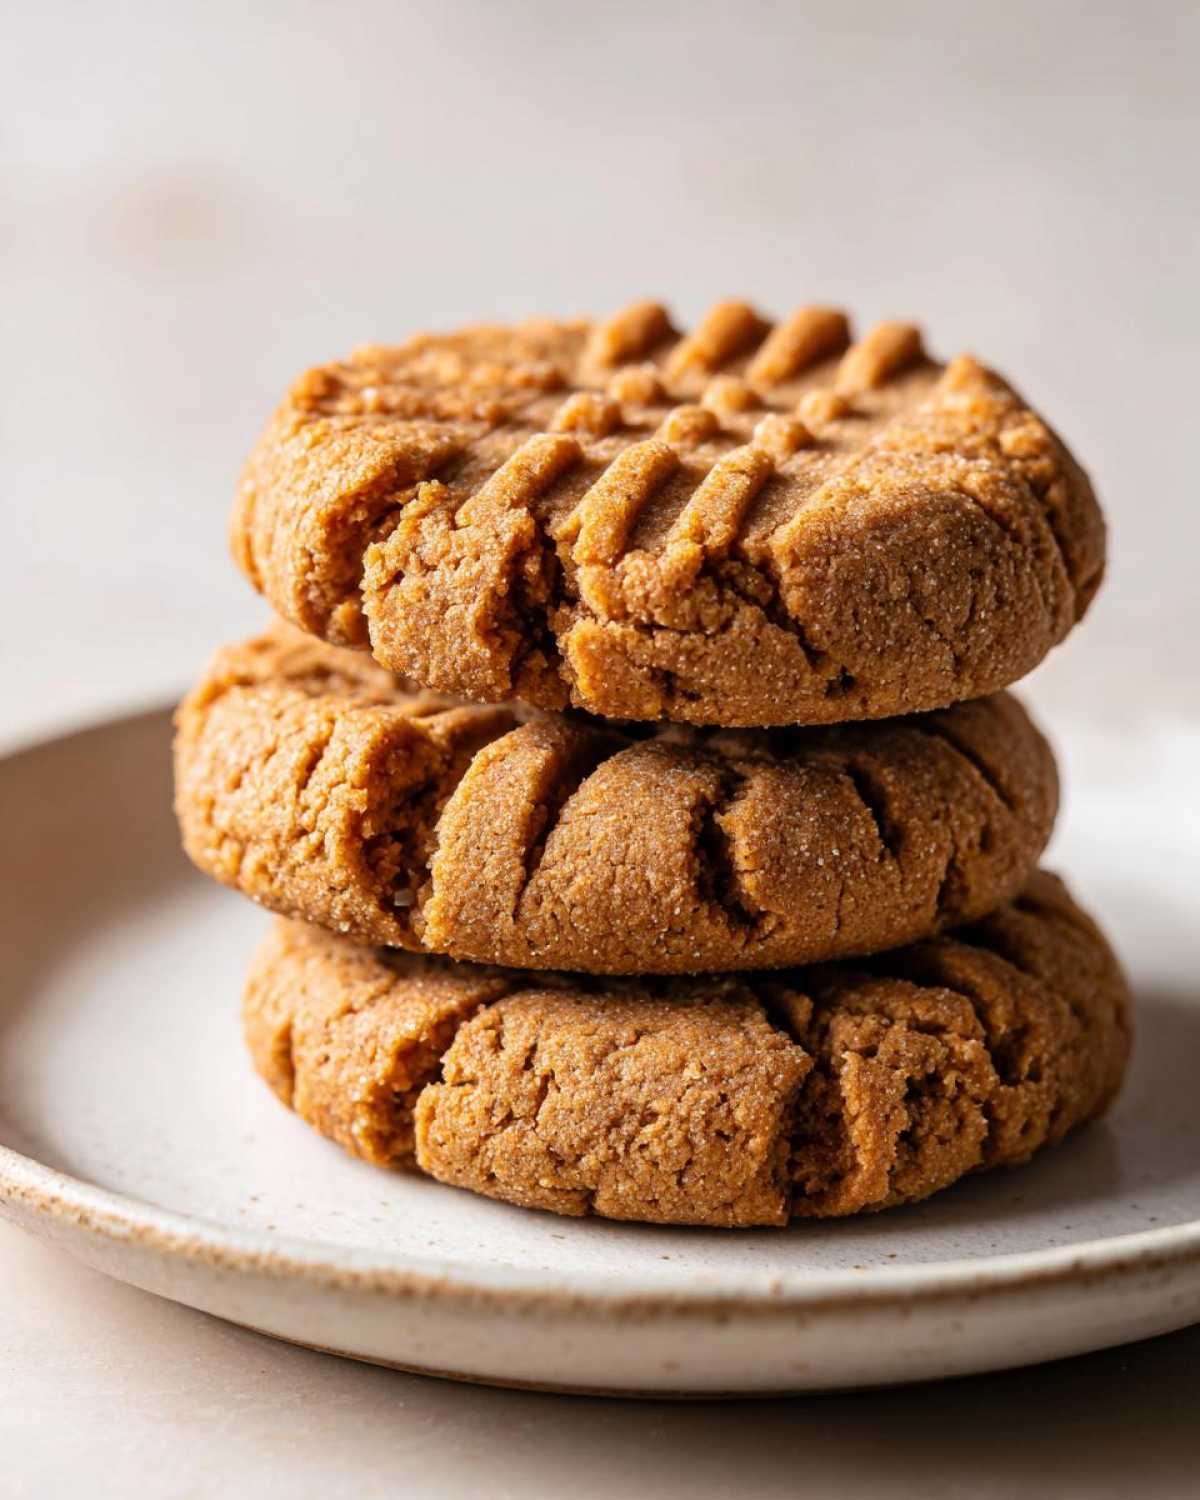
We aren’t messing around here. If you’re looking for that sad, cakey hockey puck, keep scrolling. We spent way too much time making sure this batch delivers exactly what people dream about when they think of classic recipes. Forget everything you thought you knew, because these are the best peanut butter cookies you’ll find.
- Perfectly golden, slightly rough edges that snap just right.
- Insanely soft and tender center—we promise!
- That unmistakable, deeply satisfying peanut butter flavor hits every time.
Achieving the Perfect Crispy Tender Cookies Texture
It all comes down to the sugar balance. We use both granulated and brown sugar in equal parts. That’s the secret sauce that lets the edges set up beautifully while the molasses in the brown sugar keeps the middle soft and chewy. Plus, the method of creaming the fats and sugars thoroughly is what incorporates the air needed for that incredible lift without getting cakey.
Ingredients for Classic Peanut Butter Cookies
Okay, team, time to gather our supplies! Because this recipe is about structure meeting flavor, make sure your measurements are spot on. I tried to keep the ingredient list straightforward—nothing too exotic here, just the essentials for incredible homemade peanut butter cookies.
- 1 cup (2 sticks) unsalted butter, softened
- 1 cup creamy peanut butter
- 1 cup granulated sugar
- 1 cup packed light brown sugar
- 2 large eggs
- 1 teaspoon vanilla extract
- 2 1/2 cups all-purpose flour
- 1 teaspoon baking soda
- 1/2 teaspoon baking powder
- 1/2 teaspoon salt
Ingredient Notes and Substitution Guidance
A quick word from the organized side of the kitchen (that’s me, Ethan!): Pay close attention to the peanut butter. You absolutely must use creamy, jarred peanut butter—the kind that holds its shape. Natural peanut butter, with all its oil messing around, will totally change the structure we worked so hard to perfect!
Also, for the butter, make sure it’s truly softened, not melted. And the eggs? Pull them out with the butter so they aren’t ice cold when you mix them in. Cold eggs can cause your butter mixture to seize up, making it hard to get that beautiful fluffy texture we need for success.
How to Prepare Homemade Peanut Butter Cookies: Step-by-Step
Alright, buckle up! This is where Ethan’s need for structure really pays off. Since we want those peanut butter cookies to turn out perfectly balanced—not too flat, not too thick—we need to follow these steps closely. Chloe always sneaks a taste of the creamed sugar and peanut butter mixture, saying it’s the best part, but remember, no raw eggs!
First off, get that oven cranked up to 350 degrees Fahrenheit and get that parchment paper ready on your sheets. We are whipping things up in two main stages: wet ingredients first, then dry.
Mixing the Wet and Dry Components for Your Peanut Butter Cookies
Grab your big bowl. This is critical: Cream the butter, peanut butter, and both sugars together. You need to beat this mixture until it looks light and truly happy—that usually takes about three solid minutes with your electric mixer. Don’t rush this step! Once that’s airy, beat in your eggs one at a time, then the vanilla.
In a separate bowl, whisk together your flour, baking soda, baking powder, and salt. Now, add the dry team into the wet team slowly. I mean slowly. If you dump it all in, you’re asking for tough cookies. Mix on low speed until you see those last few streaks of flour disappear—that’s it. Stop mixing! Overmixing is the arch-nemesis of a tender cookie.
The Essential Crosshatch Technique for Perfect Peanut Butter Cookies
Time to scoop! I use a small ice cream scoop—about 1.5 tablespoons per ball—and space them two inches apart. They spread wide, so give them room to breathe. I know it sounds fussy, but the classic crosshatch pattern isn’t just for looks on a good plate of peanut butter cookies. That pattern ensures even baking across the whole surface. Take your fork, press down once, then rotate 90 degrees and press again. If you see the dough trying to fight you, let the dough ball sit out for five minutes, then try again. Press firmly enough so the pattern is visible but not so hard that you deflate all the air we just worked so hard to incorporate!
If you want to see our favorite mixer that handles this creaming action perfectly, I have included a link to one we often use on our baking tools page.
Baking Times and Cooling for Classic Peanut Butter Cookies
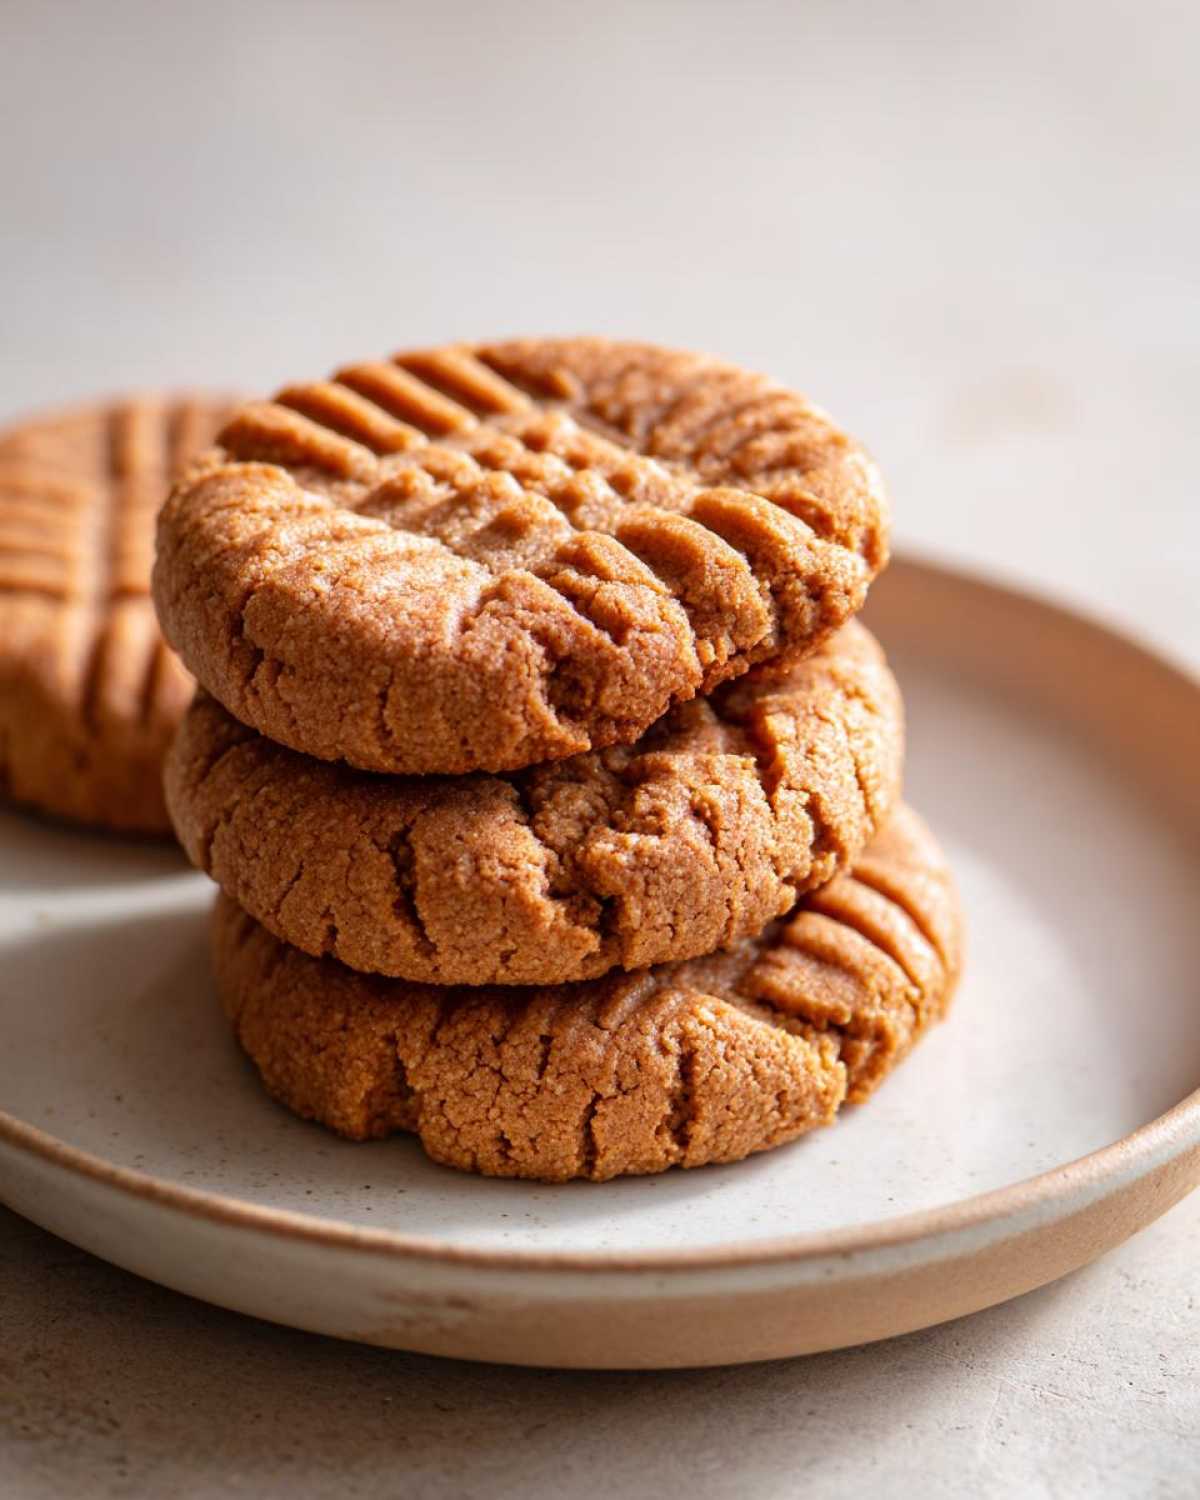
Okay, here’s where patience comes in after all that mixing! Pop those beauties into your preheated 350-degree oven. You are only baking them for 10 to 12 minutes. And please, do not walk away! I know it’s tempting to test them too early, but trust your timer. You want the edges to look lightly golden brown.
Here is the pro tip for that peanut butter cookies heaven we’re aiming for: the centers will still look slightly soft when you pull them out. That’s perfect! Leaving them on the hot baking sheet for 5 minutes is absolutely mandatory. This rest period allows the cookies to set up their structure without drying out. After that five minutes, carefully transfer them to a wire rack to cool completely. If you try to move them sooner, they’ll just turn into a gooey mess, and nobody wants that!
Tips for Perfect Peanut Butter Baking Success
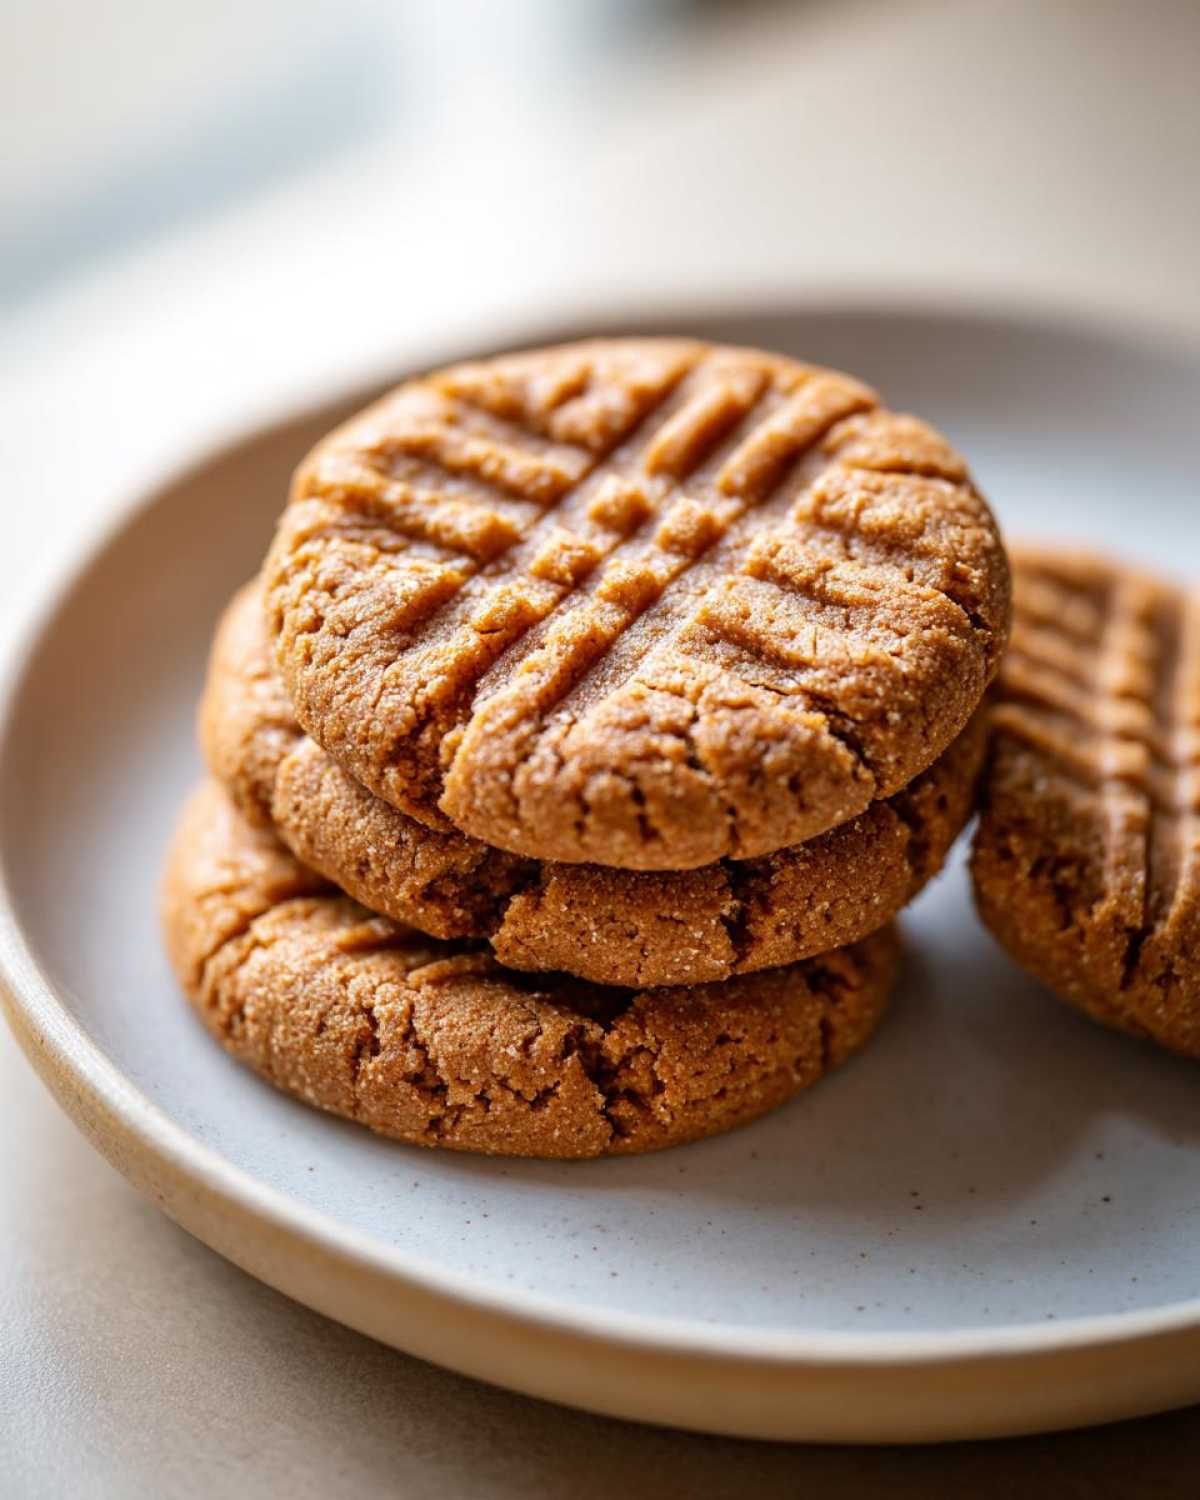
Once you master the basic technique, these classic cookie recipes are so forgiving, but I always have a few extra little secrets tucked away to make sure they are absolutely unforgettable every single time. These are the little tweaks Chloe and I use when we’re baking for friends or need that guaranteed A+ result.
If you are feeling ambitious and want to detour just slightly, check out our amazing chocolate chip banana bread recipe—it shares some of the same creaming magic we use here! You can look at the recipe right here.
First up: texture control. If you prefer that truly soft, almost melt-in-your-mouth bite—the kind that makes you close your eyes when you eat it—you need to slightly underbake them. Seriously, pull them out about 60 seconds before you think they are ready. They will set up on the pan, giving you that incredible chewy interior that contrasts so nicely with the edges.
Next, let’s talk flavor boosters. Everyone loves that deep roasted flavor, right? We sometimes toss in about half a cup of finely chopped peanuts right at the very end of mixing. This gives you little bursts of extra crunch and nuttiness that make these traditional cookies feel extra special!
Finally, a touch of salt goes a long way. When you take the cookies off the hot baking sheet, sprinkle just a tiny whisper of flaky sea salt over the top of each warm cookie. It sounds fancy, but it’s a tiny step that really heightens the peanut butter flavor and cuts through the sweetness perfectly. It’s one of Chloe’s favorite finishing touches for pretty much any baked good!
Storage and Reheating Instructions for Your Peanut Butter Cookies
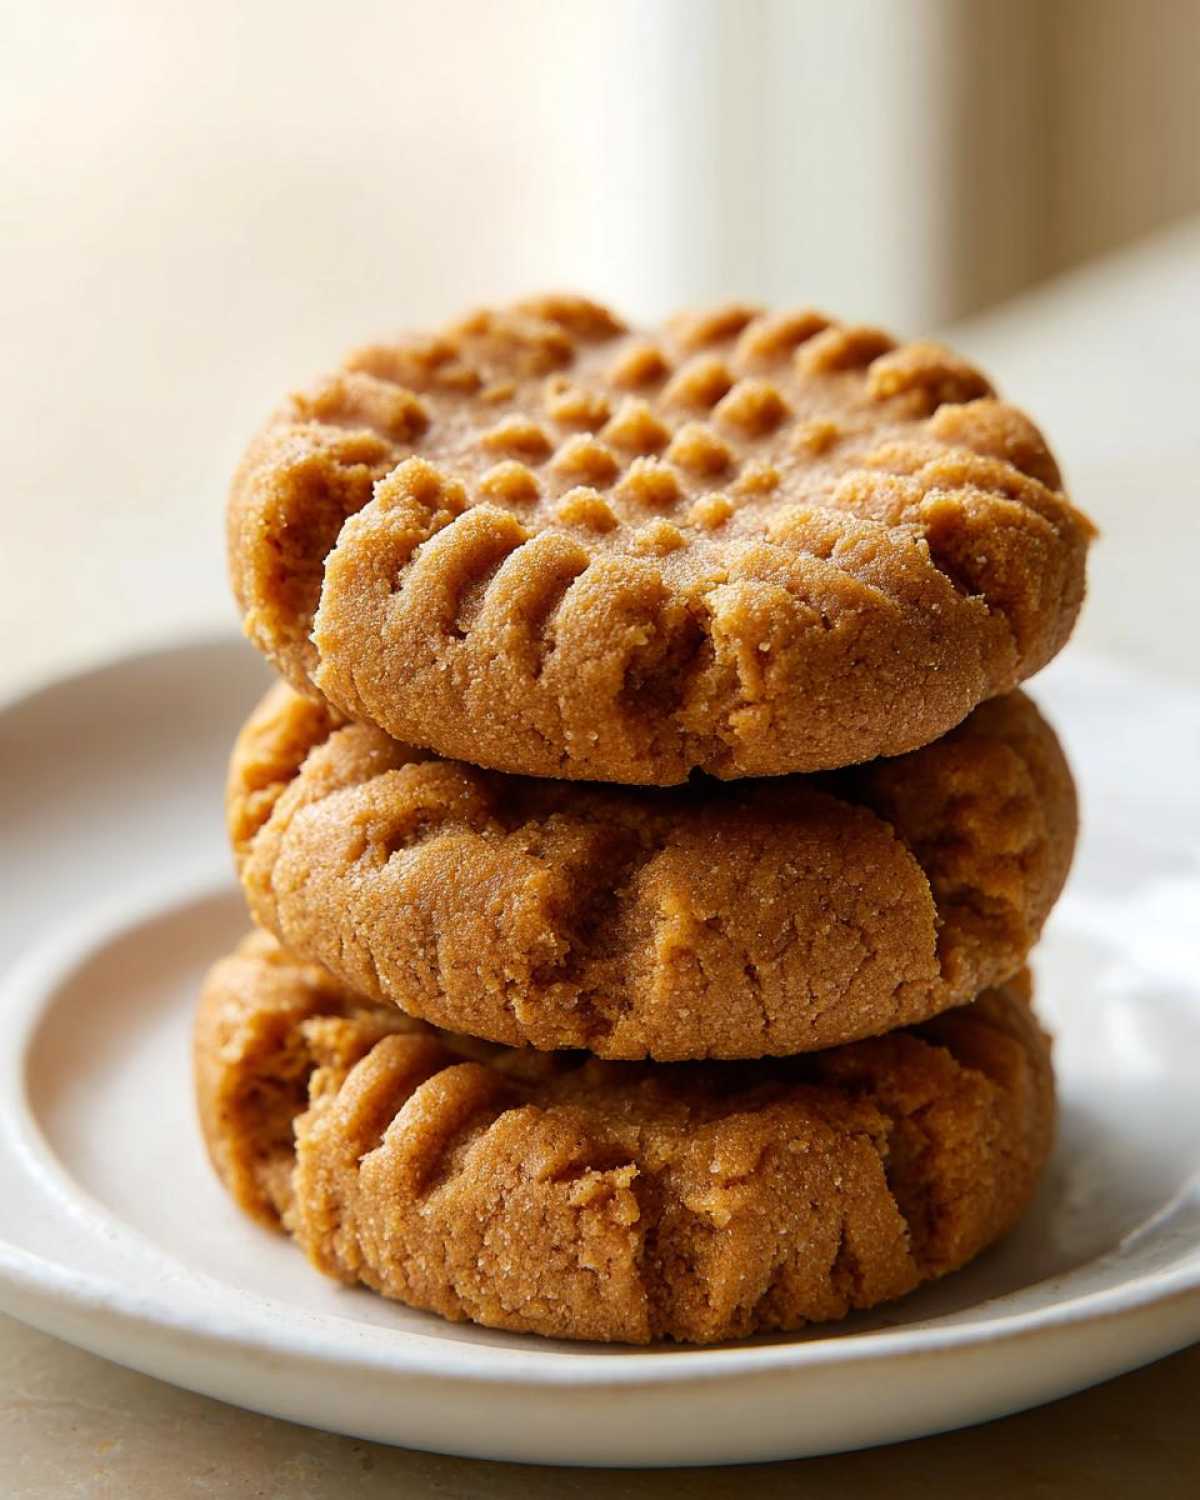
The absolute best way to keep these treasures fresh is to let them cool completely first. Don’t rush this! Once they are totally cool, you need an airtight container. This is how we protect that sweet spot between the crispy edges and the tender centers of our peanut butter cookies.
If you stack them, put a piece of parchment paper between the layers. This stops them from sticking together, especially if you had a chewier batch. They stay amazing at room temperature for about three days. Honestly, they rarely last that long in our house, but if you must save some for later, this method works every time. No reheating needed; they are perfect straight from the jar!
Variations on Traditional Cookies
Even though this recipe is pretty darn close to perfect as a classic, I love how easy it is to tweak things if you’re feeling a little adventurous! Baking shouldn’t ever feel restrictive, right? We love taking a dependable base—like these traditional cookies—and giving them a little spin for fun. If you’re interested in another incredibly popular peanut butter treat that uses this base dough, you have to check out our recipe for Peanut Butter Blossoms right here!
Here are a few super easy adjustments that yield totally different results:
- Switch Up the Crunch: If you usually reach for creamy peanut butter but are feeling bold, swap it out for crunchy peanut butter. You’ll get pockets of peanut texture that really pop! Just make sure the brand you use is still the stabilizing kind, not the natural, oily variety, okay?
- The Chocolate Chip Addition: This is Chloe’s favorite twist. Before you fold in the flour mixture, fold in about a half cup of mini chocolate chips. The combination of peanut butter and chocolate is just… well, it’s why the world keeps spinning, I think.
- Salt the Surface: This is a more presentation-focused change, but I love it. After you press the crosshatch pattern onto the dough balls—before they go into the oven—sprinkle a couple of coarse sea salt flakes right on top. It looks beautiful, and that salty hit really enhances the rich peanut flavor profile we’ve established in these classic cookie recipes.
We have an entire collection of recipes where we play with classics, and I think you’ll enjoy the fun we had making our take on the Peanut Butter Blossom Cookies too!
Frequently Asked Questions About Peanut Butter Cookies
I know you’re going to love these peanut butter cookies, but sometimes even the best recipes run into little hiccups! Don’t panic if things don’t look exactly like the picture the first time. We’ve collected the most common questions we always get to make sure your batch of classic peanut butter cookies comes out perfect.
Why Did My Peanut Butter Cookies Spread Too Much?
Spreading is the nemesis of the perfect golden edge! Usually, this happens for two reasons: your butter was too soft, or you didn’t chill the properly scooped dough balls enough. If your butter is even slightly melted when you start creaming, you lose the structure needed to hold that shape when baking. Also, make sure those dough balls are sitting on the sheet for at least 10 minutes while the oven heats up—a little bit of chilling goes a long way in keeping them thick!
Can I Make Classic Peanut Butter Cookies Ahead of Time?
Absolutely! You have two options for making these homemade peanut butter cookies ahead of time. You can scoop the dough balls, place them on a tray, and chill them in the fridge for up to three days before baking. When you bake them from chilled, they might need an extra minute or two in the oven. Or, you can freeze the dough balls! Just pop them straight from the freezer onto your baking sheet and add 2 to 3 minutes to the bake time. Storing the baked cookies properly keeps them tasting fresh for days!
Nutritional Estimates for These Peanut Butter Cookies
Now, I know some of you sweet-treat seekers are curious about the breakdown, but here’s where I, Ethan, have to bring in the planner hat. Since Chloe and I use different brands of peanut butter and sometimes even swap out the type of flour depending on what we have on hand, giving you exact numbers can be tricky!
We always encourage you to check the labels of the ingredients you use. Think of these as traditional cookies made with love—the exact counts will fluctuate slightly based on your choices!
For the most accurate information, especially if you are counting macros or tracking specific nutrients, please refer to our general baking disclaimer. We always suggest using tools to calculate servings based on your specific pantry contents.
You can read more about our general approach to nutritional information on our disclaimer page. Rest assured, whether you eat one or three, they are packed with that delicious peanut butter flavor we all adore!
PrintClassic Peanut Butter Cookies: Crispy Edges, Tender Centers
Follow this straightforward recipe for the best peanut butter cookies, achieving that perfect balance of crispy edges and a soft, chewy middle with the classic crosshatch top.
- Prep Time: 15 min
- Cook Time: 12 min
- Total Time: 27 min
- Yield: 3 dozen cookies
- Category: Dessert
- Method: Baking
- Cuisine: American
- Diet: Vegetarian
Ingredients
- 1 cup (2 sticks) unsalted butter, softened
- 1 cup creamy peanut butter
- 1 cup granulated sugar
- 1 cup packed light brown sugar
- 2 large eggs
- 1 teaspoon vanilla extract
- 2 1/2 cups all-purpose flour
- 1 teaspoon baking soda
- 1/2 teaspoon baking powder
- 1/2 teaspoon salt
Instructions
- Preheat your oven to 350 degrees Fahrenheit. Line baking sheets with parchment paper.
- In a large bowl, cream together the softened butter, peanut butter, granulated sugar, and brown sugar until the mixture is light and fluffy. This takes about 3 minutes with an electric mixer.
- Beat in the eggs one at a time, mixing well after each addition. Stir in the vanilla extract.
- In a separate medium bowl, whisk together the flour, baking soda, baking powder, and salt.
- Gradually add the dry ingredients to the wet ingredients, mixing on low speed until just combined. Do not overmix the dough.
- Scoop the dough into balls, about 1.5 tablespoons each, and place them 2 inches apart on the prepared baking sheets.
- Use a fork to press down on each dough ball to create the classic crosshatch pattern, pressing once in one direction, then turning the fork 90 degrees and pressing again.
- Bake for 10 to 12 minutes, or until the edges are lightly golden brown. The centers will still look slightly soft.
- Let the cookies cool on the baking sheet for 5 minutes before transferring them to a wire rack to cool completely.
Notes
- For the best texture, use creamy peanut butter rather than natural or oil-separated varieties.
- If you prefer a slightly chewier cookie, slightly underbake them by about one minute.
- For an extra peanutty flavor, you can add 1/2 cup of finely chopped peanuts to the dough.
Nutrition
- Serving Size: 1 cookie
- Calories: 160
- Sugar: 12
- Sodium: 110
- Fat: 9
- Saturated Fat: 3
- Unsaturated Fat: 6
- Trans Fat: 0
- Carbohydrates: 18
- Fiber: 1
- Protein: 4
- Cholesterol: 25