

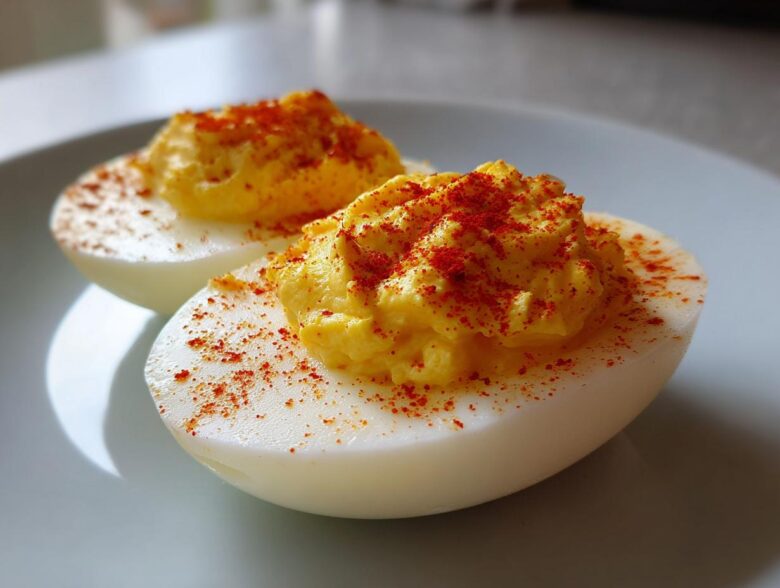
Oh my gosh, if you want the appetizer that disappears first at every single party, you absolutely have to master these Classic Deviled Eggs. Seriously, forget those sad, watery versions you sometimes see! I worked hard—and I mean *hard*—to nail the foolproof hard-boiling method so you never have to wrestle with peeling or greenish yolks again. Now that I’ve finally perfected it, I use the same attention to detail for tips on something like my famous buffalo chicken dip secret recipe, but these eggs are pure simple magic. Trust me when I say this is the easiest, creamiest recipe out there, and that perfect tangy flavor makes them the absolute best. You’re going to want to bookmark this one for every holiday potluck and backyard BBQ!
Why This is the Best Classic Deviled Eggs Recipe (Easy Deviled Eggs Recipe)
I promise you, making these Classic Deviled Eggs is genuinely foolproof. Forget fancy steps; we stick to the traditional flavors everyone loves. These aren’t fussy, they are just consistently amazing. That’s why I call this the Easy Deviled Eggs Recipe!
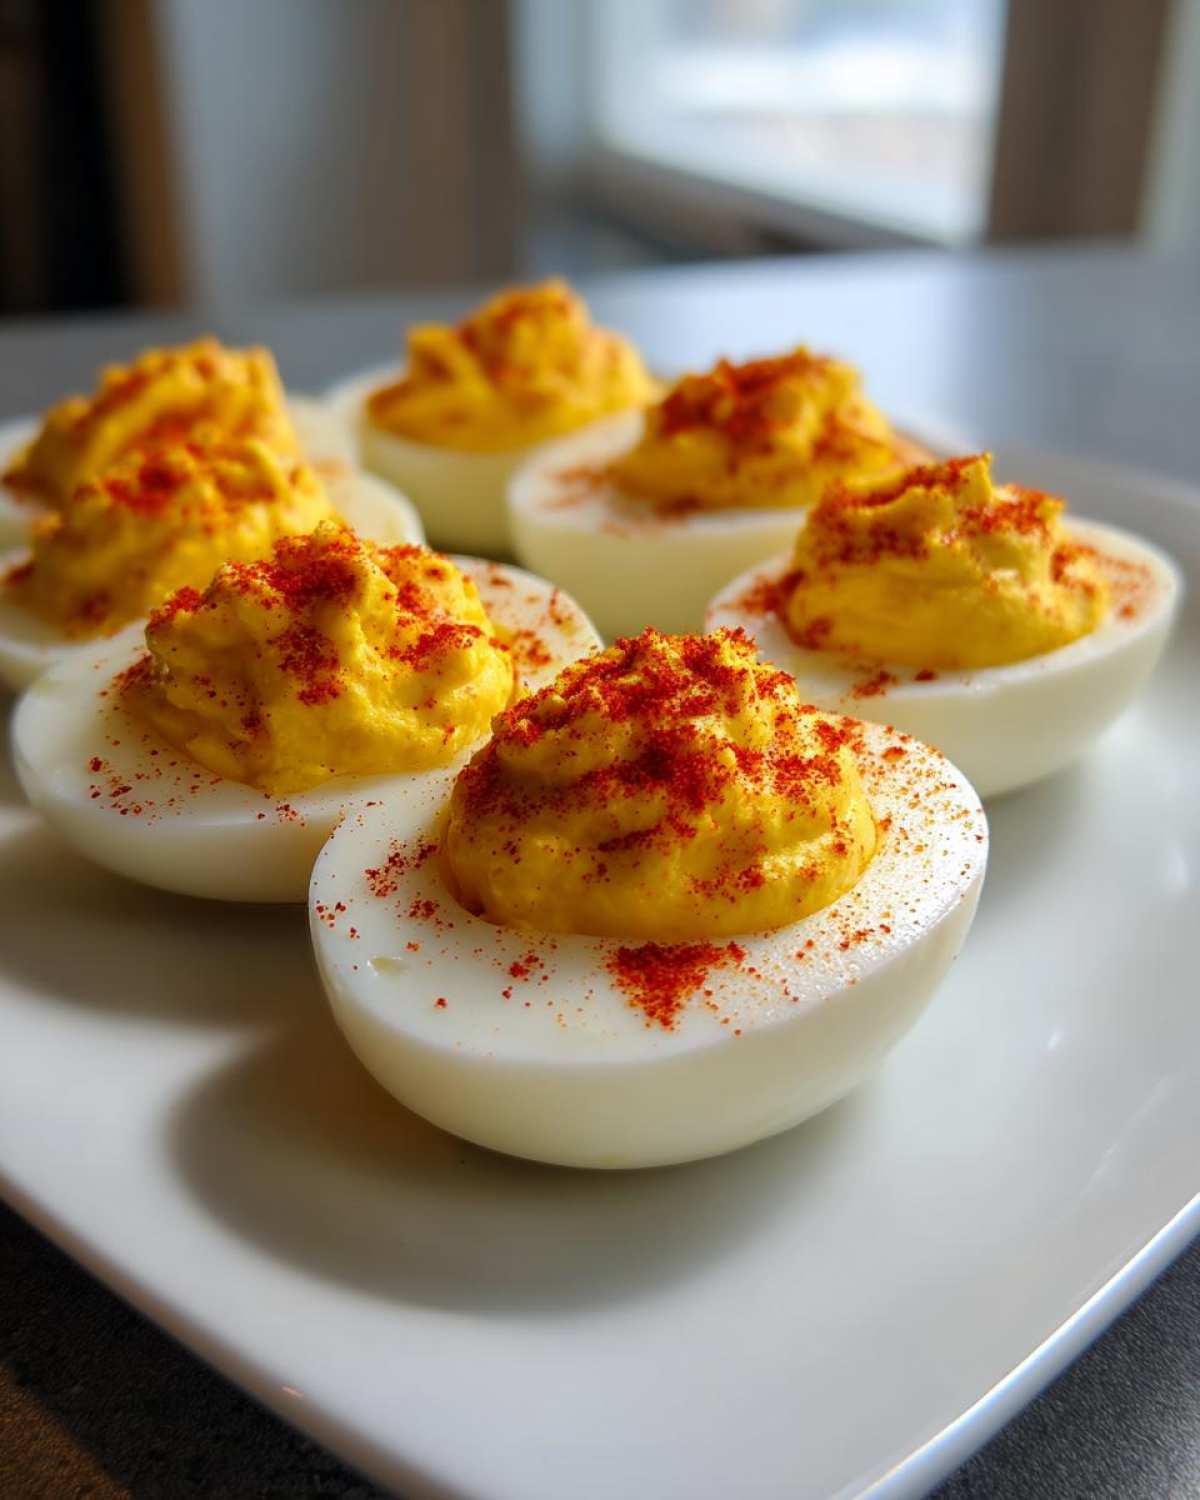
- Incredibly Creamy Deviled Eggs texture—nobody likes dry yolks here, ever!
- The perfect tangy balance of mustard and vinegar keeps them exciting.
- The boiling method guarantees easy peeling every single time.
- They are the ultimate Crowd Pleasing Appetizer Recipe; they never last long on the buffet!
Ingredients for Perfect Classic Deviled Eggs
The beauty of Classic Deviled Eggs is that they rely on ingredients you likely already have in your kitchen! There’s no secret spice blend or exotic market haul needed here, just good, honest flavors. However, I have to emphasize starting with 12 large eggs. If you use smaller ones, your filling-to-white ratio gets totally thrown off, and trust me, we want maximum creamy filling!
When you’re shopping, make sure you grab proper yellow mustard—none of that Dijon stuff for this traditional batch. We want that familiar, slightly sharp flavor. If you’re looking for more dip recipes because you made too many eggs (haha, as if!), check out my quick creamy dill dip recipe!
Here is exactly what you need to bring these yolks together:
- 12 large eggs
- 1/2 cup mayonnaise
- 2 tablespoons yellow mustard
- 1 tablespoon white vinegar
- 1/4 teaspoon salt
- 1/8 teaspoon black pepper
- Paprika, for garnish (don’t skip this; it’s the pretty finish!)
Mastering Perfect Hard-Boiled Eggs For Deviled Eggs
Okay, this is where most people panic, but you don’t have to! The absolute secret to those gorgeous, pale yellow yolks—with zero ugly green or grey rings around them—is timing, not fussing. Those greenish halos happen when the eggs cook too long or cool down too slowly. We are avoiding that completely! This technique is the cornerstone of making truly great appetizers, and it’s the reason mine always turn out perfect.
The key happens right after the boil stops. You bring the water to a rolling boil, then immediately take it off the heat and let the eggs sit covered for exactly 12 minutes. Don’t use a timer for anything less; that 12 minutes is non-negotiable for a firm but tender yolk.
The Foolproof Boiling Method
Once those 12 minutes are up, you have to shock the eggs instantly. Transfer them straight into a big bowl loaded with ice water—an ice bath—and let them hang out there for at least fifteen minutes until they are completely cold to the touch. This stops the residual heat from cooking the yolks further!
Here’s my favorite final trick for easy peeling: Once they’re cold, gently tap the shell all over to create a spiderweb of cracks. Then, start peeling them under cool running water. The water slips right under the inner membrane and the shells basically slide right off. It makes cleaning up so much faster, too! Smooth, unblemished whites are waiting for the filling!
How to Make the Creamy Filling for Your Classic Deviled Eggs
Now that we have these perfectly cooked, easy-to-peel whites, it’s time for the fun part: making that beautiful filling for our Classic Deviled Eggs! This step is all about texture. If you try to mash the yolks while they are still slightly warm, they will always turn out crumbly, not smooth. You need those yolks completely cool!
Start by putting all those pale yellow yolks into a medium bowl. Grab a fork and mash them down until they look like super fine sand with no big lumps remaining. Honestly, I spend a good minute or two just working the fork through the crumbs until I’m happy with the consistency. If you’re making other creamy sides like my baked mashed potatoes, you know the drill: smooth base first!
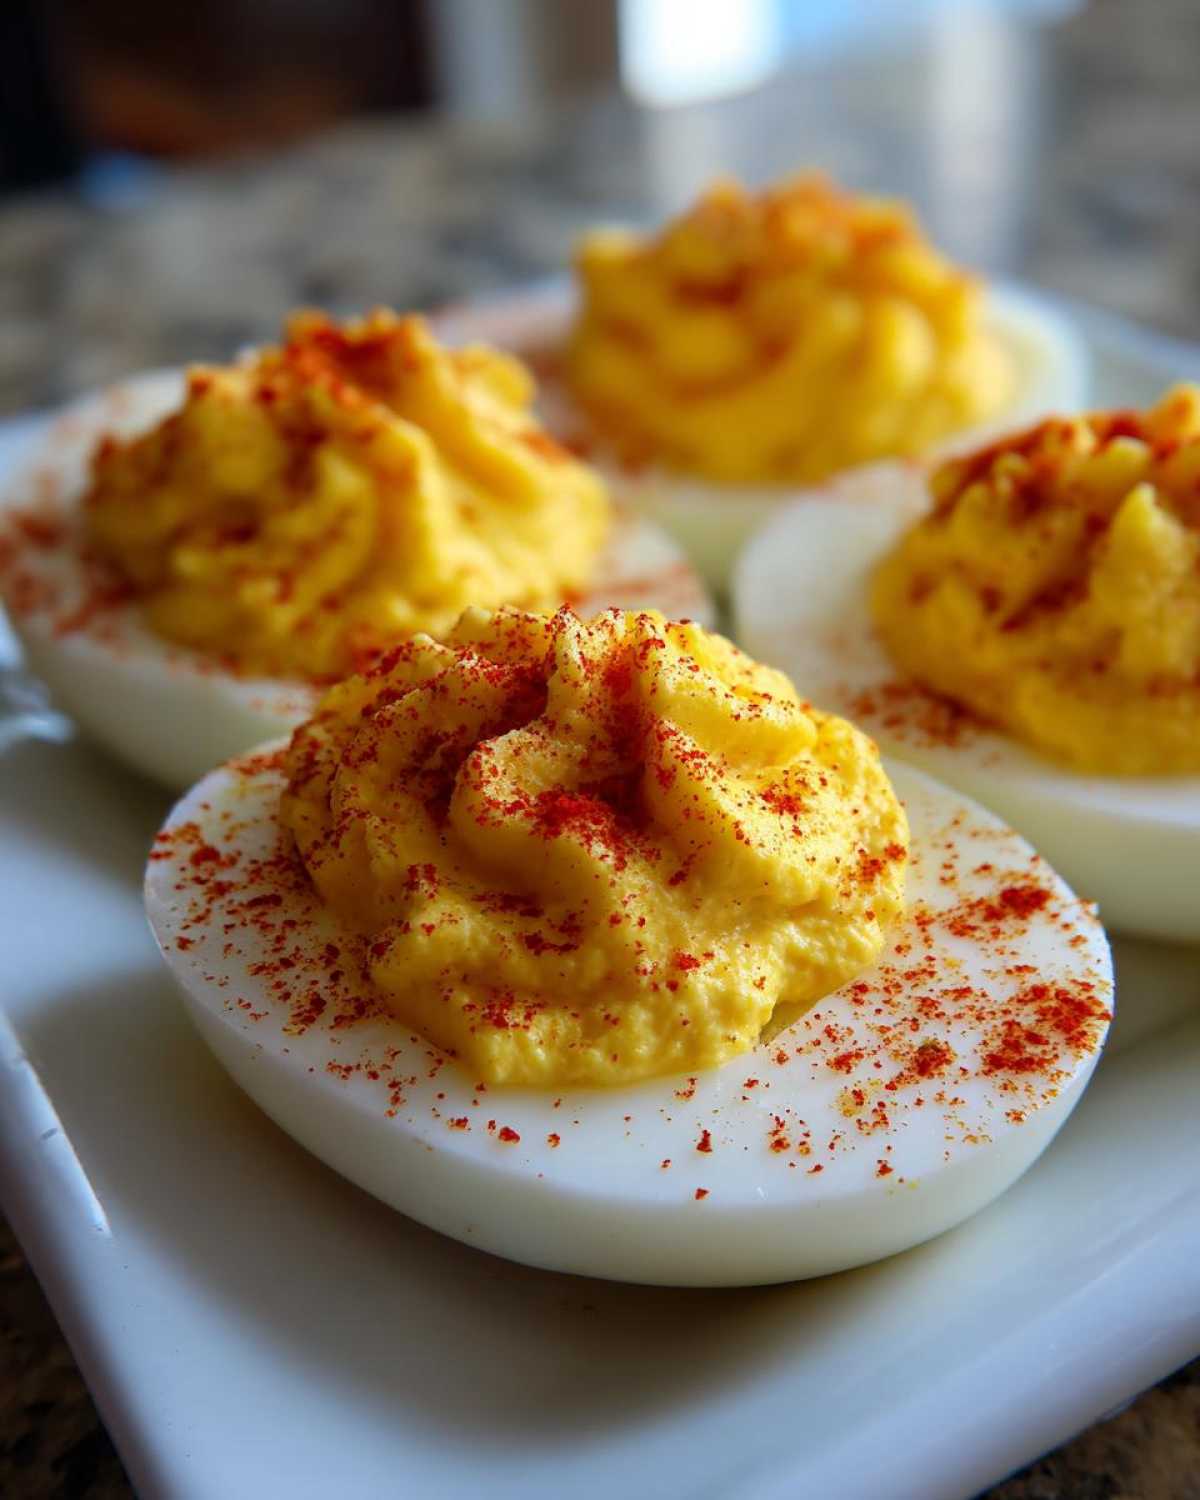
Once you have that fine base, bring in the wet ingredients! In go the mayo, the mustard, the vinegar, salt, and pepper. Mix it all up until it’s completely smooth and creamy. I usually switch to a rubber spatula here just to make sure I scrape all the sides and get it uniformly mixed. This is what separates the good deviled eggs from the truly spectacular ones!
Achieving Tangy Deviled Eggs Flavor Balance
The magic of Tangy Deviled Eggs lies right in these next few ingredients. We use 2 tablespoons of mustard and just 1 tablespoon of vinegar. That ratio gives us the right pop without tasting overwhelmingly sharp. Always, always taste the filling before you load it into the whites!
Take a little taste on the tip of a clean spoon. Does it need just a pinch more salt? Maybe a tiny splash more vinegar for brightness? Adjust it right there! Once you’ve tweaked it to perfection, you’re ready to transfer that silky filling back into those waiting egg white cups.
Step-by-Step Instructions: Assembling Your Classic Deviled Eggs
This is the grand finale! We have our perfectly cooked whites and our beautifully smooth, creamy filling. It’s time to bring these Classic Deviled Eggs together. First, lay out all your cooled, halved egg white canoes on your prettiest serving platter. You want them ready to go because once the filling hits the cold egg, you want to get them into the fridge quickly!
Take your filling and load it carefully. Now, I usually use a piping bag because it gives those lovely, professional swirls—it looks so impressive next to something fancier like stuffed mushrooms. But listen, if you don’t own a piping bag or you’re in a hurry, just use a small spoon! Scoop up a good amount of the yolk mixture and gently drop it into the egg white cavity, using the back of the spoon to smooth it into a nice mound. Don’t be shy; the filling should look generous!
Once every single half is filled, we add the finishing touch—paprika! A light dusting across the top adds color and that classic look. Don’t overdo it; a gentle sprinkle is perfect. If you’re making these ahead of time, remember to chill them right away uncovered for about 30 minutes to set the filling before covering them.
Tips for Success with Your Traditional Deviled Eggs
You’ve boiled them perfectly, you’ve mixed the filling until it’s like silk—now it’s time to make sure they look as incredible as they taste! Presentation is everything, especially when you are setting out a tray of Traditional Deviled Eggs for guests. No one wants a sloppy-looking snack, even if it tastes amazing.
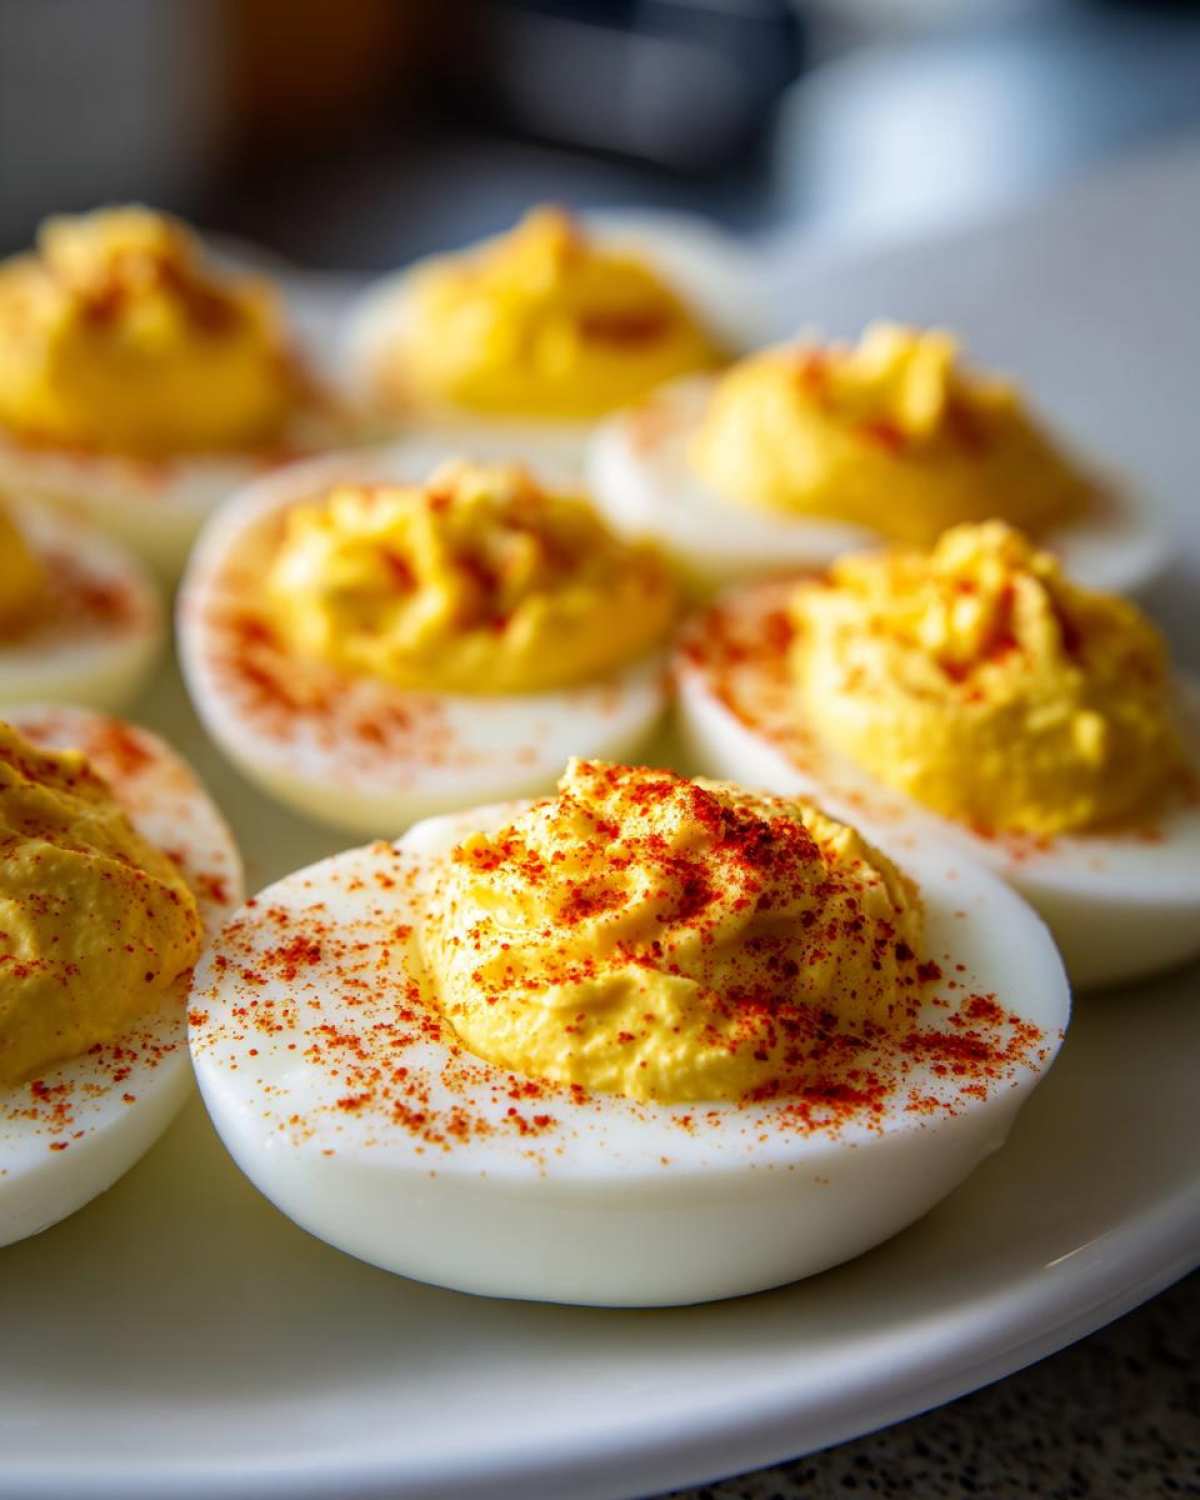
My number one tip here is chill time. Once you have piped or spooned the filling back into the whites, resist the urge to serve them immediately. Cover the tray loosely (I just use plastic wrap draped lightly) and stick them in the fridge for at least 30 minutes before company arrives. This resting time allows the filling to firm up a bit. When the filling is cold and set, it holds its beautiful mound shape much better when people start grabbing them!
If you are planning out a big buffet spread, think about what else you are serving. These little flavor bombs pair so nicely with fresh, green veggies. If you’re looking for a quick, healthy side to put next to your eggs, you should absolutely try my quick broccolini garlic parmesan recipe—it’s fast and bright!
Also, don’t be afraid to garnish creatively! While paprika is the gold standard, try swapping it out sometimes. A tiny sprinkle of finely chopped chives gives a gorgeous green contrast. Or, if you like a little zing, a shaving of finely grated lemon zest over the top before serving adds such a lovely fresh aroma that people really notice. It tells guests you cared about every single detail!
Make-Ahead and Storage for Crowd Pleasing Appetizer Recipe
One of the things I love most about these Classic Deviled Eggs is that they are fantastic Make Ahead Appetizers! Seriously, it cuts down on so much stress when you’re getting ready for a big gathering or holiday meal. You absolutely can prep these ahead of time, but you need to know the golden rule: never fill the egg whites in advance unless you plan to serve them the same day!
If you fill the whites ahead of time, no matter how well covered they are, they start to weep a little moisture, and the filling can get a funny texture. I learned that the hard way when I tried to prep for Christmas dinner too early. If you’re looking for something that keeps beautifully overnight, my cranberry orange bread recipe is a winner, but the eggs need a little more finesse.
The best strategy is to make the yolk filling and store it separately. Mash those yolks, mix everything together until it’s totally smooth and creamy, and just put that filling into a sealed, airtight container. It keeps wonderfully in the fridge for up to two days! This way, even if you’re bringing these amazing Classic Deviled Eggs to a party or making them for a huge batch of Potluck Appetizers, you only have 20 minutes of assembly time right before you leave.
When it’s time to assemble, just pull out your yolks and your peeled whites, pipe or spoon the filling back in, and top with paprika. They’re best served the day they are filled, but they will still be great if they sit in the fridge for up to about 4 hours after stuffing. It keeps them cold, safe, and looking their absolute freshest!
Serving Suggestions for Your Classic Deviled Eggs
You’ve made the very best appetizer for any gathering, but what else goes on the table? These little bites of creamy goodness deserve some friends! When I bring these to a potluck, I always pair them with dishes that offer a nice textural contrast. Since they are super rich, I like to balance them out with something fresh or something roasted.
For holiday appetizers, everyone expects certain classics, and these eggs fit right in next to, say, glazed ham or a nice roast chicken. They are so simple, they don’t fight with any big flavors on the table!
If you are piling up a plate for a summer party, I always suggest loading up the rest of the serving tray with lighter fare. Maybe some fresh veggie sticks with ranch, or even some nice crunchy crackers. If you want a hot side that’s still easy to manage while you’re juggling all those plates, you have to try my absolute favorite vegetable side dish, the garlic herb roasted veggies. They roast up while you’re busy shelling the eggs, and the flavors blend together so nicely on a big serving spread.
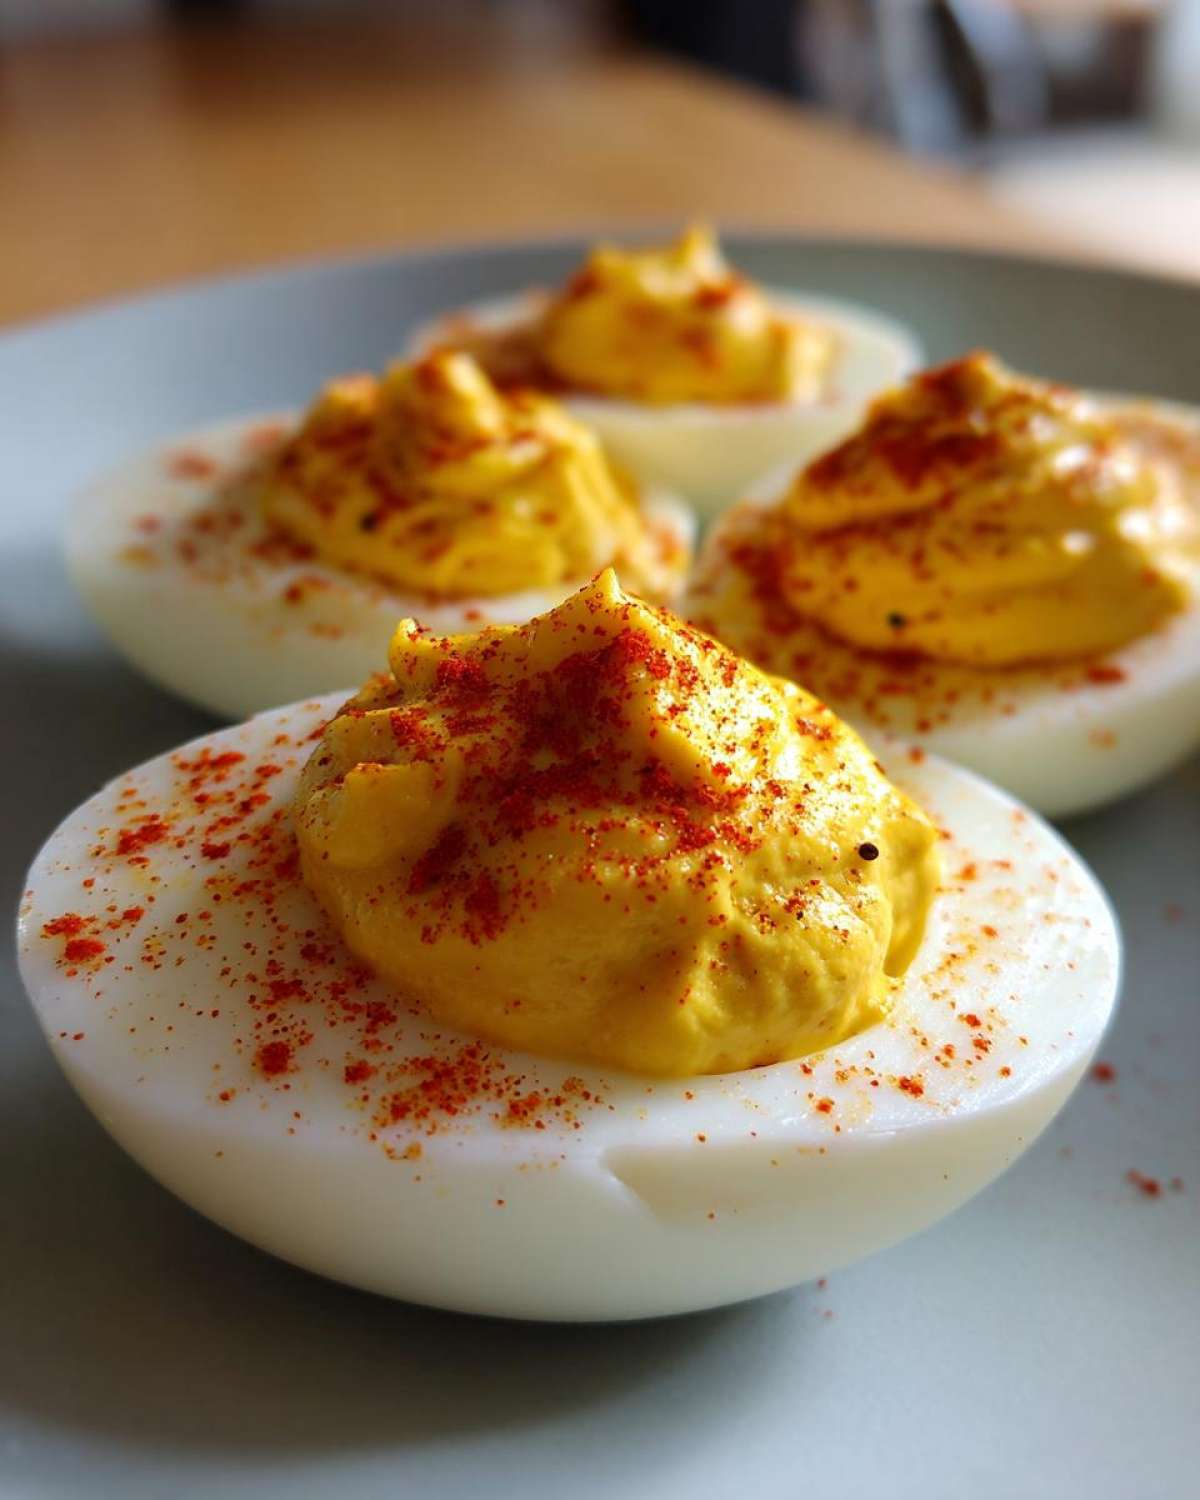
When it comes to arranging them on the platter, try placing them next to something colorful. A scattering of bright cherry tomatoes or maybe a few sprigs of fresh parsley around the edges really makes the simple white and yellow pop. These little snacks are so versatile, they honestly go well with everything from heavy comfort food to light summer salads!
Frequently Asked Questions About Making Classic Deviled Eggs
I know you might have a few hang-ups, especially if deviled eggs have given you trouble in the past. That’s totally normal! We’ve covered the basics, but let’s tackle a few things that trip people up. These are the questions I always get when I bring these Simple Party Snacks out, whether it’s for a casual get-together or a big holiday meal!
How do I stop my deviled egg filling from looking watery?
Oh, the watery filling struggle! That usually means one of two things happened. First, if you didn’t boil the eggs long enough or cool them fast enough, the yolks sometimes hold onto extra water, which leaks out when mashed. Make sure you follow that ice bath step—it’s non-negotiable!
Second, it means you added too much liquid, usually the mayonnaise or vinegar. When you’re adding the wet ingredients, only add half of what the recipe calls for, mix it thoroughly, and then add the rest only until it reaches that perfect, fluffy consistency. If you feel like it’s getting sloppy, just add a teaspoon of dry mustard powder or even a pinch of flour—it will absorb some of that moisture without changing the flavor much.
Can I use brown eggs instead of white eggs for Classic Deviled Eggs?
Yes, absolutely! If you are making a big batch, sometimes you just grab whatever eggs the store has, right? Whether you use white or brown eggs makes absolutely zero difference to the final taste or texture of your Classic Deviled Eggs. The shell color is just down to the chicken breed.
The only tiny difference is aesthetic. If you are aiming for that ultra-pale, traditional look, white eggs sometimes give you a slightly softer white appearance. But honestly, once you put that beautiful yolk filling on top, anyone serving these Southern Style Deviled Eggs for their holiday table is going to completely forget about shell color! They are going to be too busy eating them!
A lot of folks who swear by Southern cooking often stick to brown eggs anyway, especially if they get them from a local farmer. I sometimes grab whatever I have to bake my sweet potato cornbread, and I certainly don’t hesitate for deviled eggs!
Nutritional Estimates for Classic Deviled Eggs
Now, I know not everyone is counting every little thing, but because we’re talking about a party appetizer that people often load up on, I figured it was good to give you a general idea of what’s in these little beauties. Remember, these are just estimates based on the standard ingredients I use. If you swap out the mayo for a light avocado-based brand, or use a different mustard, things will change!
I always tell people, treat these like any other rich snack—delicious in moderation! These estimates are based strictly on serving size of two halves. We are sticking to the traditional recipe, so these are naturally gluten-free, which is a bonus if you’re catering to guests with sensitivities.
For the official fine print and further details on how we calculate these numbers, you can always take a peek at our general recipe disclaimer here: disclaimer.
Here is a ballpark guide:
- Serving Size: 2 halves
- Calories: 90
- Fat: 8g (with 2g Saturated Fat)
- Carbohydrates: 0.5g
- Protein: 3g
- Cholesterol: 100mg (Yes, they have cholesterol, but they are worth it for the party!)
- Sodium: 110mg
See? Very straightforward! The fat content comes mostly from the mayonnaise and egg yolks, which is what gives us that incredible, smooth texture we worked so hard to achieve in the filling. Don’t worry too much about the numbers; just enjoy bringing these perfect crowd-pleasers to the table!
Share Your Best Deviled Egg Recipe Experience
Alright, that’s it! You are now officially equipped to make the best Classic Deviled Eggs anyone has ever put on a platter. They are simple, they are so creamy, and they are guaranteed to disappear before the main dishes even come out of the oven!
I’m dying to know how they turn out for you! Did you stick strictly to the traditional filling, or did you sneak in a little secret ingredient of your own? Maybe you tried a dash of pickle relish instead of vinegar, or perhaps you swapped the paprika for some finely chopped jalapeño for a kick?
Please let me know in the comments below how your batch turned out. Drop a star rating for the recipe if you think it deserves a spot on your permanent rotation for Potluck Appetizers. I love seeing when you use these recipes for your big events!
If you have any questions at all about the peeling process or need quick advice on making them ahead of time, don’t hesitate to reach out. You can find all my contact info right here: Contact Me! Happy cooking, and enjoy all the compliments you get on your perfect, traditional deviled eggs!
PrintClassic Creamy Deviled Eggs
This recipe provides simple steps for making traditional, creamy deviled eggs with a tangy flavor, perfect for any gathering.
- Prep Time: 20 min
- Cook Time: 12 min
- Total Time: 32 min
- Yield: 24 halves
- Category: Appetizer
- Method: Boiling and Mixing
- Cuisine: American
- Diet: Gluten Free
Ingredients
- 12 large eggs
- 1/2 cup mayonnaise
- 2 tablespoons yellow mustard
- 1 tablespoon white vinegar
- 1/4 teaspoon salt
- 1/8 teaspoon black pepper
- Paprika, for garnish
Instructions
- Place eggs in a large saucepan and cover with cold water by one inch. Bring water to a rolling boil over high heat.
- Once boiling, immediately remove the pan from the heat, cover it, and let the eggs stand for exactly 12 minutes.
- Transfer the eggs to an ice bath (a bowl of ice water) and let them cool completely, about 15 minutes. This stops the cooking and prevents green rings.
- Peel the cooled eggs. Slice each egg in half lengthwise.
- Gently scoop the yolks into a medium bowl. Place the empty egg white halves on a serving platter.
- Mash the yolks thoroughly with a fork until fine crumbs form.
- Add the mayonnaise, mustard, vinegar, salt, and pepper to the mashed yolks. Mix until the filling is completely smooth and creamy.
- Spoon or pipe the yolk mixture back into the egg white halves.
- Sprinkle paprika over the top of each filled egg half before serving.
Notes
- For easier peeling, crack the shell all over and peel under cool running water.
- If you do not have a piping bag, use a small spoon to fill the egg whites.
- You can make the filling up to one day ahead and store it covered in the refrigerator. Fill the egg whites just before serving.
Nutrition
- Serving Size: 2 halves
- Calories: 90
- Sugar: 0.5
- Sodium: 110
- Fat: 8
- Saturated Fat: 2
- Unsaturated Fat: 6
- Trans Fat: 0
- Carbohydrates: 0.5
- Fiber: 0
- Protein: 3
- Cholesterol: 100