

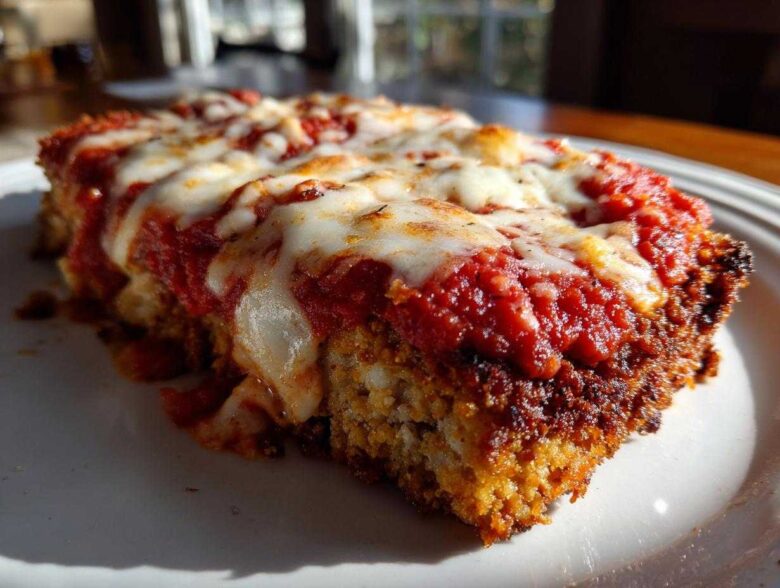
Oh man, you know those nights! You’re absolutely craving that big, gooey, saucy Italian comfort food, the kind that usually means takeout or a huge mess frying chicken in oil. Trust me, I’ve been there too—my early attempts at a chicken parmesan recipe usually ended in soggy breading and smoke alarms.
But I finally cracked the code for you, the way to get that glorious, restaurant-quality crunch right in your own oven without drowning it in grease! Seriously, this Crispy Baked Chicken Parmesan changed my whole weeknight dinner routine. I spent months trying to perfect the baking method because I hate clean-up, and I finally figured out the trick to getting the coating perfectly crispy and the center impossibly juicy. We’ve got all the secrets right here on our kitchen philosophy, but trust me, this one is magic.
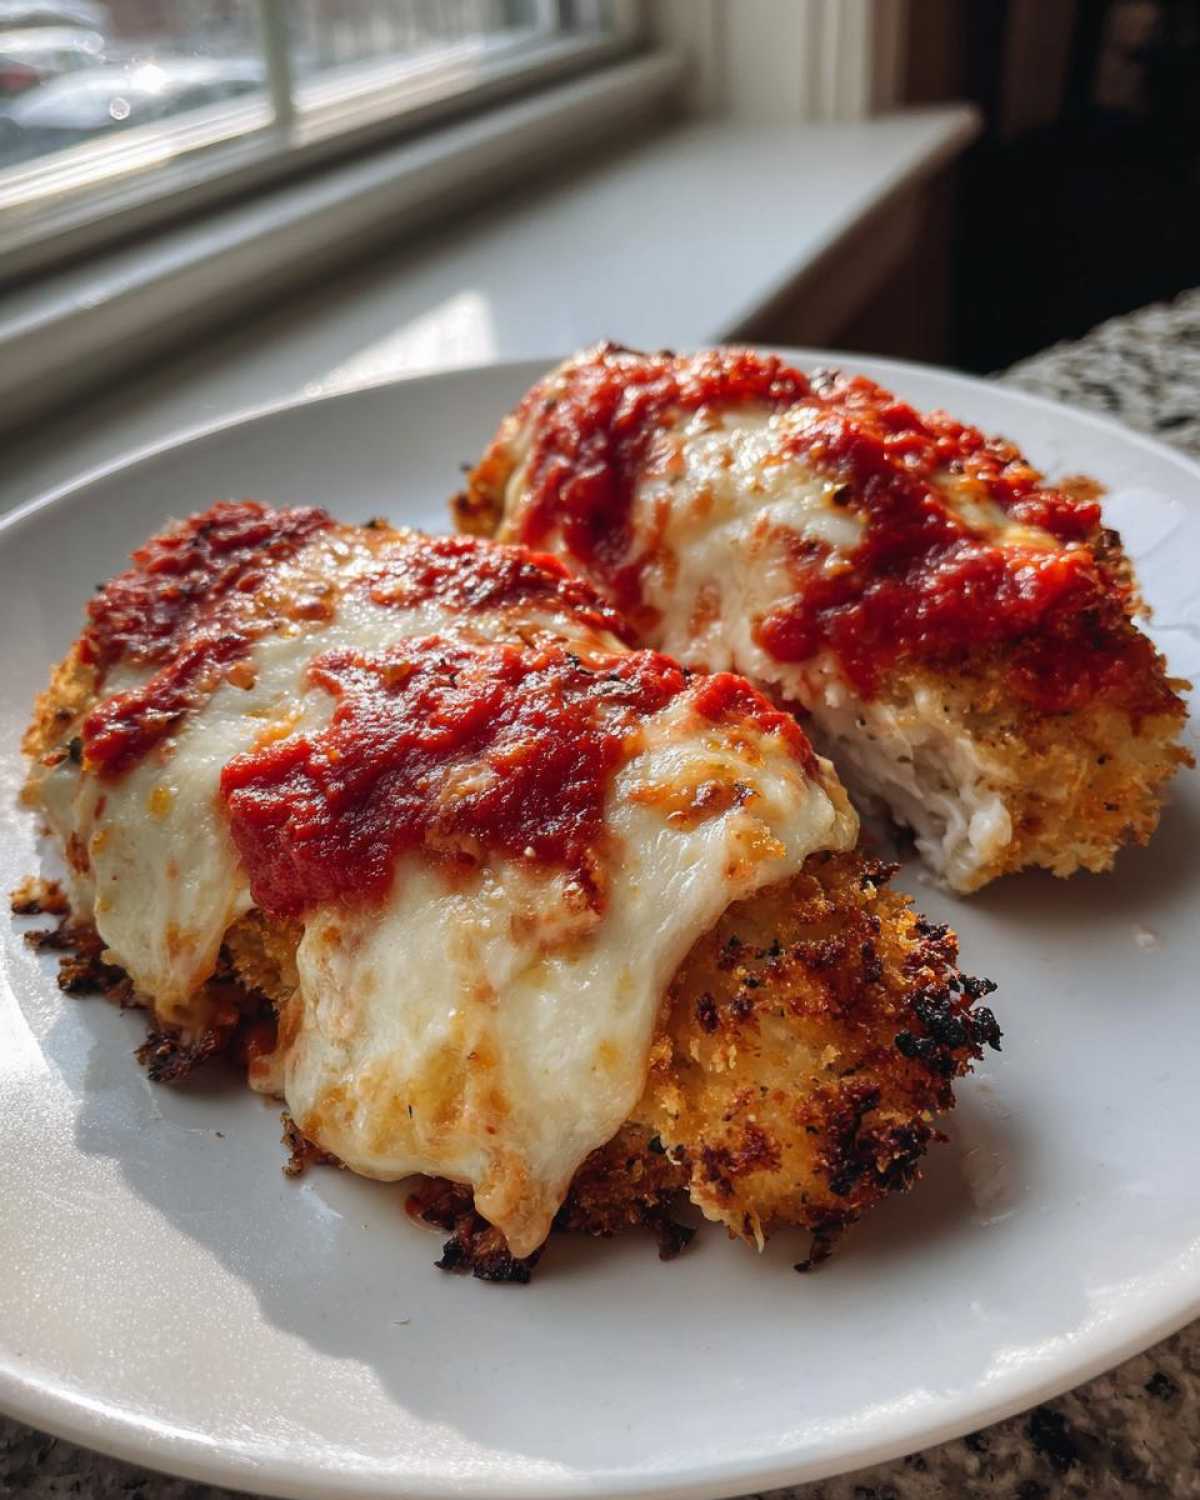
It requires just a few small tweaks to the coating texture and that initial blast of heat. I promise you, once you try this, you won’t look back. It’s my absolute go-to when I need that hearty, cheesy fix fast!
Why This Crispy Baked Chicken Parmesan Recipe Works
You are probably thinking, “Baked chicken parm? That’s never crispy!” I thought the same thing until I cracked this technique! This recipe lets you dodge the deep fryer entirely, making it perfect for a busy weeknight. Seriously, this is the Easy Chicken Parmesan you’ve been dreaming about.
The secret isn’t just one thing; it’s the combination. We use Panko breadcrumbs, and then we give those crumbs a light coating of oil before they even hit the oven. That little step makes all the difference in achieving genuine crunch! You get that incredible, satisfying texture from a Crispy Chicken Parmesan that tastes just like it came from your favorite Italian spot. It’s quick, it’s comforting, and the clean-up is minimal. It’s a total win-win! If you’re looking for other speedy weeknight ideas, you should check out my chicken zucchini stir-fry when you need something lighter!
Ingredients for the Best Chicken Parmesan Recipe
Okay, let’s talk about what goes into this masterpiece. You don’t need a million fancy things, but the ingredients you *do* use need to be treated right. When you see the ingredient list below, notice the specifics—because those matter for getting that crispy baked result we’re after!
The chicken itself needs some TLC. You need four boneless, skinless breasts, and you absolutely must pound them down evenly to about a half-inch thickness. This is key for ensuring you end up with Juicy Chicken Cutlets instead of dry hockey pucks! If you want an extra boost of flavor soak them first, though for a quick Chicken Parmesan Recipe, we skip that step today.
The breading station is where the crunch happens, which is why for this Simple Chicken Parmesan, I insist on using Panko breadcrumbs. Traditional breadcrumbs just don’t get as lovely and airy golden brown in the oven, no matter what hack you try! In that final breading dish, you’ll mix the Panko with half a cup of good Parmesan, oregano, garlic powder, salt, and pepper. If you want to learn how to make a fantastic marinade for any chicken down the road, check out my notes on the ultimate all-purpose juicy chicken marinade!
Beyond that, we need flour, eggs, our favorite marinara sauce, and the gooey star: mozzarella cheese. See? It’s super straightforward, but when you respect the details on the thickness and the crumb choice, you guarantee success every single time!
- 4 boneless, skinless chicken breasts, pounded to 1/2 inch thickness
- 1 cup all-purpose flour
- 2 large eggs, beaten
- 1 1/2 cups panko breadcrumbs
- 1/2 cup grated Parmesan cheese, plus more for topping
- 1 teaspoon dried oregano
- 1/2 teaspoon garlic powder
- 1/4 teaspoon salt
- 1/4 teaspoon black pepper
- 1 tablespoon olive oil, divided (this tiny bit is crucial for crisping!)
- 1 cup marinara sauce
- 1 cup shredded mozzarella cheese
How To Make Crispy Baked Chicken Parmesan: Step-by-Step
Alright, this is the main event! Getting this chicken parmesan recipe right is all about prepping the chicken piece by piece so the crust has the best chance to turn golden and stay put. Don’t rush the oven steps, because that’s where the magic happens for that crispiness we talked about.
First things first: get that oven cranked up to 400°F (200°C)! While it’s heating up, lightly grease your baking sheet or, even better, line it with parchment paper. Trust me, a little prep here saves you from scrubbing later!
Preparing the Chicken Cutlets for the Chicken Parmesan Recipe
Remember how I said we need those even cutlets? Get those chicken breasts between two pieces of plastic wrap and grab your meat mallet. You want them all uniform around a half-inch thick. Why? Because thick spots stay raw while thin spots dry out. Even pounding ensures everything finishes cooking at the same time, giving you those perfectly Juicy Chicken Cutlets every single time.
Now set up your breading station—three shallow dishes lined up. Dish one is the flour, dish two is the two beaten eggs. When you dredge the chicken in the flour first—always flour first!—make sure you really shake off the excess flour when you pull it out. If it’s too thick, it clumps up in the egg wash later, and clumpiness is the enemy of a good, crisp crust!
Achieving Maximum Crunch in This Baked Chicken Parmesan
Dish three holds your Panko mix. This is where the crunch starts! After the chicken shakes off the flour and drips off the egg, you press it *firmly* into the Panko mix. Press hard to make sure those crumbs really stick on all sides.
Here is the critical step for that Baked Chicken Parmesan crisp: Once the cutlets are fully coated, you have to lightly toast them before they even see the oven floor. Take your reserved little bit of olive oil—seriously, just a tiny drizzle, we aren’t deep frying! You can spray both sides lightly with cooking spray or brush on about half a teaspoon of oil per piece. This fat helps the breading brown beautifully instead of just drying out like dust. Lay them on your pan and pop them in!
Baking and Melting the Cheese for Restaurant Quality Chicken Parmesan
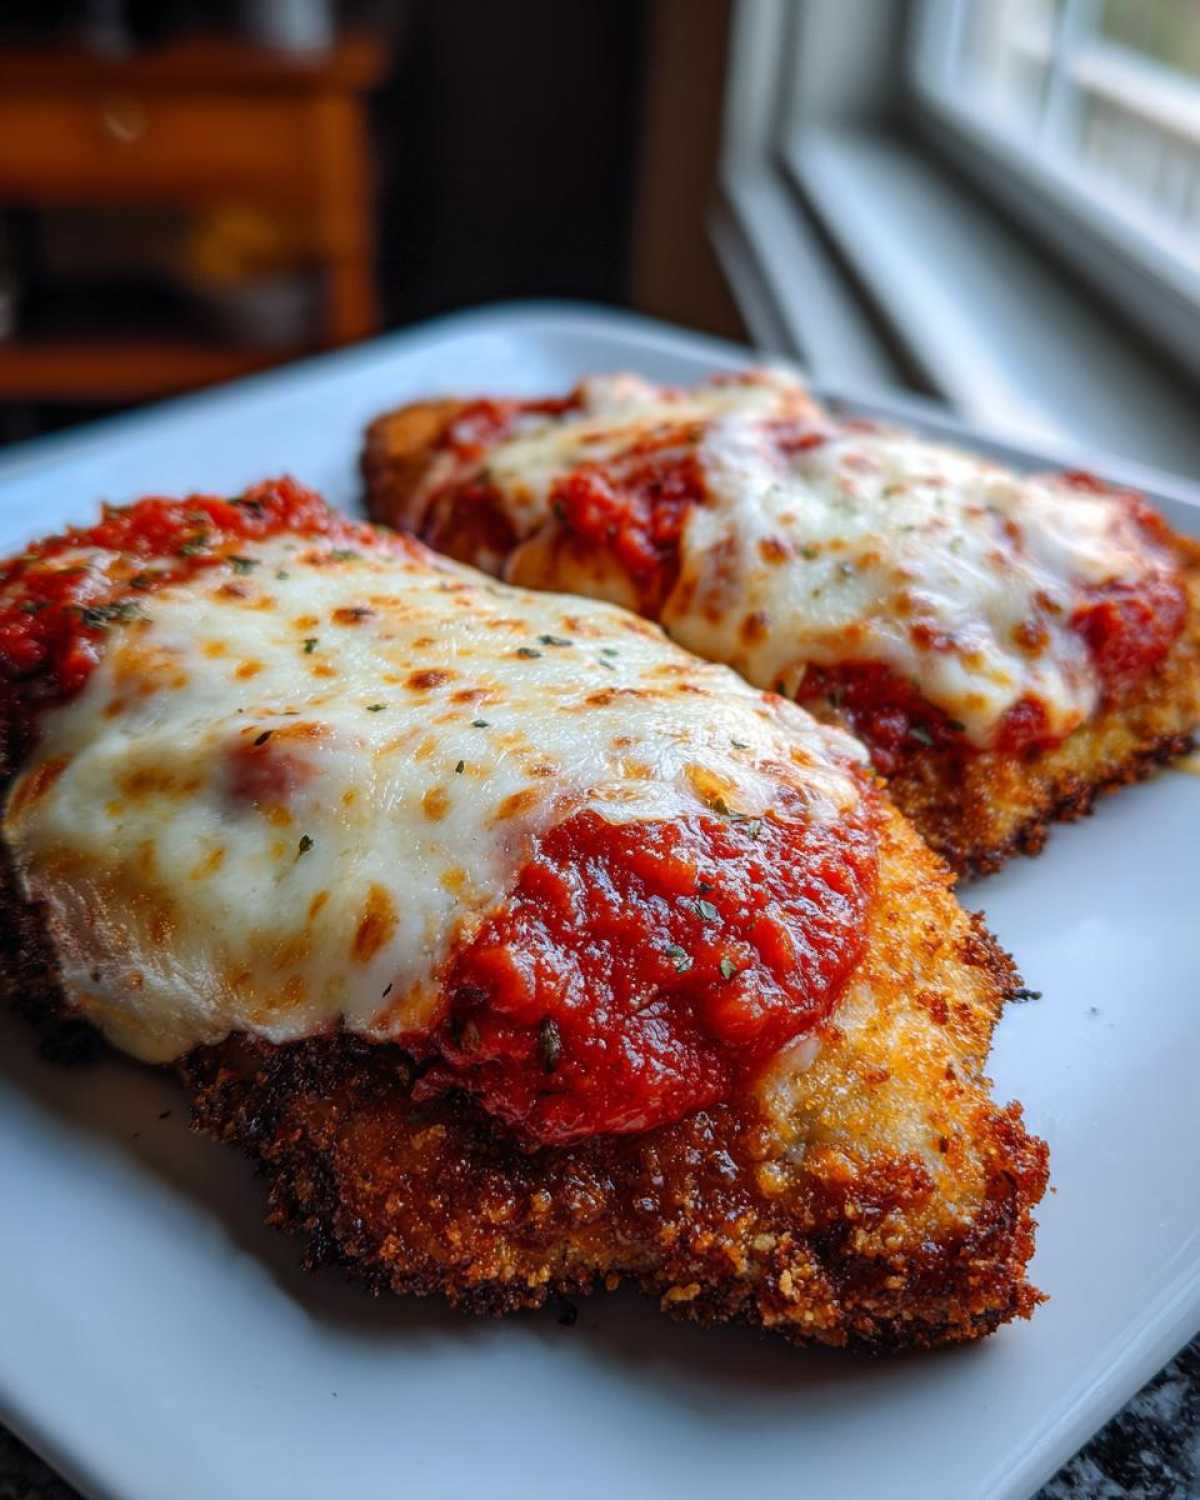
Bake the cutlets untouched for about 15 minutes. They should look golden brown starting to happen around the edges. Pull them out—careful, they’re hot! Now we build the classic layers. Spoon a bit of marinara sauce over the top of each piece, then smother it in mozzarella and sprinkle a little extra Parmesan over that gooey mound.
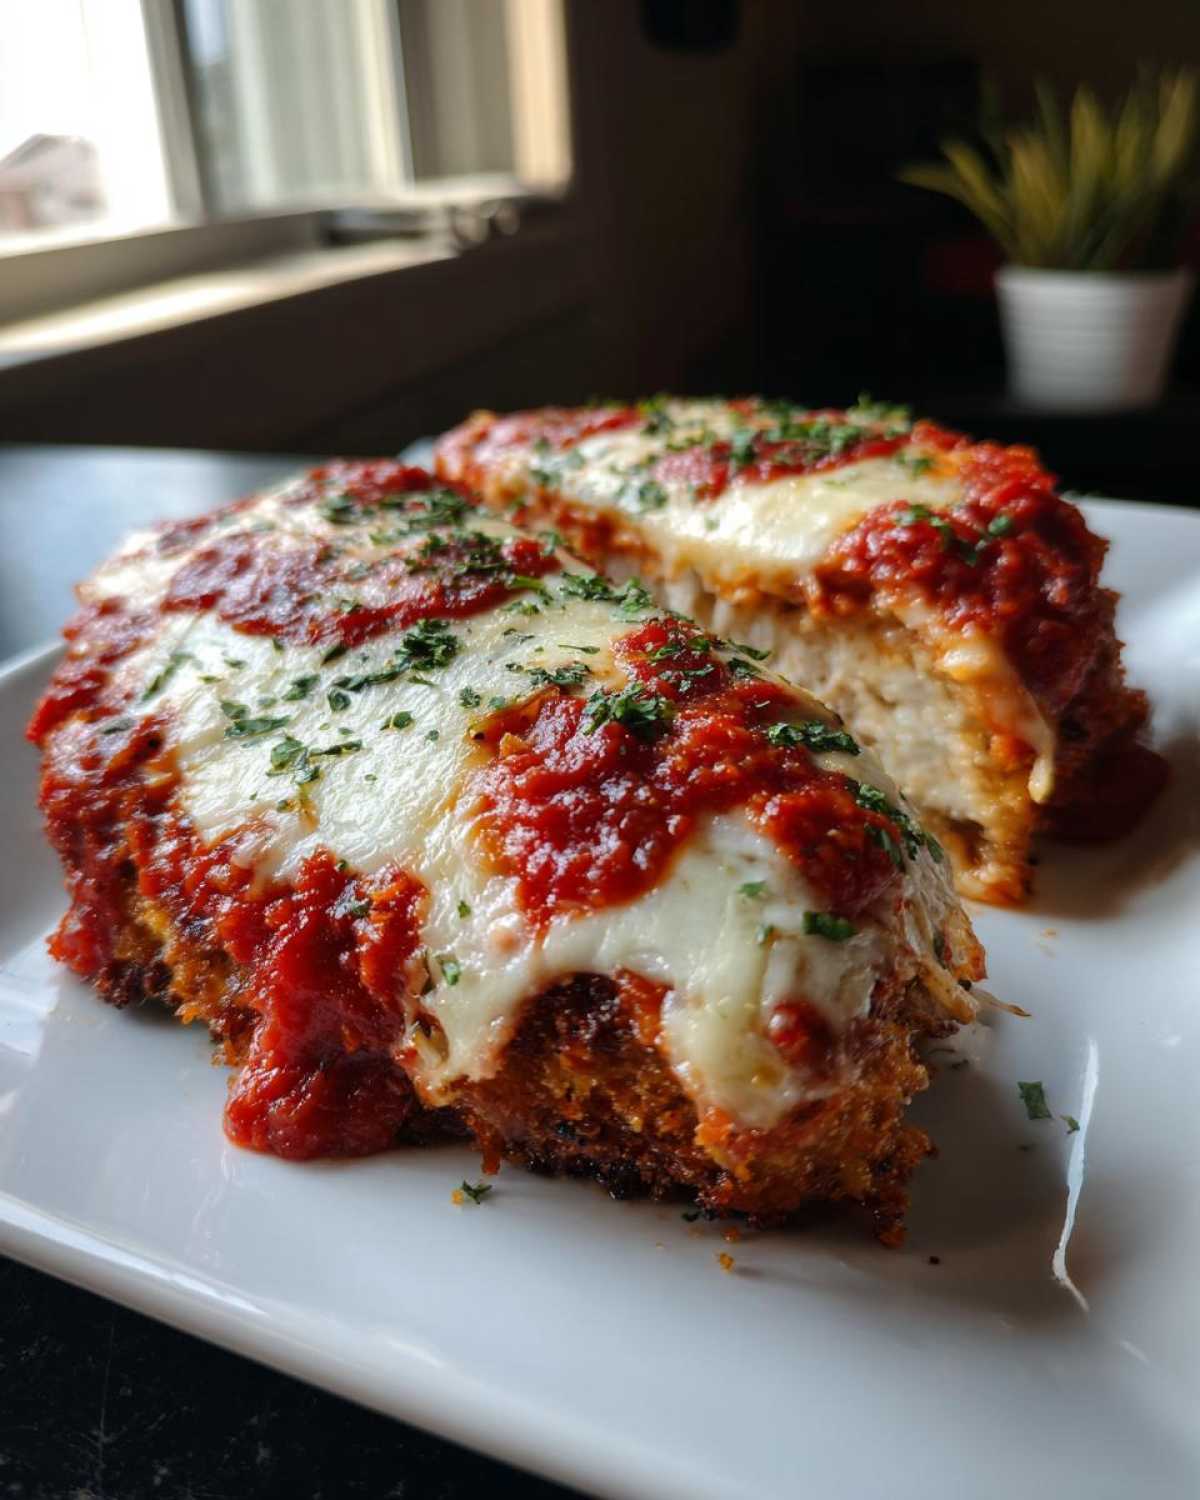
Put them back in the oven for another 5 to 8 minutes. You are watching for two things: bubbling cheese and a temperature reading of 165°F (74°C) in the thickest part of the chicken. This ensures we deliver you a perfectly safe and utterly delicious Restaurant Quality Chicken Parmesan!
If you want to see another amazing baked item where we focus on getting the skin super crisp, check out my recipe for crispy baked chicken wings! And you know I always serve this with some kind of great bread, like this easy homemade garlic butter naan bread.
Tips for the Ultimate Chicken Parmesan Recipe Success
You’ve got the basic steps down for this Chicken Parmesan Recipe, but want that extra edge? I’ve got a few secrets I learned after making this a thousand times for my family. A few tweaks can take this from great to absolutely life-changing!
First, let’s revisit the Panko. If you have five extra minutes, toast those breadcrumbs! Dump the Panko (before mixing in the cheese and spices) into a dry skillet over medium heat. Stir constantly until they smell nutty and look slightly browner—maybe 3 minutes tops. Cooling them down quickly before breading stops them from absorbing moisture too fast. This is my number one trick for extra-crispy results!
Second, sauce quality matters more than you think, especially since we aren’t simmering the sauce on top of the chicken for hours. Use the best jarred marinara you can find, or better yet, use leftover sauce from another amazing batch of Italian cooking. A high-quality, thick sauce sits nicely on the chicken without instantly making the crust soggy.
Third, when we get to that final cheese melting stage, you need to aim for that Gooey Cheese Chicken perfection. Don’t just throw the cheese on haphazardly! Layer the mozzarella first, giving you a blanket. Then, sprinkle just a touch more Parmesan on top of that mozzarella. The Parmesan melts down and browns slightly, creating that perfect crusty-gooey contrast. If you love cheesy baked dishes, you absolutely have to try my cheesy chicken pasta recipe next week!
Finally, don’t skip pounding the chicken evenly. I know it sounds tedious, but when the pounded cutlets are all the same thickness—half an inch is perfect—everything bakes at the same rate. That consistency is the secret to serving up four perfectly cooked pieces that are all equally juicy!
Serving Suggestions for Your Weeknight Chicken Dinner
Now that you have this incredible, crispy, cheesy main course ready, the question becomes: what are we putting on the plate next to it? This Italian Comfort Food deserves the perfect supporting cast, right? I usually treat this Chicken Parm like the star of the show, so the sides need to be satisfying but shouldn’t demand hours of your evening, especially if you’re aiming for a quick Weeknight Chicken Dinner.
Most importantly, you need something to soak up that extra dollop of marinara sauce you’re definitely going to end up with! My first instinct is always, always homemade pasta. Spaghetti or linguine works beautifully for that classic Chicken Parm Pasta Night setup. Make sure you reserve plenty of that starchy pasta water when you drain your noodles—it’s liquid gold for emulsifying your sauce just a little bit more before you toss it all together.
If you want to keep things really simple after all that breading action, I always have a big green salad tossed in a sharp vinaigrette ready to go. The acidity cuts right through the richness of the cheese and fried crust. It’s the perfect contrast!
But if you’re looking for something a little heartier than salad, you absolutely must consider garlic bread. You can use my recipe for making homemade garlic butter and slather it on Italian or French bread the way everyone loves. Seriously, dipping that crusty bread into the extra sauce layered over the chicken? Unbeatable.
For those nights where you want a vegetable that feels just as comforting as the main dish, you can roast some veggies alongside the chicken. I’ve got a great recipe for garlic herb roasted veggies that you can throw into another section of the oven while the chicken bakes, so everything finishes at the same time. Or, if you’re feeling totally wild and want an unexpected starchy side that’s unbelievably flavorful, try my French onion butter rice instead of traditional pasta. It sounds crazy, but it’s heavenly!
Storing and Reheating Your Cheesy Chicken Recipe
Listen, I know this Cheesy Chicken Recipe is so good you’ll want to eat it all in one go, but let’s be real—sometimes there are leftovers! And leftovers are the best, provided you handle them right. We need to make sure that crispy coating doesn’t turn into sad, limp mush when you reheat it tomorrow night.
First, don’t even think about storing them mixed with the pasta! Always store the chicken cutlets completely separate from any pasta or extra sauce. Let the chicken cool down completely on a wire rack before you even think about putting it in the fridge. Trapping heat and steam is the fastest way to ruin that beautiful crust we worked so hard on in the oven.
Once cool, wrap each piece individually tightly in plastic wrap, and then place them in an airtight container. This insulates them and keeps the air out. They’ll stay good in the fridge for about 3 to 4 days, tops.
Now for reheating—this requires discipline! We are avoiding the microwave at all costs. The microwave steams the breading, turning it soggy instantly. You have two excellent options for bringing back that crunchy texture, making it almost as good as it was fresh:
1. The Toaster Oven or Air Fryer Method: This is my absolute favorite hack for leftovers. If you have an air fryer, just pop the cold chicken piece in at 360°F (180°C) for about 6 to 8 minutes. If you use a toaster oven, set it to toast/bake around 375°F (190°C) for about 10 minutes. These appliances use direct dry heat that crisps the crust right back up while warming the cheese perfectly. It’s fantastic!
2. The Baking Sheet Method: If you don’t have those gadgets, don’t stress. Preheat your regular oven to 375°F (190°C). Place the cutlets right onto a baking sheet—don’t crowd them! Bake for about 12 to 15 minutes. You might want to sprinkle a tiny bit of water around the edges of the pan underneath the chicken just to keep the meat from drying out, but keep the cheese side uncovered so it can bubble again!
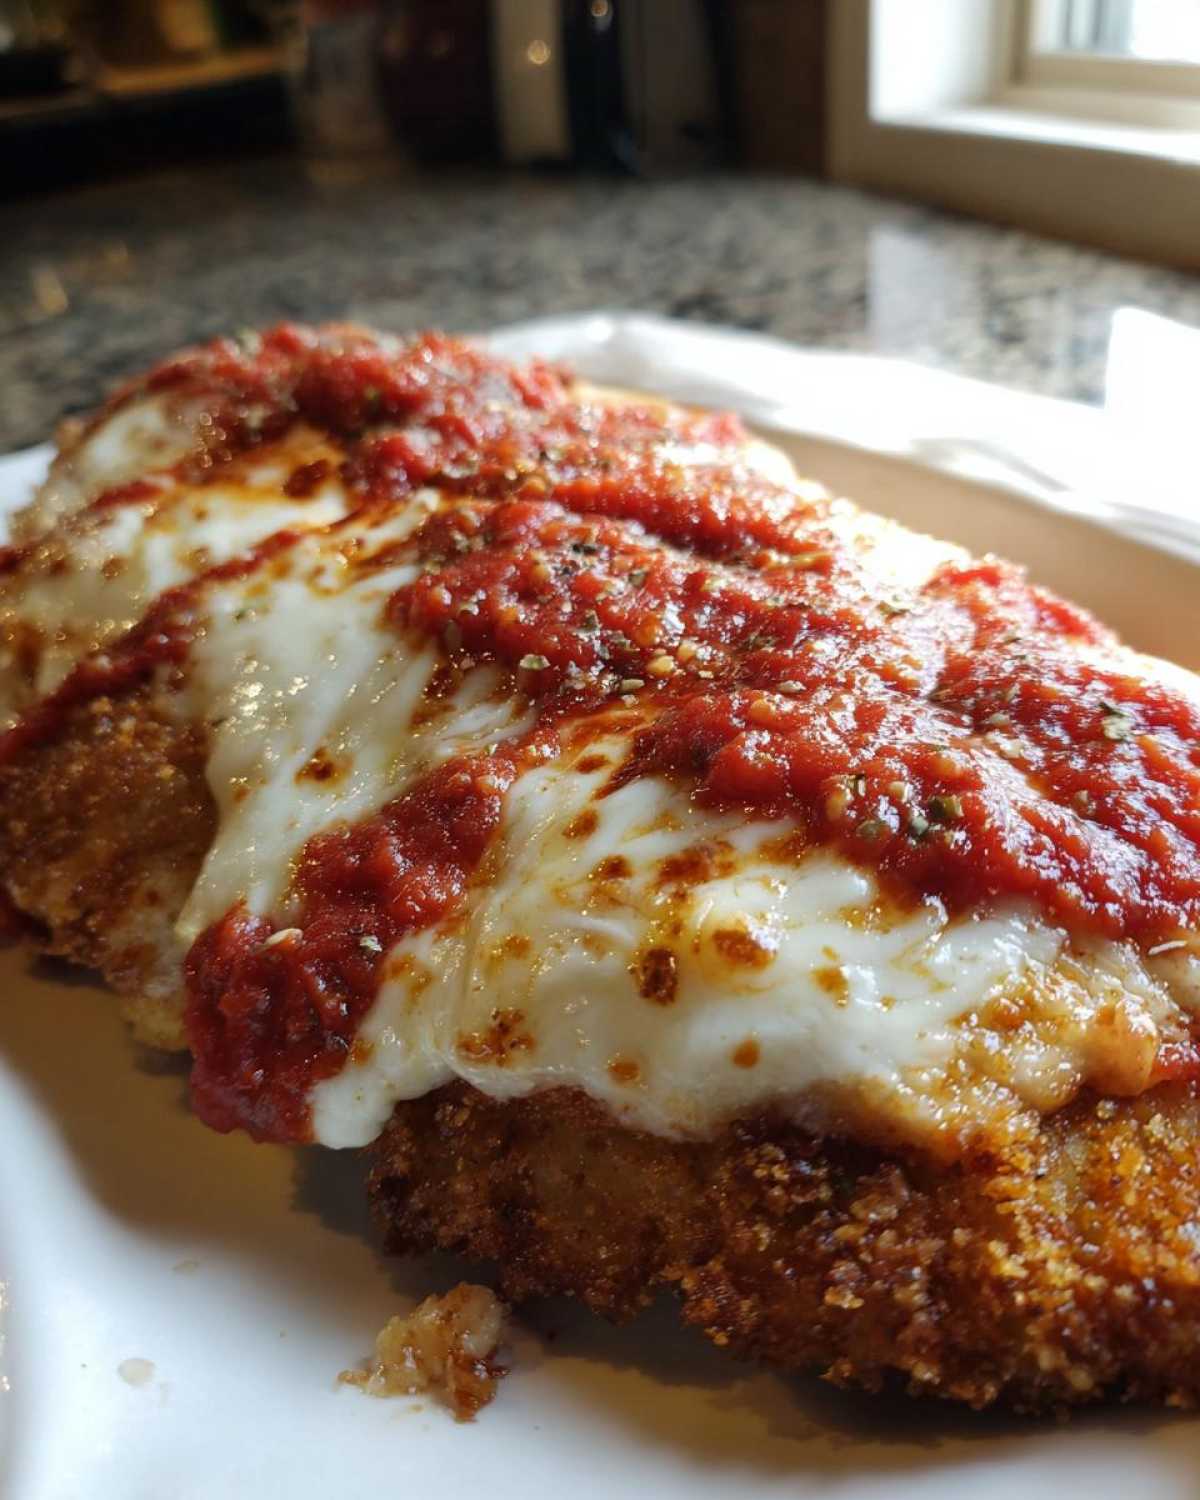
Treat your leftovers right, and they will totally reward you tomorrow!
FAQ: Mastering the Simple Chicken Parmesan Recipe
I get so many questions about this recipe, which tells me you all want to nail that perfect texture! Baking is different than frying, so you have to pay a little more attention to a few details. Don’t worry, getting the hang of this Simple Chicken Parmesan is easier than you think!
Can I use fresh mozzarella instead of shredded for this chicken parmesan recipe?
Oh, I love fresh mozzarella; that milky flavor is divine! You absolutely can sub it in, but you have to know what you’re trading. Fresh mozzarella has a much higher water content than the bagged, low-moisture stuff. If you pile it on, that extra moisture can sometimes steam the crust underneath, making it a bit softer instead of that beautiful, crisp top layer we are aiming for!
If you use fresh, I suggest patting the slices *really* dry with paper towels before they go on the chicken, and maybe shave off a little bit of the bake time for the final melt stage. If your main goal is that super crunchy crust, stick to the low-moisture shredded stuff for this specific chicken parmesan recipe, because it melts beautifully without releasing tons of excess liquid.
How do I ensure the chicken is a Juicy Chicken Cutlets when baking?
This is my number one concern for almost everyone making chicken in the oven! The key to having Juicy Chicken Cutlets lies in two non-negotiable steps. First, the pounding. Don’t skip this part. You need uniformity so the whole piece cooks evenly! Aim for that half-inch thickness we talked about earlier.
Second, timing! You pull the chicken out the second it’s done cooking (165°F!). When you add the sauce and cheese, you’re basically covering that beautiful crust to insulate it while the cheese melts. Don’t put it back in the oven any longer than necessary once the cheese is on, or you risk drying out the meat underneath. A quick 5 to 8 minutes is usually all it takes for that final bubbly stage!
If you want to see the full instructions again, you can always head back to my main guide on how to make chicken parmesan recipe!
Is this considered a Healthy Chicken Parmesan Baking method?
When people search for a Healthy Chicken Parmesan Baking method, they usually mean they want to ditch the oil vat used for deep frying. In that context, yes, this recipe is much lighter! We are using maybe a teaspoon of olive oil divided across four pieces of chicken, compared to the multiple cups of oil required to properly fry them.
Now, is it a salad? No! We still have flour, cheese, and marinara sauce, so it remains hearty Italian Comfort Food. But compared to the traditional preparation? It’s a massive step toward a lighter, less greasy version that you can totally feel good about making for your family on a Tuesday night! We want the satisfaction without draining the bank account or the deep fryer!
Nutritional Estimates for This Baked Chicken Parmesan
Alright, let’s talk numbers for a second. I try not to obsess over macros when I’m cooking up big Italian meals, because honestly, flavor is king! But since we’re focusing on making this the best Oven Baked Italian Dinner possible, I pulled together the estimates based on the ingredients we used. Keep in mind, these are just friendly guidelines!
The exact figures can swing wildly depending on how sugary your marinara sauce is or the brand of mozzarella you grab. Use this as a benchmark, not a strict diet plan. After all, this is comfort food, not a science experiment!
For one serving (one cutlet), here’s the ballpark from my breakdown:
- Calories: Right around 450
- Protein: A whopping 45g—that’s fantastic for keeping you full!
- Fat: About 18g total
- Carbohydrates: Around 30g
We’re looking at about 8g of sugar, mostly coming straight from that beautiful marinara sauce. I’m really happy that our light oil spray method keeps the saturated fat down a bit compared to frying—we’re looking at about 8g of saturated fat only. And the good news is, we get 45g of filling protein in every bite!
Remember, this is just an estimate for the chicken and cheese part. If you drown it in pasta, double the sauce, or add a slice of cheese bread on the side, those numbers are going to climb! For a full breakdown and to see how these numbers compare to other recipes, you can always check out our general nutritional disclaimer page. Just enjoy the deliciousness first, okay?
Share Your Best Chicken Parmesan Recipe Experience
Whew! We made it. I really hope you feel completely set up now to make the crispiest, cheesiest, easiest Chicken Parmesan Recipe you’ve ever tackled at home. Forget those disappointing, soggy attempts from the past!
When you pull those golden brown, bubbly beauties out of the oven—the ones that smell like an authentic Italian restaurant—I want you to take a minute and just enjoy that smell. That’s earned comfort food right there!
Seriously, when you try this out, please come back and tell me what you think! Drop a comment below and let me know how the baked crust held up for you. Did you manage to get that satisfying crunch? If you loved it, don’t just keep it to yourself—share this recipe with a friend who needs a fantastic, simple weeknight dinner upgrade. We’re all about spreading that home-cooked joy!
If you have any burning questions that weren’t covered in the FAQs, head over to my contact page and drop me a line. Happy cooking, and enjoy your magnificent Chicken Parmesan Recipe!
PrintCrispy Baked Chicken Parmesan
Make restaurant-quality, crispy baked chicken parmesan that is easy enough for a weeknight dinner. This recipe minimizes oil while maximizing flavor and crunch.
- Prep Time: 15 min
- Cook Time: 25 min
- Total Time: 40 min
- Yield: 4 servings
- Category: Dinner
- Method: Baking
- Cuisine: Italian
- Diet: Vegetarian
Ingredients
- 4 boneless, skinless chicken breasts, pounded to 1/2 inch thickness
- 1 cup all-purpose flour
- 2 large eggs, beaten
- 1 1/2 cups panko breadcrumbs
- 1/2 cup grated Parmesan cheese, plus more for topping
- 1 teaspoon dried oregano
- 1/2 teaspoon garlic powder
- 1/4 teaspoon salt
- 1/4 teaspoon black pepper
- 1 tablespoon olive oil, divided
- 1 cup marinara sauce
- 1 cup shredded mozzarella cheese
Instructions
- Preheat your oven to 400°F (200°C). Lightly grease a baking sheet or line it with parchment paper.
- Set up a standard breading station with three shallow dishes. Place flour in the first dish. Whisk eggs in the second dish. In the third dish, combine panko breadcrumbs, 1/2 cup Parmesan cheese, oregano, garlic powder, salt, and pepper.
- Dredge each pounded chicken cutlet first in the flour, shaking off excess. Dip it into the egg mixture, allowing excess to drip off. Finally, press the cutlet firmly into the breadcrumb mixture to coat both sides completely.
- Lightly spray both sides of the breaded cutlets with cooking spray or brush with 1/2 teaspoon of olive oil per cutlet. This helps achieve crispiness in the oven.
- Place the coated chicken on the prepared baking sheet. Bake for 15 minutes.
- Remove the chicken from the oven. Spoon about 2 tablespoons of marinara sauce over the top of each cutlet. Sprinkle generously with mozzarella cheese and a little extra grated Parmesan.
- Return the chicken to the oven and bake for another 5 to 8 minutes, or until the cheese is melted, bubbly, and the chicken is cooked through (internal temperature reaches 165°F or 74°C).
- Serve immediately over your favorite pasta with extra sauce, or alongside garlic bread.
Notes
- For extra crispiness, you can lightly toast the panko breadcrumbs in a dry skillet for 3 minutes before mixing them with the seasonings.
- Use high-quality marinara sauce for the best flavor.
- If you prefer a juicier cutlet, ensure you pound the chicken evenly to about 1/2 inch thickness.
Nutrition
- Serving Size: 1 cutlet
- Calories: 450
- Sugar: 8
- Sodium: 650
- Fat: 18
- Saturated Fat: 8
- Unsaturated Fat: 10
- Trans Fat: 0
- Carbohydrates: 30
- Fiber: 3
- Protein: 45
- Cholesterol: 120