

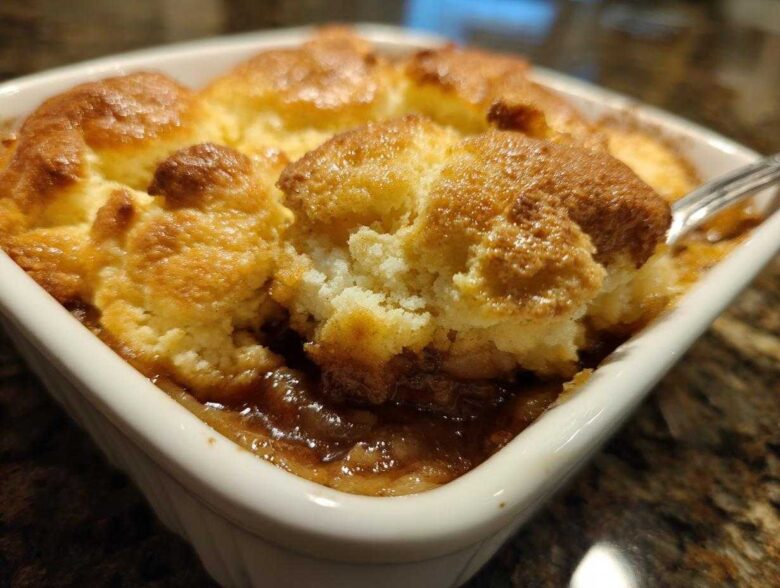
When the air gets crisp and the leaves turn orange, my kitchen immediately calls for deep, warm comfort. And nothing screams ‘cozy home baking’ louder than a bubbling fruit dessert, right? Forget those fussy pies; this recipe is for our absolute favorite, the easiest, most buttery apple cobbler you will ever attempt. I trust the process detailed here at our little corner of the internet when I need a quick fix. Honestly, this is my go-to when I need that classic fall dessert feeling without spending half the day in the kitchen. I just adore how the sweet spices hug those tender apples, giving you that perfect bite every single time. If you want a guaranteed win, stick with me!
Why This Is the Best Homemade Apple Cobbler Recipe
Listen, I have tried every style of fruit dessert out there, but this specific homemade apple cobbler always wins. It ticks all the boxes that a proper comfort food dessert needs! First off, it’s ridiculously fast. We’re talking fifteen minutes of active prep time, tops. That means you can get this glorious thing into the oven without stressing, even on a busy Tuesday night. If you’re looking for an easy apple cobbler, stop looking—this is it. I even used some lessons I picked up making things like that holiday toffee to make sure this topping has maximum buttery payoff.
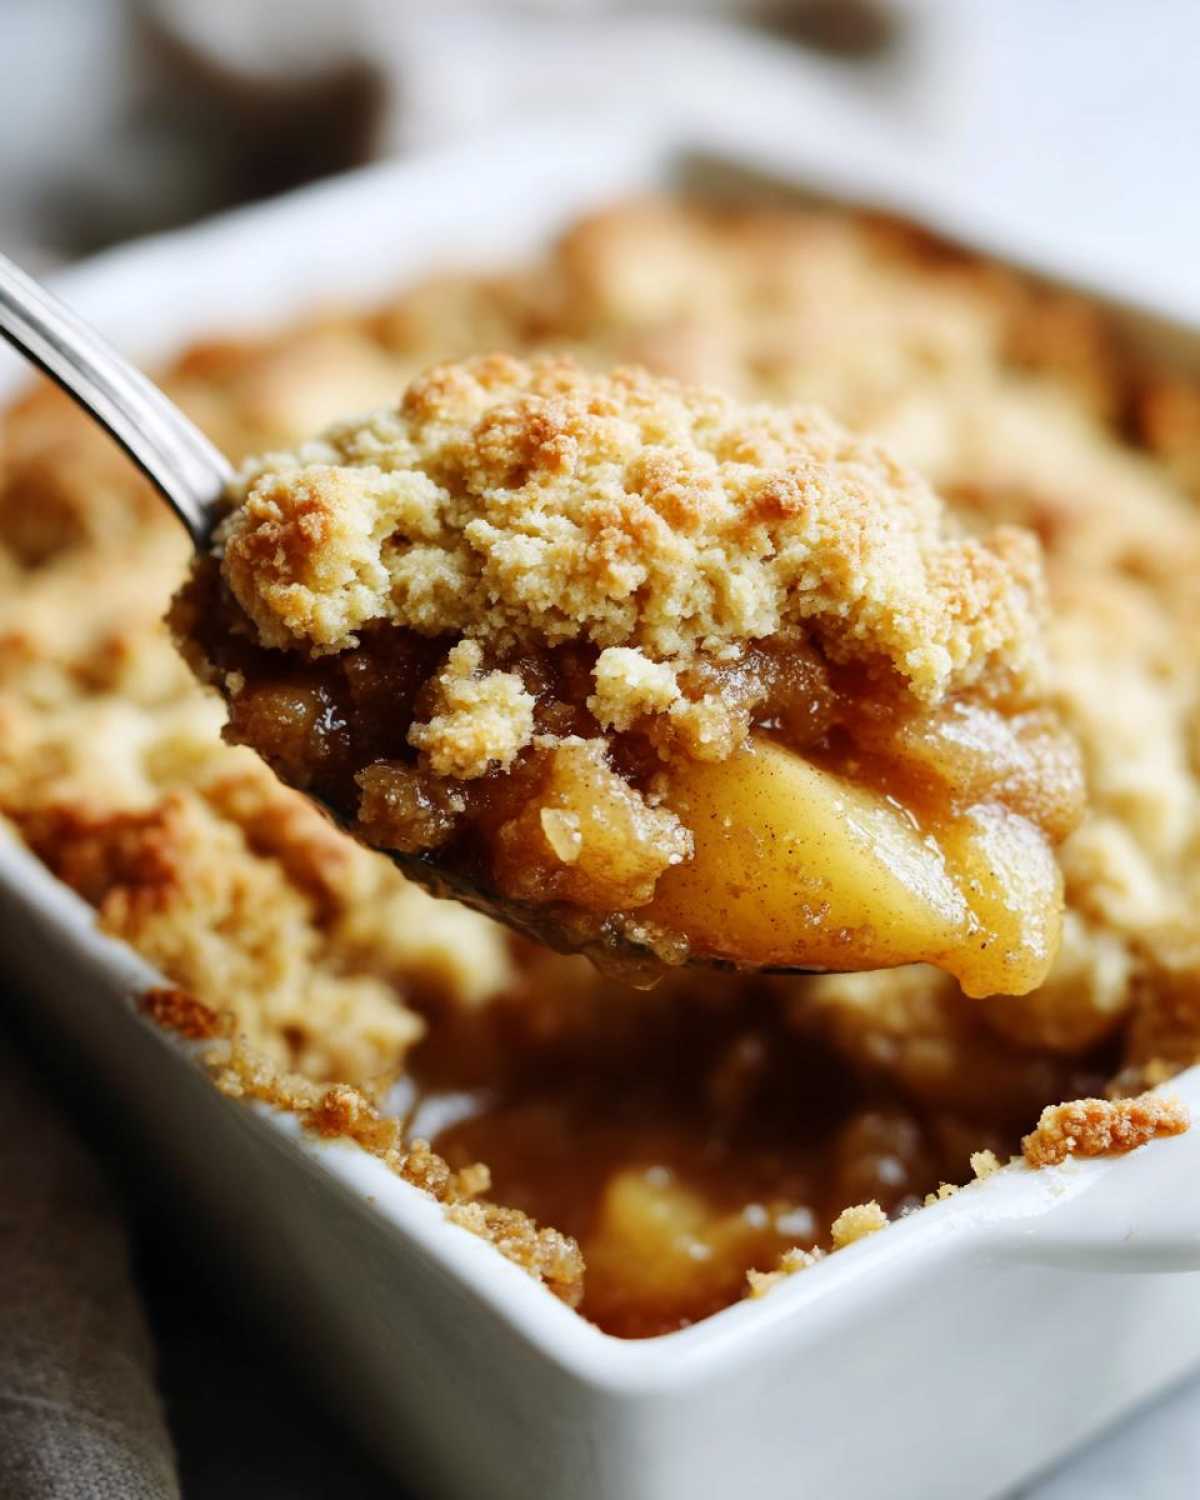
The star, though, is that topping. It’s not a flimsy crust; oh no. It’s thick, buttery, and drops down like rustic little biscuits right over the spiced fruit. We get that perfect cinnamon and nutmeg flavor throughout the apples, making every spoonful taste like autumn. It holds up beautifully when you douse it in ice cream, too. It’s just the best texture contrast!
Quick Assembly for Your Easy Apple Cobbler
The reason this recipe flies off the table so fast is how simple we keep the assembly. You mix the apples, toss them in cinnamon and sugar, pour them into the dish, make the batter, and drop those little dough clouds right on top. That’s the whole technique! Forget chilling dough or complex layering. This dump-and-bake method ensures you get that amazing baked apple dessert on your table in under an hour total. It’s truly the definition of a quick fruit cobbler win.
Ingredients for a Classic Apple Cobbler with Buttery Topping
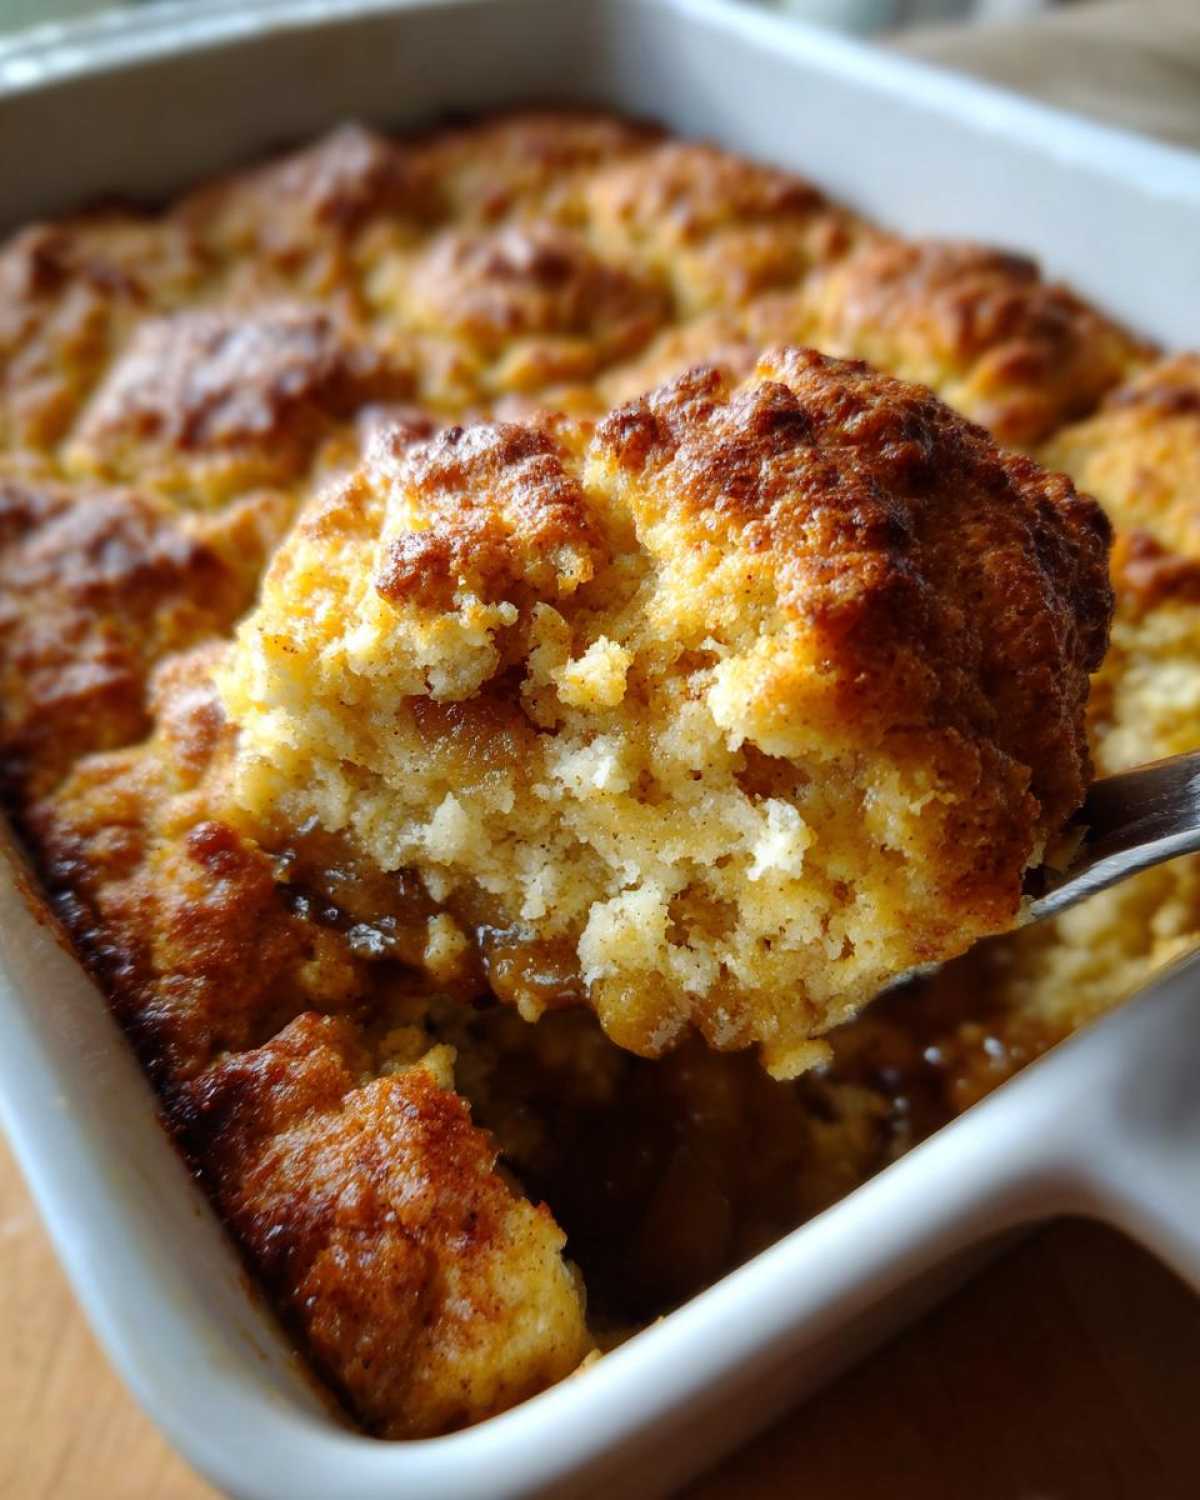
Okay, gathering your supplies for this classic apple cobbler is almost as fun as eating it! I always insist on Granny Smith apples for this, and if you check out my thoughts on other Granny Smith uses, you’ll see why. They stay firm and give you that perfect sweet-tart balance once they’re slow-baked. You need about six medium apples—don’t forget to peel, core, and slice them uniformly for even cooking!
For the gooey bottom layer, we mix those apples with half a cup of sugar, a tiny bit of flour to thicken the juices, a hefty teaspoon of cinnamon, a whisper of nutmeg, and a little lemon juice to keep things bright. Everything else goes into the topping. Seriously, keep your butter handy—we use half a cup, which is one whole stick, melted, for that incredible richness that defines our buttery apple cobbler.
The rest of the topping is super simple: flour, a quarter cup of sugar, baking powder for a little lift, salt, and milk. That’s it! No weird extracts or complicated steps. Just fresh, good ingredients coming together beautifully.
How to Make Apple Cobbler: Step-by-Step Instructions
Okay, this is where the magic really happens! My favorite part of making this apple cobbler recipe is how fast we move from raw ingredients to something totally delightful baking away. First things first, get your oven humming at 375°F (that’s 190°C). Grab an 8×8 inch baking dish—I usually just give mine a quick spray with cooking oil to make sure nothing sticks later. Don’t skip that preheating step, timing is everything here!
Preparing the Cinnamon Apple Filling
Grab that big bowl where you tossed your apples earlier. See how everything is nicely coated in cinnamon and sugar? That little bit of flour we added is super important; it’s going to absorb the juices released by the apples as they bake, creating that thick, delicious sauce instead of just watery soup at the bottom. Just spread those spiced apple slices out evenly in your greased dish. Make sure the layer is fairly consistent. You want every serving to have the perfect amount of sweet apple goodness.
Assembling the Buttery Apple Cobbler Topping
Now for the beautiful, rustic topping! In a separate bowl, go ahead and whisk your topping dry ingredients together—that’s the flour, sugar, baking powder, and salt. Once they are friends, pour in your milk and stir it up. And here’s the crucial part for building that buttery apple cobbler texture: stir only until the flour just disappears. Seriously, stop when you still see a few dry spots or lumps! We want a thick dough, not a smooth, pancake-batter situation. This prevents overmixing and keeps our topping tender and biscuit-like.
Next, grab a spoon and drop messy dollops of that thick batter right over your apples. They don’t need to cover every single inch; gaps are great because that’s where the bubbly filling peeks through. Once the batter is dotted all over, grab that half-cup of melted butter and just drizzle it evenly right over the top of those dough mounds. That butter is what makes it golden brown and rich while baking. Pop it into the oven for about 35 to 40 minutes. You’ll know it’s done when the topping is deeply golden brown and you can see the apple filling bubbling up vigorously around the edges.
Tips for the Perfect Buttery Apple Cobbler
Even though this is an easy apple cobbler, a few little tricks make the difference between “good” and “I need the recipe immediately.” I learned these things the hard way, so you don’t have to! We already talked about using those tart Granny Smiths—they just hold up better than McIntosh, trust me. But the next big thing is texture, especially when you are making a classic buttery apple cobbler.
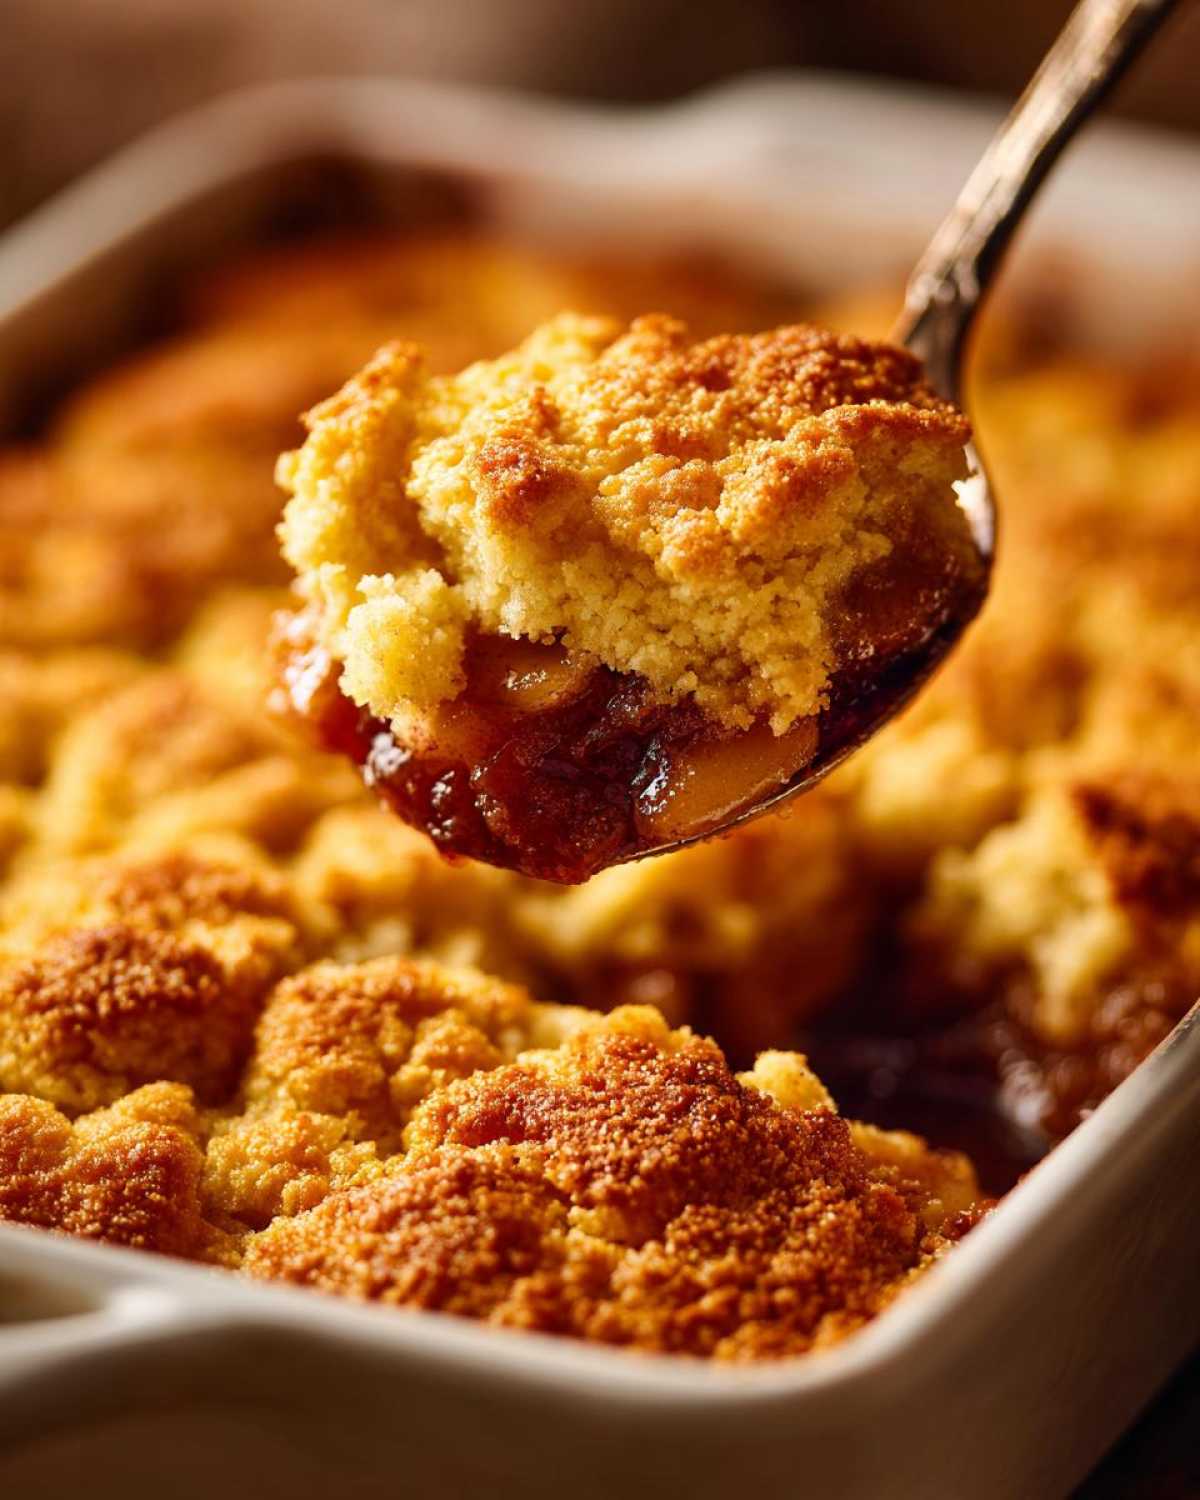
The key to achieving that rustic, diner-style perfection is patience as you are adding the topping ingredients. We don’t want a smooth layer; we want definition between the biscuit dollops. If you want that glorious crunch on top of the batter, you need to stick to dropping spoonfuls. If you’re after something more like a cake baked over the fruit, you can gently spread that thick batter out. Both ways are delicious, but they give you different eating experiences!
Oh, and perhaps the most important tip for any baked fruit dessert: let it rest! Resist the urge to dive in immediately after it comes out of the oven. Give it at least 15 minutes. This resting time allows those hot, sugary juices to cool down just enough to thicken up. If you scoop it too soon, you end up with a runny mess. A little patience ensures you get a beautiful, slightly set bottom layer!
Achieving the Right Topping Texture for Your Apple Cobbler
The difference between a biscuit topping and a cake topping is purely in how you treat the batter after you mix the milk in. For the classic apple cobbler experience, we are going for the biscuit look. This means, as listed in the instructions, you drop spoonfuls of that shaggy dough right onto the apples. These individual piles bake up lighter and slightly crispier on the edges, especially after that final drizzle of melted butter melts over them.
If you look at recipes that lean towards a “cake-like” topping—which is also great, but different—they usually tell you to stir the topping until it’s completely uniform, just like pancake batter. Then, you spread that smooth mixture over the apples before baking. For this recipe, though, we want those distinct, rustic mounds. If you love flaky layers in your baked goods, you might want to check out my recipe for fluffy buttermilk biscuits; that biscuit mentality is exactly what we are aiming for here!
Serving Suggestions for This Warm Apple Dessert
Okay, everyone knows an apple cobbler is fantastic straight out of the oven, but how you serve this warm apple dessert really takes it over the top. Look, I understand the temptation to just grab a spoon and dig in immediately, but you absolutely must pause for the perfect topping ritual.
The universally accepted best way to enjoy this is definitely with a big, cold scoop of good quality vanilla ice cream. As the ice cream melts slowly down into the hot, spiced apples and the buttery topping, it creates this incredible creamy sauce. It’s pure happiness! If you’re serving it to adults, sometimes I like to whip up a batch of my quick caramel sauce to drizzle over the top—it adds just a little extra decadence.
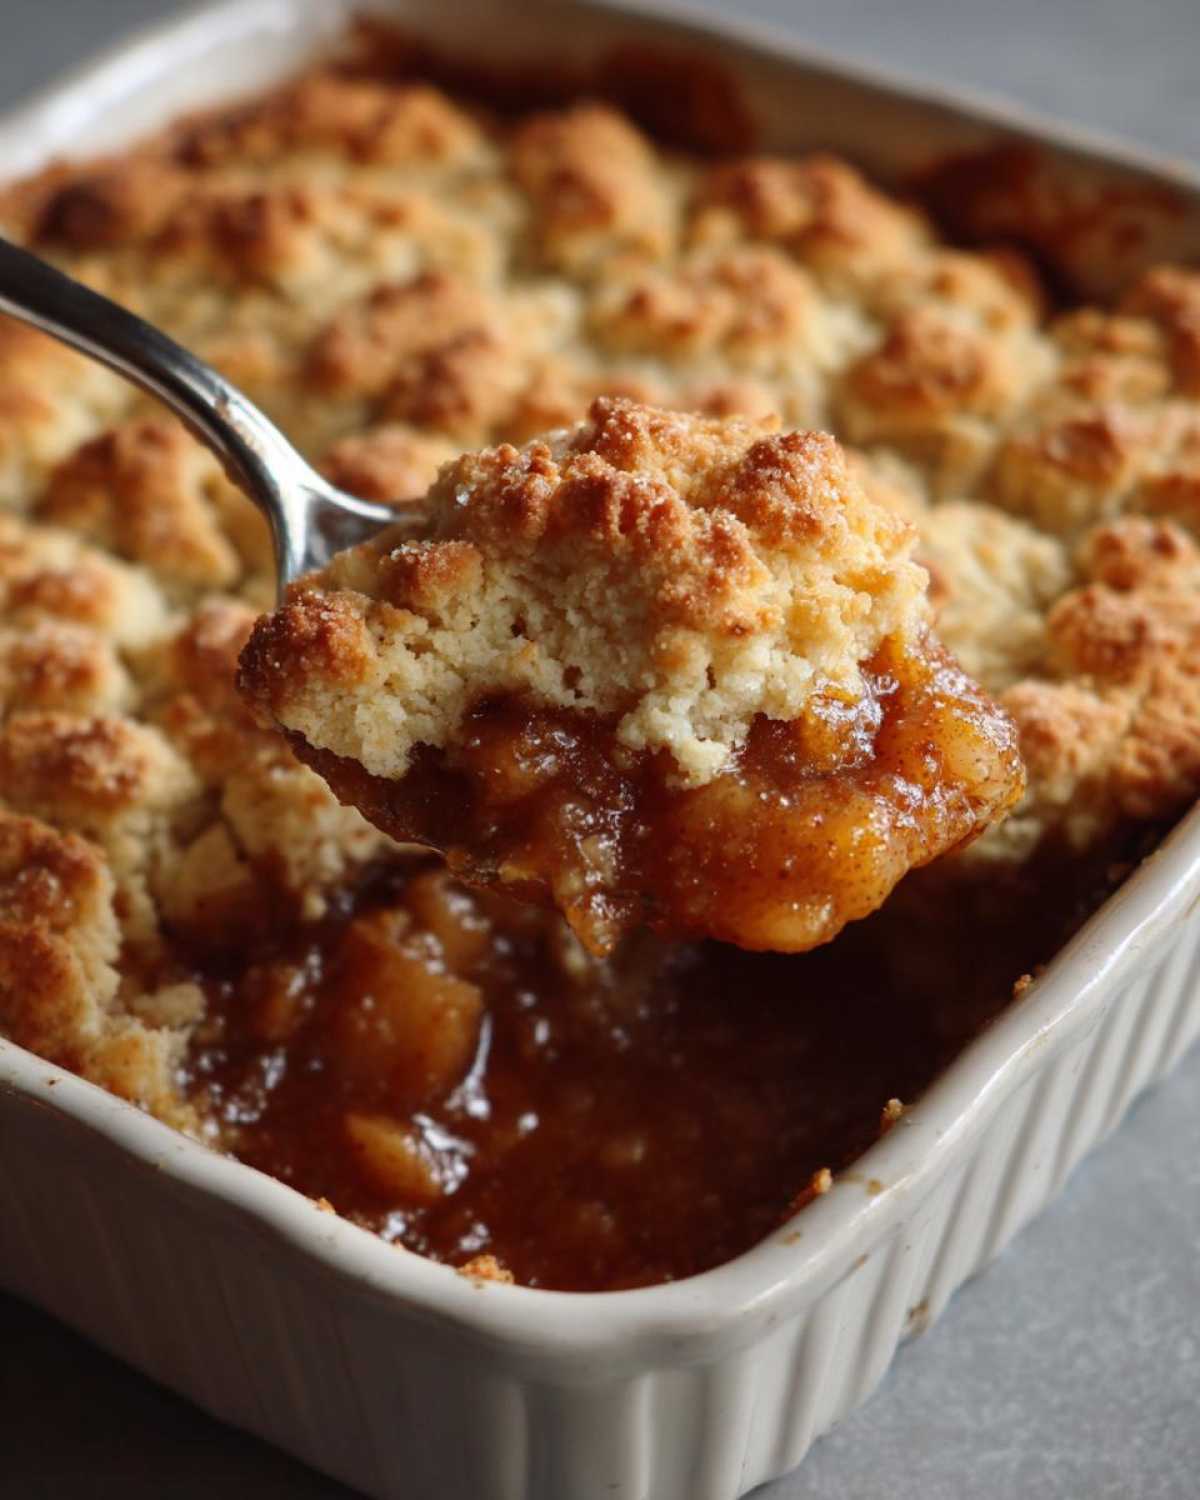
But seriously, if you take away only one thing, remember this: it must be served warm, and if you can manage it, always try to pair your apple dessert served with ice cream for that amazing temperature contrast.
Storage and Reheating Instructions for Homemade Apple Cobbler
Even if this homemade apple cobbler vanishes the same night it’s baked (which happens often in my house, oops!), it’s smart to know how to save leftovers. If you happen to have any remaining, you want to keep that topping from getting soggy, which is totally understandable!
First, you absolutely must let the cobbler cool down completely before you even think about covering it. Covering it while it’s warm traps steam, and steam is the enemy of a crispy topping. Once it’s room temperature, cover the baking dish tightly with plastic wrap or an airtight lid. You can keep it safely on the counter for about a day if your kitchen isn’t too hot, but for best results and keeping those apples fresh, I recommend popping it into the refrigerator. It’s good for about three to four days stored this way.
Now, reheating is where we save the day! Nobody wants a disappointing, soggy cobbler experience the next day. If you can spare the time, the oven is your absolute best friend here. Cover the dish loosely with foil and reheat at about 300°F (150°C) for about 15 to 20 minutes. The foil steams the apples just enough to warm them through, and then you can pop the foil off for the last five minutes to let that buttery top crisp up again.
If you need it fast—and let’s be honest, we usually do—the microwave works in a pinch. Just scoop out a single serving onto a plate and zap it for 30 to 45 seconds. It won’t bring back that fresh-baked crunch, but it certainly delivers on warmth! If you want to try and save some texture, you can microwave it briefly and then pop that single serving under the broiler for one minute, but watch it like a hawk so it doesn’t burn!
Frequently Asked Questions About Apple Cobbler Recipe
I swear, every time I post this recipe, I get flooded with the same smart questions! That’s great because it means you all want to make the most of this apple cobbler recipe. Here are a few things readers often ask me before they even start mixing their ingredients.
Can I use other apples besides Granny Smith for this cobbler?
You sure can, but I have to give you fair warning! Granny Smiths are my favorite for an easy fruit cobbler because they are tart and they hold their shape beautifully. If you use sweeter apples, like Honeycrisp or Gala, they might break down too much and turn your bottom layer mushy. If you want to mix them, I always suggest doing a 50/50 blend of Granny Smith and whatever sweet apple you have on hand. It works like a charm!
Can I prepare the filling ahead of time for my quick apple dessert?
Yes, you absolutely can get a head start! You can peel, slice, and mix up that cinnamon apple dessert filling up to 24 hours in advance. Just toss it with the sugar, spices, and lemon juice, put it in an airtight container, and keep it in the fridge. When you’re ready to bake, just spread it into your dish and proceed with the topping as usual. It might need an extra five minutes in the oven since the apples will be cold, but it saves you so much time!
What is the difference between apple cobbler and apple crisp?
This is a classic debate in the dessert world! The main difference comes down to the topping. For a classic apple cobbler like ours, the topping is more like a biscuit or cake batter that gets dropped over the fruit. An apple crisp, on the other hand, has a crumbly topping made mostly of oats, flour, butter, and sugar that you crumble or sprinkle evenly over the top. Both are fantastic comfort food desserts, but the texture contrast is completely different. If you’re interested in trying the other route, I have a great easy fruit cobbler guide that touches on crisps!
Do I have to use nutmeg in the apple filling?
Nope, nutmeg is totally optional, but please don’t skip the cinnamon! Nutmeg really adds depth and that warm, old-fashioned flavor that screams ‘fall dessert.’ If you skip the nutmeg, your filling will still be delicious, but it loses a tiny bit of that signature aged spice flavor. If you don’t have it, just boost the cinnamon a little bit—it won’t hurt a thing!
Nutritional Estimates for Apple Cobbler
Now, look, I bake with love, not a lab coat, so these numbers are my best educated guess based on the ingredients list for this apple cobbler. They are estimates, just to give you a general idea, so please take them with a pinch of salt—and maybe a side of ice cream! If you’re tracking everything rigorously, you should always check a dedicated nutrition calculator, but for a general overview of this delicious homemade dessert, here’s what we’re looking at per serving.
We’re aiming for 6 generous servings here, which is how I usually break down an 8×8 pan. Since this recipe is full of butter and natural sugars from the apples, the numbers reflect a truly indulgent but worthwhile treat. Don’t forget to check out my full site disclaimer over here: our official nutritional disclaimer just in case!
- Serving Size: 1 serving
- Calories: 380
- Total Fat: 16g (with 10g saturated fat—that’s the butter working its magic!)
- Carbohydrates: 60g
- Fiber: 3g
- Sugar: 35g (mostly natural fruit sugars, but some added, of course!)
- Protein: 4g
- Cholesterol: 45mg
- Sodium: 250mg
It’s a classic American dessert for a reason—it’s rich, satisfying, and meant to be enjoyed! Knowing the rough breakdown helps if you’re balancing out your day after a big slice of this baked apple dessert.
Share Your Delicious Homemade Dessert Experience
Whew! Now that you’ve pulled that incredible, bubbling apple cobbler out of the oven and let it rest, I really, really want to hear what you think! We put so much love into developing this truly buttery apple cobbler recipe, and seeing your results makes all those hours in the kitchen worth it.
Did you stick to the biscuit topping, or did you try spreading it like a cake? Did you serve it the classic way, drowning it in vanilla ice cream? Tell me everything! Head down to the comments section right now and leave this recipe a star rating—five stars if it earned it, of course! It helps other bakers know they can trust this tried-and-true method.
And please, if you snapped a photo of your finished homemade apple cobbler—maybe showing off that golden-brown topping or that perfect scoop of melting ice cream—share it! Tag me on social media so I can marvel at what you created. If you have any lingering questions about technique or variations, don’t hesitate to ask over on my contact page. Happy baking, and I can’t wait to read your reviews!
PrintEasy Homemade Apple Cobbler with Buttery Topping

Make a simple, classic apple cobbler featuring warm, cinnamon-spiced apples topped with a rich, buttery biscuit layer. This recipe is quick to assemble and perfect served warm.
- Prep Time: 15 min
- Cook Time: 40 min
- Total Time: 55 min
- Yield: 6 servings
- Category: Dessert
- Method: Baking
- Cuisine: American
- Diet: Vegetarian
Ingredients
- 6 medium Granny Smith apples, peeled, cored, and sliced
- 1/2 cup granulated sugar (for apples)
- 1 tablespoon all-purpose flour (for apples)
- 1 teaspoon ground cinnamon
- 1/4 teaspoon ground nutmeg
- 1 tablespoon lemon juice
- 1/2 cup (1 stick) unsalted butter, melted (for topping)
- 1 1/2 cups all-purpose flour (for topping)
- 1/4 cup granulated sugar (for topping)
- 1 tablespoon baking powder
- 1/2 teaspoon salt
- 1/2 cup milk
Instructions
- Preheat your oven to 375°F (190°C). Lightly grease an 8×8 inch baking dish.
- In a large bowl, toss the sliced apples with 1/2 cup sugar, 1 tablespoon flour, cinnamon, nutmeg, and lemon juice. Spread the apple mixture evenly into the prepared baking dish.
- Prepare the topping: In a separate medium bowl, whisk together 1 1/2 cups flour, 1/4 cup sugar, baking powder, and salt.
- Pour the milk into the dry ingredients and stir just until combined; do not overmix. The dough will be thick.
- Drop spoonfuls of the batter evenly over the apple mixture in the baking dish.
- Drizzle the melted butter over the top of the batter dollops.
- Bake for 35 to 40 minutes, or until the topping is golden brown and the apple filling is bubbly.
- Let the cobbler cool for at least 15 minutes before serving.
Notes
- Serve this warm cobbler with a scoop of vanilla ice cream or a drizzle of heavy cream.
- For a richer flavor, use Granny Smith apples as they hold their shape well during baking.
- If you prefer a cake-like topping instead of biscuit-like, mix the topping ingredients until smooth, then spread it over the apples instead of dropping spoonfuls.
Nutrition
- Serving Size: 1 serving
- Calories: 380
- Sugar: 35
- Sodium: 250
- Fat: 16
- Saturated Fat: 10
- Unsaturated Fat: 6
- Trans Fat: 0
- Carbohydrates: 60
- Fiber: 3
- Protein: 4
- Cholesterol: 45