

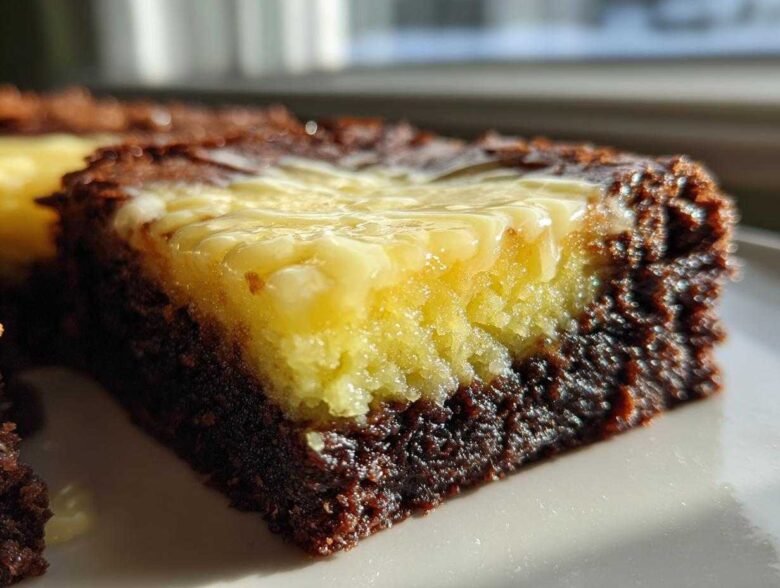
When those first warm days of spring or summer roll around, you just crave something bright, right? I get it! I spent ages trying to nail the perfect citrus bar that wasn’t too cakey or too sour. Well, folks, the search is over! These are truly the Best Easy, Fudgy Lemon Brownies with a Tangy Lemon Glaze. I perfected this recipe after years of seeking the perfect balance between sweet and tart. I’m so excited to share all my tips over on the blog at my recipe corner. Trust me, these Lemon Brownies are about to become your favorite go-to treat for shaking off the winter blues!
Why You Will Love These Easy Lemon Brownies
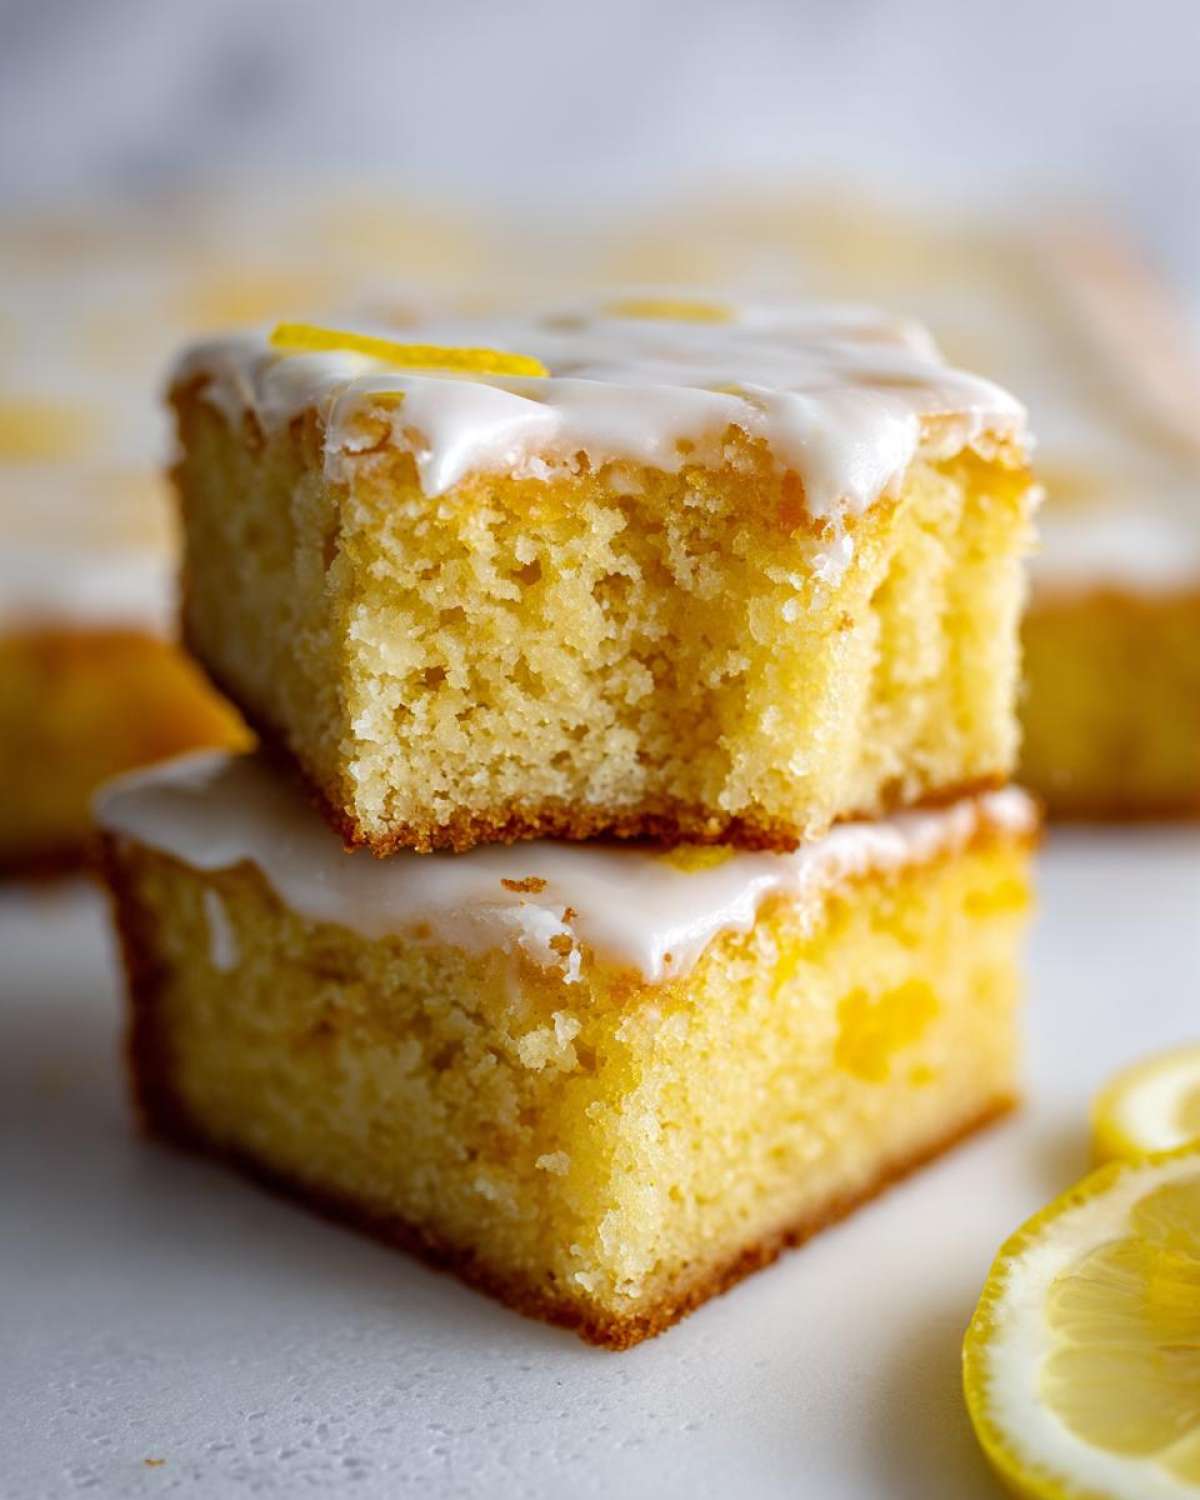
- They are unbelievably fudgy! We use a melted butter and sugar technique that guarantees chewiness, not cake texture.
- Maximum Zest Factor: We pack in plenty of lemon zest right into the batter so you get that bright, intense flavor in every single bite.
- Super Simple Cleanup: Using parchment paper with an overhang means you just lift the entire block out, no scrubbing stressed corners!
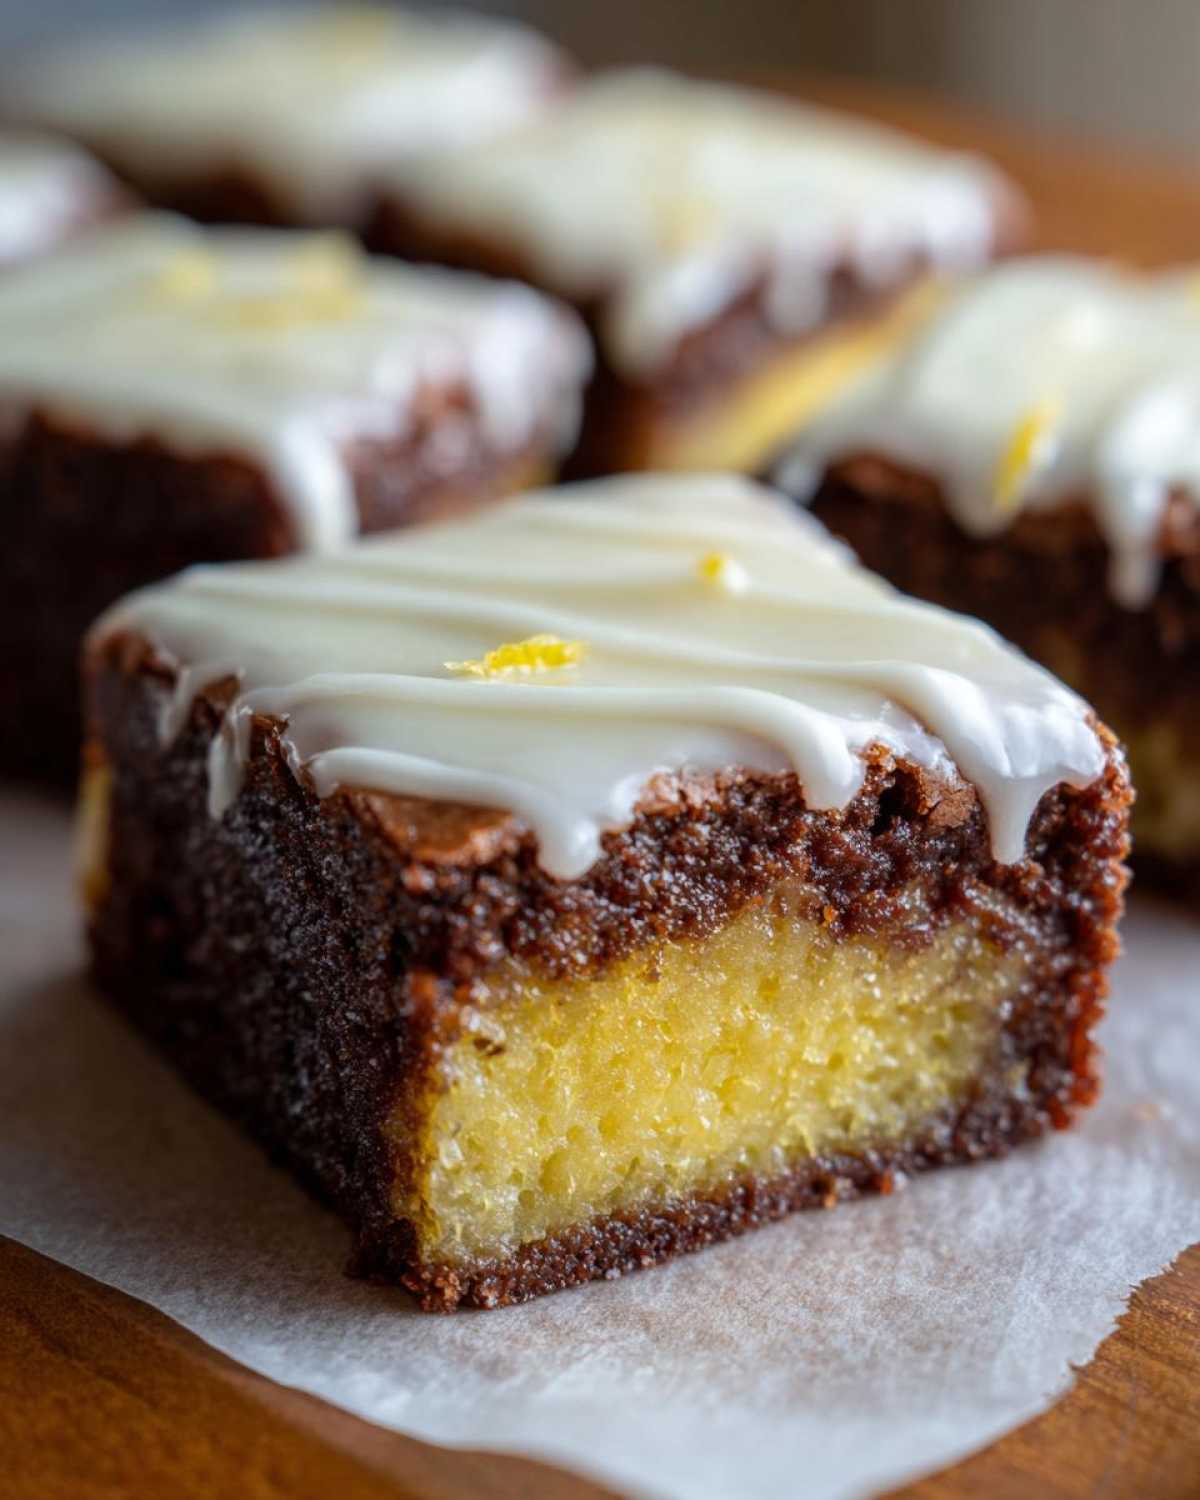
- The Glaze is the Star: That tangy lemon glaze hardens perfectly, giving you a wonderful textural contrast to the soft interior. Honestly, these are the definition of Easy Lemon Brownies.
- Perfect Spring and Summer Bake: They handle warm weather better than heavy chocolate desserts and disappear instantly at any gathering.
You really won’t believe how quick these come together. I mean, we’re talking about minimal fuss for maximum sunshine flavor!
Gathering Ingredients for Your Fudgy Lemon Brownies
Okay, let’s talk about what you need to grab from the pantry. Since these are **Fudgy Lemon Brownies**, the good news is we aren’t using a ton of fancy stuff, but the quality of your citrus really matters! Don’t skimp on the juice; I highly recommend using fresh lemons—bottled juice just doesn’t have that sharp zing we need. When you’re shopping, make sure you grab two good, bright yellow lemons for the zest and juice. You’ll need them for both the brownie base and that gorgeous top layer!
For the batter, you’ll need:
- 1 cup (2 sticks) unsalted butter, melted – gotta have that richness!
- 2 cups granulated sugar
- 4 large eggs, room temperature is best!
- 1 tablespoon lemon zest (from those fresh babies we just bought)
- 1/4 cup fresh lemon juice
- 1 teaspoon vanilla extract
- 1 1/2 cups all-purpose flour
- 1/2 teaspoon salt
- 1/4 teaspoon baking powder
And for the glaze, keep it simple:
- 1/2 cup powdered sugar
- 2 tablespoons fresh lemon juice (maybe keep that extra lemon handy!)
That’s it! Seriously, look how short that list is. It’s why these make such great summer drinks accompaniments—quick prep means quick eating! If you want to boost the lemon flavor in the actual bar, I sometimes cheat and add a tiny splash of lemon extract along with the vanilla, but fresh is always king here.
Step-by-Step Instructions for the Best Lemon Brownies
Alright, let’s get baking! The beauty of these **Lemon Brownies** is that the process is so straightforward. I always share my secrets for achieving that incredible, shiny top over on my post about fudgy brownies with brown butter, but the method here is equally important for texture! I spent ages trying to nail the perfect citrus bar that wasn’t too sour. Well, folks, these are ready! Trust me, the key isn’t complicated steps—it’s just making sure we don’t rush the mixing, especially when we get to the flour. We’re aiming for that wonderful dense chew, so pay close attention to how we handle the wet versus the dry stuff.
Preparing the Pan and Mixing the Wet Ingredients
First things first, get that oven going to 350°F (175°C). Seriously, don’t wait! Grab your 9×13 inch pan and line it thoroughly with parchment paper, making sure you have a little overhang on the sides. I always grease the paper a tiny bit too, just as an extra layer of insurance. Once that’s set, grab a big bowl. Whisk your melted butter and sugar together until they look happy. Then, it’s time for the eggs. Beat them in one at a time until *everything* looks totally smooth and combined. This builds the foundation! Then whisk in your lemon zest, that crucial 1/4 cup of fresh juice, and the vanilla. Make sure you really scrape down those sides so you don’t have any secret pockets of dry sugar hiding out!
Combining Dry Ingredients and Finishing the Batter
In a separate bowl—and this is important—whisk your flour, salt, and baking powder together. Don’t just dump them in! We need them evenly distributed. Now comes the most important warning for achieving **Fudgy Lemon Brownies**: add the dry stuff to the wet mixture gradually. Mix only until you see no more streaks of white flour. I mean it! As soon as it just comes together, stop mixing immediately. If you overwork it now, you’ll develop too much gluten, and BAM! You’ve made a lemon cake instead of a chewy bar.
Baking and Cooling the Lemon Brownie Base
Pour that slightly lumpy batter into your prepared pan and spread it out evenly. Pop it into the preheated oven for about 25 to 30 minutes. You’re looking for moist crumbs on your toothpick test, not wet sludge. If it comes out totally clean, you’ve gone too far and it might turn slightly cakey! Let them cool completely in that pan on a cooling rack—this part is absolutely non-negotiable before glazing. If you try to pour that beautiful glaze on warm bars, you just end up with sweet, lemony puddles, which is not what these fantastic bars should be!
Creating and Applying the Tangy Lemon Glaze
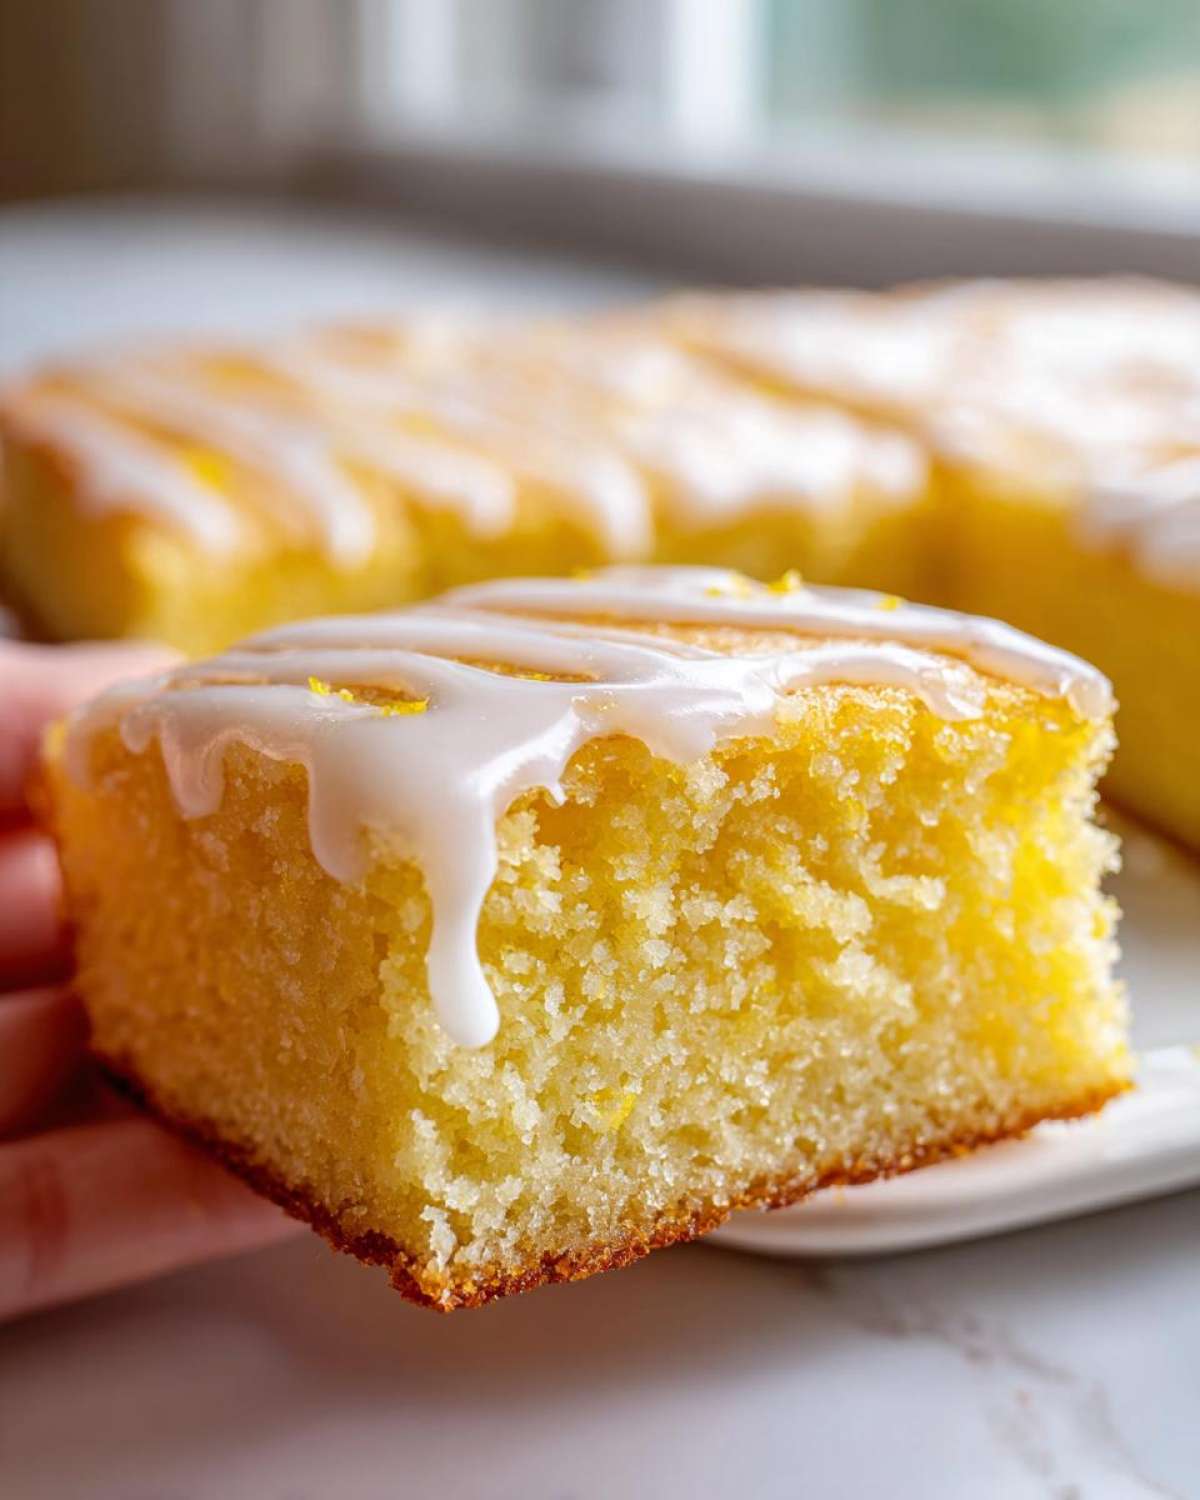
Once everything is totally cool, we make the top layer shine! For our **Glazed Lemon Brownies**, just whisk the powdered sugar and the remaining 2 tablespoons of lemon juice together until it’s perfectly smooth. If it looks too thick to drizzle nicely, add another teaspoon of juice until it’s just right. If it looks too runny to stop moving, gently tap in a bit more powdered sugar. Drizzle it artfully all over the cooled brownies. Now, the hardest part of the whole process: let that glaze set up for about 30 minutes before you slice them into squares. That little bit of time makes all the difference!
Tips for Perfecting Your Homemade Lemon Brownie Recipe
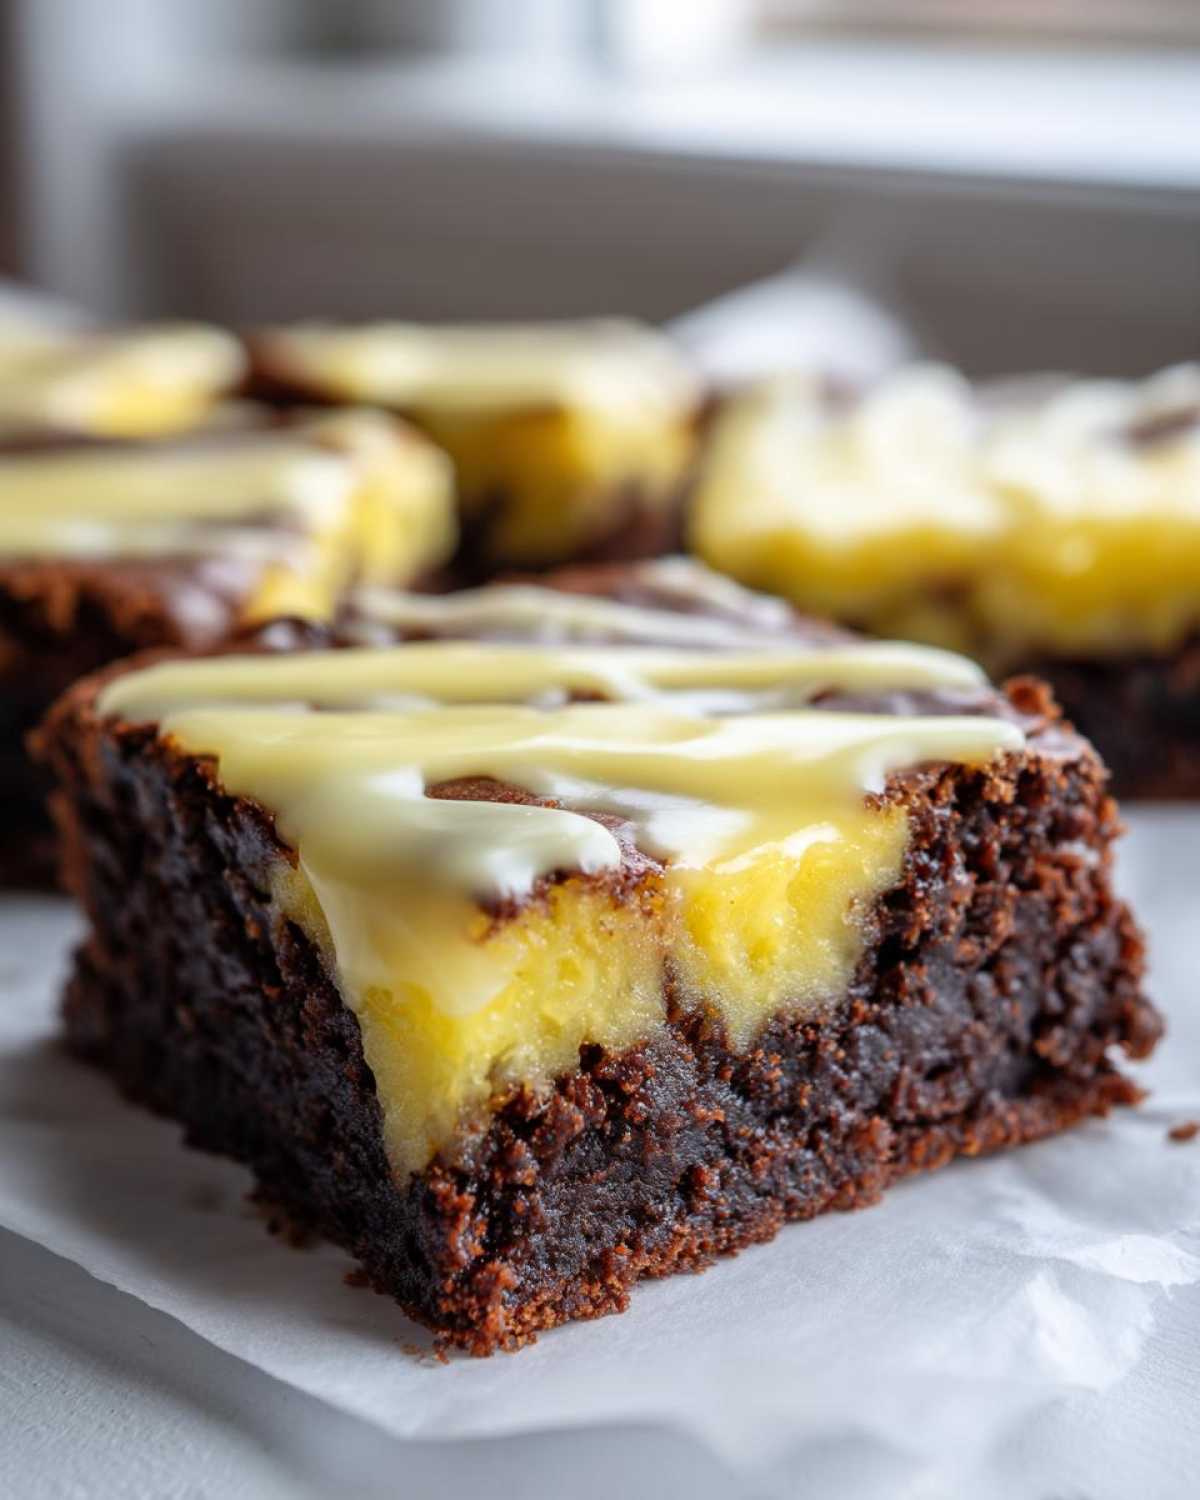
I’m always tinkering, even with family favorites, and I’ve found a few little secrets that take these bars from great to absolutely unforgettable. If you want that classic, slightly underdone, super-fudgy texture that melts in your mouth, here’s what I do: I pull them out about two minutes before the toothpick test suggests they are “done.” You want moist crumbs clinging to the tester, not a bone-dry stick coming out! That little bit of lingering moisture guarantees chewiness.
To really make these **Homemade Lemon Brownie Recipe** bars pop, especially on a slightly dreary day, try adding a teaspoon of lemon extract along with the vanilla in the wet ingredients. It intensifies that citrus punch without adding extra liquid. It’s like turning up the volume on the lemon flavor. I also sometimes fold in about half a cup of good quality white chocolate chips right at the end, just before pouring batter into the pan. They melt a bit during baking and add the most wonderful sweetness that contrasts the tart glaze. You can check out my thoughts on chocolate chip additions in other bakes, but trust me, it works beautifully here too!
Ingredient Notes and Substitutions for Zesty Citrus Bars
Let’s chat a bit more about the ingredients because even the smallest swap can change the whole vibe of these **Zesty Citrus Bars**. The most common question I get is about the juice. My recipe calls for fresh lemon juice, and while I love to stick to tradition, I know sometimes you just need flexibility! If you absolutely have no fresh lemons on hand, you *can* use bottled lemon juice, but you might want to reduce the amount slightly—maybe start with 3 tablespoons instead of 4 in the batter—because bottled has a harsher, concentrated flavor that isn’t quite the same as that fresh-squeezed brightness.
Another fun substitution my niece tried out was swapping out all the lemon juice for lime juice. Wow! That completely transforms these into a totally different but equally delicious experience. They become these incredible, vibrant little lime bars! If you try that, make sure to top them with a sprinkle of flaky sea salt right before the glaze sets, just to enhance that tartness. You can find some great inspiration for combining citrus elements over on my post detailing the Lemon Blueberry Cheesecake Bars—it gives you an idea of how different citrus notes play together!
And don’t forget about that butter! We need the full cup of unsalted butter softened nicely before melting. If you use salted butter by accident, make sure to completely omit the 1/2 teaspoon of salt we call for in the dry ingredients, or these bars will taste just a tad too aggressive on the palate. Baking is chemistry, but with a little wiggle room when you know your ingredients!
Storing and Reheating Your Tangy Lemon Squares
These bars are so bright, you’ll want to keep them around to enjoy all week, and luckily, they store really well! The best way to keep your **Tangy Lemon Squares** fresh is to make sure that glaze is totally set—don’t try to store them while gooey! Once firm, I stack them in an airtight container layered between pieces of parchment paper. This stops any of that sticky glaze from messing up the layer below.
You can absolutely keep them on the counter at room temperature for about three days. Seriously, they stay wonderfully moist! If you need to keep them longer, stash them in the fridge. Cold tends to dull the lemon flavor slightly, so if you go that route, just pull them out about 20 minutes before you plan on eating them to let them come back to temperature.
I almost never “reheat” them, since they are meant to be room temperature or cool, but if you absolutely must, just pop one square on a microwave-safe plate for about 5 to 8 seconds. It warms it up just enough to feel cozy, but be careful not to melt that gorgeous top layer right off!
Frequently Asked Questions About Lemon Brownies
Can I make these Lemon Brownies ahead of time?
Yes, you absolutely can! I actually prefer it that way, especially when I’m having people over. You need to let your **Lemon Brownies** cool completely before you put the glaze on—that’s the trickiest part when making them ahead. Once the glaze is totally set (which takes about 30 minutes at room temperature), you can cut them and store them in an airtight container. They taste amazing the next day when the flavors have really settled, too!
How do I ensure my Lemon Brownies are fudgy and not cakey?
This is my favorite question because it gets to the core of why this recipe is so good! To keep them fudgy, you need to remember two things: first, we use an extra egg and plenty of butter, which contributes to that dense texture. Second, and this is the critical one, you must *stop mixing* as soon as the flour disappears. If you keep beating it, you are building structure, which equals cake. We want soft, chewy structure, so gentle handling after the flour goes in is non-negotiable for these **Lemon Brownies**!
Are there variations for these Zesty Citrus Bars?
Oh, yes! I love how versatile these **Zesty Citrus Bars** are! Like I mentioned earlier, you can swap the lemon juice for lime juice for a totally different zing, but if you want to stick with lemon but add texture, try tossing in about half a cup of something crunchy. White chocolate chips melt beautifully and add a sweet counterpoint to the tartness. Alternatively, if you love nuts, toasted pecans or slivered almonds fold in nicely with the flour mixture. If you’re looking for more creative ideas, you can always check out my guide on other bar recipes, maybe even something similar to my Cream Cheese Brownies!
Serving Suggestions for This Bright Lemon Dessert
Figuring out what to serve alongside these zesty bars is almost as fun as baking them! Since these **Bright Lemon Dessert** bars pack such a big, clean punch of citrus, I find they pair wonderfully with something creamy or something slightly spiced to balance it out. My first thought is always a giant dollop of fresh, lightly sweetened whipped cream. It just melts into that tangy glaze and makes everything feel luxurious.
If you’re planning an afternoon tea spread, skip the heavier stuff. A simple black coffee or even a light iced tea works perfectly. For something really special, try pairing a square with a cool, floral drink, like my Iced London Fog Latte. The vanilla and mild tea base is surprisingly great with the lemon. Honestly, though, these are perfect all on their own—just try to have more than one!
Estimated Nutritional Data for Lemon Brownies
Now, I always joke that these are “health food” because they have fruit in them (hello, lemon juice!), but let’s be real; they are a treat! I pulled together the general estimates for you below based on the ingredients list above and our standard serving size of one square. You can see the full breakdown and my general philosophy on nutrition disclosures over at my site disclaimer page.
Remember, these numbers are just estimates, okay? If you use a different brand of flour or measure your sugar slightly differently, those numbers will shift a little bit. But this gives you a good working idea:
- Serving Size: 1 square
- Calories: 245
- Sugar: 28g (Yep, they’re sweet, but worth every grain!)
- Fat: 12g
- Saturated Fat: 7g
- Carbohydrates: 33g
- Protein: 3g
- Sodium: 110mg
- Cholesterol: 65mg
They are definitely a sweet treat, coming in at 28 grams of sugar, but that sugar is what helps create that fantastic texture when balanced with the butter and the eggs. Don’t worry about perfection here; just worry about enjoying every single bite of these bright, tangy squares!
Share Your Best Lemon Brownies Experience
Okay, you’ve successfully baked the brightest, fudgiest bars of the season! Now it’s your turn to tell me how they turned out. Did you manage to get that perfect chewy middle? Was the glaze extra tangy?
I absolutely love hearing from you all when you try out one of my favorite recipes. If you made these **Lemon Brownies**, please take a moment to rate them below using the star system—it helps me know what’s working for everyone!
If you snapped a picture of your gorgeous, glazed squares, please tag me on social media or send them over through my contact page. I always want to see your beautiful bakes! Happy baking, and enjoy every zesty bite!
PrintThe Best Easy, Fudgy Lemon Brownies with a Tangy Lemon Glaze
Make these easy, fudgy lemon brownies for a bright, zesty dessert perfect for spring or summer. This recipe yields moist, chewy bars topped with a simple, tangy lemon glaze.
- Prep Time: 15 min
- Cook Time: 30 min
- Total Time: 45 min
- Yield: 16 squares
- Category: Dessert
- Method: Baking
- Cuisine: American
- Diet: Vegetarian
Ingredients
- 1 cup (2 sticks) unsalted butter, melted
- 2 cups granulated sugar
- 4 large eggs
- 1 tablespoon lemon zest
- 1/4 cup fresh lemon juice
- 1 teaspoon vanilla extract
- 1 1/2 cups all-purpose flour
- 1/2 teaspoon salt
- 1/4 teaspoon baking powder
- 1/2 cup powdered sugar (for glaze)
- 2 tablespoons fresh lemon juice (for glaze)
Instructions
- Preheat your oven to 350°F (175°C). Line a 9×13 inch baking pan with parchment paper, leaving an overhang on the sides for easy removal. Lightly grease the paper.
- In a large bowl, whisk the melted butter and granulated sugar together until combined.
- Beat in the eggs one at a time until fully incorporated.
- Stir in the lemon zest, 1/4 cup lemon juice, and vanilla extract.
- In a separate bowl, whisk together the flour, salt, and baking powder.
- Gradually add the dry ingredients to the wet ingredients, mixing only until just combined. Do not overmix.
- Spread the batter evenly into the prepared baking pan.
- Bake for 25 to 30 minutes, or until a toothpick inserted near the center comes out with moist crumbs attached, not wet batter.
- Let the brownies cool completely in the pan on a wire rack.
- Prepare the glaze: Whisk the powdered sugar and 2 tablespoons of lemon juice together until smooth. Add more powdered sugar or lemon juice, one teaspoon at a time, to reach a thick but pourable consistency.
- Once cooled, drizzle the glaze evenly over the top of the brownies. Let the glaze set before cutting into squares.
Notes
- For extra fudgy texture, slightly underbake the brownies by about 2 minutes.
- You can substitute the lemon juice in the batter with lime juice for a citrus variation.
- If you want a stronger lemon flavor in the base, add 1 teaspoon of lemon extract along with the vanilla.
Nutrition
- Serving Size: 1 square
- Calories: 245
- Sugar: 28g
- Sodium: 110mg
- Fat: 12g
- Saturated Fat: 7g
- Unsaturated Fat: 5g
- Trans Fat: 0g
- Carbohydrates: 33g
- Fiber: 0.5g
- Protein: 3g
- Cholesterol: 65mg