

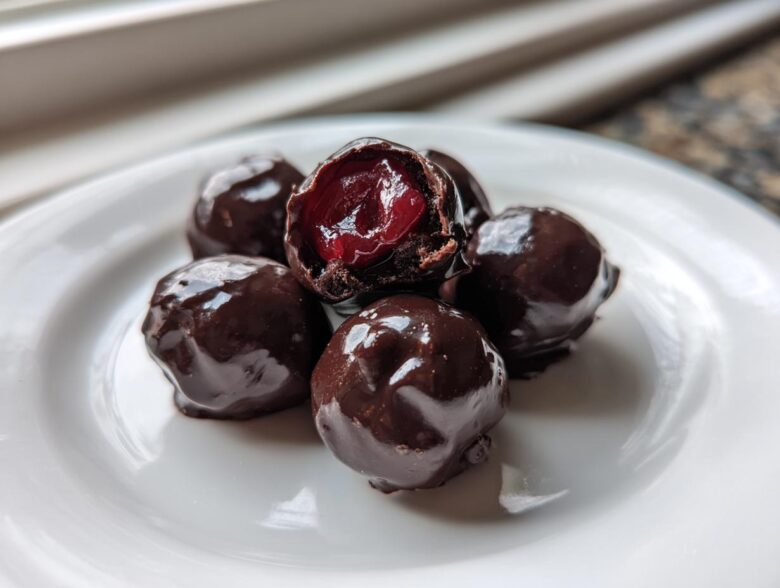
Oh my gosh, there is just nothing—and I mean *nothing*—better than biting into a perfect homemade chocolate covered cherry. Seriously, forget those waxy, stiff ones you grab off the shelf! When you make these yourself, you get that incredible, yielding cordial center that melts right in your mouth, all hugged by rich, dark chocolate. I know candy making sounds scary, but trust me, these homemade chocolate covered cherries are surprisingly straightforward once you understand the secret: the fondant set.
It feels so rewarding to create something this decadent right in your own kitchen. It smells amazing, and honestly, the pride you feel when you give someone a box of these? Priceless. We’re going to make the classic cherry cordial, which means we coat the cherry in a soft, sugary shell before we even touch the chocolate. Don’t sweat the process; I promise that once you nail that temperature, you’ll be making these for every holiday!
Why This Is the Best Chocolate Covered Cherry Recipe You Will Make
Look, I’ve tried the store-bought versions, and they just don’t cut it. They have that stiff, almost chewy shell, right? My goal when I created this Easy Cherry Cordial Recipe was to recapture that nostalgic, yielding texture.
Why you need to try making these today:
- True Cordial Center: We use a simple sugar syrup set, not stiff, flavorless fondant out of a can. This means you get a genuine, melt-in-your-mouth experience.
- Total Control: You choose the chocolate! Dark, semi-sweet—whatever makes your heart happy.
- Beginner Friendly: While we use a thermometer for the syrup, it’s really just watch-and-wait. It results in incredible Melt in Your Mouth Chocolate Candy without any fussy baking.
You get a flavor so much richer and fresher than anything packaged. Trust me, once you pop one of these perfect candies, you’ll never go back!
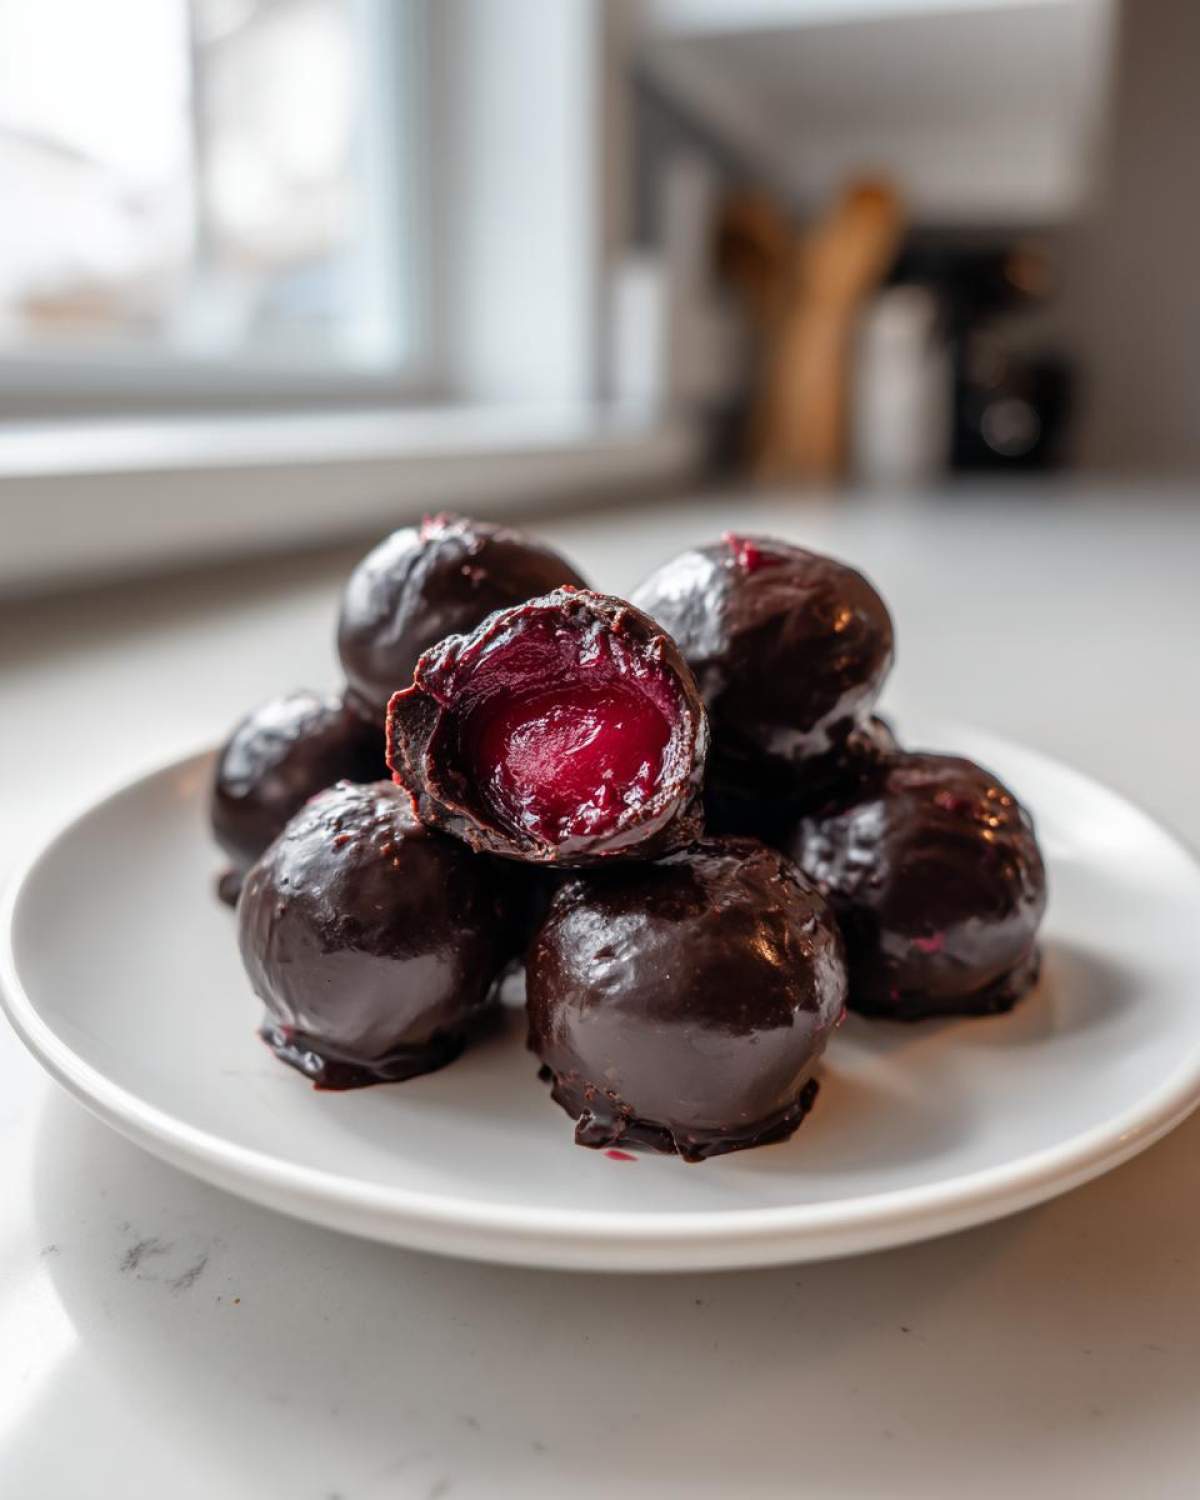
Ingredients for Homemade Chocolate Covered Cherries
Okay, let’s talk about what you need! The ingredient list for these homemade chocolate covered cherries is wonderfully short. It’s mostly just sugar, water, and cherries, which is why buying good quality chocolate really makes a difference here. Remember, we are making about 24 gorgeous candies, so gather everything up!
You’ll need three main components: the cherries, the cordial syrup coating, and the final chocolate bath. Don’t skip that secret ingredient, the almond extract—it truly elevates the cherry flavor!
Here’s the lineup. Make sure you have everything ready before you start cooking the syrup:
- One jar (about 10 ounces) of maraschino cherries. Crucial Note: Make sure you drain these babies *super* well. I mean, really pat them dry on paper towels until they feel fuzzy, not wet!
- For that sweet, soft center: Half a cup of regular granulated sugar, a quarter cup of light corn syrup, and a quarter cup of water.
- Flavor Boost: Only a quarter teaspoon of almond extract. This is the magic touch!
- For the Dip: One pound of good dark or semi-sweet chocolate, chopped up. If you use chips, make sure they are high quality.
- The Gloss Tip (Optional): One tablespoon of vegetable shortening or coconut oil. This helps keep the chocolate perfectly smooth and shiny, which is great for presentation—think homemade jam shine, but for candy!
Seriously, drying those cherries completely is the key to success. Wet cherries mean chocolate that slides right off, and nobody wants that!
How to Make Chocolate Covered Cherries: Step-by-Step Cordial Process
This is where the magic happens, friends! We are making these incredible Fondant Center Cherries in two main batches. First, we create that signature sugary coating around the cherry itself, which needs to set completely. Then, we tackle the glorious chocolate shell. Don’t rush steps one and two, because the setting time is what guarantees perfection!
Preparing the Maraschino Cherries for Coating
If you skip this part, I can’t promise good results! The syrup we make to coat the cherries is super hot and sticky, and if the cherries have any water clinging to them from the jar, that water hits the hot sugar and causes chaos. It makes the sugar separate or seize up on you. So, grab those drained cherries and lay them out on a plate lined with paper towels. Pat them—literally press down gently—until they honestly feel dry to the touch. I usually let mine just sit on the counter for a good 15 minutes while I measure out my syrup ingredients. Dry cherries are happy cherries!
Cooking the Syrup and Coating the Cherries for the Fondant Center
Time to boil some sugar! Get your saucepan out and combine the granulated sugar, corn syrup, and water. Heat this mix over medium heat. You need to stir just until the sugar dissolves completely—you’ll see it go from gritty to smooth. Once it starts bubbling, stop stirring immediately! That’s crucial. You have to let it boil undisturbed until it hits exactly 238 degrees Fahrenheit on your candy thermometer. This is the scientific key to getting that soft-ball stage right. As soon as you hit 238°F, pull it off the heat and quickly stir in that almond extract.
Now for the fun part: dipping! Use a toothpick or a small fondue fork to dunk each dried cherry right into that hot syrup. Make sure it’s totally covered, then gently lift it out, letting the thick excess syrup drip back into the pan. Place the coated cherries onto a parchment-lined baking sheet. They MUST sit at room temperature for at least four long hours, or maybe even overnight! They need to get firm and dry before they are ready for the chocolate. Patience here pays off big time!
Melting Chocolate and Dipping Your Chocolate Covered Cherries
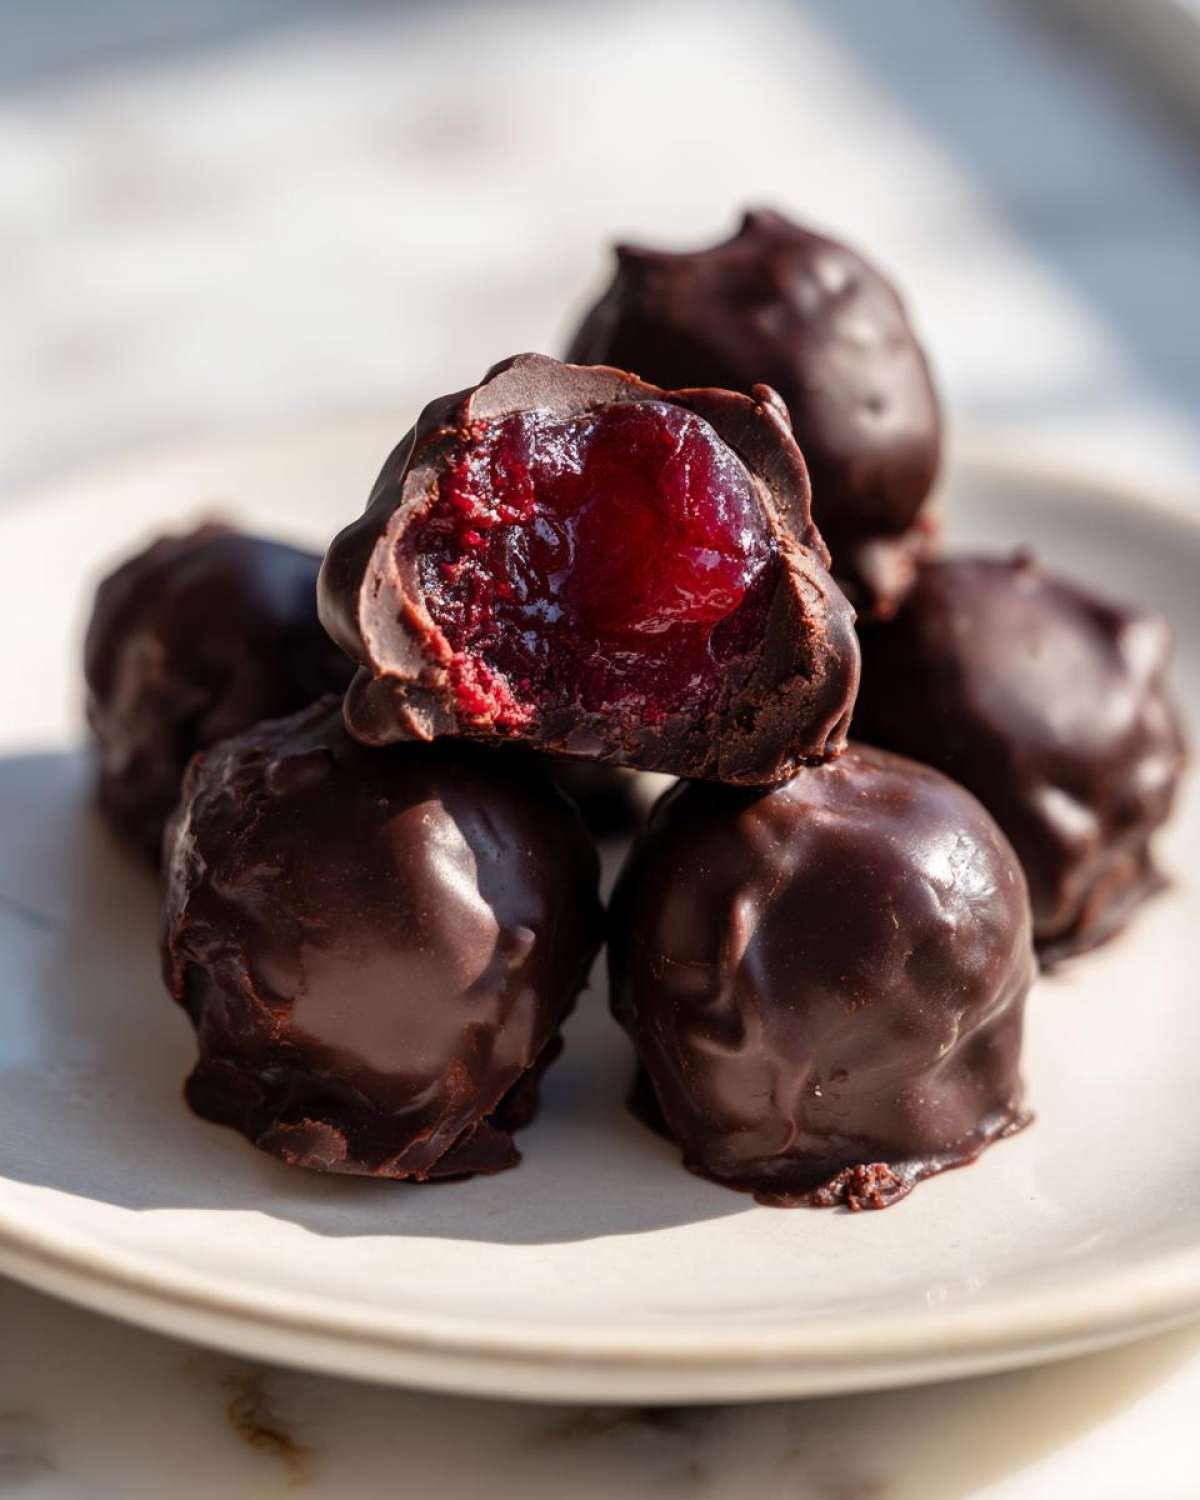
Once your fondant centers are totally set—they should feel hard and solid—it’s time for the grand finale! Melt your chopped chocolate and the optional shortening or coconut oil. I usually do this gently over a double boiler, but if you’re in a hurry, use short 30-second bursts in the microwave, stirring well between each session. You want it silky smooth, not grainy or chunky. If you want that professional shine, that tiny bit of shortening works wonders; check out how I do similar steps for graham cracker toffee—the principle is the same!
Take one set fondant cherry and dip it completely into the warm, smooth chocolate bath. Gently pull it out and hold it over the bowl, tapping the fork lightly against the side of the bowl to let any excess chocolate drip away. We want a thin, even layer! Place it back on fresh parchment paper. Don’t layer them up; they need space to set! If you want them really firm quickly, pop the sheet into the fridge for about 15 minutes until the chocolate is completely hardened. And voilà, you have perfect candies!
Expert Tips for Perfect Chocolate Covered Cherry Coating
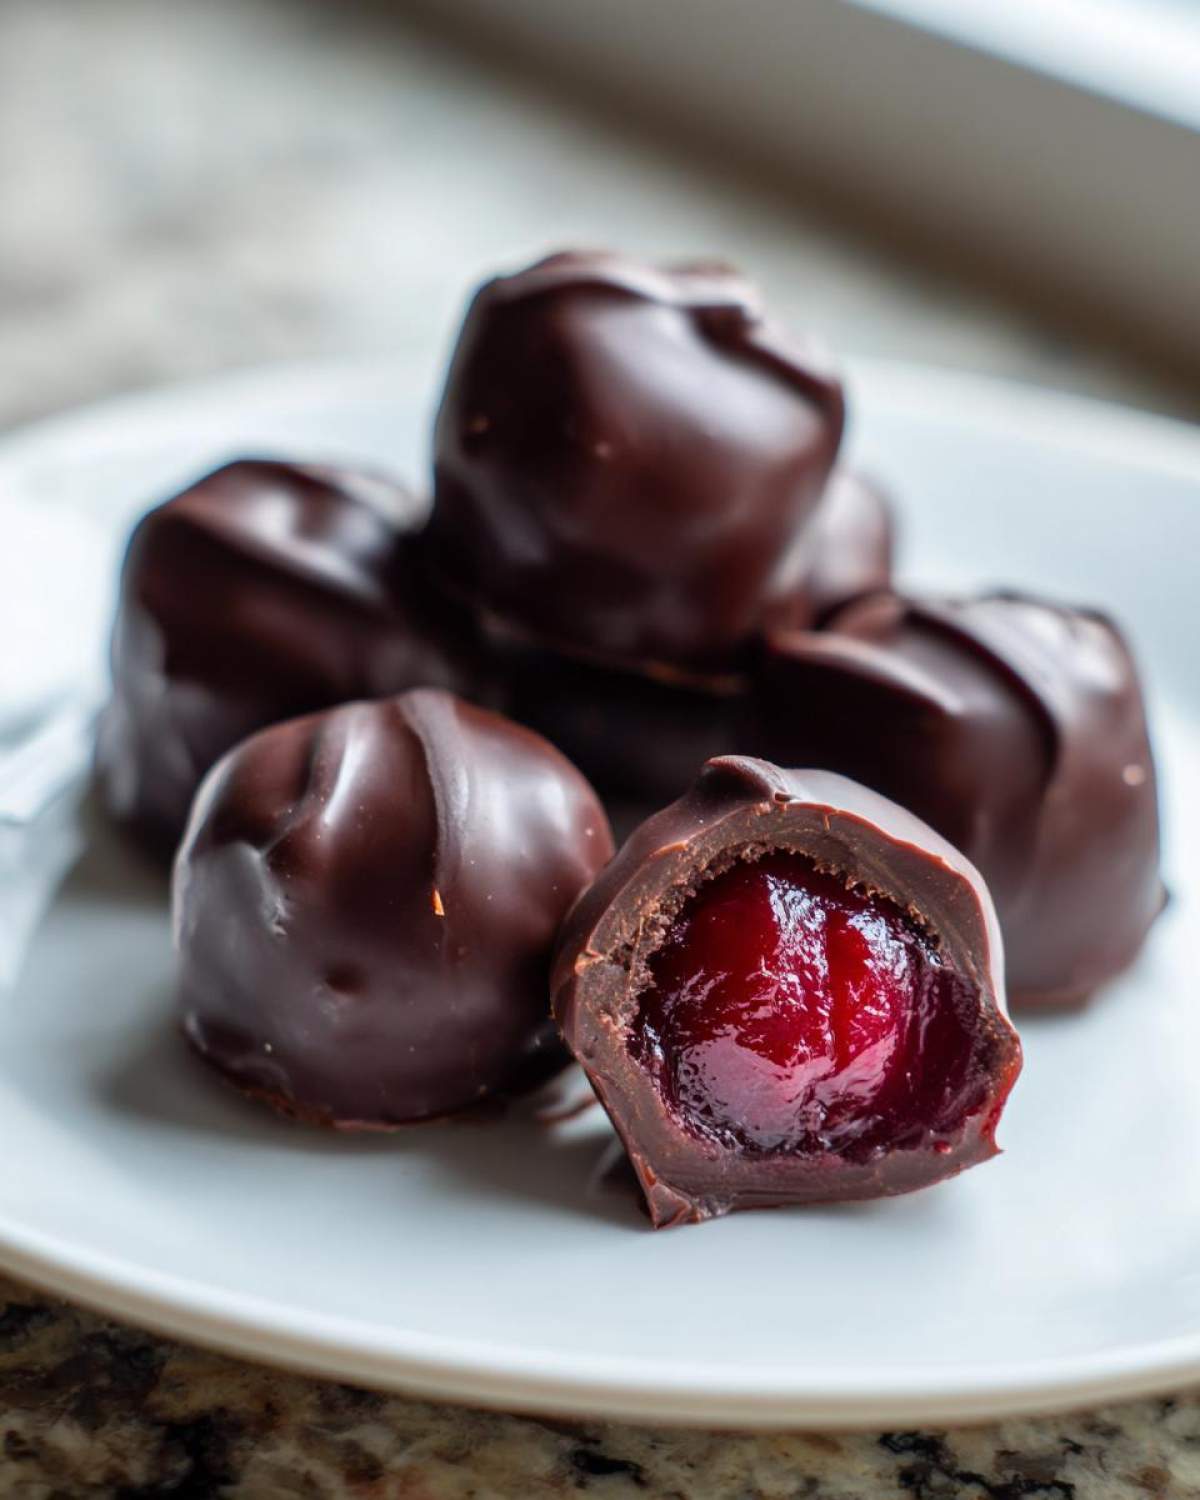
Now that you know the basic steps for your Gourmet Chocolate Making Project, let me give you a few little cheats I learned the hard way. Dealing with melted chocolate can be fussy, but these tips keep things beautiful and stop your beautiful cordials from looking messy!
First off, if you notice your chocolate looking a little dull or streaky after it sets—that’s called bloom. It usually just means your chocolate got a little too hot or cooled too fast. To avoid this, always use the shortening or coconut oil I mentioned; it helps stabilize that cocoa butter so your shell stays glossy and crisp. Don’t overwork the chocolate, either!
Another big issue people have is with the chocolate being too thick when dipping. If your melted chocolate seems chunky or won’t flow easily around the fondant center, you can carefully add just a teaspoon more of that shortening or vegetable oil. This thins it out perfectly, letting you get that thin, gorgeous coating that shows off the white cordial underneath just a little bit. It sounds simple, but those tiny adjustments make all the difference for truly professional-looking chocolate candies.
Storage and Shelf Life for Your Chocolate Covered Cherries
So, you’ve made these gorgeous, perfect chocolate covered cherries. Hooray! Now, you need to keep them safe so they stay just as amazing for the next few days! Honestly, these are meant to be eaten relatively quickly, but they hang around longer than you’d think, provided you treat them right.
Here’s the deal with storage: These are No Bake Chocolate Cherry Treats, and since we used a pure sugar coating (the fondant) inside, they really don’t love the fridge. If you put them in the refrigerator, especially if your fridge is humid, sometimes the chocolate coating gets that weird, dusty look, or worse, the sugar starts pulling moisture from the air and gets sticky.
My absolute favorite way to keep them is in an airtight container at a cool room temperature. Think of a dark pantry or maybe the coolest part of your kitchen counter. They should last beautifully for about a week, definitely up to two weeks if your kitchen stays cool. Keep them away from direct sunlight!
If your house is super hot, like attic-level hot, then you have to use the fridge, but here’s my trick: Put them in an airtight container first. Then, wrap that container in a clean kitchen towel before you put it in the fridge. This helps buffer them from the harsh cold and moisture. When you take them out to serve, let them warm up on the counter for an hour *before* opening the container. This stops condensation from forming all over the chocolate shell. It’s a pain, I know, but totally worth it to keep that chocolate looking pristine!
Variations on Classic Chocolate Covered Cherries
Now, don’t think we have to stop at just dark chocolate and the almond extract I suggested! Once you master the classic chocolate covered cherries, you have this amazing, sweet base that just begs for customization. Think of it as your launching pad for next-level Maraschino Cherry Chocolate Candies.
The beauty of making these from scratch is that you control every single flavor profile that goes in. Here are a few ways I like to mix things up when I’m feeling creative:
Switch Up the Chocolate: This is the easiest change! If you love sweet things, swap out the dark chocolate for good quality milk chocolate. It makes the whole candy taste softer and a bit more nostalgic. Or, if you’re feeling bold, try using white chocolate! White chocolate pairs beautifully with that almond note, creating a totally different, yet equally decadent treat.
Flavor the Fondant Center: Before you dip your set centers into the hot syrup, consider swapping out that almond extract for something else. A tiny splash of vanilla extract works great, or if you want to go really fancy, try a drop of orange extract. Orange and cherry is a spectacular combination that feels super gourmet.
Chocolate Toppings: Once you’ve dipped your cherries and the chocolate is almost set, you can drizzle them with a contrasting chocolate color. So, if you used dark chocolate for the main coat, melt down some white chocolate and drizzle thin lines across the top. It makes them look incredible for gifting, kind of like a little artist painted them!
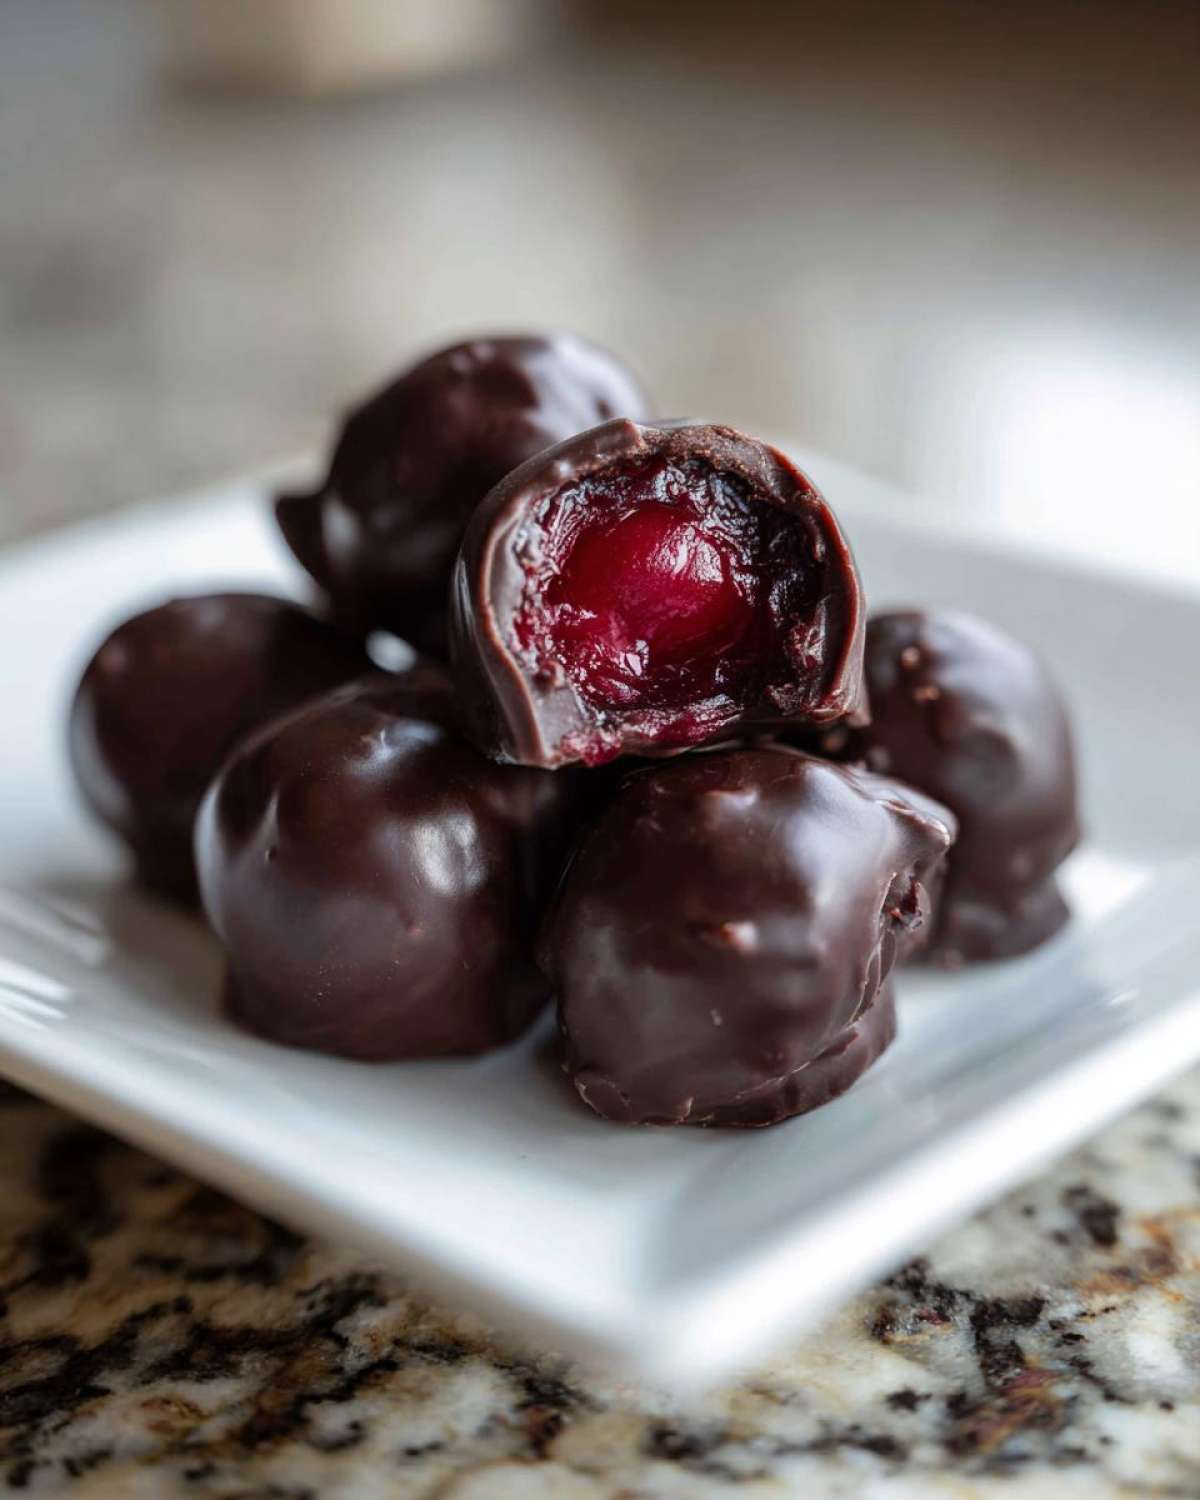
Experimenting with this recipe is half the fun. It’s amazing how a simple swap of chocolate type or adding a hint of zest can turn these into something completely new!
Serving Suggestions and Gifting Your Homemade Chocolate Candies
Honestly, once you’ve made these gorgeous chocolate covered cherries, a little part of you won’t want to share them at all! But these really shine when they are given as gifts. They look so professional, and everyone flips out when you tell them you made that soft cordial center from scratch. They are absolutely perfect for the holidays, and especially as homemade Valentines Day Chocolate Gifts.
Presentation is everything with homemade candy. You want them to look like they came from a fancy, old-school chocolatier, not just something plopped on a paper plate. Trust me, taking an extra five minutes for packaging elevates these from a nice treat to a showstopper gift!
Here are a couple of ideas for setting them out or wrapping them up:
- The Classic Box: Buy small, pretty cardboard candy boxes—you see them everywhere before Valentine’s Day. Line the box with a crisp piece of white or red tissue paper, and then nestle the cherries inside paper candy cups (the little fluted liners). This keeps them from sliding around and makes them look so elegant.
- The Tiered Tray Look: If you’re serving these at a party or a holiday get-together, don’t just stack them! Put them on a tiered serving tray, maybe mixing them in with some plain dark chocolate truffles or something plain like shortbread cookies. The contrast makes the rich, dark chocolate of the cherries really pop.
- Simple Ribbon Wrap: If you make a batch and want to deliver them to neighbors or friends, put about a dozen into a clear cellophane bag. Use a beautiful, wide satin ribbon—maybe a deep burgundy or creamy white—and tie it nice and tight at the top. They look almost commercially made, but your friends will know the love that went into them!
And if you’re serving them right away? Have a little bowl of flaky sea salt nearby. If you sprinkle just a tiny pinch of salt *right* before the chocolate fully sets, that burst of salt against the sweet cherry and bitter chocolate is just divine. It really wakes up the flavor!
Frequently Asked Questions About Making Chocolate Covered Cherries
I get so many questions about this recipe, especially when people are nervous about candy making! Don’t worry, I’ve been there. Most of the issues people run into are related to simple temperature or moisture control. Here are the things I hear most often when readers try to make these gorgeous candies.
Can I skip the candy thermometer when making the cordial center?
Honestly? You probably shouldn’t, especially not the first time around. Hitting that 238°F soft-ball stage is what guarantees your coating is firm enough to handle the chocolate dip later. If you cook it too little, the coating will be too sticky, and your chocolate layer will slide right off. If you cook it too long, you’ll end up with a hard, crunchy shell, and we want that soft, melt-in-your-mouth center! If you absolutely, positively cannot use one, aim for a specific, slow boil time (like 6 minutes after it starts bubbling hard), but I’m telling you, the thermometer is your safety net!
How do I change this recipe to get a truly liquid center in my chocolate covered cherries?
This is the million-dollar question! The recipe I gave you is designed for that easy-to-manage, very soft, slightly yielding cordial. To get a *truly* liquid center, you need to slightly undercook the sugar syrup—pulling it off the heat quickly at about 236°F, or even just before the soft-ball stage. The risk here is much higher, though. If the syrup is too thin, it can bleed out and make your chocolate coating separate or crack once it sets. If you want guaranteed liquid centers, look up recipes that specifically use maraschino cherry juice mixed with a preservative like tapioca starch, but for this classic fondant-dipped version, sticking close to 238°F is the key to a happy outcome.
What should I do if my chocolate seized while melting?
Oh, that awful clumping disaster! Chocolate seizes—or clumps up—usually because just a tiny bit of water got into the melted chocolate. It happens! If you’re using the double boiler method, make sure no steam condenses into the chocolate bowl. If it happens anyway, don’t panic and don’t add more solid chocolate! Immediately add about a tablespoon of neutral oil or shortening (like the vegetable shortening we mentioned) and keep stirring very gently over low heat. Keep adding tiny bits of oil until it smooths out again. It will become thinner, which is fine, because you have to dip your cherries anyway!
Why are my finished candies sticking to the parchment paper after dipping?
This usually comes down to one of two things. One, the chocolate wasn’t completely set when you tried to move them. If you’re impatient (I am!), try popping the sheet into the fridge for 10 minutes instead of letting them air dry for an hour. Two, if the bottom puddle of chocolate that forms while they set is too thick, it acts like glue. Before setting them down to dry, try lifting the cherry slightly up off the parchment with your fork, letting the excess drip for an extra second, and then gently placing it down. You want the smallest possible chocolate ‘foot’ at the bottom.
Estimated Nutritional Data for Chocolate Covered Cherries
I always feel like this part is a little hit-or-miss when you’re making candy at home because everyone stuffs their cordials differently, right? You might use a super dark, high-cacao chocolate, or maybe you were heavy-handed with the sugar syrup! So, take these numbers with a pinch of salt, or maybe a sprinkle of Himalayan pink salt if you like that presentation boost!
These estimates are based on using semi-sweet chocolate and the exact measurements provided in the recipe, aiming for a serving size of one single, perfect candy. Remember, this is just a guideline based on the recipe defaults, not a lab test!
Here’s the general breakdown for one of these incredible chocolate covered cherries:
- Calories: Around 150
- Sugar: Roughly 20 grams (It is candy, after all!)
- Fat: About 8 grams
- Saturated Fat: Around 5 grams
- Carbohydrates: About 20 grams
- Protein: A small boost, around 2 grams
See? They are decadent, but since we are making them with real ingredients and controlling the size, they are still way better than the store-bought sugar bombs we are trying to avoid. Enjoy them responsibly!
PrintHomemade Cherry Cordials

Make classic chocolate covered cherries with a soft, sweet cordial center using maraschino cherries and simple fondant.
- Prep Time: 20 min
- Cook Time: 10 min
- Total Time: 4 hours 30 min
- Yield: About 24 cherries
- Category: Dessert
- Method: Dipping and Setting
- Cuisine: American
- Diet: Vegetarian
Ingredients
- 1 jar (10 ounces) maraschino cherries, drained well
- 1/2 cup granulated sugar
- 1/4 cup light corn syrup
- 1/4 cup water
- 1/4 teaspoon almond extract
- 1 pound dark or semi-sweet chocolate, chopped
- 1 tablespoon vegetable shortening or coconut oil (optional, for smoother coating)
Instructions
- Place the drained maraschino cherries on a plate lined with paper towels. Pat them very dry. This step is important for the coating.
- In a small saucepan, combine the sugar, corn syrup, and water. Heat over medium heat, stirring until the sugar dissolves.
- Stop stirring and let the mixture boil until it reaches 238 degrees Fahrenheit (soft-ball stage) on a candy thermometer.
- Remove the syrup from the heat. Stir in the almond extract.
- Dip each dried cherry into the hot syrup, coating it completely. Use a fork or toothpick to lift it out. Let excess syrup drip off.
- Place the coated cherries back onto a parchment-lined baking sheet. Let them sit at room temperature for at least 4 hours, or until the fondant coating is firm and dry to the touch.
- Melt the chopped chocolate and shortening (if using) in a double boiler or in the microwave in 30-second intervals, stirring until smooth.
- Dip each fondant-covered cherry into the melted chocolate, ensuring it is fully coated. Allow excess chocolate to drip off.
- Return the dipped cherries to the parchment-lined sheet. Let the chocolate set completely at room temperature or in the refrigerator for 15 minutes.
Notes
- Drying the cherries thoroughly prevents the chocolate from seizing or separating.
- If you prefer a slightly liquid center, reduce the syrup cooking time slightly, but be careful not to make it too thin.
- Store finished cordials in an airtight container at cool room temperature for up to two weeks.
Nutrition
- Serving Size: 1 candy
- Calories: 150
- Sugar: 20
- Sodium: 5
- Fat: 8
- Saturated Fat: 5
- Unsaturated Fat: 3
- Trans Fat: 0
- Carbohydrates: 20
- Fiber: 1
- Protein: 2
- Cholesterol: 5