

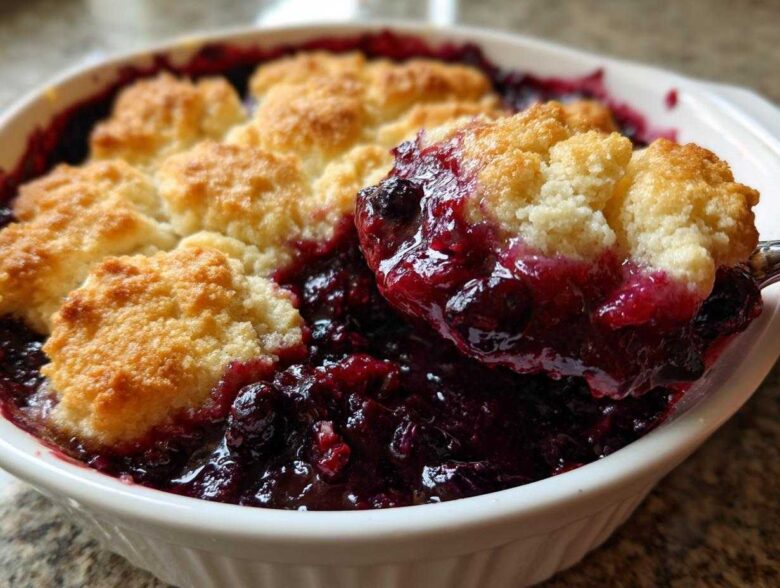
When you need a dessert that feels like a warm, giant hug but you only have about five minutes before guests arrive? For Ethan and me, that answer is always a bubbling, sweet **berry cobbler**. Forget those ever-so-complicated desserts; this is the ultimate, easy comfort food dessert we rely on whenever we need something delicious in a hurry. While I’m usually the one throwing a “pinch” of this or a “splash” of that into the filling—you can read exactly how we balance structure and chaos over on our About Us page!—Ethan holds the line on making sure the baking times are spot on, which means this recipe is perfectly structured and utterly reliable. The best part? You never have to worry about the market—whether you’ve got gorgeous fresh berries or a bag of frozen ones lurking in the back of the freezer, this recipe sings every single time!
Why This is the Best Berry Cobbler Recipe You Will Make
Look, I test a lot of desserts over here, but this particular berry cobbler just hits different. It’s pure comfort food desserts magic, no fuss required. We’ve made sure this recipe is rock solid so you get that amazing, bubbly fruit filling every time. It stands out because it’s designed for real life, meaning it handles both the prettiest fresh berries of summer and those dependable frozen bags with equal grace. If you’re scrolling looking for the absolute best, you’ve found it—stop looking! Head over to our blog archives if you want to see other things we’re busy testing right now. It’s amazing how much good food comes out of our slightly chaotic kitchen!
Quick Preparation for Your Easy Berry Cobbler Recipe
You seriously only need 15 minutes of active time, which is fantastic for a dessert that tastes like it simmered all afternoon. Honestly, if you need a quick fruit dessert that tastes gourmet, this is your winner. Ethan usually handles prepping our spice blends, but even he admits this filling comes together faster than brewing a pot of coffee!
The Perfect Cobbler with Biscuit Topping Texture
This is where we diverge from the crumbly options, and trust me, this is better! We use a proper cobbler with biscuit topping, and when it bakes up, those dollops turn into tender, golden little pillows resting on the hot fruit. It’s not a streusel; it’s something softer and more satisfying. You get that perfect contrast between the warm, jammy base and that slightly crusty, cake-like biscuit on top. It’s just the best texture!
Gathering Ingredients for Your Homemade Cobbler Recipe
Okay, before we dive into the assembly of this amazing **berry cobbler**, we need to talk about making sure you have the right stuff ready to go. Since baking involves a little more structure than my usual dash-of-this approach, Ethan insists we lay everything out perfectly—it makes the whole process smoother! Don’t skip the details on temperature, especially for that butter; that’s how we guarantee a tender topping, not a tough one. Let’s check our stock!
Fruit Filling Components for the Mixed Berry Cobbler
For the gooey, bubbly center, you’ll need:
- 4 cups mixed berries (and remember, fresh or frozen works great here!), such as blackberries, blueberries, or raspberries.
- 1/2 cup granulated sugar—just regular white sugar for the filling to keep it bright.
- 2 tablespoons cornstarch—this is vital for thickening up those juices so they aren’t runny!
- 1 tablespoon lemon juice for that little bit of necessary tang.
- 1/4 teaspoon ground cinnamon to give it that warm, cozy hug flavor.
Ingredients for the Tender Biscuit Topping
This part is key because we aren’t doing a crumble, we’re doing biscuits! Make sure your butter is absolutely cold:
- 1 1/2 cups all-purpose flour.
- 2 tablespoons granulated sugar—just a touch more sweetness for the crust.
- 1 tablespoon baking powder for the lift.
- 1/2 teaspoon salt to balance everything out.
- 1/2 cup (which is one full stick!) of cold unsalted butter, cut into tiny little pieces. Keep that butter frigid!
- 1/2 cup milk—we prefer dairy milk here for the best rise.
- 1 large egg, beaten—this is just for brushing the tops to get that gorgeous golden finish.
Step-by-Step Instructions for Making the Berry Cobbler
Alright, crew, time to assemble this fantastic **berry cobbler**! This is where Ethan’s map-reading skills meet my desire to get this thing baking ASAP. It’s a straightforward process, but the order we do things in really helps the texture shine. Make sure your oven is ready before you start mixing the topping; no one likes waiting around once those biscuits are mixed! If you love simple setups, check out more of our simple baking recipes later!
Preparing the Fruit Base for Your Berry Cobbler
First things first: get that oven hot! You need to preheat to 375°F (190°C). While that’s warming up, just lightly grease your 8×8 inch baking dish. Now, grab your big bowl and very gently toss those beautiful mixed berries with the 1/2 cup of sugar, cornstarch, lemon juice, and that little dash of cinnamon. I mean gently—we don’t want crushed berries! Once everything looks coated, pour that juicy base right into your prepared dish.
Mixing and Dropping the Cobbler with Biscuit Topping
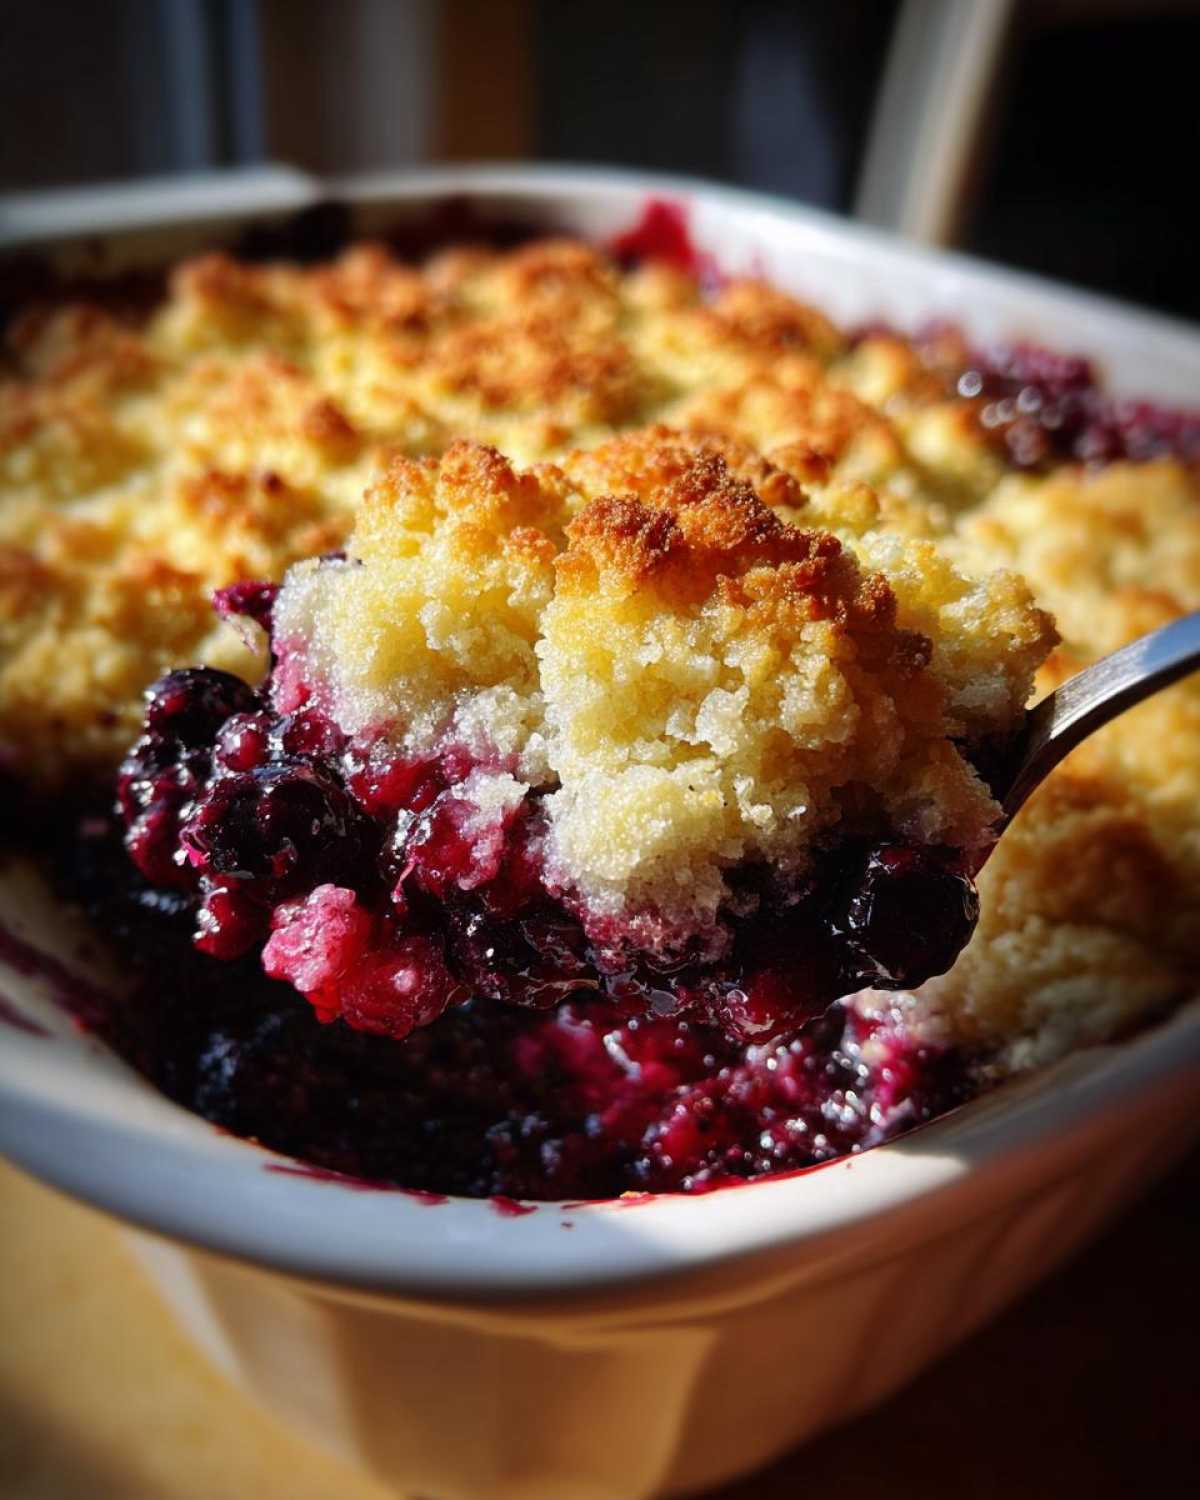
Switch gears to your topping bowl. Whisk your flour, the topping sugar, baking powder, and salt together. Now for the cold butter pieces! You need to cut that butter in using your fingers or a pastry blender until it looks like coarse crumbs—seriously, keep that butter cold for flakiness! Then, pour in the milk and stir *just* until a soft dough starts to form. Stop mixing the second it comes together; overmixing is the enemy here! Drop spoonfuls of that dough evenly over the fruit filling. It’s okay if you have little gaps between them; that lets the steam escape. Give the tops a light brush with that beaten egg for color, like we saw on that good-looking recipe from Julie’s Eats & Treats right here.
Baking Times and Resting for the Warm Berry Dessert
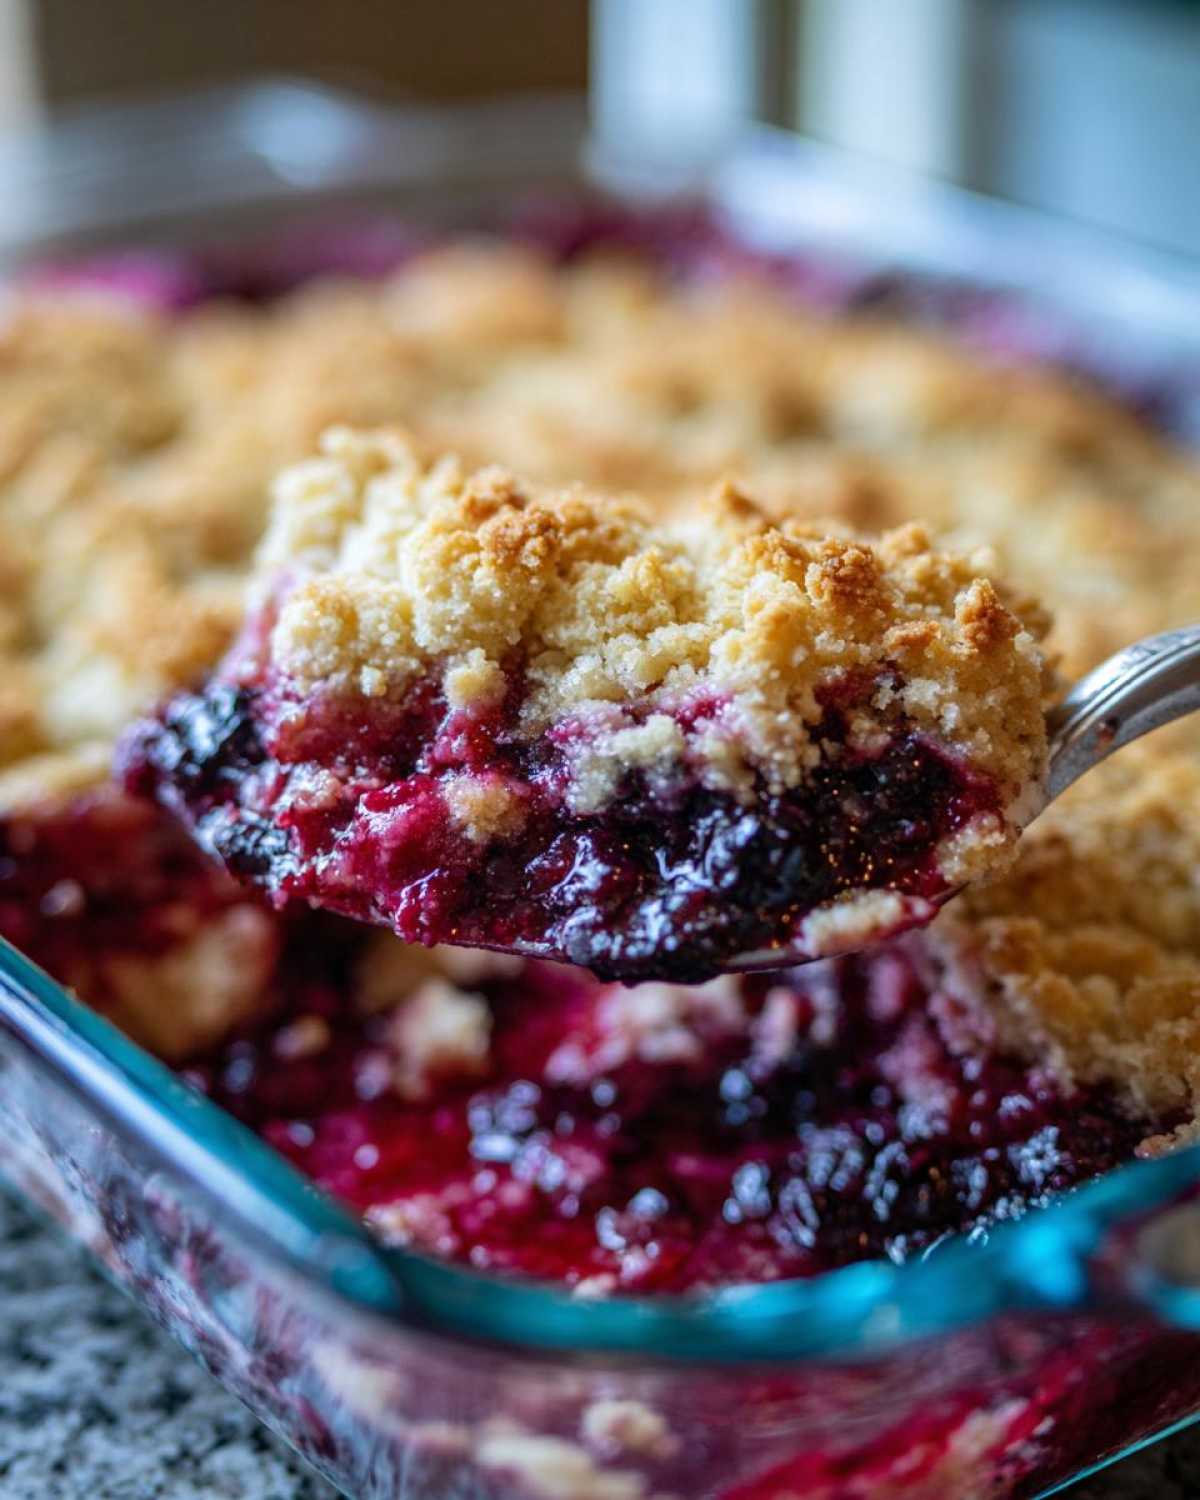
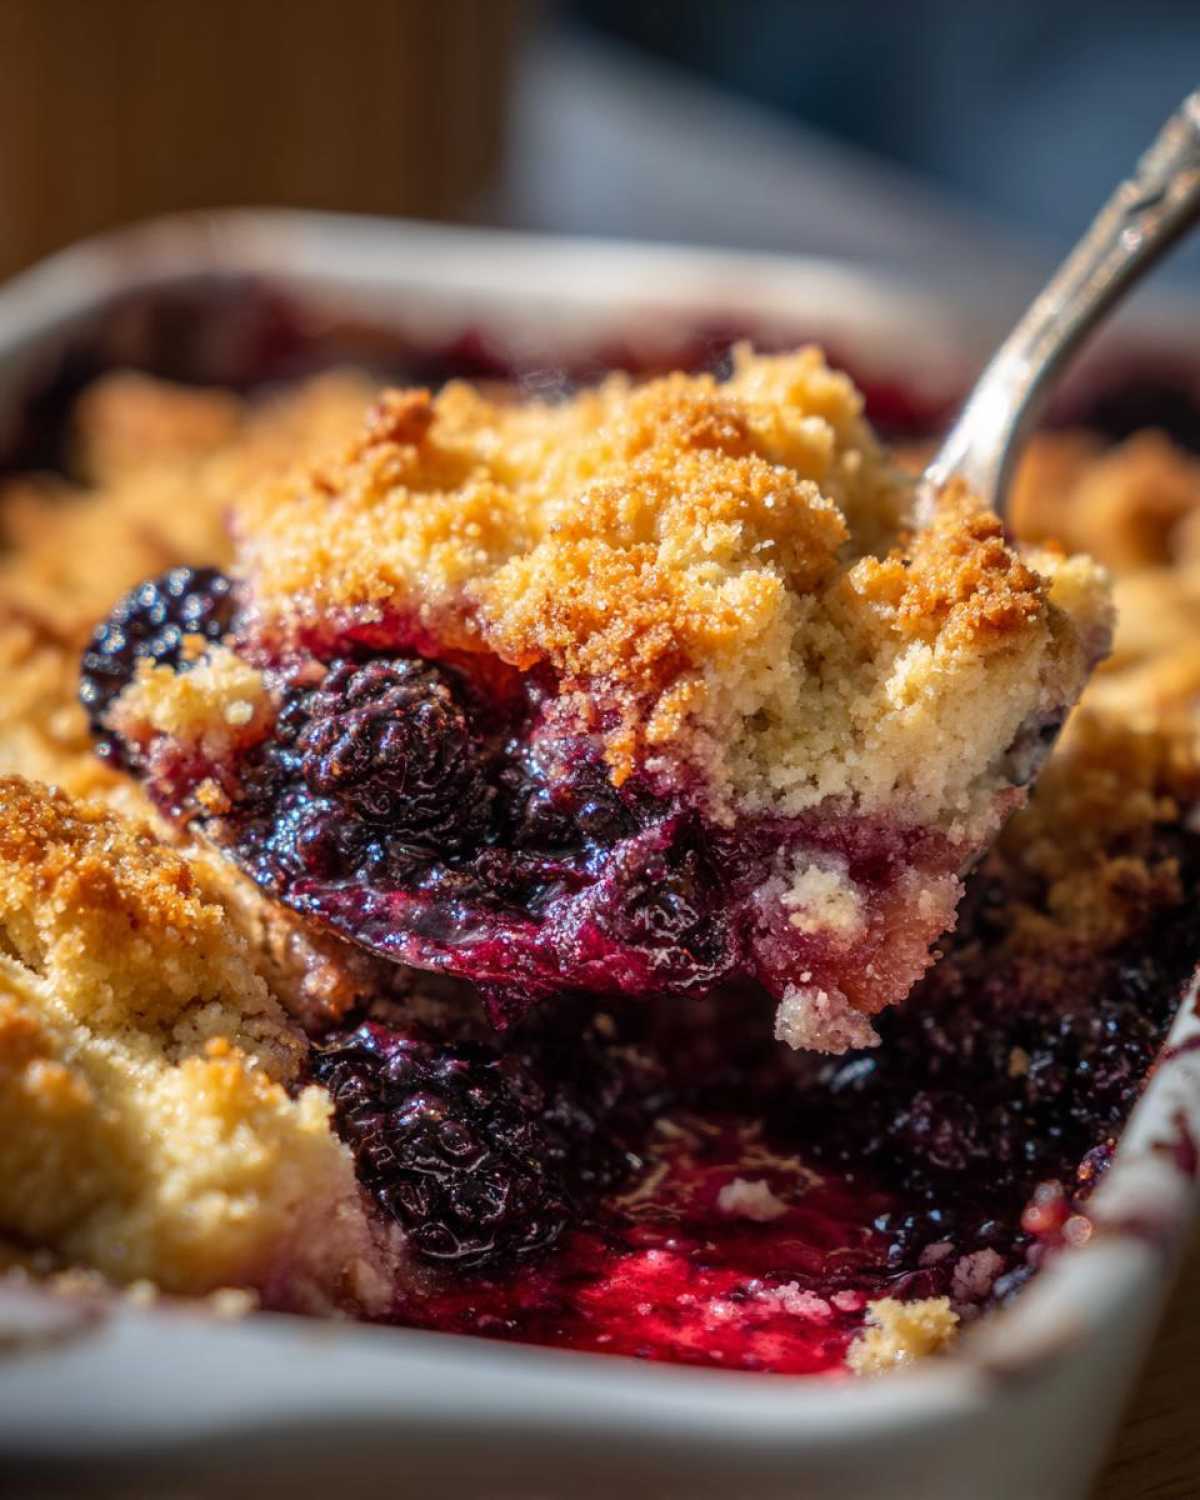
Slide that baby into the hot oven and let it bake for about 35 to 45 minutes. You’re looking for two things: the biscuit topping should be beautifully golden brown, and the berry filling needs to be bubbling up hot around the edges. Once it’s out, this is the hardest part: you must let your warm berry dessert rest for at least 15 minutes. If you cut into it right away, all those lovely thick juices will run out onto the plate. Patience, my friend, patience!
Tips for the Most Flavorful Berry Cobbler
Even though our basic **berry cobbler** recipe is pretty straightforward, Ethan and I have learned a few tricks over the years to make sure every batch sings. You know I love trying new things, but sometimes the simplest tweaks make the biggest difference in these simple baking recipes! We like to share what we’ve learned so your dessert comes out perfect, whether you’re dealing with garden excess or a last-minute craving.
Handling Fresh Berry Dessert Versus Frozen Berry Cobbler Ideas
This is such a common question! If you are working with our frozen berry cobbler ideas, please, please, *please* do not thaw them first. Pop them straight from the freezer into the filling mixture. They will release liquid naturally, but they stay firmer during the mixing process, which is wonderful. You might just need to tack on an extra 5 to 10 minutes to your bake time, so just watch that beautiful bubbling! If you use fresh berries, just make sure they feel firm and not mushy.
Making Variations on Your Berry Cobbler
If you want to get creative, give that cinnamon a little boost! I often toss in a tiny pinch of nutmeg—it just deepens that warm flavor profile perfectly. Also, if you’re in an absolute time crunch and can’t even deal with the biscuit dough, you can totally swap out the whole dry topping for a box of yellow cake mix stirred with melted butter, just like some folks do. That’s a good example of a quick fix, but honestly, that homemade biscuit topping is worth the five extra minutes of work! We found an easy version that uses cake mix worth checking out over at The Food Charlatan if you are in a hurry.
Serving Suggestions for Your Berry Cobbler
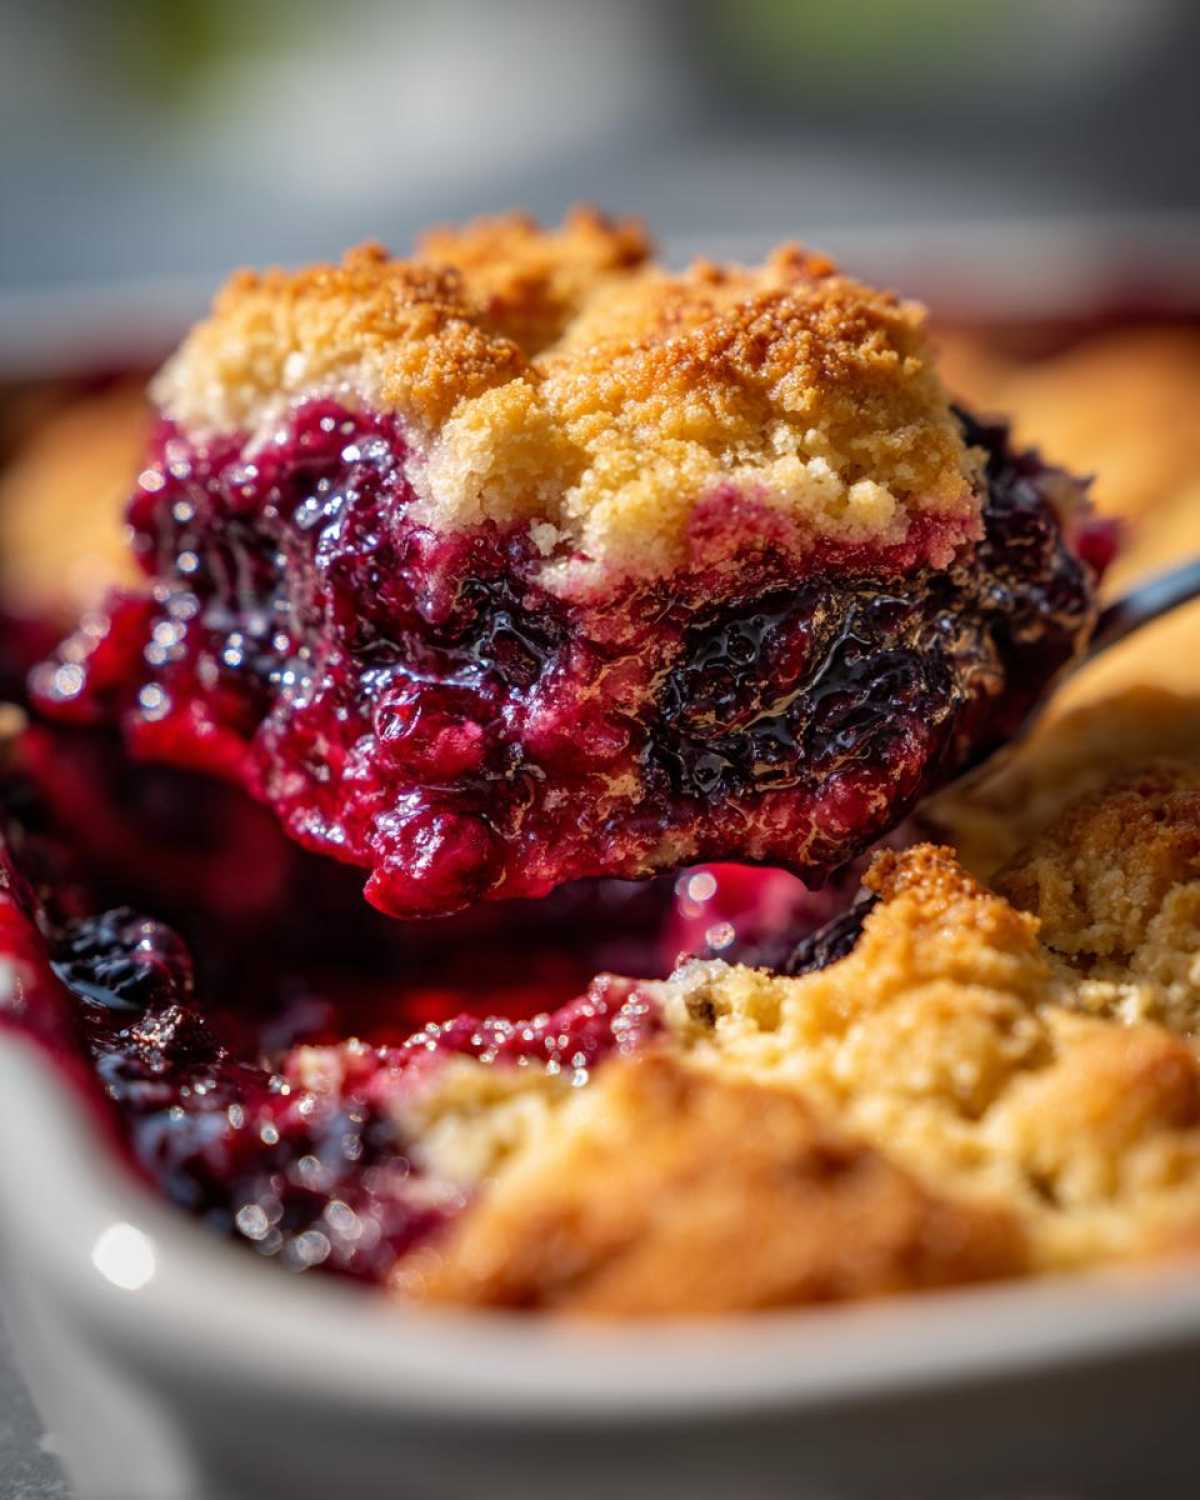
Okay, you finally pulled that beautiful **berry cobbler** out of the oven, and it smells heavenly! But let’s be honest, it’s not truly ready until you add the finishing touch. For me, a warm fruit dessert needs something cold and creamy to cut through that hot sweetness. That’s why practically everyone agrees: it’s best served as a dessert topped with ice cream!
We always use a good quality vanilla ice cream—none of that icy stuff! The contrast between the molten, bubbly fruit and the melting vanilla topping is just perfection. If you’re feeling extra fancy, maybe try a dollop of rich whipped cream instead. If you’re looking for something to sip alongside this later, maybe check out our favorite caramel apple martini recipe!
Storage and Reheating Instructions for Leftover Berry Cobbler
If you manage to have any leftovers—which in our house is a minor miracle because Ethan usually finishes the pan!—storing this **berry cobbler** is pretty simple. Since the fruit filling has a lot of moisture, we have to be a little careful so that biscuit topping doesn’t get totally soggy overnight.
For short-term storage, maybe just one night, you can definitely keep it right on the counter covered tightly with foil or plastic wrap. We aim to serve it the day it’s baked, honestly. But if you have more than a couple of servings left, pop it into the fridge. Make sure it’s cooled down a bit first, then cover it well. It should be good stored this way for about three or four days, though the topping definitely loses some of its original tender bite.
Reheating Your Cobbler for That Fresh-Baked Feel
When it’s time to reheat, forget the microwave if you want that biscuit topping to be happy! The microwave will work in an absolute pinch, but it makes the topping chewy, and nobody wants a chewy biscuit when they are expecting that delightful golden crust.
The oven is your best friend here. Pop a serving onto an oven-safe plate or small pan and reheat it at about 325°F (160°C). Give it about 10 to 15 minutes, or until it’s hot all the way through and you can hear the filling bubbling just a little bit again. If you want to try and crisp up the top a little more, you can pop it under the broiler for the last minute, but you have to watch it like a hawk—seriously, go stand right there so it doesn’t burn!
Can I Freeze the Berry Cobbler?
Yes, you totally can freeze this! I usually like to freeze individual servings in airtight containers. If you freeze it baked, the topping gets a bit dense when it thaws. If you have time, bake the filling only, freeze that, and then top it with your biscuit dough right before you bake it fresh for company. That approach gives you that true, fresh-from-the-oven experience!
*Output only the HTML for this section.*
Frequently Asked Questions About This Easy Berry Cobbler Recipe
I know when I start baking something new, I always have a million little questions bubbling up—just like the baked filling! Ethan and I tried to anticipate everything you might wonder about while making this amazing **berry cobbler**. If you still have some burning questions after reading through, feel free to send us a note through the contact form! We love hearing from our crew!
What is the difference between a Berry Cobbler vs Cobbler?
That’s a fun technical question! When people generally say “cobbler,” they are talking about a fruit base that is topped with spoonfuls of a soft, biscuit-like batter that puffs up while baking. That’s what gives you that wonderful, uneven, golden lid. If you were making a crisp or a crumble, you’d use a streusel topping made of flour, sugar, and butter rubbed together, which creates a crunchy texture on top instead. We love that traditional biscuit texture, which is why this recipe is so comforting!
Can I use only one type of berry in this berry cobbler?
Absolutely! I mean, we love the complexity that comes from using mixed berries—that sweet-tart balance is just divine. But if you only have a huge haul of blackberries, or maybe you just love raspberries, go for it! A recipe like a Blackberry Raspberry Cobbler is wonderful on its own. Just stick to the total 4 cups measurement of fruit, and you’ll be totally fine. Flavor is what matters most here!
How do I prevent the bottom crust from getting soggy?
Oh, the dreaded soggy bottom—we’ve fought that battle many times! The main trick in this recipe is that cornstarch we mixed in with the berries. That’s your secret weapon because it grabs onto the moisture as the fruit cooks down, turning it into a thick, jammy sauce instead of watery juice that steams the biscuit underneath. Also, make sure your oven is fully preheated to that 375°F! Baking on a cold bottom causes all sorts of moisture problems right at the start.
Estimated Nutritional Data for One Serving of Berry Cobbler
Okay, gather ‘round, because Ethan always makes me put this part in, even though I tell him nobody cares about grams when they are inhaling warm dessert! He says it’s important for transparency on our little fleet, so here they are. Remember, these numbers are estimates based on the specific ingredients we reached for—like using standard unsalted butter or the flour we usually keep stocked—so your actual counts might vary just a tiny bit. We’re focused on flavor, not counting every speck, but this should give you a general idea of what’s in this incredible **berry cobbler**!
- Serving Size: 1 serving
- Calories: Approximately 380
- Total Fat: Around 16g
- Saturated Fat: About 10g (That’s that lovely butter doing its job!)
- Carbohydrates: Roughly 58g
- Sugar: In the neighborhood of 35g (It is fruit dessert, after all!)
- Protein: About 6g
- Sodium: Coming in close to 250mg
See? Nothing scary! It’s a perfect treat for a cozy night after a long week. Enjoy it!
Share Your Homemade Cobbler Recipe Experience
Whew! We’ve talked fruit prep, we’ve talked biscuit dough, and now it’s time for the best part: hearing from you! Pulling together this **berry cobbler** is always such a joy for us, and honestly, seeing your results truly warms my heart more than that warm crumble topping ever could. We put a lot of love and organization—Ethan’s structure, my chaos—into getting these directions just right.
So, if you made this easy berry cobbler recipe, please, please, leave a rating right down below! Did you use blackberries and raspberries? Did you go for the cake mix shortcut, or did you stick to the real biscuit topping magic? Tell us everything! Comments and ratings are super helpful not just for us, but they help other folks navigating the digital world feel confident enough to jump into their own kitchen adventure. We read every single one!
Don’t forget, if you’re sharing photos on social media, tag us! We love to see your golden tops and that pool of melted vanilla ice cream! And just so you know we respect your privacy while you’re busy baking, you can check out our privacy policy anytime.
Happy baking, and thanks for joining our fleet!
PrintThe Easiest Mixed Berry Cobbler with Biscuit Topping (Uses Fresh or Frozen Berries)

You can make this comforting mixed berry cobbler quickly, using either fresh or frozen berries. It features a simple, tender biscuit-like topping that bakes up golden brown. This is the perfect warm dessert for any season.
- Prep Time: 15 min
- Cook Time: 40 min
- Total Time: 55 min
- Yield: 6 servings
- Category: Dessert
- Method: Baking
- Cuisine: American
- Diet: Vegetarian
Ingredients
- 4 cups mixed berries (fresh or frozen, such as blackberries, blueberries, raspberries)
- 1/2 cup granulated sugar
- 2 tablespoons cornstarch
- 1 tablespoon lemon juice
- 1/4 teaspoon ground cinnamon
- 1 1/2 cups all-purpose flour
- 2 tablespoons granulated sugar (for topping)
- 1 tablespoon baking powder
- 1/2 teaspoon salt
- 1/2 cup (1 stick) cold unsalted butter, cut into small pieces
- 1/2 cup milk
- 1 large egg, beaten (for brushing)
Instructions
- Preheat your oven to 375°F (190°C). Lightly grease an 8×8 inch baking dish.
- In a large bowl, gently combine the mixed berries, 1/2 cup sugar, cornstarch, lemon juice, and cinnamon. Stir until the berries are evenly coated.
- Pour the berry mixture into your prepared baking dish.
- In a separate medium bowl, whisk together the flour, 2 tablespoons of sugar, baking powder, and salt for the topping.
- Cut the cold butter pieces into the dry ingredients using a pastry blender or your fingertips until the mixture resembles coarse crumbs.
- Pour in the milk and stir just until a soft dough forms. Do not overmix.
- Drop spoonfuls of the biscuit dough evenly over the top of the berry filling. You do not need to cover the entire surface; gaps are good for steam release.
- Brush the tops of the biscuits lightly with the beaten egg for a golden finish.
- Bake for 35 to 45 minutes, or until the topping is golden brown and the berry filling is bubbly around the edges.
- Let the cobbler cool for at least 15 minutes before serving warm, preferably topped with vanilla ice cream.
Notes
- If you use frozen berries, do not thaw them first. You may need to add 5 to 10 minutes to the baking time.
- For a richer topping flavor, substitute 1/4 cup of the milk with heavy cream.
- This recipe works well with a cake mix shortcut if you prefer a simpler topping; replace the dry topping ingredients and milk with 1 box of yellow cake mix and 1/2 cup of melted butter mixed together and crumbled over the fruit.
Nutrition
- Serving Size: 1 serving
- Calories: 380
- Sugar: 35g
- Sodium: 250mg
- Fat: 16g
- Saturated Fat: 10g
- Unsaturated Fat: 6g
- Trans Fat: 0g
- Carbohydrates: 58g
- Fiber: 4g
- Protein: 6g
- Cholesterol: 55mg