

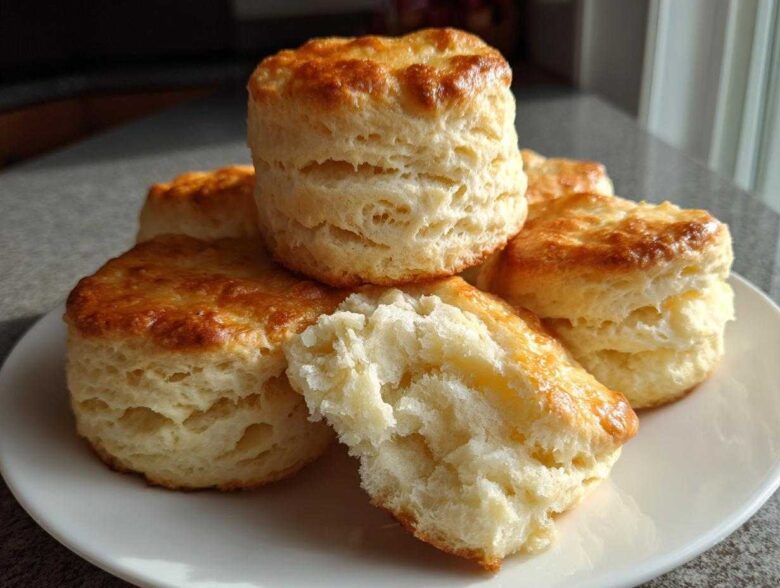
Oh, there’s nothing in the whole wide world that beats the smell of something wonderful baking for breakfast, you know? That warm, yeasty, buttery scent just makes everything right. If you’re chasing that perfect cloud-like texture in your baked goods, then you’ve come to the absolute right place. I spent years wrestling with flat, dense pucks, but I finally cracked the code for achieving the ultimate fluffy texture in these buttermilk biscuits. Trust me, once you bite into these tall beauties, you won’t go back to the tube stuff, ever. It’s all about cold ingredients and keeping your hands light! For more wonderful morning treats, check out my ideas over here in the breakfast category.
Why This is the Best Buttermilk Biscuits Recipe You Will Make
There are a million ways to make a biscuit, but this particular method is the one that guarantees success almost every time. The whole secret lies in two things: keeping everything freezing cold and touching the dough as little as humanly possible. Seriously, your warm hands are the enemy of height! This technique locks in those little pockets of butter, which turn into steam reservoirs in the hot oven.
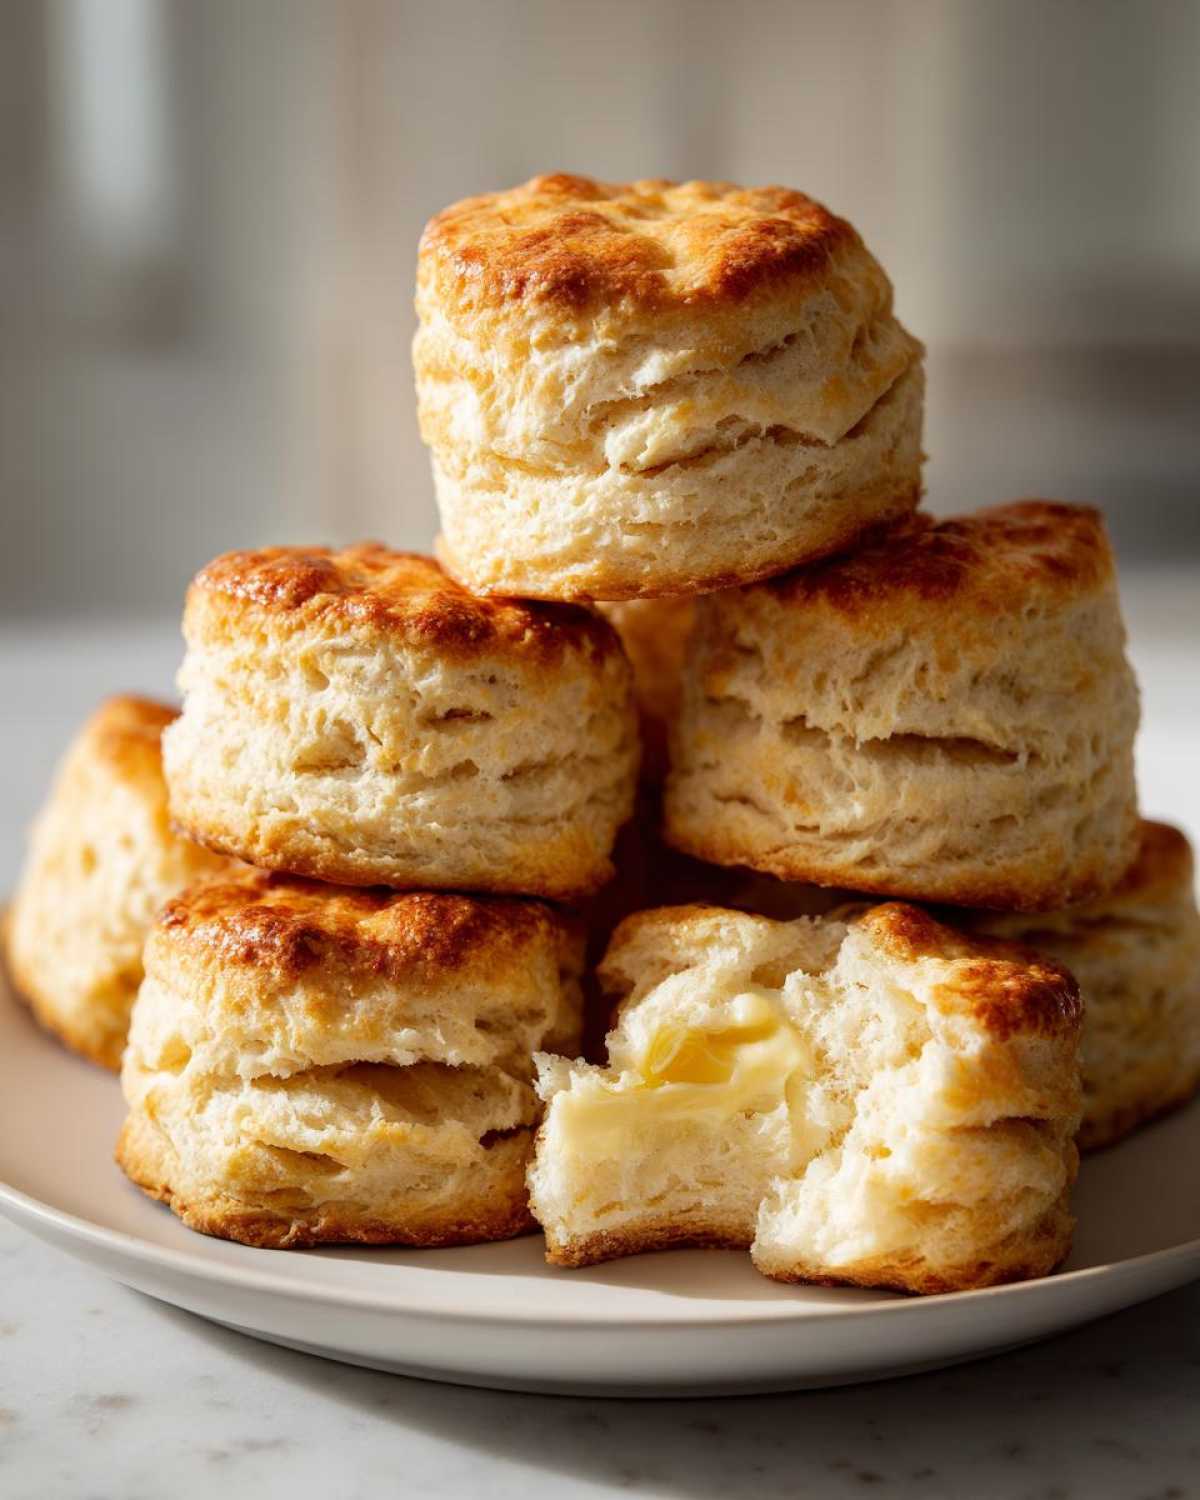
When that steam escapes, *poof!* You get those beautiful layers. I promise these Fluffy Buttermilk Biscuits aren’t like the dense versions you’ve tried before. They are the definition of Tender Flaky Biscuits. We use that simple ratio of flour, soda, and powder, but the execution is what locks in the real flavor, making this the Best Biscuit Recipe you’ll try all year. For more details on the process, you can dive deeper into my dedicated post on making fluffy and flaky biscuits.
Achieving Ultimate Fluffy Buttermilk Biscuits
It’s all about respecting the cold butter. You want those little chunks of frozen fat suspended in the flour mixture. When the dough goes into the 425-degree oven, the butter melts, creating steam that forces the dough layers apart. If you mix too long, you just blend the butter into the flour, making it oily instead of layered. Keep your mixing fast, shaggy, and totally uneven—that’s the bread magic happening right there!
Gathering Ingredients for Tender Flaky Biscuits
Okay, so here’s the shopping list. I’ve tried to keep this list super simple—no weird, hard-to-find items here! But trust me, the quality of these few ingredients really does shine through in the final product. We aren’t making complicated puff pastry; we’re making honest, comforting biscuits that taste like they came right out of a Southern kitchen.
- 2 cups all-purpose flour (Use the spoon and level method for measuring, please!)
- 1 tablespoon baking powder (This helps them get airy!)
- 1 teaspoon salt
- 1/2 teaspoon baking soda
- 1/2 cup (that’s one full stick) unsalted butter, very cold and cut into tiny little pieces
- 3/4 cup buttermilk, also very cold straight from the fridge
Ingredient Notes and Substitutions for Buttermilk Biscuits
The cold factor cannot be stressed enough. If your butter melts before it hits the flour, you’re going to get flat biscuits. That’s a fact. If you look in the fridge and realize you’re fresh out of real buttermilk, don’t panic! I have a total lifesaver trick for you. Just take 3/4 cup of regular milk—whole milk is best—and stir in one tablespoon of white vinegar or fresh lemon juice. Let that sit for about five minutes until it looks slightly curdled. That acidity is exactly what you need to activate the baking soda for that perfect lift and tang!
Step-by-Step Instructions for Quick Biscuit Recipe Success
Now for the fun part where we actually bring these beauties to life! Since we want a Quick Biscuit Recipe that delivers major flavor fast, timing is everything. First things first, make sure your oven is cranked up to 425 degrees Fahrenheit well before you even look at the dough. I usually line my baking sheet with parchment paper because cleanup is already a pain, right? Then we whisk those dry ingredients together—the flour, the leaveners, the salt. Don’t skip the whisking; we want that baking powder evenly distributed!
- Grab that cold butter we cubed earlier and work it into the flour. Use a pastry blender or just your fingertips—work fast until it looks like coarse crumbs with some small, pea-sized butter chunks still visible.
- Pour in all that chilled buttermilk at once. Stir it with a fork until it just comes together. It should look kind of shaggy and ugly. Stop stirring! Seriously, stop mixing the second you don’t see loose flour anymore.
- Turn the dough onto your floured countertop. Gently pat or roll it out until it’s about 3/4 inch thick. This is where the height comes from!
- Use your cutter, and don’t mess around with twisting it. Bake for about 12 to 15 minutes until they are beautifully golden brown on top.
Right when they come out, I like brushing them with a little extra melted butter for shine and flavor. You can find more detailed advice on avoiding common sinkholes and getting the perfect bake over here: baking tips for perfect biscuits.
The Key Technique for Perfect Buttermilk Biscuits Rise
Listen up, this is the single most important trick for tall, glorious buttermilk biscuits. When you use your biscuit cutter—mine is a sturdy 2.5-inch one—you must press it straight down into the dough and then pull it straight up. Do *not* twist! Twisting seals those edges shut, and your biscuit won’t be able to bloom upwards in the oven. If you want maximum height, try gently folding the dough onto itself two or three times before the final cut. That creates those crucial interior layers that puff up beautifully!
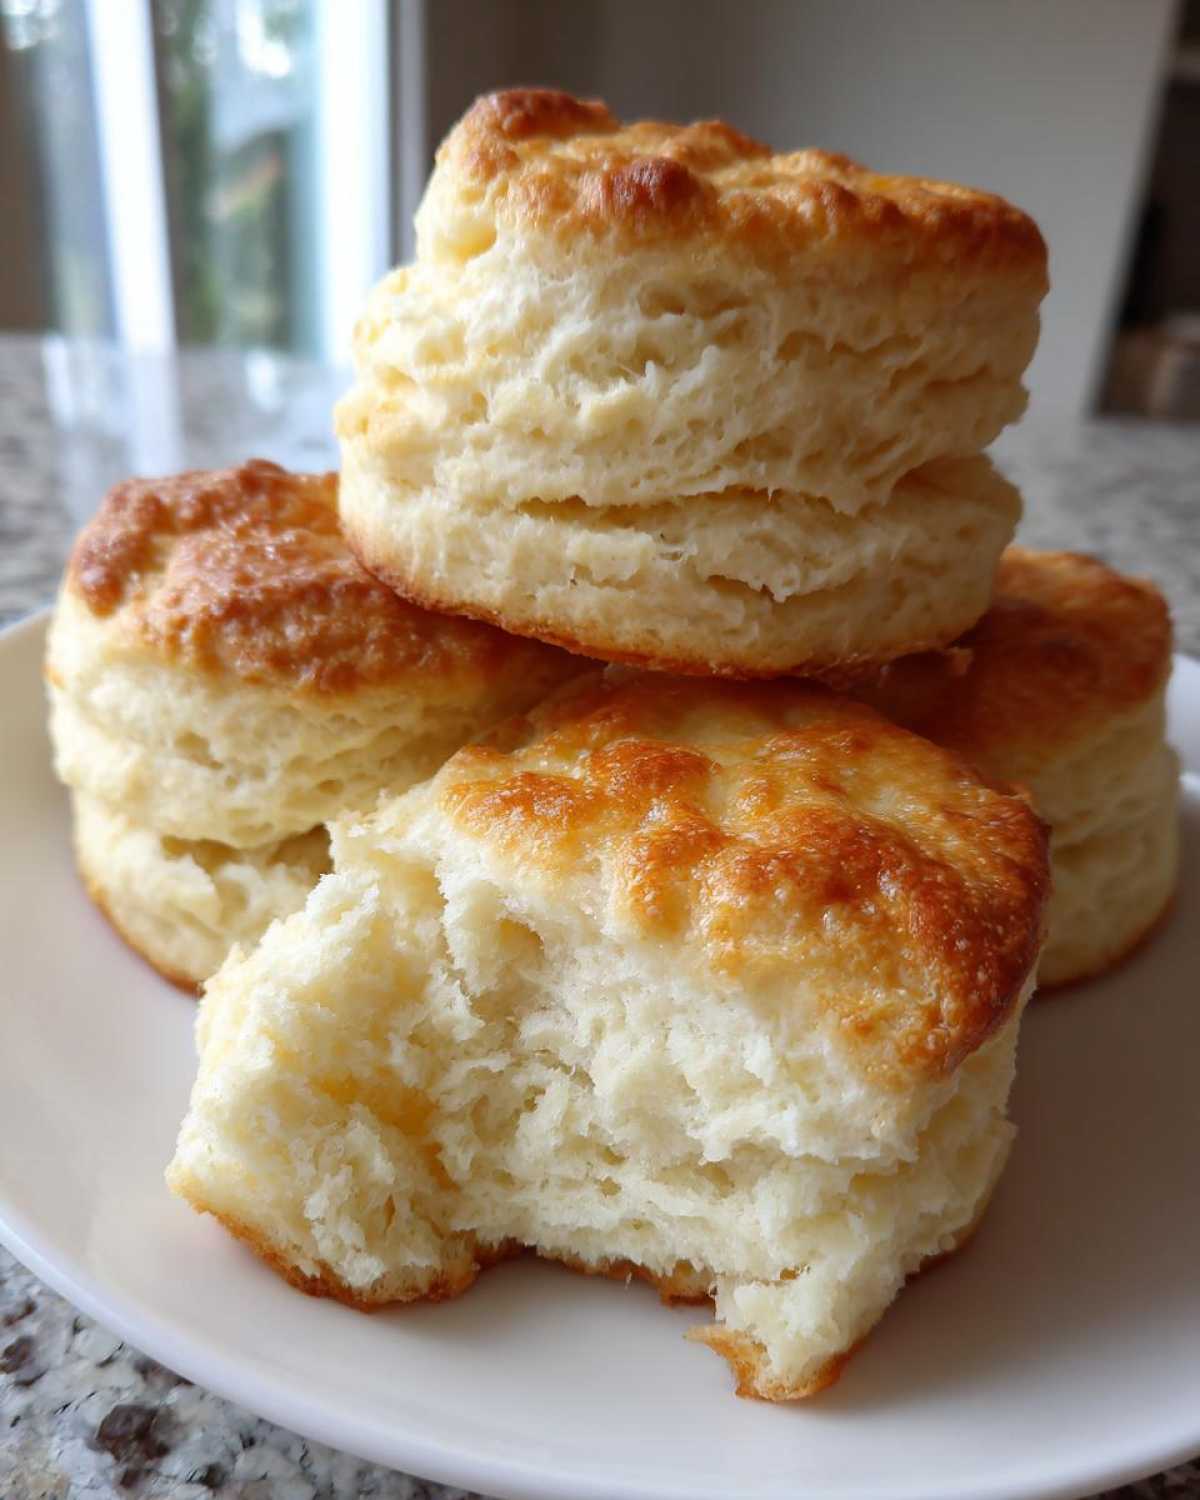
Tips for Making Southern Style Biscuits That Melt in Your Mouth
When you get the method right, these become what I call Melt in Your Mouth Biscuits. They just dissolve on your tongue! First, temperature consistency is huge. You need to make sure your oven racks are centered and that you’ve let the oven preheat for a solid 20 minutes, not just until the beep. Seriously, I used to rush this part, and my biscuits came out pale and slightly gummy on the bottom. It was a sad day for breakfast!
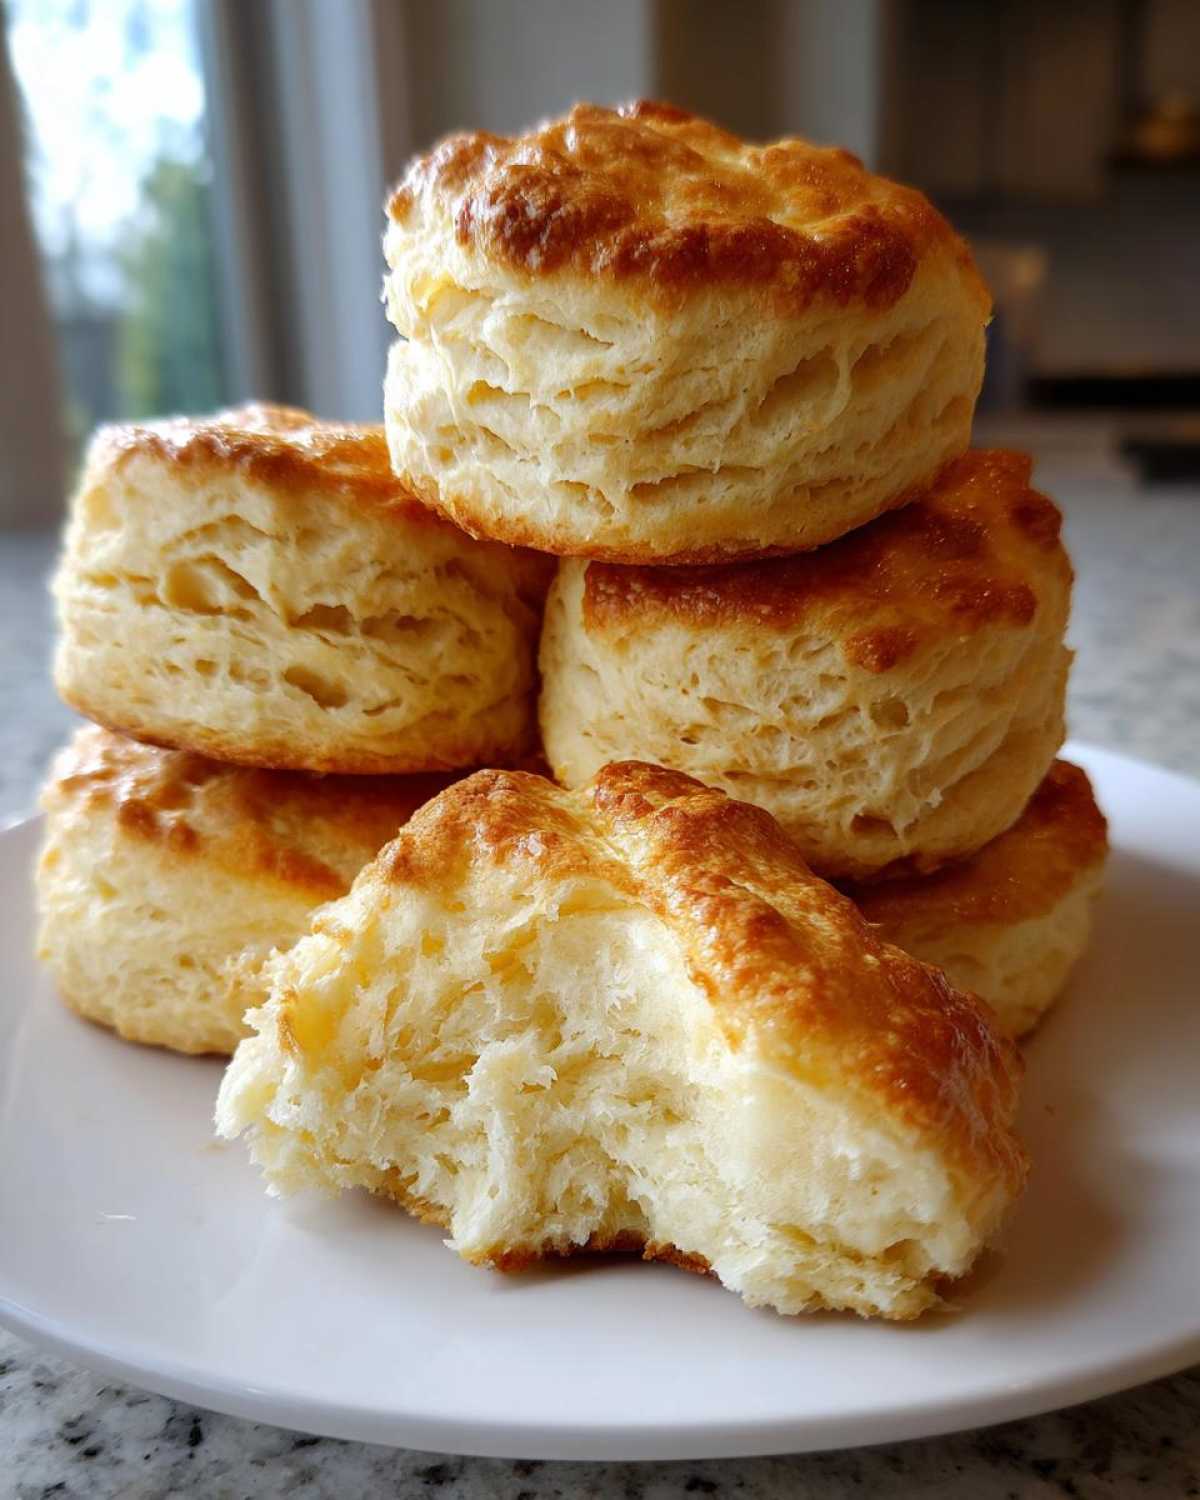
The other crucial thing for beautiful Southern Style Biscuits is the gentle touch. Once that buttermilk hits the flour, you are done mixing. If you feel the dough starting to warm up in your hands, just pop the whole bowl back into the freezer for five minutes. That chill is non-negotiable for getting that flaky lift. Follow these rules, and your buttermilk biscuits will be tender and airy every single time. Want to learn how to use the oven heat to your advantage? I detailed some great tricks over at my post about baking tips for perfect biscuits.
Equipment Needed for Your Buttermilk Biscuits
You don’t need a fancy stand mixer or a thousand gadgets for these, which is part of why I love this recipe so much! It uses things you probably already have in the drawer.
- A large mixing bowl: Big enough so you aren’t spilling your dry ingredients everywhere when you whisk.
- A pastry blender or your hands: I usually default to my hands! They warm the butter up faster, but if you’re slow working, a pastry blender is great for keeping those butter chunks intact.
- A sturdy rolling pin or just your hands for patting: If you pat it out, you get a slightly different, maybe slightly more rustic look, but it works just fine for fluffiness.
- A biscuit cutter: I recommend a 2.5-inch cutter if you want those tall diner-style biscuits. If you don’t have one, a glass with a sharp rim works in a pinch!
- A baking sheet and parchment paper: Non-negotiable for easy cleanup and consistent bottom browning.
That’s it! Keep your tools cold before you use them, especially the cutter—dip it in cold water if your kitchen is warm.
Serving Suggestions for Classic Buttermilk Bakes
Honestly, these buttermilk biscuits are the perfect vehicle for just about anything savory or sweet you can imagine. For that true Southern brunch vibe, you absolutely must serve them smothered in homemade sausage gravy. We’re talking rich, creamy heaven atop a fluffy base! Since you asked, I have a super quick recipe for chicken gravy that works just as well, if you need something fast; you can check out the easy 10-minute chicken gravy recipe here.
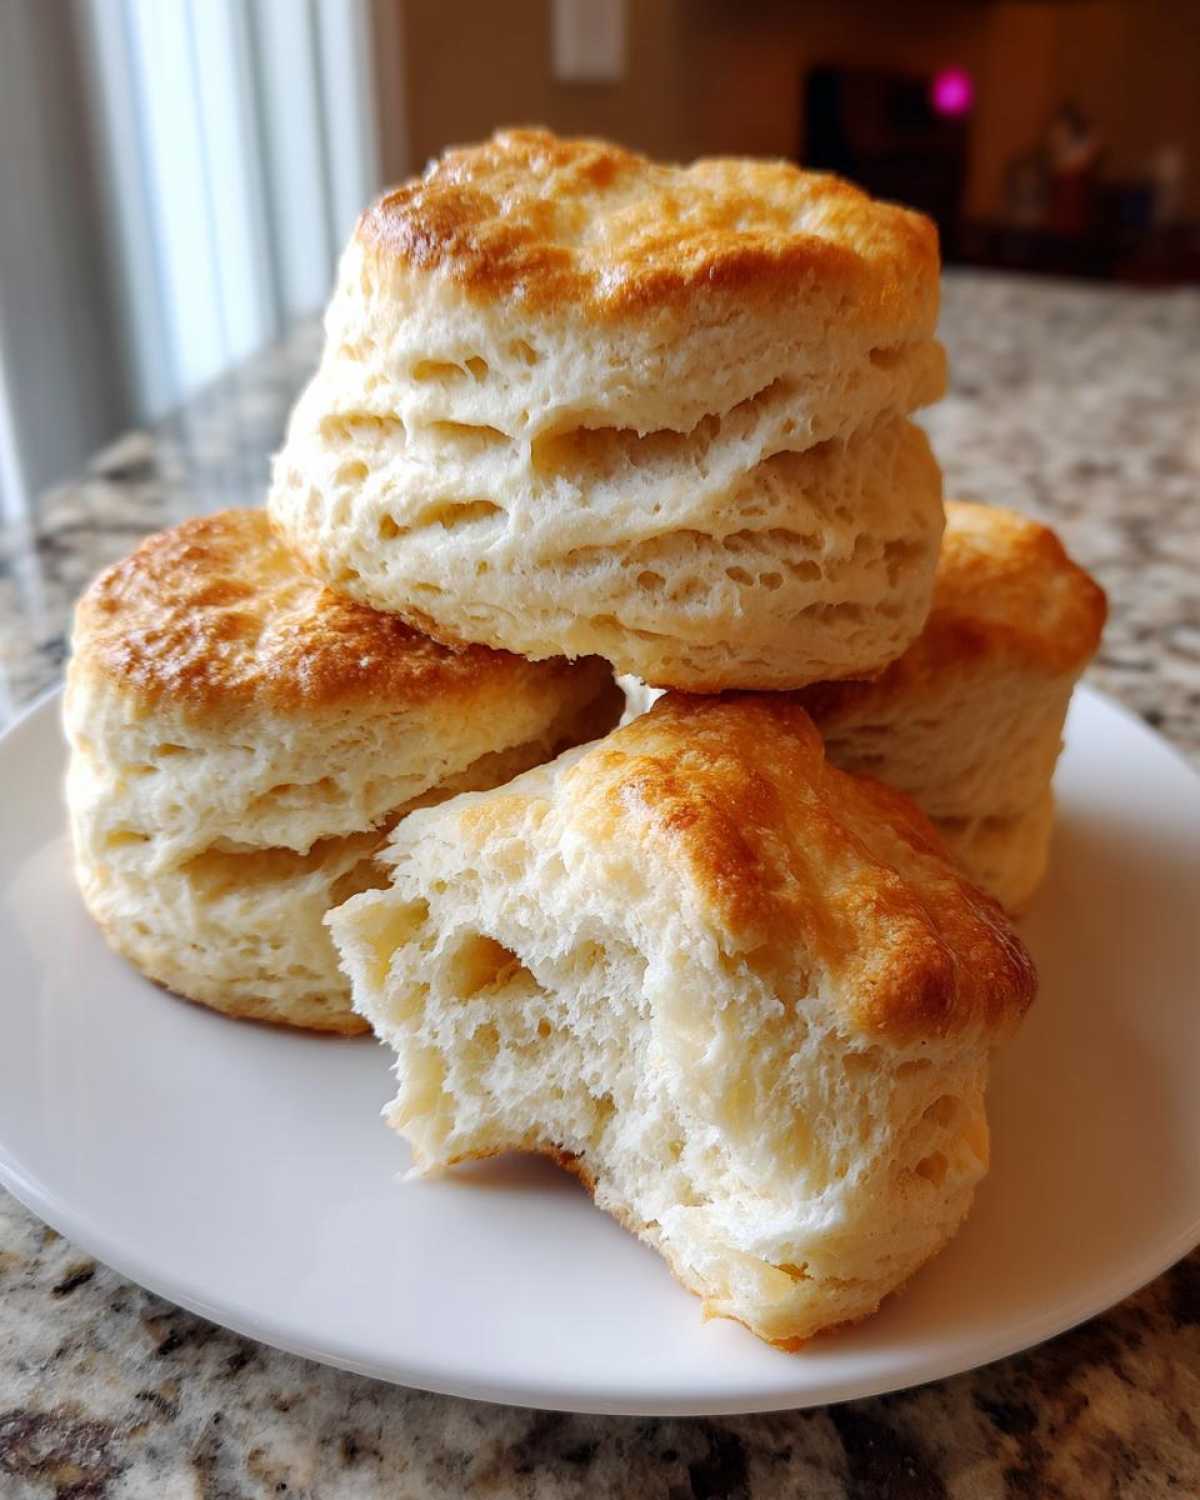
But hey, if it’s just a weekday morning, you can’t go wrong with a thick smear of blackberry jam or a drizzle of warm honey butter. They are simply fantastic on their own, too, especially when fresh from the oven. These are truly the ultimate Breakfast Bread Ideas!
Storage and Reheating Instructions for Buttermilk Biscuits
The biggest tragedy is having leftover biscuits that lose their tenderness overnight, but don’t worry; we have methods to keep these flaky wonders fresh! If you have any leftover buttermilk biscuits and plan to eat them the next day, just keep them tightly wrapped in aluminum foil at room temperature. The foil traps the slight moisture they give off, keeping them soft.
If you need them to last longer, go ahead and refrigerate them in an airtight container, but be warned: refrigeration can make them dry out faster. For true long-term storage, freeze them! Let the biscuits cool completely, then wrap each one individually in plastic wrap, and then nestle them into a freezer bag. They are good for about three months this way.
The secret to bringing frozen or refrigerated buttermilk biscuits back to life? Reheating them in a 350-degree oven for about 5 to 7 minutes. You want to serve them warm so they taste freshly baked—that little bit of heat re-activates the butter and brings back that perfect tender crumb.
Frequently Asked Questions About Making Buttermilk Biscuits
I know you might still have a few lingering worries after reading through all that buttery goodness! Baking is all about experimentation, but for a staple like this, knowing the answers saves you time. People always ask me the same few things when they first try to tackle these buttermilk biscuits.
Why didn’t my biscuits rise tall?
This is almost always one of two mistakes: either your butter wasn’t cold enough, or you twisted your biscuit cutter during the cutting process. Remember how I said twisting seals the edges? That’s the main culprit for sad, short biscuits. Also, make sure your baking powder is fresh! Old powder means no lift, plain and simple. If you need a quick look at savory pairings, I’ve got a great post on classic homemade herb sausage stuffing recipe, though I usually prefer these with gravy!
Can I use heavy cream instead of buttermilk?
You absolutely can! Heavy cream is an excellent substitute if you’re in a pinch. It’s higher in fat, which means you might get an even richer flavor, though maybe slightly less tang. Since cream is thicker than buttermilk, I usually add just a teaspoon or two of lemon juice to it first to mimic that necessary acidity. This substitution keeps them totally Tender Flaky Biscuits.
How can I make these 3 Ingredient Biscuits?
That’s the speedy version people love! To make the quick version, you swap the baking powder, soda, and butter out for just self-rising flour and a combination of heavy cream and melted butter or shortening. They won’t achieve the exact same height as this classic buttermilk biscuits recipe, but they are lightning fast for a late addition to dinner!
Is it okay if the dough looks really messy before baking?
Yes! That messy, shaggy look is exactly what you want! If your dough looks smooth and perfectly unified, you’ve mixed it too much. Remember, we are aiming for those distinct streaks of butter throughout. Messy dough equals layers, and layers equal the fluffiest texture!
Recipe Metrics and Dietary Information
I always get asked about the numbers behind our baked goods, and I promise to be honest—these are estimates made using standard USDA data for the ingredients listed. Since we all measure a little differently, and the brand of butter matters, take these figures as a fantastic starting point, not gospel truth!
Making these in a big batch means you get a really reasonable serving size, especially if you are planning to eat them with a big side of gravy! We’ve managed to keep the sugar really low, since the flavor comes mostly from the richness of the butter and the tang of the milk.
- Serving Size: 1 biscuit
- Calories: 250
- Fat: 14g (with 9g saturated fat)
- Carbohydrates: 28g
- Protein: 5g
- Sodium: 450mg
Just a quick word of caution here: these are estimates based on the recipe as written using standard pantry items. If you use salted butter or a different type of flour, your numbers will change slightly. For a full breakdown of why recipes might vary, you should always check out my disclaimer page regarding nutrition estimates. Happy baking!
PrintThe Ultimate Fluffy Southern Buttermilk Biscuits
Make tender, buttery buttermilk biscuits with this straightforward recipe. These biscuits achieve a fluffy texture perfect for breakfast or serving with dinner.
- Prep Time: 15 min
- Cook Time: 15 min
- Total Time: 30 min
- Yield: 8 biscuits
- Category: Breakfast
- Method: Baking
- Cuisine: American
- Diet: Vegetarian
Ingredients
- 2 cups all-purpose flour
- 1 tablespoon baking powder
- 1 teaspoon salt
- 1/2 teaspoon baking soda
- 1/2 cup (1 stick) cold unsalted butter, cut into small pieces
- 3/4 cup cold buttermilk
Instructions
- Preheat your oven to 425 degrees Fahrenheit. Line a baking sheet with parchment paper or lightly grease it.
- In a large bowl, whisk together the flour, baking powder, salt, and baking soda.
- Cut the cold butter into the dry ingredients using a pastry blender or your fingertips until the mixture resembles coarse crumbs with some pea-sized pieces of butter remaining.
- Pour in the cold buttermilk all at once. Stir gently with a fork until just combined. Do not overmix; the dough will be shaggy.
- Turn the dough out onto a lightly floured surface. Gently pat or roll the dough to about 3/4-inch thickness.
- Use a biscuit cutter (about 2.5 inches) to cut out rounds. Press the cutter straight down without twisting for the best rise.
- Place the biscuits close together on the prepared baking sheet for softer sides, or farther apart for crispier sides.
- Bake for 12 to 15 minutes, or until the tops are golden brown.
- Brush the tops with melted butter immediately after removing them from the oven, if desired.
Notes
- Keep your butter and buttermilk very cold for the flakiest biscuits.
- For extra height, fold the dough over itself two or three times before cutting the biscuits.
- If you do not have a biscuit cutter, you can cut squares with a knife.
Nutrition
- Serving Size: 1 biscuit
- Calories: 250
- Sugar: 1
- Sodium: 450
- Fat: 14
- Saturated Fat: 9
- Unsaturated Fat: 5
- Trans Fat: 0
- Carbohydrates: 28
- Fiber: 1
- Protein: 5
- Cholesterol: 35