

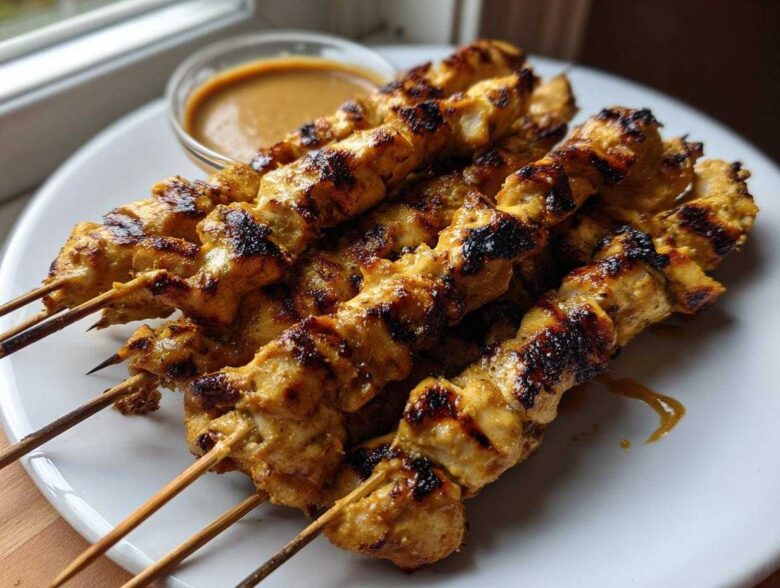
Oh, how I know that feeling! You get hit with a massive craving for flavorful, slightly exotic food, but the thought of driving to the Thai place—or worse, trying to decipher a complicated recipe—just drains all your energy. Honestly, I used to think truly authentic, juicy **chicken satay** was reserved for restaurant visits only. I spent way too many weekends accidentally turning my skewers dry and sad!
But I cracked the code, and seriously, it’s so simple. This whole **easy chicken satay recipe** comes together faster than you can decide what to watch on TV. We’re talking tender, gorgeously yellow chicken soaked in the perfect marinade, kissed by the flames, and served with the dreamiest peanut dip you’ve ever tasted. Forget soggy takeout; we are making restaurant-quality **homemade chicken satay skewers** tonight, and I promise, you’ll nail the juiciness factor on your very first try! If you’re looking for marinade magic that works wonders on any poultry, check out my recipe for the ultimate all-purpose juicy chicken marinade—but for satay, sticking to the turmeric kick here is totally worth it!
Why This Easy Chicken Satay Recipe Works So Well
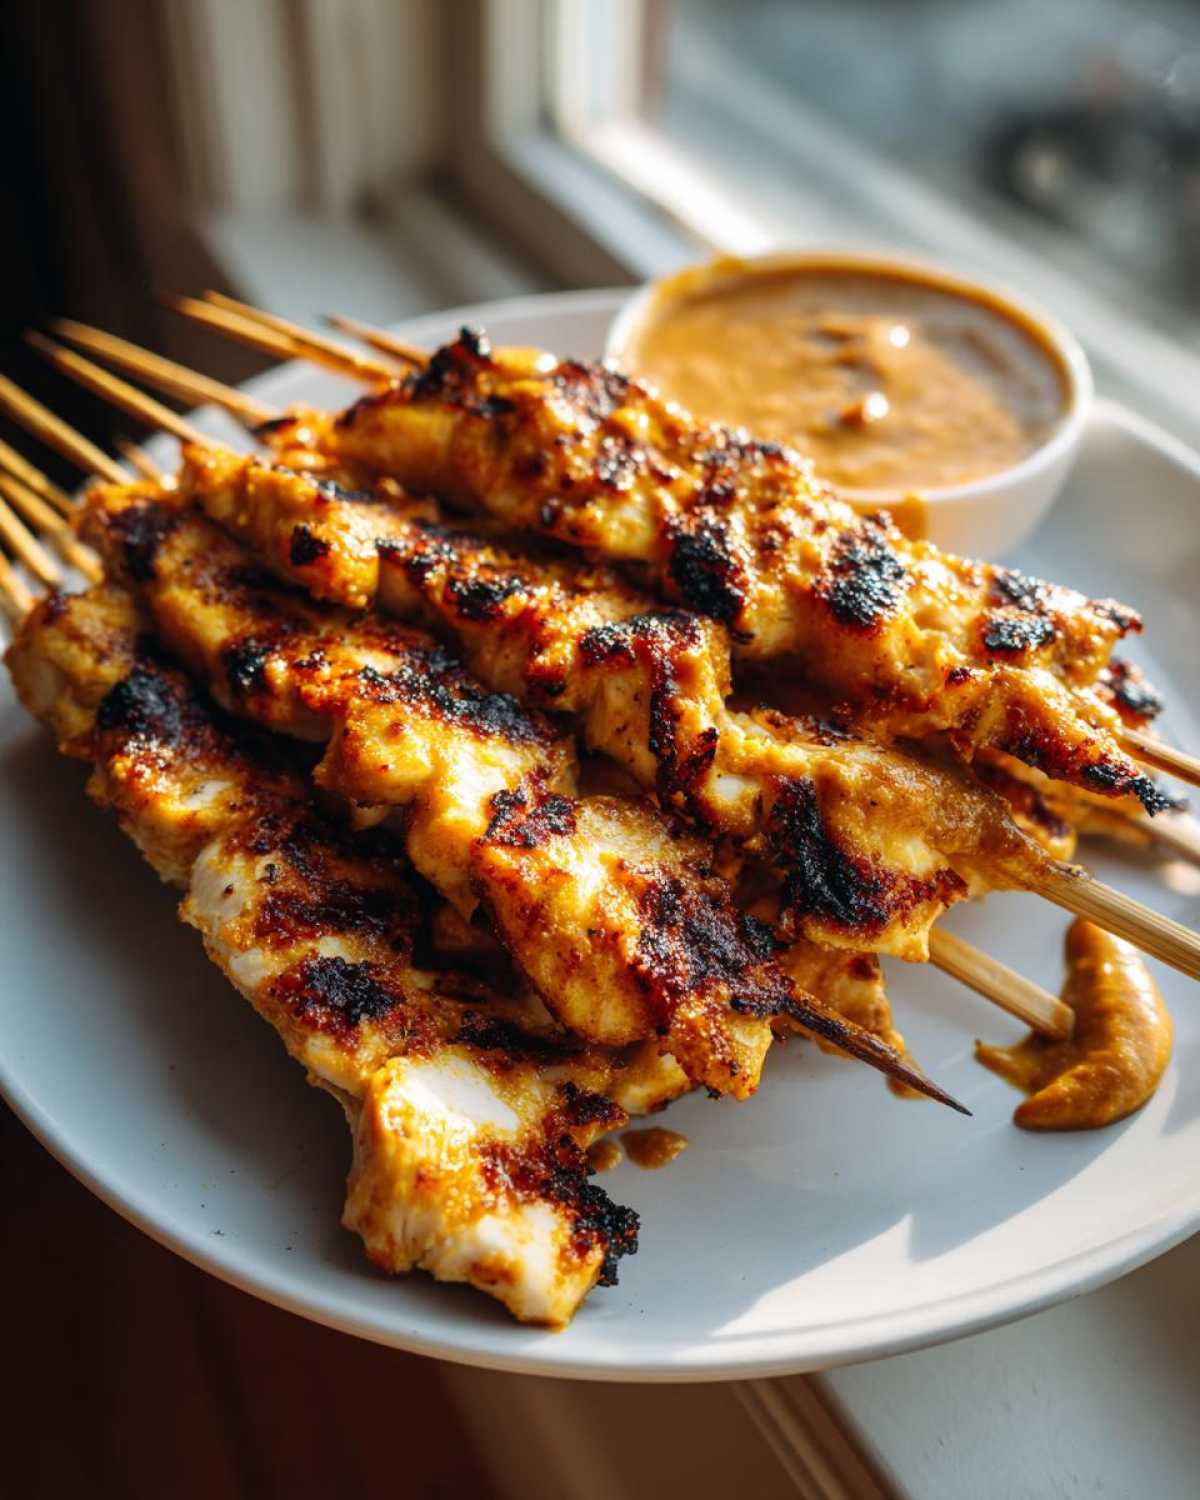
I know what you’re thinking: satay sounds fancy! But trust me, this is the definition of low effort Thai food that tastes like you spent all day on it. The beauty of this **quick chicken satay recipe** is that it hits all the major cravings: it’s fast, it’s intensely flavorful thanks to that turmeric marinade, and it gives you perfectly tender meat every single time.
Why does it beat the store-bought stuff? Here’s the simple breakdown of what makes this recipe gold:
- It’s seriously fast; the marinade is ready in five minutes and you’re grilling in thirty!
- The peanut sauce comes together in one simple saucepan—no fussy blender steps needed.
- It tastes intensely authentic without needing a ton of obscure pantry items.
If you want to check out another lightning-fast option, I love their quick chicken satay recipe for those nights when time is just *not* on your side!
Juicy Chicken Satay Secrets Revealed
The secret to getting that amazing melt-in-your-mouth texture isn’t just luck; it’s all in the prep. First, I highly, highly recommend using chicken thighs if you can find them. They have a bit more fat, which means they just can’t dry out, even if you get distracted talking on the phone while grilling!
But even if you only have breasts, the marinade pulls double duty. That 30-minute chill time (though longer is fine!) is non-negotiable for me. The coconut milk and the slight acidity from the soy sauce penetrate the meat and relax those muscle fibers. When you pull that gorgeous meat off the grill, it’s already halfway to being the juiciest **chicken satay** you’ve ever made. It builds real expertise when you know these little tricks!
Ingredients for the Best Peanut Sauce Recipe for Satay
Okay, let’s talk about the real star of the show: the dip! You simply cannot have proper **chicken satay skewers** without a rich, velvety peanut sauce that makes you want to drink it straight from the bowl. I used to think jarred stuff was fine, but wow, was I wrong. Once you make this sauce from scratch, you won’t go back, promise! It’s so simple, but the few fresh ingredients really make a difference for that authentic Thai satay flavor.
If you’re looking for another great dip recipe for snacking later—maybe for a party when you aren’t making dinner—you should totally check out that recipe for crockpot peanut clusters—they are addicting!
Here is what you need to gather for the sauce. Notice I said *creamy* peanut butter? That’s important for the texture we are aiming for, not the crunchy kind!
- About half a cup of peanut butter (creamy, please!).
- Hot water—this is crucial for getting it smooth right away.
- Soy sauce for salt and depth.
- Lime juice for that bright, zesty lift.
- A bit of brown sugar to balance everything out.
- Fresh ginger that you grate yourself—it adds so much necessary zing!
- One clove of garlic, minced super fine—don’t just toss a whole clove in there!
- And if you like a little *kick*? Red pepper flakes, totally optional, but I always toss some in.
Seriously, just these simple items whipped together on the stovetop creates magic. It’s the perfect complement to our perfectly marinated grilled skewers.
Gathering Ingredients for Homemade Chicken Satay Skewers
Alright, now that we’re dreaming about that peanut sauce, let’s talk about the chicken itself! You need to get your main players ready so that when the marinade is done doing its job, we can assemble these beauties in a flash. This is where we make sure your **chicken satay** ends up being juicy and perfectly sized for the grill. Don’t skip the prep work here, especially for the skewers themselves!
For the meat, grab about a pound and a half of chicken. My first choice is always thighs because, let’s be honest, they are nigh impossible to overcook. But breasts work just fine if you follow the marinating rules closely. We need to cut that chicken into nice, uniform 1-inch strips—think bite-sized but long enough to stay put on the stick!
And here’s the absolute must-do that so many people forget when making **homemade chicken satay skewers**: You need wooden skewers, and you *must* soak them. No excuses! If you throw dry wooden sticks onto a hot grill, they’ll burn to charcoal before your chicken is even halfway done. Trust me, I’ve learned the hard way. Get those things submerged in water for at least 30 minutes before you even pull out the cutting board. It really saves you from frustration later!
If you’re looking for other fun things to put on sticks, you have to try my recipe for bang bang chicken skewers—they are spicy and amazing, though a little different from our satay flavor profile!
How to Prepare the Marinade for Chicken Satay
Time for the magic dust! This is Step One, and honestly, it’s the aromatic heart of your entire **chicken satay**. This marinade is what gives the chicken that beautiful golden hue and those deep, earthy, Thai-inspired tastes. It’s all about turmeric, cumin, and coriander working together—it smells incredible while it mixes!
Grab a medium bowl—nothing fancy required here! We’re mixing the wet stuff first: just pour in your coconut milk, soy sauce, brown sugar, and that essential vegetable oil. Then, you dump in your spices. Remember that vibrant yellow color comes from the turmeric. Make sure you whisk this well until everything—especially that brown sugar—is dissolved. You don’t want gritty sugar clinging only to one piece of chicken, right?
Once it’s perfectly combined, toss in all those lovely 1-inch chicken strips until they are completely swimming in the flavor mixture. Now, here comes the waiting game. The recipe notes say you can pop this in the fridge for at least 30 minutes, and trust me, 30 minutes is how you get a decent weeknight dinner done!
But if you want to lean into making this the ultimate **low effort Thai food** for the weekend, I highly encourage you to let it go for the full four hours, or even overnight if you’re really planning ahead. My personal trick for really maximizing flavor absorption, especially if I’m using chicken breasts, is to place the bowl right next to the warmest part of my fridge for about 20 minutes *before* I put it away. It seems wild, but I swear that little bit of early warmth helps wake up those spices before the cold fully sets in! It’s a little trick I picked up after trying a million different ways to get deeper flavor into my poultry. If you love learning new ways to boost chicken flavor, you should really check out my tips for grilled peach BBQ chicken thighs; it uses a similar principle of deep, slow marination!
Cover it up tightly, and let those flavors marry. This marinade is going to ensure every piece of meat is ready for the grill without becoming dry!
Making the Creamy Peanut Sauce: The Key to Great Chicken Satay
Okay, now that the chicken is happily soaking up all that gorgeous turmeric goodness, we turn our focus to the real MVP: the dip! If your peanut sauce isn’t creamy, luscious, and totally crave-worthy, your **chicken satay** just isn’t complete. I’m telling you, this is the step that separates the good takeout from the legendary takeout, and we are making legendary tonight!
This process is super straightforward—it’s basically a one-pot wonder. Grab a small saucepan. We aren’t simmering this for an hour; we’re just getting everything nice and acquainted over medium heat. Toss in your creamy peanut butter, that splash of hot water (using hot water helps it melt smoothly from the start—no lumps allowed!), your soy sauce, lime, brown sugar, ginger, and garlic.
Here’s where you have to commit: you *must* whisk constantly. If you walk away, you’re going to scorch the peanut butter, and nobody wants that bitter taste interfering with our perfect **chicken satay** flavor. Keep that whisk moving until everything is totally bubbly and smooth. It’ll look amazing, sort of like thick, rich gravy.
Now for the creamy consistency check! Do you want a thin drizzle, or a thick dollop that clings beautifully to the skewer? I always aim for something that *just* drips off the back of a spoon. If your sauce seems way too thick, take it off the heat, and then slowly stir in just a tiny bit of extra water—a teaspoon at a time—until it flows perfectly. Don’t rush this part; we are looking for sublime creaminess!
Once you hit that perfect consistency, pull it off the heat immediately! I like to let mine sit on the counter while the chicken finishes up on the grill. It cools down just enough to be dippable but stays slightly warm, which is heavenly. If you’re feeling brave and want to try another amazing dip recipe for different snacks, you should totally check out my notes on the quick creamy dill dip recipe—it’s totally different but just as satisfying!
Assembling and Grilling Chicken Satay Skewers
It’s the home stretch! The chicken is marinated, the peanut sauce is sitting prettily, and those wooden skewers have finally finished their spa treatment in the water. Now we bring it all together to create the star of the show, your **chicken satay**!
Take those marinated chicken strips and start threading them onto your pre-soaked skewers. Don’t pack them on like you’re trying to jam too much into a suitcase! Leave a little peek of space between each piece. This small spacing is actually super important because it lets the heat hit all sides of the meat evenly. If they are squished together, you’ll end up with steamed spots instead of perfectly grilled ones, and nobody wants that when making **grilled chicken skewers**!
Next up: the fire! You need to get your grill or your broiler cranked up to medium-high. If you’re using the grill, make sure you brush those grates lightly with oil right before you lay the skewers down—that prevents sticking, which is the number one enemy of a successful grill night. If it’s raining or you’re just not feeling the outdoors yet, the broiler works wonderfully; just line a baking sheet with foil first, which makes clean-up a total breeze.
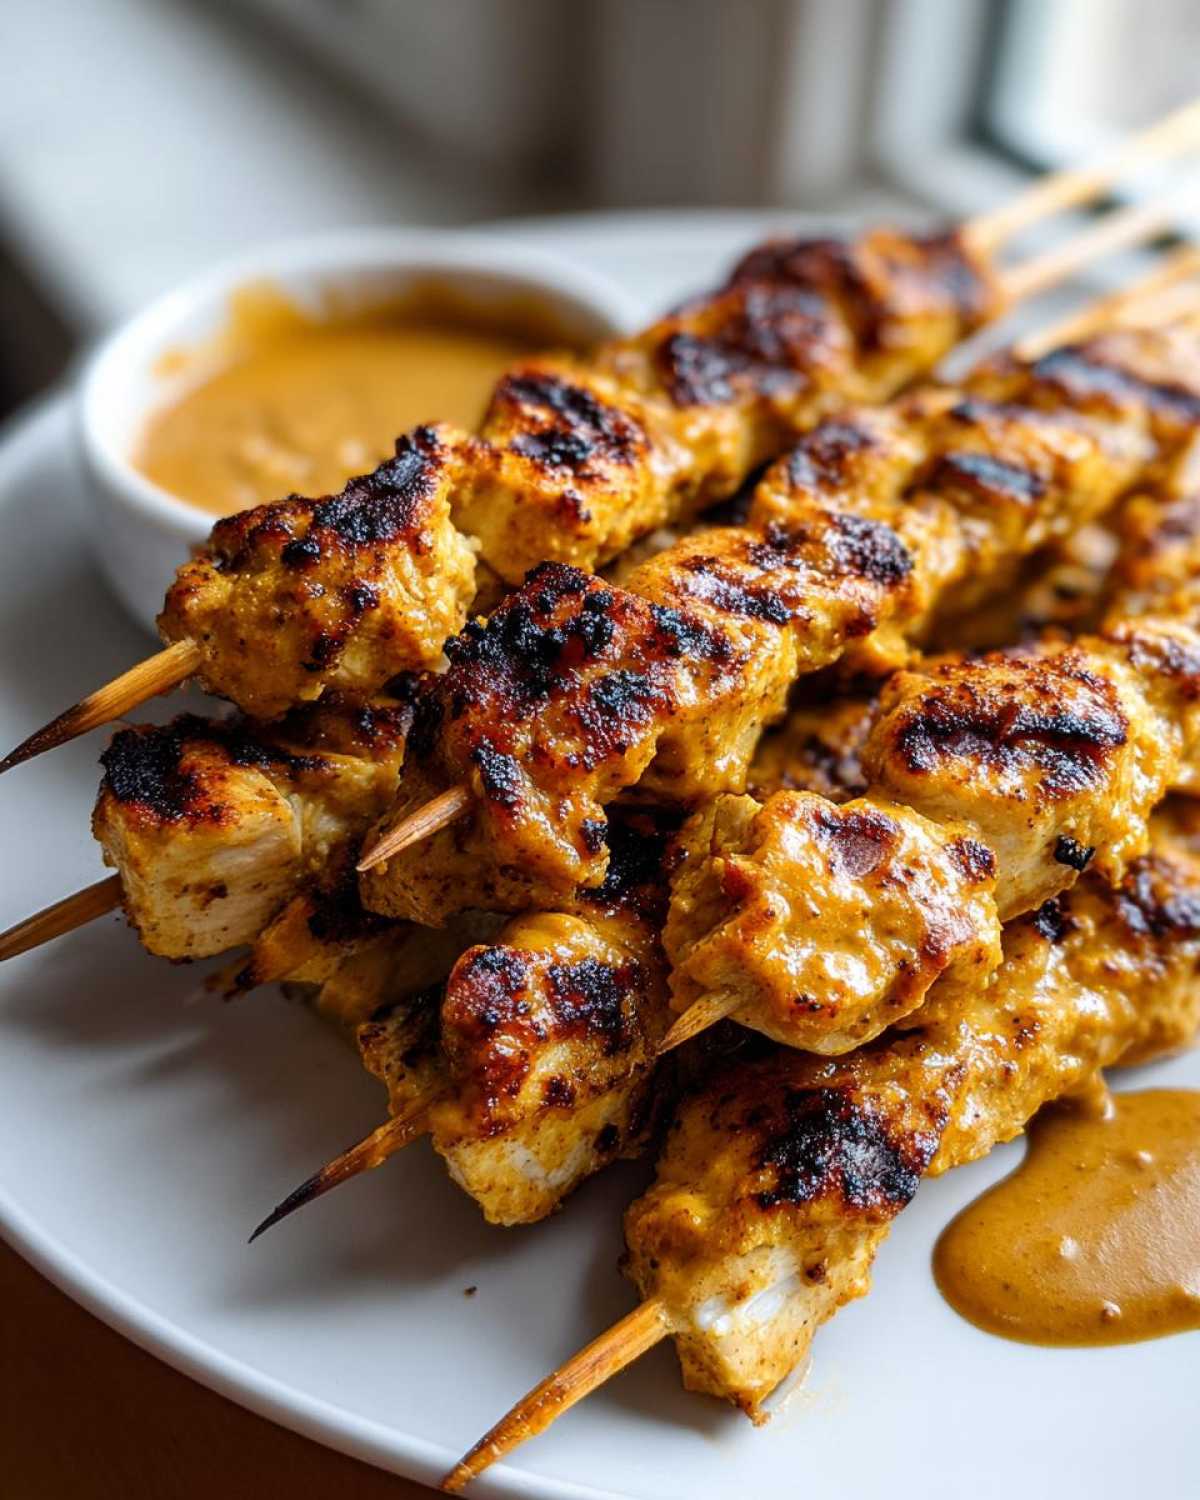
Now, the cooking part goes really fast because the cuts are small. We’re talking 3 to 4 minutes on the first side. Look for those beautiful grill marks and a little bit of char—that char is flavor, baby! Flip them gently and cook the other side for another 3 to 4 minutes. You’re looking for the internal temperature to hit 165°F. If you don’t have a thermometer (though I highly recommend one for grilling!), just slice into the thickest piece: the juices should run clear, and the meat should be opaque all the way through. No pink left!
When they come off the heat, they’ll smell absolutely divine. Serve these gorgeous **chicken satay skewers** immediately while they are hot and tender, with that creamy peanut sauce right there for dipping. Nothing beats it! If you want to see another great recipe that involves high heat and getting that perfect crispy exterior, you absolutely have to check out my tips for crispy baked chicken wings—though, for satay, the smoky char from the grill is worth the effort!
Tips for Success with Your Chicken Satay Dinner
We’ve got the marinade down, the sauce is perfect, and the grill is hot! But because this is a quick recipe, sometimes things feel a little rushed. I want to give you a couple of final nudges—those little pieces of wisdom I’ve picked up over years of making **chicken satay** so you avoid every single rookie mistake. My main goal here is two-fold: to keep the chicken juicy and to make sure you’re not scraping burnt wood chips off your dinner!
Remember how I told you to soak those wooden skewers? That’s rule number one for preventing burnt sticks. But if you are using metal skewers, be careful! Metal conducts heat way faster than wood, so your chicken will actually cook quicker toward the center of the skewer. If you’re using metal, you might need to pull them off the grill about one minute sooner than the recipe calls for. You want to slightly undercook them, as they keep cooking for a minute or two even after you take them off the direct heat.
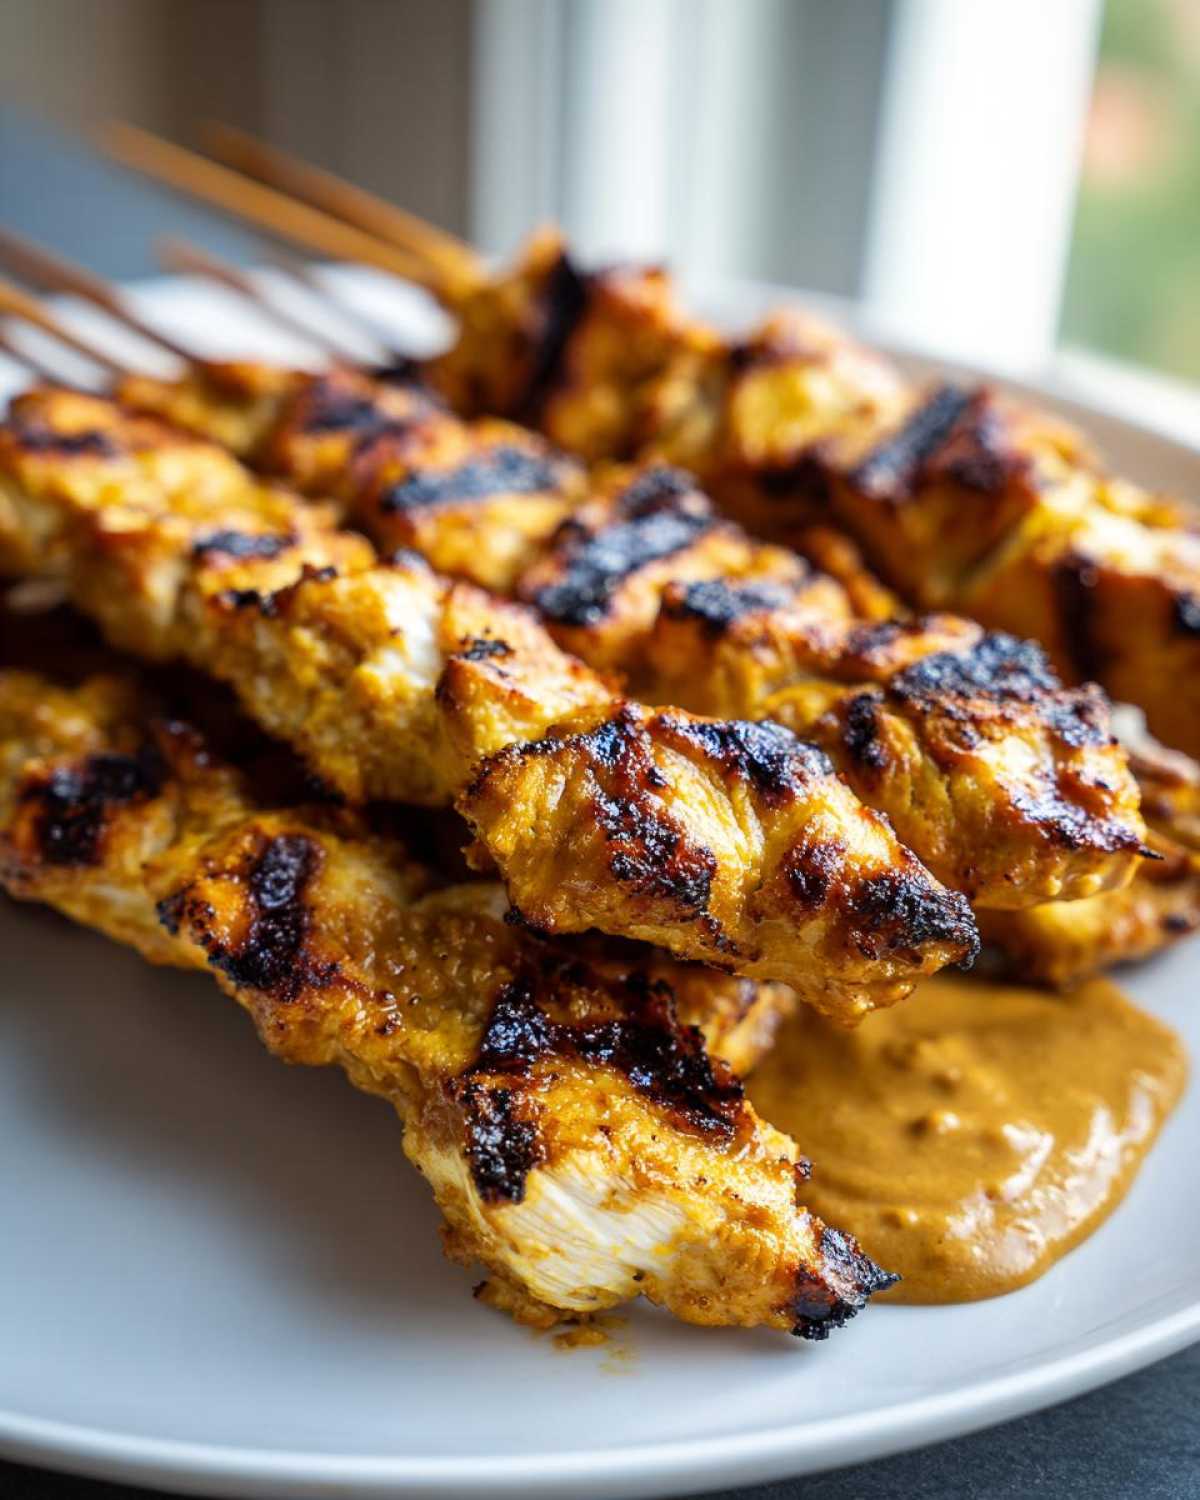
Also, when you’re turning them, use tongs, not a fork! Poking the chicken with a fork releases all those amazing juices you worked so hard to keep locked in with the coconut milk marinade. You want to gently slide the tongs underneath and flip the whole skewer over. Keep that moisture trapped inside!
If you are looking for a way to make this a complete, balanced **chicken dinner recipe with peanut sauce** that isn’t just skewers, I always slide some veggies alongside the meat when I’m grilling. Carrots, bell peppers, and onions soak up just a little bit of that leftover marinade flavor and get a nice smoky char. You can even throw those veggies right onto the skewer if you want to keep everything together! For a full meal idea, I often pivot to something fast like my notes on the chicken zucchini stir-fry if I get lazy about the grill, but grilled chicken satay just hits different in the summer.
Keep that heat honest, flip carefully, and you’ll have the best, juiciest **Thai chicken skewers** ready in minutes!
Serving Suggestions for Chicken Satay
So, you’ve pulled the most tender, beautifully charred skewers off the grill, and that peanut sauce is waiting. Fantastic! Now, what do you serve with this masterpiece? Because the flavor profile is so rich and savory, you want sides that are light, refreshing, or excellent at soaking up any extra sauce you might have leftover. This recipe is easily adaptable whether you’re serving it as a light appetizer or turning it into a satisfying weeknight main course.
For a main course that feels really substantial, you absolutely need some good rice. We don’t want anything too overpowering, though. I adore making a quick batch of simple coconut rice—it just complements the coconut milk in the marinade perfectly. If you’re looking for an easy, flavorful rice upgrade that doesn’t use any weird ingredients, check out my recipe for French onion butter rice; it adds a salty richness that works surprisingly well with the Thai spices!
If you’re keeping it light, or if you want something to cut through that creamy richness of the dip, you need crunch and acid. A simple cucumber salad is my go-to sidekick. Just slice cucumbers thinly, toss them with a splash of rice vinegar, a pinch of sugar, and maybe some thinly sliced red onion and cilantro. It’s cooling, crunchy, and the perfect palate cleanser between bites of that savory meat.
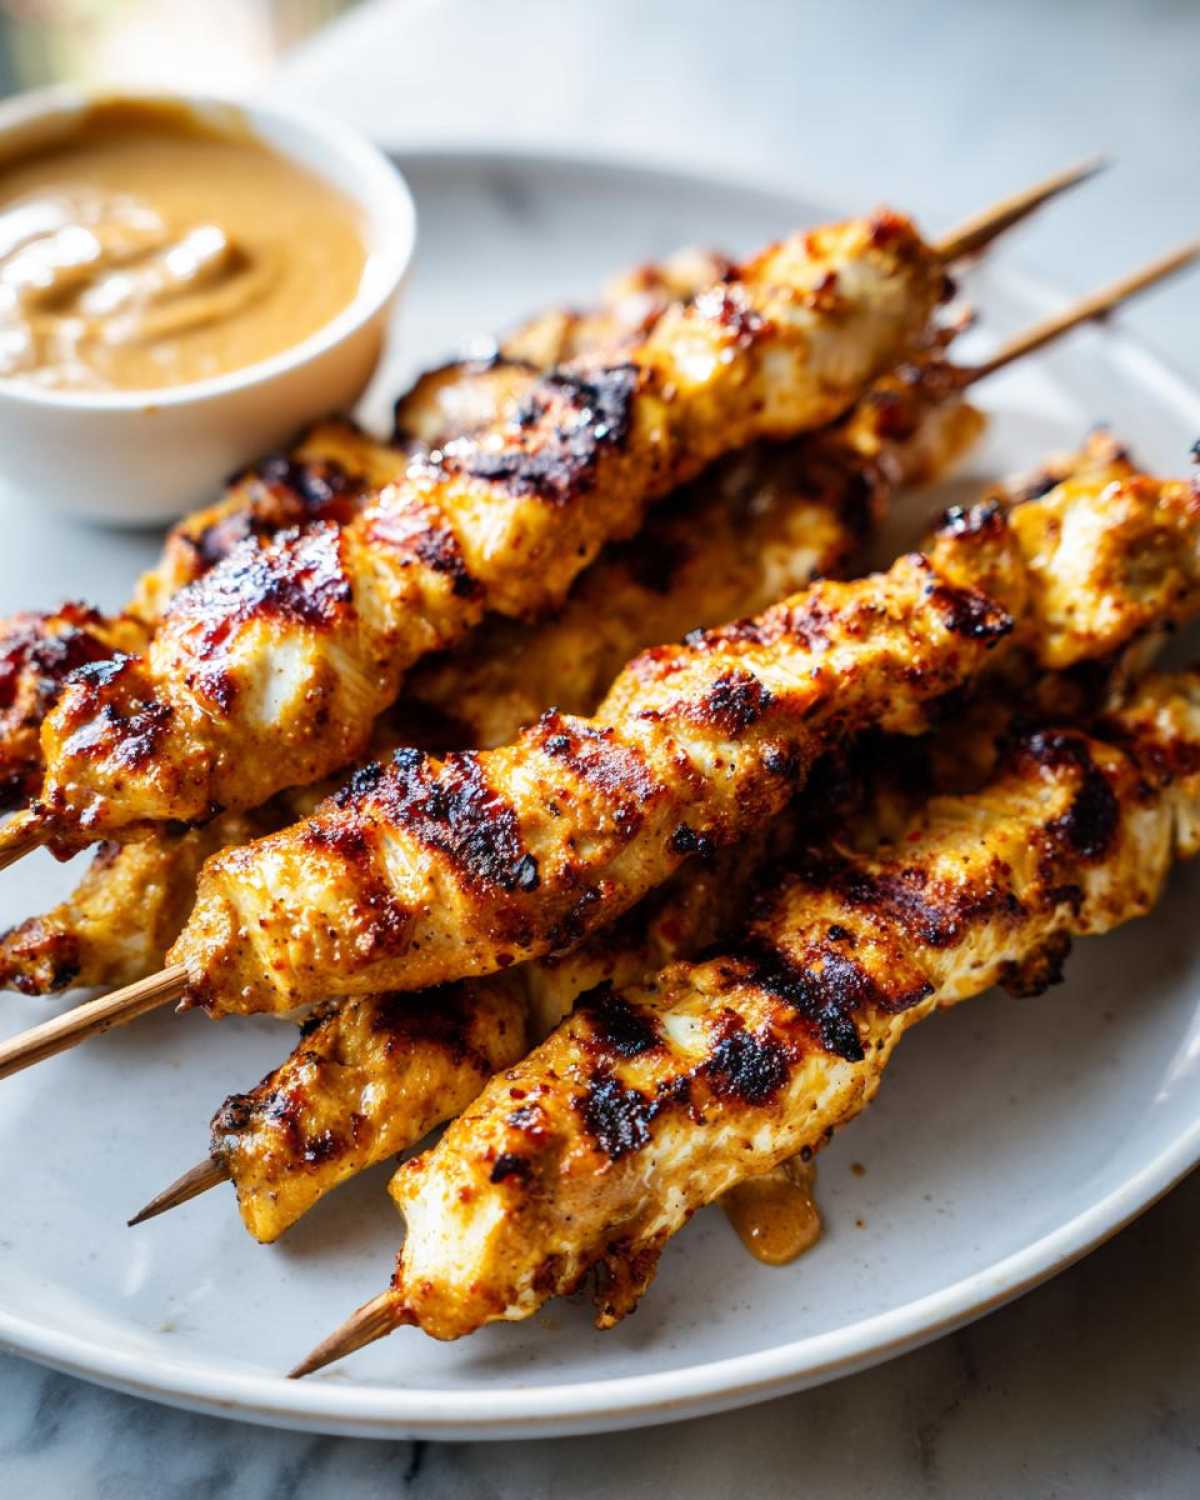
You can also just serve these right off the stick with little paper boats of the peanut sauce for dipping—it’s perfect for parties or game day snacking. Whatever you choose, make sure you have some fresh lime wedges handy. A final little squeeze of fresh lime juice over the skewers just before eating brightens everything up beautifully!
Frequently Asked Questions About Chicken Satay
I always get asked the same things about making **Thai chicken skewers dinner**, especially right before grilling season kicks off! It’s totally normal to have questions when you’re trying out a new flavor profile, even if the recipe itself is super straightforward. Here are a few quick answers to help you feel perfectly confident preparing these at home.
If you want to read more about me and why I love sharing these super reliable recipes, head over to my About Us page!
Can I make this chicken satay recipe ahead of time?
Yes, absolutely! That’s one of the best things about this recipe, especially if you are trying to pull off a **healthy chicken skewer recipe** for easy lunches throughout the week. You have two great options here.
First, the marinade love! You can totally let the chicken marinate overnight in the fridge. It just gets more tender and flavorful. Just make sure it’s covered really well and remember that we don’t want it marinating for longer than about 12 hours max with the soy sauce in the mix.
Second, the peanut sauce! It’s perfect for making ahead. You can prepare the **best peanut sauce recipe for satay** up to three days in advance. Store it in an airtight container in the fridge. When you’re ready to serve, just gently warm it on the stovetop or microwave for about 30 seconds—it thickens up a lot when cold, so you might need to whisk in a teaspoon of hot water to get that perfect dipping texture back again.
What is the best way to cook chicken satay if I don’t have a grill?
Don’t panic if it’s storming outside or if your grill is currently covered in rusty tools from winter projects! We planned ahead for this because not everyone has access to charcoal or gas grilling all the time. The broiler setting on your oven is your very best friend here!
If you’re using the broiler, just remember to line a baking sheet with heavy-duty foil first. This makes clean-up practically nonexistent, and trust me, you want easy clean-up, especially with peanut sauce involved!
Place your assembled skewers on the foil-lined sheet, making sure they aren’t touching. Slide them under the broiler on high. Since the heat source is directly above, they cook very quickly! Keep a close eye on them—maybe check around the 3-minute mark—and use tongs to flip them over to cook the other side for another 3 to 4 minutes until they hit that safe internal temperature. It gives you a fantastic char, very similar to grilling them for your **chicken satay dinner**!
PrintEasy Grilled Chicken Satay Skewers with Creamy Peanut Sauce

Make tender, flavorful chicken satay skewers quickly at home. This recipe includes a simple marinade and a rich, creamy Thai peanut sauce perfect for a weeknight dinner or appetizer.
- Prep Time: 20 min
- Cook Time: 12 min
- Total Time: 62 min
- Yield: 4 servings
- Category: Dinner
- Method: Grilling
- Cuisine: Thai
- Diet: Low Fat
Ingredients
- 1.5 lbs boneless, skinless chicken breasts or thighs, cut into 1-inch strips
- 1/4 cup coconut milk
- 2 tablespoons soy sauce
- 1 tablespoon brown sugar
- 1 teaspoon turmeric powder
- 1 teaspoon ground coriander
- 1/2 teaspoon ground cumin
- 1/4 teaspoon cayenne pepper
- 1 tablespoon vegetable oil
- Wooden skewers (soaked in water for 30 minutes)
- For the Peanut Sauce:
- 1/2 cup creamy peanut butter
- 1/4 cup hot water
- 2 tablespoons soy sauce
- 1 tablespoon lime juice
- 1 tablespoon brown sugar
- 1 teaspoon grated fresh ginger
- 1 clove garlic, minced
- 1/2 teaspoon red pepper flakes (optional)
Instructions
- Combine coconut milk, soy sauce, brown sugar, turmeric, coriander, cumin, cayenne pepper, and vegetable oil in a bowl. Add the chicken strips and toss to coat completely. Cover and refrigerate for at least 30 minutes, or up to 4 hours.
- While the chicken marinates, prepare the peanut sauce. In a small saucepan over medium heat, combine peanut butter, hot water, soy sauce, lime juice, brown sugar, ginger, garlic, and red pepper flakes if using.
- Whisk the sauce mixture constantly until smooth and heated through. If the sauce is too thick, add water, one teaspoon at a time, until you reach a creamy, dippable consistency. Remove from heat and set aside.
- Thread the marinated chicken pieces onto the soaked wooden skewers, leaving a small space between each piece.
- Preheat your grill or broiler to medium-high heat. Lightly oil the grates or place skewers on a foil-lined baking sheet for broiling.
- Grill or broil the skewers for 3 to 4 minutes per side, turning occasionally, until the chicken is cooked through and lightly charred (internal temperature reaches 165°F).
- Serve the grilled chicken satay skewers immediately with the warm peanut sauce for dipping.
Notes
- Soak wooden skewers for at least 30 minutes to prevent them from burning on the grill.
- For juicier chicken, use chicken thighs instead of breasts.
- You can make the peanut sauce ahead of time and store it in the refrigerator for up to 3 days; reheat gently before serving.
Nutrition
- Serving Size: 4 skewers
- Calories: 410
- Sugar: 10
- Sodium: 550
- Fat: 22
- Saturated Fat: 5
- Unsaturated Fat: 17
- Trans Fat: 0
- Carbohydrates: 18
- Fiber: 4
- Protein: 35
- Cholesterol: 95