

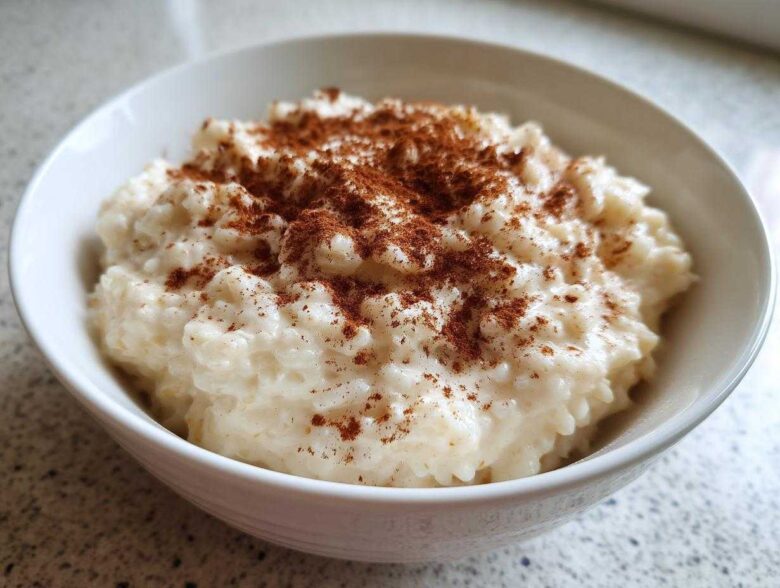
Oh, if you need a hug in a bowl, this is it! Forget those thin, watery desserts; we are talking about true, old-fashioned comfort food here. I’m going to show you exactly how to make the creamiest, richest rice pudding right on your stovetop, and honestly, it’s ridiculously easy. I remember sneaking spoonfuls of this while it was still steaming hot—Mom would always tell me to wait, but who listens when such goodness is cooling?
This recipe is my go-to, the ultimate Old Fashioned Stovetop Creamy Rice Pudding. We aren’t messing around with ovens or complicated steps. Just milk, rice, and a little patience is all you need for that heavenly, smooth texture.
Why This Old Fashioned Rice Pudding Recipe Stands Out
When I say this is the best, I mean it! We’re striving for that nostalgic texture that just melts in your mouth. This Creamy Rice Pudding Recipe is legendary in my kitchen because it reliably delivers a Rich and Smooth Dessert every single time, whether you serve it warm or chilled. It’s the definition of dependable comfort.
- It uses short-grain rice which releases natural starches, making the pudding naturally thick.
- The stovetop method gives you complete visual control over the thickening process.
- It sticks to classic flavorings—nothing strange or overpowering!
Achieving the Perfect Creamy Rice Pudding Texture
The secret to that incredible smoothness really lies in the heat control. We simmer this low and slow, stirring often so the rice particles gently break down and release their starch into the milk. This slow cooking is what turns simple milk into luxurious cream right there in the pan. Using short-grain rice is non-negotiable; those little grains plump up perfectly and lend essential body to the finished product.
Simple Ingredients for Classic Rice Pudding
Don’t be fooled by the simplicity; these humble components create magic! You really only need five core ingredients to get this delicious dessert going, making it the perfect Simple 5 Ingredient Dessert when you need something quick and satisfying. I always have these staples on hand. That means less rushing to the store and more time spent enjoying the creamy result!
Gathering Ingredients for Your Creamy Rice Pudding Recipe
Before we even turn on the burner, let’s make sure you have everything ready. For this Old Fashioned Rice Pudding, you don’t need a dozen fancy things—just good quality basics. I always gather my measuring cups and bowls first so I can just dump everything in when the time comes. You’ll need rice, whole milk, sugar, salt, and vanilla.
Here’s what you’ll need for about four servings:
- 1 cup short-grain white rice (Don’t skip rinsing this, please!)
- 4 cups whole milk (This is key for richness!)
- 1/2 cup granulated sugar
- 1/4 teaspoon salt
- 1 teaspoon vanilla extract
- 1/2 teaspoon ground cinnamon (This is strictly for that gorgeous dusting on top at the very end)
Ingredient Notes and Substitutions for Rice Pudding
If you want to really treat yourself, swap out half a cup of that whole milk for heavy cream. It makes a noticeable difference in the final texture of your rice pudding—it gets almost ridiculously decadent. Trust me on the whole milk though; skim milk just won’t give you the right body.
Now, if you’re using leftover cooked rice because you’re in a hurry, that totally works! Just know you can skip the initial long simmer because the rice is already soft. You’ll probably only need about 20 minutes on low heat just to marry all those flavors together and thicken it up a bit.
Step-by-Step Guide: How to Make Rice Pudding Perfectly
Okay, here’s where the magic happens! Making this rice pudding isn’t hard, but it requires your attention, kind of like a toddler—you can’t walk away for too long! If you want to know more about why I test every recipe religiously, check out my story over at About Us.
Preparing the Rice and Initial Simmer for Easy Stovetop Rice Pudding
First things first: rinse your rice really well under cold water until that water looks completely clear. This gets rid of extra dust and starch that can make your pudding gummy later on. Combine the rinsed rice, whole milk, sugar, and salt in your saucepan. We start this whole thing over medium heat. Keep an eye on it and stir frequently until you just see the mixture start to bubble up slightly. Don’t let it boil over!
The Slow Simmer: Building the Rich and Smooth Dessert
Once it hints at boiling, immediately turn that heat way down to low. This is the secret to achieving that Rich and Smooth Dessert texture we love. Now you simmer uncovered for about 45 to 60 minutes. You must stir often—and I mean often! If you leave it alone too long, that milk scorches right onto the bottom, and nobody wants burnt-tasting rice pudding. Keep stirring until the rice is tender and the whole pot has thickened up nicely for you.
Serving Your Warm Cinnamon Rice Pudding
Once that beautiful, thick mixture is ready, take the pot right off the heat—this is important! We stir in the vanilla extract only after the heat is off so that wonderful fragrance doesn’t cook away. If you’re eating this right away, you’ve got a perfect bowl of Warm Cinnamon Rice Pudding ready to go! Just sprinkle a little cinnamon on top and dig in.
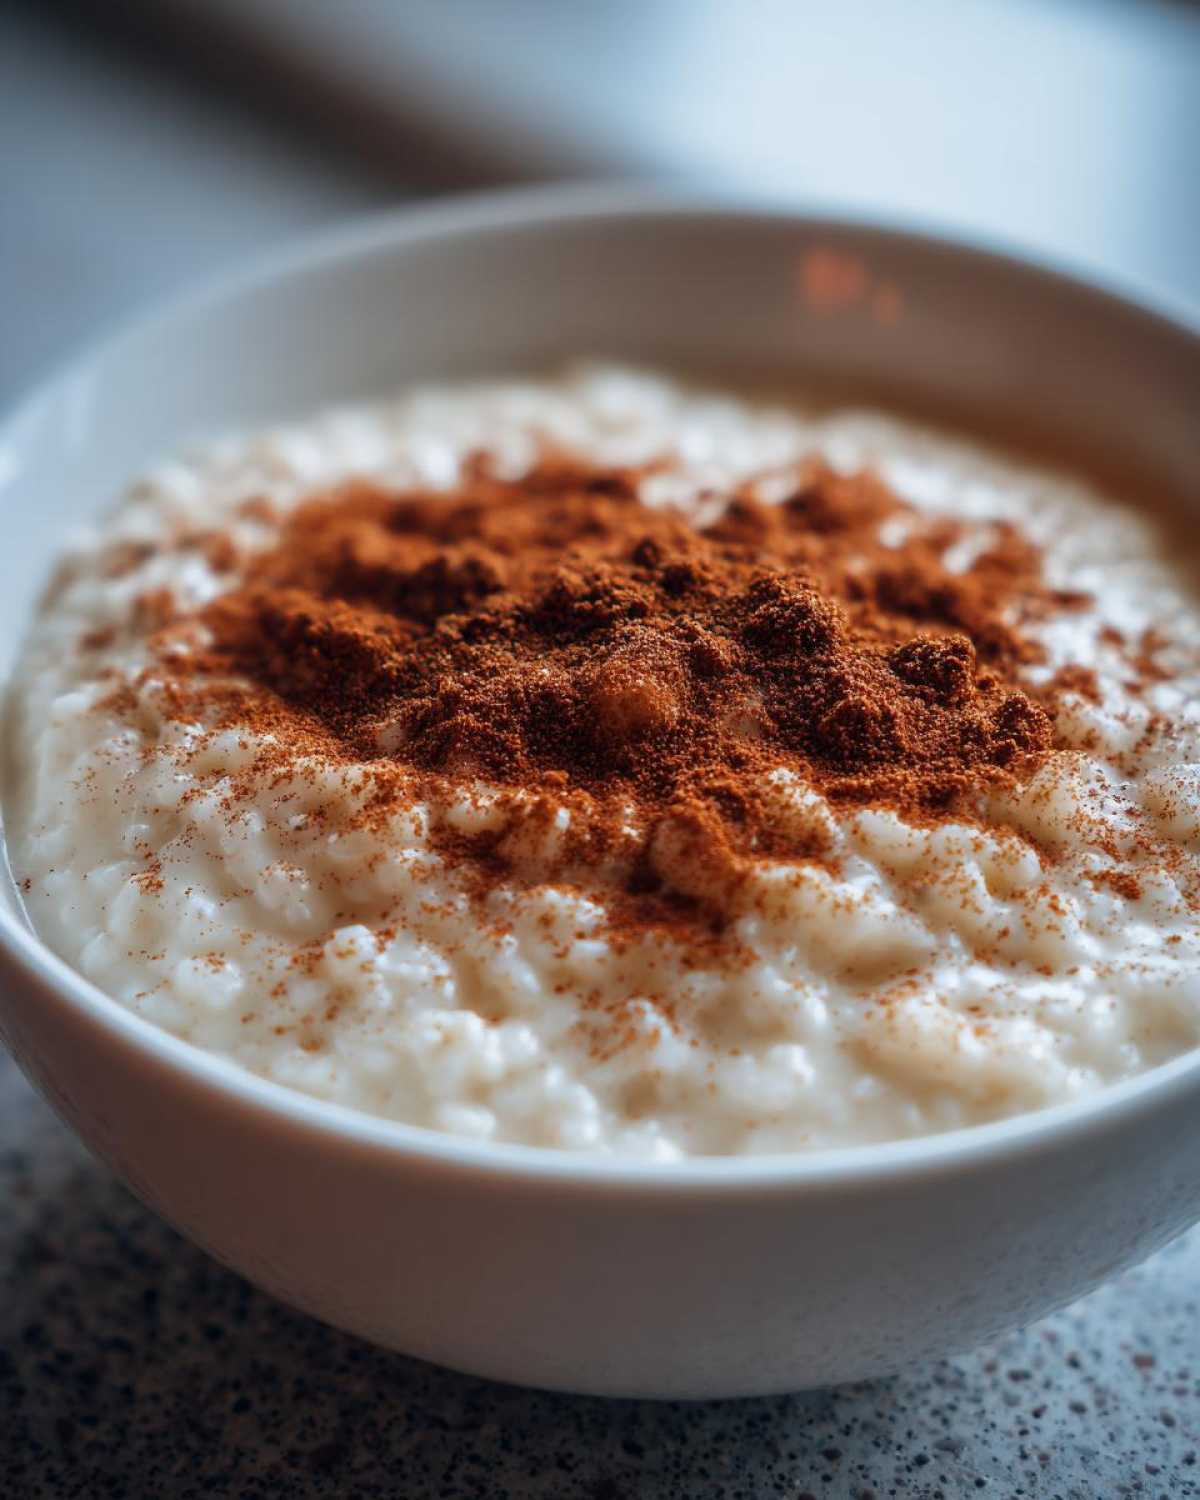
Now, if you are planning to chill it later—and it’s fantastic cold, by the way—you need to take one extra step. While it’s still warm, transfer your pudding to whatever serving dish you want, perhaps a big glass bowl. Then, take a piece of plastic wrap and press it directly onto the surface of the pudding. This stops that weird, dry skin from forming on top. It will thicken up a lot as it cools, so remember to account for that if you like a looser pudding!
Tips for the Best Homemade Rice Pudding Every Time
I’ve made hundreds of pots of this stuff, so I’ve learned a few tricks to make sure every batch is excellent. Don’t settle for bland or sticky! The key to the Best Homemade Rice Pudding is really caring about the little details we talked about, like using whole milk and stirring all the time. But if you’re planning ahead, there are a few extra things I always do to guarantee success for that next day.
Seriously, the best rice for this is short-grain Arborio or even basic Calrose rice; the starch content is just what we need to create that beautiful, natural thickness without needing a ton of cornstarch.
Make Ahead Pudding Recipe Storage Instructions
If you are preparing this as a Make Ahead Pudding Recipe, pay close attention to how much milk you use initially—a little extra liquid is your friend! I always add about half a cup more milk than the recipe calls for if I know I won’t eat it all warm. Why? Because when this goes into the fridge, it turns into a scoopable delight that’s way too dense if you didn’t account for the cooling process!
Frequently Asked Questions About Classic Family Dessert
I know new cooks always have questions about perfecting their favorite comfort dish! This Classic Family Dessert is so straightforward, but sometimes those little ingredients make a big difference. Check out answers to the most common things folks ask when making this rice pudding at home.
Can I use long-grain rice instead of short-grain rice?
You certainly can try, but I really wouldn’t recommend it for this creamy recipe. Long-grain rice, like Basmati or Jasmine, tends to hold its shape too much when cooked. We need the starch from short-grain rice (like Arborio or even the basic white rice I used here) to dissolve into the milk. Using long-grain will give you rice floating in milk, not that smooth, thick pudding texture you want.
What is the best milk to use for rice pudding?
For the best homemade rice pudding, whole milk is the minimum requirement! The fat content is crucial for that rich mouthfeel. If you really want to go all out and make it extra special, use a mix—say, three cups of whole milk and one cup of half-and-half, or even heavy cream like I mentioned earlier. Low-fat dairy just doesn’t create the creamy magic we are aiming for.
Can this stovetop recipe be baked instead?
This specific recipe is absolutely designed for the stovetop and gives you that perfectly controlled, easily stirred thickness. If you want a true baked version, you’ll need a different ingredient ratio, usually more liquid because some evaporates in the oven! If you’re interested in learning the baked variations, you should definitely check out our Privacy Policy to see how we share more advanced techniques down the road!
How much cinnamon should I use for serving?
You only need half a teaspoon *total* for sprinkling over the top of the finished batch. I use ground cinnamon, but if you have fresh cinnamon sticks, you can simmer one stick in the milk while cooking and remove it before adding the vanilla. That gives you a lovely, subtle flavor without needing the dusting.
Nutritional Estimates for This Rice Pudding
Now, because this is a homemade treat using wholesome dairy, I always like to give a rough idea of what you’re getting. Remember though, these numbers are just estimates, so they can change depending on what brand of whole milk or if you decide to toss in that heavy cream I mentioned!
For one serving of this rice pudding:
- Calories: Around 350
- Fat: About 8g
- Protein: 10g
- Carbohydrates: 60g
For full details on how we calculated these figures and what our general guidelines are for recipe estimations, please hop over to our Disclaimer page. It’s important to me that you know exactly where you stand on nutrition when you’re enjoying a bowl of this incredible comfort food!
Share Your Nostalgic Pudding Dessert Experience
I absolutely love hearing from you! Did this rice pudding bring back memories of your childhood kitchen? Please take a moment, rate this recipe, and tell me in the comments if you served it warm or chilled. I always appreciate seeing your photos if you share them on social media—it makes my day knowing this Nostalgic Pudding Dessert is hitting tables everywhere!
PrintOld Fashioned Stovetop Creamy Rice Pudding

Make a rich, creamy, and classic rice pudding on the stovetop using simple ingredients. This recipe yields a smooth dessert perfect served warm or chilled.
- Prep Time: 5 min
- Cook Time: 60 min
- Total Time: 65 min
- Yield: 4 servings
- Category: Dessert
- Method: Stovetop
- Cuisine: American
- Diet: Vegetarian
Ingredients
- 1 cup short-grain white rice
- 4 cups whole milk
- 1/2 cup granulated sugar
- 1/4 teaspoon salt
- 1 teaspoon vanilla extract
- 1/2 teaspoon ground cinnamon (for topping)
Instructions
- Rinse the rice under cold water until the water runs clear.
- Combine the rinsed rice, whole milk, sugar, and salt in a heavy-bottomed saucepan.
- Place the saucepan over medium heat. Stir frequently until the mixture just begins to boil.
- Reduce the heat to low. Simmer uncovered, stirring often to prevent sticking and scorching the bottom, for 45 to 60 minutes. The pudding is done when the rice is tender and the mixture has thickened to your desired consistency.
- Remove the saucepan from the heat. Stir in the vanilla extract.
- If you prefer a thinner pudding, let it cool slightly; it will thicken as it cools.
- Serve warm, or transfer to a container, cover the surface directly with plastic wrap to prevent a skin from forming, and chill completely before serving cold.
- Sprinkle with ground cinnamon before serving.
Notes
- For an extra rich texture, substitute 1/2 cup of the milk with heavy cream.
- You can use leftover cooked rice, but reduce the cooking time significantly, usually to about 20 minutes after the initial boil.
- This pudding thickens considerably upon chilling. Adjust the initial liquid amount if you plan to eat it cold.
Nutrition
- Serving Size: 1 serving
- Calories: 350
- Sugar: 25
- Sodium: 150
- Fat: 8
- Saturated Fat: 4
- Unsaturated Fat: 4
- Trans Fat: 0
- Carbohydrates: 60
- Fiber: 1
- Protein: 10
- Cholesterol: 25