

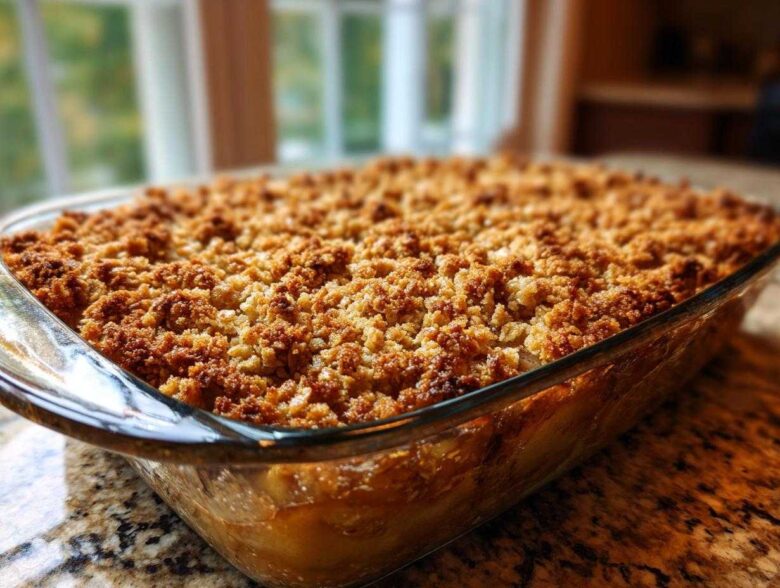
Oh my gosh, you know those nights when the air finally turns crisp, and all you want is something warm, sweet, and deeply comforting? That’s when I pull out the pears. Forget spending hours fussing over pie crusts! I finally nailed my absolute go-to recipe for the **Easy Brown Sugar Cinnamon Pear Crisp**, and trust me, this is the one you want on repeat this season. It’s rustic, it’s quick—we’re talking dessert in under an hour—and the minute it starts baking, the smell of cinnamon and sweet pears fills my entire house. I’ve tweaked the ratio of oats to butter over so many seasons just to get that perfect toothsome topping, and I know you’re going to love this simple, soul-soothing **fall fruit dessert**.
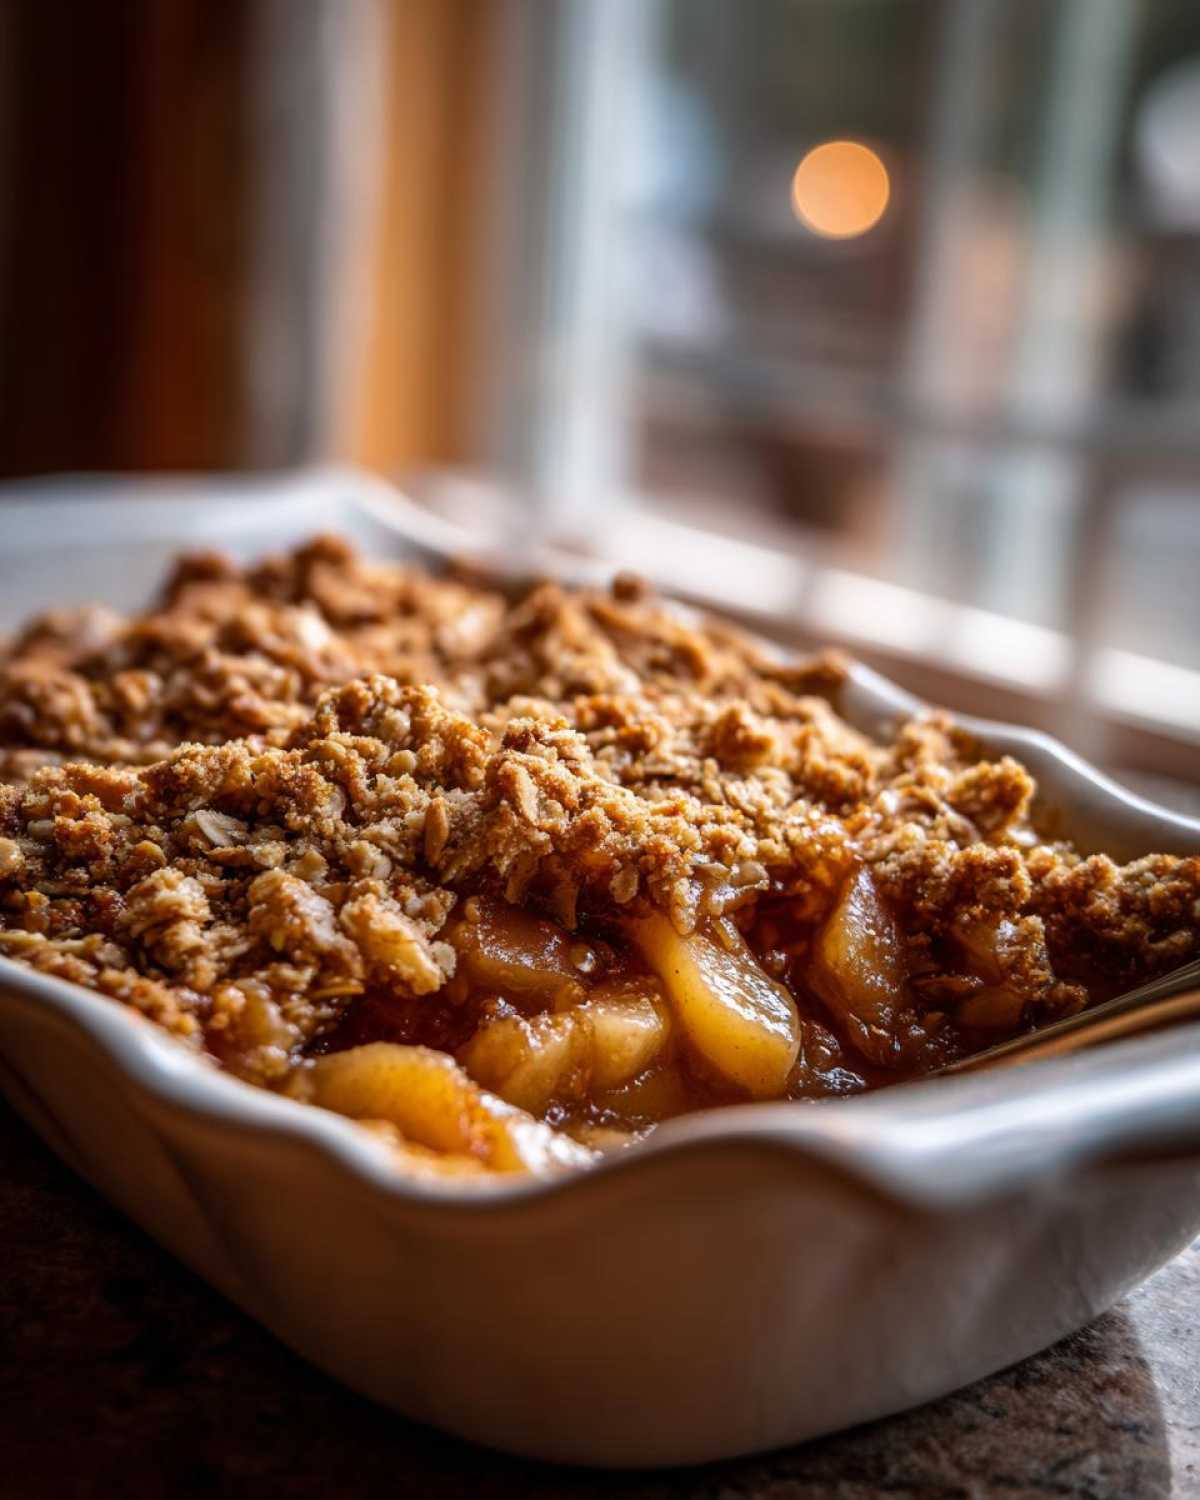
Why This Easy Pear Crisp Recipe Works So Well
Honestly, I keep this recipe in heavy rotation because it requires almost zero brainpower, but delivers maximum cozy factor. It’s seriously the definition of comfort food made easy. Plus, it’s so forgiving! I even link to some other quick ideas on my main blog page if you want more speedy bakes.
Quick Preparation for a Simple Fruit Dessert
You can barely call this prep time! Seriously, you have about 15 minutes to slice the pears and throw the topping together. It means you can decide you want dessert right after dinner and still be serving it warm before the evening is over. It’s the perfect **easy pear crisp recipe** for weeknights.
The Perfect Brown Sugar Cinnamon Pear Crisp Flavor Profile
It’s all about that deep, warm spice mix. The brown sugar melts down with the pear juices, creating this rich, slightly caramelized sauce. That, combined with the classic warmth of cinnamon, makes this the definitive **cinnamon pear crisp** you’ve been searching for.
Gathering Ingredients for Your Pear Crisp
Okay, listen up, because the ingredient list for this **pear crisp** is short and sweet, which is what I love! We need six ripe pears—and I mean ripe, slightly soft ones so they break down beautifully. Don’t forget the little boost of zing from the lemon juice; it keeps the pears from looking dull after they’re sliced. I keep all my flavor bombs right here, but if you want to see how I get fancy with other seasonal drinks, check out my recipe for a Caramel Apple Martini.
Ingredient Notes and Substitutions for Your Homemade Pear Dessert
When it comes to pears, I find Bosc or Anjou work the best because they hold their shape just enough during baking but still become tender. If your pears are a little underripe, maybe just toss in an extra teaspoon of sugar with the filling to compensate. Now, if you want to bulk this out a bit, feel free to swap half of those pears for a firm apple, like a Granny Smith! It turns into a wonderful **apple pear crisp** that offers a nice tart contrast.
For the topping, the most crucial element is ensuring that butter is ice cold and cut into tiny cubes. Cold butter is the secret to that delightfully crumbly, sandy texture required for a truly stellar topping!
Crafting the Buttery Oat Topping Secrets for Perfect Pear Crisp
This topping is non-negotiable, my friends. It’s what separates a soggy baked fruit dish from a truly fantastic, crackly **pear crisp**. If you mess up the filling, it’s okay, but you absolutely cannot let your topping turn into clumps of wet dough. The goal here is that delightful, coarse crumb that shatters when you dig your spoon in. I’ve written extensively about the perfect crumb over on my rhubarb crisp post right here, but the principles are the same!
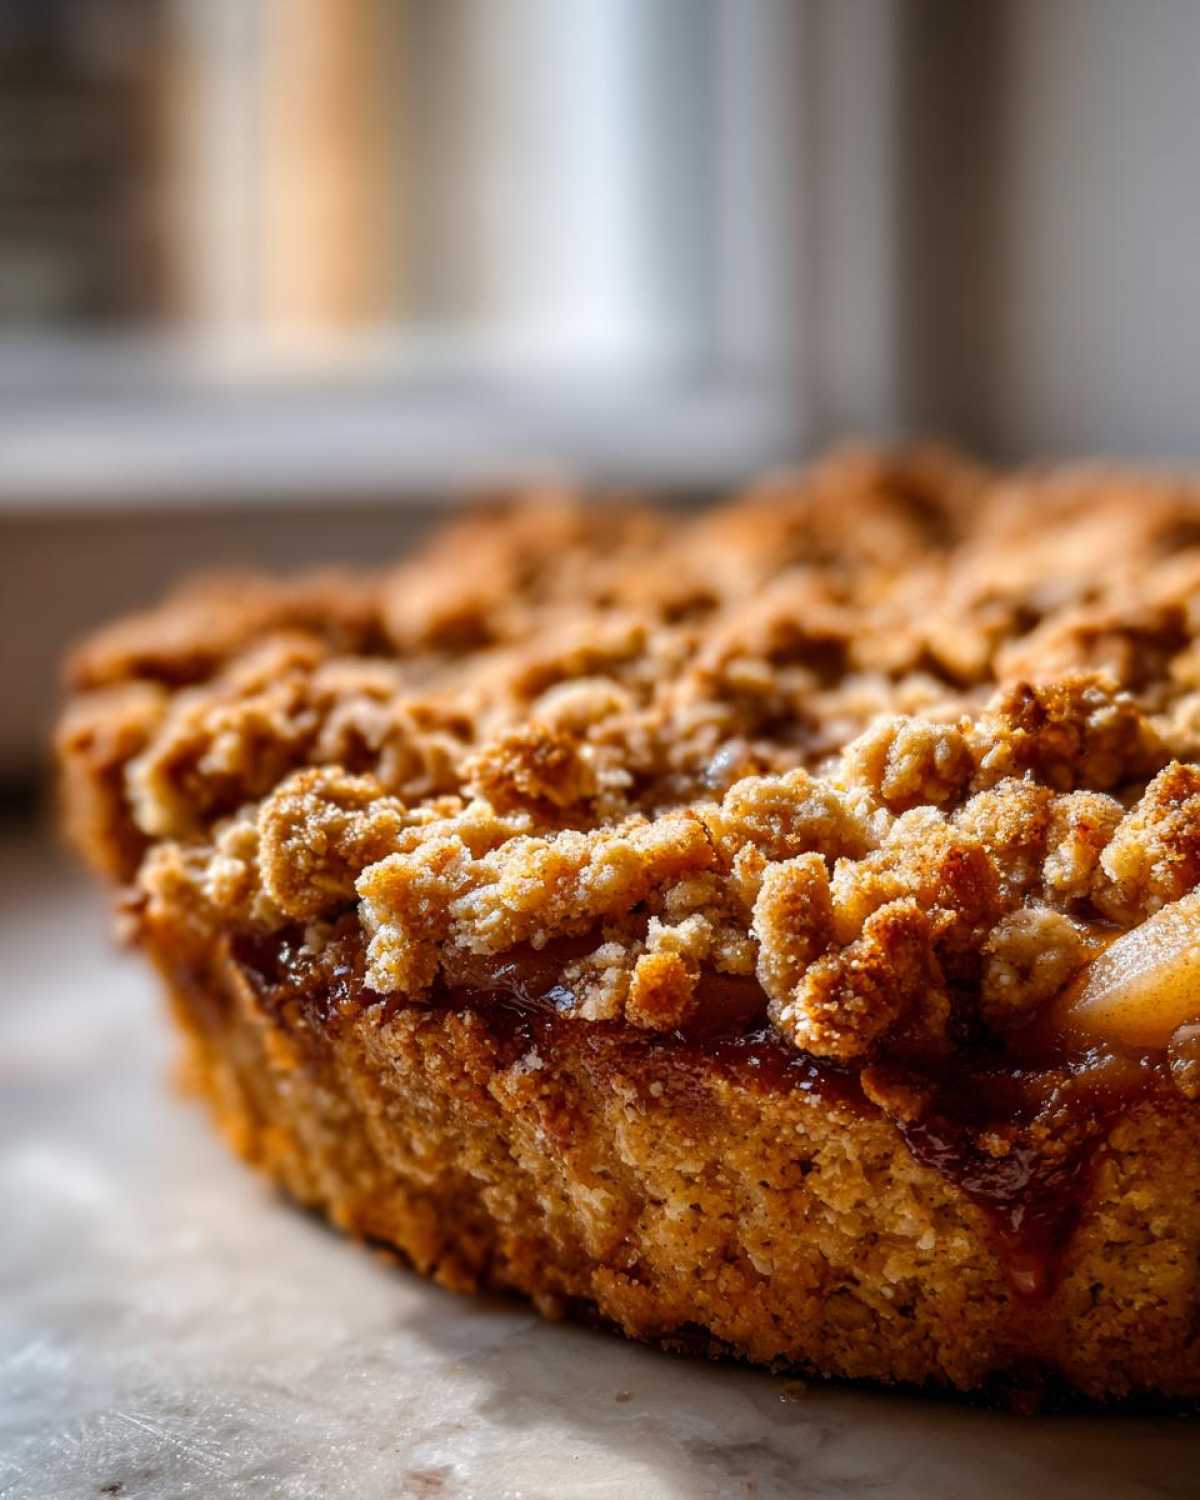
When combining the flour, oats, brown sugar, and salt, make sure your rolled oats are the standard old-fashioned ones, not the instant packets; we need texture! Then comes the magic: cutting in the cold butter. You want pea-sized pieces remaining. Use your fingertips—the warmth of your hands is just enough to cut the butter into the dry mix until it resembles coarse sand speckled with those tiny butter pockets. These pockets are the source of that amazing melt-in-your-mouth quality in our **buttery oat topping**. Don’t overwork it, or you’ll just melt the butter, and that’s how you get goo instead of crisp!
Step-by-Step Instructions for the Warm Baked Fruit Dessert
Alright, this is where the real fun begins! This whole process moves so fast that you barely have time to put the kettle on. Seriously, you can have this gorgeous, warm **warm baked fruit dessert** on the table in less time than it takes to stream the first episode of a new show. If you are looking for other speedy options, I have a few favorites listed on my page about desserts ready fast!
Preparing the Fruit Base for Your Pear Crisp
First things first: get that oven cranked up to 375 degrees Fahrenheit. While it’s heating, grab your 8×8 baking dish and give it a quick rub with butter or a little cooking spray. Now, grab your bowl of sliced pears—make sure they are spiced evenly. You want them coated in that beautiful cinnamon and nutmeg mix, but don’t let them sit for too long! The longer the pears sit with the sugar, the more liquid pools up, and we want that liquid baking in the dish, not sitting around making your fruit soggy before it even hits the oven.
Assembling and Baking the Rustic Pear Crisp
Once the fruit is settled perfectly in the dish, you just need to create that wonderful, crumbly topping we just talked about. Sprinkle it evenly over the fruit layer. Don’t press it down, keep it loose and rough—that’s the secret to a **rustic pear crisp** texture! Pop it in the preheated oven for about 35 to 40 minutes. You’ll know it’s done when you see the fruit bubbling up around the edges like fizzy lava, and that oat topping is deep golden brown. If you notice the edges getting dark too fast before the fruit totally softens, just grab a piece of foil and loosely drape it over the top for the last ten minutes.
Tips for Achieving the Best Pear Crisp Every Time
Even though this is our easy recipe, I always want you to get that *wow* factor, you know? The main thing that sets a good **pear crisp** apart from a great one is the texture contrast. You want the fruit utterly soft and luscious, and the topping needing a little workout to break through—that’s the goal!
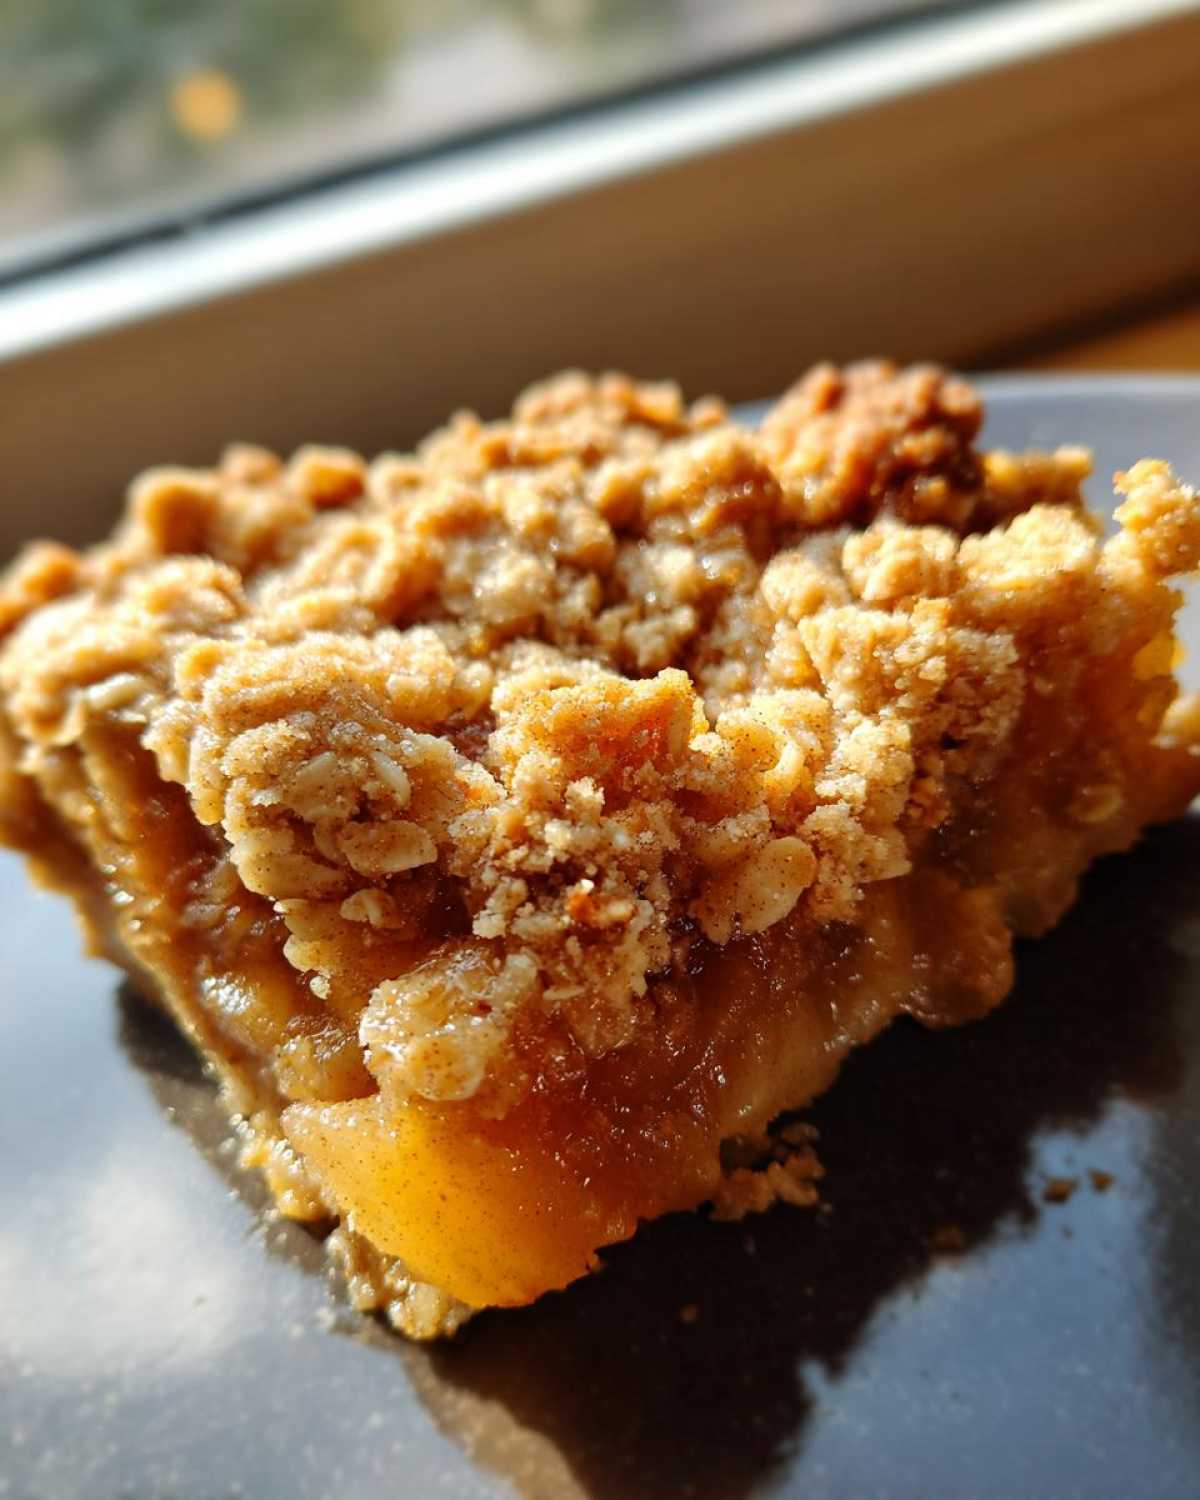
First, always use ripe but firm pears. If they are mushy going in, they’ll be watery soup coming out. Secondly, when you mix that buttery oat topping, use your hands only for the last few squeezes of combining the butter. I find using my fingertips helps me feel when that perfect crumb texture is achieved, making sure no chunk of butter is bigger than a pea. Trust me, these little details are what transforms a **simple fruit dessert** into something worthy of company (even if company is just you and the remote!).
Serving Suggestions for This Cozy Autumn Recipes Treat
This **pear crisp**, fresh out of the oven, is just begging for something cold and creamy to cut through that warm spice! My *absolute* favorite way to eat this is when it’s piping hot, topped with a huge scoop of good quality vanilla bean ice cream. The hot fruit hitting the freezing cream? Perfection!
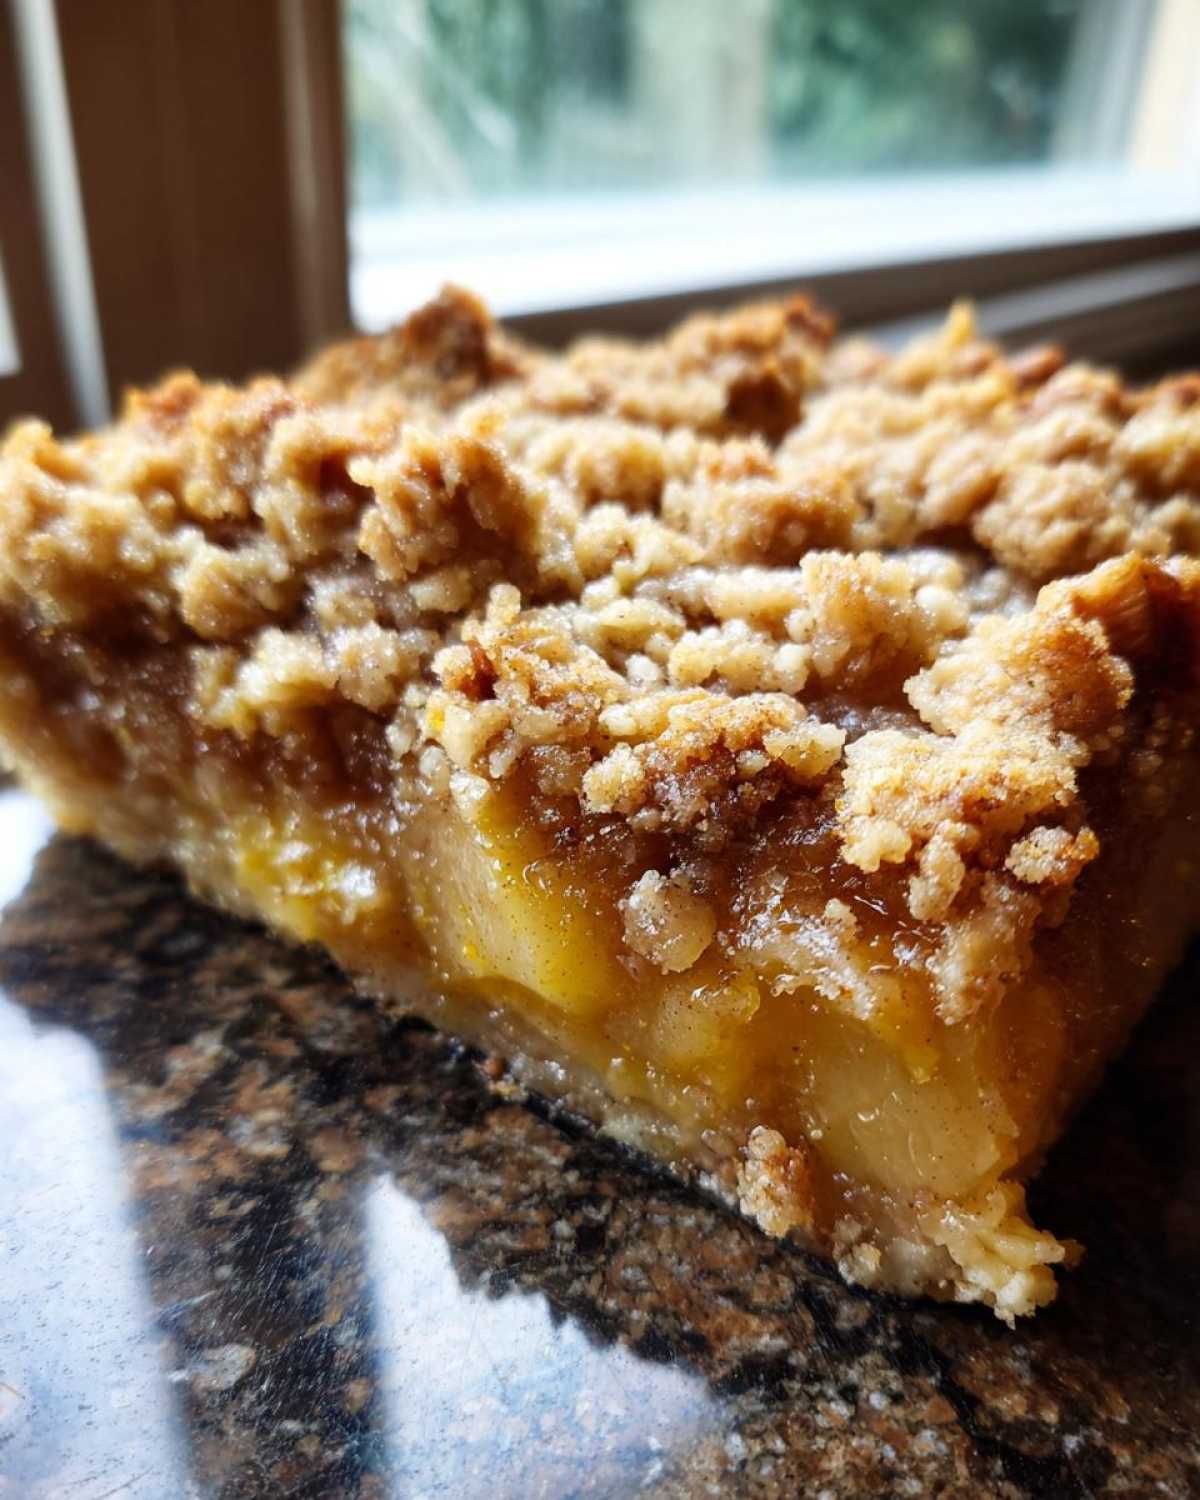
If you’re not feeling ice cream, a dollop of freshly whipped cream spiked with a tiny bit of maple syrup works wonders. It’s what truly makes this feel like a celebratory **warm baked fruit dessert**. Speaking of celebratory, if you ever need a fancy drink to go with it, I have a killer recipe for a Caramel Apple Martini that’s perfect for pairing!
Storage and Reheating Instructions for Leftover Pear Crisp
Now, if you manage to have any of this amazing **pear crisp** left over—which is a miracle in itself—storage is simple. Keep it covered tightly at room temperature for up to 24 hours, but if you need it to last longer, pop that baking dish right into the fridge. It’s delicious cold, eaten straight from the container, I won’t judge!
When you’re ready for round two, resist the urge to microwave it; that just steams the topping and makes it soft. For the best results with your **homemade pear dessert**, transfer the portion you want to eat to an oven-safe dish, maybe add a tiny splash of water to the side to re-steam the fruit a little, and bake it at 325 degrees for about 10 minutes until it’s fragrant and bubbly again through and through.
Frequently Asked Questions About Making Pear Crisp
You know I get a ton of questions whenever I post this recipe—it’s clearly a reader favorite! People always want to know how to customize this **simple fruit dessert** or how to fix little hiccups that happen in their own ovens. Don’t worry if you’re missing an ingredient; we can usually pivot!
Can I substitute certain fruits or add cranberries to this pear crisp?
Totally! This recipe is built to handle other fall flavors. If you want to make a **cranberry pear crisp**, just swap out two of the pears for about a cup of fresh cranberries. The tartness is incredible against the sweet brown sugar base. Also, if you don’t have oats, you can technically use crushed cornflakes or even ground nuts, but honestly, the texture just won’t be the same as that perfect **buttery oat topping**.
What kind of pears should I use for the best crisp?
I always recommend pears that are known for holding their shape a bit when baked, like Bosc or D’Anjou. If you use very soft pears, like Bartlett, they might turn almost into sauce, which is fine if that’s what you like, but for a sturdy **rustic pear crisp** with some body, stick to the firmer ones. Make sure they’re ripe, though—unripe pears will just taste sharp and chalky!
How do I avoid a soggy bottom in my simple fruit dessert?
This is the eternal crisp battle! The main thing here is making sure the fruit mixture isn’t too watery before you put the topping on. If your fruit seems extra wet, you can quickly sauté the spiced pears for about five minutes on the stovetop until they release some of their liquid, then drain that liquid off before topping and baking. Also, making sure your oven is fully preheated helps the base start cooking right away. If you have other burning questions, feel free to reach out via my contact page!
Estimated Nutritional Information for This Simple Fruit Dessert
Since we’re dealing with real butter, lovely brown sugar, and fresh fruit, I always like to give you an idea of what’s packed into each slice of this amazing **pear crisp**. Keep in mind, these numbers are just estimates. I’m using my standard measurements, but your specific pear size or brand of oats can change things slightly! For more on how we calculate these estimates, you can always check out the fine print on my full recipe disclaimer page.
- Serving Size: 1 serving
- Calories: 310
- Sugar: 35g
- Fat: 15g (with 9g Saturated)
- Carbohydrates: 45g
- Protein: 3g
Easy Brown Sugar Cinnamon Pear Crisp

A simple recipe for a warm, comforting pear crisp featuring a spiced fruit filling and a buttery, crunchy oat topping.
- Prep Time: 15 min
- Cook Time: 40 min
- Total Time: 55 min
- Yield: 6 servings
- Category: Dessert
- Method: Baking
- Cuisine: American
- Diet: Vegetarian
Ingredients
- 6 medium ripe pears, peeled, cored, and sliced
- 1/4 cup granulated sugar
- 1 tablespoon lemon juice
- 1 teaspoon ground cinnamon
- 1/4 teaspoon ground nutmeg
- 1/2 cup all-purpose flour
- 1/2 cup rolled oats
- 1/2 cup packed light brown sugar
- 1/4 teaspoon salt
- 6 tablespoons cold unsalted butter, cut into small pieces
Instructions
- Preheat your oven to 375 degrees Fahrenheit. Lightly grease an 8×8 inch baking dish.
- In a large bowl, combine the sliced pears, granulated sugar, lemon juice, cinnamon, and nutmeg. Toss gently to coat the pears evenly.
- Pour the pear mixture into the prepared baking dish and spread it into an even layer.
- In a separate medium bowl, whisk together the flour, rolled oats, brown sugar, and salt.
- Cut in the cold butter using a pastry blender or your fingertips until the mixture resembles coarse crumbs. Do not overmix.
- Sprinkle the oat topping evenly over the pear filling.
- Bake for 35 to 40 minutes, or until the topping is golden brown and the fruit filling is bubbly.
- Let the crisp cool for at least 15 minutes before serving.
Notes
- For a richer flavor, substitute half of the pears with apples.
- Serve warm with vanilla ice cream or whipped cream.
- If the topping browns too quickly, loosely cover the dish with foil for the last 10 minutes of baking.
Nutrition
- Serving Size: 1 serving
- Calories: 310
- Sugar: 35
- Sodium: 110
- Fat: 15
- Saturated Fat: 9
- Unsaturated Fat: 6
- Trans Fat: 0
- Carbohydrates: 45
- Fiber: 5
- Protein: 3
- Cholesterol: 35