

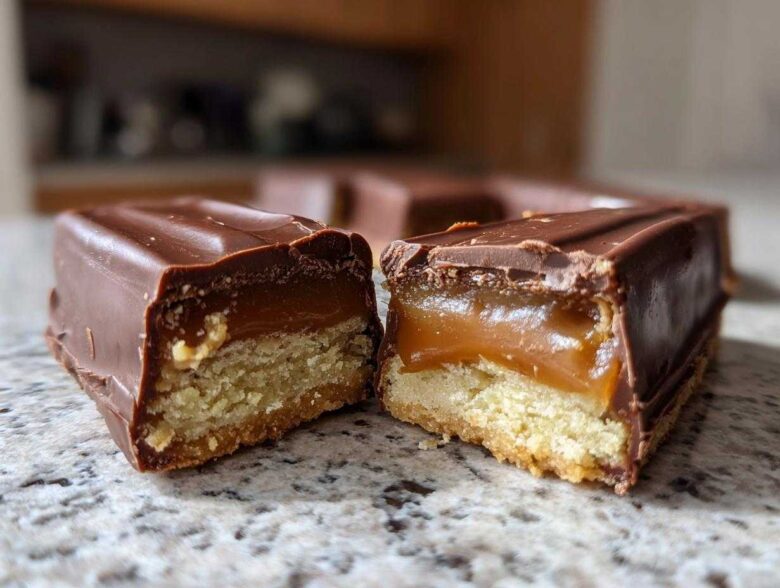
Oh my gosh, if you’re anything like me, sometimes you just *need* that perfect combination of crunchy, chewy, and chocolatey that only a classic candy bar can deliver! But let’s be honest, the store-bought versions are always missing something, right? That’s why I spent what felt like months perfecting this Homemade Twix Bars recipe following my favorite easy homemade candy techniques. I wanted the shortbread base to snap just right, you know? Not crumbly, but sturdy enough to hold up that luscious caramel. Trust me when I say these copycat treats absolutely blow the original out of the water. Once you master this layered beauty, you won’t ever want to go back to the wrappers again. Get ready to make the best twix you’ve ever tasted!
Why This Homemade twix Recipe Works So Well (E-E-A-T)
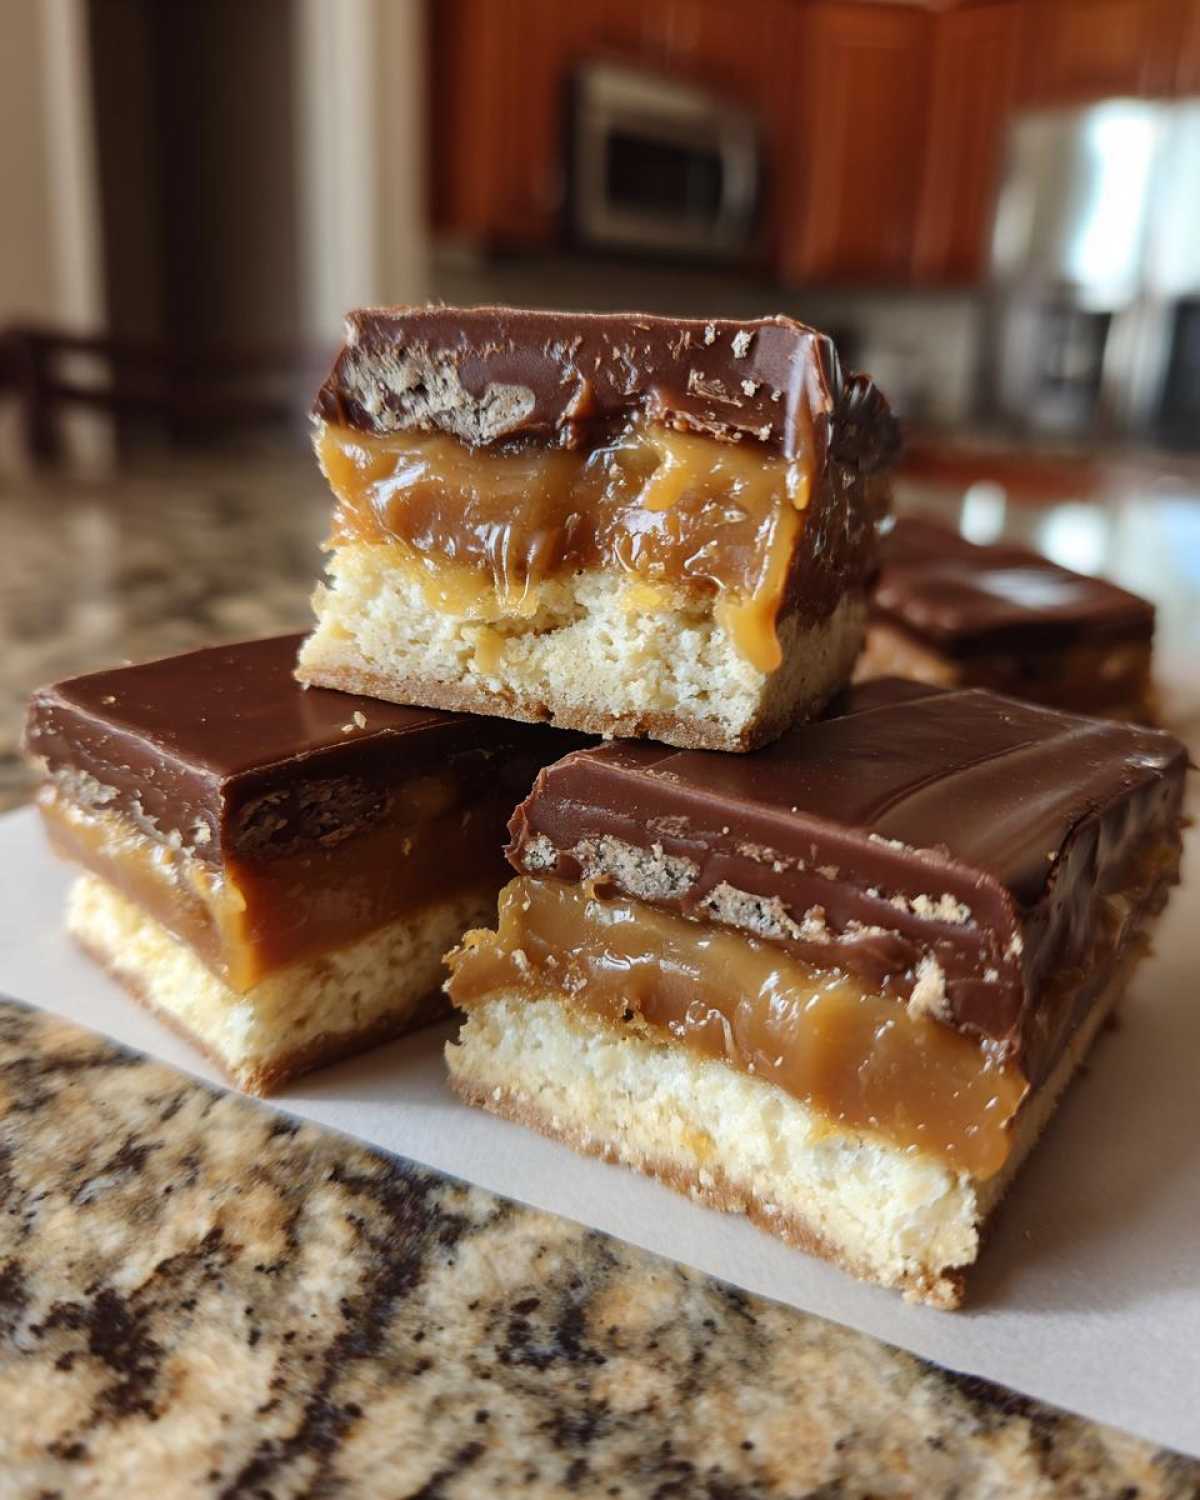
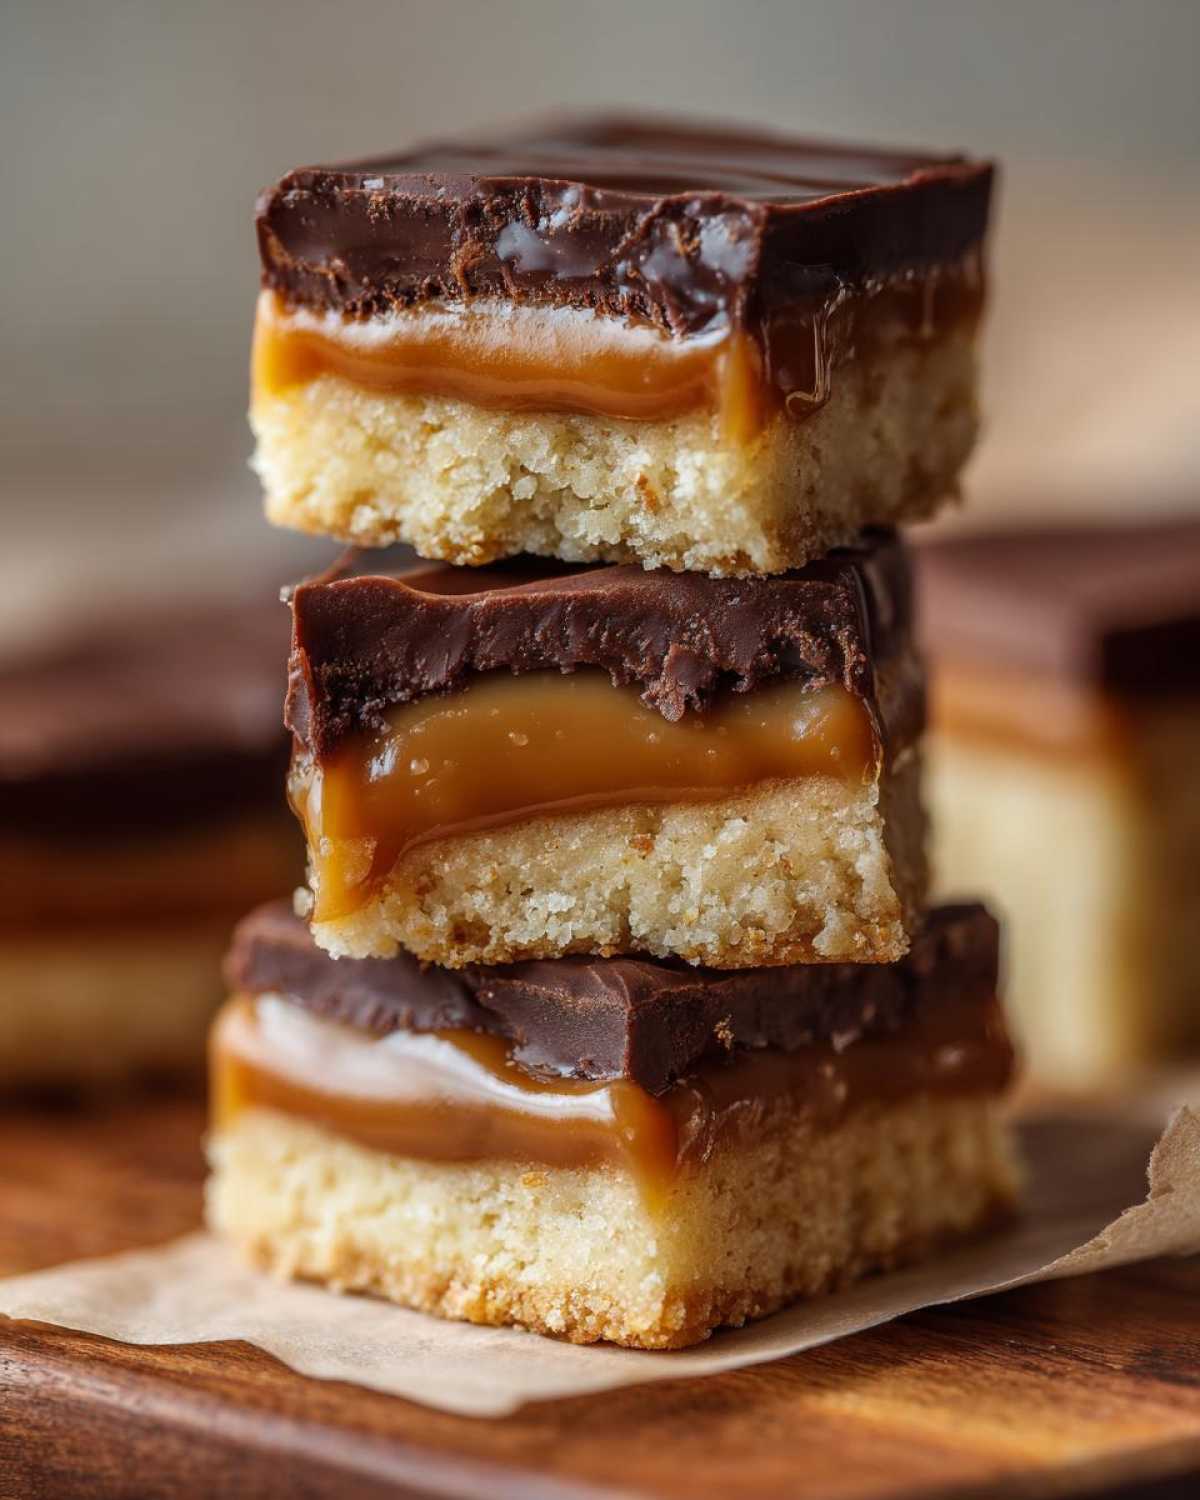
The reason this twix recipe is my go-to among all the best copycat candy recipes is because we nail all three layers perfectly. Too often, homemade versions get one part wrong. We focus on a shortbread base that’s intensely buttery, caramel that stays wonderfully chewy even when chilled, and a milk chocolate coating that gives a satisfying little *snap* when you bite into it. Consistency is everything here!
My secret for truly perfect caramel every time? Don’t boil it! We’re just melting it with cream, which keeps it flexible. If you overcook caramel when making these bars, it hardens like rock candy when it cools down. Trust me, you want that soft, yielding center to contrast the other textures.
Key Components of the Perfect twix Bar
The shortbread needs to be just tender enough that it crumbles nicely around the creamy base. Then comes the caramel—it must be gooey but firm enough to handle slicing cleanly. Finally, that chocolate coating needs to set up hard enough so you don’t get sticky fingers but melt beautifully in your mouth.
Gathering Ingredients for Your Copycat twix Bars
Okay, gathering up the supplies is half the fun! This is a simple three-part recipe, so we keep the ingredient list short, which is why I love this caramel chocolate shortbread project so much for beginners. You’ll notice we don’t need any fancy extracts or weird stabilizers—just good, honest baking stuff. Remember, precise measurements make the difference between a chewy bar and a hard brick, so grab your measuring cups!
- For the base, you need 1 cup all-purpose flour, 1/2 cup unsalted butter (must be softened!), 1/4 cup granulated sugar, and just a tiny pinch of salt.
- For that incredible middle layer, grab 1 cup of caramel candies—and yes, they must be unwrapped! You’ll mix those with 2 tablespoons of heavy cream.
- Finally, for the topping, you need 1 cup of milk chocolate chips and 1 tablespoon of coconut oil. The oil is our secret weapon for that smooth, shiny finish!
Ingredient Notes and Substitutions for twix
A couple of quick notes on sourcing! When I say softened butter, I mean leave it out for an hour or two; cold butter means a tough base. The caramels absolutely must be unwrapped, unless you want to spend an hour picking sticky foil off your fingers, which I’ve done, and I don’t recommend it! If you run out of heavy cream for the caramel, you can sneak in an equal amount of evaporated milk, but the cream gives it that superior chew. Also, if you’re really craving a richer taste, swapping out milk chocolate chips for dark chocolate is totally acceptable for your homemade twix!
Step-by-Step Instructions for Making twix Cookie Recipe
Alright, let’s get this chocolate layering party started! Before we even look at the flour, you absolutely must get that oven warmed up. This entire recipe depends on everything cooling and setting at the right time, so prepwork is crucial. Don’t skip lining that 8×8 pan with parchment paper! I always let the paper hang over two of the sides—those flaps are your handles later when you lift the whole slab out. It saves so much mess trying to get them out otherwise!
Preparing and Baking the Shortbread Layer
This dough is super easy, just dump your flour, softened butter, sugar, and salt into a bowl. Use your hands or a mixer until it really looks like wet crumbs—like the texture of coarse sand. Press that down gently and evenly into your lined pan. It doesn’t need to be perfectly smooth, just level. Pop it into your preheated 350°F oven for about 15 to 18 minutes. You’re looking for the very edges to just start blushing golden brown. Once it’s done, pull it out and let it cool *completely*. Seriously, this base needs to be room temperature before the caramel goes on, or it all turns into soup!
Creating the Chewy Caramel Chocolate Dessert Layer
Now for the gooey part! Take all those unwrapped caramels and your heavy cream and put them into a microwave-safe bowl. This melts best in short bursts. Heat it for 30 seconds, stir it well—it’ll look shriveled at first, don’t panic!—then zap it again in 30-second intervals until it’s flowing smoothly. Pour that warm, gorgeous caramel right over your cool shortbread. Smooth it out fast because it sets up quick! Then, this pan needs to chill in the fridge for a full hour. That hour is non-negotiable!
Finishing the twix Bars with Chocolate Coating
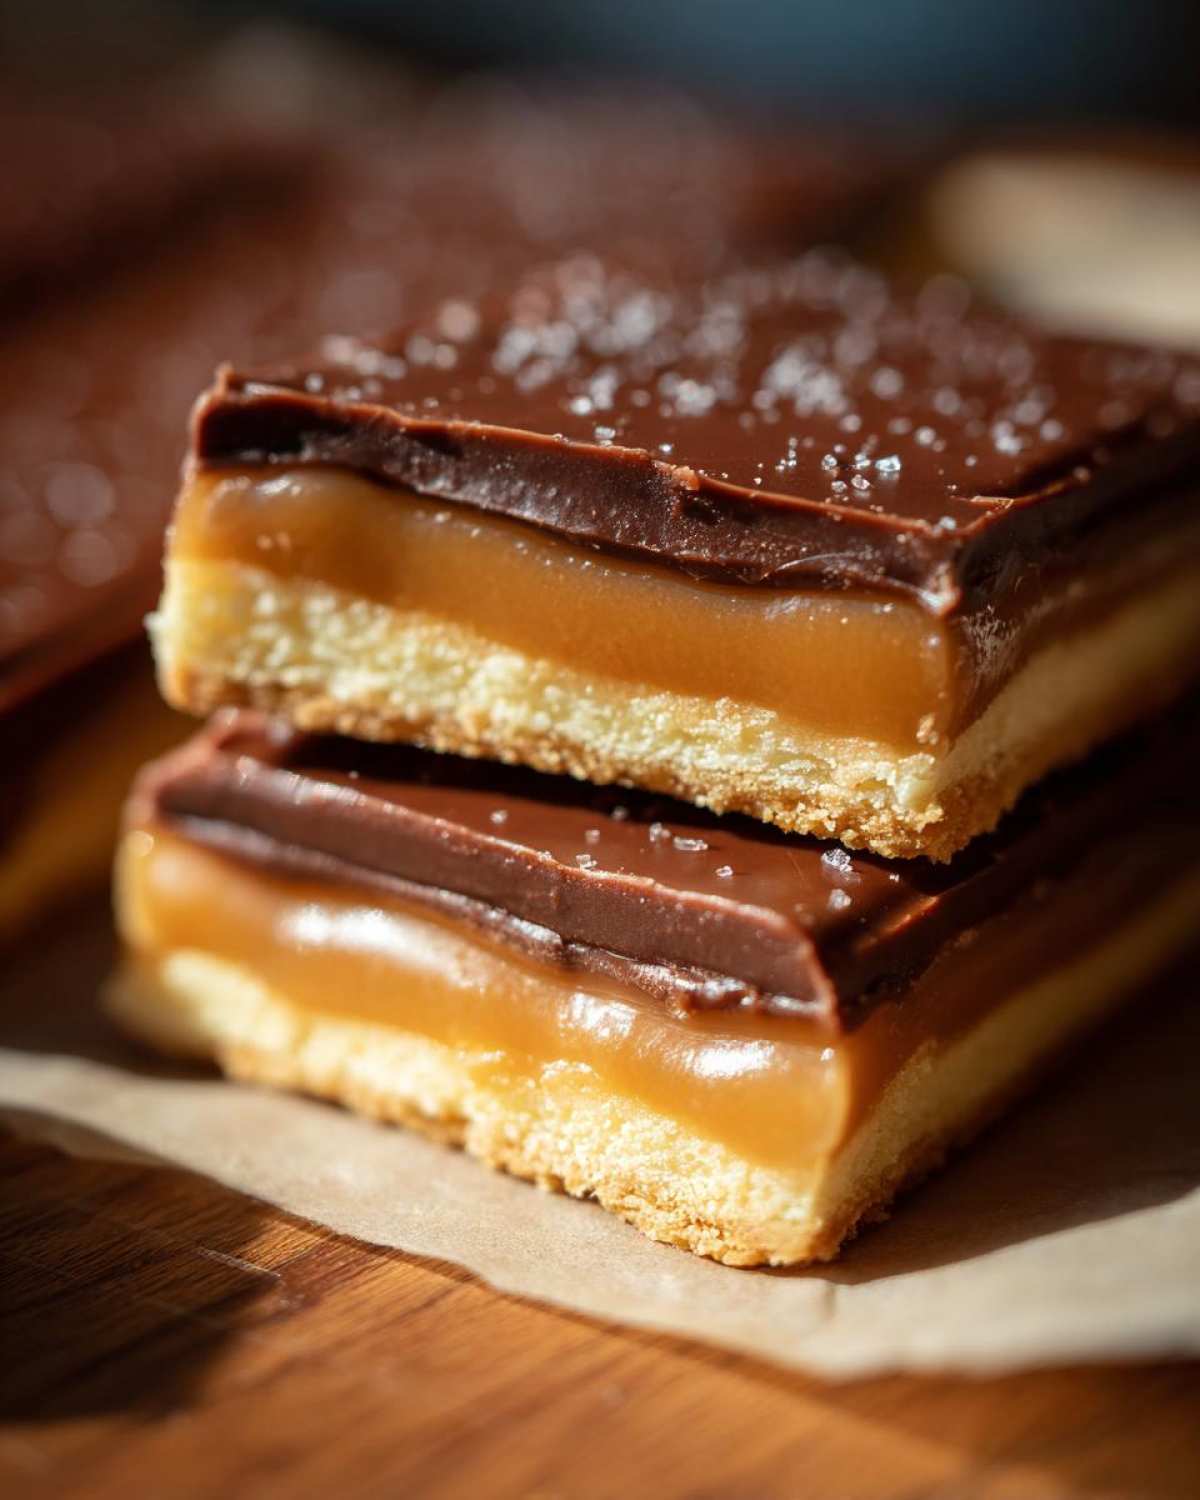
While that caramel is firming up, melt your chocolate chips and coconut oil together. Again, low and slow in the microwave works best until it’s velvety smooth. Pour this mixture over the set caramel layer and use an offset spatula—or just the back of a spoon—to get it nice and even. Back into the fridge this goes for another 30 minutes until that chocolate is hard to the touch. Here’s my best piece of advice for clean shortbread layer dessert slicing: grab a sharp knife, dip the tip quickly under hot water, wipe it dry, and slice! That warm blade cuts right through the chilled chocolate like butter.
Tips for Success When Making Homemade twix
Look, even professional bakers mess up candy sometimes, so please don’t sweat it if your first batch isn’t perfect! The main thing people run into trouble with is the cooling stages. Make sure that shortbread is completely cooled before the caramel touches it, or you’ll get a gummy mess instead of distinct layers. Speaking of caramel, if you’re melting yours in stages, pull it off the heat immediately when it’s just pourable; it carries residual heat and will cook itself further.
For the chocolate coating, the coconut oil is essential for a clean set, so use it! If you notice your chocolate starting to look dull or thick right before you pour it, just give it ten more seconds in the microwave. A smooth pour equals a smooth top, which means those gorgeous dessert bars with chocolate coating will slice beautifully later on!
Storage and Make-Ahead Tips for twix
One of the best things about these homemade twix bars? They hold up incredibly well, which makes them absolute superstars for holiday baking or just prepping snacks ahead of time! Because of that creamy caramel and chocolate shell, they really thrive in the cold, unlike a typical cookie that can get stale faster.
My firm rule is that you must store these in the refrigerator. I use an airtight container, and I always put a small square of parchment paper between the layers if I’m stacking them more than one high. This keeps the chocolate from sticking to the caramel layer above it. Honestly, they stay perfectly chewy and delicious for a solid week this way. I’ve tried leaving them on the counter, and while they are softer, the texture just isn’t the same.
Guess what? They freeze like a dream! If you’re making a huge batch for holiday candy baking, wrap the already-cut bars tightly in plastic wrap, then pop them into a freezer bag. You can keep them frozen for up to two months. Pop them out onto the counter about 30 minutes before you want to eat them, and they thaw out perfectly. You get that satisfyingly cold snap from the chocolate, just like they came right out of the fridge!
Serving Suggestions for Your Chocolate Caramel Shortbread
Once you’ve mastered cutting these glorious chocolate caramel dessert bars perfectly, the next big question is: what do you eat them with? Because these homemade twix treats are definitely rich—that combination of buttery shortbread and deep caramel is no joke—you need something nearby to cut through that decadence.
I usually find a piping hot mug of black coffee is the perfect companion. The slight bitterness works magic against the sweetness of the chocolate and caramel. It’s my go-to afternoon pick-me-up!
If you’re serving these after dinner, sometimes I like to keep things simple but elegant. Just one of these bars sitting next to a small scoop of really high-quality vanilla bean ice cream. The chilled ice cream melts slightly against the bar, and you end up with this amazing hot-cold contrast. It takes your basic candy replica and elevates it instantly for company, without you having to bake an entire additional dessert!
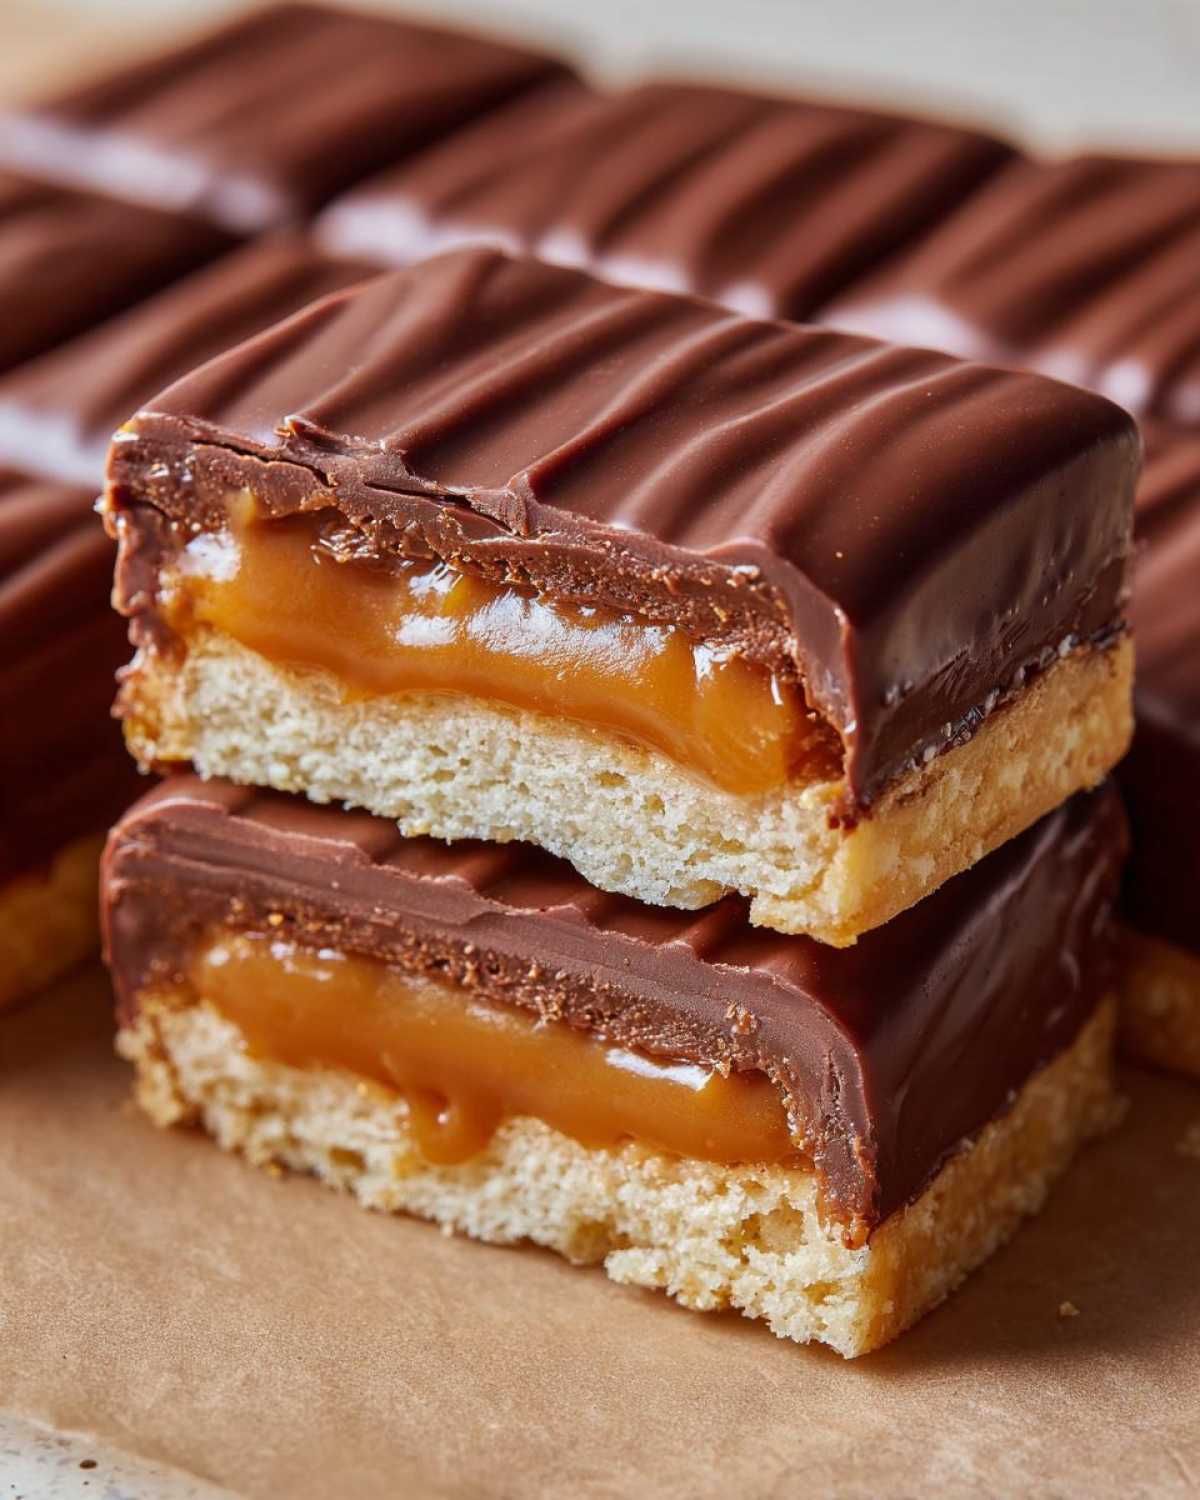
Presentation-wise, since these are so pretty with the three distinct layers, don’t hide them! Serve them on a simple white platter so everyone can see that perfect snap of chocolate waiting for them.
Frequently Asked Questions About the twix Recipe
Can I use store-bought shortbread or cookies for this Homemade twix Recipe?
Oh, I know the urge to cheat a little is strong, especially when you’re looking for a super quick treat! While you *could* use store-bought shortbread cookies as a base, I really, really advise against it for this specific **copycat twix bars** recipe. The shortbread layer we bake here is integral because it’s porous and slightly soft, which lets it absorb just a little bit of moisture from the caramel without getting soggy. Store-bought cookies are often too dense and buttery, and they don’t bond well with the soft caramel layer. You need that freshly baked texture!
How do I prevent the caramel from getting rock hard in the fridge?
This is the biggest hurdle when making any chewy caramel treats at home! Like I mentioned before, the key is knowing when to stop heating the caramel. We’re using whole caramel candies which already have stabilizers, so you don’t want to cook off the moisture. When you microwave the caramels with the cream, stop heating the second it’s fully liquid and flowing smoothly—it should look like thick, pourable mud, not thin gravy. If you’re nervous, undercook it slightly, because once it sets up, it’s hard to soften again. We want that chew!
Is it possible to make a Gluten Free twix Recipe version?
Yes, absolutely! People ask me about gluten free twix recipe options all the time. The shortbread layer is the only part that needs changing, of course. You can use a good quality 1-to-1 gluten-free all-purpose flour blend, and it works nearly identically. If you find your GF base seems a bit drier after baking, just add an extra teaspoon of softened butter to the mix next time. Everything else—the caramel and the chocolate—is naturally gluten-free!
Can I make a Vegan twix Bars recipe instead?
You definitely can try to make a vegan twix bars version, but it takes careful ingredient swaps. For the shortbread, use a high-quality vegan butter block that acts like real butter (not the soft spreadable tubs). The caramel is the tricky bit; you’ll need to swap out dairy caramels for vegan ones (many brands make these now!) and use a good quality full-fat coconut milk instead of heavy cream. It takes a bit more finesse to get that perfect chew, but it’s doable!
Can I use dark chocolate instead of milk chocolate chips?
Oh, yes! I personally love the slight bitterness of dark chocolate when paired with super sweet caramel, especially for an easy candy making for beginners project. Milk chocolate is traditional for the classic bar, but switching to a 60% or 70% dark chocolate makes this feel a little more grown-up. Just make sure you still use that small amount of coconut oil when melting it down; it keeps the coating from seizing up on you.
Estimated Nutritional Information for twix Bars
Now, I know we’re making these delicious bite sized candy recipes for pure joy, but I always like to give you guys a little heads-up on what you’re enjoying!
Please remember that every number here is just an estimate, and it really depends on what brands of caramel and chocolate you end up using. I always start with a disclaimer because, let’s face it, homemade candy isn’t exactly health food territory, but it’s so much better when you make it yourself! You can find our full nutritional disclaimer here if you want the super technical details.
For a single serving, which we portioned out as 1 bar (Yield: 16 bars), here is the breakdown for these fantastic homemade twix treats:
- Calories: About 220 per bar.
- Sugar: Hovering right around 20 grams. Yes, it’s sweet, but that’s the caramel talking!
- Total Fat: Roughly 14 grams. A good chunk of that comes from the buttery shortbread base, which we aren’t skimping on!
- Carbohydrates: Around 23 grams.
It’s rich, it’s decadent, and it’s totally worth serving slightly chilled! Enjoy every single layer!
Share Your Homemade twix Creations
Okay, friends, the hard part—and the best part!—is over! You have successfully created candy bar perfection right there on your own kitchen counter. I am so excited for you to try these twix bars. Now that you’ve got your hands on this amazing recipe, I absolutely want to see what you’ve made. Seriously, tag me on social media or drop a photo in the comments if you can!
When you finish up your batch, please take a minute to come back here and leave a star rating. Five stars if you loved the snap of the chocolate and the chewy caramel layer, obviously! Your feedback genuinely helps other bakers know that this recipe is worth their time, and I read every single comment.
Did you experiment with the dark chocolate? Did you try freezing them? Tell me everything! I love hearing how you adapt my favorite recipes to fit your own kitchen style. Happy baking, and enjoy biting into that perfect first homemade twix bar!
PrintHomemade Twix Bars

Make your own layered candy bars with a shortbread base, chewy caramel, and a milk chocolate coating.
- Prep Time: 20 min
- Cook Time: 20 min
- Total Time: 1 hour 40 min
- Yield: 16 bars
- Category: Dessert
- Method: Baking and Chilling
- Cuisine: American
- Diet: Vegetarian
Ingredients
- 1 cup all-purpose flour
- 1/2 cup unsalted butter, softened
- 1/4 cup granulated sugar
- 1/4 teaspoon salt
- 1 cup caramel candies, unwrapped
- 2 tablespoons heavy cream
- 1 cup milk chocolate chips
- 1 tablespoon coconut oil
Instructions
- Preheat your oven to 350°F (175°C). Line an 8×8 inch baking pan with parchment paper, leaving an overhang on two sides for easy removal.
- Make the shortbread base: In a medium bowl, mix the flour, softened butter, sugar, and salt until a crumbly dough forms.
- Press the dough evenly into the bottom of the prepared pan. Bake for 15 to 18 minutes, or until the edges are lightly golden. Let it cool completely.
- Make the caramel layer: Place the unwrapped caramel candies and heavy cream in a microwave-safe bowl. Microwave in 30-second intervals, stirring well after each, until the mixture is smooth and fully melted.
- Pour the warm caramel evenly over the cooled shortbread base. Place the pan in the refrigerator for at least 1 hour to allow the caramel to set.
- Make the chocolate coating: Combine the chocolate chips and coconut oil in a microwave-safe bowl. Microwave in 30-second intervals, stirring until completely smooth.
- Pour the melted chocolate over the set caramel layer. Spread it evenly.
- Return the pan to the refrigerator for another 30 minutes, or until the chocolate is firm.
- Lift the bars out of the pan using the parchment overhang. Cut into rectangular bar shapes.
Notes
- For cleaner cuts, warm your knife slightly under hot water before slicing the chilled bars.
- If you prefer a softer caramel, microwave the caramel mixture for slightly less time until it is just melted and still very thick.
- You can substitute dark chocolate for milk chocolate if you prefer a richer flavor.
Nutrition
- Serving Size: 1 bar
- Calories: 220
- Sugar: 20g
- Sodium: 65mg
- Fat: 14g
- Saturated Fat: 8g
- Unsaturated Fat: 6g
- Trans Fat: 0g
- Carbohydrates: 23g
- Fiber: 1g
- Protein: 2g
- Cholesterol: 15mg