

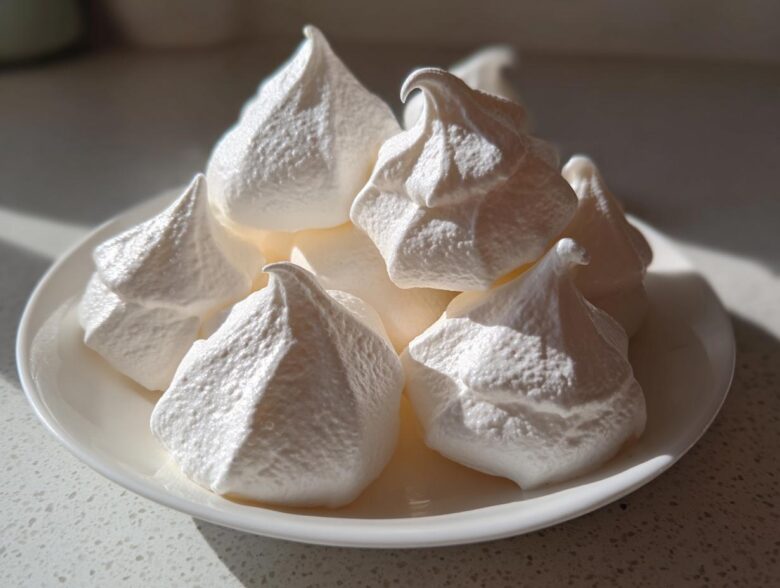
Oh, you just have to try these! There’s something truly magical about desserts that use almost nothing but egg whites and sugar, yet turn into these impossibly delicate, crisp little clouds. For the longest time, Ethan thought making meringue was reserved for the pros, but Chloe here (that’s me!) spent weeks messing with ratios until we nailed it. This is The Ultimate Easy Meringue Cookies Recipe: Light, Crisp, and Perfect Every Time. We figured out how to strike that perfect balance—enough structure so they don’t weep or collapse, but still that beautiful melt-in-your-mouth texture. Trust me, these simple egg white desserts are seriously addictive, and you’ll wonder why you waited so long to master true meringue cookies!
Why You Will Love These Easy Meringue Cookies
Honestly, once you get past the scary-sounding name, these are some of the most rewarding Meringue Cookie Recipe treats you’ll ever make. We didn’t settle until they were genuinely foolproof.
- They deliver that ‘melt in your mouth cookies’ texture every single time.
- Super simple prep makes them the best ‘Easy Meringue Cookies’ for beginners!
- They are naturally Gluten Free Meringues for everyone to enjoy.
- The ultimate foundation for festive treats, like Festive Meringue Kisses.
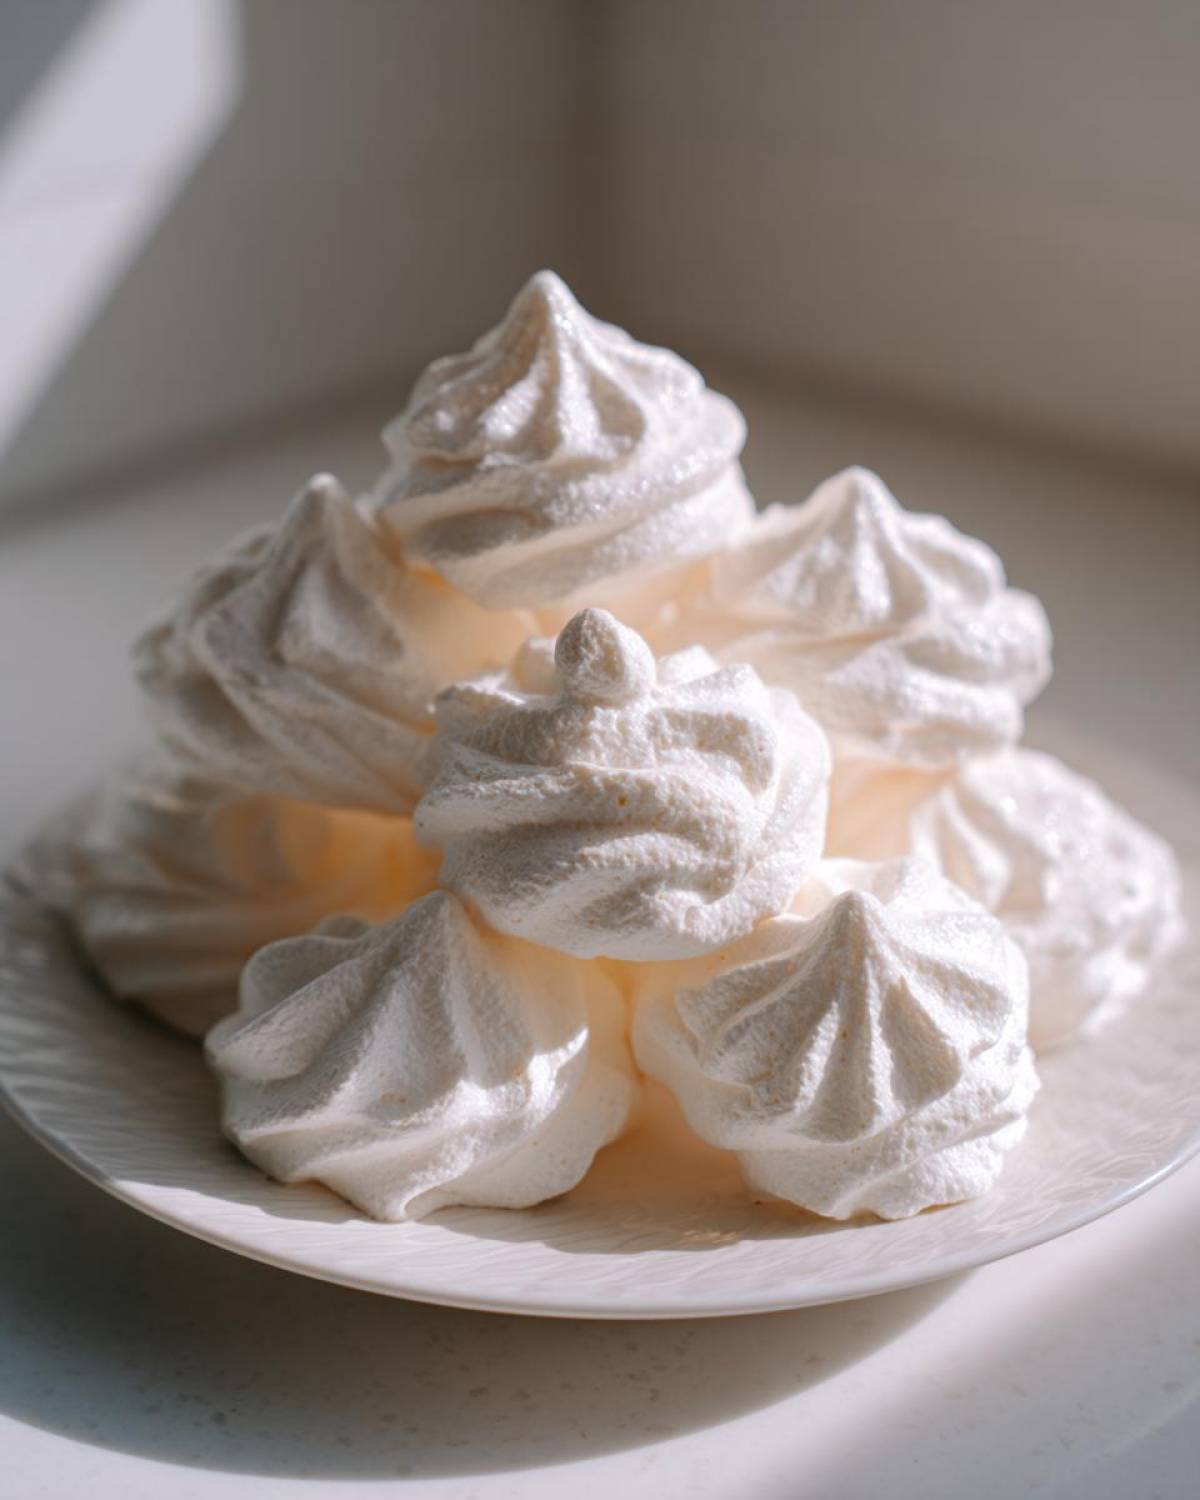
See? So simple! That beautiful crisp exterior and the soft center are baked right in!
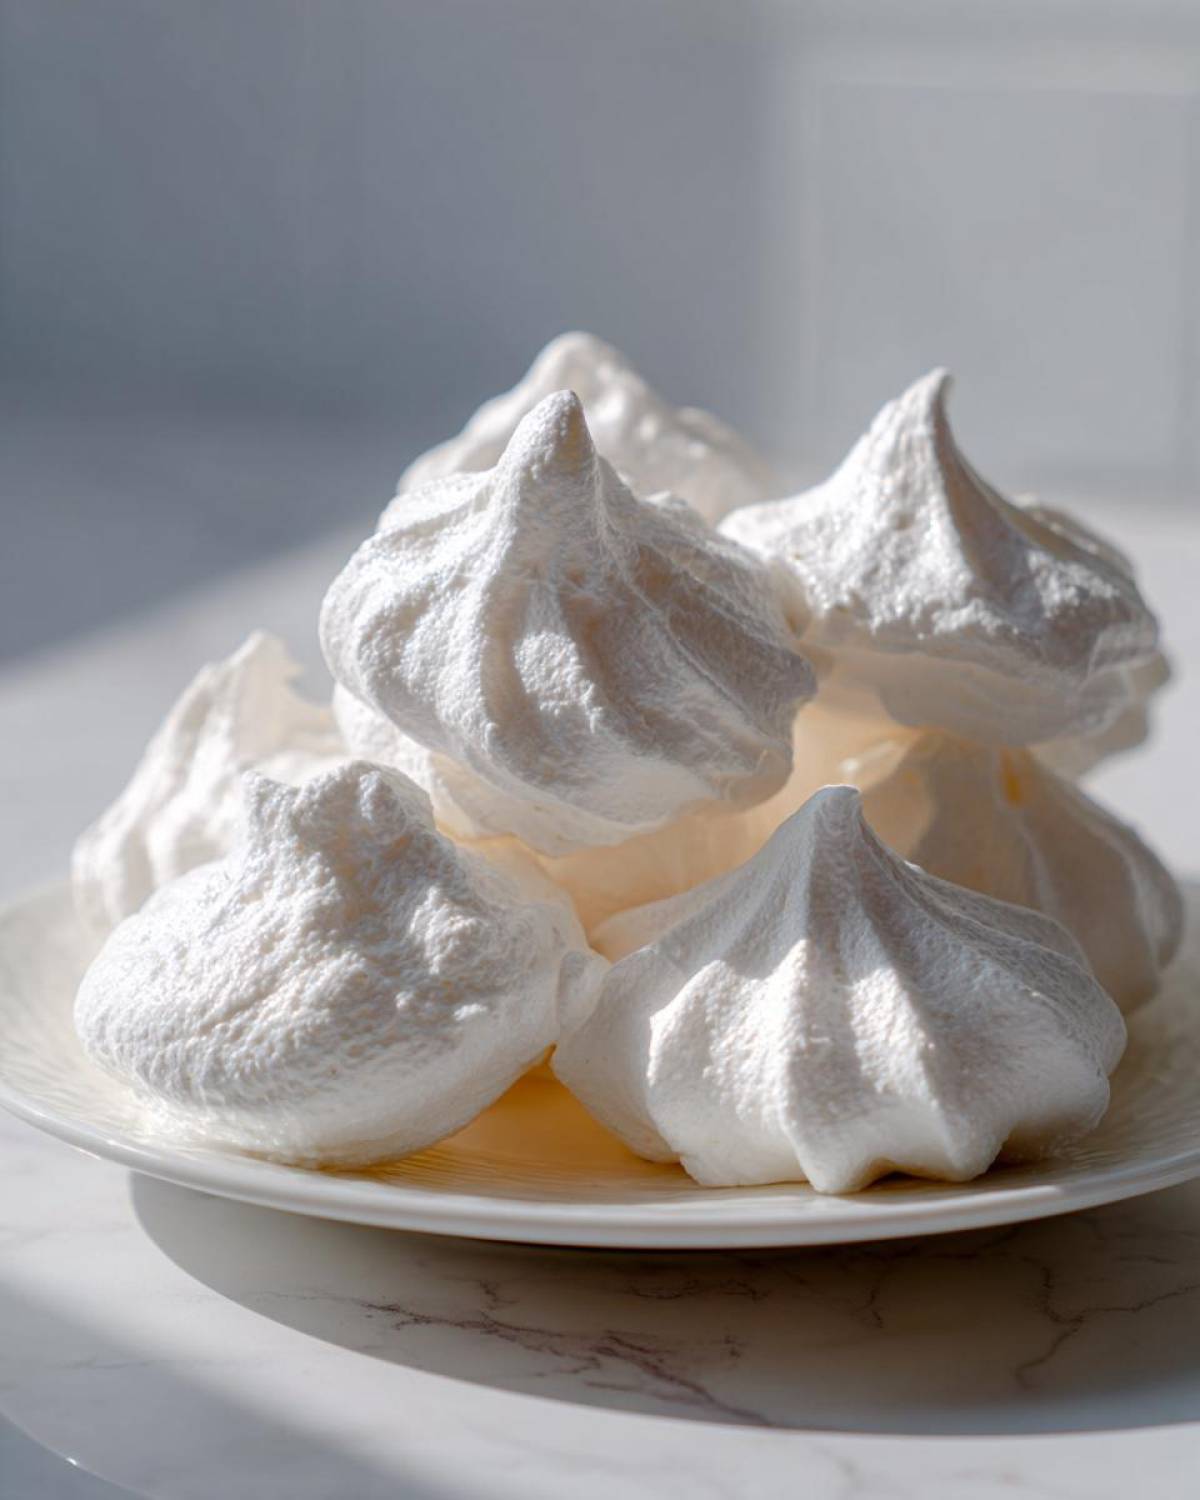
Essential Equipment for Perfect Meringue Cookies
Okay, before we even crack an egg, we have to talk about the tools. Because meringue is basically just trapped air waiting to happen, cleanliness is non-negotiable! If there’s even a speck of grease or yolk, your egg whites will sulk and refuse to whip up properly. Ethan learned this the hard way when he tried to rush things!
You don’t need a million fancy gadgets, but you do need the right basics to get those light and airy cookies we’re aiming for:
- A stand mixer or a reliable hand mixer. Trying to whip egg whites by hand? Bless your heart, but don’t risk it; your arm will fall off before you see stiff peaks.
- One very clean, very dry mixing bowl—glass or stainless steel is best! Plastic bowls sometimes hide invisible grease.
- Parchment paper. Seriously, don’t skimp here. Wax paper will let your kisses slide around, and those little guys need stability while they dry out.
- Piping bags and tips. We love a classic star tip, like the large Wilton 1M, because it makes even the simplest dollop look intentional and pretty.
- Baking sheets that are large and reliable. You need space to spread these out!
Once you have these clean and ready, you’re already 90% there. It’s all about making sure the equipment helps the ingredients do their job!
Ingredients for the Ultimate Vanilla Meringue Cookies Recipe
Okay, this is the part where my planner side (Ethan’s side, actually!) really shines because these delicate treats demand precision. Unlike my usual ‘splash of this, handful of that’ approach, meringue cookies are very particular about their measurements. You only need five things, but they have to be right!
When we talk about these Meringue Kisses Recipe ingredients, remember: this is the foundation for that gorgeous, crisp texture. Don’t substitute!
- 4 large egg whites: And this is crucial—they must be completely at room temperature. Cold egg whites just won’t give you the volume we need.
- 1 cup granulated sugar: Don’t reach for superfine sugar here. Regular white granulated sugar dissolves better during that slow whipping stage, which gives us that perfect, smooth look.
- 1 teaspoon pure vanilla extract: Use the good stuff! Since there are so few flavors here, quality matters.
- 1/4 teaspoon cream of tartar: This is our secret stabilizer! It helps keep everything sturdy so we don’t end up with weeping meringue puddles.
- Pinch of salt: Just a tiny bit to balance out all that glorious sweetness.
That’s it! See? They are ridiculously simple simple egg white desserts. As long as we stick to these counts, we are well on our way to making perfect meringue cookies.
Step-by-Step Instructions: How to Make Meringue Cookies
Alright, deep breath! This is where the magic happens, and honestly, it’s just about following a few rhythmic steps. The biggest secret to getting those Light and Airy Cookies is patience, especially when adding the sugar. If you rush the process, your delicate air bubbles deflate, and we end up with sticky goo instead of beautiful meringue cookies.
We’re baking these low and slow—think of it more like drying them out than actually baking them. Don’t worry about the time; just trust the process!
Preparing the Base for Your Meringue Cookies
First things first: let’s set the stage. You need your oven temperature set to the absolute lowest your oven will go, usually between 175°F and 200°F. Line those big baking sheets with parchment paper—you learned that in the equipment section, right? Now, take your mixing bowl and whisk attachment. I mean it, wipe them down one more time. Any hint of fat, grease, or yolk, and these egg whites will stage a revolt. Clean equipment equals success!
Whipping to Achieve Light and Airy Cookies Texture
Add your room-temperature egg whites and that tiny pinch of salt to your sparkling clean bowl. Start whipping on medium speed until you see foam—lots of tiny bubbles forming. Now, add your cream of tartar. It’s time to ramp up the speed to medium-high. Once soft peaks form (meaning when you lift the whisk, the peak curls over a little), you go slow on the sugar. Add it one tablespoon at a time, waiting a good half-minute between each spoonful. This slow incorporation builds super strong bonds. Keep going until you hit stiff, glossy peaks. To test for perfect meringue cookies, scoop a little out and rub it between your thumb and forefinger. If you feel any gritty sugar crystals, just keep beating! It needs to feel like velvet.
Piping and Drying Your Crispy Meringue Treats
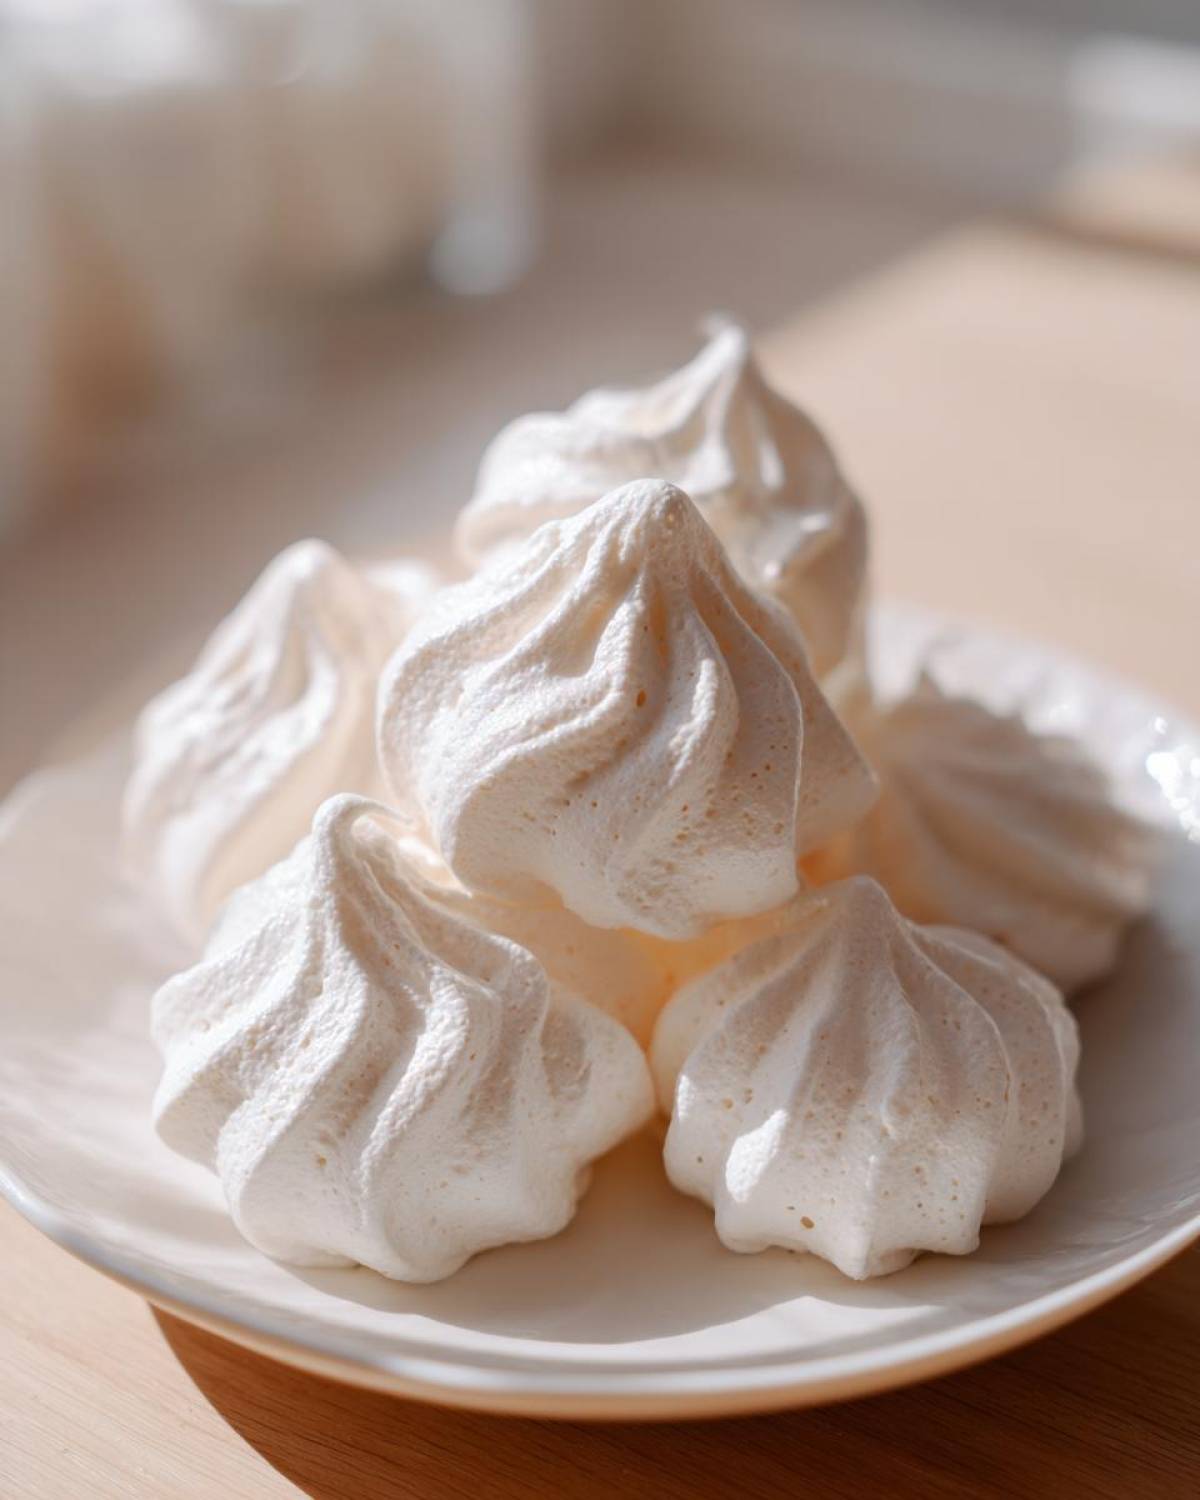
Once you’ve gently folded in that vanilla, load your stunningly structured meringue into your piping bag. Pipe little kisses—or stars, if you’re feeling sassy—about an inch apart onto your prepared sheets. Pop them into that low oven for about an hour to an hour-and-a-half. The real secret to getting those *crisp* meringue treats, though, happens after you shut the heat off. Turn the oven completely off, but prop the door open just a tiny crack with a wooden spoon. Let them cool, dry, and hang out in there for at least another hour. If you pull them out too fast, they’ll crack, and nobody wants a cracked cookie!
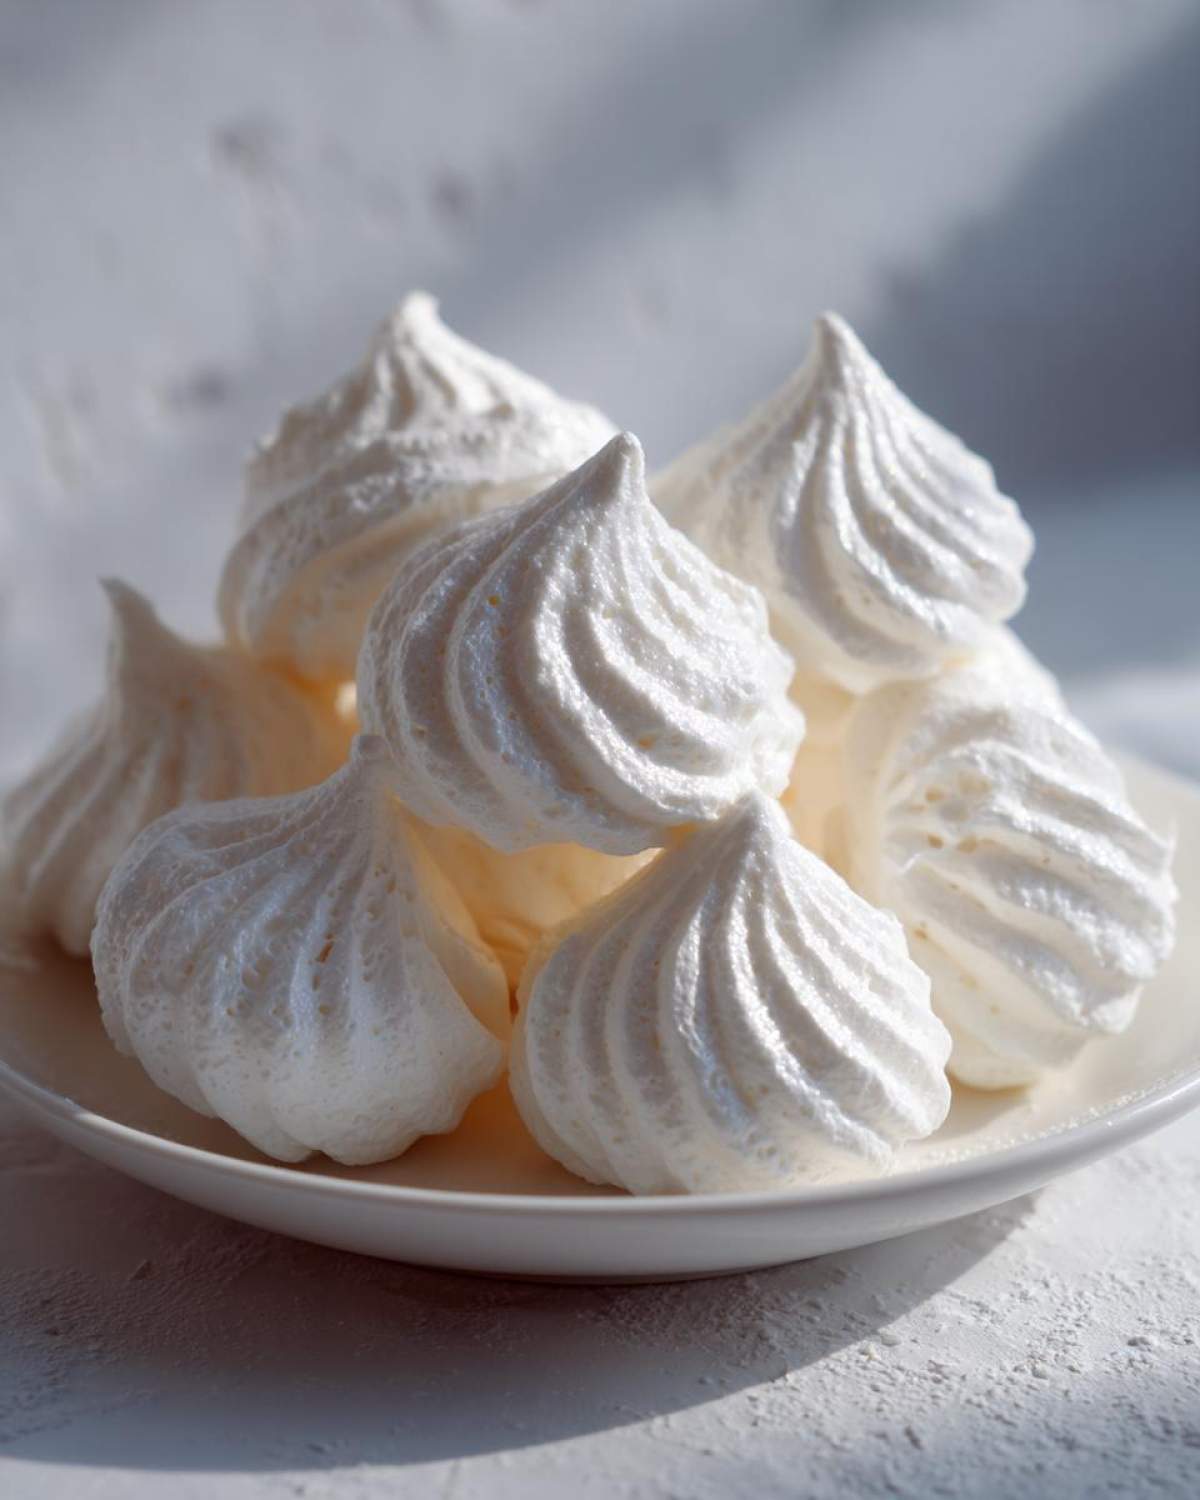
Tips for Perfect Meringue Texture: Mastering the French Meringue Cookies
Getting that ideal, cloud-like texture in our meringue cookies isn’t just skill; it’s a mixture of science and knowing the weather! We mastered the French meringue method because it’s the most straightforward structure, perfect for when you’re still learning to bake with egg whites. Remember that tip about room-temperature egg whites? Please don’t skip that! Cold whites simply won’t whip up as high or as stable as those that have warmed up a bit on the counter first. Cold equals sadness in meringue land.
Also, we absolutely have to talk about humidity. Meringue attracts moisture like flies to honey! If it’s raining or feels sticky outside, you might notice your cookies weeping a little or taking forever to dry out. If you can, save this project for a dry, crisp day. Knowing when *not* to bake is just as important as knowing how to mix! If you want the nitty-gritty details on the technique itself, check out this great resource on the basic French Meringue Cookies method!
Popular Variations for Festive Meringue Kisses Recipe
Now that you’ve mastered the plain vanilla base—which is delicious enough on its own, by the way—we can have some fun! Since so many people look for fun spins on these treats, especially around the holidays, I wanted to share how easy it is to turn these into colorful gems or seasonal favorites. These variations are what make our Festive Meringue Kisses Recipe so popular for gifting!
If you saw the Jello meringue cookies popping up online, this is how you make that happen! When you are folding in your vanilla extract in the last step, you can swap that out entirely or mix them. Gently fold in about one tablespoon of your favorite Jello powder. Strawberry makes them pink, lime makes them fun and green—it’s a perfect, colorful addition! You can grab a great inspiration link over here if you want to see some amazing examples of Easy Jello Meringue Cookies Recipe for Light Sweet Treats.
And for a wintery twist? Peppermint! Substitute the vanilla with about half a teaspoon of peppermint extract. If you are feeling extra fancy, gently crush a few candy canes (use a Ziploc bag and a rolling pin—watch for flying shards!) and lightly swirl those crushed bits into your finished meringue before you pipe them. It gives you that beautiful white-and-red swirl that just screams Christmas!
Remember, anything you add—extracts, flavor powders, or color—must be incorporated very gently right at the end. We don’t want to knock the air out of our work now that we’ve whipped it into such perfect peaks!
Storing Your Homemade Meringue Gifts
You’ve done the hard part—the whipping, the piping, and the hours of low-and-slow drying! Now, we need to make sure these delicate treats actually stay crisp until it’s time to eat them. My biggest tip for these little clouds is that they have a massive sweet tooth for moisture, and that’s exactly what we can’t give them!
Humidity is the absolute enemy of a good, crisp meringue. If you leave them out on the counter on a damp day, they will start to get sticky and gooey before you even get them packaged up. We want them to be shatteringly crisp, not chewy!
Here’s the foolproof way we store ours, especially when we make extra batches for homemade meringue gifts:
- Airtight is everything: You must use a truly airtight container. A cookie tin or a heavy-duty Tupperware container works perfectly. Don’t use flimsy bags or containers with weak seals.
- Room Temperature Only: Never, ever put these in the refrigerator! The refrigeration coils create condensation, which turns your crisp shells sticky instantly. Keep them on the counter, away from direct sunlight or heat sources.
- Use a Buffer: If you’re traveling with them or storing them for more than three days, sometimes I like to line the container with a strip of paper towel first. It acts like a tiny shield against any residual moisture trying to sneak in.
If you store them right, they can stay perfect for well over a week. But honestly, with how good they are, ours usually disappear in about three days!
Frequently Asked Questions About Meringue Cookies
It’s funny how many little things can go wrong in a batch of what seems like only sugar and egg whites! When you’re first starting out with Baking Meringue for Beginners, it’s easy to panic if things look weird. Don’t worry, those little mishaps are what let us learn how to achieve that truly Perfect Meringue Texture. Here are the questions I get asked the most about these incredible Simple Egg White Desserts.
Can I make these meringue cookies without cream of tartar?
Yes, you certainly can, but I really recommend including some kind of stabilizer! Cream of tartar is fantastic because it’s super reliable and helps keep those stiff peaks strong throughout the entire mixing process. If you absolutely run out, you can substitute it with about one teaspoon of white vinegar or fresh lemon juice. It helps stabilize those egg whites just the same, but always make sure you add the acid when the whites are foamy, right before the sugar starts going in!
Why are my meringue cookies cracking after baking?
Almost always, cracking means the meringue changed temperature too quickly. When they finish ‘baking,’ they are still delicate little pockets of hot air. If you yank that door open and expose them to the cool kitchen air all at once, they contract too fast and—crack! Remember what I said in the instructions? Turn the oven off, slightly prop that door open (a wooden spoon works great!), and let them cool down slowly inside. That gentle transition keeps them looking pristine.
Are these meringue cookies naturally gluten free?
They absolutely are! Isn’t that fantastic? Since the base recipe is only egg whites, sugar, and vanilla, there’s no flour, nuts, or grains involved whatsoever. This makes them a perfect treat if you’re baking for friends who need Gluten Free Meringues. Just be careful if you add flavorings like crushed candy canes, you’ll want to make sure those additions are also gluten-free certified, just to be safe!
Nutritional Estimates for These Delicate Sweet Treats
So, you want to know what damage these little sweet puffs are doing? While these Delicate Sweet Treats are almost pure sugar and air—which means they are incredibly light in calories compared to, say, a dense chocolate chip cookie—it’s still good to have a general idea!
Ethan got me to write down these estimates because he insists on tracking everything, as is his way. But remember, since these meringue cookies have such few ingredients, the numbers are pretty straightforward. We based this on serving three cookies, but who stops at three? Don’t worry too much about it; they are mostly air anyway!
Here are our very rough estimates for a serving size of 3 cookies right off the batch:
- Calories: About 55 (Yes, really! It’s the fluff factor!)
- Fat: 0 grams (Go you!)
- Carbohydrates: 14 grams
- Protein: 1 gram
- Sugar: Yep, about 14 grams, but spread across three tiny clouds!
The best part? They are naturally fat-free and cholesterol-free. It’s amazing what happens when you just whip egg whites until they reach that perfect stiff peak! Enjoy them guilt-free!
PrintThe Ultimate Easy Meringue Cookies Recipe: Light, Crisp, and Perfect Every Time
Learn how to make light, airy, and crisp meringue cookies using the simple French meringue method. These melt-in-your-mouth treats are perfect for beginners and ideal for holiday baking or edible gifts.
- Prep Time: 20 min
- Cook Time: 90 min
- Total Time: 130 min
- Yield: About 3 dozen
- Category: Dessert
- Method: Baking
- Cuisine: American
- Diet: Gluten Free
Ingredients
- 4 large egg whites, room temperature
- 1 cup granulated sugar
- 1 teaspoon pure vanilla extract
- 1/4 teaspoon cream of tartar
- Pinch of salt
Instructions
- Preheat your oven to the lowest setting, typically between 175°F and 200°F. Line two large baking sheets with parchment paper.
- Make sure your mixing bowl and whisk attachment are completely clean and dry. Add the room-temperature egg whites and the pinch of salt to the bowl.
- Beat the egg whites on medium speed until they become foamy. Add the cream of tartar and increase the speed to medium-high.
- Once soft peaks form (the peaks curl over when you lift the whisk), begin adding the granulated sugar, one tablespoon at a time, waiting about 30 seconds between additions. This slow addition is key to stable meringue.
- Continue beating until the meringue is stiff, glossy, and holds firm peaks. When you rub a small amount between your fingers, you should not feel any sugar granules. This takes about 8 to 10 minutes total whipping time.
- Gently fold in the vanilla extract using a spatula until just combined. Do not overmix.
- Transfer the meringue to a piping bag fitted with your desired tip (a star tip creates classic meringue kisses). Pipe small mounds onto the prepared baking sheets. Keep the cookies about one inch apart.
- Place the baking sheets in the preheated oven. Bake (or dry out) for 1 to 1.5 hours, depending on the size of your cookies and your oven temperature. The goal is to dry them out, not brown them.
- Once the time is up, turn the oven off, but leave the meringue cookies inside the oven with the door slightly ajar (prop it open with a wooden spoon) for at least one hour, or until completely cool and dry. This prevents cracking.
- Store the finished meringue cookies in an airtight container at room temperature.
Notes
- Use egg whites that are at room temperature; they whip up to a higher volume than cold ones.
- For festive color or flavor variations, gently fold in 1 tablespoon of Jello powder or a few drops of food coloring along with the vanilla extract.
- If you want peppermint meringue cookies, substitute the vanilla extract with 1/2 teaspoon of peppermint extract and gently swirl in a few crushed candy canes before piping.
- Humidity affects meringue. Try to bake on a dry day for the best crisp texture.
Nutrition
- Serving Size: 3 cookies
- Calories: 55
- Sugar: 14
- Sodium: 5
- Fat: 0
- Saturated Fat: 0
- Unsaturated Fat: 0
- Trans Fat: 0
- Carbohydrates: 14
- Fiber: 0
- Protein: 1
- Cholesterol: 0