

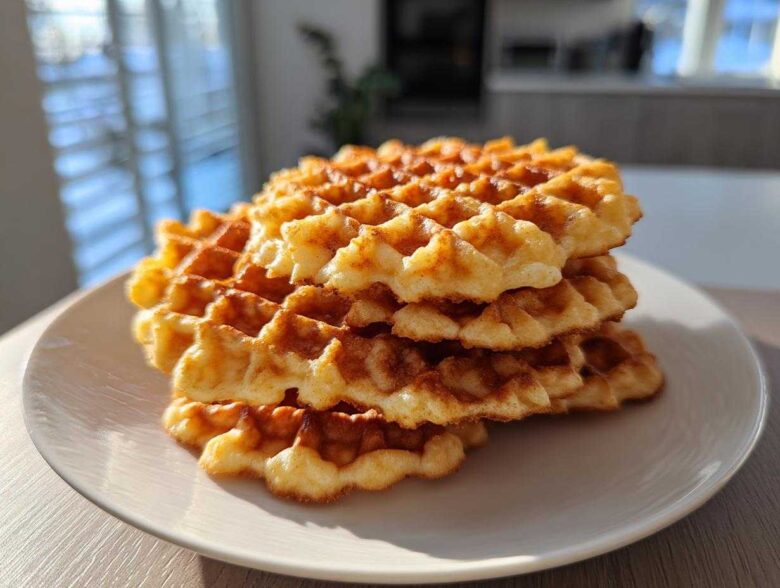
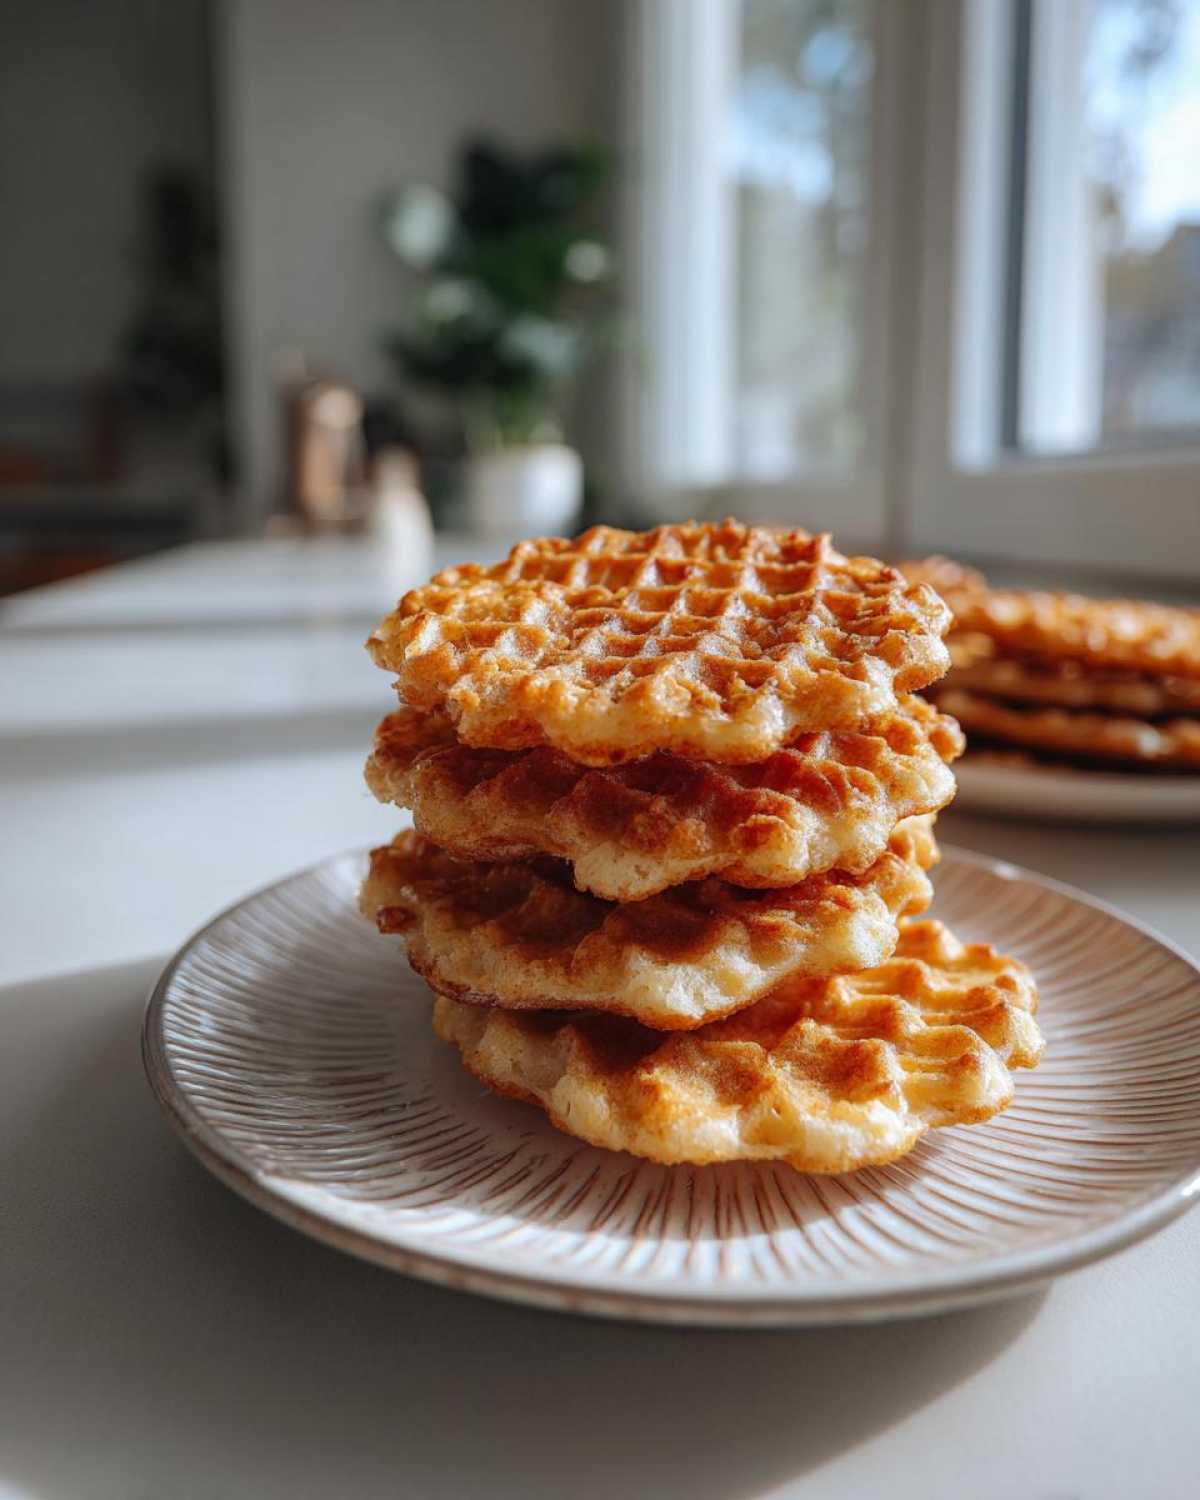
Oh, when the air finally gets that crisp little nip and you start thinking about stacking up the holiday cookie trays, my absolute favorite thing to pull out is the old iron. Forget those thick, cakey things; we’re talking about making authentic Italian waffle cookies that practically shatter when you bite into them! These pizzelle cookies are pure magic—thin, delicate, and etched with beautiful patterns. I spent years trying to get them *just right*, and I finally cracked the code for that perfect, buttery crispness. This recipe is my ultimate classic vanilla version, and trust me, it’s shockingly easy to make these gorgeous, light cookies at home. If you love festive baking, you absolutely have to see how I make my Christmas poke cake, but for cookies, this one is the keeper! You’re going to want to bookmark this one for Christmas and beyond!
Why You Will Love These Classic Pizzelle Cookies
Honestly, these might become your new favorite holiday cookie, and not just because they look fancy! They are so simple to conquer once you get your iron hot. Here’s why you’ll be obsessed with making these light, buttery cookies:
- You get that signature shatter of crispy Italian cookies just seconds after they come off the press.
- We’ve laid out easy pizzelle instructions so your first batch looks like you’ve been making them for decades.
- The base flavor is that lovely classic vanilla pizzelle flavor, which is just perfect as is.
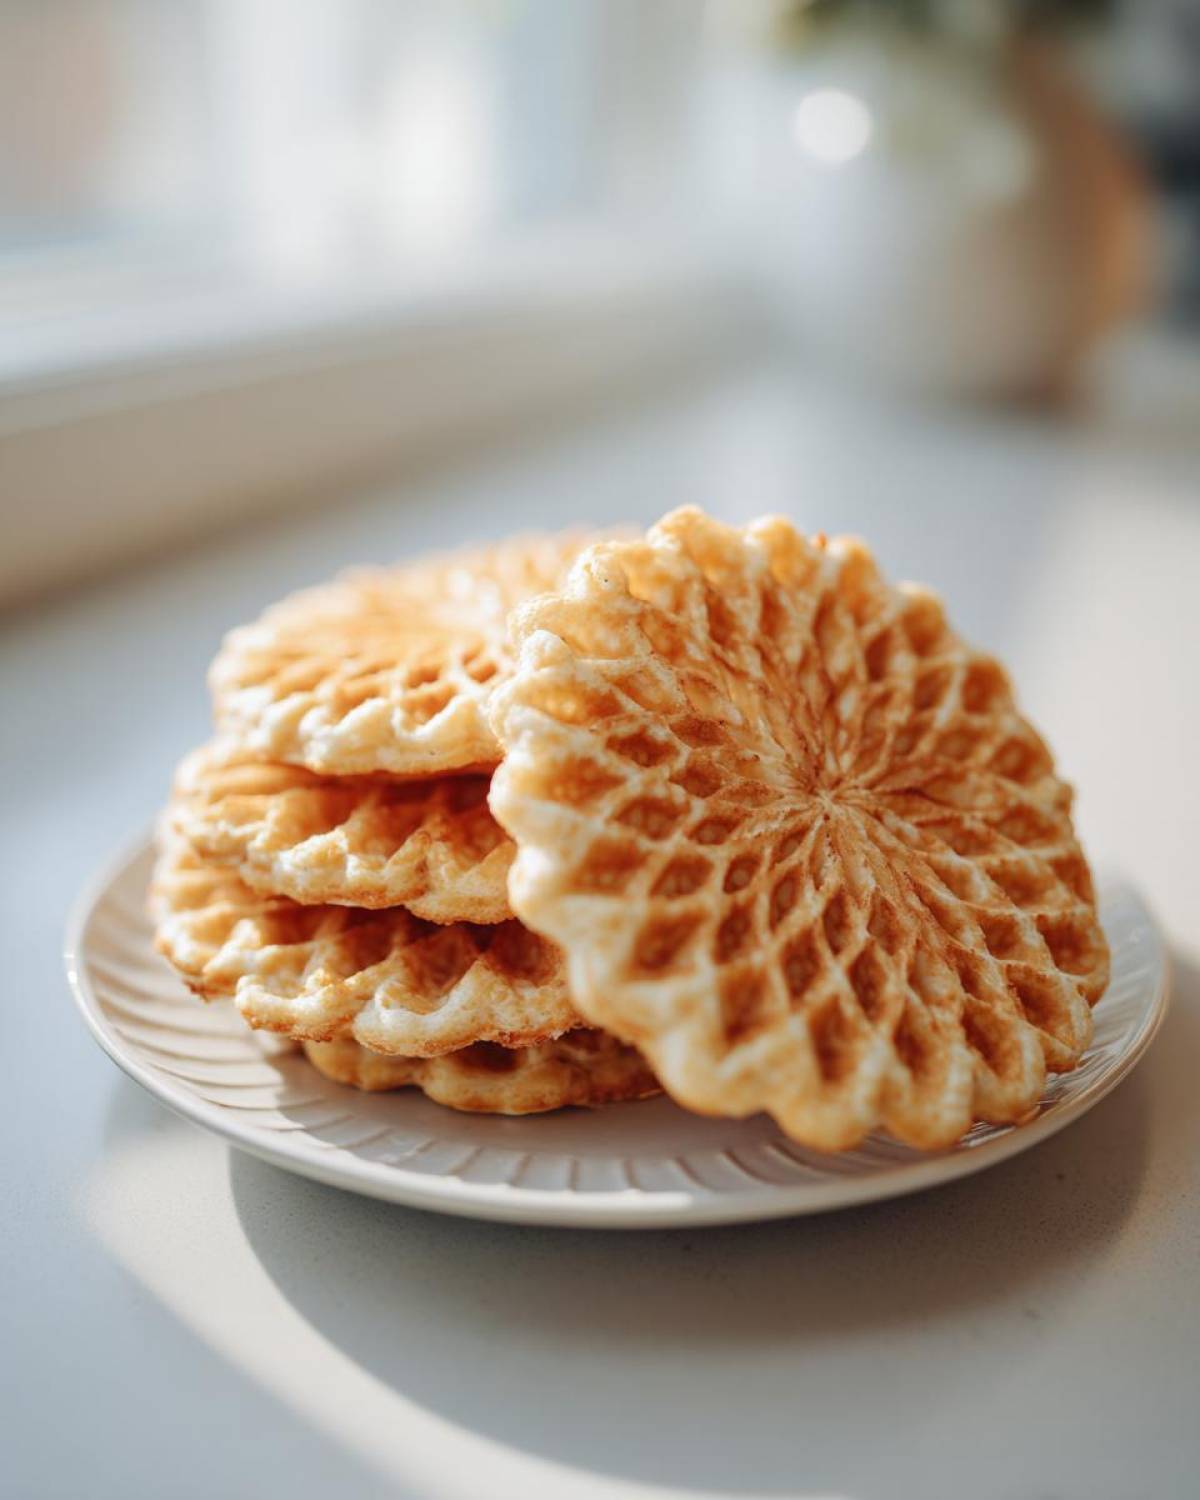
Essential Ingredients for Authentic Pizzelle Cookies
You really only need simple pantry staples here, but the quality and prep matter, especially with the butter! If you check out my Italian ricotta cookies recipe, you’ll see I preach about using real butter there too. For these delicate patterned cookies, you’ll need three large eggs plus three extra large egg yolks for richness. Then grab one cup of granulated sugar and one cup of unsalted butter that is melted and totally cooled—we don’t want to scramble those eggs! Don’t forget one teaspoon of vanilla extract, and if you want that deep, traditional pizzelle recipe flavor, add in one teaspoon of anise extract. The dry stuff is just two cups of all-purpose flour, two teaspoons of baking powder, and one tiny pinch of salt.
Equipment Needed for Perfect Pizzelle Cookies
Now, here’s the deal: you can’t cheat this part. To get those lovely patterned results, you absolutely have to have a dedicated iron. I’m talking about a proper press—a pizzelle iron. Don’t try to adapt a Belgian waffle maker; the plate patterns are all wrong and you won’t get the right texture. Beyond that crucial machine, you need a big mixing bowl for your batter, a whisk to get those eggs nice and foamy, and a thin rubber or silicone spatula for carefully lifting the hot cookies off the plates. That’s really it for the necessary tools of the trade!
Step-by-Step Easy Pizzelle Instructions
Getting these pizzelle cookies done is a rhythm; once you find it, you’ll be cranking these out faster than you can say ‘Buon Natale!’ The very first thing you absolutely must do is preheat that pizzelle iron completely, following the manufacturer’s directions specifically. While that’s heating up, move over to your biggest bowl and whisk those three eggs and three extra yolks until they get light and frothy. Then, you slowly whisk in the sugar until it smooths out, and pour in that cooled melted butter right down the side of the bowl.
Next up are your flavorings—vanilla and that optional anise extract. Once those wet ingredients are happy, gently whisk in your dry mixture: the flour, baking powder, and salt. Here’s my huge tip: mix it only until you see the flour disappear. Seriously, stop mixing right then! Overmixing gives us gummy cookies, and we want delicate crispness. Next, drop just one teaspoon of that beautiful batter right onto the center of the super hot iron, close the lid quickly—be careful, steam will shoot out!—and cook it for about 30 to 60 seconds until the steam pretty much stops coming out. You can use a thin spatula to lift off that golden disc. It will feel soft, I promise! Immediately lay it on a wire rack. This is crucial for crispness! If you want to roll it into a cannoli shape, you have about five seconds to work your magic before it sets hard. Keep going until the iron needs a quick wipe down. If you want better non-stick results for your next batch, check out my easy homemade garlic butter naan bread recipe—the concept of greasing a hot surface is similar!
Tips for Achieving Crispy Pizzelle Cookies Every Time
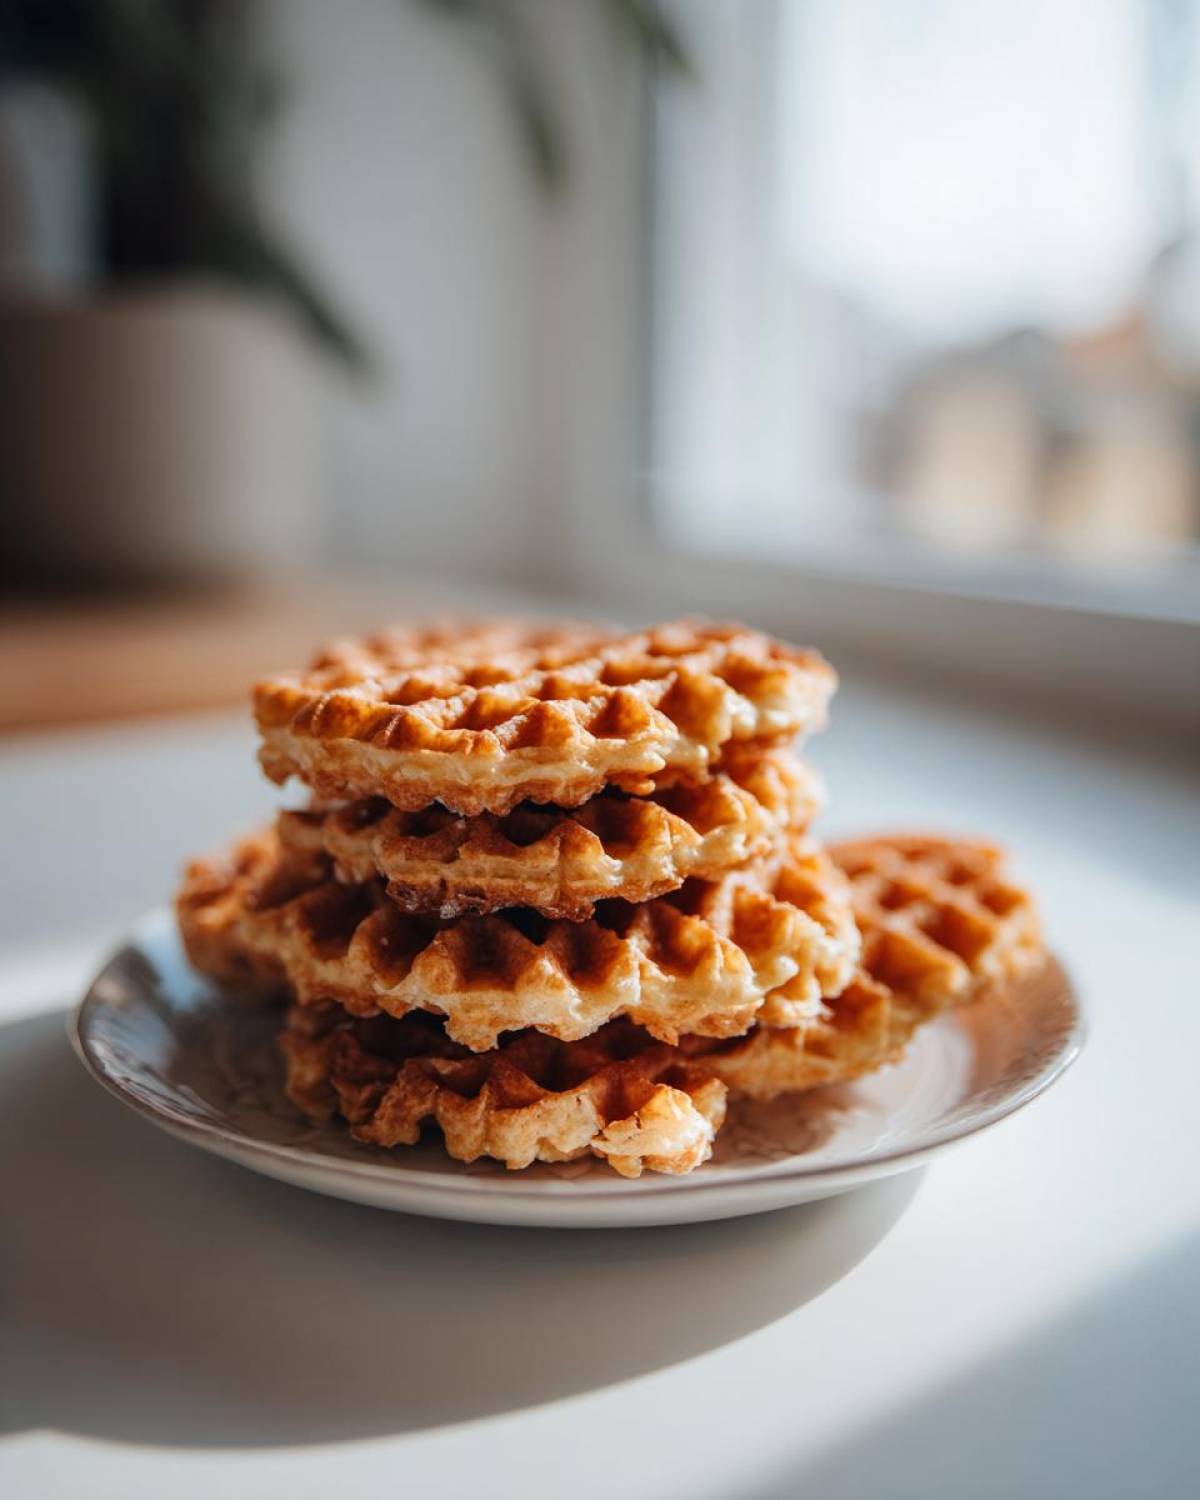
Okay, I know this is the part everyone stresses about. You pull off that gorgeous, patterned cookie, and it feels soft, almost like a crepe, right? Don’t panic! That is completely normal for these Italian waffle cookies when they first come off the heat. The real crispness happens during the cooling process, so you have to be patient!
The absolute number one rule is air circulation. As soon as you lift that cookie off the iron with your thin spatula, it has to go straight onto a wire cooling rack. Don’t stack them up, and definitely don’t try to place them on a solid plate or countertop. They need to breathe so all the residual steam can escape. If they are cooling in a humid kitchen, they will definitely stay soft.
If you followed all my steps and cooled them perfectly, but you still find a few lying around the next day that have gone a little… limp? No problem at all! You can totally rescue them. Just pop them on a baking sheet and slide them into a 300°F oven for just two or three minutes. Seriously, watch them closely! They go from soft to crispy startlingly fast. That quick blast of dry heat evaporates any absorbed moisture. Easy peasy!
Popular Pizzelle Cookie Variations: Anise, Almond, and Chocolate
While my main recipe focuses on that wonderful vanilla pizzelle flavor, the beauty of these pizzelle cookies is how easily you can shake things up! I love making a huge double batch during the holidays because I can flavor half one way and half another way for everyone’s preferences. It takes almost zero extra effort, just a quick swap of extracts or adding some cocoa powder. It truly shows you how versatile these delicate patterned cookies can be, moving far beyond just the vanilla base.
If you’re looking to switch gears, check out these popular adjustments! If you love the chocolate version, you can find notes on adding cocoa in my chocolate chip banana bread recipe article, as many ingredients overlap!
Creating the Traditional Anise Pizzelle Cookies Flavor
If you want the deepest, most authentic flavor reminiscent of true Christmas Italian desserts, you need anise. This herb gives that sweet, slightly licorice note that people immediately recognize as classic. To get that effect, ditch the vanilla entirely and use a full teaspoon of anise extract instead. Honestly, it’s fantastic!
Making the Almond Pizzelle Variation
If anise isn’t your thing, almond is a gorgeous, bright alternative that smells amazing while baking. For the almond pizzelle variation, simply replace both the vanilla and anise extracts with about one and a half teaspoons of pure almond extract. This flavor works so well in all sorts of holiday cookie recipes; it’s nutty and light.
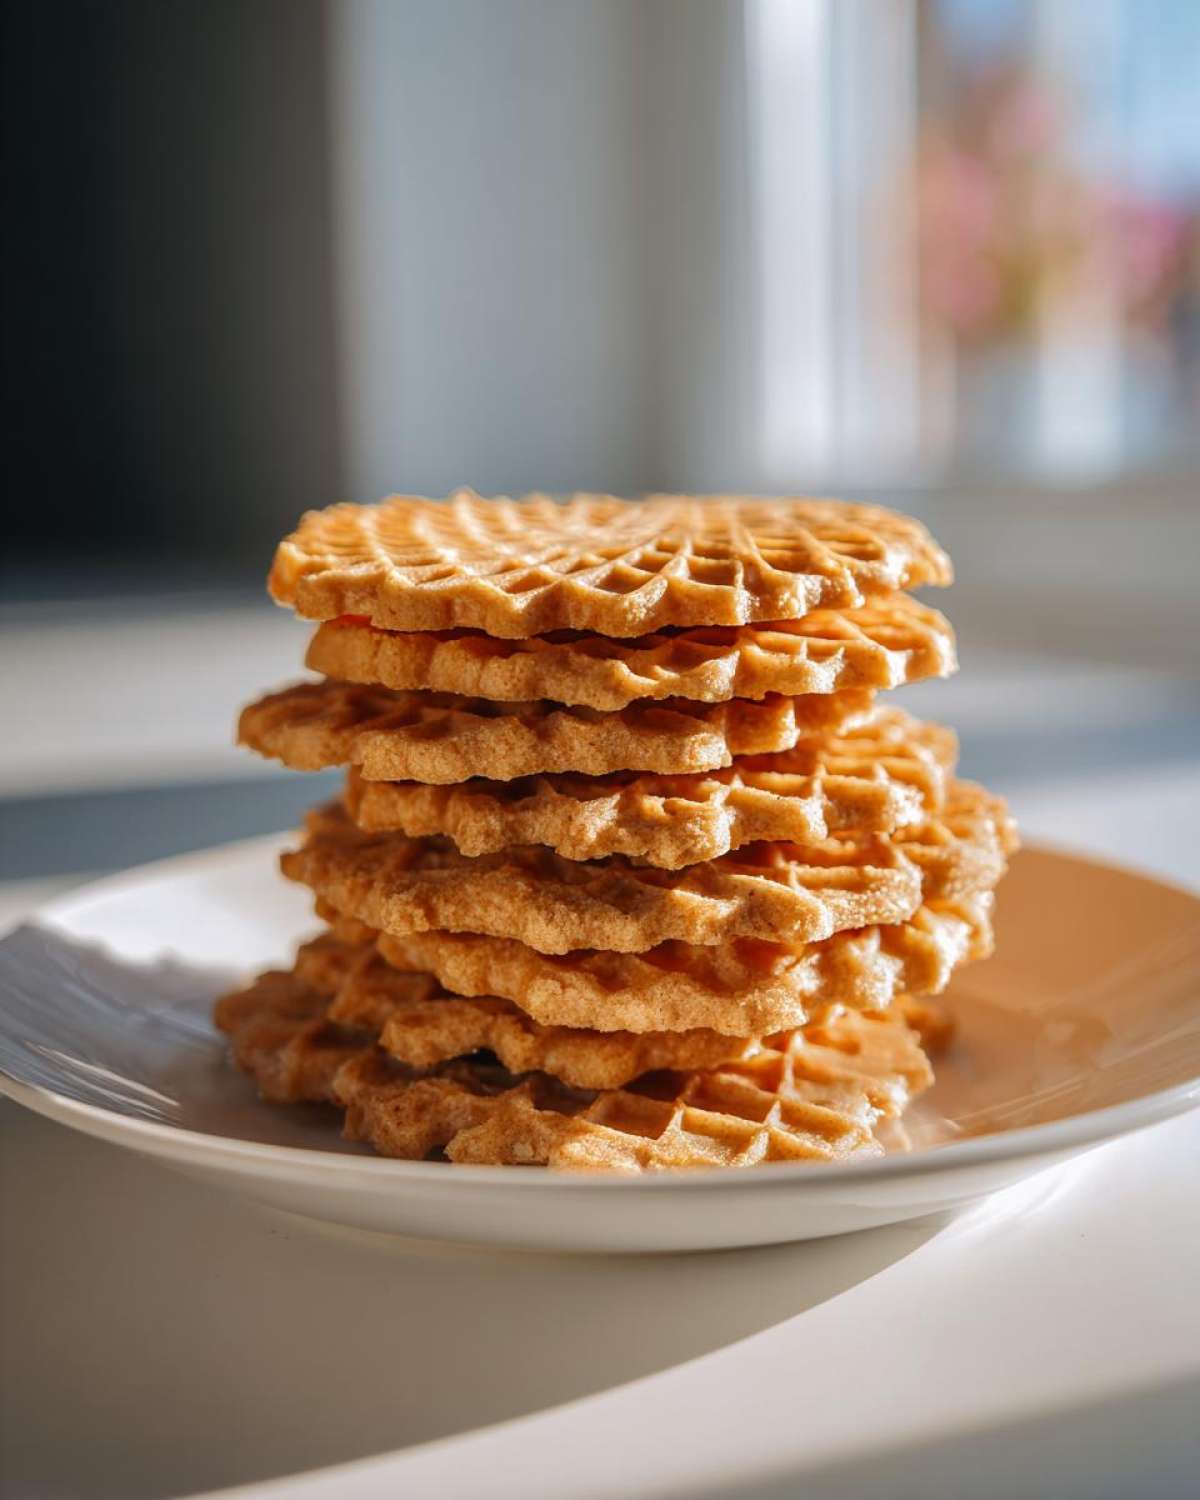
And don’t forget about chocolate! To make a rich chocolate pizzelle recipe, you sift about a quarter cup of unsweetened cocoa powder right in with your dry ingredients and then simply reduce your flour by that same quarter cup. It transforms them entirely!
Storage and Reheating Instructions for Homemade Pizzelles
Once these thin beauties cool down completely on that rack, you have to wrap them up tight to keep that incredible crispness we worked so hard for! Humidity is the number one enemy of a good, delicate patterned cookie. You need an airtight container, and I mean *airtight*—no loosely covered cookie tins here, please!
I usually stack them with a single sheet of parchment paper between every few cookies just to make sure they don’t stick together during storage. They keep really well at room temperature for almost a week. If things are particularly humid where you live, sometimes I put a little packet of fresh silica gel (the kind you find in vitamin bottles, just make sure it’s clean!) in the container, though that might be taking it too far for some folks! For more great storage tips, you might want to check out how I keep my graham cracker toffee from getting sticky; the principles are similar!
Serving Suggestions for Your Pizzelle Cookies
Once you’ve got a giant stack of these perfect, light, crispy beauties, you have to decide how to serve them! Honestly, just dusting them lightly with powdered sugar, like my grandma did, is heaven. They look amazing just layered on a plate for your festive cookie tray ideas. But if you’re feeling adventurous, remember that five-second window to shape them?
You can gently roll the hot discs around a wooden dowel or the handle of a wooden spoon to create tiny, crisp cones—perfect for filling with cannoli cream later! Or, if you want something a little boozy to pair with these pizzelle cookies, you should pair them with the amazing caramel apple martini recipe I shared last week. They are light enough to be served alongside coffee, tea, or even little bowls of gelato. They really are so versatile!
Frequently Asked Questions About Pizzelle Cookies
I know when you first look at specialized recipes like this, you think, ‘Well, what if I don’t have that one piece of equipment?’ Don’t worry, I’ve gathered up the most common questions I get about making these beautiful crispy Italian cookies so you feel totally confident before you even start mixing the batter. If you have any other burning questions, feel free to drop me a line on my contact page!
Can I use a regular cookie sheet instead of a pizzelle iron?
Oh, I wish you could, but no, you really can’t! This is one of those specific pizzelle iron recipes where the tool is everything. The batter is super thin—much thinner than a standard drop cookie dough. It needs that high-pressure, direct heat from both sides of the iron to get that distinctive thinness and those fine patterns. Trying to bake this batter on a cookie sheet would just result in a thin, greasy mess that wouldn’t crisp up right at all.
How do I shape pizzelles into cones or tubes?
This is the fun, slightly frantic part! You have about a five-second window to work your magic before the disc sets rock-hard. As soon as you lift that hot, thin cookie off the iron using your thin spatula, you need to quickly wrap it around a cone mold, a dowel, or even the handle of a wooden spoon. You hold it in place for just a few seconds until it cools enough to hold its new shape. If it cracks, don’t toss the broken piece! Those shards make amazing toppings for ice cream, which is another great addition to your festive cookie tray ideas!
PrintUltimate Classic Vanilla Pizzelle Cookies

Make light, crispy Italian waffle cookies at home using this straightforward recipe. This recipe focuses on the classic vanilla flavor and includes tips for achieving the perfect crisp texture.
- Prep Time: 15 min
- Cook Time: 25 min
- Total Time: 40 min
- Yield: About 3 dozen
- Category: Dessert
- Method: Iron Cooking
- Cuisine: Italian
- Diet: Vegetarian
Ingredients
- 3 large eggs
- 3 large egg yolks
- 1 cup granulated sugar
- 1 cup unsalted butter, melted and cooled
- 1 teaspoon vanilla extract
- 1 teaspoon anise extract (optional, for traditional flavor)
- 2 cups all-purpose flour
- 2 teaspoons baking powder
- 1 pinch salt
Instructions
- Gather your pizzelle iron and preheat it according to the manufacturer’s directions.
- In a large bowl, whisk together the eggs and egg yolks until they are light yellow.
- Gradually whisk in the granulated sugar until the mixture is smooth.
- Slowly pour in the cooled melted butter while continuing to whisk.
- Stir in the vanilla extract and anise extract, if using.
- In a separate bowl, whisk together the flour, baking powder, and salt.
- Gradually add the dry ingredients to the wet ingredients, mixing until just combined. Do not overmix the batter.
- Lightly grease the pizzelle iron if necessary (some irons are non-stick).
- Drop one teaspoon of batter onto the center of the hot iron. Close the lid quickly.
- Cook for 30 to 60 seconds, or until the steam stops escaping and the cookie is golden brown. Cooking time varies by iron.
- Carefully remove the cookie using a thin spatula. It will be soft.
- Immediately place the hot cookie onto a wire cooling rack to cool and crisp up. If you want to shape it (into a cone or tube), do so within 5 seconds of removal.
- Repeat with the remaining batter, cooling the iron slightly between batches if needed.
Notes
- For a traditional anise flavor, use 1 teaspoon of anise extract instead of vanilla, or use 1/2 teaspoon of each.
- To make almond pizzelles, substitute the vanilla and anise extracts with 1 1/2 teaspoons of almond extract.
- For chocolate pizzelles, sift 1/4 cup of unsweetened cocoa powder with the flour and reduce the flour by that amount.
- To ensure your pizzelles are crispy, let them cool completely on a wire rack away from humidity. If they are soft after cooling, you can briefly reheat them in a 300°F oven for 2-3 minutes.
- If you do not have a pizzelle iron, this batter is not suitable for standard cookie sheets.
Nutrition
- Serving Size: 1 cookie
- Calories: 95
- Sugar: 6
- Sodium: 35
- Fat: 5
- Saturated Fat: 3
- Unsaturated Fat: 2
- Trans Fat: 0
- Carbohydrates: 10
- Fiber: 0
- Protein: 2
- Cholesterol: 30