

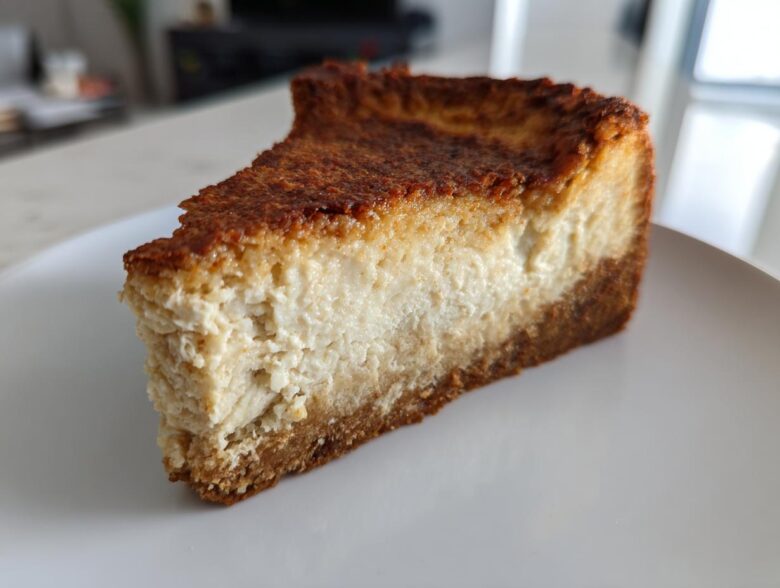
Okay, listen up, because I know the struggle! You’re working hard, hitting your workouts, tracking those macros, and then BAM—the evening hits and you are craving something ridiculously creamy and decadent. Usually, that means slamming the breaks on all your progress for a big slice of traditional cheesecake. Ugh, no thanks! That’s exactly why Chloe spent months tweaking this recipe until it practically begged to be shared. The result? Our Ultimate Healthy Baked Protein Cheesecake. I’m talking about a texture that rivals any bakery dream, yet it packs a massive 35 grams of protein per slice! Chloe developed this because she refused to believe that fitness goals meant totally sacrificing that perfect dessert moment. You can read a little more about how we blend Chloe’s intuition with my careful measurements over on our About Us page. Trust me, this Protein Cheesecake is the magic trick you’ve been waiting for.
Why This Baked Protein Cheesecake Is Your New Favorite Healthy Cheesecake Dessert
If you think healthy means sacrificing flavor or texture, you haven’t met this recipe yet. This is the ultimate Healthy Cheesecake Dessert, designed to feel completely indulgent while cheering on your fitness journey. It’s truly the definition of a Macro Friendly Cheesecake, and honestly, I look forward to making it every week!
- Incredible Protein Content Per Serving
Yes, you read that right—we are hitting upwards of 35 grams of protein per slice! That’s massive, right? We get that ridiculously high count because we rely heavily on low-fat cottage cheese and non-fat Greek yogurt working hard in the filling. It’s the foundation of our spectacular Protein Cheesecake.
- Texture Secrets of the Ultimate Protein Cheesecake
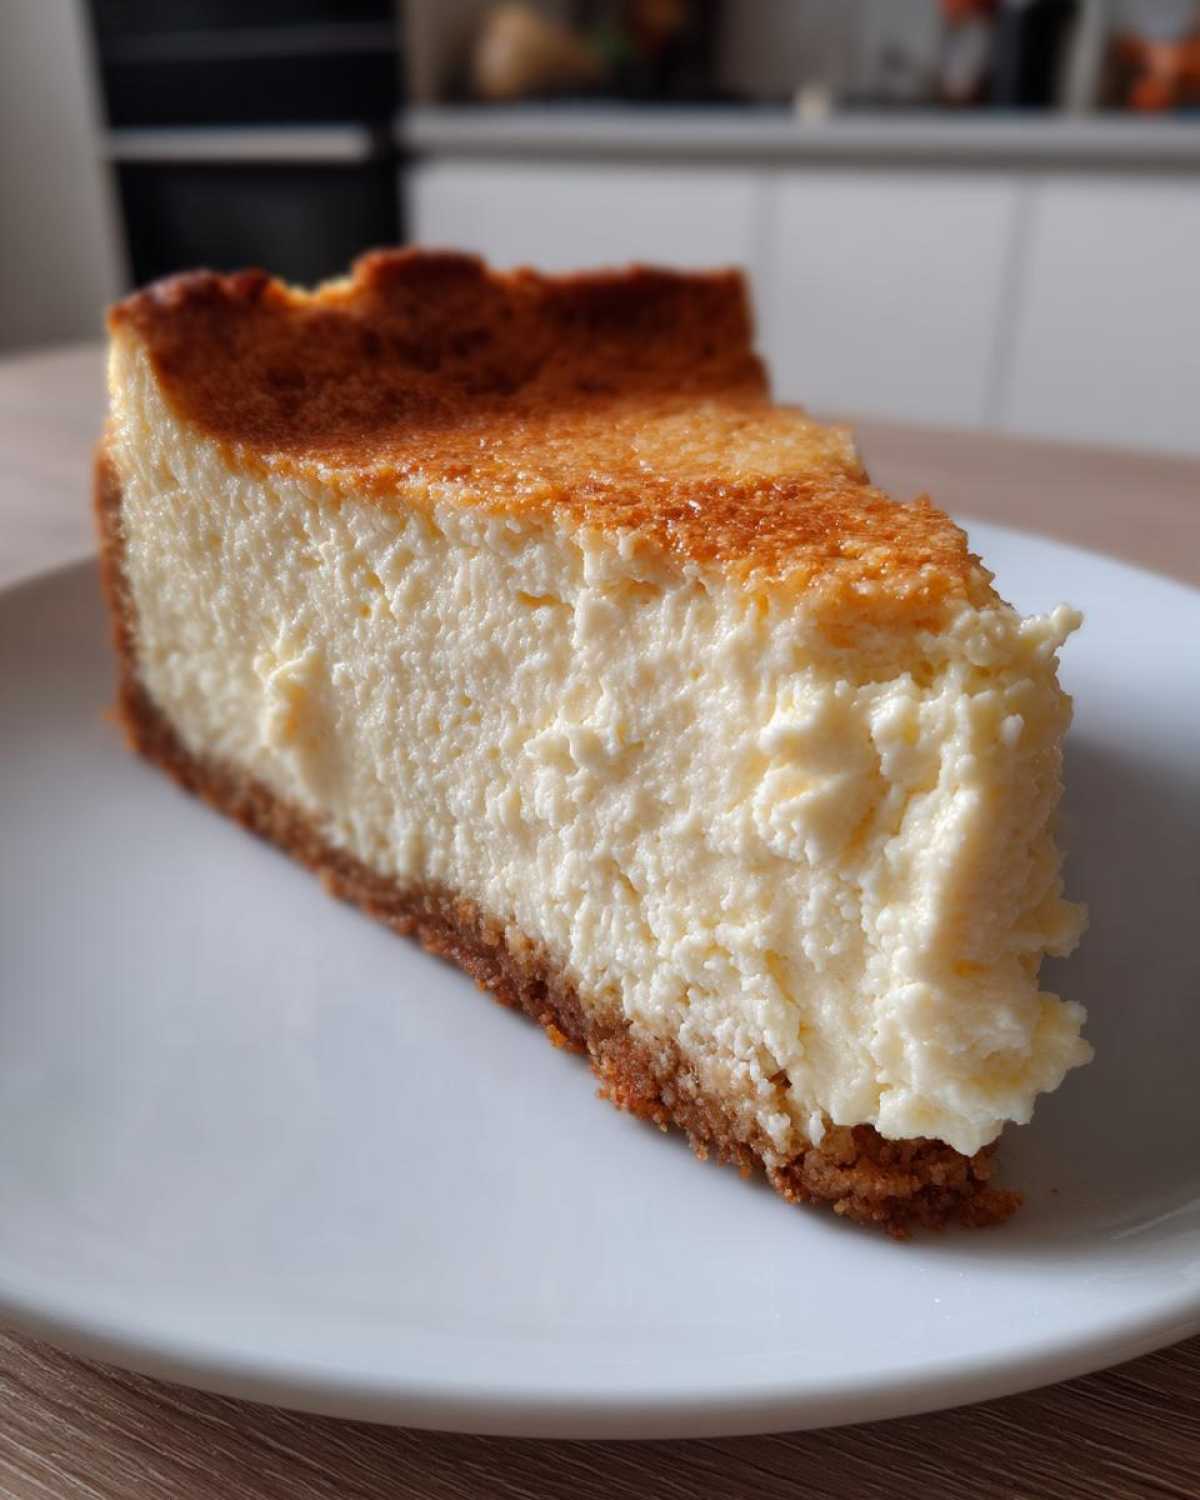
The biggest worry people have with these types of desserts is chalkiness or dryness. Not here! Chloe perfected the blending technique so that you get that smooth, velvety finish you expect from a real cheesecake. Her number one rule? You have to drain that cottage cheese until it’s practically weeping tears of moisture before it even sees the blender. Seriously, don’t skip that step if you want that perfect Protein Cheesecake texture.
Gathering Ingredients for Your Baked Protein Cheesecake
Okay, Ethan here—the guy who writes down the list so Chloe doesn’t forget to add the salt! For this Protein Cheesecake to turn out dreamy and hit that 35g protein mark, we need precision. It’s not the time for guessing, so grab your measuring cups! We can skip the sugar, but we absolutely cannot skip the specific dairy requirements here. Every component plays a role in ensuring this Healthy Cheesecake Dessert sets up perfectly.
Crust Components for the Protein Cheesecake
We start simple for the base. You’re going to need one cup of almond flour as your foundation. Then, grab a quarter cup of erythritol, or whatever fantastic zero-calorie sweetener you happen to have on hand, plus just a quarter teaspoon of salt to balance everything out. For binding? We melt four tablespoons of coconut oil or butter. Once you mix that up, it should look crumbly but ready to stick together when you press it.
The Creamy Cottage Cheese Cheesecake Recipe Filling
Now for the engine of this whole operation! I need you to get sixteen ounces of low-fat cottage cheese—and I mean drained well, folks! Pair that with eight ounces of non-fat Greek yogurt. The powder is crucial: we use a half cup of whey or casein protein powder. Chloe prefers a blend, just so you know! You’ll also need a half cup of sweetener, one teaspoon of vanilla extract, two large eggs, and one tablespoon of bright lemon juice to give it that famous tang.
Step-by-Step Instructions for the Baked Protein Cheesecake
Time to put all those gorgeous ingredients to work! I love this part because it’s where Chloe’s structure meets my need for results. Do not rush the cooling process; that’s my main rule, and it keeps our Protein Cheesecake from cracking on us. If you want more behind-the-scenes tips from our kitchen adventures, check out the amazing work others are doing on posts like High-Protein Baked Cheesecake. For more insider tips from our kitchen, you can always check out our main cooking blog here. Trust me, this absolute gem of a Protein Cheesecake needs a little patience to shine!
Preparing the Crust and Preheating
First things first, get your heart ready: preheat that oven to 325°F (160°C). Prep your small 7-inch springform pan—I like to lightly grease it and then line the base with parchment paper just in case! Mix your crust ingredients, press them down really firmly into the bottom, and then pop it in for 8 minutes. Ethan’s structural element is complete; let it sit while you whip up the filling.
Achieving the Creamy Protein Cheesecake Filling
This is where the magic happens! Dump your drained cottage cheese, Greek yogurt, protein powder, sweetener, and vanilla into a food processor or a really decent blender. Blend it until it’s unbelievably smooth—no lumps allowed for this creamy dream! Once it’s silk, add the eggs and lemon juice and pulse *just* until they disappear. Don’t overdo it once the eggs are in, or you’ll deflate all that beautiful air we just blended in. That’s the secret to a killer Protein Cheesecake filling.
Baking and Slow Cooling for Your Protein Cheesecake
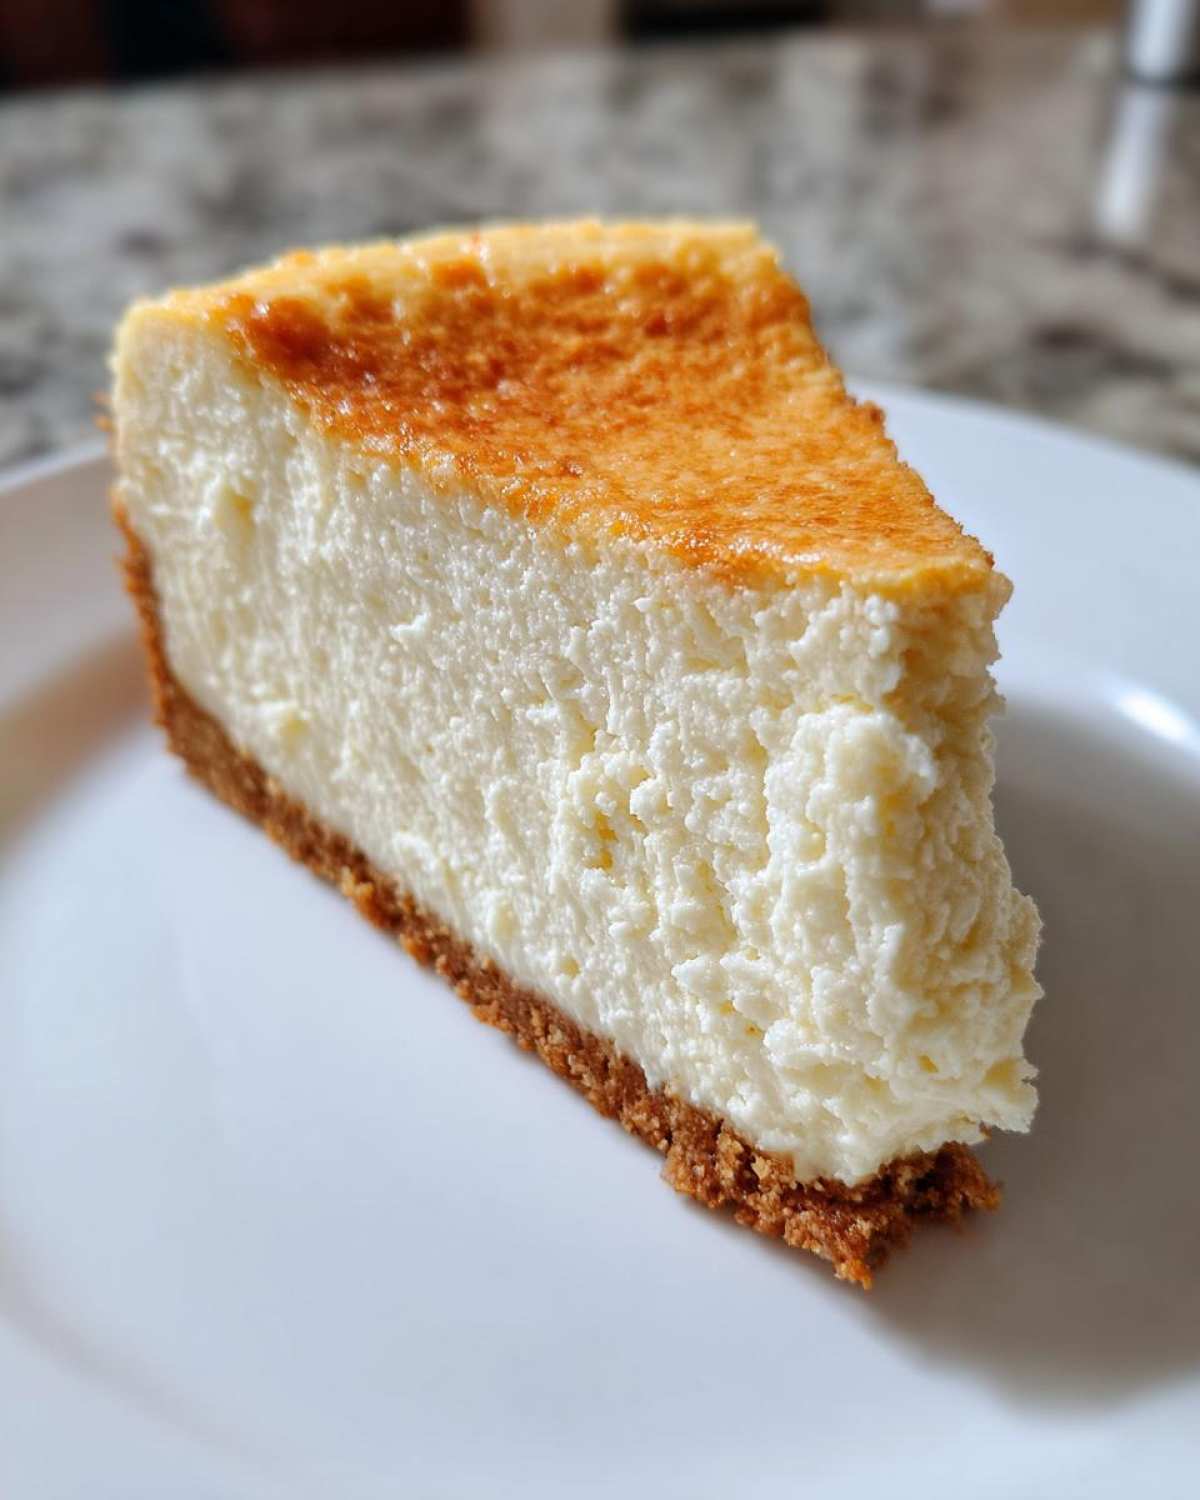
Pour that smooth filling right over your cooled crust. Tap the pan a couple of times on the counter—that gets the big bubbles out. Pop it in the oven for about 45 to 55 minutes. Remember, the center should still have a tiny wobble! The absolute most important part: turn the oven OFF, crack the door open, and let it hang out in there for a full hour. After that hour, let it cool on the counter, and then seriously, cover it and chill it for a minimum of 6 hours. Overnight is always best for setting this truly Dessert with High Protein Content.
Tips for the Best Creamy Protein Dessert Experience
Okay, we’ve made the giant effort to bake this gorgeous Protein Cheesecake, so let’s make sure the texture is absolutely pristine! Chloe and I learned a few things the hard way, mainly involving runny ingredients and the wrong tools. If you want that stunningly smooth, Creamy Protein Dessert result, pay special attention to these pointers. It’s all about those little details that make the difference between a good dessert and a legendary one! Maybe next time we’ll talk about cocktails, like my favorite Caramel Apple Martini Recipe while we wait for this to chill!
Ingredient Quality Matters for Protein Cheesecake
I can’t stress this enough: drain your cottage cheese! You want it as dry as possible before it hits the blender. That little bit of extra water turns into cheesecake soup when baked, which we don’t want. Also, when you grab your protein powder, try to snag a casein or a whey/casein blend. Pure whey is fine, but it tends to make things a touch more rubbery when baked. Casein loves to set up firm, which is perfect for mimicking that classic cheesecake mouthfeel.
Equipment Use for Smooth Protein Cheesecake
Chloe is a huge advocate for the food processor here, especially for blending out that cottage cheese. If you use a standard blender, you are going to have to stop, scrape down the sides *constantly*, and probably wrestle with it a bit. The processor just handles that dense dairy better. It really guarantees that pure, uniform blend, making your final Protein Cheesecake look like it came straight out of a fancy oven. It’s worth the cleanup, I promise!
Variations: Making Your Own Custom Protein Cheesecake
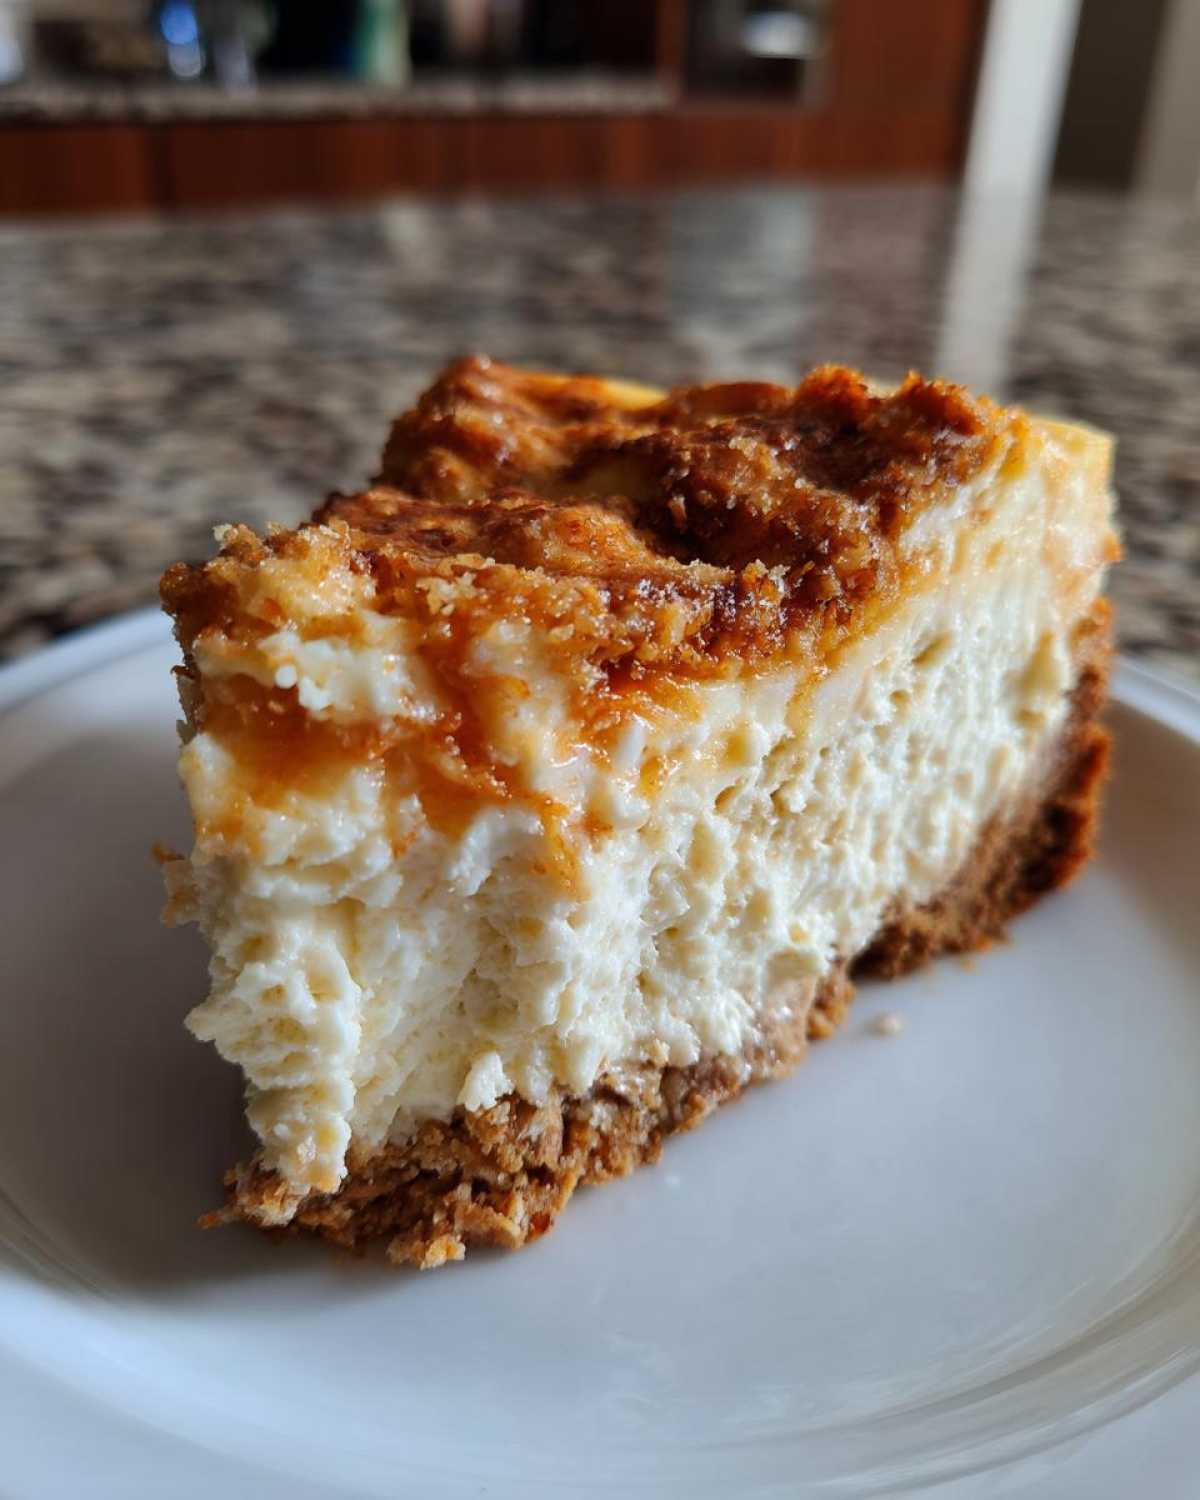
So, you mastered the vanilla base? Awesome! Now it’s time to make this Protein Cheesecake truly yours. Flavor swapping is easy since the base is so solid. If you want chocolate, mix in a tablespoon or two of unsweetened cocoa powder when you add your main protein powder. For a bright twist, throw in some finely grated lemon or orange zest right before the eggs go in. If you’re looking for topping ideas that keep things light, maybe we can talk about mixing something into a Chocolate Chip Banana Bread Recipe, but for the cheesecake itself, try a swirl of sugar-free jam right before baking! Just remember, the goal is always incredible flavor without derailing those hard-earned macros we worked so hard to track. Check out what others are doing for inspiration over at High-Protein Cheesecake (Low Fat, Sugar & Gluten Free)!
Serving Suggestions for Your Macro Friendly Cheesecake
Once you’ve waited that eternity for the Protein Cheesecake to chill—and trust me, you need to wait—it’s time to serve! Since this is already such a perfectly balanced, Macro Friendly Cheesecake, we don’t want to load it up with sugary nonsense, do we? Chloe usually keeps it super simple. A scattering of fresh raspberries or blueberries just brightens everything up and adds a tiny bit of natural tartness. If you need a drizzle, a thin ribbon of sugar-free maple syrup goes a long way.
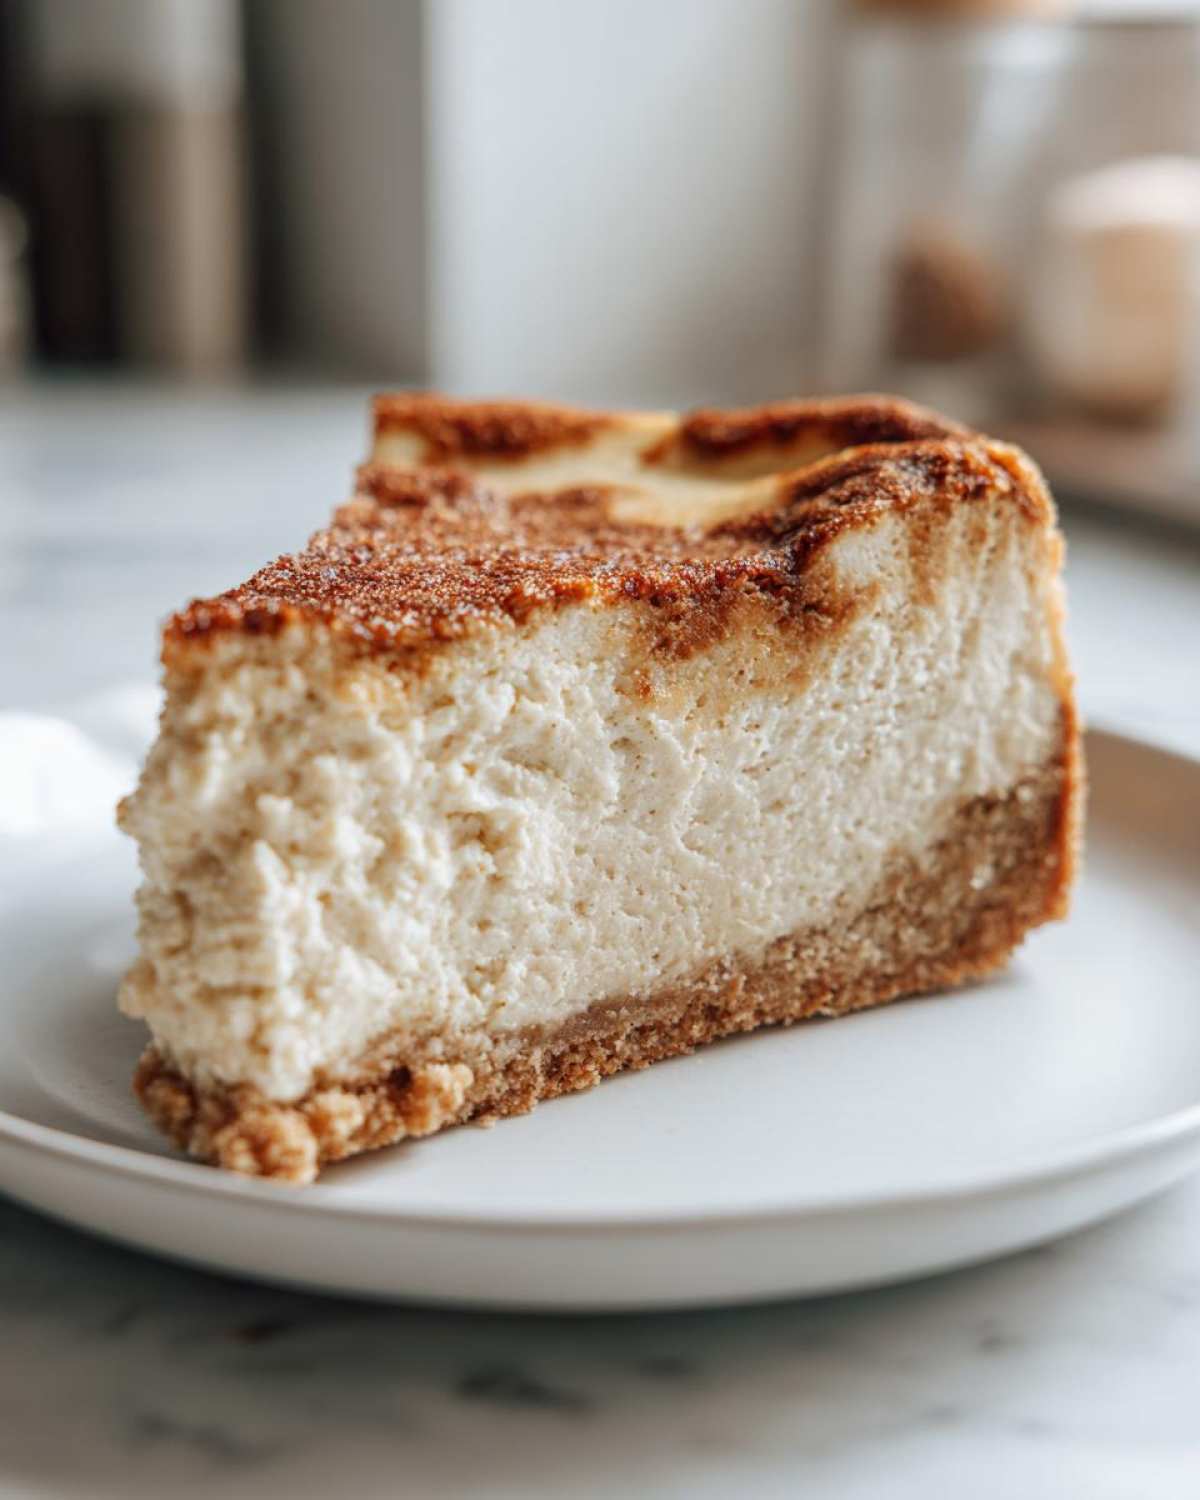
If you’re feeling fancy, sometimes we whip up a quick lemon zest reduction—it’s basically just lemon juice and a packet of sweetener cooked down for two minutes. It tastes incredible drizzled over the top. For more inspiration on fantastic companion recipes, you can check out our guide on Garlic Herb Roasted Veggies (only half kidding—we need balance, right?). Enjoy every single, guilt-free bite!
Storage and Reheating for Your Protein Cheesecake
Alright, the hardest part is over—it’s baked, it’s chilled, and it tastes amazing! Now, how do we keep this gorgeous Protein Cheesecake happy for the next few days? The main thing to remember is that this is a baked dairy product, so it hates being left out on the counter. You absolutely must keep it covered tightly in the fridge.
It stays perfectly creamy and delicious in there for about four to five days, which is fantastic for meal prep! But here’s my big warning: don’t even think about reheating it. Cheesecake texture relies on that cold set; warming it up turns it sad and soupy fast. You want it cold, straight from the fridge, when you grab a slice of this amazing Dessert with High Protein Content. If you’re looking for something cold to sip alongside it, check out our Frozen Cherry Limeade Slush Recipe!
Frequently Asked Questions About Protein Cheesecake
I know, I know, sometimes you need the specifics before you commit! We get so many questions about tweaks and alternatives, and that’s totally okay. Baking is science, but it’s also highly personal, right? If you have other questions, please feel free to shoot us a message over on the Contact page! We love hearing from you all.
Can I convert this Baked Protein Cheesecake to a No Bake Protein Cheesecake?
That’s a great question, and one Chloe often thinks about for summer treats! Since this recipe relies on eggs for structure and that beautiful baked texture, converting it to a true No Bake Protein Cheesecake requires a shift. You would need to omit the eggs entirely and thicken the base using something like gelatin mixed into the Greek yogurt/cottage cheese blend, or rely on chilling time being much, much longer until it sets firmly. It won’t be *exactly* the same, but you can certainly make a similar concept!
What is the best way to achieve a Low Calorie Cheesecake result?
The path to a fantastic Low Calorie Cheesecake is already built right into this recipe, thankfully! The two biggest levers we pull are using low-fat or non-fat dairy—that means the low-fat cottage cheese and non-fat Greek yogurt—and relying completely on zero-calorie sweeteners instead of sugar. By making sure you stick to those ingredients, you eliminate most of the saturated fat and sugar immediately, making this a fantastic Sugar Free Protein Dessert option!
For more ideas on keeping things light, check out Katie’s recipe on Protein Cheesecake; she has some brilliant approaches to keeping desserts light!
Final Thoughts on This Satisfying Protein Snax
Seriously, you made it! Now you have the blueprint for the ultimate Protein Cheesecake. I hope you enjoy every single creamy, high-protein bite of this phenomenal Satisfying Protein Snax. Don’t be shy—when you try it, let us know how it turned out in the comments below! We poured a lot of love and trial-and-error into this recipe just for you. Happy baking, and don’t forget to check out our Privacy Policy for all the technical stuff!
PrintUltimate Healthy Baked Protein Cheesecake (35g Protein Per Slice)
You want a creamy, satisfying cheesecake that supports your fitness goals. This baked recipe uses cottage cheese and Greek yogurt to deliver incredible texture and over 30 grams of protein per serving. It is a truly macro-friendly dessert.
- Prep Time: 20 min
- Cook Time: 55 min
- Total Time: 75 min
- Yield: 8 servings
- Category: Dessert
- Method: Baking
- Cuisine: American
- Diet: Low Fat
Ingredients
- 1 cup almond flour
- 1/4 cup erythritol or preferred zero-calorie sweetener
- 1/4 teaspoon salt
- 4 tablespoons melted coconut oil or butter
- 16 ounces low-fat cottage cheese, drained well
- 8 ounces non-fat Greek yogurt
- 1/2 cup whey or casein protein powder (vanilla or unflavored)
- 1/2 cup erythritol or preferred zero-calorie sweetener
- 1 teaspoon vanilla extract
- 2 large eggs
- 1 tablespoon lemon juice
Instructions
- Preheat your oven to 325°F (160°C). Lightly grease a 7-inch springform pan or line it with parchment paper.
- Prepare the crust: In a small bowl, mix the almond flour, 1/4 cup sweetener, and salt. Pour in the melted coconut oil and mix until the crumbs hold together. Press this mixture firmly and evenly into the bottom of the prepared pan. Bake the crust for 8 minutes. Remove and let it cool slightly.
- Prepare the filling: Place the drained cottage cheese, Greek yogurt, protein powder, 1/2 cup sweetener, and vanilla extract into a food processor or high-powered blender. Blend until completely smooth, scraping down the sides as needed. This step is key for a creamy texture.
- Add the eggs and lemon juice to the filling mixture. Pulse just until combined. Do not overmix once the eggs are added.
- Pour the smooth filling over the cooled crust in the springform pan. Gently tap the pan on the counter a few times to release any large air bubbles.
- Bake for 45 to 55 minutes. The edges should look set, but the center should still have a slight wobble when gently nudged.
- Turn off the oven, crack the door open slightly, and let the cheesecake cool inside the oven for 1 hour. This slow cooling prevents cracking.
- Remove the cheesecake from the oven and let it cool completely on a wire rack. Once at room temperature, cover and refrigerate for at least 6 hours, or preferably overnight, before slicing.
Notes
- For the creamiest result, make sure you drain your cottage cheese thoroughly before blending. Excess water affects the final texture.
- If you do not have a food processor, use a high-speed blender, but you may need to stop and scrape the sides more often.
- This recipe works best with casein or a whey/casein blend protein powder for a denser, more cheesecake-like texture. Pure whey can sometimes make it slightly rubbery.
Nutrition
- Serving Size: 1 slice
- Calories: 220
- Sugar: 4
- Sodium: 250
- Fat: 10
- Saturated Fat: 5
- Unsaturated Fat: 5
- Trans Fat: 0
- Carbohydrates: 12
- Fiber: 2
- Protein: 35
- Cholesterol: 75