

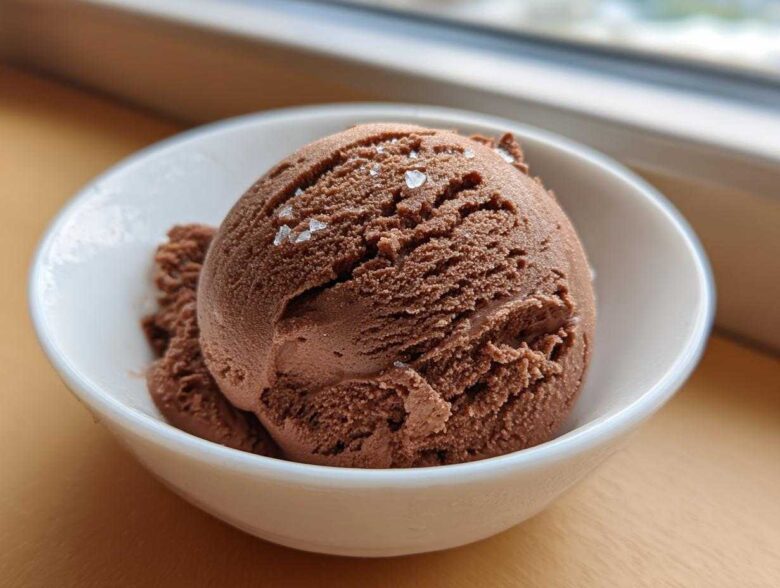
Ethan and I have this ongoing debate about desserts. I, Chloe, think if you’re going to treat yourself, go all out! He, on the other hand, wants every single thing to fit perfectly into his spreadsheet macros. Finding that sweet spot where indulgence meets health goals? That’s where we truly started connecting—even in the kitchen. That’s why I’m so excited to share this recipe with you today. Forget those grainy, sad attempts at healthy desserts! This Simple, No-Churn Chocolate Protein Ice Cream is our newest obsession. It’s unbelievably creamy, packs a serious protein punch, and the best part? You don’t need one of those loud, expensive ice cream makers to get that dream texture. It’s proof you can have that delicious frozen treat you crave while still hitting your fitness targets. We nailed the balance here, and you can read more about our kitchen philosophy over at Our Story of Exact Measurements, Creative Chaos, and the Love in Between.
Why This No-Churn Chocolate Protein Ice Cream is Your New Favorite Protein Ice Cream
Seriously, this isn’t just another recipe shouting about being healthy. This protein ice cream delivers on taste and texture without making you work for hours. I love it because it’s totally guilt-free, but Ethan loves it because it fits right into his macros plan! It’s the perfect compromise in our busy household.
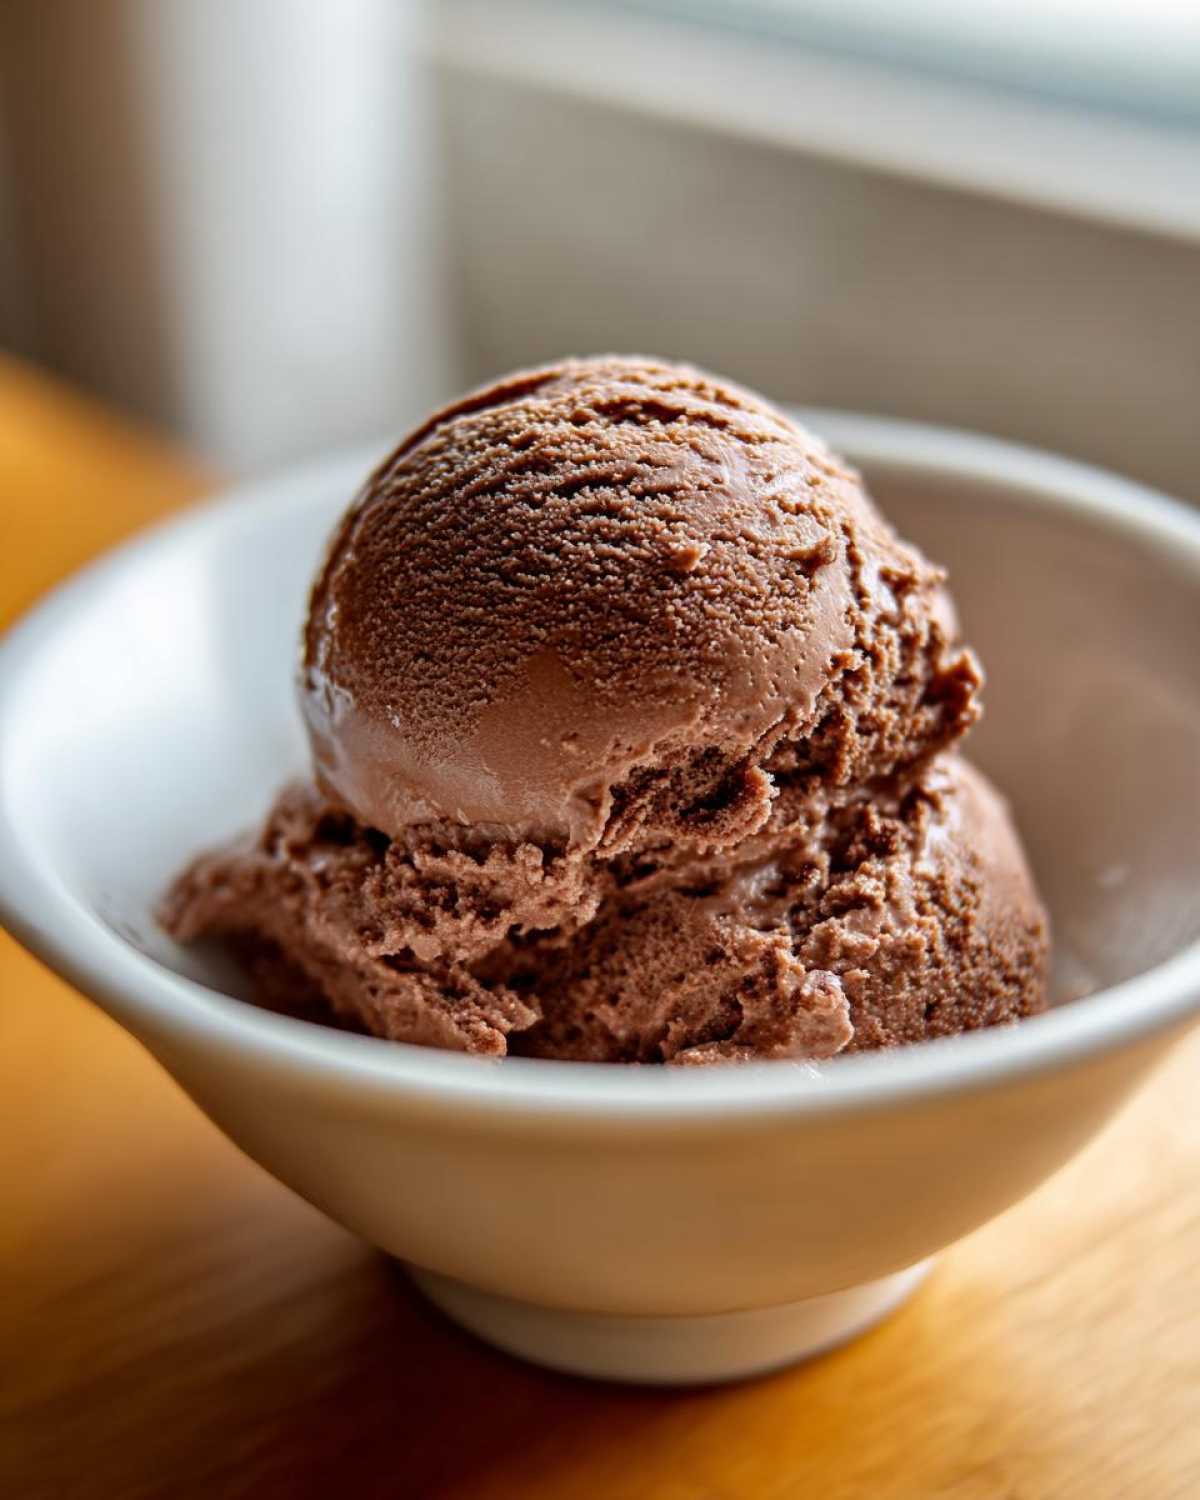
You are going to love these perks:
- Massive Protein Punch: We’re talking easily over 20g of protein per serving, which is huge for a dessert!
- Zero Machine Needed: That’s right, this is true no-churn magic. Just mix and freeze!
- Incredibly Creamy: Thanks to the Greek yogurt base, you get that scoopable texture you crave, not a block of ice.
- Clean Flavor Profile: We made sure there’s no banana in here, so you just get pure, rich chocolate goodness.
If you’re looking for another amazing sweet win, check out our recipe for Easy No-Bake Protein Bars—another must-have for quick snacks!
Gathering Ingredients for Your Easy Protein Ice Cream
Okay, let’s get down to business—the mixing part! Since this is a no-churn recipe, precision matters more than usual because we aren’t relying on an ice cream maker to beat the air in. I want you to gather these simple components right up front. Trust me, having everything measured out before you start whisking makes this process so much smoother. That base of Greek yogurt is what keeps this a low-fat treat while giving us that gorgeous, thick scoopability we need in our protein ice cream.
Here’s what you need for our creamy chocolate batch:
- 1 cup unsweetened almond milk
- 1 cup plain non-fat Greek yogurt (this is our secret weapon for creaminess!)
- 1 scoop (about 30g) chocolate whey protein powder
- 1/4 cup erythritol or preferred zero-calorie sweetener
- 1 teaspoon vanilla extract
- 1/4 teaspoon xanthan gum (optional, but highly recommended for texture!)
Ingredient Notes and Substitutions for Creamy Protein Ice Cream
Chloe is usually winging it, but for frozen treats, a little science helps! If you can manage it, look for a whey/casein blend protein powder. Casein thickens up beautifully when frozen, making a huge difference in stopping those icy bits. If you use 100% whey, it might be a tad icier, so maybe bump that xanthan gum up just a hair.
Speaking of sweetener, Erythritol works great and has almost no calories, but adjust that 1/4 cup based on how sweet your protein powder already is. You have to taste your base before freezing! And that xanthan gum? It’s a magical stabilizer. It binds the water and keeps your dessert feeling like actual ice cream, not a frozen smoothie. If you skip it, just be sure to scrape the sides down while freezing!
Step-by-Step Instructions for Making No-Churn Protein Ice Cream
Alright, my fellow culinary adventurers, this is where the magic happens! Since we skipped the machine for this special protein ice cream, our mixing technique is super important to keep that texture spot on. We want zero lumps and maximum creaminess from the start. Don’t rush this part; it moves fast once you get going!
- First things first, grab that medium bowl and pour in your almond milk and Greek yogurt. You really have to whisk these two together until they look like one seamless, creamy swirl. I mean it—no big yogurt clumps allowed!
- Next, it’s time for the flavor boost! Dump in all your chocolate protein powder, sweetener, and that gorgeous vanilla extract. Whisk, whisk, whisk! Keep going until everything is totally incorporated and you don’t see any dry streaks of powder floating around.
- If you decided to use that sneaky bit of xanthan gum for an extra smooth finish, sprinkle it evenly over the top and whisk like crazy for about 30 seconds. It thickens up almost instantly, which is awesome!
- Time for the freezer! Pour this beautiful chocolate base right into your loaf pan or whatever freezer-safe container you grabbed. Here’s a major Chloe tip: cover the surface tightly with plastic wrap pressed right against the mixture. This stops those annoying ice crystals from forming on top. Then seal it up tight with the lid.
- Pop it into the back of your freezer for a minimum of six hours. Patience, my friends, patience! This ensures your protein ice cream sets up perfectly.
Achieving the Perfect Scoopable Texture with Your Protein Ice Cream
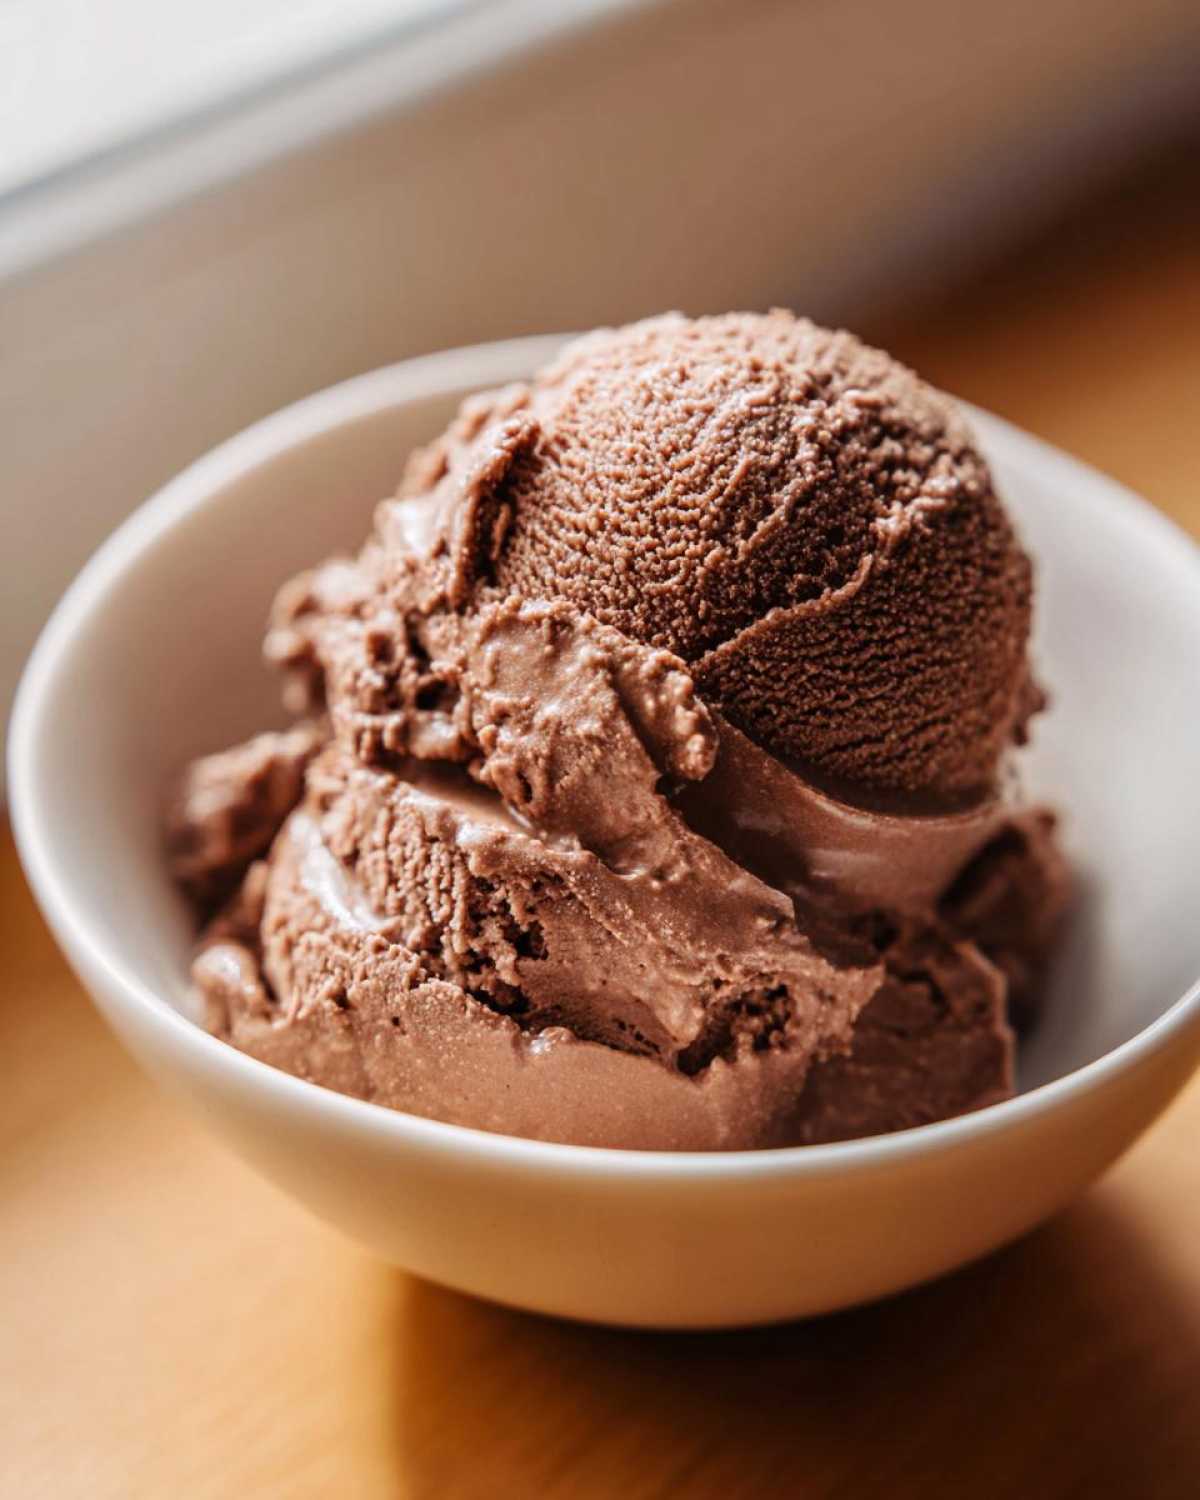
This final step is NON-NEGOTIABLE if you want that true, satisfying scoop! When you pull your container out, don’t just attack it with the spoon. Let it hang out on the counter for a good 5 to 10 minutes. This little bit of tempering softens the edges just enough. If you happen to be using a shallow dish instead of a deep loaf pan, you might notice the edges froze faster. If that happens, just use a fork to quickly scrape those fast-frozen bits into the softer middle before you let it temper. That little bit of extra scooping action breaks up any firmness and gives you that heavenly, creamy texture you’ve been working toward!
Tips for Success When Making High Protein Dessert Recipes
We’ve got the base recipe down, but since we love experimenting, Ethan and I have a few extra tricks up our sleeves for turning this into truly spectacular high protein dessert recipes. Don’t be afraid to tweak this recipe up; that’s how we end up with our favorites!
For example, if you want that deep, dark chocolate flavor that hits you right in the sweet spot? Don’t just rely on the chocolate protein powder alone! Mix in about one extra tablespoon of unsweetened cocoa powder when you add the dry ingredients. It boosts the chocolate punch without adding weird texture.
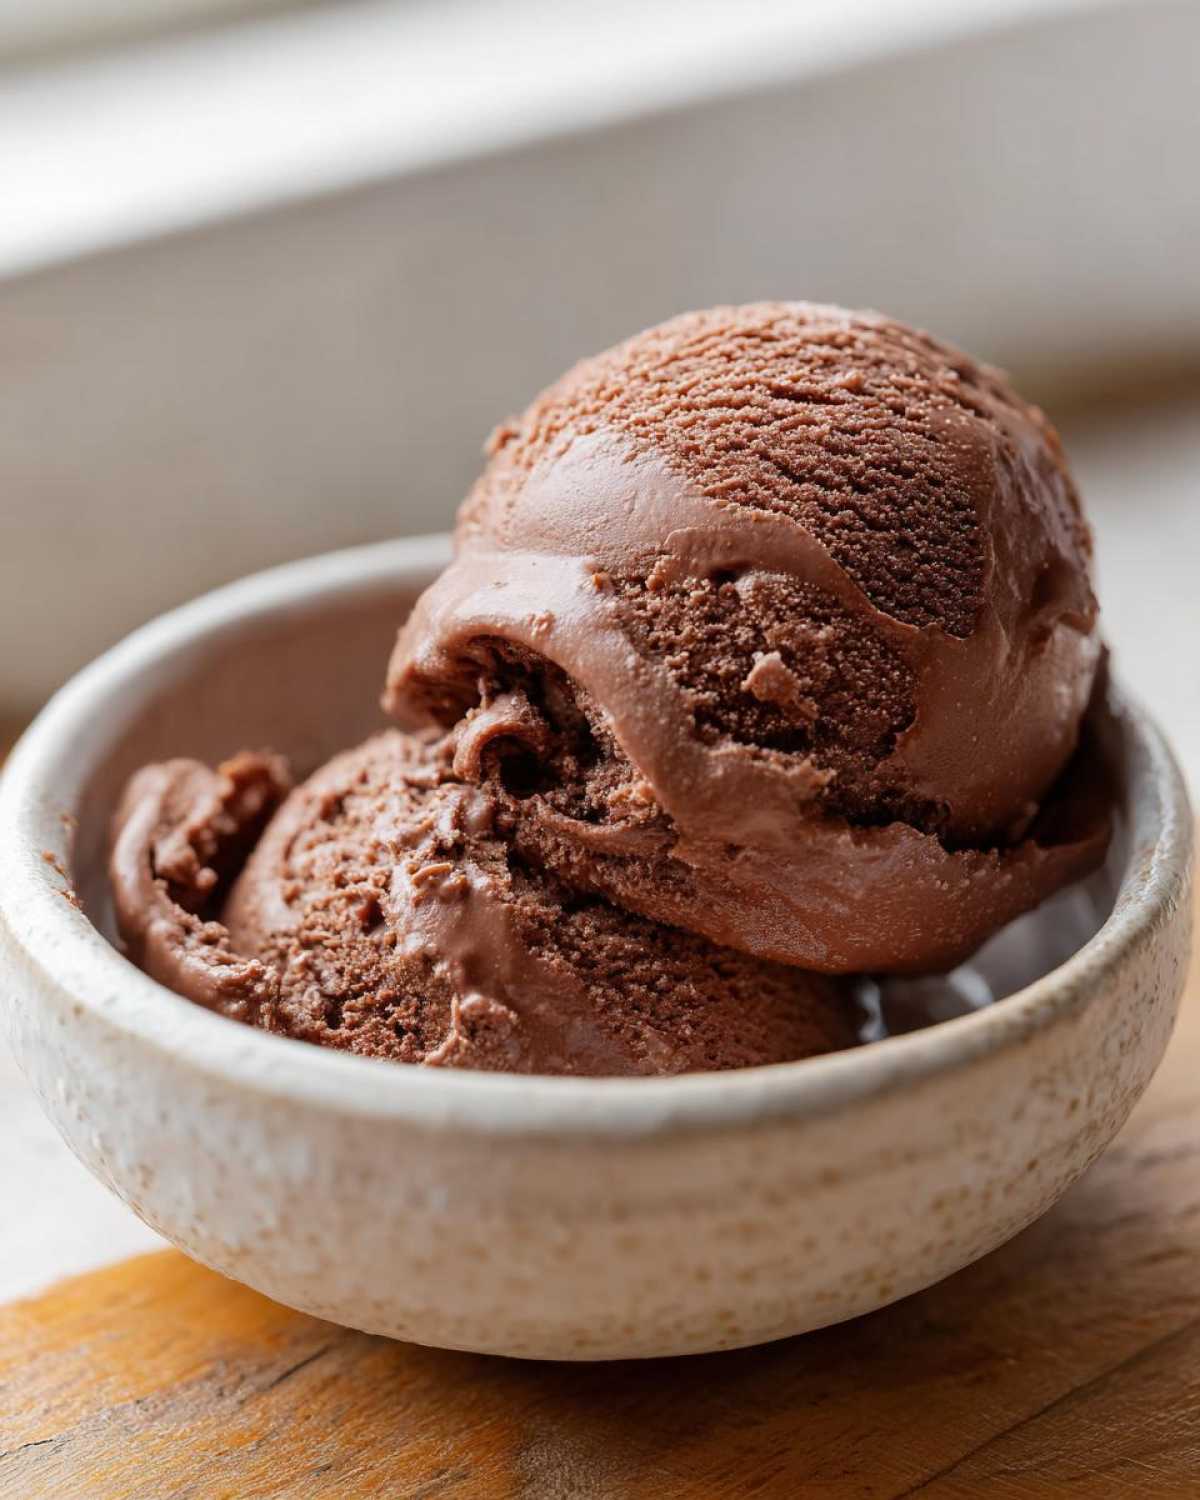
Now, I know half the kitchen gadgets out there are for freezing things now! If you happen to have one of those amazing Ninja Creami machines, this whole mixture is the perfect base. Just follow the instructions above to mix it, freeze it *solid* (yes, solid!), and then pop it into the Creami base for a super-fast, perfectly processed scoop. It’s cheating, but I love it! You can see some amazing examples of those specialized recipes over at Basics With Bails.
Storage and Reheating Instructions for Your Protein Ice Cream
Like any good homemade frozen treat, you need to treat this protein ice cream right if you have leftovers—and trust me, you’ll want to! The moment it gets firm, press a piece of plastic wrap right down onto the surface before you seal the lid. We are trying to keep air away from it to stop those dreaded ice crystals from taking over your perfect scoop.
If you keep it sealed up tight, it should hold its creamy structure for about two weeks, maybe a little more. Honestly, we usually finish it within five days because it’s just too good to leave alone! Do not try to microwave this; it just turns into sad, warm protein soup. If it gets too hard right out of the freezer, just let it sit on the counter for those magical 5 to 10 minutes again before diving in.
Frequently Asked Questions About Making Protein Ice Cream
I know sometimes you have questions pop up while you’re scrolling Pinterest or trying to figure out the best healthy homemade ice cream method. Don’t worry! Ethan and I have already run into most of these issues on our way to perfecting these macro friendly desserts. Here are the questions we get asked the most about this stuff! For more general kitchen chatter and updates, you can always check out our main blog page!
Can I use a different type of protein powder in this protein ice cream?
You absolutely can, but texture will shift a bit! If you use 100% whey protein, you might end up with slightly smaller ice crystals, so leaning on that xanthan gum mentioned earlier is a good idea for that creamy texture. Casein powder is amazing because it holds onto moisture really well, giving you that incredible scoopability. If you choose a plant-based powder, like pea or soy, know that they tend to absorb liquid differently, so you might need to add a tiny splash more almond milk to keep it from getting too stiff during freezing. I always suggest aiming for a blend if you can!
How do I make this a low-calorie ice cream idea without sacrificing flavor?
That’s the tightrope walk, right? Since this recipe already uses non-fat Greek yogurt and keeps the fat very low, you’re already miles ahead in the low calorie ice cream ideas category! The biggest variable is the sweetener. If you find erythritol isn’t sweet enough, swapping it for monk fruit or stevia drops lets you control the sweetness precisely without adding bulk or calories. Also, make sure you’re using unsweetened almond milk—that makes a huge difference versus using a vanilla/sweetened version. We love how light this is, and it feels like such an indulgent healthy treat!
If you’re struggling with that base and really want to see a recipe focused on alternatives, check out what the folks at Recipes Sphere suggest for making protein ice cream without cottage cheese—it’s great for exploring other ideas too!
Estimated Nutritional Breakdown for This Protein Ice Cream
Okay, for those of you who track everything—and I get it, sometimes I need Ethan to double-check my work!—here’s the snapshot of what you’re looking at per serving. Remember, because we all use slightly different protein powders or sweeteners, these figures are my best estimate based on the standard ingredients listed above for our protein ice cream.
- Serving Size: 1/2 cup
- Calories: 140
- Protein: 22g
- Sugar: 4g
- Fat: 2g
- Carbohydrates: 10g
Just a quick note from the map-maker (Ethan here!): Since we all buy different brands, these numbers are totally estimates! Always double-check your actual protein powder label for the definitive numbers. You can read more about why exact counting is tricky over on our disclaimer page.
Serving Suggestions for Your Macro Friendly Desserts
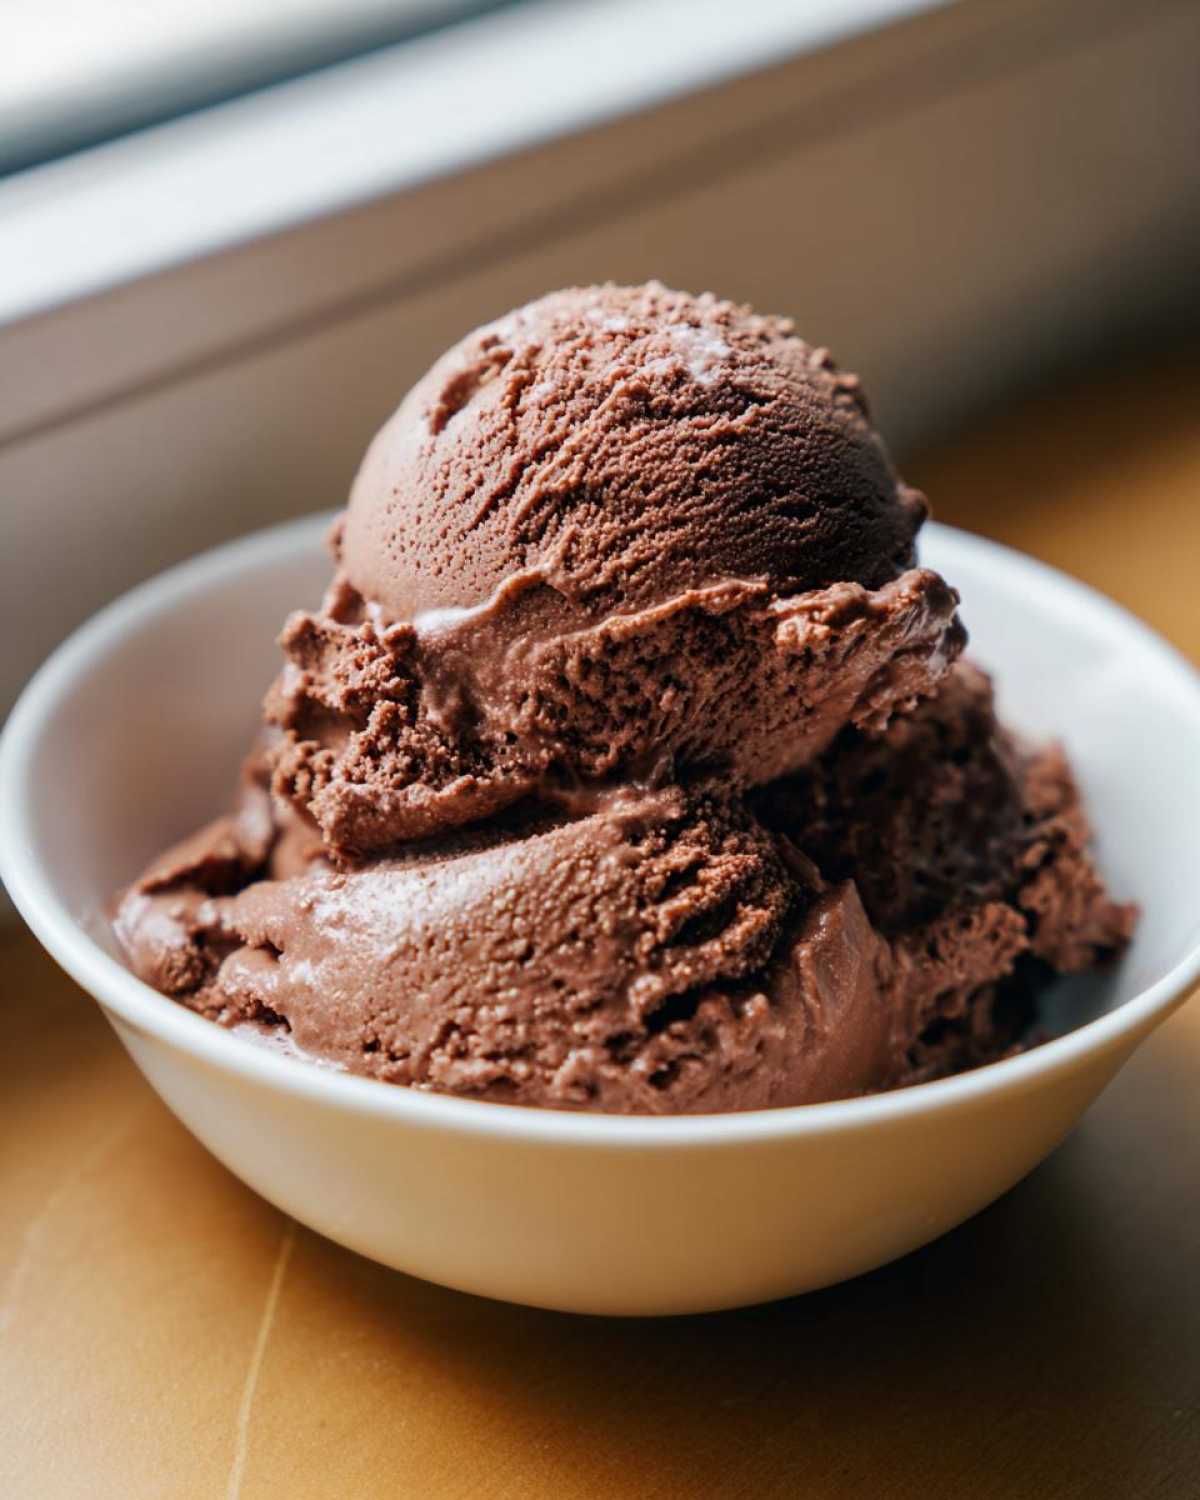
You’ve put in the work mixing and freezing, so now we get to the best part: decorating! Even though this chocolate protein ice cream is fantastic all on its own, adding a little flair turns it into a stunning presentation of macro friendly desserts. Keep it clean and healthy, though!
I love grabbing a little drizzle of sugar-free chocolate syrup right before serving—it makes it look like something you bought from a fancy shop. Ethan sometimes scatters just a few unsweetened cocoa nibs on top for a nice crunch and deep cocoa hit. If you need a little extra fruitiness to cut through that richness, a couple of sliced strawberries on the side work perfectly!
If you’re craving something baked alongside, maybe skip the heavy stuff and try making a batch of our Chocolate Chip Banana Bread sometime, but for now, this cold treat needs no complicated partners!
Share Your Guilt Free Frozen Treats Experience
Okay, crew, that’s everything you need to turn simple ingredients into the creamiest, highest-protein chocolate ice cream you’ve ever made in your own kitchen! Seriously, this is the kind of guilt free frozen treat that makes me feel like I’m cheating the system!
Now, the journey isn’t over until you give us the report back! I absolutely need to know what you think. Did it get perfectly scoopable? Did you accidentally drop a spoon in the test bowl before it even made it to the freezer? (Oops, that was me last Tuesday.)
Please, please, please leave a comment below and tell me how your batch turned out! If you made a variation—maybe you swapped the chocolate for vanilla—dish the details! We love seeing your results, and hearing from you helps us keep perfecting our fleet of recipes. For any questions that crop up later, you can always find our contact info right here at Recipes Fleet HQ. Happy scooping!
PrintEasy No-Churn Chocolate Protein Ice Cream
You need to try this simple, no-churn protein ice cream recipe for a creamy, high-protein dessert that satisfies your sweet tooth without needing a machine.
- Prep Time: 10 min
- Cook Time: 0 min
- Total Time: 6 hr 10 min
- Yield: 4 servings
- Category: Dessert
- Method: No-Churn Freezing
- Cuisine: American
- Diet: Low Fat
Ingredients
- 1 cup unsweetened almond milk
- 1 cup plain non-fat Greek yogurt
- 1 scoop (about 30g) chocolate whey protein powder
- 1/4 cup erythritol or preferred zero-calorie sweetener
- 1 teaspoon vanilla extract
- 1/4 teaspoon xanthan gum (optional, for extra creaminess)
Instructions
- In a medium bowl, whisk together the almond milk and Greek yogurt until the mixture is smooth. Break up any large clumps of yogurt.
- Add the chocolate protein powder, sweetener, and vanilla extract to the yogurt mixture. Whisk thoroughly until all ingredients are fully combined and no dry powder remains.
- If you are using xanthan gum, sprinkle it over the top and whisk vigorously for about 30 seconds until the mixture thickens slightly. This step helps prevent ice crystals.
- Pour the mixture into a freezer-safe container, like a loaf pan or a plastic container with a lid.
- Cover the container tightly with a lid or plastic wrap pressed directly onto the surface of the mixture.
- Place the container in the freezer for at least 6 hours, or until firm.
- For the best texture, let the ice cream sit on the counter for 5 to 10 minutes before scooping. Enjoy your guilt-free frozen treat!
Notes
- For a richer chocolate flavor, add 1 tablespoon of unsweetened cocoa powder along with the protein powder.
- If you own a Ninja Creami, you can use this base recipe, freeze it solid, and process it according to your machine’s instructions for a faster, smoother result.
- This recipe avoids banana, keeping the flavor clean and focused on chocolate.
Nutrition
- Serving Size: 1/2 cup
- Calories: 140
- Sugar: 4
- Sodium: 150
- Fat: 2
- Saturated Fat: 0.5
- Unsaturated Fat: 1.5
- Trans Fat: 0
- Carbohydrates: 10
- Fiber: 2
- Protein: 22
- Cholesterol: 15