

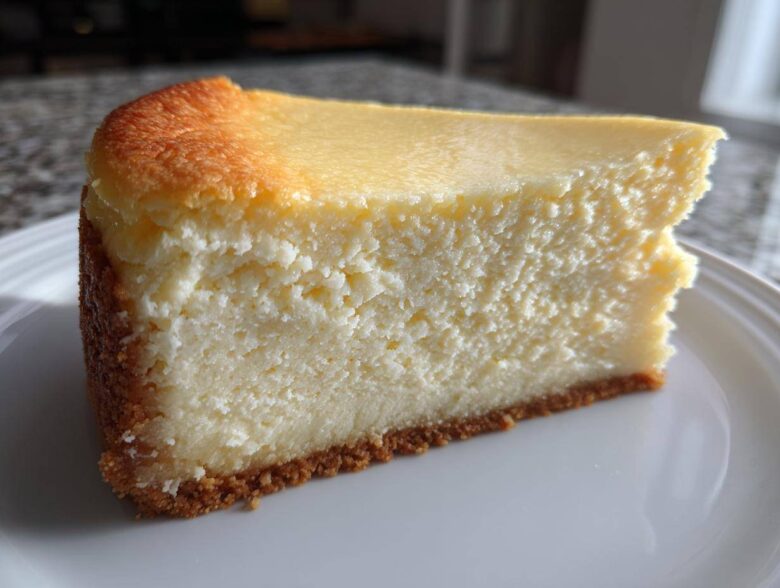
Oh my gosh, you are going to LOVE this recipe. For years, I thought making a truly creamy white chocolate cheesecake meant wrestling with a gigantic roasting pan filled with hot water—the dreaded water bath. I’ve had sunken centers and cracked tops that looked like old desert maps one too many times! But I finally cracked the code, friends. This baked white chocolate cheesecake recipe is absolutely foolproof. We’re skipping the fussy water bath entirely, yet you get that ultra-smooth, dreamy, melt-in-your-mouth texture every single time. It’s decadent, it’s elegant, and honestly, it’s the best dessert I’ve ever served.
Why This Is the Ultimate White Chocolate Cheesecake Recipe
I really stand behind calling this the ultimate white chocolate cheesecake because it nails the three things people stress about most: texture, cracking, and complexity. Forget the hours of fiddling with boiling water; we’re making magic with temperature control instead. This recipe is designed to deliver that luxurious, smooth and rich cheesecake experience without making you a nervous wreck. I learned so much perfecting this recipe, and I can point you to my post on cream cheese brownies if you want to see how texture changes based on technique!
It’s all science, but don’t let that scare you! When you follow the mixing order and respect the ingredients, this comes out perfectly firm, unbelievably creamy, and stable enough for the prettiest serving platter.
Achieving Creamy White Chocolate Cheesecake Texture
The secret to the texture starts way before you even turn on the mixer. Seriously, everything must be at true room temperature—I mean the cream cheese, the sour cream, even those eggs!
When you mix, you have to be gentle, especially once those eggs go in. I always say, the moment the last bit of egg yolk disappears, stop mixing immediately. Overworking ruins the delicate structure and gives you that rubbery texture we are trying to avoid.
The Secret to Cheesecake Without Water Bath Success
This is my favorite part! We are using the slow cooling method, which is a lifesaver for anyone who flinches when pouring hot water into metal pans. Right when the cheesecake is mostly set but still has a little wobble in the middle, you turn the oven off.
Then, you just prop the door open a tiny bit—maybe with a wooden spoon—and let the cheesecake adjust to the cooling air gradually inside the oven for a full hour. This slow, gentle temperature drop is the perfect *substitute* for a water bath and guarantees you get a stunning, flat top. It’s the key to a perfect cheesecake without water bath success!
Gathering Ingredients for Your White Chocolate Cheesecake
Alright, let’s talk shopping! For this amazing white chocolate cheesecake—which serves about 12 lucky people, by the way—the quality of what you buy really does matter. I’ve noted the prep time is about 25 minutes, and cook time is around 75 minutes, but you need everything ready to go, temperature-wise, before you start mixing.
The biggest favor you can do for yourself right now is to ensure your cream cheese, sour cream, and eggs have come out of the fridge at least an hour ahead of time. This is non-negotiable if you want that beautiful, smooth and rich cheesecake filling!
Crust Ingredients for the White Chocolate Cheesecake
We start with a simple, buttery base. This crust is sturdy enough to hold up to the rich filling. You’ll need:
- 1 1/2 cups graham cracker crumbs
- 1/4 cup granulated sugar
- 6 tablespoons unsalted butter, melted
I tried making the crust once using my graham cracker toffee recipe bits left over—big mistake! Stick to the crumbs here, trust me. Press them in firmly so they don’t crumble apart when you slice it later.
Creamy Filling Ingredients for the Baked White Chocolate Cheesecake Recipe
This is where the flavor magic lives! Because we are working with white chocolate, you need to splurge a tiny bit here and grab the good stuff. I look for brands that actually list cocoa butter as an ingredient, not just hydrogenated oils. Low-quality chocolate can make your beautiful filling grainy!
Here’s what you need for that smooth and rich cheesecake center:
- 3 (8 ounce) packages full-fat cream cheese, softened (remember, room temp!)
- 1 1/2 cups granulated sugar
- 1 cup sour cream, room temperature
- 1 teaspoon vanilla extract
- 1/4 cup all-purpose flour (this helps stabilize it without the water bath!)
- 12 ounces high-quality white chocolate, melted and slightly cooled
- 4 large eggs, room temperature
Step-by-Step Instructions for the Baked White Chocolate Cheesecake Recipe
Okay, putting this amazing white chocolate cheesecake together is really straightforward once you see the flow. We’re moving quickly but gently! Remember those temperature rules we just talked about? They make all the difference between success and a runny mess. I usually rely on my trusty hand mixer for this part, but if you have a stand mixer, just use the paddle attachment—it’s easy to control the speed that way.
Preparing the Crust and Pan
First things first, let’s get that oven preheated to 325°F (160°C). Even though we aren’t using a water bath, you still want insurance against leaks, so wrap the outside bottom of that 9-inch springform pan tightly with heavy-duty aluminum foil—two layers is always better than one! Always check my tips for chocolate chip banana bread recipe; prep details like this are important for any baked good.
Mix your graham crumbs, 1/4 cup sugar, and the melted butter until everything is damp and looks like wet sand. Press this mixture firmly—I mean *firmly*—into the bottom of your prepared pan. Bake that base for 10 minutes, then pull it out so it can cool a little while you tackle the filling.
Mixing the Smooth and Rich Cheesecake Batter
Now, lower your oven temperature—this is important—down to 300°F (150°C). Grab that softened cream cheese and beat it on medium speed until it’s utterly flawless and smooth, scraping down the sides. Once it’s pudding-like, *slowly* add your main sugar amount and mix until just incorporated.
Next, gently mix in the room-temperature sour cream, vanilla, and flour. Remember, we’re trying to keep the air out! The most delicate part is the white chocolate. Make sure it’s melted, but crucially, let it cool down quite a bit so it doesn’t scramble your dairy! Fold that melted goodness in on low speed until it disappears.
Finally, add those four room-temperature eggs, one at a time. Seriously, you stop mixing the second the last speck of yellow is gone. Don’t try to whip them in! This prevents trapping air, which leads to those awful cracks we talked about. Pour your beautiful, thick batter over that warm crust.
Baking and Cooling the White Chocolate Cheesecake
Pop the pan onto the center rack and bake for about 60 to 75 minutes. You’re looking for the edges to be set, but that center—about the size of a silver dollar—should still have a confident little jiggle when you nudge the pan. If it looks like soup, it needs five more minutes!
This next part is the key to having a completely flat top—the hero of our cheesecake without water bath method. Turn the oven OFF. Do not open the door yet! Prop the door open about two inches—I use the handle of a sturdy wooden spoon—and just let it sit in that slowly cooling oven air for a minimum of one full hour. It’s hard to wait, I know, but this gentle transition prevents temperature shock for your gorgeous white chocolate cheesecake. After an hour, take it out, lose the foil, and let it finish cooling on the rack before chilling it overnight!
Tips for the Best Creamy White Chocolate Cheesecake
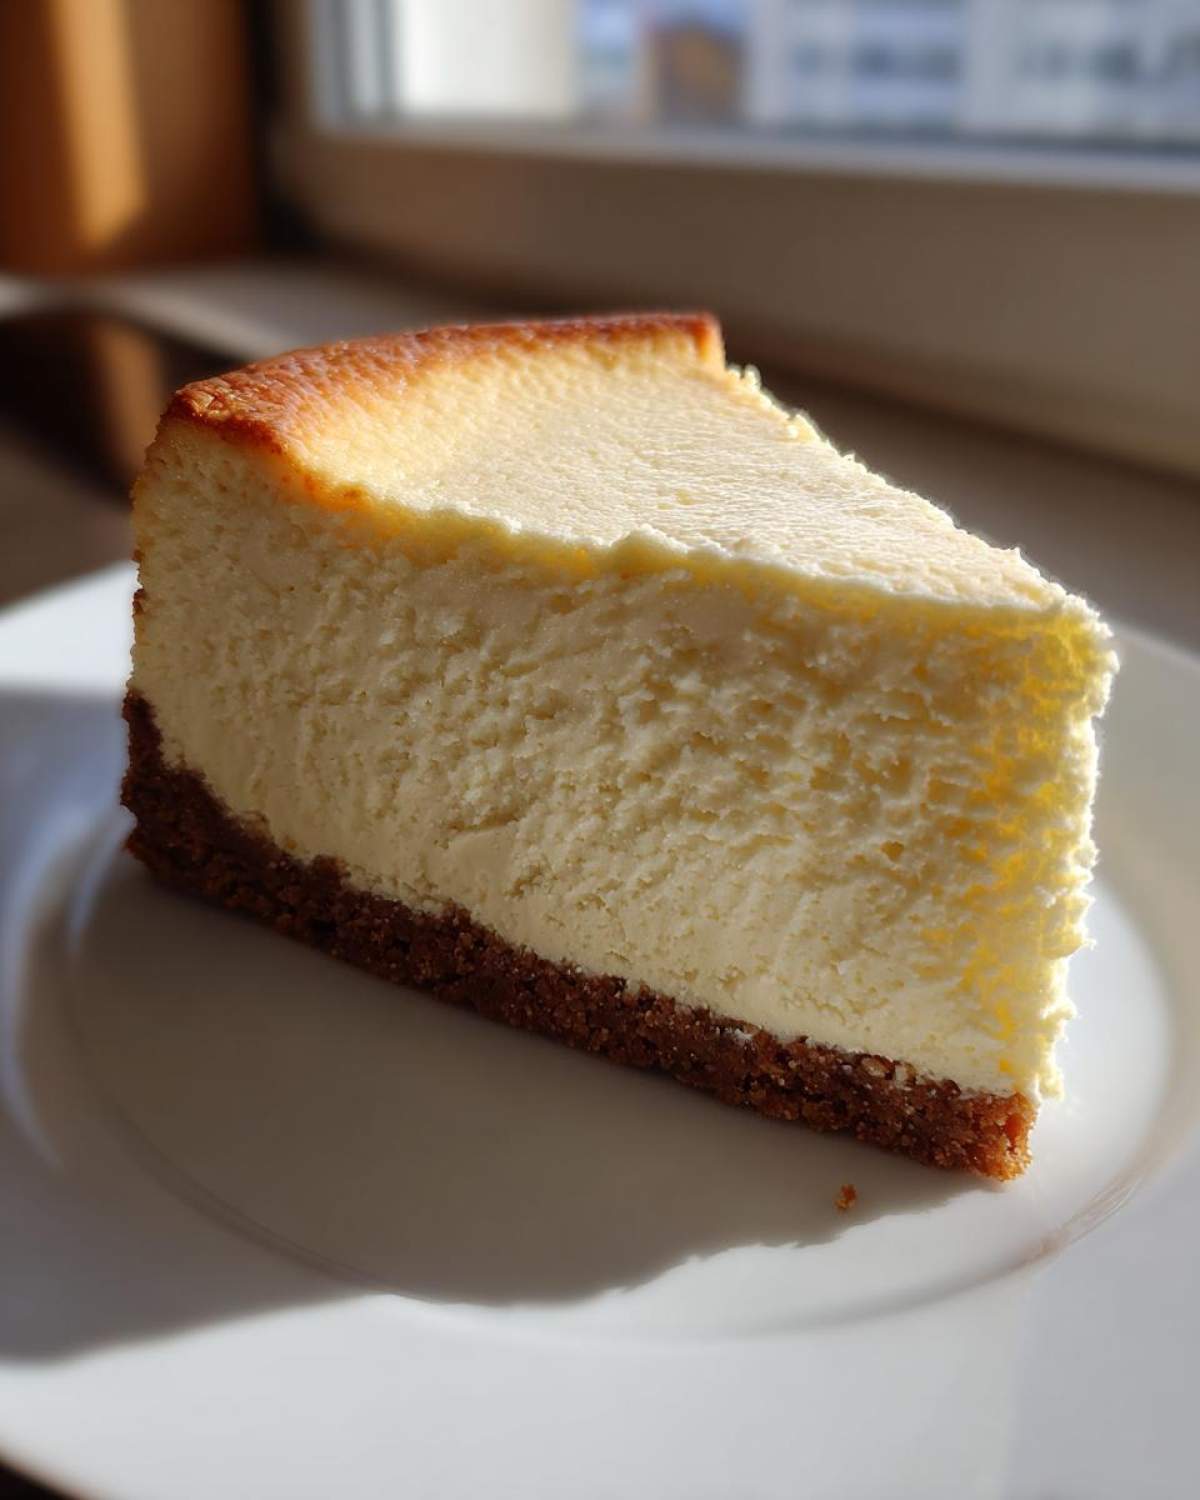
Now that you know the routine, let’s talk about elevating this recipe beyond just “good” to “oh my gosh, I can’t believe I made this!” My goal is always for you to achieve that perfect, cloud-like texture in your white chocolate cheesecake without relying on complicated tricks. A little extra attention to detail on the ingredients makes a huge difference here. If you’ve ever struggled getting those perfectly soft cookies, I know the feeling, but learning to respect ingredient temperature is key, just like in my best soft chewy snickerdoodle recipe!
Ingredient Quality Matters for White Chocolate Cheesecake
Seriously, you cannot skimp on the white chocolate. If the label doesn’t list cocoa butter, put it back. That cocoa butter is what melts smoothly and lends itself to that beautiful, luxurious mouthfeel. Imitation stuff just turns gritty or oily when baked, and we absolutely cannot have that when aiming for a decadent white chocolate dessert like this!
Also, I need to keep hammering this home: Room temperature dairy isn’t an exaggeration—it’s essential. If your cream cheese is cold, it won’t blend properly with the sugar, leaving you with those tiny, annoying lumps, even if you mix it for ten minutes. If you’re in a rush, you can nuke the blocks for just 10 seconds on 50% power, but you have to feel them often. They should yield gently to pressure, not squish.
Avoiding Common Cheesecake Issues
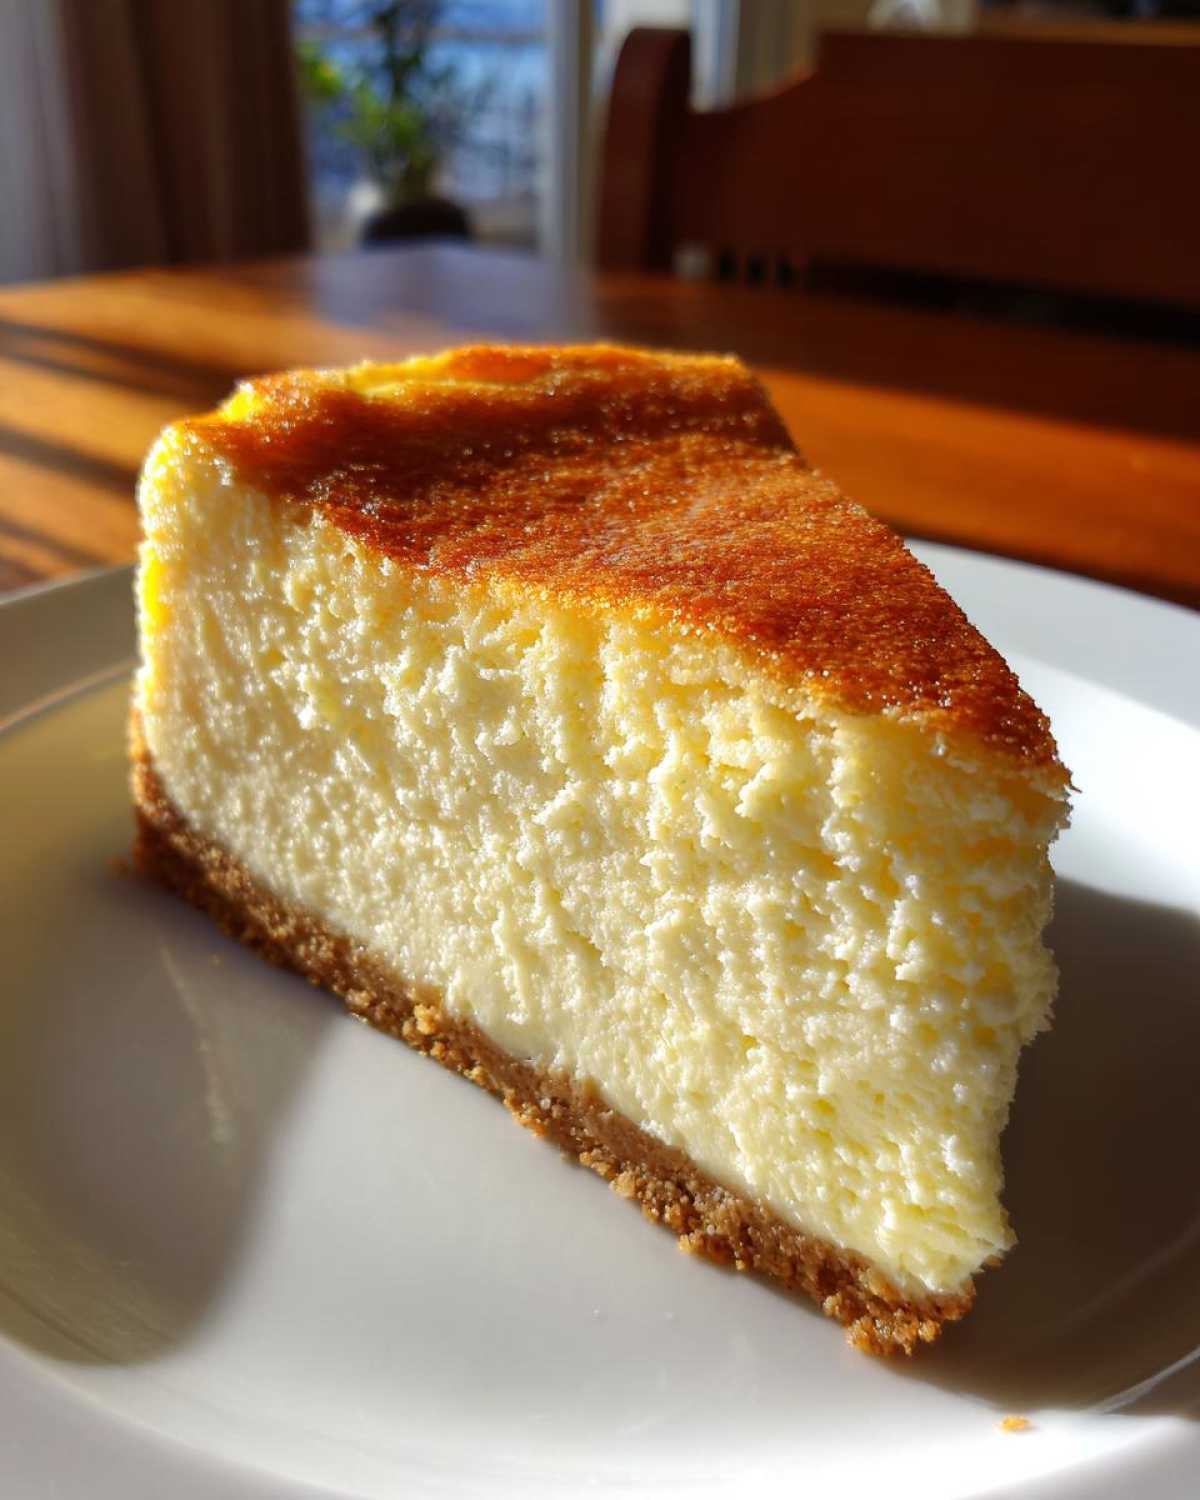
We’ve already talked about the slow cooling for cracks—that’s our number one defense—but let’s talk lumps. If you dump everything into the bowl at once, you’re asking for trouble. Always beat the cream cheese alone until it’s basically silk before you introduce sugar, sour cream, or that beautiful melted white chocolate. It creates a better initial base consistency.
And for cracks again, because it’s so important: when you add the eggs, mix only on the lowest speed possible, and stop the second they disappear. Don’t scrape down the sides after adding the eggs either—you want to leave any excess air right where it is, on the surface, not push it down into the batter where it can try to escape during baking and cause havoc!
Variations on This Easy Cheesecake Recipe
While I think this baked white chocolate cheesecake recipe is just about perfect as-is—a glorious, rich standard bearer—I know you creative bakers out there love to mix things up! The beautiful thing about a good base recipe is that it acts like a perfect canvas for other gorgeous flavors. Even though this is an easy cheesecake recipe, you can make it look incredibly professional with just a few tweaks. I’ve seen people add spices, citrus zest, or even make it a true showstopper for the holidays!
Making White Chocolate Raspberry Cheesecake
If you want to turn this into a stunning white chocolate raspberry cheesecake, this is the absolute easiest upgrade. Remember how I mentioned folding in raspberries just before pouring the batter into the pan? That’s exactly what you do.
Take about a cup of fresh or thawed raspberries—if you use thawed, make sure they aren’t dripping wet! Gently fold them into the batter right at the very end, after the eggs are mixed in, but *before* you pour it into that prepared crust. You don’t want to crush them; you want them to stay mostly whole so they burst with flavor when you cut into the cheesecake.
Another trick I love is adding a little bit of raspberry filling or jam in thin swirls between the layers if you are feeling ambitious, but honestly, just folding them in keeps it simple and beautiful. I bet this would look amazing next to my creamy white chicken enchiladas for a perfect dinner party spread!
Considering a No Bake White Chocolate Cheesecake Alternative
Now, I know some of you might have clicked on this looking specifically for a ‘don’t turn on the oven’ situation. While this particular recipe is baked—which gives it that signature dense structure—I totally get the appeal of a super simple no bake white chocolate cheesecake, especially when it’s boiling outside!
If you absolutely need a no-bake option, the technique changes quite a bit, as you typically rely on gelatin or whipped cream stabilized with powdered sugar to set up the filling instead of using flour and eggs for structure. Search for a recipe that uses a graham cracker or even an Oreo crust, but just know that the texture will be lighter and fluffier than the dense, smooth and rich cheesecake we made here today!
Serving Suggestions for Your Elegant Dessert Ideas
Once your white chocolate cheesecake has chilled overnight—and trust me, you have to let it chill—the final step is making it look as impressive as it tastes! Because this is such a rich, decadent white chocolate dessert, you don’t need a ton of fuss on top. A little enhancement goes a long way, making this perfect for making any dinner feel like a celebration.
I always like to contrast that brilliant white color with something bright. If you made the raspberry swirl version, you’re halfway there! But for the plain version, here are my go-to toppings for serving up something truly elegant:
- A Simple Glaze: Melt a little extra white chocolate and thin it out with just a teaspoon or two of vegetable oil or coconut oil. Drizzle it artfully across the top of the chilled cake. You can even use a toothpick to pull lines through it when it starts to set for a cool marble effect.
- Toasted Nuts: Pecans or slivered almonds, toasted lightly in a dry pan until fragrant, add a wonderful crunch that contrasts beautifully with the creamy filling. Scatter these around the edge when serving.
- Fresh Berries: Even if you didn’t bake them in, a simple wreath of fresh strawberries, raspberries, or blackberries placed right before serving makes this look like it came straight from a fancy bakery case.
- Sauce Drizzle: While traditionally a chocolate or caramel sauce might overpower the subtle white chocolate, a very thin, homemade caramel—maybe even spiked like in my caramel apple martini recipe—can be drizzled sparingly for an extra layer of depth.
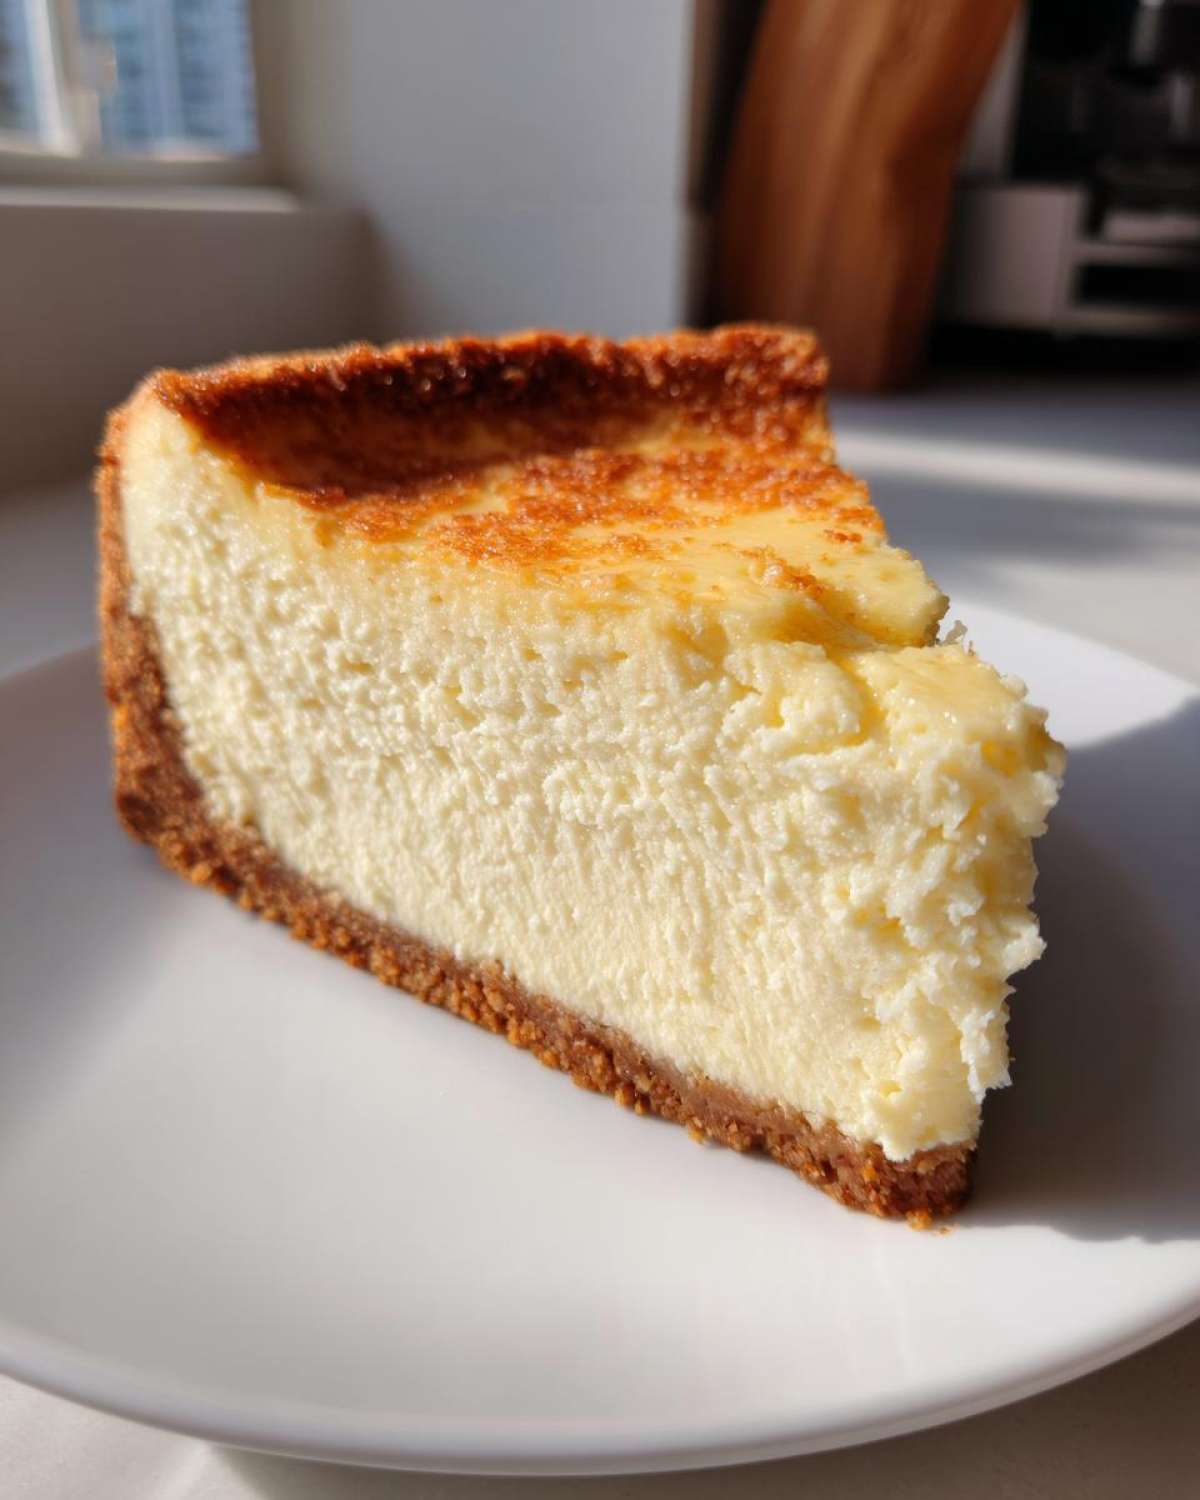
Remember, this is a showstopper all on its own, so don’t feel like you need to pile on heavy toppings. Sometimes the most elegant dessert ideas are the simplest ones!
Storage and Reheating Instructions for White Chocolate Cheesecake
Okay, you’ve made it! You’ve navigated the mixing, you’ve trusted the slow cooling, and now you have this stunning, perfect white chocolate cheesecake sitting on your counter. Don’t even think about slicing it yet! The chilling time is just as crucial as the baking time. It needs to set up completely so you get those clean slices.
I know the anticipation is rough, but you absolutely must chill this cheesecake for a minimum of six hours in the refrigerator. If you can possibly wait overnight? Do it. Seriously! I’ve found that letting a cheesecake rest for a full 12 to 18 hours lets the flavors of the cream cheese and melted white chocolate fully marry together. It’s the difference between a good slice and an unforgettable one.
When you cover it for chilling, use plastic wrap but make sure it doesn’t touch the surface of the cake. If you use the trick of pressing plastic wrap lightly onto the filling, it can sometimes stick to the surface when you pull it off later. I prefer tenting it lightly over the top.
How Long Does White Chocolate Cheesecake Keep?
Because we used full-fat dairy and plenty of sugar, this recipe holds up beautifully in the fridge compared to lighter desserts. Stored properly, covered loosely with plastic wrap in the springform pan (or carefully transferred to an airtight container), your white chocolate cheesecake will stay amazingly fresh and creamy for up to five full days.
If you want it to last longer, which I always do, freeze it! Cut the whole cheesecake into slices first—this is much easier than slicing a frozen block later. Wrap each slice individually in plastic wrap, then wrap that whole bundle again in aluminum foil or pop them into a freezer-safe bag. Frozen slices are great because they thaw relatively quickly for a quick, decadent snack later on.
Serving Temperature and Gentle Warming
Cheesecake is always best served chilled, right out of the fridge. If it gets too warm on the counter, it can start to feel a little too soft or greasy, which defeats the purpose of all that careful mixing we did earlier to keep it smooth!
Now, what if you’ve kept it frozen or you just prefer it slightly less cold? You don’t “reheat” cheesecake; you just let it temper. Take your perfectly chilled slice out of the refrigerator about 20 to 30 minutes before you plan to serve it. That small window allows the texture to soften just enough to taste richer and creamier on your tongue without making it weep or lose its shape.
Frequently Asked Questions About This White Chocolate Cheesecake
You know how it is when you’re baking something this special—you always have a few nagging questions right before you commit! I’ve rounded up the things I hear most often about making the perfect white chocolate cheesecake. Don’t worry about being a beginner; we all start somewhere! If you need a nice beverage to sip while you think about cheesecake, check out my recipe for a London Fog Iced Latte.
Can I use low-fat cream cheese in this easy cheesecake recipe?
Oh, honey, please don’t try it! You are going after the *ultimate* texture here, right? Low-fat cream cheese just doesn’t have the fat content necessary to bind the batter correctly and give you that characteristic, dense, creamy white chocolate cheesecake feel. If you swap to low-fat, you risk a mushy, almost wet filling because the structure relies entirely on that full fat content. Stick to the full-fat bricks; it’s worth every single calorie for the payoff!
How long does the white chocolate cheesecake need to chill before serving?
This is the hardest part of the whole process, believe me. The cooling in the oven handles the cracking, but the chilling handles the texture. You *must* chill this for at least six hours. That minimum time allows the proteins from the eggs and the fat from the white chocolate to firm up properly. However, if you can put it away for an entire night—overnight, no peeking—that’s when you unlock the real flavor and get those slices that stand up perfectly straight. It just tastes better the next day when all those flavors have had time to settle!
What is the best way to cut a smooth slice of cheesecake?
A crusty, jagged slice ruins the beautiful presentation, doesn’t it? Seriously, the professional trick works every time for getting that smooth and rich cheesecake edge. Get yourself a tall glass of very hot water on the counter before you even attempt to cut. Dip a long, thin knife—like a carving knife—into that hot water for about ten seconds, then wipe the blade completely dry with a paper towel.
Now, make your first clean slice. Then, dip, wipe, and cut again. You must clean the knife between *every single slice*. It keeps that hot blade gliding through the creamy filling without dragging or smashing the delicate edges. If you follow this simple tip, your slices of white chocolate cheesecake will look like they came from a five-star pastry shop!
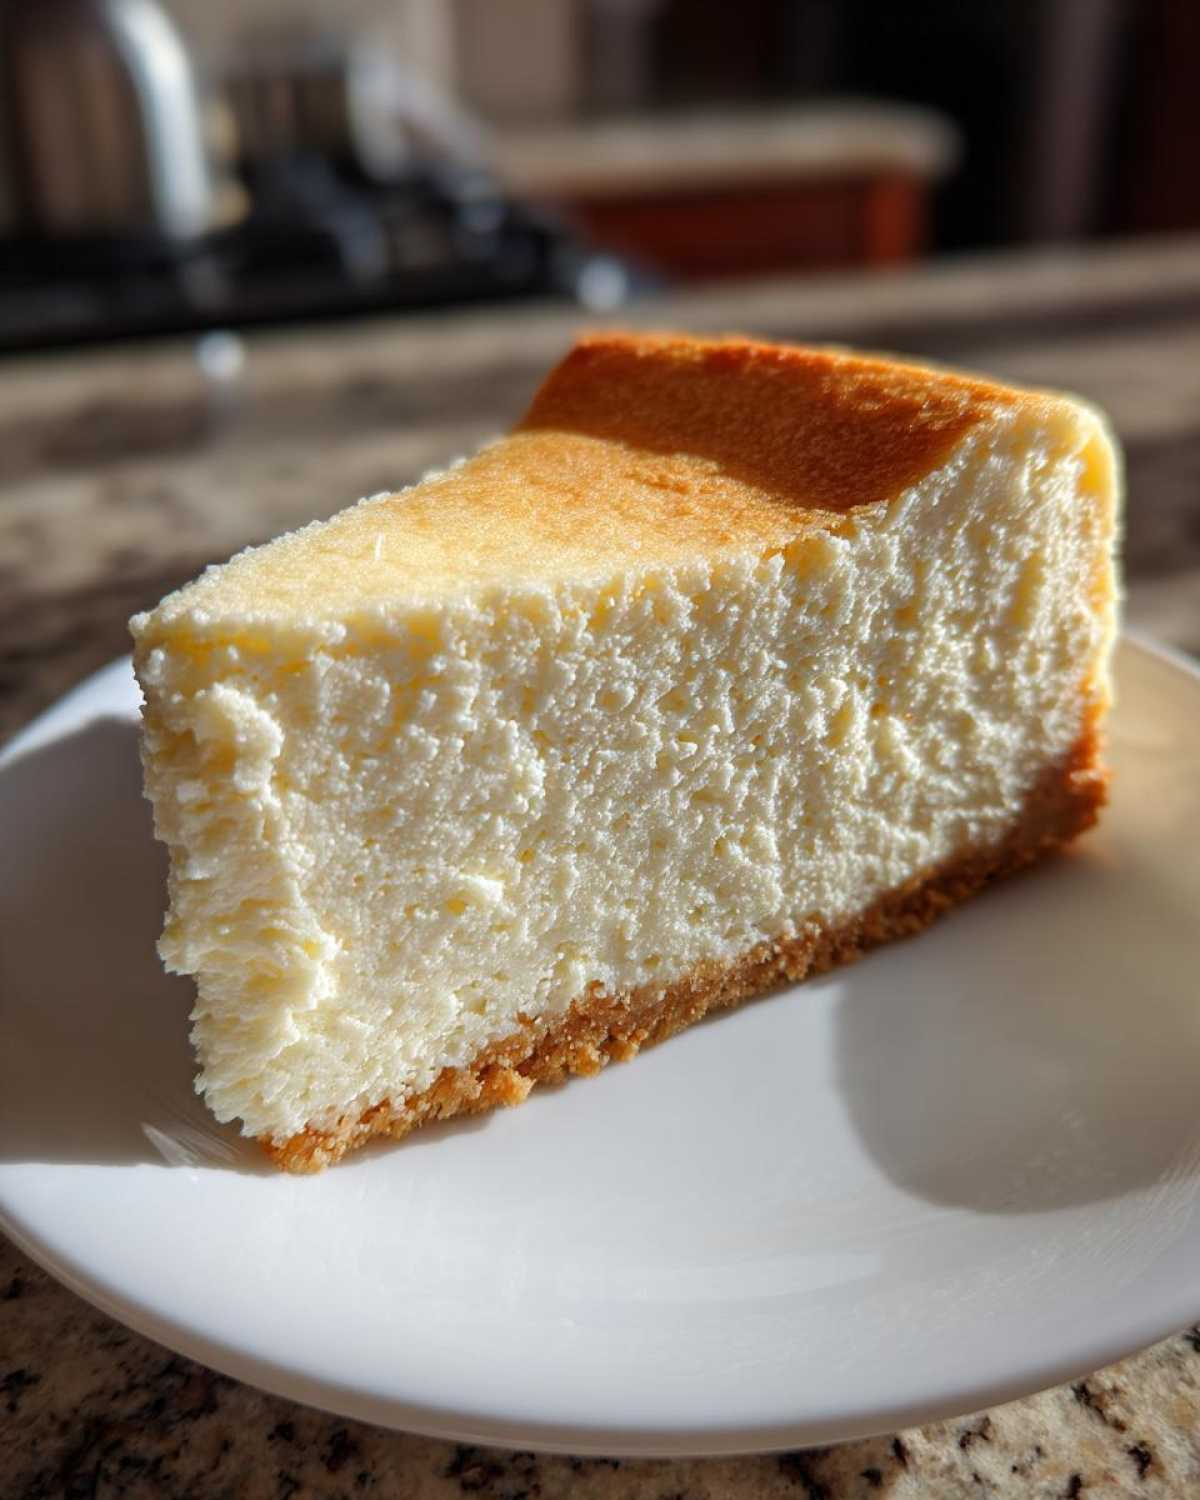
Estimated Nutritional Data for This Decadent White Chocolate Dessert
I always feel a little guilty looking at this part, because honestly, this decadent white chocolate dessert is meant to be enjoyed! We’re using full-fat ingredients and plenty of sugar to get that incredible, rich texture, so these numbers reflect that indulgence. But hey, knowing is half the battle!
These values are based on a serving size of one slice, yielding 12 slices from the entire cheesecake. Remember, these are estimates, and what you see here is based on the ingredients listed. If you swap out brands, or maybe you added more fresh fruit like in the raspberry variation, the numbers will definitely shift a tiny bit. Always refer to your specific packaging details if you’re tracking things ultra-closely, but this gives you a great baseline for what you’re getting into!
For full legal details on how we calculate this stuff, you can always head over to our disclaimer page, but here’s the easy breakdown based on our standard recipe:
- Calories: 450 (per slice)
- Fat: 30g
- Saturated Fat: 18g
- Carbohydrates: 40g
- Sugar: 35g
- Protein: 7g
See? Totally worth every creamy bite. Enjoy every sliver of your wonderful white chocolate cheesecake!
PrintFoolproof, Ultra-Creamy Baked White Chocolate Cheesecake (No Water Bath)
This recipe delivers a smooth, rich, and decadent white chocolate cheesecake that bakes beautifully without needing a water bath, resulting in a perfect texture every time.
- Prep Time: 25 min
- Cook Time: 75 min
- Total Time: 8 hours 40 min
- Yield: 12 servings
- Category: Dessert
- Method: Baking
- Cuisine: American
- Diet: Vegetarian
Ingredients
- 1 1/2 cups graham cracker crumbs
- 1/4 cup granulated sugar
- 6 tablespoons unsalted butter, melted
- 3 (8 ounce) packages full-fat cream cheese, softened
- 1 1/2 cups granulated sugar
- 1 cup sour cream, room temperature
- 1 teaspoon vanilla extract
- 1/4 cup all-purpose flour
- 12 ounces high-quality white chocolate, melted and slightly cooled
- 4 large eggs, room temperature
Instructions
- Preheat your oven to 325°F (160°C). Wrap the outside bottom of a 9-inch springform pan tightly with heavy-duty aluminum foil.
- Prepare the crust: Mix graham cracker crumbs, 1/4 cup sugar, and melted butter until combined. Press the mixture firmly and evenly into the bottom of the prepared pan. Bake for 10 minutes. Remove and let cool slightly.
- Reduce the oven temperature to 300°F (150°C).
- Beat the softened cream cheese in a large bowl with an electric mixer on medium speed until completely smooth, about 3 minutes. Scrape down the sides.
- Gradually add the 1 1/2 cups sugar and beat until just combined and smooth. Do not overmix.
- Beat in the sour cream, vanilla extract, and flour until just incorporated.
- Pour the slightly cooled melted white chocolate into the batter and mix on low speed until fully blended.
- Add the eggs one at a time, mixing only until each egg is incorporated. Stop mixing as soon as the last egg disappears into the batter. Overmixing eggs causes cracks.
- Pour the batter over the cooled crust. Gently tap the pan on the counter a few times to release large air bubbles.
- Bake for 60 to 75 minutes. The edges should look set, but the center 2 inches should still have a slight jiggle when gently nudged.
- Turn off the oven, prop the oven door open about 2 inches, and let the cheesecake cool inside the oven for 1 hour. This slow cooling prevents cracking.
- Remove the cheesecake from the oven, remove the foil, and let it cool completely on a wire rack.
- Chill the cheesecake in the refrigerator, covered, for at least 6 hours, or preferably overnight, before serving.
Notes
- Use high-quality white chocolate (containing cocoa butter) for the best flavor and smoothest melt.
- Ensure all dairy ingredients (cream cheese, sour cream, eggs) are at true room temperature for a lump-free batter.
- If you wish to add fruit, gently fold 1 cup of fresh or thawed raspberries into the batter just before pouring into the crust.
Nutrition
- Serving Size: 1 slice
- Calories: 450
- Sugar: 35g
- Sodium: 250mg
- Fat: 30g
- Saturated Fat: 18g
- Unsaturated Fat: 12g
- Trans Fat: 0.5g
- Carbohydrates: 40g
- Fiber: 1g
- Protein: 7g
- Cholesterol: 110mg