

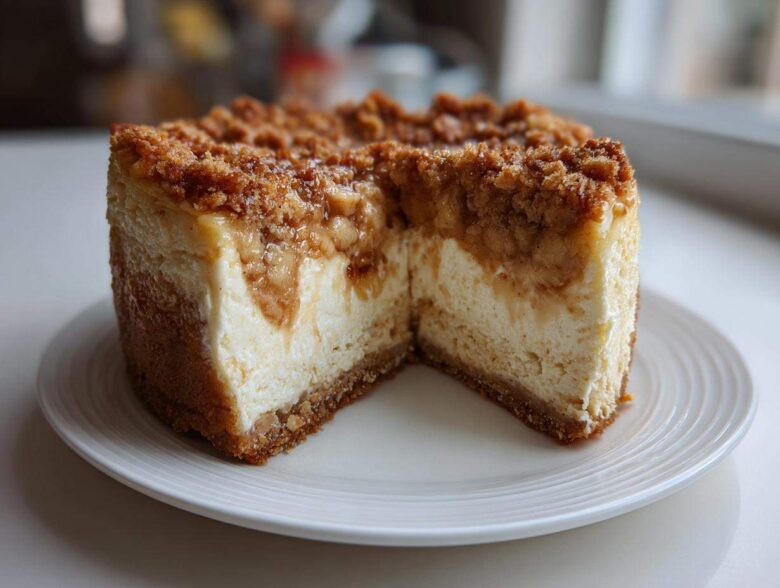
Oh my goodness, you have to stop what you’re doing and listen to me about this dessert. When the air starts getting crisp and the leaves turn that beautiful gold, there’s only one thing I want to pull out of my oven: decadence! Forget regular pie; we’re leveling up to something truly special. This apple crisp cheesecake is the ultimate showstopper. It takes that comforting, buttery oatmeal goodness of a crisp and smashes it right on top of the creamiest cheesecake base you’ve ever imagined. Trust me when I say this is the recipe you want tucked away for holidays or when you need to seriously impress your guests. It’s pure, cozy autumn flavor in one slice! I learned so much about balancing richness from the folks over at our team, and this bake really shows it off.
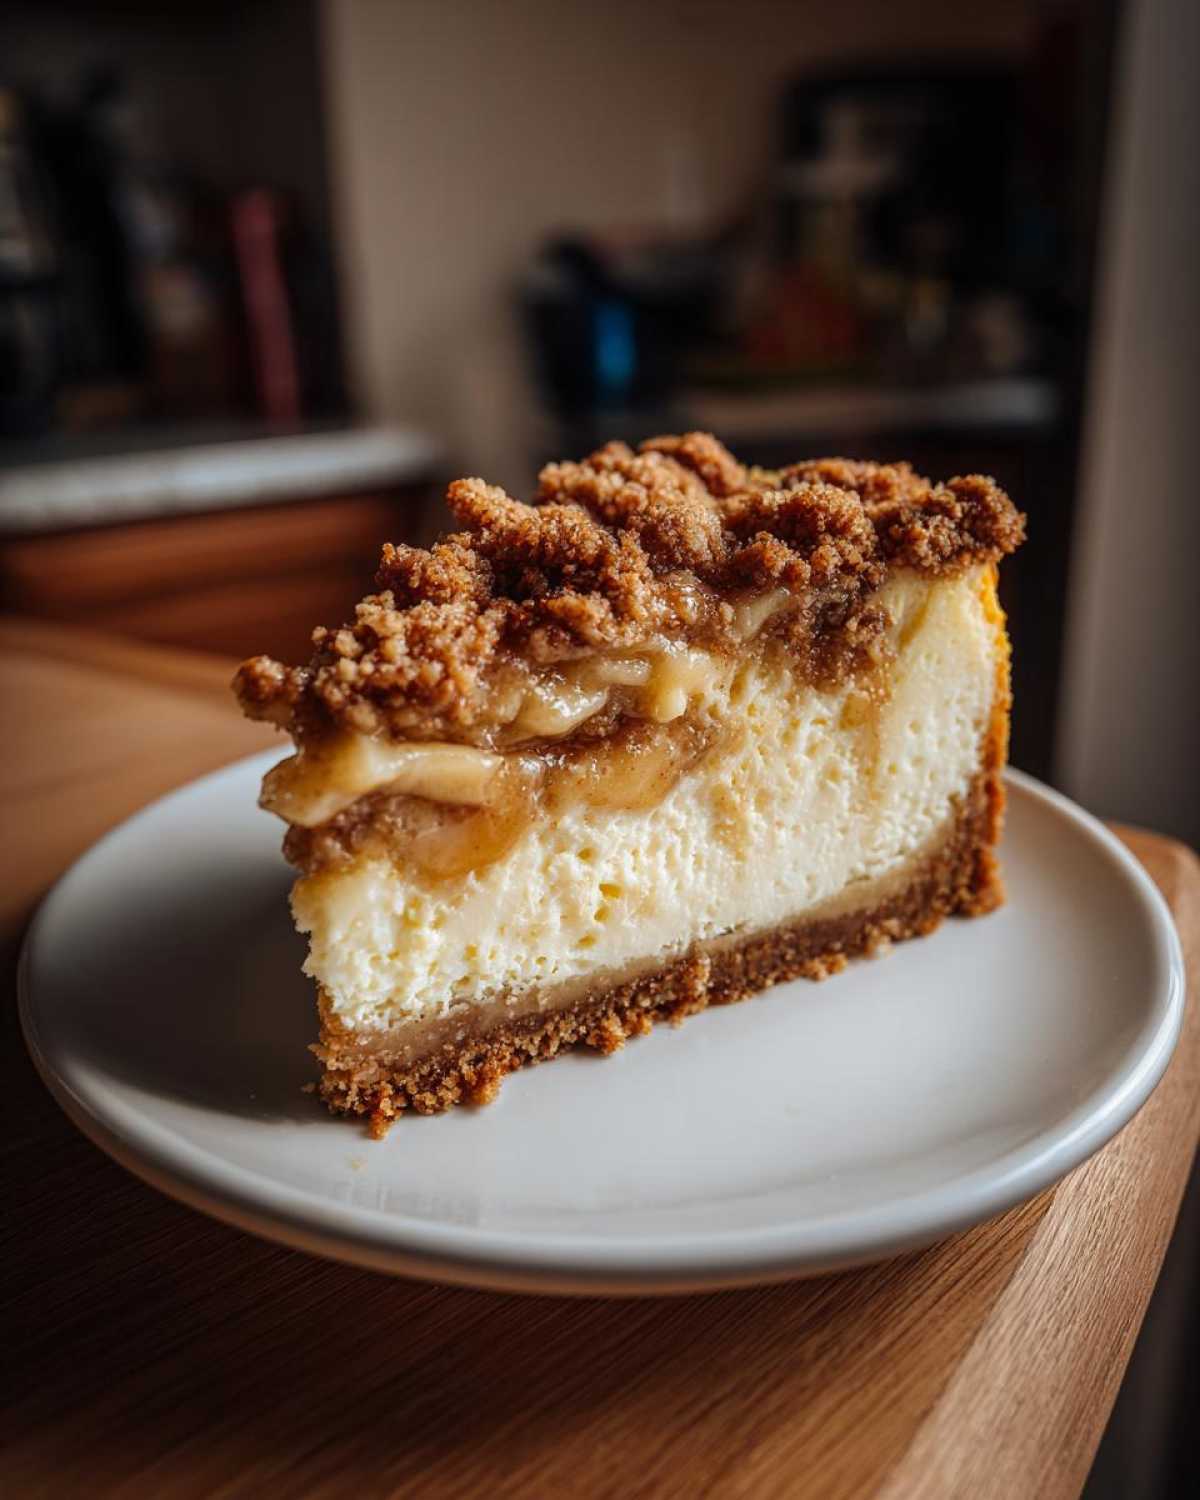
Why This Apple Crisp Cheesecake Recipe Works (Comfort Food Cheesecake)
Honestly, if you’re looking for a guaranteed crowd-pleaser that screams cozy autumn vibes, this is it. We aren’t just making a dessert here; we’re building an experience! This apple crisp cheesecake succeeds because it plays with texture so beautifully. You get that smooth, cool, tangy filling fighting for attention with that warm, spiced, crunchy topping. It’s perfection!
- The contrast is everything: creamy meets crunchy in every single bite.
- This recipe is a reliable go-to for my big family gatherings – it always looks impressive.
- It captures the essence of the season, making it one of my favorite Fall Cheesecake Ideas.
- You get the richness of cheesecake without needing a ton of complicated steps for the topping.
Essential Ingredients for the Best Apple Crisp Cheesecake
Getting ready to tackle this showstopper? The secret to making this the absolute best apple crisp cheesecake is having every single component ready to go *before* you start assembling. Since we’re layering three distinct textures—crust, fruit, and creamy cheese—we have to keep everything organized.
Don’t let the long list scare you! It’s just that we’re making a tiny crust, a little flavored apple pile, a crumbly top, AND the cheesecake base. Here’s the breakdown of exactly what you’ll need to grab. Make sure that cream cheese is actually soft—seriously, let it sit out!
For the Graham Cracker Crust
- 1 1/2 cups graham cracker crumbs
- 1/4 cup granulated sugar
- 6 tablespoons unsalted butter, melted
For the Spiced Apple Layer
- 2 cups diced apples (Granny Smith or Honeycrisp work wonders!)
- 1/4 cup packed brown sugar
- 1 teaspoon ground cinnamon
- 1/4 cup all-purpose flour
For the Buttery Crumble Topping Dessert
- 1/4 cup all-purpose flour
- 1/2 cup packed brown sugar
- 1/2 cup rolled oats
- 1/4 teaspoon ground nutmeg
- 1/2 cup cold unsalted butter, cut into small pieces (Key: It must be cold!)
For the Creamy Cheesecake Filling
- 3 (8 ounce) packages cream cheese, softened
- 1 1/2 cups granulated sugar
- 1 teaspoon vanilla extract
- 4 large eggs
- 1/4 cup all-purpose flour
Step-by-Step Instructions for Layered Apple Dessert
Okay, time to get baking! Don’t rush this part; the layering is what turns this into the legendary **apple crisp cheesecake** we’re aiming for. First thing: get that oven preheated to 350 degrees F. Remember, since this is a cheesecake, we need to protect the bottom from leaks, so wrap your 9-inch springform pan really well in heavy-duty foil. I usually do two or three layers of foil just in case!
Preparing the Base and Apple Crisp Topping Dessert
We start with the base flavor. You just mix those graham cracker crumbs, the crust sugar, and the melted butter until it’s combined. Press that firmly down into the bottom of your foiled pan. Pop it into the oven for 10 minutes just to set it up nice and firm. While that’s happening, toss your diced apples with their brown sugar, cinnamon, and flour. Once the crust is slightly cooled, sprinkle those saucy apples right on top. Now for the fun part: the buttery crumble! Combine your topping dry ingredients—flour, brown sugar, oats, and nutmeg—and then use your fingers or a pastry blender to cut in that cold butter until it looks like coarse, happy little pebbles. Sprinkle that crumble generously over the apples. Now, bake *this* layered base for about 20 minutes. We need that apple layer to get a little tender before the batter goes on!
Mixing the Cheesecake Batter
While the apple/crisp layer is baking for those 20 minutes, whip up the main event! Grab your softened cream cheese and beat it until it’s silky smooth with the 1 1/2 cups of sugar and your vanilla. This is where the richness comes from, so get it smooth! Now, add your eggs, but listen closely—add them **one at a time**. Seriously, wait until the previous egg is barely blended before dropping in the next one. Overmixing eggs is how you accidentally whip in too much air, which leads to those sad cracks later. Once the eggs are happy, just gently mix in the last bit of flour. Don’t overdo it!
Baking and Cooling Your Apple Crisp Cheesecake
Time to assemble! Gently pour that lovely, thick cheesecake batter right over your partially baked apple crisp layer. Try to keep the topping from shifting too much. Put the whole thing back into the 350-degree oven and bake for about 50 to 60 minutes. You’re looking for edges that are set firm, but if you gently nudge the pan, the very center should still have a tiny, cute wobble. Now, the most important step for a perfect-homemade cheesecake dessert: cooling! As soon as the timer goes off, turn the oven OFF, crack the door open just a smidge, and let it sit in there for a full hour. This slow cool-down is your anti-crack shield! After an hour, take it out, run a thin knife around the edge so it doesn’t stick as it shrinks, and then you chill it. I know it’s torture, but you need at least six hours—and honestly, overnight is always best!
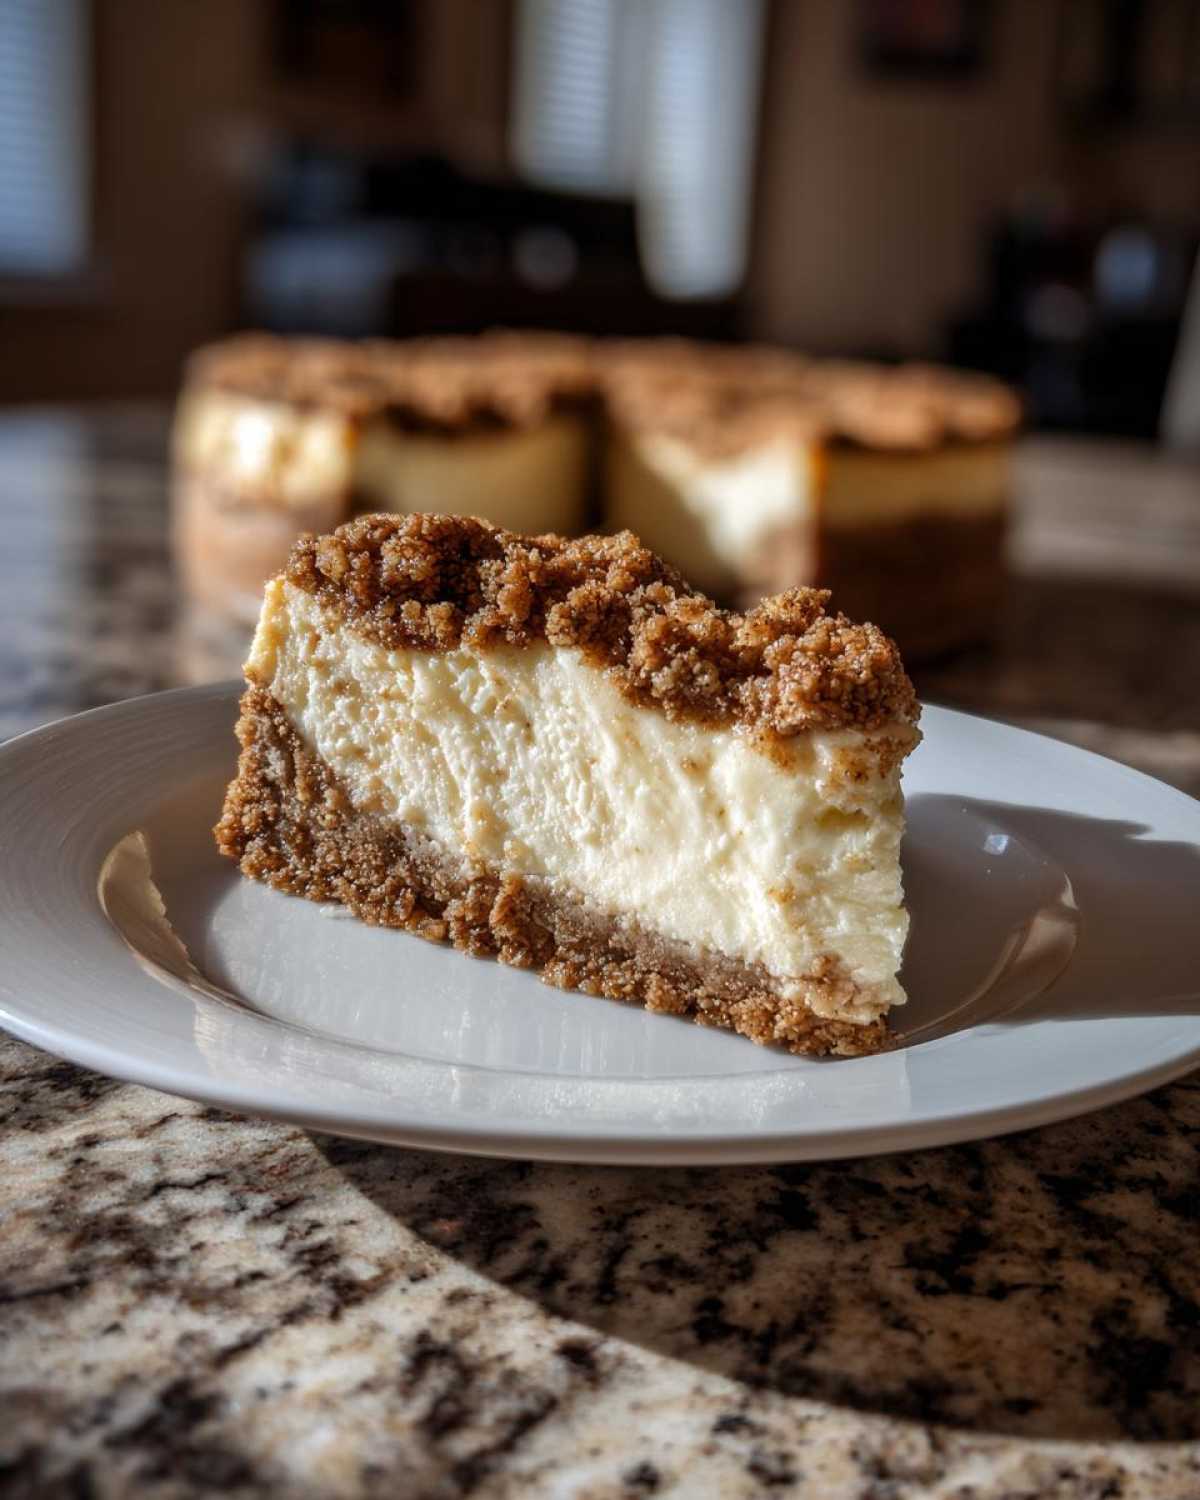
Tips for Success Making Apple Crisp Cheesecake
I know this sounds like a complicated bake because it has so many layers, but honestly, if you just follow my advice on a couple of tricky spots, you’ll nail this **apple crisp cheesecake** every single time. My number one goal is always to get that beautiful texture contrast you’re expecting, right?
Achieving the Perfect Creamy Apple Bake Texture
Remember what I said about the cream cheese? It has to be totally soft, no excuses! If you try to cheat and mix cold chunks in, you’ll end up with lumps, and who wants a lumpy cheesecake? And please, please be gentle once those eggs go in. We’re aiming for a dense, creamy comfort food cheesecake, not an airy layer cake. Simple mixing keeps those cracks away!
Customizing Your Crisp Topping Dessert
This recipe is great because you can totally make it your own. If you want a little extra crunch and flavor in that buttery crumble, substitute half of the rolled oats with chopped pecans. They toast up beautifully! Or, for the ultimate indulgence—especially if this is a Caramel Apple Cheesecake variation—drizzle some good quality caramel sauce right over those spiced apples before you pour the batter on top. It’s just heavenly!
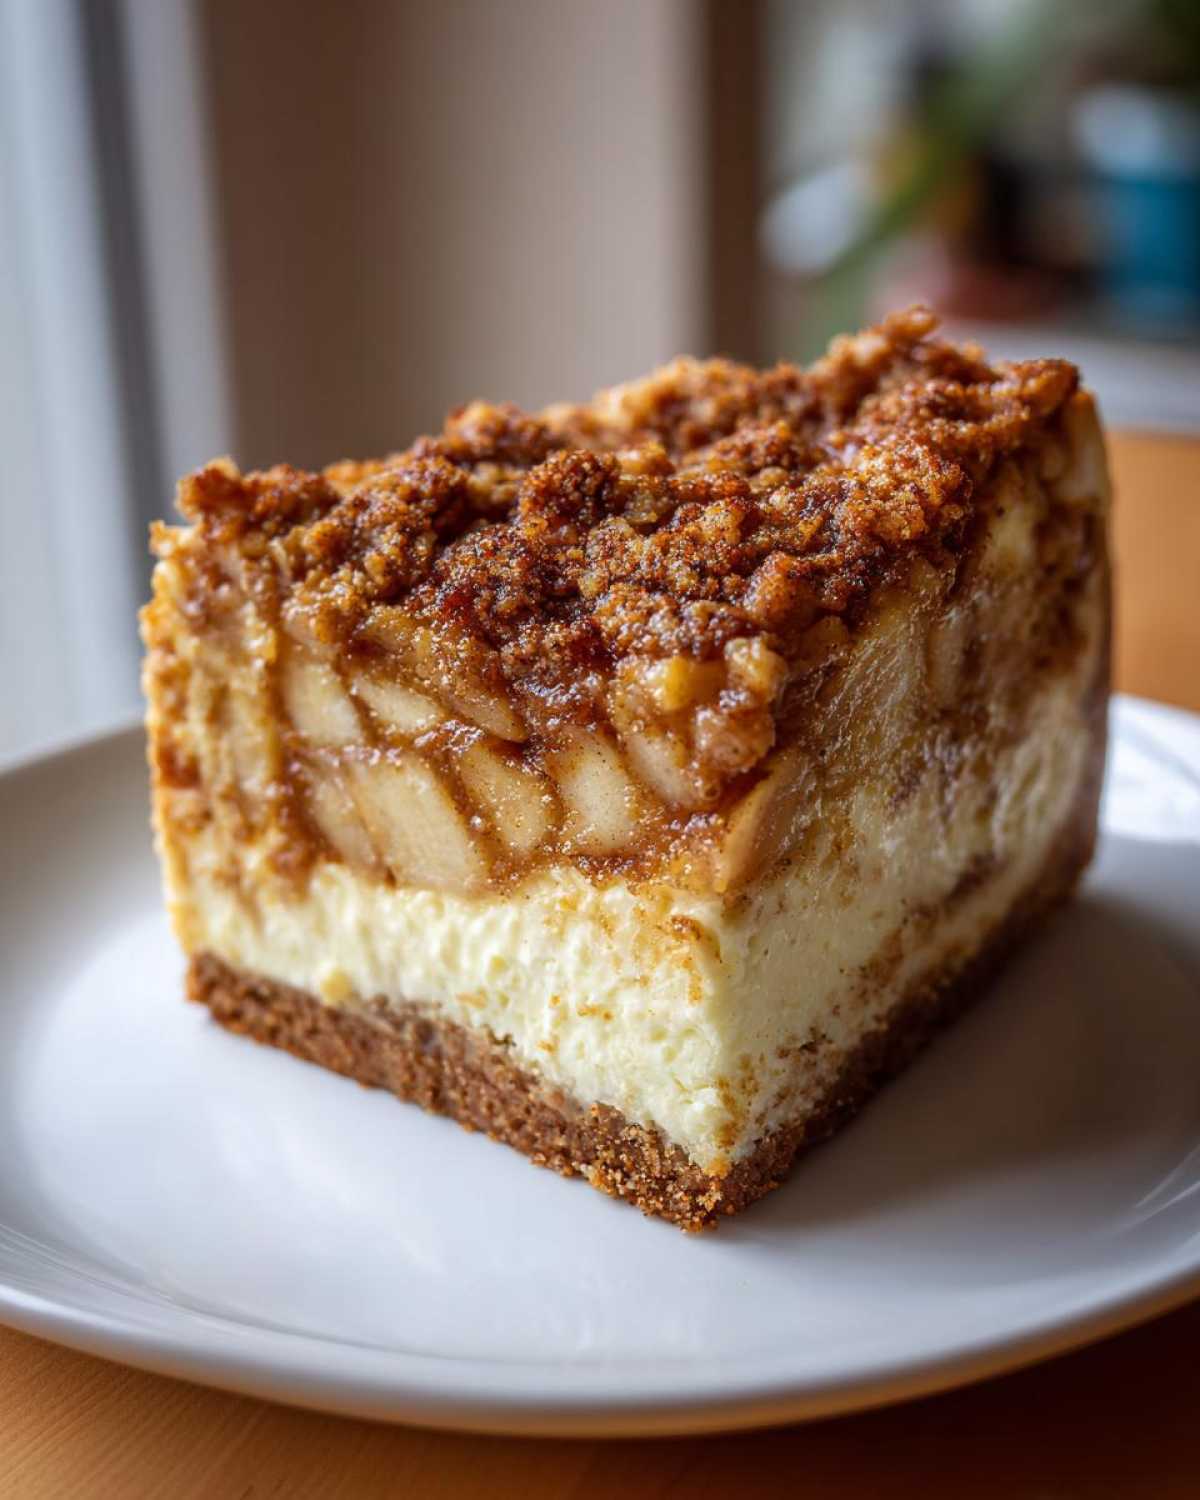
Ingredient Notes and Substitutions for Your Apple Cheesecake Recipe
I always get asked if you can swap things out in this bake, because sometimes we need to use what we have on hand, right? This recipe is pretty robust, which is great, but a few swaps will change the outcome more than others. For instance, dealing with oats is a common question since so many folks eat gluten-free these days!
If you need this to be a gluten-free recipe, that’s totally doable. Just make sure you grab certified gluten-free rolled oats for the crisp topping. The crust uses graham crackers, so you’d need to swap those for a GF variety or use a nut-based crust, which would also be delicious!
When it comes to the apples, I stand by Granny Smith or Honeycrisp because they hold their shape and offer a nice tartness to cut through the richness, but sometimes you’re just feeling adventurous. Pears work really well, especially firmer ones! They bake up nicely, though the flavor profile will be sweeter and less tangy. You absolutely can use a jar of thick, homemade apple butter mixed into the apple layer too, just reduce the flour slightly since the butter adds moisture!
Serving Suggestions for This Indulgent Cheesecake Bake
Okay, you’ve chilled it overnight—now what? This incredible indulgent cheesecake bake shines all on its own, but we can’t stop there, right? Since this is such a stunning addition for special events, I always like to offer a little something extra for my guests. A simple, good-quality vanilla bean ice cream is always a winner because the coldness contrasts perfectly with the rich, spiced apples.
If you want to lean into the cozy fall vibes, skip the ice cream and just drizzle a thin line of warm caramel sauce right over the slice when you serve it. That little buttery sweetness really makes the whole thing sing. It’s the perfect finishing touch for any gathering!
Storage and Reheating Instructions for Apple Crisp Cheesecake
So, you managed to save a slice (or two)? That’s a huge achievement because this apple crisp cheesecake is seriously addictive when it’s perfectly chilled. Since this is basically a giant, fancy dairy product, we have to treat it right in the fridge!
The best way, hands down, is to serve it cold, straight from the refrigerator. That long chill time is essential for the cheesecake filling to fully firm up and for those flavors to really settle into each other. When you’re ready to eat it, just take the slice out and let it sit on your plate for maybe 10 or 15 minutes at room temperature. That just takes the chill off so the texture isn’t too hard.
Now, covering it properly is key. Once the whole cheesecake has cooled completely—and I mean *completely*—cover it loosely with plastic wrap, or if it’s already sliced, cover the entire pan with foil. Try not to let the plastic touch the top, especially if you haven’t added extra sauce, or it might stick to that beautiful crisp topping dessert.
It keeps wonderfully in the fridge for about four days. My only warning is about reheating, which I strongly advise against for the cheesecake part! Microwaving cheesecake is risky business; it turns soupy real fast. If, for some wild reason, you wanted to warm up just the apple crisp *topping* on a piece you cut off, maybe place a small serving under a broiler for literally 30 seconds, but I wouldn’t risk melting the cream cheese. Keep it chilled for the best experience!
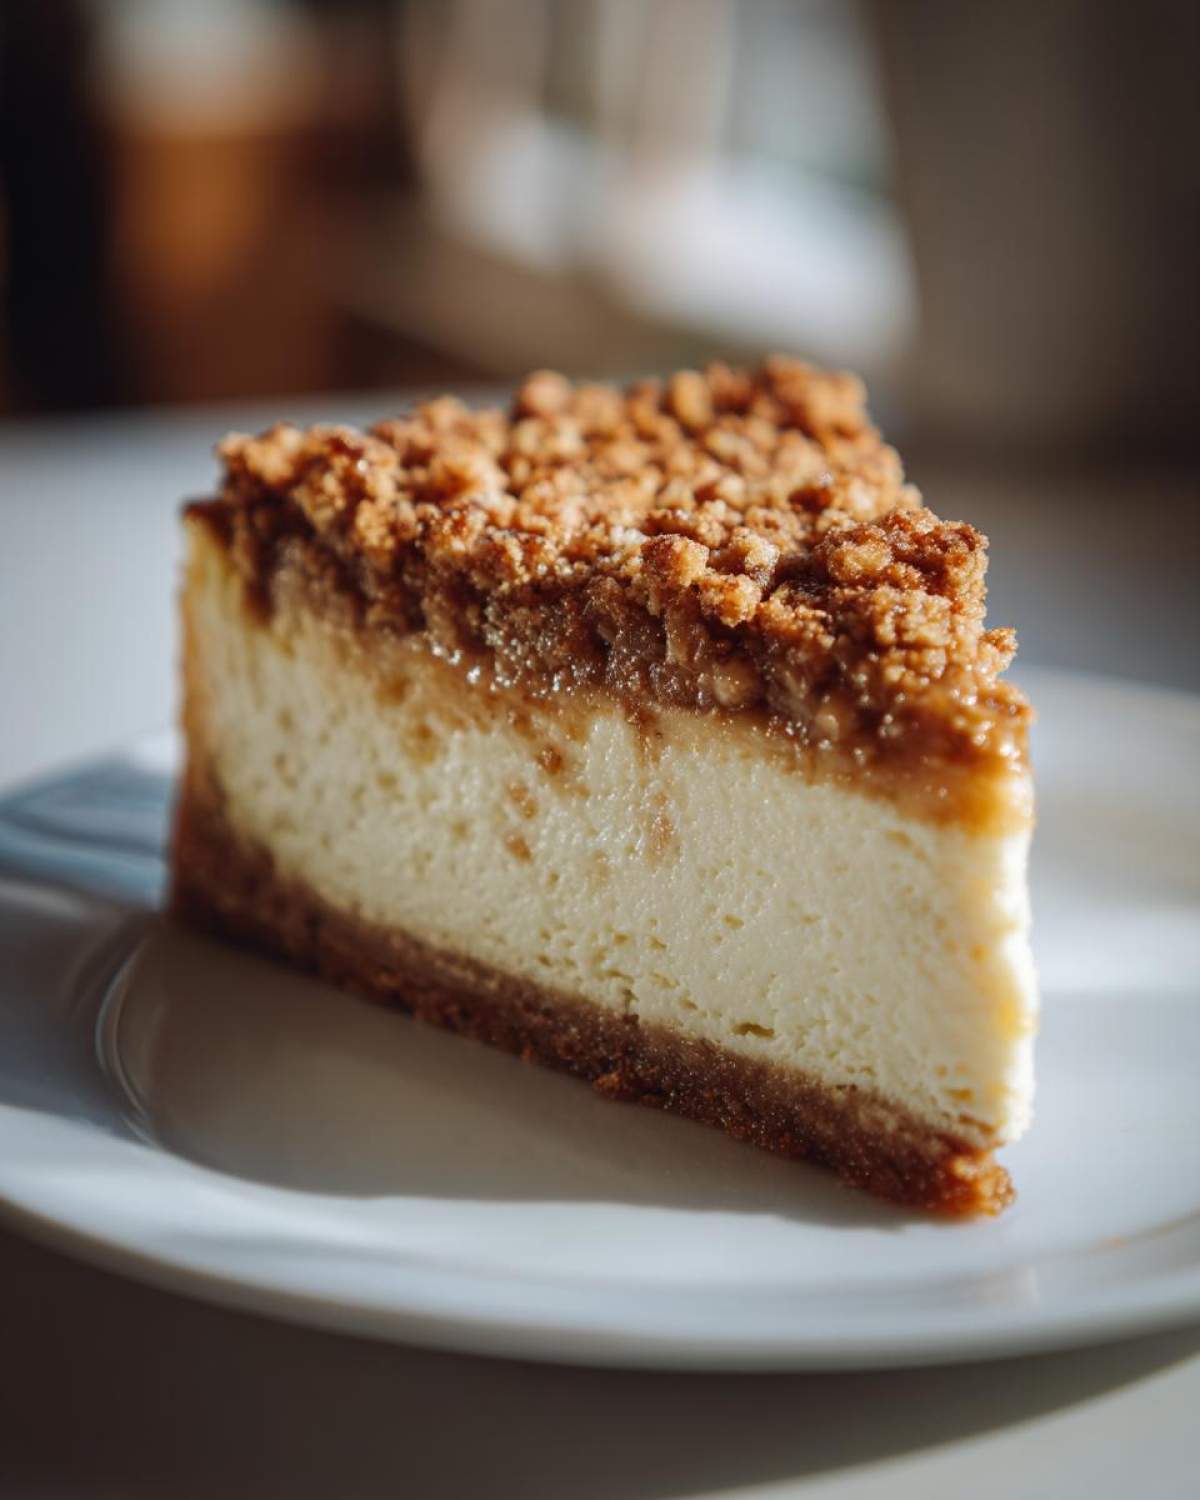
Frequently Asked Questions About Apple Crisp Cheesecake
It’s natural to have questions when you’re juggling graham crackers, cream cheese, and a buttery crumble! Baking something this layered can feel a little intimidating, but trust me, once you know these cheats and tricks, you’ll feel like a seasoned pro making this apple cheesecake recipe. Here are the things I get asked about most often!
Can I make this Caramel Apple Cheesecake ahead of time?
Yes, absolutely! In fact, I highly recommend it! Cheesecake flavors need time to marry, and that super-long chill time is essential for structure anyway. You can assemble the entire thing, bake it, cool it down slowly, and then keep it tightly covered in the fridge for up to four days. I find that day two is when it tastes the absolute best. If you are making a caramel apple cheesecake version, just wait to drizzle the extra caramel on until just before serving.
What is the best way to prevent my apple crisp cheesecake from cracking?
Oh, the dreaded crack! Nobody wants that, especially when we made something this pretty. Remember the cooling process we talked about? That’s number one: turn the oven off, crack the door, let it sit for an hour, *then* take it out. That slow transition from hot to cool prevents the structure from pulling apart. Number two is not overbeating the eggs. Mix them just until they disappear into the batter. If you whip air into those eggs, that air expands while baking and then has nowhere to go when cooling, causing a collapse or a crack. It’s all about patience with this bake!
Can I use different fruit instead of apples in this Crisp Topping Dessert?
You definitely can switch up the fruit, since the structure of the buttery crumble dessert topping works so well with almost any firm fruit! Pears are a fantastic swap for apples; just use a slightly firmer variety so they don’t turn to mush—Bosc works nicely. If you want to go a little wilder, use frozen, slightly thawed blueberries, but you’ll need to toss them with maybe half a teaspoon of cornstarch so they don’t make the topping too runny. Everything else in the recipe stays exactly the same!
Nutritional Information Estimate for Apple Crisp Cheesecake
Now, before you dive into that gorgeous slice of apple crisp cheesecake, I always like to give a little heads-up on what you’re getting into. Remember, this is a rich, indulgent dessert—it’s not health food, and that’s perfectly okay when we’re celebrating! These numbers are just my best educated guess based on standard ingredients and that generous serving size of one slice. If you add extra caramel sauce or pecans to your topping, those values will shift a bit!
Think of this as purely informational for your planning. Here is the breakdown:
- Serving Size: 1 slice
- Calories: Around 450
- Sugar: Roughly 40g (Hey, it has apples and brown sugar, what can you do!)
- Fat: Around 28g (That glorious butter ratio in the filling and topping adds up!)
- Saturated Fat: About 17g
- Carbohydrates: Roughly 45g
- Protein: About 7g
- Sodium: Around 250mg
- Cholesterol: About 110mg
It’s a decadent treat, plain and simple. Enjoy every bite of that creamy, crunchy goodness!
PrintApple Crisp Cheesecake
A layered dessert combining a creamy cheesecake filling with a spiced apple layer and a buttery, crunchy oat crisp topping.
- Prep Time: 30 min
- Cook Time: 90 min
- Total Time: 150 min
- Yield: 12 servings
- Category: Dessert
- Method: Baking
- Cuisine: American
- Diet: Vegetarian
Ingredients
- 1 1/2 cups graham cracker crumbs
- 1/4 cup granulated sugar (for crust)
- 6 tablespoons unsalted butter, melted (for crust)
- 3 (8 ounce) packages cream cheese, softened
- 1 1/2 cups granulated sugar (for filling)
- 1 teaspoon vanilla extract
- 4 large eggs
- 1/4 cup all-purpose flour
- 2 cups diced apples (such as Granny Smith or Honeycrisp)
- 1/4 cup packed brown sugar (for apples)
- 1 teaspoon ground cinnamon (for apples)
- 1/4 cup all-purpose flour (for topping)
- 1/2 cup packed brown sugar (for topping)
- 1/2 cup rolled oats
- 1/4 teaspoon ground nutmeg
- 1/2 cup cold unsalted butter, cut into small pieces (for topping)
Instructions
- Preheat your oven to 350 degrees F. Wrap the bottom of a 9-inch springform pan tightly in heavy-duty foil.
- Prepare the crust: Mix graham cracker crumbs, 1/4 cup sugar, and 6 tablespoons melted butter. Press the mixture firmly into the bottom of the prepared pan. Bake for 10 minutes. Set aside to cool slightly.
- Prepare the apples: In a medium bowl, toss the diced apples with 1/4 cup brown sugar, 1 teaspoon cinnamon, and 1/4 cup flour until coated. Spread the apple mixture evenly over the cooled crust.
- Prepare the crisp topping: In a separate bowl, combine the remaining 1/4 cup flour, 1/2 cup brown sugar, oats, and nutmeg. Cut in the cold butter pieces using a pastry blender or your fingers until the mixture resembles coarse crumbs. Sprinkle this topping evenly over the apple layer.
- Bake the apple crisp layer: Bake the crust and apple layers for 20 minutes. Remove from the oven.
- Prepare the cheesecake filling: Beat the softened cream cheese with 1 1/2 cups sugar and vanilla extract until smooth. Beat in the eggs one at a time, mixing just until combined after each addition. Mix in the remaining 1/4 cup flour.
- Pour the cheesecake batter gently over the apple and crisp layers.
- Bake the cheesecake: Return the pan to the oven. Bake at 350 degrees F for 50 to 60 minutes, or until the edges are set and the center has a slight jiggle.
- Cool the cheesecake: Turn off the oven, crack the door open slightly, and let the cheesecake cool inside the oven for 1 hour. Remove from the oven, run a knife around the edge, and cool completely on a wire rack. Refrigerate for at least 6 hours, preferably overnight, before serving.
Notes
- For a richer topping flavor, substitute pecans for half of the oats.
- If you want a caramel swirl, drizzle caramel sauce over the apple layer before adding the cheesecake batter.
- To prevent cracking, do not overmix the cheesecake batter once the eggs are added.
Nutrition
- Serving Size: 1 slice
- Calories: 450
- Sugar: 40
- Sodium: 250
- Fat: 28
- Saturated Fat: 17
- Unsaturated Fat: 11
- Trans Fat: 0.5
- Carbohydrates: 45
- Fiber: 2
- Protein: 7
- Cholesterol: 110