

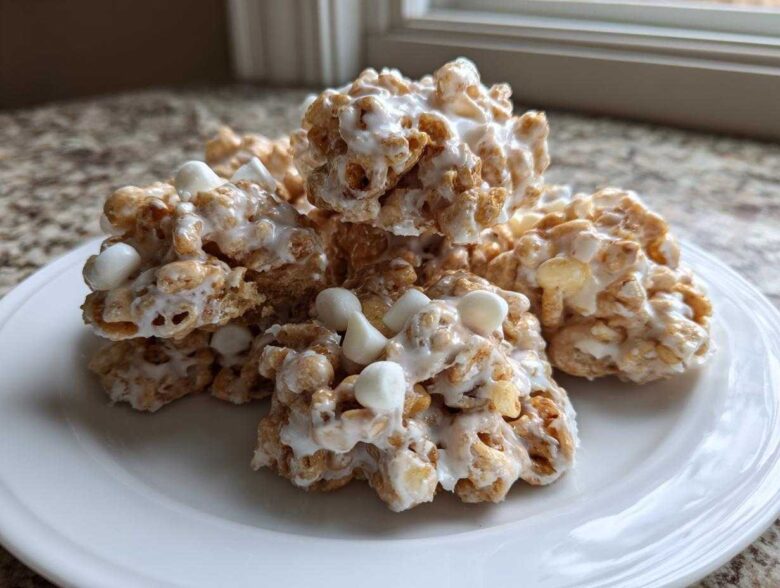
Listen, sometimes you just need a dessert that says, “I care!” without actually involving turning on the oven for an hour. You know the feeling—it’s snowing outside, unexpected guests arrived, or maybe you just really, really needed sugar five minutes ago. That’s where my ultimate recipe for avalanche cookies swoops in to save the day. These are the kings of no-bake treats, totally effortless clusters packed with that irresistible combination of creamy peanut butter, sweet white chocolate, crispy rice cereal, and fluffy marshmallows.
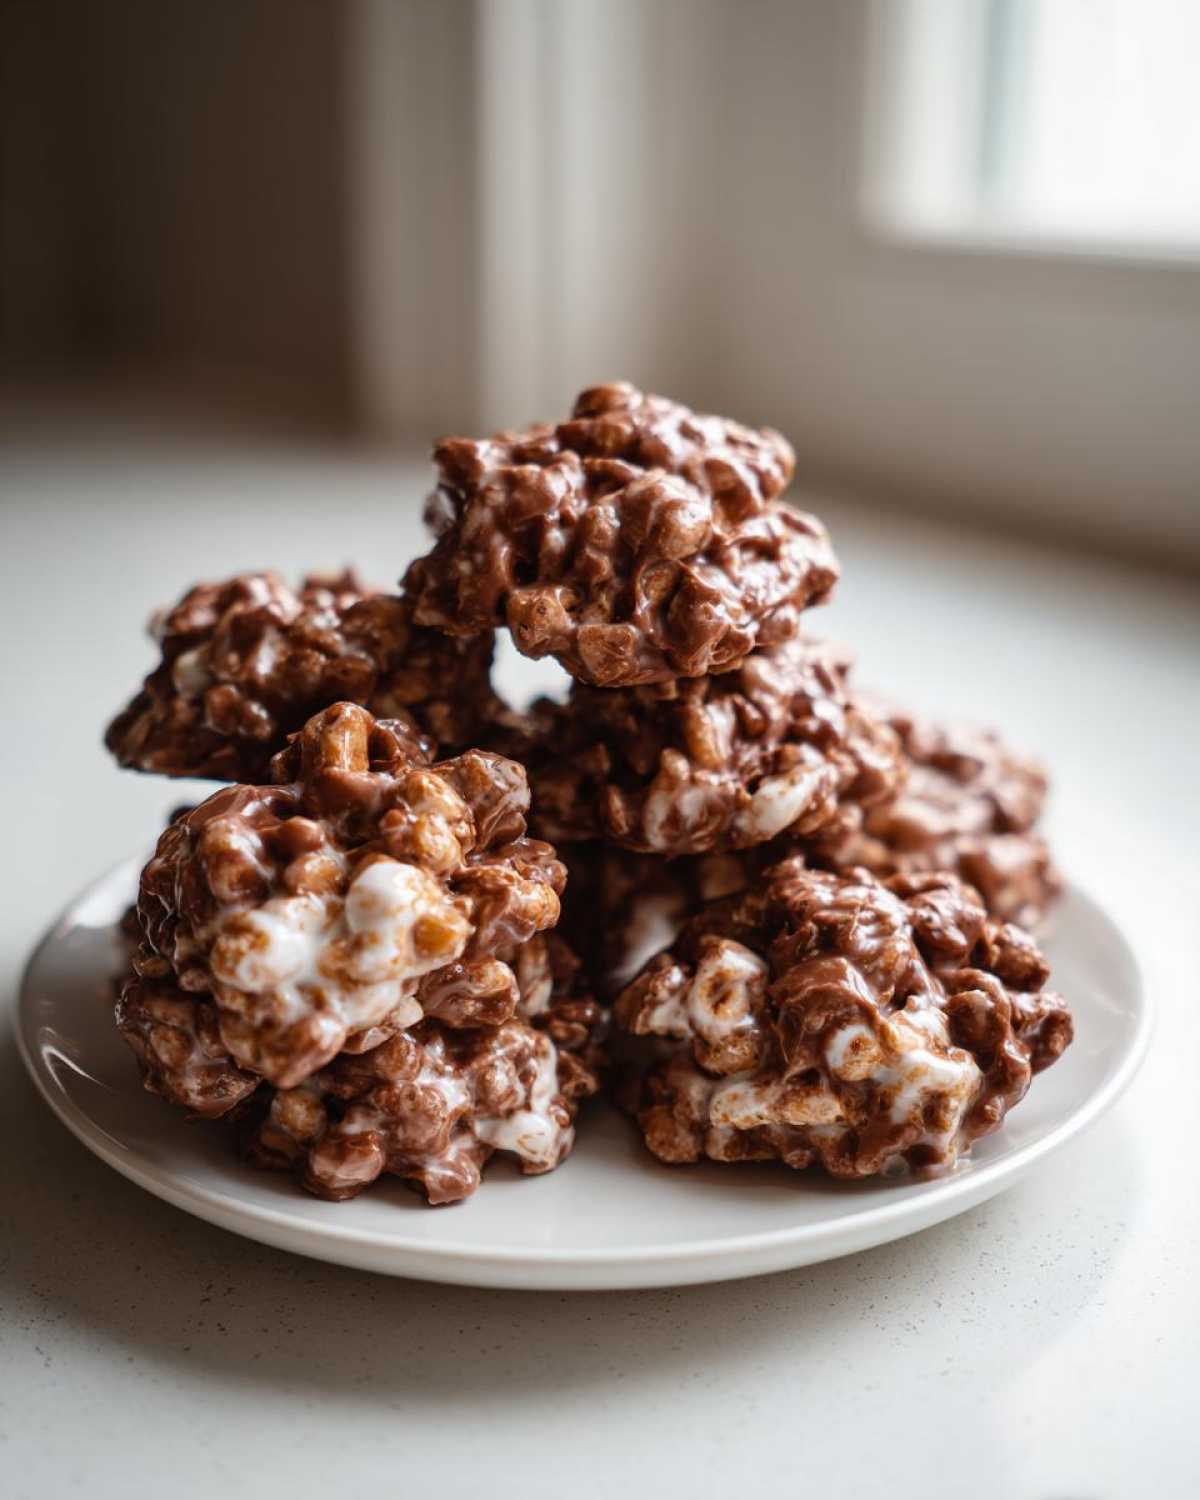
I’ve been making this exact recipe for avalanche cookies for every single holiday gathering for the last five years. Seriously, they are my foolproof standby because they always disappear first. They come together faster than it takes to find matching Tupperware! If you need something that tastes like pure comfort but takes about ten minutes of actual hands-on time, you’re in the absolute right place. You can even use these same basic ratios if you check out my guide on no-bake Oreo balls too!
Why These are the Best No Bake Avalanche Cookies
When I tell people these are the best avalanche cookies, I’m not exaggerating! These truly stand above other quick dessert recipes because they hit every texture you could possibly want in one bite. You can have these ready to set in under 15 minute treats time, which is just insane for something this delicious.
- They require zero oven time—perfect for summer or just keeping the kitchen cool!
- They freeze beautifully, making them perfect for making ahead of time for those busy holiday seasons.
- This is the easiest recipe to scale up if you’re making treats for a big school event or just love leftovers.
Honestly, they are my go-to for drop-offs because nobody ever suspects how simple they are. If you are looking for other simple grab-and-go things, you absolutely must try my recipe for no-bake trail mix energy bites!
Classic Flavor Profile of Avalanche Cookies
The magic here is the perfect textural tug-of-war happening in your mouth. The white chocolate melts down into this glorious, sweet binding agent, but it’s immediately balanced out by the savory, slightly salty kick from the peanut butter. Then you get that satisfying crunch from the cereal that keeps it interesting.
The way the mini marshmallows absorb just a tiny bit of that sweet coating before they set gives you that signature soft, chewy center. This blend—sweetness, saltiness, crunch, and chew—is why this is the definitive avalanche cookies taste. I love how just glancing at them reminds me of packing up goodies for my kids’ soccer team; they’re always a huge hit!
Essential Ingredients for Perfect Avalanche Cookies
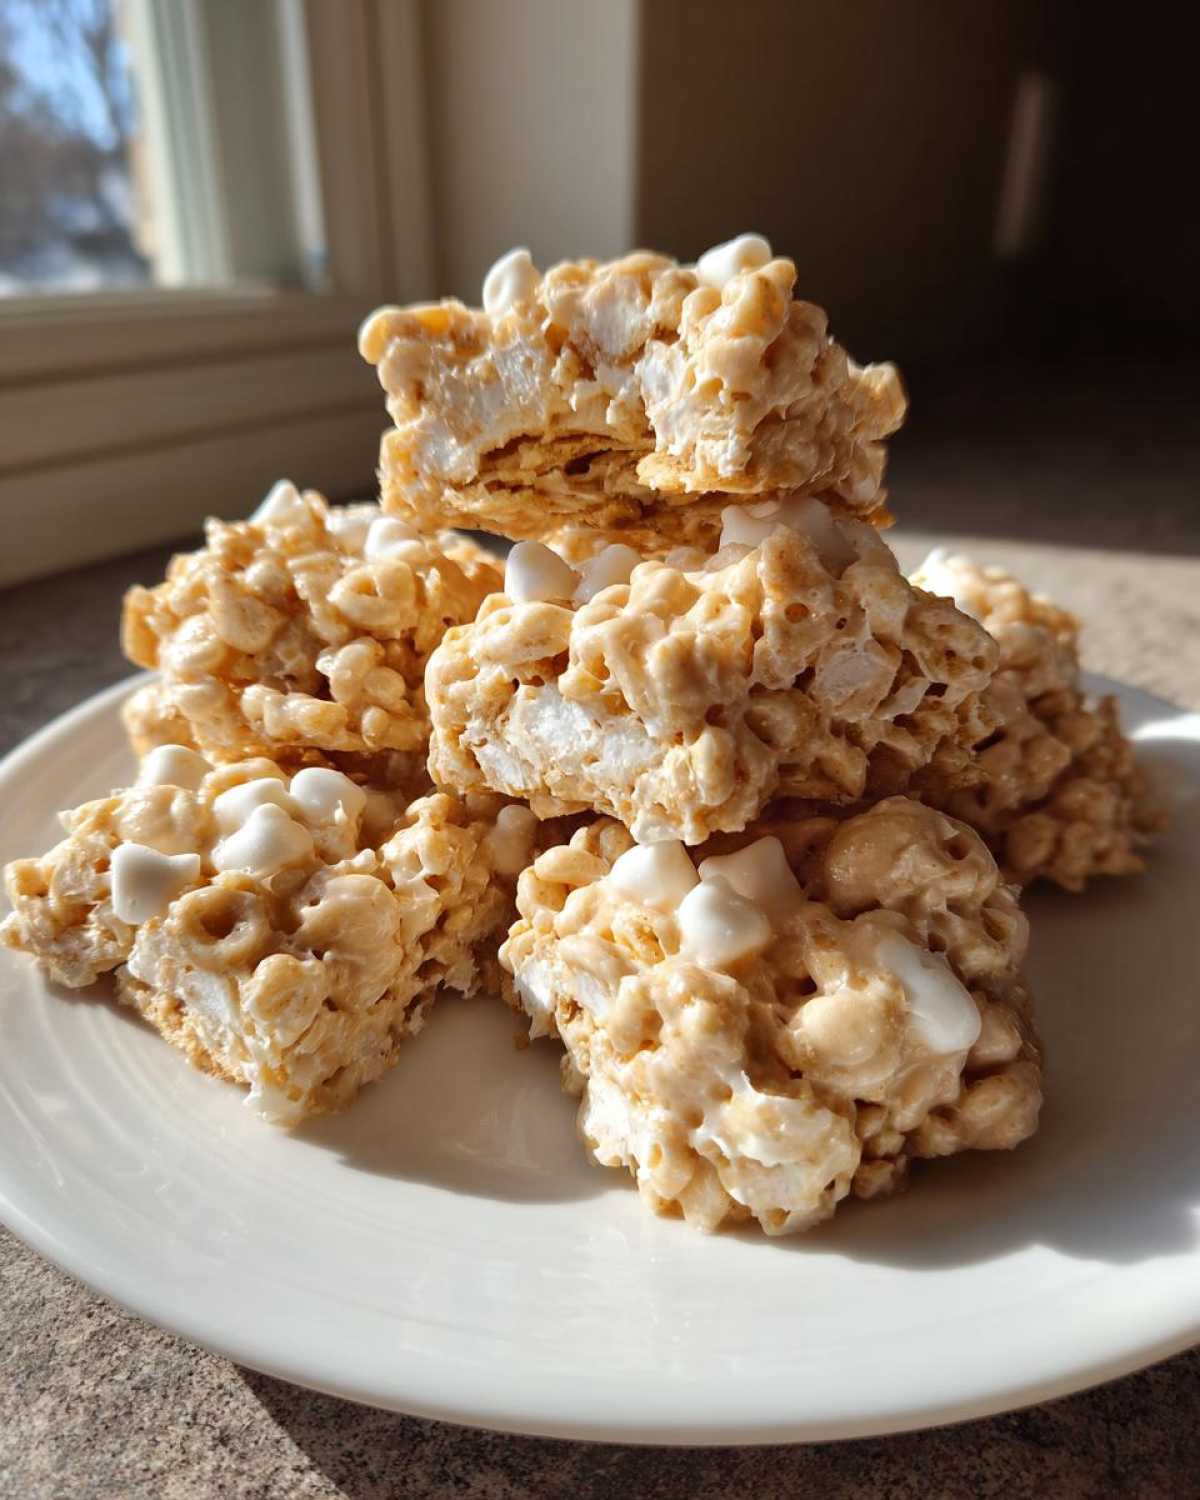
Okay, since these avalanche cookies are so simple—only four core things!—the quality of those four things really does matter. We need clear measurements here because if you mess with the ratios too much, the coating won’t set right, and you’ll end up with a sticky mess instead of a perfect cluster. Trust me, I learned the hard way!
We are aiming for that perfect coating-to-crunch ratio. If you want to see what I make when I’m slow-cooking other peanut-based treats, check out my crockpot peanut clusters, but for this recipe, stick to the list!
Ingredient Notes and Substitutions for Avalanche Cookies
For the white chocolate, please, please use good quality chips. The cheap ones sometimes have stabilizers that make them seize up or feel gritty when melted, and we need that velvety smooth base! If you really want to shake things up, you can swap out half the white chocolate for milk chocolate—that gives you a slightly less sweet flavor profile. That gets you closer to a fun variation!
Since the classic recipe has four amazing parts, it’s hard to cut one. But if you needed exactly 4 ingredient desserts, you could technically skip the marshmallows and just have white-chocolate peanut butter cereal bars, but wow, you lose the signature chewiness that makes these avalanche cookies so good. Also, creamy peanut butter works best; crunchy just makes getting an even mix harder!
Step-by-Step Instructions to Make Quick Dessert Recipes for Avalanche Cookies
This is where the speed really kicks in! Since we love these as no oven recipes, we rely entirely on the microwave, but we have to be watchful. You do not want scorched peanut butter floating in your chocolate, trust me, it smells terrible and tastes worse. Get your pan ready first—lining it with parchment paper is non-negotiable!
Once you start melting, you have about three minutes before things get sticky for good, so efficiency is everything here. If you need other inspiration for quick mixes, check out my guide on easy homemade candy clusters for more ideas!
Melting the Base for Your Avalanche Cookies
Grab a big bowl—seriously, use bigger than you think you need, because we are mixing a lot of cereal in there! Combine your white chocolate chips and the peanut butter. Pop it into the microwave, but keep a close eye on it. Heat it in short bursts, like 30 seconds at a time. After every 30 seconds, pull it out and stir it really well, even if it doesn’t look melted yet. We are doing this so we don’t burn the chocolate.
Keep repeating that until it’s just smooth and pourable, kind of like thick pancake batter. If you stop stirring too soon, you end up with hot chocolate pockets and hard peanut butter clumps, and nobody wants that in their avalanche cookies.
Forming and Setting the Crunchy No Bake Desserts
Once that base is ultra-smooth, you become a fast worker! Dump in your cereal and those cute little marshmallows all at once. Fold everything together quickly but gently. You need to make sure every single piece of cereal gets kissed by that white chocolate mixture before it starts grabbing hold. That’s the secret to getting all that crunch!
When everything is coated—and you need to move because the chocolate starts setting up fast—use a spoon or a small cookie scoop to drop rounds onto your parchment-lined sheet. If you’re in a hurry, stick them in the fridge for about 20 minutes. If you aren’t in a hurry, room temperature works just fine, but be patient! They need to be totally firm before you try to peel them off without wrecking your gorgeous crunchy no bake desserts.
Tips for Success with Your Homemade Avalanche Cookies
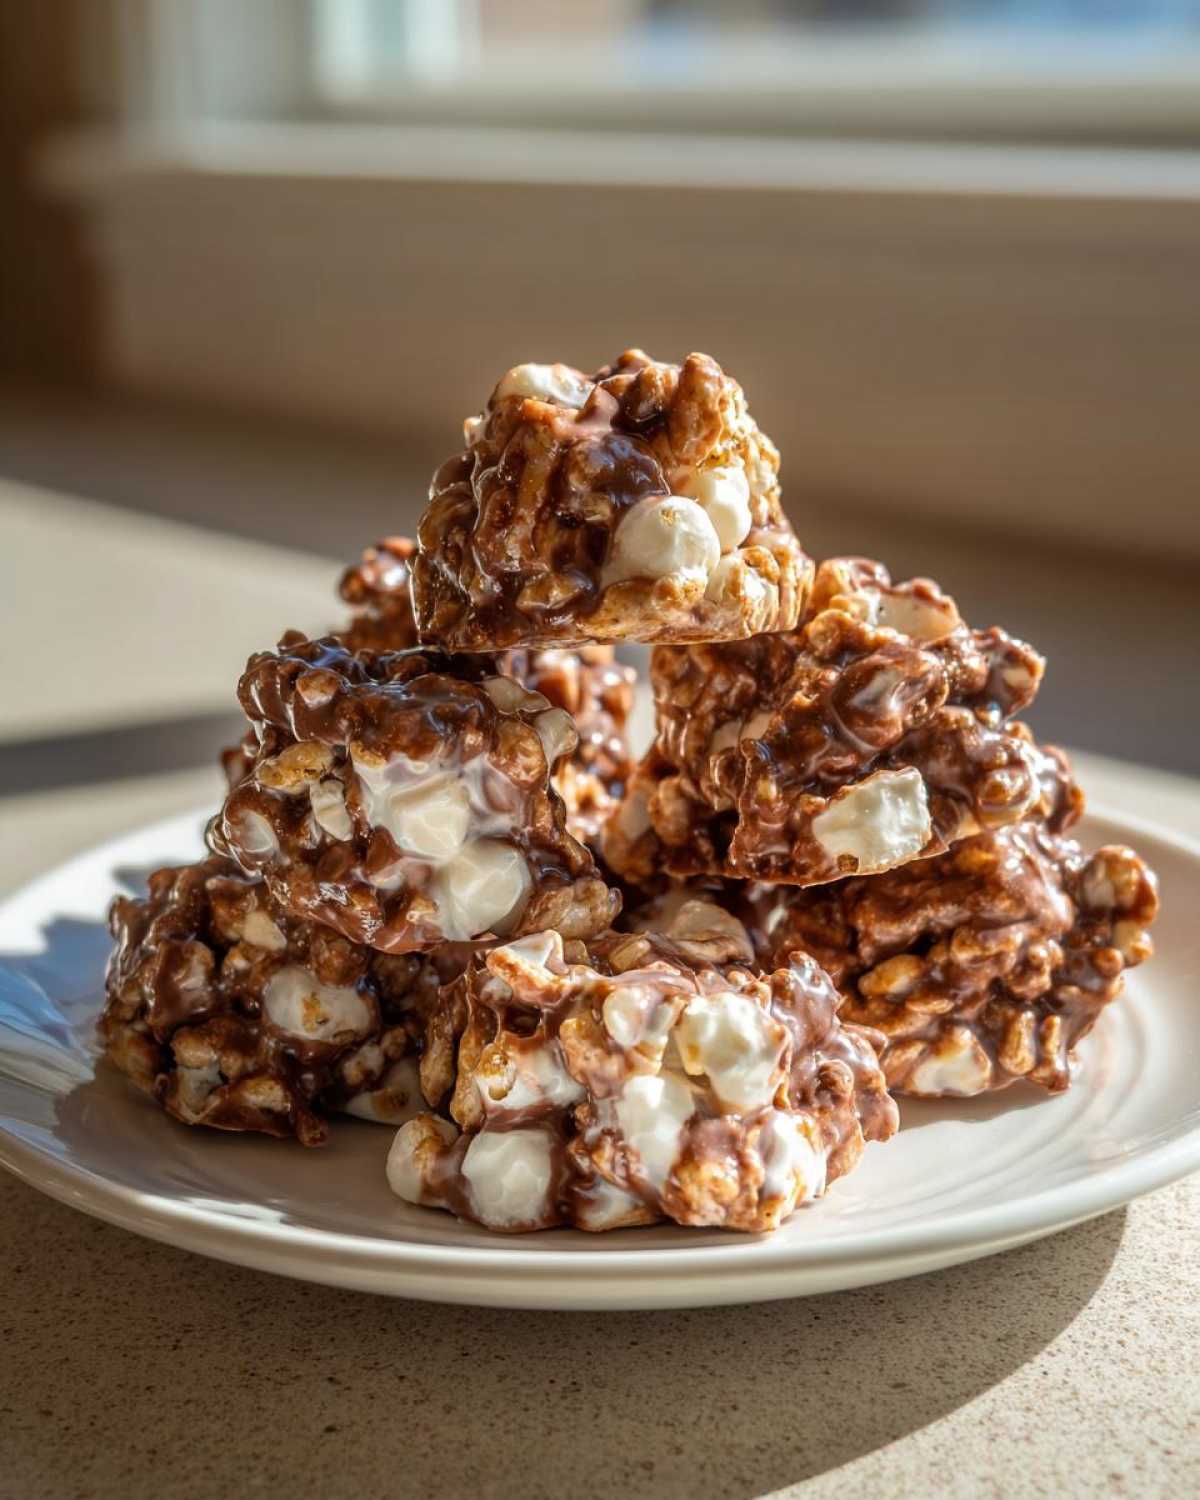
Even though this is super easy, I have a few tricks up my sleeve that guarantee you get those perfect sweet and chewy treats every single time. The mixture seizing up before you get the cereal in there is the number one way people mess this up, so listen closely!
First, make sure your peanut butter isn’t rock hard straight from the fridge. Let it sit on the counter for 15 minutes before you put it in the microwave with the chocolate. If it’s too cold, the chocolate will cool down too fast when you start stirring, and you’ll get chunks. We want smooth sailing!
Second, when you are folding in the cereal and marshmallows, don’t stir like you’re trying to churn butter. You need gentle, quick folds. You’re just trying to lightly coat everything. Over-mixing breaks the cereal and makes the whole thing gummy, which ruins that lovely crispy element we love.
Finally, if you accidentally let the mixture cool a little too much while you were getting the marshmallows, just pop the whole bowl back into the microwave for 10 extra seconds. That little bit of warmth keeps everything liquid enough to coat. You can check out my recipe for Graham Cracker Toffee if you want to see another great recipe where temperature control is everything!
Variations on Classic Avalanche Cookies
Don’t feel like you have to stick just to the original recipe! While this classic batch is dynamite, you can easily customize these clusters to fit whatever mood or holiday you’re celebrating. If you’re bored of the standard flavor profile, think of these as blank canvases for easy candy clusters.
For a fun twist that works great as a Peanut Butter Chocolate Cookies Alternative, try swapping out some of that white chocolate chips for semi-sweet or even dark chocolate. It tones down the overall sweetness just a touch. Also, people go wild when I add toasted pecans or chopped peanuts right in with the cereal! That extra nuttiness is amazing.
And speaking of customizing, if you need a fun seasonal scent, a tiny bit of peppermint extract mixed in when melting the base makes these totally Christmas-ready! If you like learning about other fantastic no-bake holiday items, you should see how I make my Pecan Pie Bark—it uses similar simple melting magic!
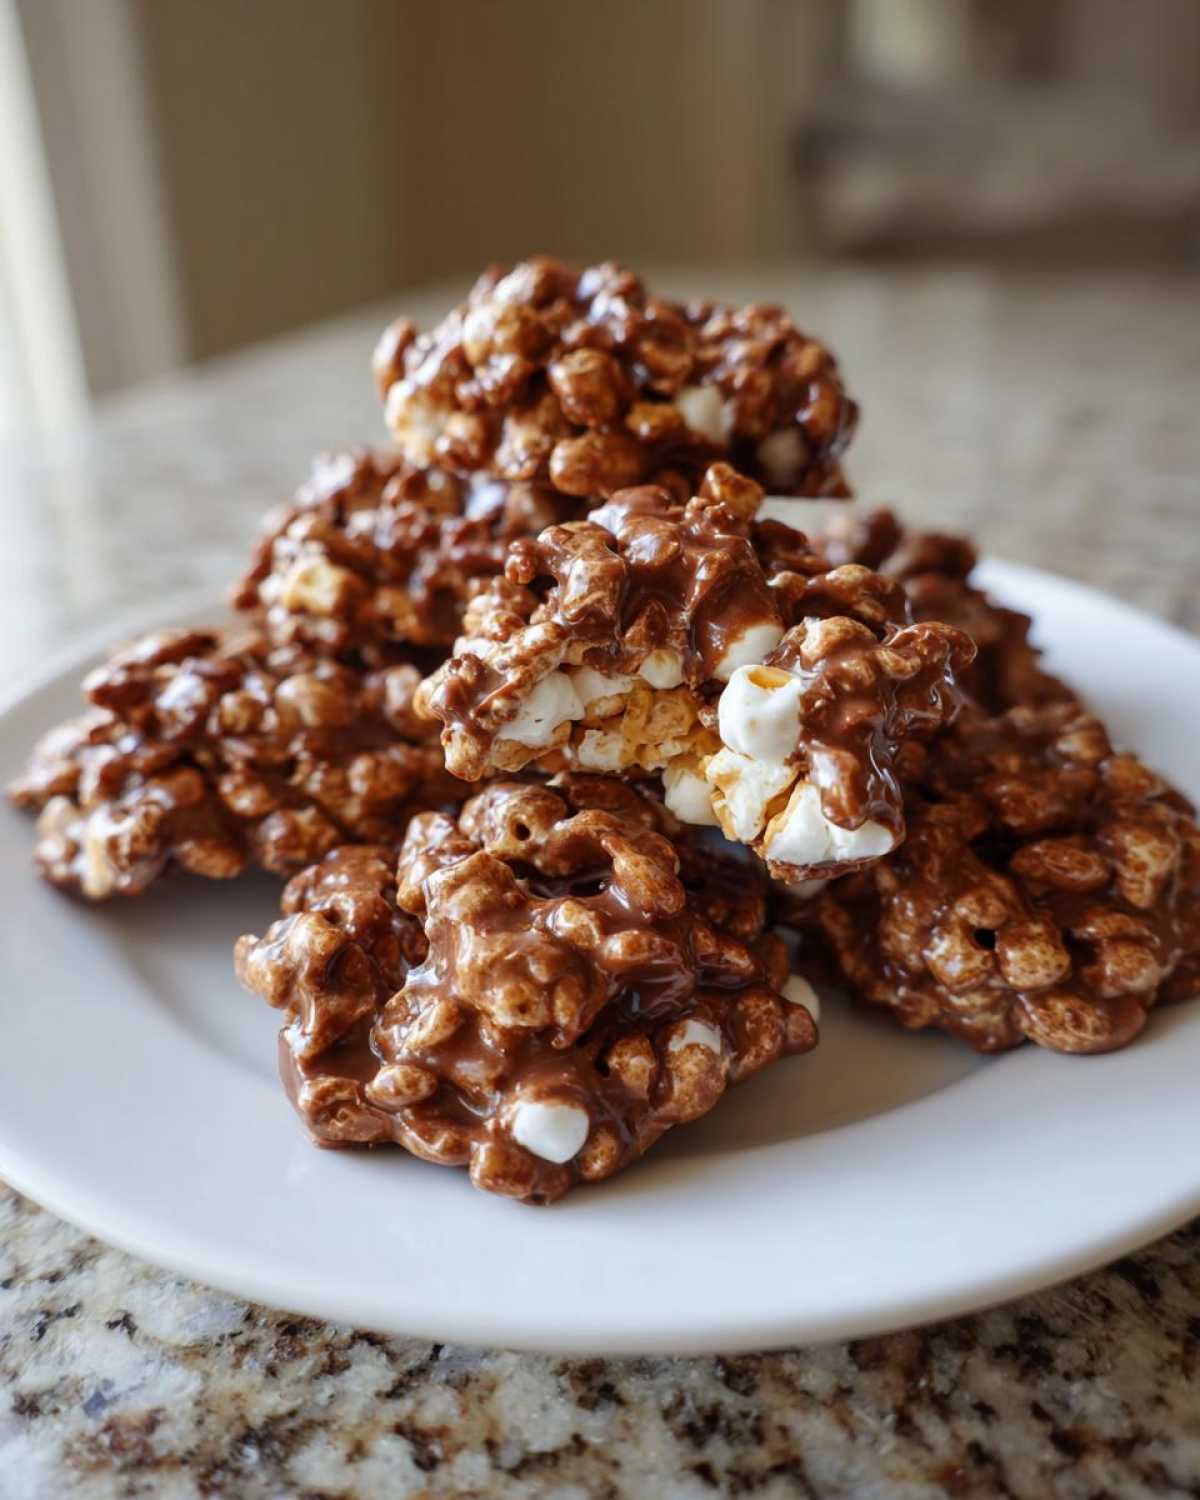
Serving and Storing Your Avalanche Cookies for Holiday Cookie Trays
These avalanche cookies are practically *made* for gifting. They look so festive piled high on a platter, making them instant stars on any holiday cookie tray. Because they set up so nicely, they are sturdy enough to transport easily, too—perfect for those last-minute drop-offs or filling a slot on your next big bake sale favorites table.
When you drop them by the spoonful, they look rustic and homemade, which everyone loves. But here’s a secret tip if you’re making them for a slightly fancier occasion or need them totally neat for packaging: instead of dropping them as individual cookies, you can press the entire coated marshmallow mix evenly into a greased 9×13 inch pan. Let that chill completely, and then cut them into squares or rectangles. They look like little candy bar segments that way!
Now, for storage, because these are simple homemade candy, they last a while, which is another reason they are my best friend during the busy season. You want to keep them in an airtight container. They do great sitting right on the counter at room temperature for up to a week. Don’t worry about them fading or going stale quickly!
If you are making a huge batch weeks ahead of time, the freezer is your friend. Pop them into a freezer-safe bag or container, and they’ll keep beautifully for about a month. Just let them thaw on the counter for about an hour before you plan on serving them. It’s so nice knowing I have a whole batch of last minute dessert ideas ready to go whenever I need them! For another easy, make-ahead holiday treat, you should definitely check out my recipe for Christmas Poke Cake!
Frequently Asked Questions About Avalanche Cookies
I get so many questions whenever I post these, which is great because it shows how popular these avalanche cookies are! People always wonder about swapping ingredients, especially since these are some of the best no bake cookies out there. I’m happy to clear up the common hiccups I see people run into when they try to make these quick dessert recipes.
If you want to see how I handle ingredient questions for something totally different, hop over and check out the troubleshooting in my garlic butter naan bread recipe!
Can I use crunchy peanut butter in avalanche cookies?
You absolutely can! If you prefer a little extra texture beyond the cereal crunch, crunchy peanut butter works just fine. The only thing I’d watch out for is that the crunchy bits might soak up a tiny bit more of the melted chocolate mixture than the creamy kind does. If you notice things getting too stiff while you’re mixing, just quickly zap it for five more seconds in the microwave. It’s totally up to your preference!
How do I prevent my avalanche cookies from being too hard?
Oh, that’s almost always about impatience during the melting phase! The goal is a mixture that is runny enough to coat everything beautifully before it starts grabbing hold. If your cookies feel hard when they set, it means you didn’t melt the white chocolate and peanut butter quite enough, or you didn’t mix in the cereal fast enough.
Remember that 30-second interval stirring process? You need that mix to be totally fluid, like a thick, glossy fudge base. If it starts looking stiff or gloppy in the bowl, that’s your signal to give it a very brief re-heat. That perfect melt keeps your final clusters wonderfully soft and chewy!
Estimated Nutritional Data for Simple Homemade Candy
Since we’re aiming for something that tastes like rich candy, I always keep the nutrition information handy—though honestly, that’s why we only make these on special occasions, right?
Here’s a rough guess based on the recipe amount and standard ingredient servings. Remember, these estimates are just a guide, as the exact brand of chocolate or peanut butter can change things! For the full rundown on how I calculate these, you can check out my detailed recipe disclaimer page.
- Serving Size: 1 cookie
- Calories: 210
- Sugar: 18g
- Fat: 12g
- Protein: 4g
These simple homemade candy items pack a sweet punch, but they generally come together in just half an hour total!
Share Your Favorite Avalanche Cookies Creations
Okay, I’ve given you all my secrets for making the absolute best, quickest, most satisfying avalanche cookies in the world! Now it’s your turn to get messy in the kitchen.
Seriously, I can’t wait to see your creations. Did you stick to the classic white chocolate version, or did you make one of those fun variations we talked about? Or maybe you made a whole sheet of squares instead of the drop cookies?
Once you’ve whipped up a batch, please head down to the comments section and tell me how they turned out! Did they disappear instantly? Which event were they the hit of—a potluck dessert idea or just an afternoon snack?
If you loved this recipe and want to see more easy candy and no-bake ideas, give this post a solid 5 stars right below this section. It really helps me know I’m sharing recipes you actually want to see! If you have any follow-up questions not covered above, don’t hesitate to reach out to me directly through my contact page!
PrintClassic No-Bake Avalanche Cookies

Make these simple, no-bake avalanche cookies using white chocolate, peanut butter, marshmallows, and cereal for a quick, crunchy treat perfect for gifting or holidays.
- Prep Time: 10 min
- Cook Time: 0 min
- Total Time: 30 min
- Yield: About 24 cookies
- Category: Dessert
- Method: No-Bake
- Cuisine: American
- Diet: Vegetarian
Ingredients
- 12 ounces white chocolate chips
- 1 cup creamy peanut butter
- 6 cups crispy rice cereal
- 2 cups mini marshmallows
Instructions
- Line a baking sheet with parchment paper.
- In a large microwave-safe bowl, combine the white chocolate chips and peanut butter.
- Microwave in 30-second intervals, stirring well after each interval, until the mixture is completely smooth and melted. This usually takes 1 to 1.5 minutes total.
- Quickly fold in the crispy rice cereal and mini marshmallows until everything is evenly coated with the chocolate mixture. Work fast before the chocolate sets.
- Drop rounded tablespoons of the mixture onto the prepared baking sheet.
- Allow the cookies to set completely at room temperature or chill in the refrigerator for about 20 minutes until firm.
Notes
- For a cleaner look, you can press the mixture into a 9×13 inch pan and cut it into squares once set.
- If you prefer a slightly less sweet cookie, you can substitute half of the white chocolate chips with milk chocolate chips.
- Store finished cookies in an airtight container at room temperature for up to one week.
Nutrition
- Serving Size: 1 cookie
- Calories: 210
- Sugar: 18
- Sodium: 105
- Fat: 12
- Saturated Fat: 6
- Unsaturated Fat: 6
- Trans Fat: 0
- Carbohydrates: 25
- Fiber: 1
- Protein: 4
- Cholesterol: 5