

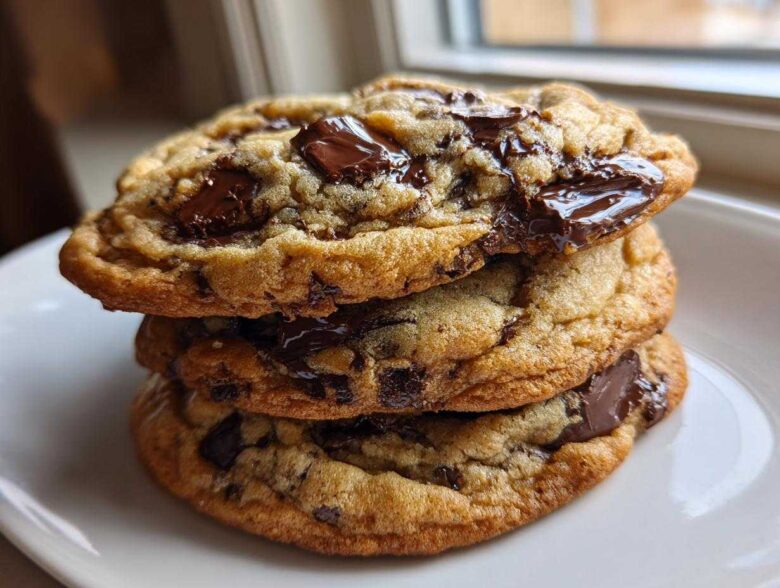
If you’ve ever walked into a great bakery, inhaled that rich, warm scent, and thought, “I wish I could make my chocolate chip cookies taste *that* good,” then stop searching. Seriously, stop right now. Chloe and I fought for years over cookie texture—she wanted gooey, I wanted structural integrity—but together, we found the sweet spot. This browned butter technique is the secret weapon that brings all that deep, nutty flavor. This isn’t just a recipe; it’s the result of our combined efforts, and trust me, it’s The Ultimate Chewy Chocolate Chip Cookie. We really hammered out the structure versus spontaneity balance here, a testament to how we work as a team over in our About Us section!
Why This is The Ultimate Chocolate Chip Cookie Recipe
Okay, when people ask me what makes this recipe the best, I always point to three things: the edges, the center, and the flavor complexity. We aren’t just aiming for good cookies; we are aiming for those incredible, thick bakery-style cookies that look thick and gooey when they come out of the oven. Browning the butter is key here; it adds this nutty, toasted depth that plain melted butter just can’t touch. It sounds complicated, I know—I’m the guy who likes structure—but trust me, it’s worth the extra two minutes of stovetop stirring for The Ultimate Chocolate Chip Cookie experience.
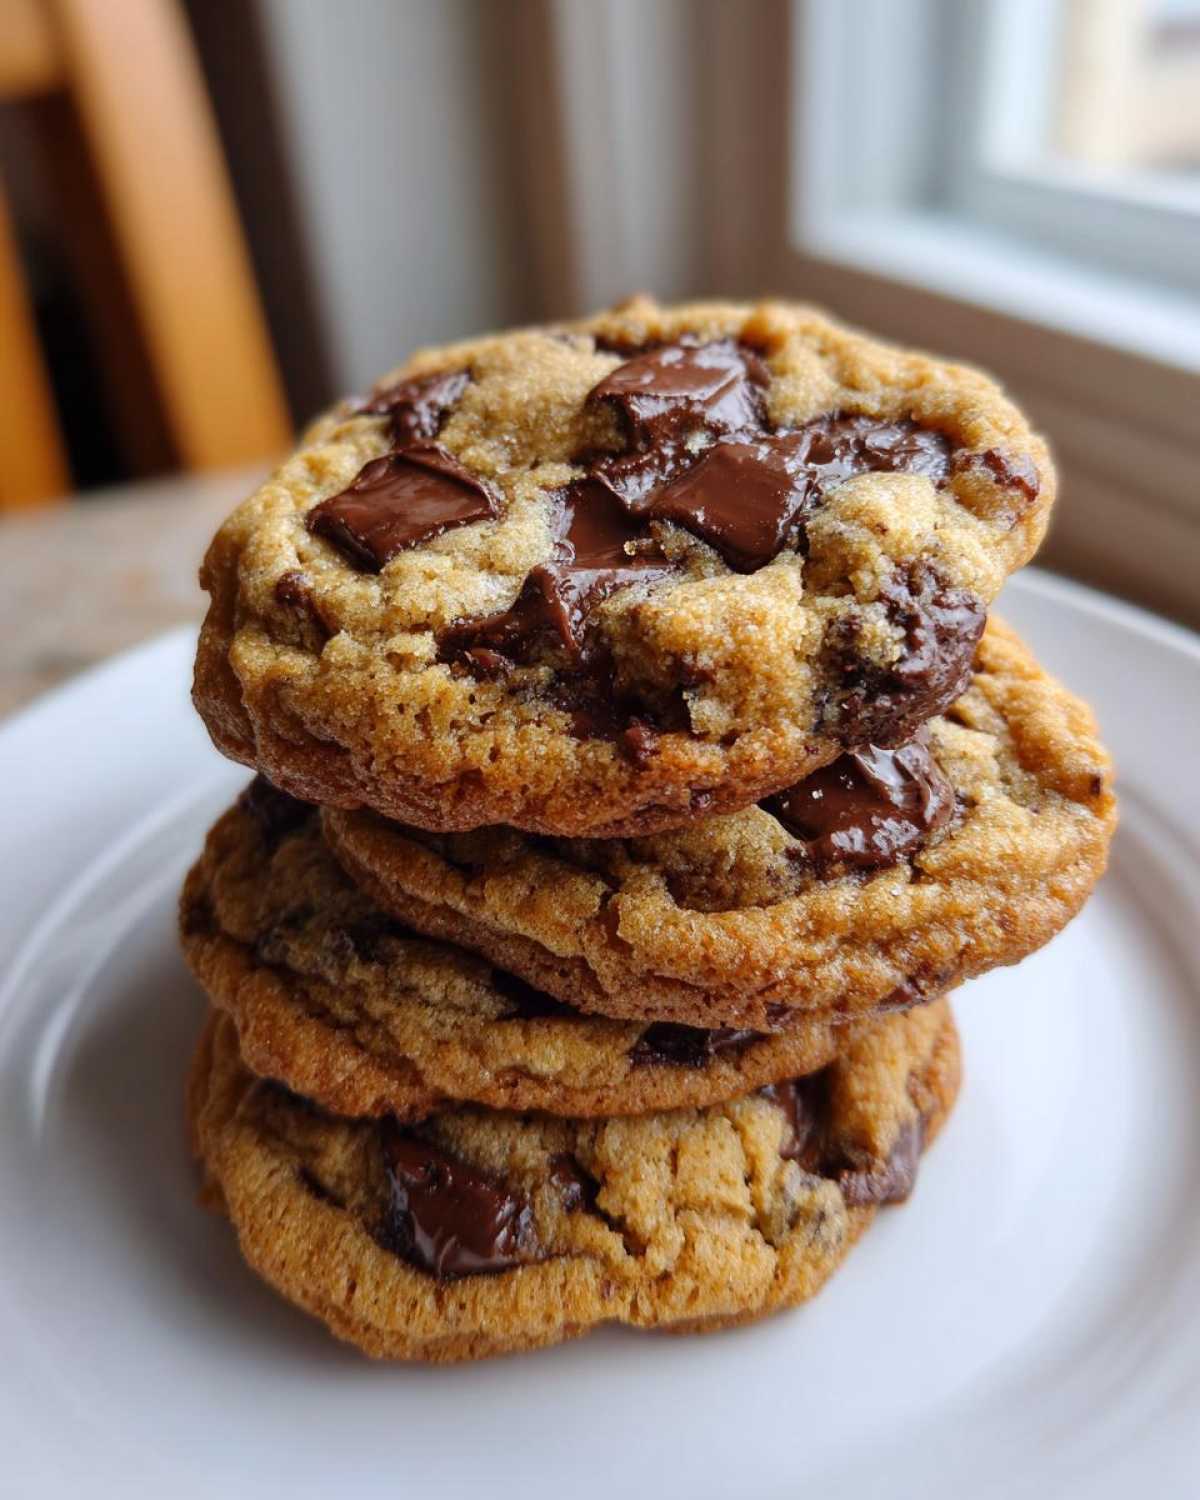
Achieving Bakery Style Cookies Texture
The texture we chase is that perfect contradiction: crispy, golden edges giving way to a seriously soft, almost underbaked center. The good news is we achieve this using two non-negotiable steps, which took Chloe arguing with me for weeks to nail down! First, browning the butter locks in that incredible flavor foundation. Second, chilling the dough is the absolute secret to preventing our cookies from spreading too thin. If you skip the chill, they spread; we want them thick, so patience here pays off big time.
Gathering Ingredients for Perfect Chocolate Chip Cookies
Alright, my structured planning side loves this part—getting the ingredients lined up makes the whole process smooth sailing. Since we are using browned butter, make sure you account for the cooling time when prepping! Look over this list carefully. We need everything at room temperature where noted, especially those eggs, because that helps everything emulsify without overmixing later on. Having everything ready before you start mixing is the easiest way to ensure everything goes perfectly.
Here is what you need to pull from your pantry for about 18 large cookies:
- 1 cup (2 sticks) unsalted butter, browned and cooled slightly
- 1 cup packed light brown sugar
- 1/2 cup granulated sugar
- 2 large eggs, room temperature
- 1 tablespoon vanilla extract
- 2 1/4 cups all-purpose flour
- 1 teaspoon baking soda
- 1/2 teaspoon salt
- 1 1/2 cups semi-sweet chocolate chips (a mix of chunks and chips works best)
- Flaky sea salt, for topping (optional)
Step-by-Step Guide to Making Chewy Chocolate Chip Cookies
Now for the fun part—turning those ingredients into cookie magic! This process marries my love of sequential instructions with Chloe’s insistence that we taste-test at every possible moment. Remember, precision matters in the early stages, but we need to be gentle when mixing in the flour. Follow these steps closely, and you’ll understand why everyone raves about how wonderfully Chewy Chocolate Chip Cookies these come out. Check out our general chewy chocolate chip cookies recipe notes if you get distracted!
The Browned Butter Technique: Flavor Foundation
Step one is pure alchemy: browning the butter! Melt your butter in a saucepan over medium heat. You need to watch this closely—it’s fast once it gets going. Keep stirring until the milk solids start to toast at the bottom and turn a beautiful, deep brown color. This usually takes about five to seven minutes. When it smells nutty, pour it all into a heatproof bowl, making sure you scrape in every single brown bit. Those bits are pure flavor gold! Then, let it cool down until it’s just warm—about 15 minutes. If it’s too hot, it will cook your eggs later, and we absolutely do not want that!
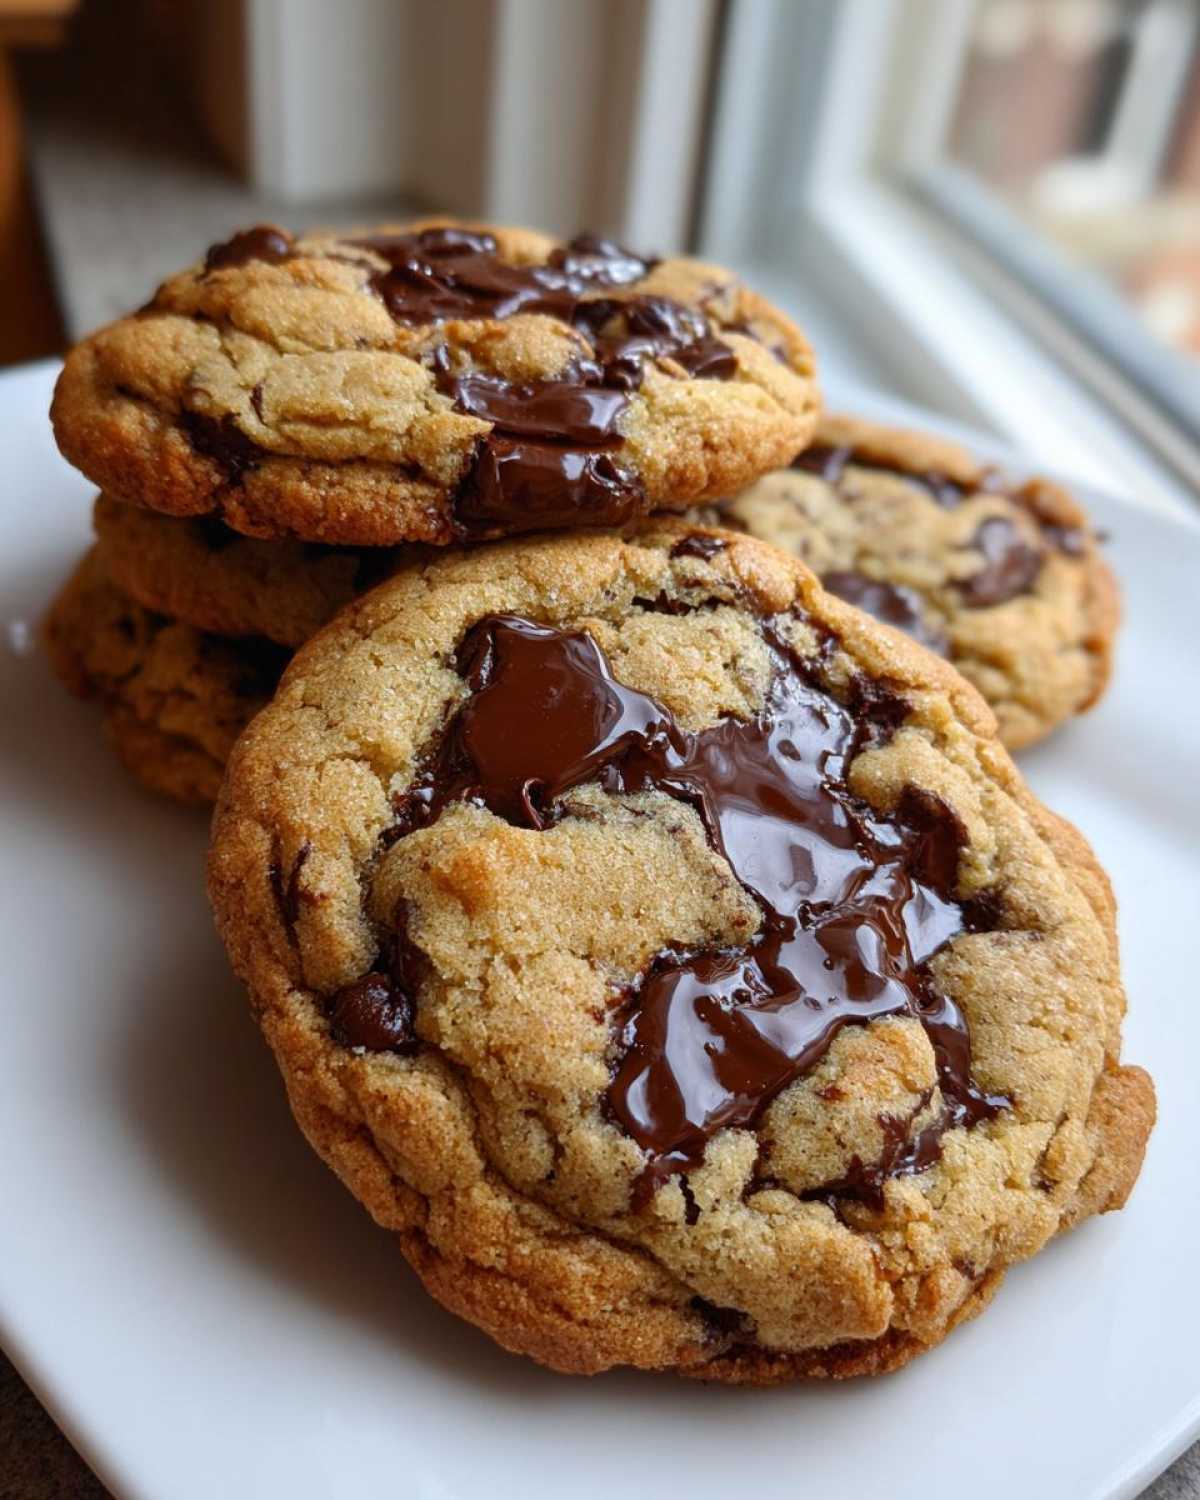
Mixing and the Crucial Chilling Time for Chocolate Chip Dough
Once the butter is cooled, whisk in both sugars until they are totally combined. Then, beat in your room-temperature eggs one at a time, followed by the vanilla. In a separate bowl, whisk your dry ingredients (flour, baking soda, salt). Now, add the dry ingredients to the wet mixture gradually. Mix only on low speed until you just see the last streak of flour disappear. Seriously, stop mixing! Overmixing is the enemy of a foolproof cookie recipe. Finally, fold in those wonderful semi-sweet chocolate chips by hand. Here’s the real secret for incredible texture: cover the dough and chill it for a minimum of two hours, or even better, up to three days! That chilling time is what guarantees those thick, bakery-style results.
Baking Time and Temperature for Soft Baked Chocolate Chip Cookies
Okay, the dough is chilled, the oven is preheated to 375°F (190°C), and we are ready to bake! I always line my sheets with parchment paper—it just makes cleanup so much easier, trust me. We are aiming for big, satisfying cookies, so scoop out about three tablespoons of dough for each one. Place them on the lined sheets, making sure they have a good two inches between them so they have room to spread just a little bit without touching.
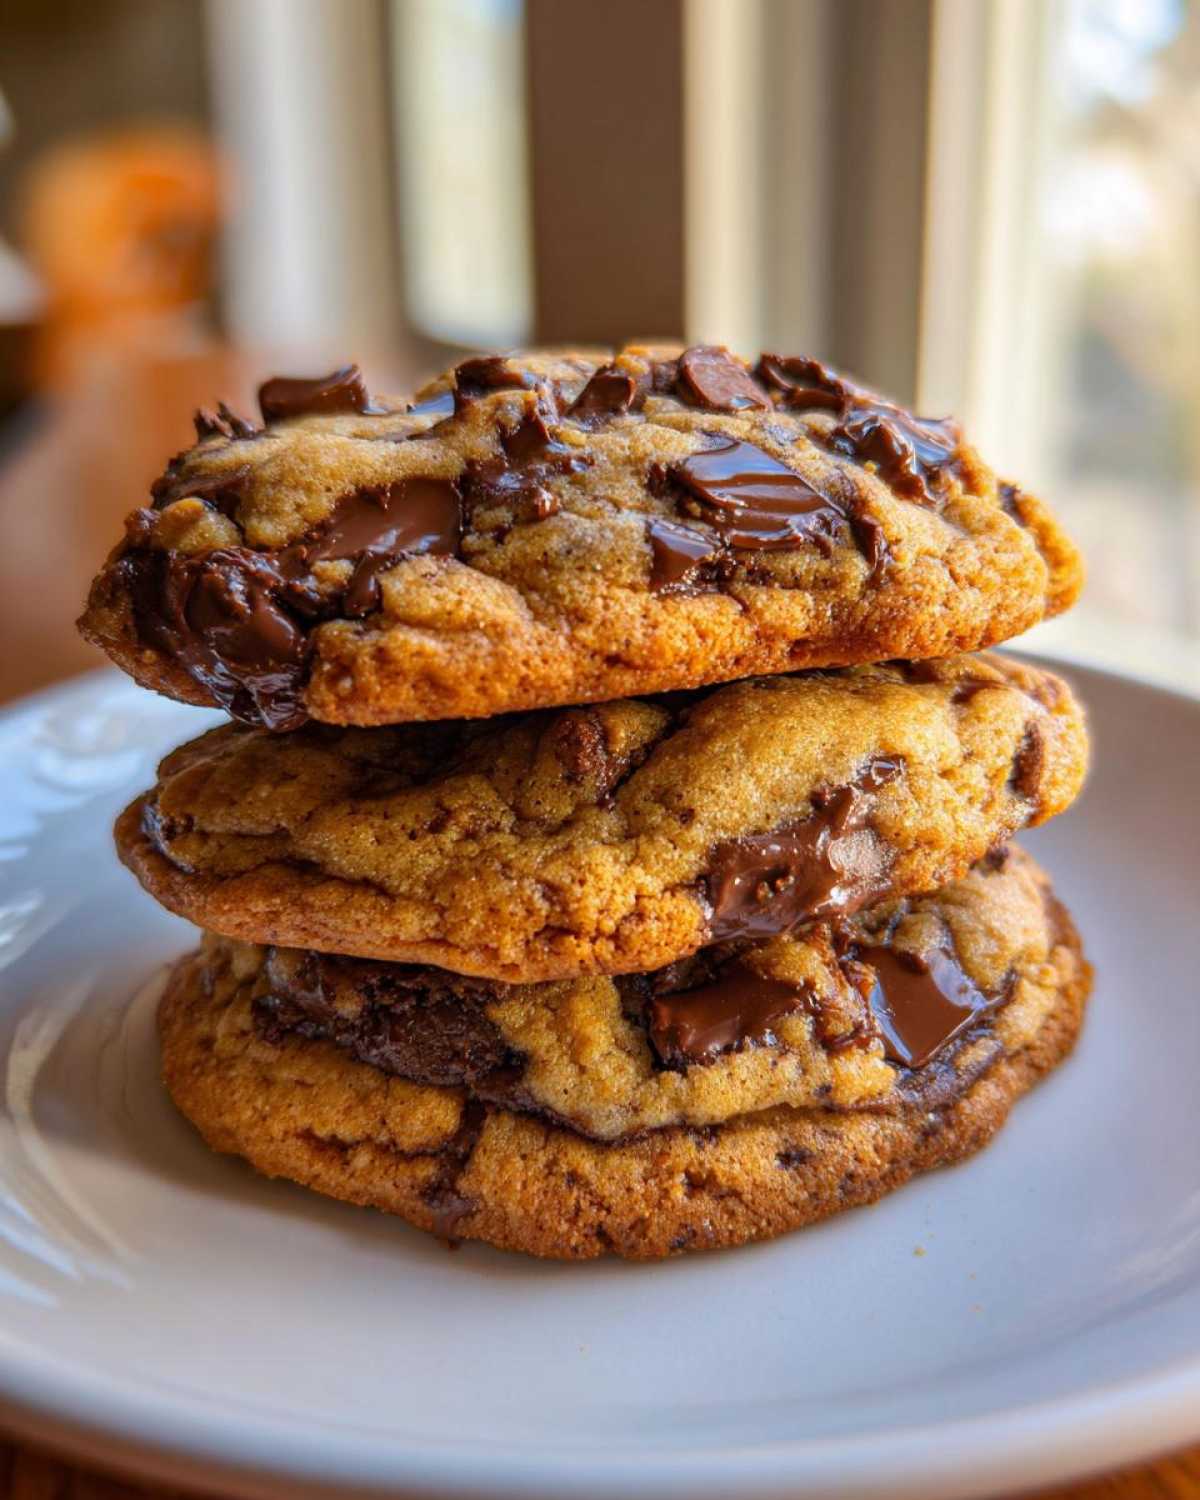
In the oven, they need about 10 to 12 minutes. The absolute key to getting those perfect Soft Baked Chocolate Chip Cookies is pulling them out when they *look* slightly underdone. The edges should be golden brown and set, but the center should still look soft and maybe even a little puffy or melty. If they look completely baked, they’ll be hard in about an hour! If you’re using that flaky sea salt, sprinkle just a tiny pinch right on top as soon as they come out of the heat. Let them sit on that hot baking sheet for five minutes before you carefully move them onto the wire rack. That short rest solidifies the structure just enough!
Tips for Perfect Chocolate Chip Cookie Results
Chloe and I learned these bits the hard way, usually through trial-and-error batches that ended up too flat or too cakey! If you want to unlock the real Chocolate Chip Cookie Secrets, you need to respect the dough. My biggest piece of advice, which Chloe strongly agrees with now, is that you absolutely cannot skip the chilling step. Cold dough means less spread, which is what keeps these thick and chewy instead of turning into thin wafers.
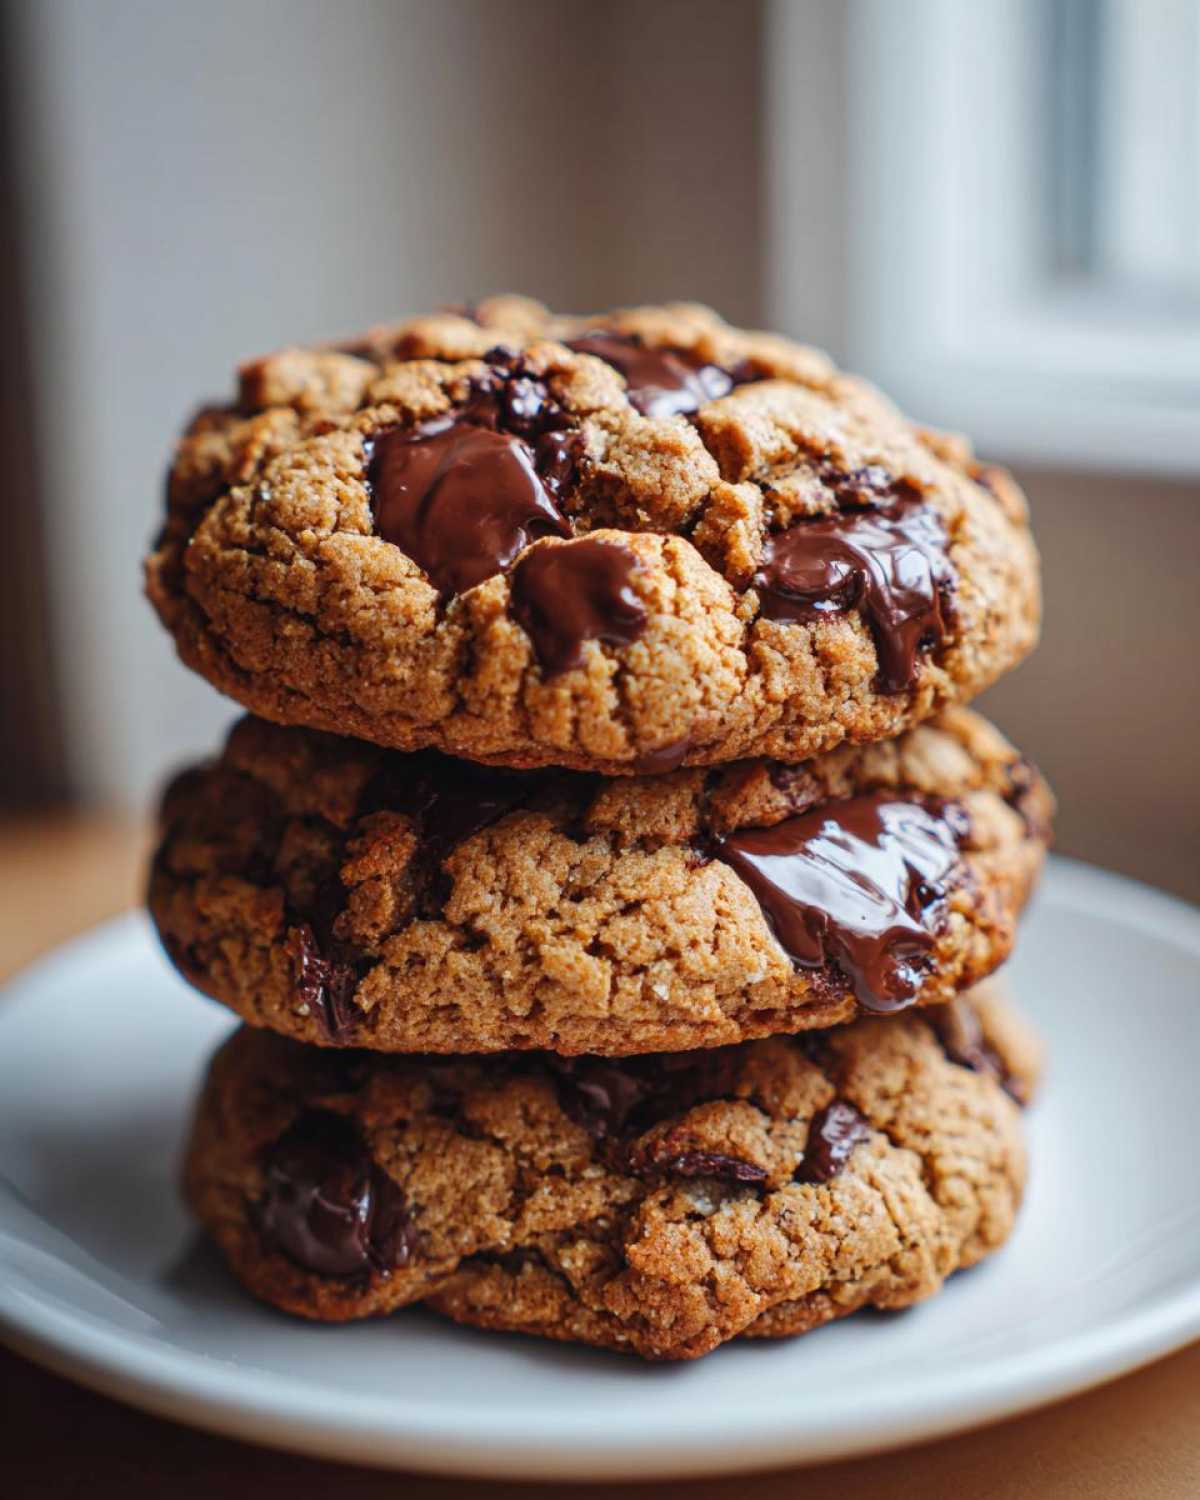
Also, don’t skimp on the type of chocolate! We insist on using a mix of both semi-sweet chocolate chips and some chunks cut from a good quality bar. The chips hold their shape, but the chopped chunks melt into those glorious puddles of chocolate that make these cookies heaven.
If you’re in a giant rush and skip the chill, it’s okay! But know they will spread more, and you probably won’t get that signature chewy middle we love so much. You have to be willing to wait for the best results!
Variations on the Classic Chocolate Chip Recipe
While this recipe is my version of the perfect cookie—my structural perfection shining through—we totally encourage you to mess around with the mix-ins! That’s where Chloe really takes over the baking process. If you want a more intense, almost smoky flavor, switch out some of those semi-sweet chips for dark chocolate chunks. Or, if you’re making these for the kids, using milk chocolate chips creates a sweeter vibe, hitting that Classic Chocolate Chip Recipe nostalgia perfectly.
Don’t forget the spice jar! A tiny bit of espresso powder added right with the flour just deepens the chocolate flavor without making it taste like coffee. Sometimes, we even throw in about a half-cup of toasted pecans for a little crunch. Keep the browned butter and the chilling time the same, and you can swap out just about anything else. Have fun with it!
Storage and Reheating Instructions for Your Chocolate Chip Cookies
Chloe is usually the one who hides the leftovers because she can’t stop eating them! Luckily, these cookies hold up incredibly well, especially because we chilled the dough first. Store any fully cooled chocolate chip cookies in a solid, airtight container at room temperature. If you stack them, put a small piece of parchment paper between the layers so they don’t stick together—I learned that the hard way!
If you want to bring them back to that just-baked state, don’t worry; warming them up is super easy. Pop one or two cookies into the microwave for about 10 seconds. That little bit of heat melts the chocolate perfectly and softens the center right up again. For a slightly crispier edge revival, warm them on a baking sheet in a low oven (around 300°F) for just 3 minutes. Seriously, they taste brand new every time!
Frequently Asked Questions About Chocolate Chip Baking
I know you might have a few questions lingering after seeing all that browned butter and talk of dough resting! That’s totally fair; baking is science, and sometimes you need confirmation that Chloe and I actually tested every strange idea we had. We truly want you to succeed in making these copycat chocolate chip cookies right at home.
Can I skip chilling the chocolate chip cookie dough?
Look, I get it. You want cookies *now*. You can technically skip the chilling—I won’t tell if you won’t! But hear me out: skipping the chill is what makes the dough spread out into thin, crispy discs instead of those beautiful, thick rounds we are aiming for as easy homemade cookies. The cold dough has less moisture available to spread quickly in the oven, giving you those perfect, thick, chewy chocolate chip cookies. If you *must* skip it, try chilling the dough balls in the freezer for just 30 minutes to firm them up a bit.
What makes these the Best Chocolate Chip Cookies?
For me, what elevates these to be the Best Chocolate Chip Cookies isn’t just the ingredients, but the technique we use to combine them! It boils down to that nutty, complex flavor unlocked by the browned butter. That deep flavor anchors the cookie. Then, when you pair that base with the required chilling time, you get the structure needed for those chewy centers and slightly crispy edges. It’s the combination of flavor maximization and texture control that makes all the difference!
Is it better to use melted butter or browned butter for homemade cookies?
This is a big one! Melted butter (which is softer than browned butter after it cools) will give you a flatter cookie that is often crispier all the way through. Browned butter, however, cooks off a small bit of water content while toasting the milk solids, which adds a massive depth of flavor *and* encourages that thicker, chewier texture we love so much in our bakery-style treats. If you want the richness of melted butter but need the texture boost, you absolutely must brown it first! Don’t skip it on this classic chocolate chip recipe; it’s essential for the flavor profile!
Nutritional Estimates for This Chocolate Chip Recipe
Alright crew, this is the part where my planning brain needs to step in, even if it’s not the most exciting part of baking cookies! Since we went all out with the butter and the sugar to make these cookies so rich and decadent, it’s good to have a baseline idea of what you’re working with. I went through and calculated estimates based on every speck of flour and every handful of chips we put in.
Please remember this is just a rough guide, because remember, Chloe usually “eyeballs” the vanilla extract, which messes up my math! These values are based on the recipe yielding 18 large cookies. For full transparency on how numbers can change based on ingredients, you can always check out our full disclaimer here.
- Serving Size: 1 cookie
- Calories: 280
- Fat: 16g (with 10g of that being saturated fat—that’s the butter working hard!)
- Carbohydrates: 34g
- Sugar: 22g
- Protein: 3g
- Sodium: 150mg
See? Worth every single bite! These are treats, plain and simple. Don’t worry too much about the numbers when the cookies taste this good!
PrintThe Ultimate Chewy Chocolate Chip Cookies: Bakery Style at Home
You can make the best, soft, and chewy chocolate chip cookies with crispy edges right in your kitchen. This foolproof recipe blends structure and flavor for perfect results every time.
- Prep Time: 20 min
- Cook Time: 12 min
- Total Time: 2 hours 32 min
- Yield: 18 large cookies
- Category: Dessert
- Method: Baking
- Cuisine: American
- Diet: Vegetarian
Ingredients
- 1 cup (2 sticks) unsalted butter, browned and cooled slightly
- 1 cup packed light brown sugar
- 1/2 cup granulated sugar
- 2 large eggs, room temperature
- 1 tablespoon vanilla extract
- 2 1/4 cups all-purpose flour
- 1 teaspoon baking soda
- 1/2 teaspoon salt
- 1 1/2 cups semi-sweet chocolate chips (a mix of chunks and chips works best)
- Flaky sea salt, for topping (optional)
Instructions
- Brown the butter: Melt the butter in a saucepan over medium heat. Continue cooking, stirring often, until the milk solids toast and turn deep brown, about 5-7 minutes. Pour the browned butter (including the browned bits) into a heatproof bowl and let it cool for 15 minutes until it is just warm, not hot.
- In a large bowl, whisk together the cooled browned butter, brown sugar, and granulated sugar until fully combined.
- Beat in the eggs one at a time, mixing well after each addition. Stir in the vanilla extract.
- In a separate medium bowl, whisk together the flour, baking soda, and salt. Gradually add the dry ingredients to the wet ingredients, mixing on low speed until just combined. Do not overmix.
- Fold in the chocolate chips by hand.
- Cover the dough and chill for at least 2 hours, or up to 72 hours, for the best flavor and texture. Chilling is a key secret for chewy cookies.
- Preheat your oven to 375°F (190°C). Line baking sheets with parchment paper.
- Scoop the dough into balls, about 3 tablespoons each, and place them 2 inches apart on the prepared sheets.
- Bake for 10 to 12 minutes, or until the edges are golden brown but the centers still look slightly soft and underbaked.
- Immediately sprinkle the tops with flaky sea salt, if using.
- Let the cookies cool on the baking sheet for 5 minutes before transferring them to a wire rack to cool completely.
Notes
- For the best texture, do not skip the chilling step. Cold dough spreads less, resulting in thicker, chewier cookies.
- Use a mix of chocolate chips and chopped chocolate bars for varied melt and texture in your cookies.
- If you are in a hurry, you can skip chilling, but the cookies will spread more and be slightly less chewy.
Nutrition
- Serving Size: 1 cookie
- Calories: 280
- Sugar: 22g
- Sodium: 150mg
- Fat: 16g
- Saturated Fat: 10g
- Unsaturated Fat: 6g
- Trans Fat: 0g
- Carbohydrates: 34g
- Fiber: 1g
- Protein: 3g
- Cholesterol: 55mg