

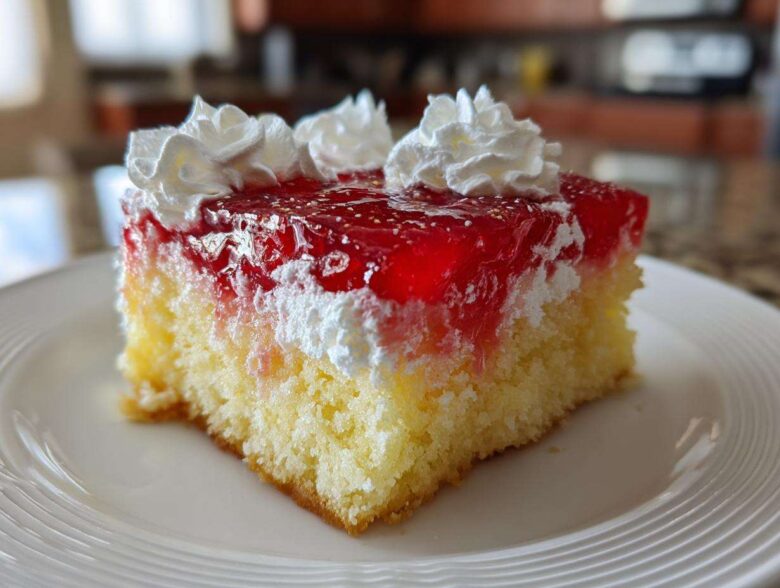
Oh my gosh, you have to try this! If you’re like me, sometimes you need a stunning, super colorful dessert that doesn’t require you to spend your entire afternoon fussing with complicated layers or exotic ingredients. Well, stop right there, because I’ve perfected the ultimate, no-fuss, ridiculously moist **jello poke cake** recipe. I’m telling you, this is the one you want in your back pocket for summer BBQs or last-minute school parties. I tried five different versions before settling on this one—the secret is keeping the cake warm when we poke those holes!
Trust me, this version ensures you get those vibrant, sweet bursts of gelatin in absolutely every single bite. It’s the easiest, most reliable way to guarantee a super moist poke cake that people will seriously ask you for the recipe for. I first brought this to a neighborhood potluck years ago, hidden under a giant bag of ice because I was nervous it wouldn’t set, and honestly, I came back with an empty pan. It’s that good!
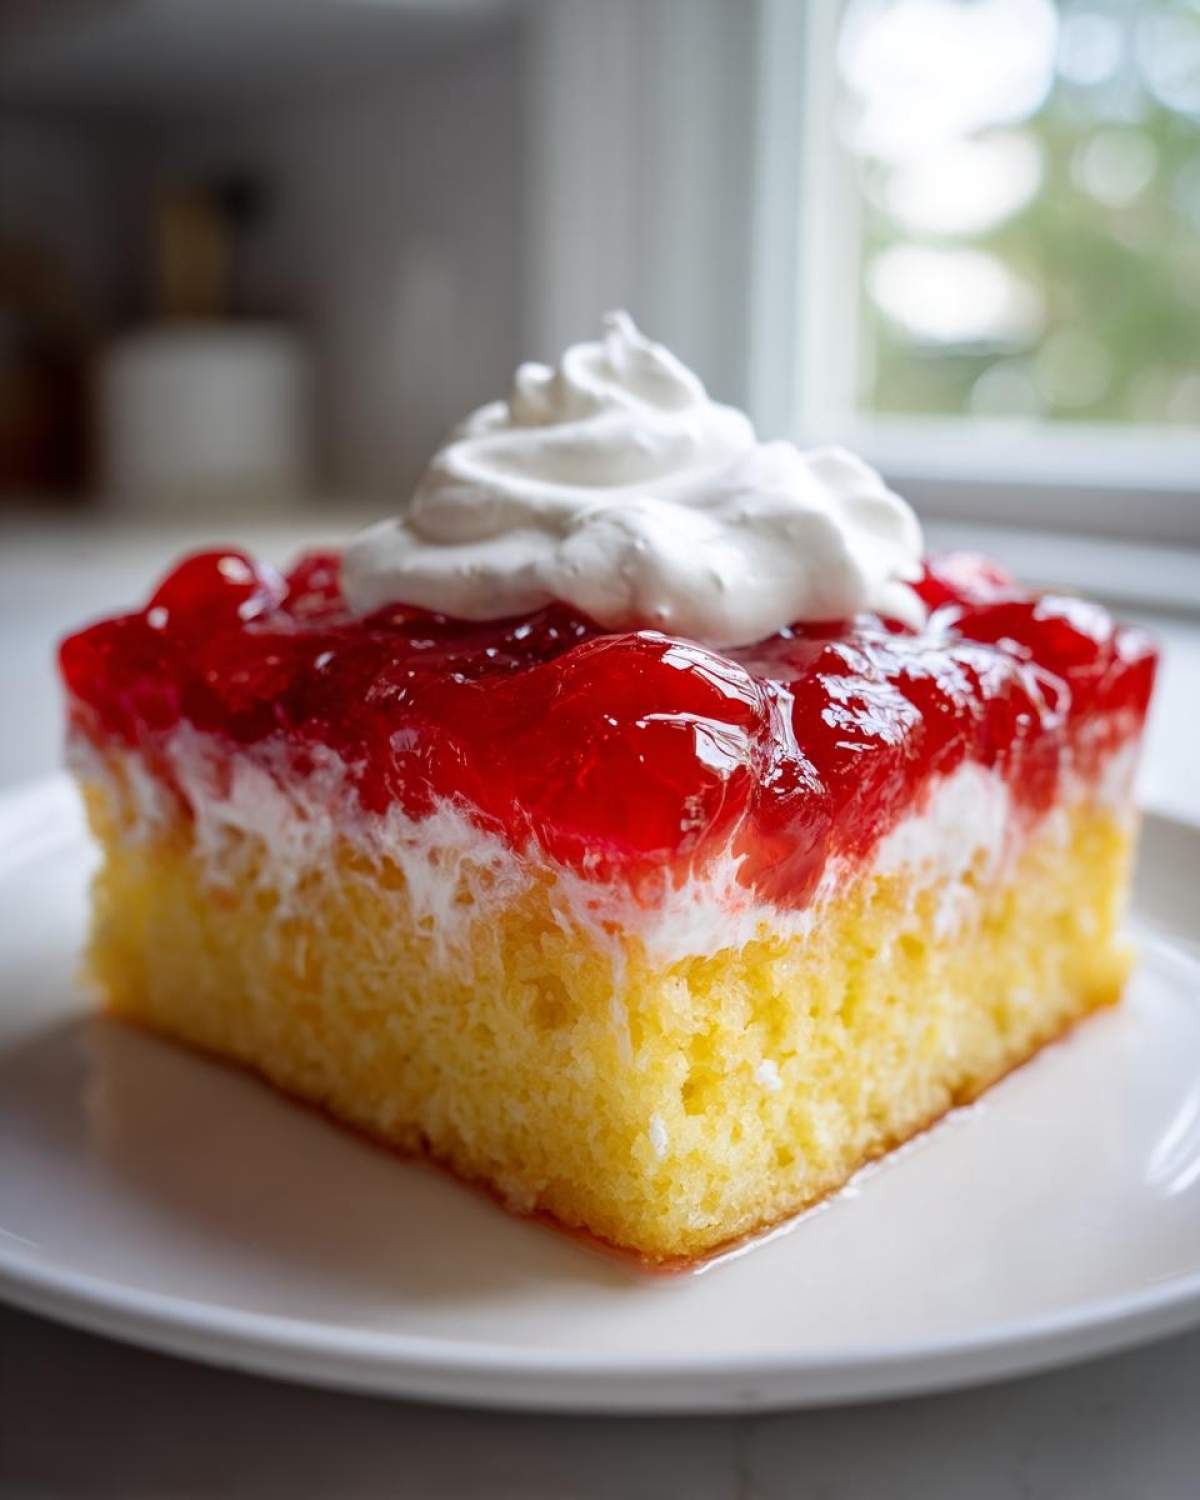
We’ve tested the baking times endlessly to make sure this **jello poke cake** turns out perfectly every single time, right out of the box. You’ll be amazed at how something so simple can look so impressive. Head over to my main recipe hub if you want to see other easy ideas, but stick around—this one is truly special.
Why This Classic Jello Poke Cake is Your New Go-To Dessert
If you’re tired of dry, crumbly desserts disappearing too fast at gatherings, listen up! This recipe is my answer to boring potluck fare. It’s genuinely designed to be foolproof while delivering maximum wow factor.
- It uses a standard boxed cake mix, so prep is lightning fast.
- The Jello soak guarantees a wonderfully moist poke cake that stays soft for days—if it lasts that long!
- The vibrant colors make it perfect for any celebration, from birthdays to summer picnics.
- It’s the definition of a no-fuss, impressive cake.
Honestly, there’s nothing better than pulling this out of the fridge and watching everyone ask how you made something so bright and flavorful with so little effort.
Key Features of Our Jello Poke Cake
The magic here is simplicity meeting saturation. We’re relying on a time-tested, boxed white cake mix base because it holds up beautifully when it gets soaked. It’s sturdy enough to handle the liquid Jello without collapsing into a puddle. Those sweet little pockets of gelatin are what make this recipe legendary. It’s just so happy looking!
Gathering Supplies for Your Jello Poke Cake
Before we even look at the box ingredients, let’s talk tools. You don’t need a fancy setup for this; it’s actually one of the best dessert using boxed cake mix recipes out there because the equipment is so basic. Having everything ready makes the process smoother, especially since we need to move fast once the cake comes out of the oven!
Essential Tools for Making a Jello Poke Cake
You mostly need things you already own, which is the best part. Make sure you have a sturdy 9×13 inch baking pan ready to go. We use that specific size because it gives us the perfect shallow depth for maximum Jello soak across the whole cake. You’ll also need a couple of mixing bowls for the Jello, of course. The most important tool, though? Grab a good, solid wooden spoon—we only use the handle end for poking, not a fork!
Ingredients Needed for the Easy Jello Poke Cake Recipe
Okay, getting the supplies together is super simple because we are kicking this off with a boxed mix. I love that about this easy jello poke cake recipe; it cuts down on so much work! You want to grab everything listed below. Before you do anything else, make sure you have the right size Jello box; the 3-ounce size is perfect for getting that intense flavor saturation without making the cake too soggy. Don’t substitute; stick to the plan for the best results!
You’ll need:
- One standard box of white or yellow cake mix, the larger 15.25-ounce size is what we use.
- All the basic stuff required on that cake mix box—usually some eggs, oil, and water.
- One box of Jello gelatin. Seriously, pick your favorite flavor! Cherry or lime are classics, but you can swap this out later, I promise. We use the 3-ounce box size.
- One cup of boiling water, which you’ll boil fresh.
- One cup of cold, fresh water.
- And finally, one container (that’s usually 8 ounces) of frozen whipped topping—make sure it’s thawed in the fridge before you need it near the end!
Step-by-Step Instructions for the Jello Poke Cake
Alright, this is where the magic happens, and I swear, it’s easier than making toast! The timing here is everything. You can’t let the cake get totally cold, and you can’t pour the Jello onto a scorching hot cake, or you’ll just end up with gelatin soup. We need that sweet spot where the cake is warm enough to suck up the liquid but cool enough not to melt it instantly. This reliable method is why this simple gelatin cake works so well.
Baking and Preparing the Jello Soak for Your Jello Poke Cake
First things first, bake that cake according to the box, aiming for that 9×13 pan. Once it’s out of the oven, set a timer for exactly 15 minutes. That’s your cooling window! While that timer is running, get the Jello ready. Here’s the big change from the package directions: you only use one cup of boiling water and one cup of cold water. Stir that Jello until it is 100% dissolved. I mean it—stir until you can’t see a single granule anymore, otherwise, you get weird, firmer spots in your finished cake.
Poking and Soaking the Moist Poke Cake
Once your 15 minutes are up, grab the handle of a wooden spoon, not a fork! A fork rips the cake up too much. You need to poke holes all over the top of that warm cake, aiming for about an inch apart. Don’t be shy; poke all the way down to the bottom! Next, grab your dissolved Jello and slowly, slowly pour it all over the surface. Go slow so the warm cake has time to suck up every bit of that sweet flavor. It looks messy, but trust the process!
Chilling and Topping the Finished Jello Poke Cake
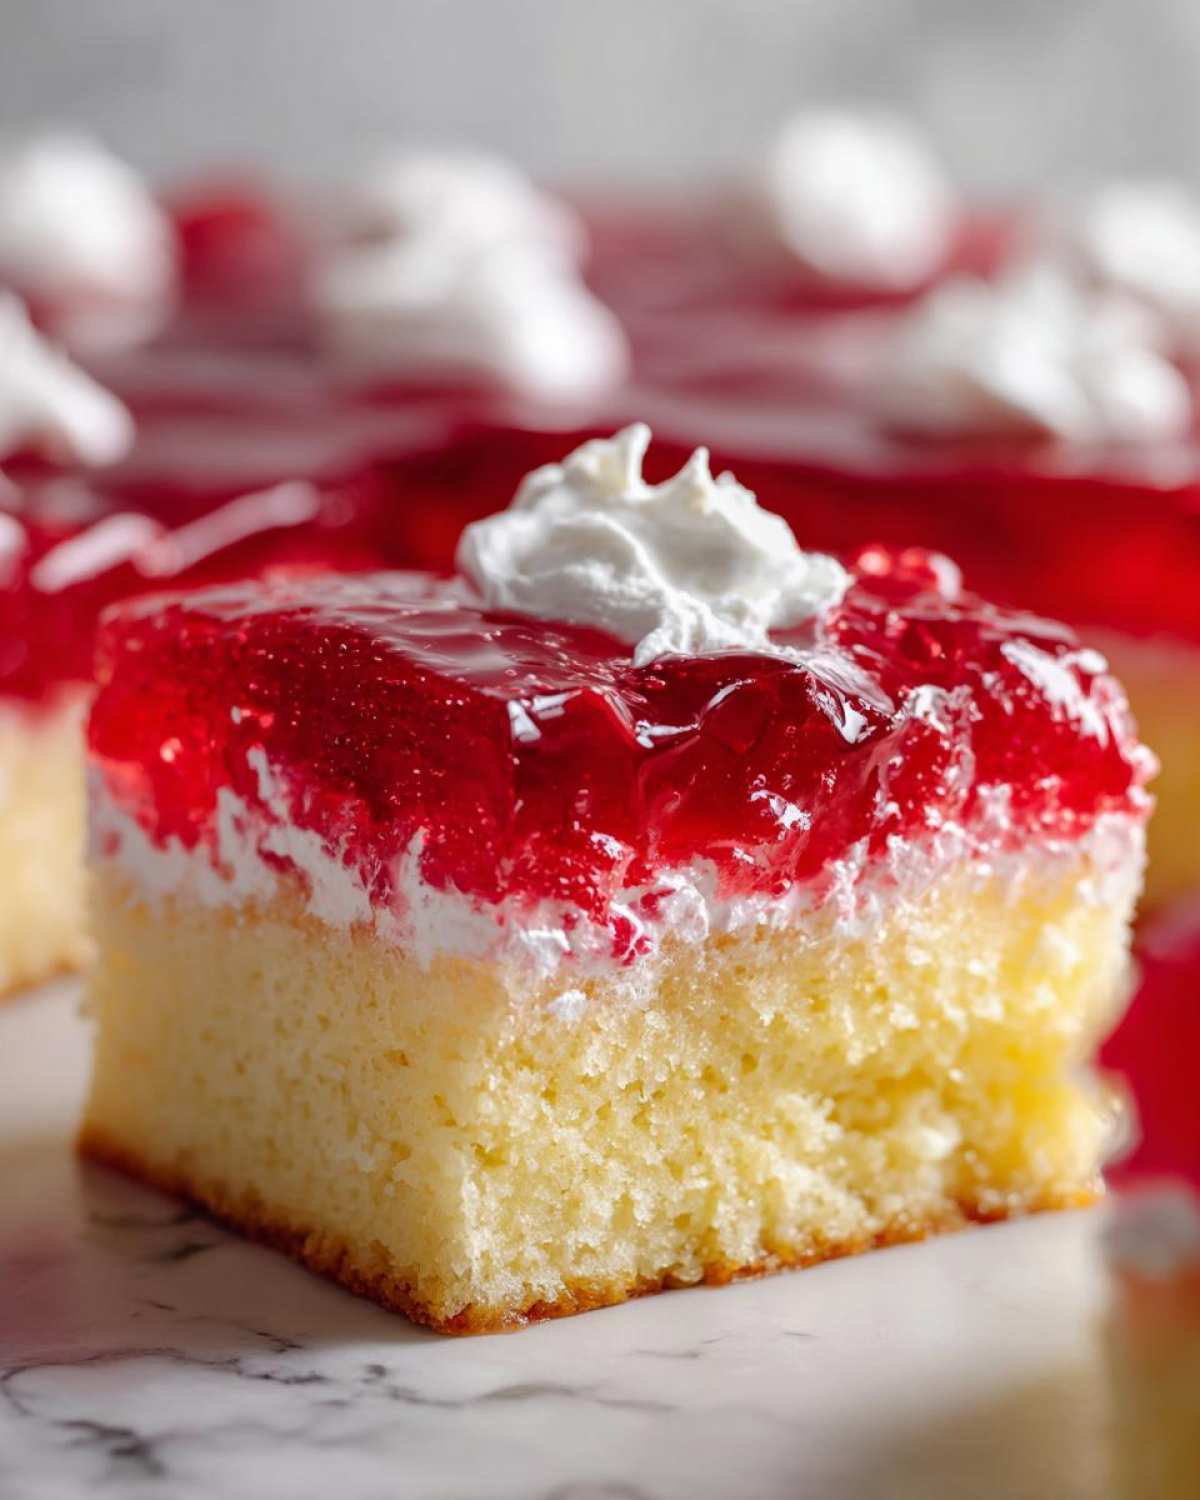
Now for the hardest part: waiting. Pop that whole pan into the fridge. You must let it chill for at least three to four hours, or until that Jello is totally firm and jiggly on top. If you try to put the topping on too soon, it sinks right in. Once it’s set, grab your thawed whipped topping—that’s usually Cool Whip, but use what you love! Spread that creamy layer evenly across the top. Give it one last quick chill for 30 minutes before slicing. That final chill firms up the topping and makes it so much easier to get those perfect, clean squares!
Tips for the Perfect Jello Poke Cake Every Time
Listen, I’ve messed this up enough times that I can save you the trouble! Getting the soak right is really what separates a good **jello poke cake** from the absolute **best poke cake recipe** out there. You want that gelatin deep inside, not just sitting like a layer of colorful syrup on top. So, my big advice is patience during the poking and pouring phases. That 15-minute cooling window before poking is non-negotiable, and stirring the Jello until it’s totally clear is the key to that smooth, perfect saturation. You can see more of my favorite kitchen wisdom over at my main recipe hub!
Making Your Jello Poke Cake Visually Stunning
If you’re making this for a big crowd or just want those amazing photos, you have to experiment with the colors! This is where this dessert earns its title as one of the best **colorful dessert ideas**. Instead of pouring all that liquid Jello over the entire surface, just use painter’s tape or aluminum foil to physically section off your 9×13 pan into two or three areas before you pour. Prepare two or three different Jello flavors—maybe cherry red and lime green for a fun contrast—and pour each color only into its designated section. When it sets, you get these fantastic, bright, distinct stripes! It’s so easy, and it makes the cake look like you spent hours on presentation, when really, you were just clever with your pouring!
Variations: Beyond the Classic Jello Poke Cake
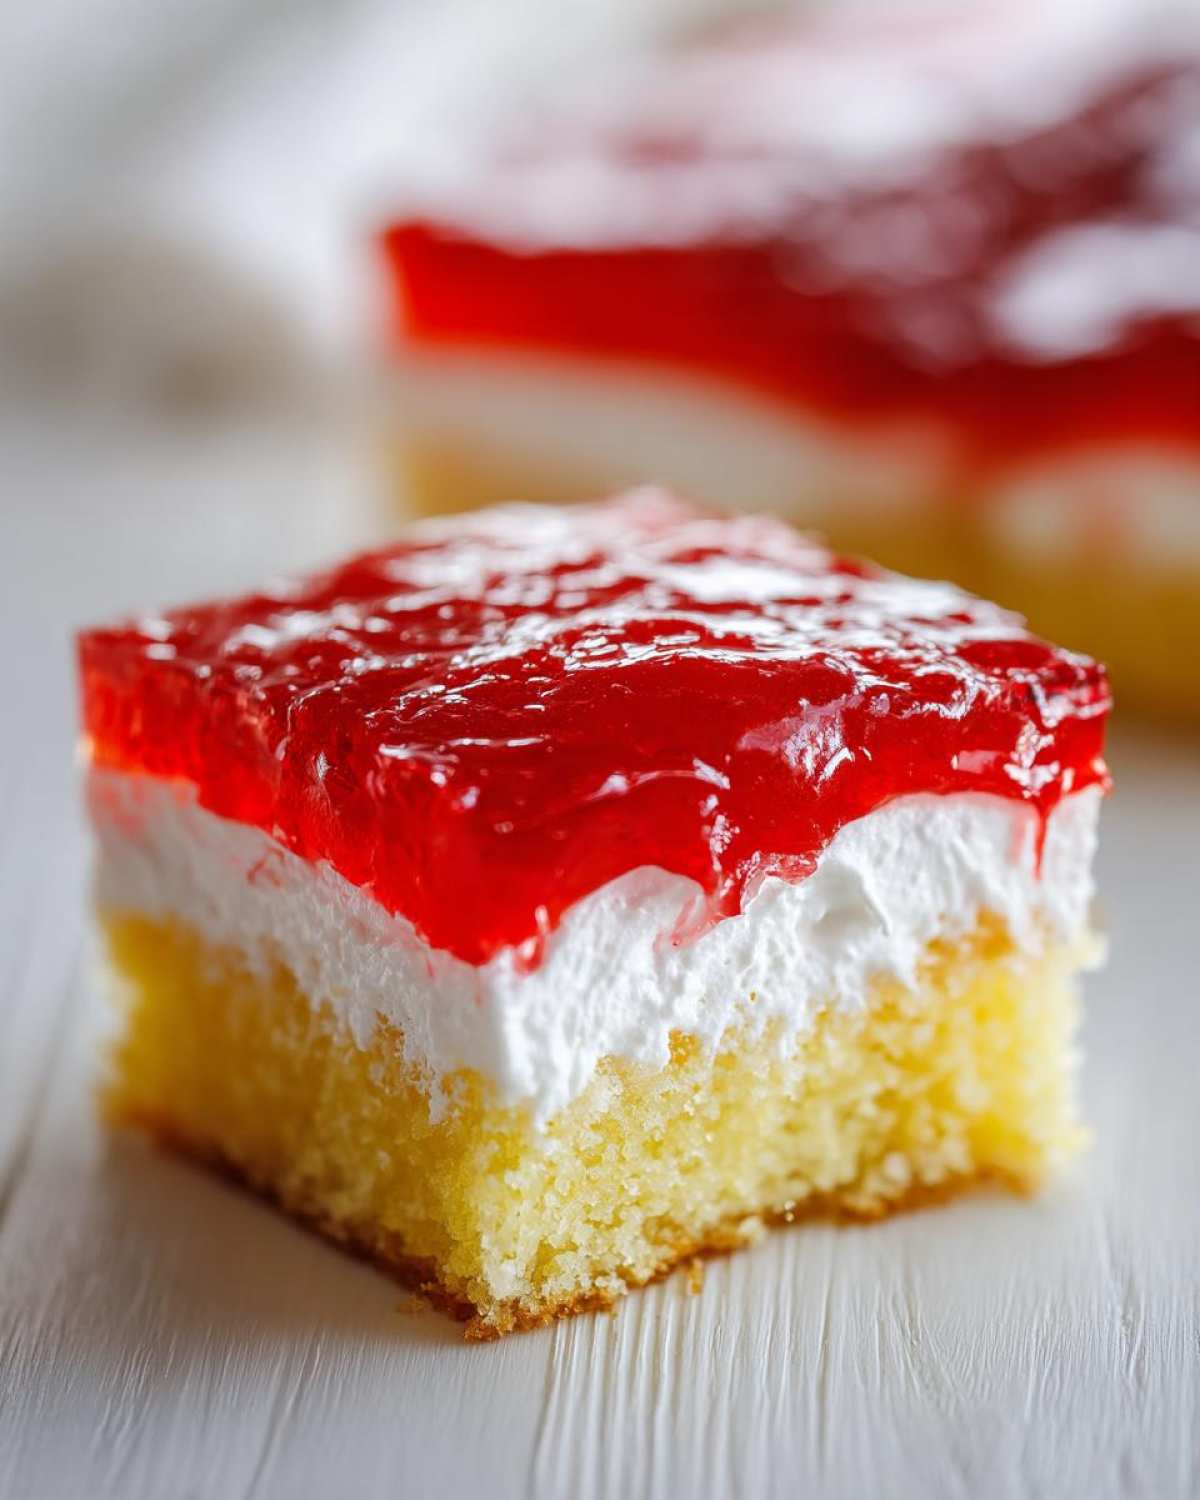
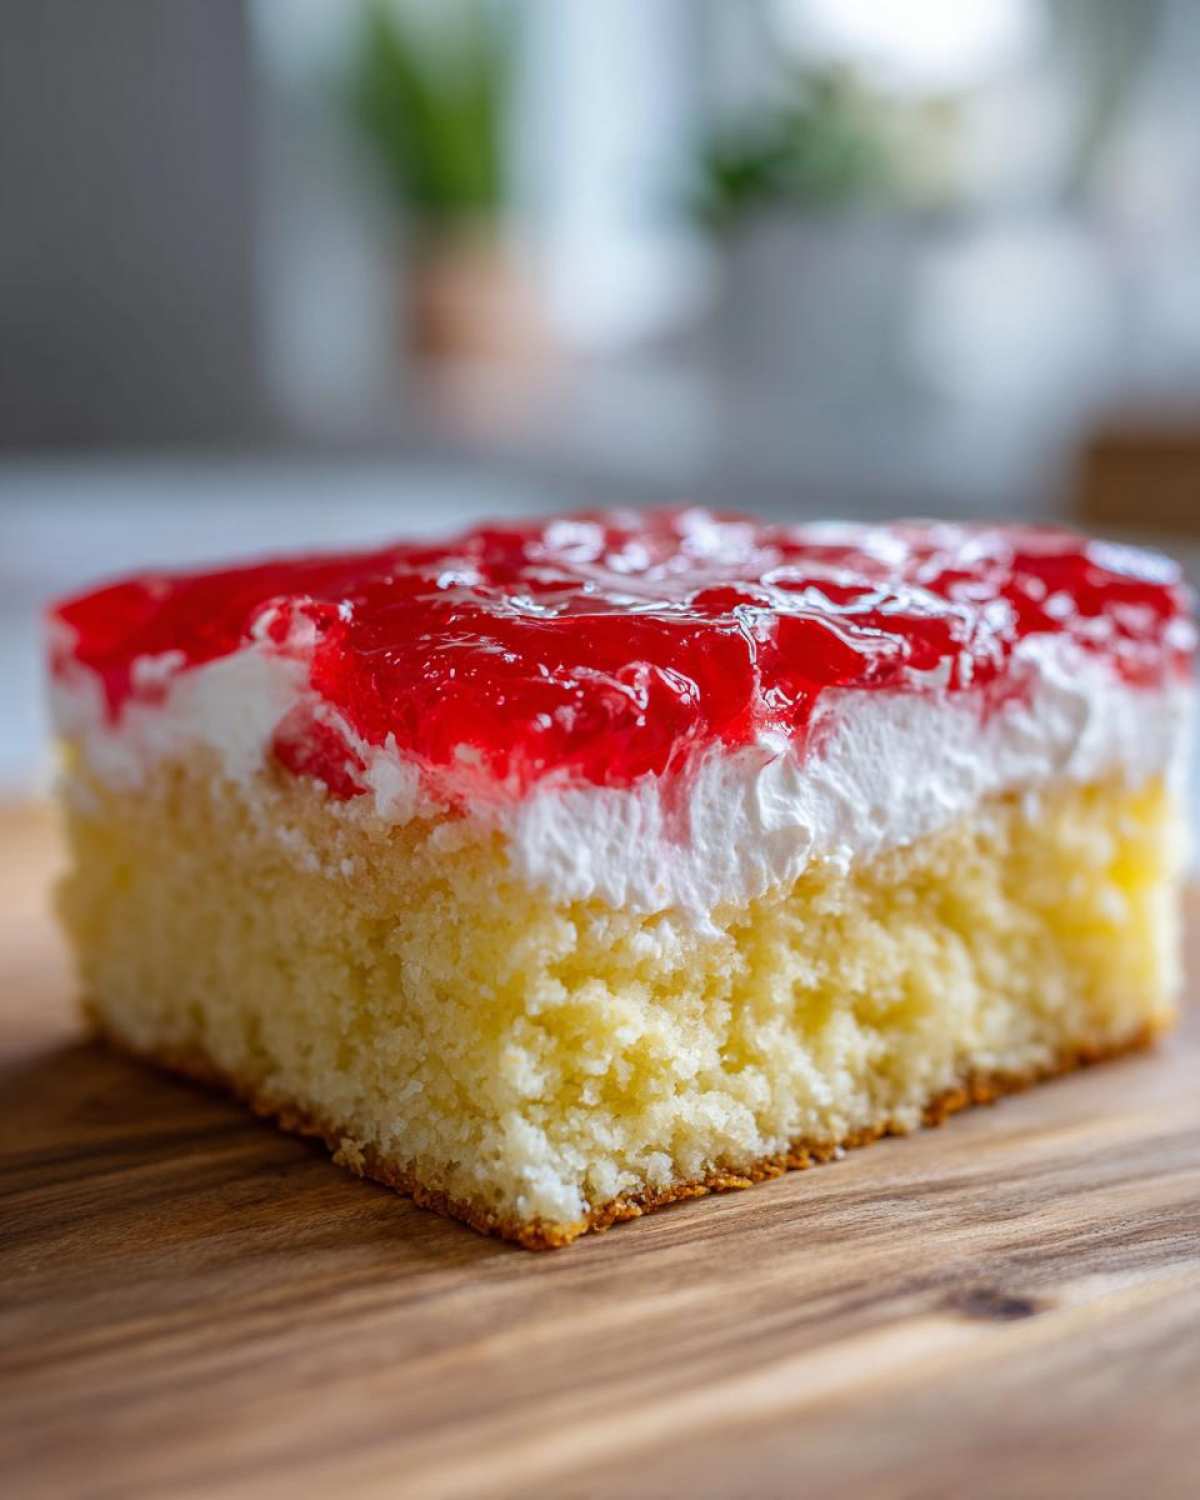
While the standard cherry or lime flavor is wonderful, this **jello poke cake** is basically a blank canvas for fun flavors! I love changing it up depending on the season or what kind of party I’m going to. You can really become a dessert legend just by switching up the Jello flavor. Think about it: instead of the usual suspects, you could whip up a killer strawberry jello poke cake that screams summer picnic!
We are working with a super adaptable base here, so don’t feel locked into just one flavor profile. If you are looking for something for a themed event, this cake is your best friend. It’s so easy to customize!
Seasonal Ideas for Your Next Jello Poke Cake
The easiest way to change the vibe is totally in the Jello packet you grab! For a fun, vibrant summer treat, try mixing layers of lemon and lime Jello—that bright citrus combo is amazing with the plain vanilla cake base. For a truly impressive christmas jello poke cake, you can swap the cake mix entirely! Try using a yellow cake mix as the base and layering red (cherry or strawberry) and green (lime or pistachio) Jello in alternating sections. It looks festive and tastes perfectly light after a heavy holiday meal. You could even try using an almond or spice cake mix if you want to lean into those warmer holiday notes instead of vanilla!
Storage and Serving Suggestions for Your Jello Poke Cake
Since this is such a fantastic recipe for potluck desserts, knowing how to store it is crucial! Because we have all that gorgeous Jello and the whipped topping, you absolutely must keep this cake refrigerated. Cover it tightly with plastic wrap, but make sure the wrap isn’t touching the topping, or it’ll get messy. It stays perfectly fresh for about three to four days in the fridge. If you plan on taking it somewhere, keep it on ice until you serve it!
When you’re ready to serve those beautiful, colorful squares, I find that a tiny bit of fresh fruit on the side really cuts through the sweetness perfectly. Think a few fresh berries or some sliced kiwi. It brightens everything up!
Frequently Asked Questions About the Jello Poke Cake
I get so many questions whenever I post a photo of this cake online, so I thought I’d put the most common ones right here. It’s always better to handle potential issues before they happen, right? We want everyone to have success with this incredibly easy dessert! If you have other questions, please feel free to reach out through my contact page anytime!
Can I use sugar-free Jello in this jello soaked cake?
Yes, you absolutely can! If you love the flavor but want to cut down on sugar, grab the sugar-free version of your favorite gelatin. Just a heads-up, though: sugar-free Jello doesn’t always set up quite as firmly as the regular kind. Because of this, I strongly encourage you to chill the cake for the *full* four hours, maybe even five, after pouring the liquid in. You might even want to go a little lighter when you poke the holes, just to be safe. It still gives you that amazing, colorful liquid burst in your **jello soaked cake**!
What is the best topping instead of Cool Whip for a cool whip topped cake?
While Cool Whip is super convenient and sets up nicely, I totally get wanting something homemade! My favorite alternative for a **cool whip topped cake** is a stabilized homemade whipped cream. You just whip heavy cream with a little powdered sugar and a tiny bit of cornstarch—that cornstarch is the stabilizer! It gives you that fluffy, airy topping but with real cream flavor. If you want something richer, a thin layer of plain cream cheese frosting also works amazingly well, especially if you add a tiny bit of vanilla extract to it.
Why is my jello poke cake not setting?
This is frustrating, I know! Usually, if your **jello poke cake** isn’t setting, it boils down to one of two things. First, did you use the modified water measurements we talked about? You need to use only one cup boiling and one cup cold—if you used the full amount of water listed on the Jello box, there’s simply too much liquid for the cake base to absorb, and it won’t firm up properly. Second, did you give it enough chilling time? That minimum of three to four hours is crucial because the gelatin needs that cold time to fully gel. Make sure it’s cold to the touch all the way through before you even think about topping it!
Nutritional Estimates for This Recipe
Now, I know most of us don’t bake this **jello poke cake** because we’re counting macros, but I always like to give a general estimate so you know what you are getting into. This is truly a party dessert, so enjoy it!
Keep in mind these numbers are based on using a standard white cake mix, standard Jello, and the listed amount of whipped topping. If you swap things out—say, skipping the Jello or using a different topping—these figures will definitely change. You can always find more information about how these estimates are determined over on my official disclaimer page.
Here’s the quick rundown per slice (assuming 12 servings):
- Calories: Around 250
- Fat: About 10 grams
- Saturated Fat: Approximately 5 grams
- Carbohydrates: Roughly 38 grams
- Sugar: Close to 35 grams (That’s where all the fun lives!)
- Protein: About 3 grams
- Sodium: Around 250 mg
Because we are using a combination of cake mix, sugar in the Jello, and the whipped topping, it does have a higher sugar count, which is what makes it such a sweet treat. But that’s okay! We earned it after all that poking and chilling!
PrintEasy Classic Jello Poke Cake

A simple recipe for a moist cake soaked with flavored gelatin, topped with whipped cream, perfect for parties.
- Prep Time: 15 min
- Cook Time: 35 min
- Total Time: 270 min
- Yield: 12 servings
- Category: Dessert
- Method: Baking
- Cuisine: American
- Diet: Vegetarian
Ingredients
- 1 box (15.25 ounces) white or yellow cake mix
- Ingredients called for on cake mix box (eggs, oil, water)
- 1 box (3 ounces) Jello gelatin (your preferred flavor, e.g., cherry or lime)
- 1 cup boiling water
- 1 cup cold water
- 1 container (8 ounces) frozen whipped topping, thawed
Instructions
- Prepare and bake the cake according to the package directions for a 9×13 inch pan.
- Let the cake cool in the pan for 15 minutes after removing it from the oven.
- While the cake cools, prepare the Jello according to the package directions, but use 1 cup boiling water and 1 cup cold water instead of the amounts listed on the Jello box. Stir until the gelatin is completely dissolved.
- Use the handle of a wooden spoon or a large fork to poke holes all over the top of the warm cake, spacing the holes about 1 inch apart. Poke all the way down to the bottom of the cake.
- Slowly pour the liquid Jello mixture evenly over the entire surface of the cake, allowing the liquid to soak into the holes.
- Refrigerate the cake for at least 3 to 4 hours, or until the Jello is completely set.
- Once the Jello is set, spread the thawed whipped topping evenly over the top of the cake.
- Chill for an additional 30 minutes before slicing and serving.
Notes
- For a colorful effect, use different colored Jello flavors and poke holes in sections, pouring one color into each section.
- You can substitute the whipped topping with homemade stabilized whipped cream.
- For a richer flavor, use milk instead of water when preparing the Jello, following the package liquid ratio.
Nutrition
- Serving Size: 1 slice
- Calories: 250
- Sugar: 35
- Sodium: 250
- Fat: 10
- Saturated Fat: 5
- Unsaturated Fat: 5
- Trans Fat: 0
- Carbohydrates: 38
- Fiber: 1
- Protein: 3
- Cholesterol: 15