

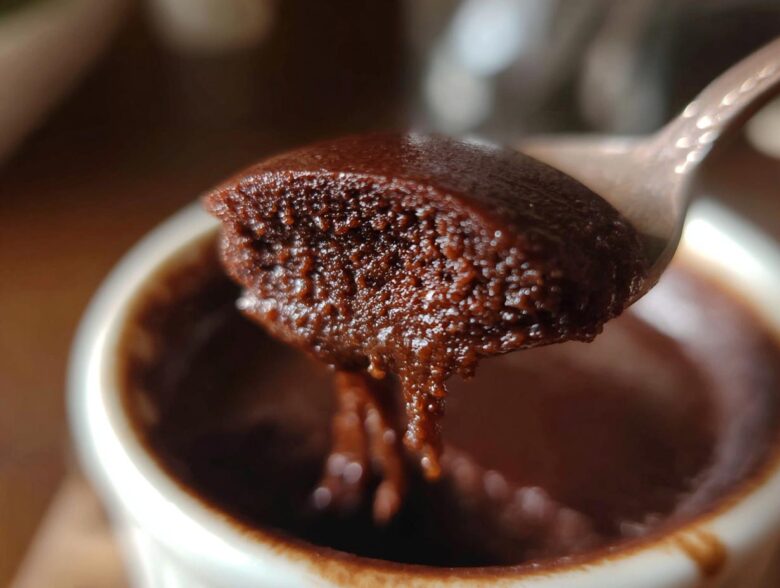
Oh my gosh, you know those days? You’re scrolling through recipes, and suddenly, you just *need* chocolate. But not just any chocolate—you need that deep, comforting, spoon-licking-the-bowl kind of chocolate. That’s why I’m sharing my absolute secret weapon: the best, velvety smooth **chocolate pudding** from scratch you will ever, ever make! Forget those little boxes; those are fine in a pinch, but they cannot touch this stovetop magic. I whipped this up last Tuesday when a craving hit hard, and it was spoon-ready in under 20 minutes total. Trust me; once you see how easy this is, you’ll toss the box shaker for good. It’s the ultimate quick comfort food dessert.
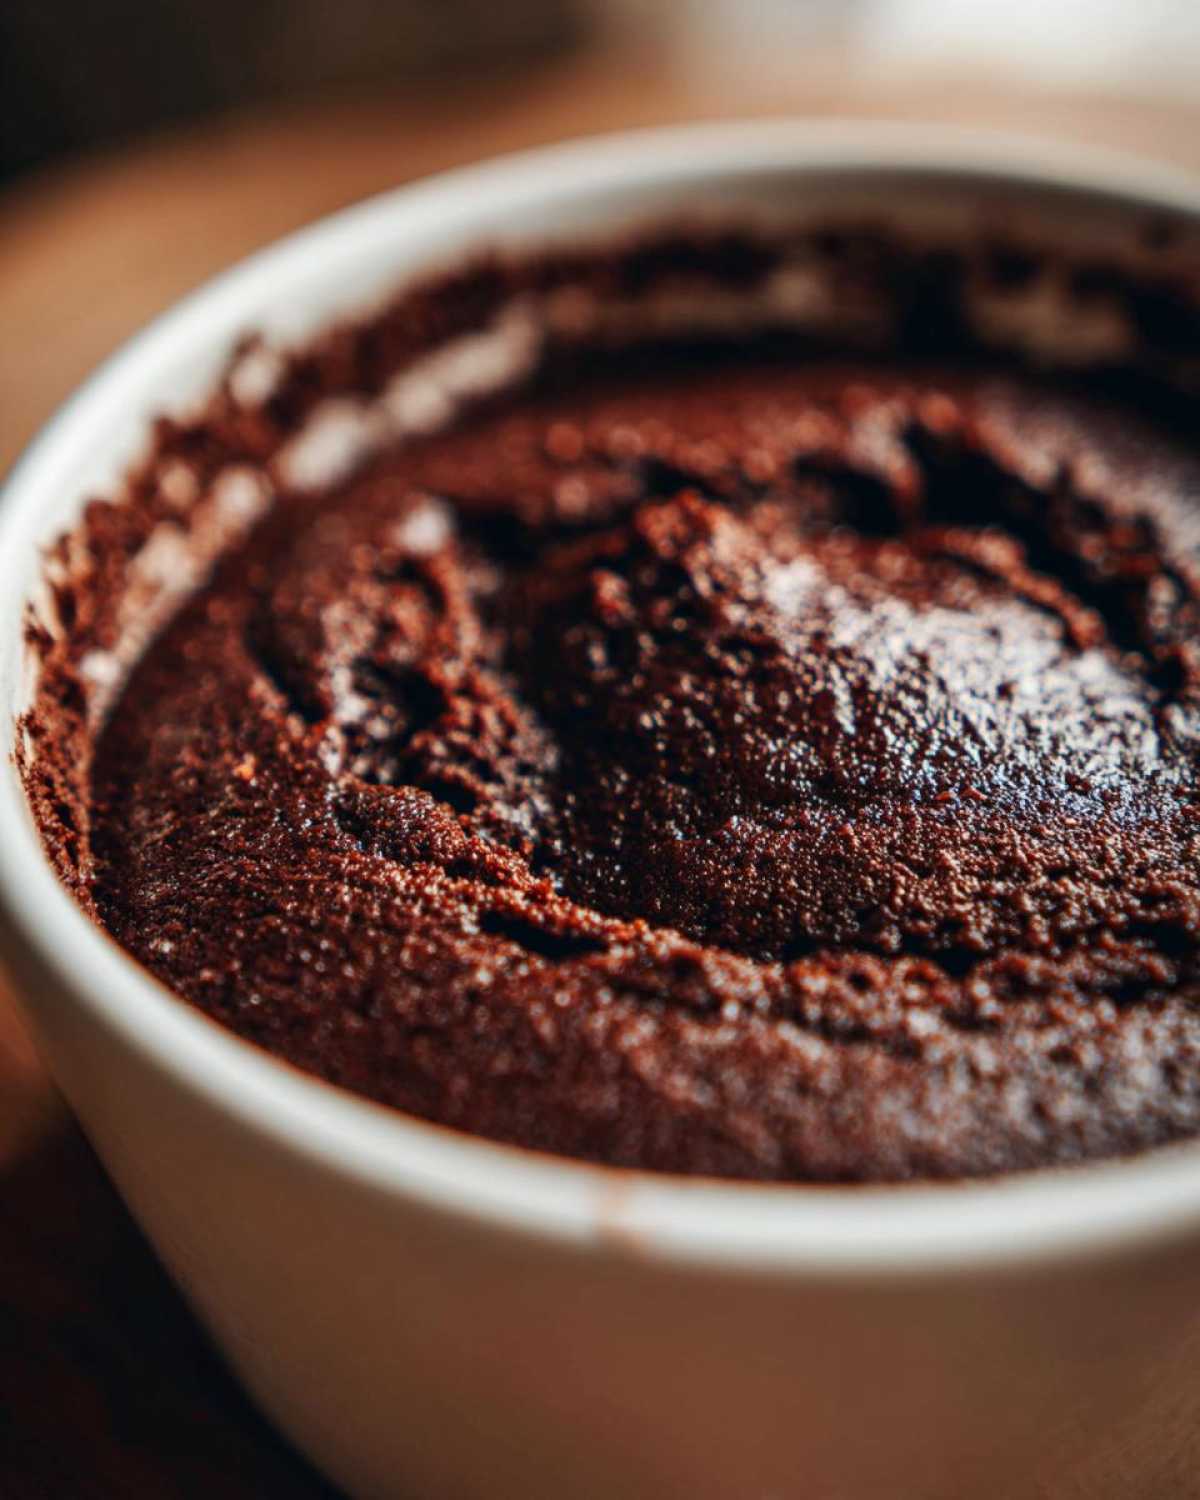
This recipe turns simple pantry ingredients into something unbelievably decadent. I promise you, the texture is what sets it apart. If you follow my little secrets—and I’ll share them all!—you’ll get that beautiful, silky smooth dessert that feels way too fancy for how little effort it takes. Are you ready to make some magic on the stove? If you’re looking for other quick chocolate fixes, my classic chocolate cake recipe is always a winner too!
Why This Easy Chocolate Pudding Recipe is Your New Favorite
Listen, when you’re craving something super rich and comforting, you don’t want to wait around! That’s what I love about this *easy chocolate pudding recipe*. It hits all the right notes for busy weeknights. It comes together faster than ordering takeout, and you probably have everything you need right now. It’s my go-to recipe because it proves that homemade is always better than anything from a box, especially when it comes to fantastic **chocolate pudding**.
- It’s surprisingly fast—from whisking dry ingredients to pouring it in bowls, it takes hardly any time at all.
- You only need staple pantry ingredients; no fancy trips to the store required!
- The final texture is unparalleled—truly creamy and luxurious.
If you’re diving into this craving alongside me, make sure you check out my recipe for quick creamy homemade nacho cheese sauce later. Sometimes you just need something truly simple!
Achieving Silky Smooth Dessert Texture
The secret to that incredible, velvety smooth dessert outcome isn’t magic; it’s science mixed with muscle! We rely on cornstarch as our thickener here, not just flour. Cornstarch smooths out beautifully when heated, provided you whisk constantly while it’s on the heat. That constant motion prevents lumps from forming and ensures every spoonful is utterly seamless. It’s what separates an okay pudding from an amazing one!
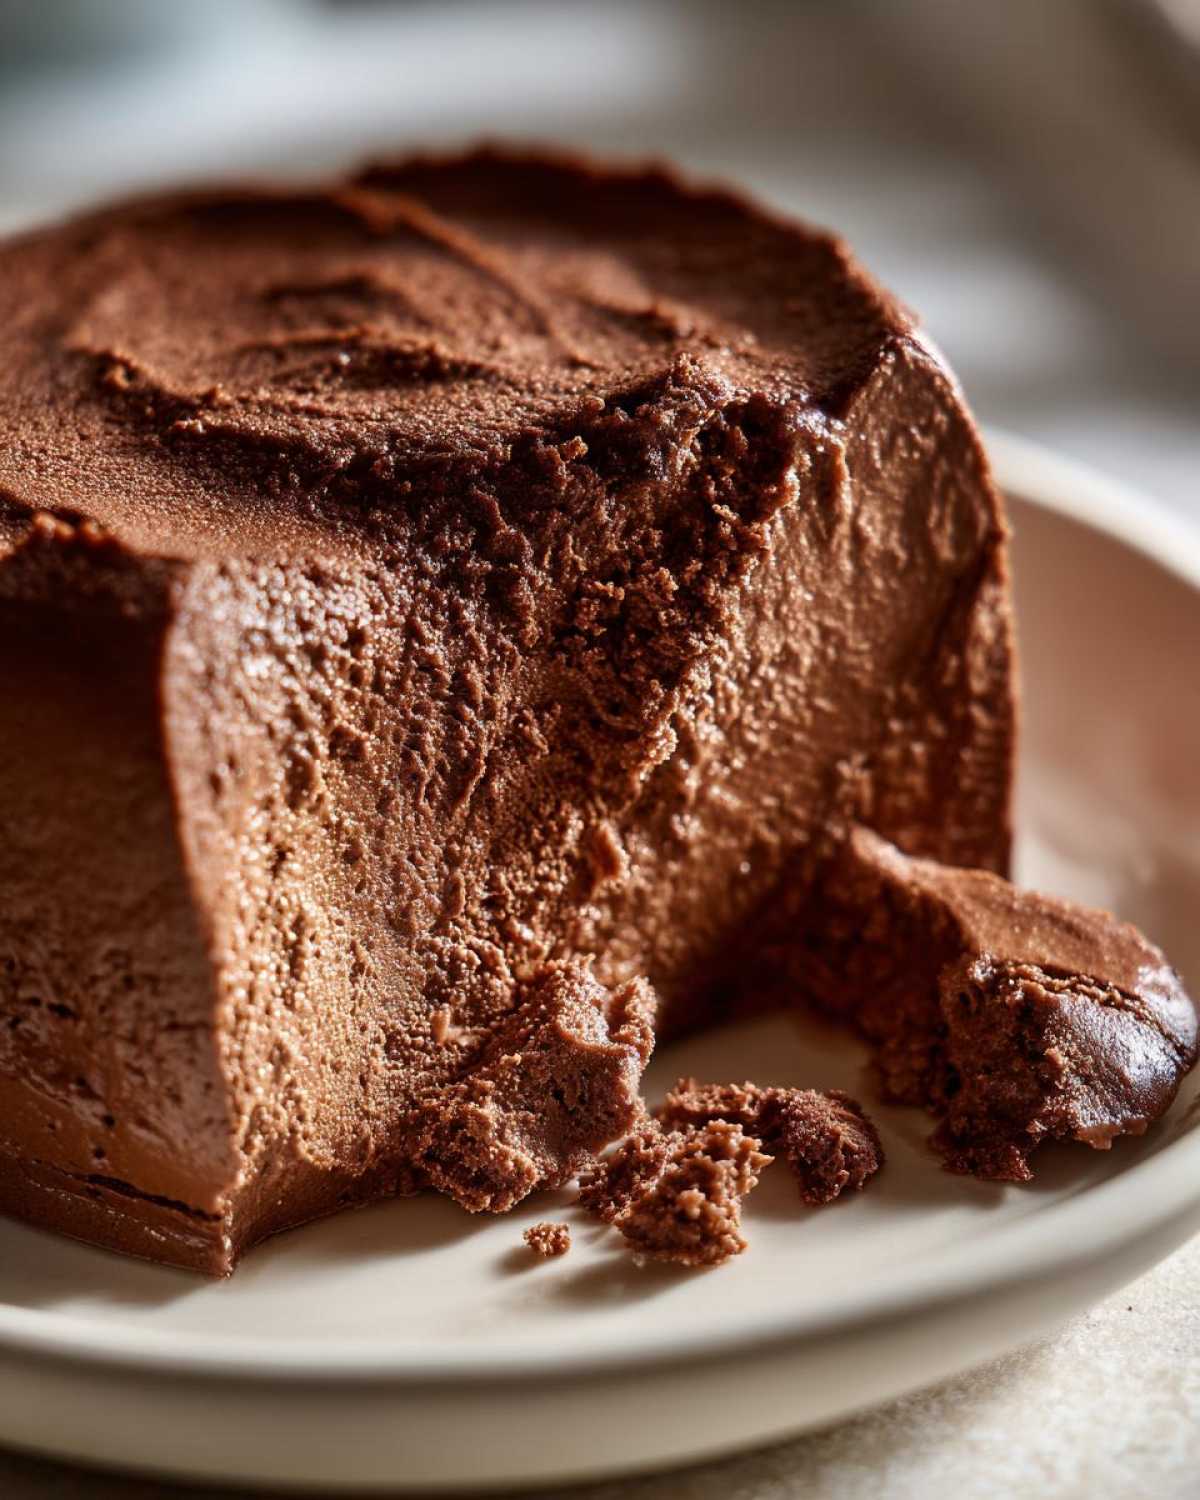
Ingredients for the Best Homemade Chocolate Pudding
When you’re focusing on making the absolute best **chocolate pudding from scratch**, the quality of your ingredients really matters, even in something this simple. Luckily, this recipe is built around things I always have stocked up in the pantry. You don’t need a specialty grocery run, which is just fantastic!
I always measure these things out precisely before I even turn on the stove. It makes the process so much less frantic when those dry ingredients are ready to go. Here is exactly what you need for four perfect servings:
- 1/2 cup granulated sugar
- 1/4 cup unsweetened cocoa powder (Use a good quality one—it makes a difference!)
- 2 tablespoons cornstarch
- 1/4 teaspoon salt
- 2 cups whole milk (Don’t skimp here; whole milk really gives you that richness.)
- 2 large egg yolks (Keep those whites—you can make meringue later!)
- 2 tablespoons unsalted butter (Butter is essential for that final velvety mouthfeel.)
- 1 teaspoon vanilla extract
See? Nothing scary there! Having your ingredients prepped means you can focus entirely on the constant whisking once the heat comes on. If you’re looking for other great uses for your standard stocking items, you have to check out my pantry ingredient pudding ideas!
Step-by-Step Instructions for Stovetop Chocolate Pudding from Scratch
Okay, this is where we turn powder and milk into pure comfort. Since this is a **stovetop pudding recipe**, the heat management is super important, but don’t panic! If you keep whisking, you’ll be totally fine. The goal is to thicken everything nicely without scorching the bottom or scrambling those beautiful egg yolks we add later. Pay close attention to the first few steps!
- First thing, grab that medium saucepan and whisk together all your dry ingredients: the sugar, cocoa powder, cornstarch, and salt. Make sure they are totally blended before adding liquid—we don’t want pockets of dry starch hiding out!
- Now, slowly pour in the two cups of milk while whisking constantly. You want this mixture completely smooth before it ever sees heat.
- Time for the stove! Put it over medium heat. And this is crucial: Stir constantly, using the whisk to scrape the bottom and corners of the pan. You’ll see it start to bubble and thicken up, usually around the 6- to 8-minute mark. Don’t walk away!
- Once it’s thick and just starting to steam heavily, we move to the careful part: tempering the yolks.
Tempering the Egg Yolks for Rich Chocolate Pudding
This step is why my **rich chocolate pudding** never ends up tasting like scrambled eggs! Tempering just means slowly bringing the temperature up on those cold egg yolks so they don’t seize up when they hit the hot milk. Take about half a cup of that hot milk mixture you just heated and pour it *very slowly* into the bowl with your lightly whisked yolks while whisking the yolks like crazy the entire time. Add the milk little by little until the yolks feel warm, not hot. Then, and only then, pour that warmed yolk mixture back into the saucepan.
Return the whole pot to medium-low heat and stir continuously for just one more minute. That’s it! We just need it to thicken wonderfully enough to coat the back of a spoon. Do NOT let it boil after the yolks go in, or your texture dreams will shatter!
Chilling and Preventing Skin on Your Chocolate Pudding
Once off the heat, stir in that knob of butter until everything shines, and add your vanilla extract. Now, pour this gorgeous, thick pudding into your serving dishes. This final step is non-negotiable for that truly creamy dream texture! Take a sheet of plastic wrap and press it directly against the surface of the pudding in every single dish. This physical barrier stops air from meeting the surface, which is what causes that gross, rubbery skin to form while cooling. Pop the dishes into the fridge for at least two hours. Patience here guarantees the perfect chilled, **creamy chocolate pudding** outcome!
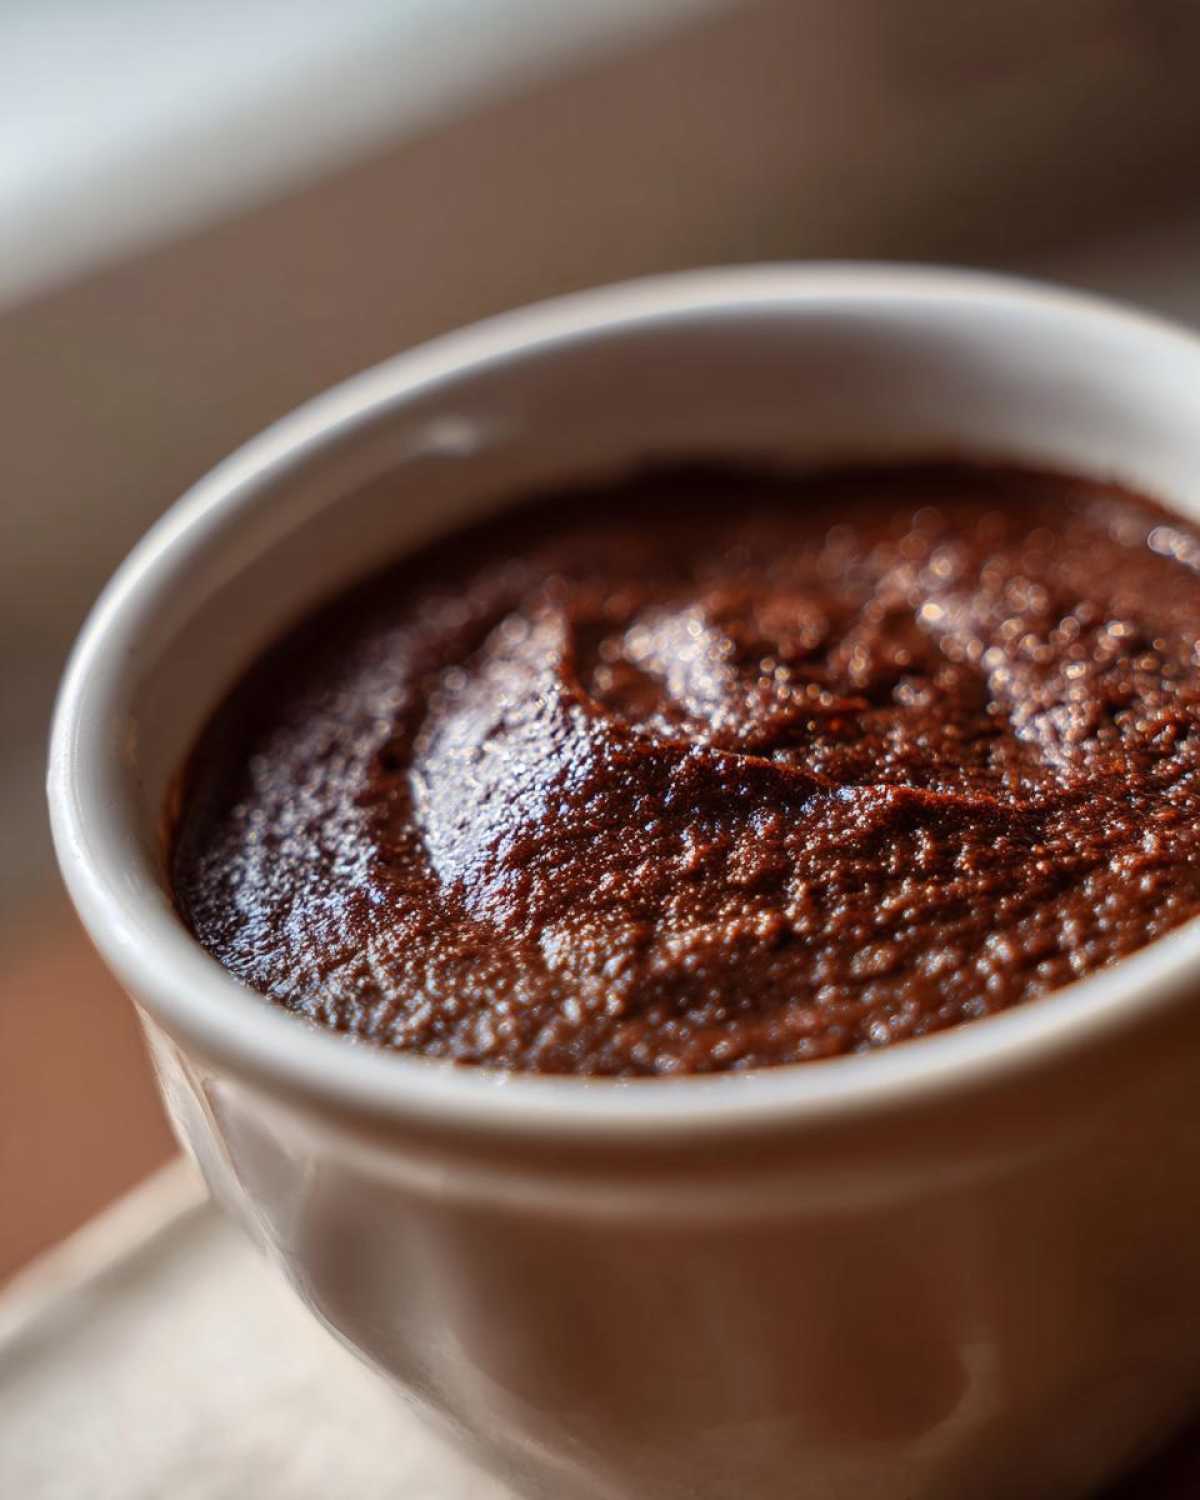
For ideas on what to serve it with, you can peek at my old-fashioned creamy rice pudding post for topping inspiration!
Tips for Making the Ultimate Creamy Chocolate Pudding
I’ve made this stovetop recipe so many times that I’ve figured out the little tweaks that really push it over the top into truly special territory. If you want to guarantee that luxurious, **creamy chocolate pudding**, listen up! First, remember that recipe note about heavy cream? If you swap out just a quarter cup of milk for heavy cream, the fat content kicks up, making the final product unbelievably rich. It is totally worth it for those special times!
On the flip side of richness, if you are worried about thickness—maybe you like that really firm texture you can stand a spoon up in—just go ahead and bump that cornstarch up to three full tablespoons instead of two. Test that out first, though; for me, two tablespoons is perfect for that slow, decadent scoop.
My biggest personal tip, though, is about the cocoa powder. Seriously, use the best quality cocoa you can find. Since there’s no melted chocolate in this recipe, the cocoa powder *is* the star flavor. Cheaper cocoa tastes thin and sometimes bitter. A high-quality, Dutch-processed cocoa powder gives you that deep, almost earthy chocolate background that makes this taste like it took hours to make.
If you’re looking for other ways to upgrade your baking game, my chocolate chip banana bread recipe also relies heavily on good quality cocoa!
Variations for Your Homemade Chocolate Pudding
Once you master the basic stovetop method—which, spoiler alert, you just did—the real fun begins! This **homemade chocolate pudding** is like a fantastic blank canvas just waiting for you to get a little bit wild. I am a huge fan of pushing flavor boundaries just slightly to make it feel extra special for my family.
Since we aren’t using melted chocolate, the flavor boost has to come from additives, and I have three absolute favorite ways to remix this recipe. I swear, any of these will elevate your dessert game faster than you can say “decadent”! And if you’re feeling ambitious after this pudding, my recipe for fudgy brownies with brown butter and shiny top is the next level of chocolate indulgence!
Spice It Up with a Hint of Warmth
This feels like a secret, but cinnamon and chocolate are old friends! Just add about 1/4 teaspoon of ground cinnamon right in with your dry ingredients at the very start. It doesn’t make it taste like Christmas morning, it just adds warmth and depth that complements the cocoa beautifully. A tiny pinch of cayenne pepper? Yes, I said it! It’s amazing how a micro-pinch (and I mean *micro*—we’re talking barely there) wakes up the chocolate flavor without making it spicy.
The Espresso Powder Trick
If you want that incredible, deep, almost-bitter chocolate flavor of a fancy bakery, you need instant espresso powder. You don’t even need to dissolve it first! Add 1 teaspoon of espresso powder along with your sugar and cocoa powder in Step 1. It won’t make your pudding taste like coffee, but it radically deepens the chocolate notes. It’s my favorite way to make this feel like a truly high-end treat.
Adding Extra Chocolate Texture
Sometimes, you just want *more* chocolate texture, right? While the pudding is still hot, right after you stir in the butter, toss in about 1/4 cup of mini semi-sweet or dark chocolate chips. Don’t stir them in completely! Just fold them in gently a couple of times. As the pudding chills, those chips will partially melt and then reform, leaving little pockets of fudgy, melted chocolate within the otherwise silky pudding structure. It’s wonderfully satisfying to bite into!
Serving Suggestions for This Quick Chocolate Dessert
Okay, the pudding is chilled, perfectly firm, and beautifully smooth—now for the fun part! This wonderful creation isn’t just great on its own; it’s the perfect foundation for decking out. Because this pudding sets up so nicely, it works wonderfully as a spectacular **no-bake chocolate dessert** base. You don’t have to turn on your oven for something truly impressive!
When I serve this, I always like to give people options because presentation really matters, even for a simple comfort dessert like this. Here are a few ways I love to finish a bowl of this rich chocolate goodness:
Classic Creamy Toppings
You can never go wrong with the classics, right? A big dollop of freshly whipped cream takes this from simple to sublime instantly. Make sure you whip your cream stiffly so it doesn’t deflate into soup on top of the cool pudding! A light dusting of good quality cocoa powder or some shaved dark chocolate over the top of the whipped cream adds that professional touch. It looks elegant, but it took you two seconds!
Fruity Pairings for Richness
Chocolate and fruit are meant to be together. The tartness cuts through the richness of the pudding so beautifully. My go-to pairing is always raspberries or fresh sliced strawberries. They add a pop of color that makes the dark pudding look even richer. If you want something a little more sophisticated, try a drizzle of raspberry sauce, or even just thinly sliced navel oranges or segments of blood orange if it’s citrus season. Wow! The way that bright fruit flavor contrasts with the deep chocolate is just heavenly.
Crunch and Fun Additions
If you have kids around, or you’re just a fan of texture like I am, you need some crunch! Crushed Oreos are brilliant for a textural contrast against the silky smooth dessert. If you’re feeling creative, you could even use this pudding as a layer in a quick parfait with crumbled shortbread cookies. For something less sweet, toasted, chopped pecans or slivered almonds sprinkled on top are absolutely perfect. Speaking of no-bake treats, if you ever need something super fast for a potluck, you absolutely have to see my recipe for easy Oreo balls!
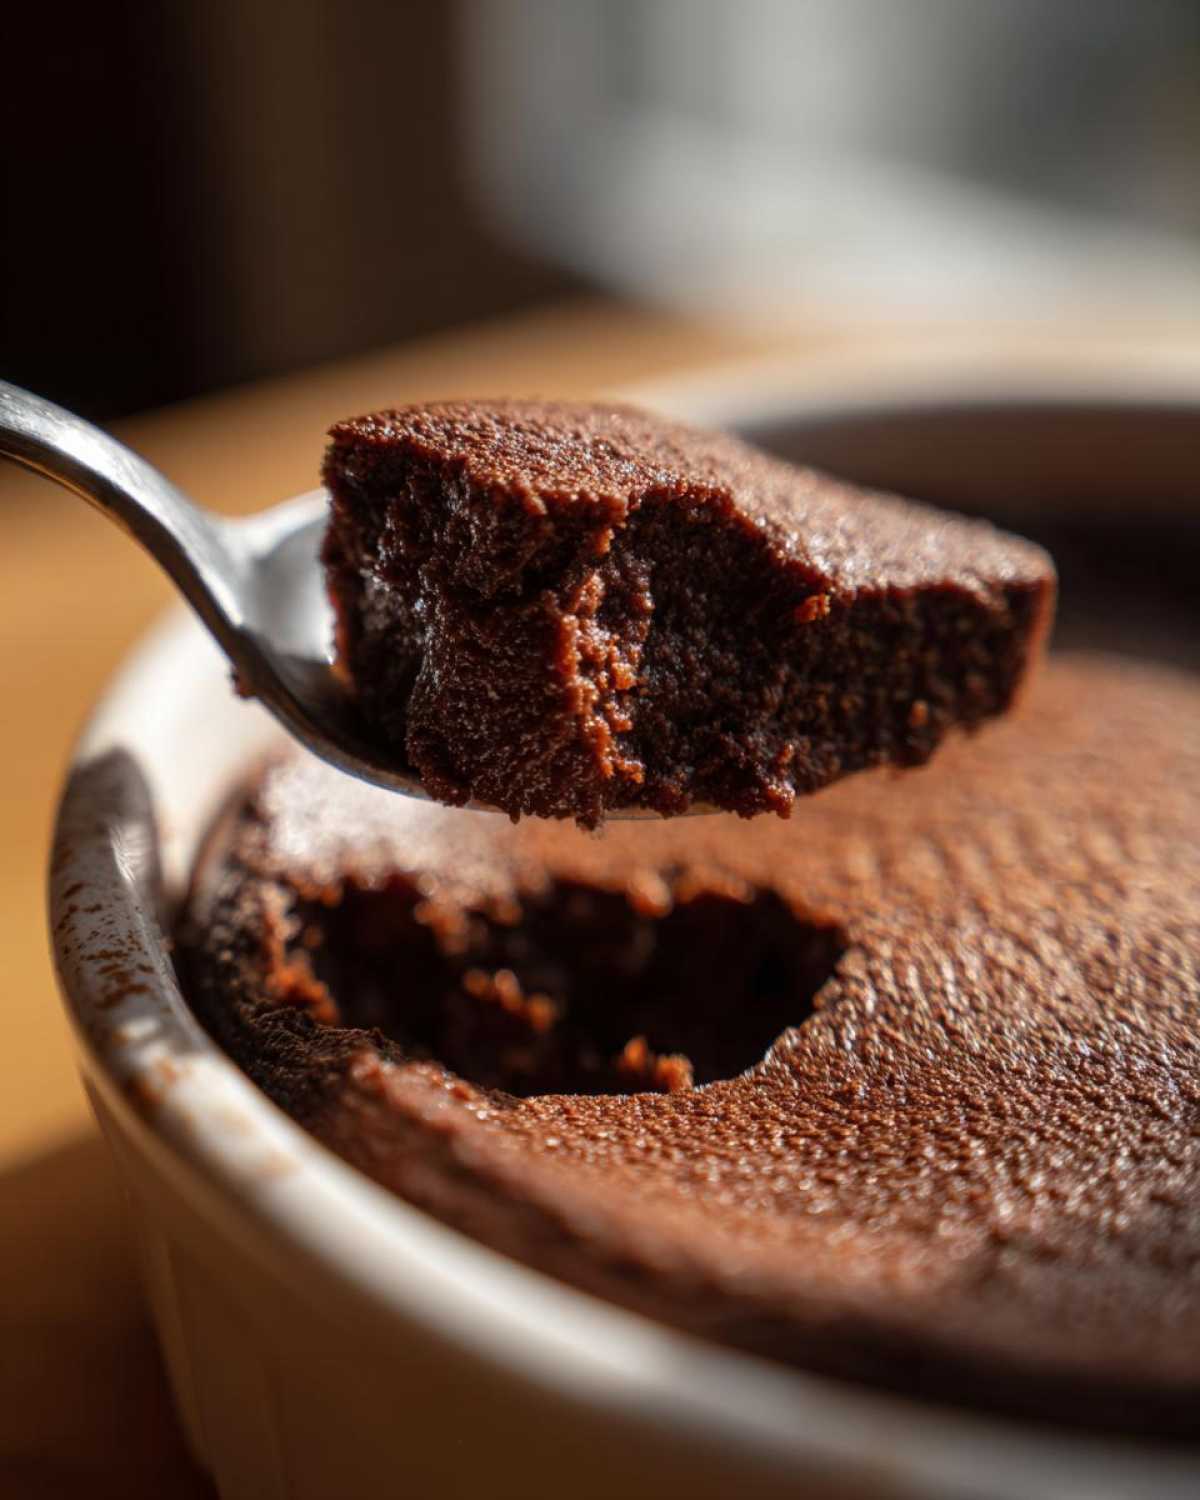
Storage and Reheating for Your Velvety Chocolate Dessert
So, you made a huge batch because you knew you’d be sneaking spoonfuls all week? Good decision! Properly stored, this **velvety chocolate dessert** keeps beautifully. Remember that vital step where we pressed the plastic wrap directly onto the surface? That’s your insurance policy right there. That tight seal keeps the air out, preventing the dreaded pudding skin from forming while it chills.
I find that this pudding is at its absolute peak flavor and texture when served chilled, usually after about two hours in the fridge, but it easily lasts for four to five days stored this way. The longer it sits, the slightly firmer it gets because the cornstarch structure continues to set up, which is perfect if you like a much thicker texture!
Serving Temperature is Key
My number one rule here is: Do not reheat this! Unlike something like a custard base that benefits from warming, this starch-thickened pudding is designed to be served cold or deeply chilled. If you try to microwave it, you risk breaking down the cornstarch structure, and it will likely turn soupy or watery once it cools back down. Just pull your dish out of the fridge about 10 minutes before serving if you want it slightly less bone-chillingly cold, but otherwise, serve it straight from the cold!
Making Ahead for Parties
This is a lifesaver when company is coming over because you can make it completely a day or two in advance. If you are portioning it out into individual ramekins, make sure to use that plastic wrap contact method on *each* individual dish, then cover the entire tray with foil before popping it in the fridge. It never gets any better than a perfectly made, make-ahead pudding! If you’re looking for another cold dessert that lasts brilliantly in the fridge, you have to check out my brownie refrigerator cake recipe next week!
Frequently Asked Questions About Chocolate Pudding
I know you’ve got questions popping up! Making **chocolate pudding** from scratch is easy, but sometimes the little details can trip us up, especially when we’re aiming for that perfect, luxurious texture. I’ve gathered the questions I always get asked when friends see me pulling this off the stove. Don’t worry; we’ll sort out any texture doubts right now!
Can I make this easy chocolate pudding recipe vegan?
That’s a great question now that we’re all trying to mix things up! You absolutely can adapt this recipe. Since we’re already using cornstarch to thicken (which is vegan!), the main swaps are the milk and the egg yolks. For the milk, swap the whole milk for a rich plant-based option like cashew or soy milk—oat milk works too, but it can sometimes make the final texture a tiny bit softer. As for the yolks, here’s the trick: Skip the yolks entirely and increase the cornstarch by one extra tablespoon. That usually gives you just enough body and richness to replace the eggs in thickening power. It will still make a lovely, **quick chocolate dessert**!
Why is my homemade chocolate pudding grainy instead of silky smooth?
Ugh, graininess is the enemy of a perfect **homemade chocolate pudding**! This almost always happens for one of two reasons, and I learned this the hard way. First, check your dry ingredients: Did you whisk the sugar, salt, and cocoa powder *really* well before adding the cold milk? If the cornstarch clumps up before it hits the heat, it never dissolves right, leaving you with little bits of thickening agent. Second, and this is crucial: If you let it boil *after* you add the tempered egg yolks back in, the yolks will curdle slightly, which equals graininess. Keep the heat low when the yolks are in, and cook only until it coats the spoon heavily!
How can I get a thicker, richer chocolate pudding without using more eggs?
If you want that *really* rich chocolate pudding that feels almost like a soft fudge, you have two great options that don’t involve messing with the egg structure. First, remember that tip about swapping 1/4 cup of milk for heavy cream? Do that! The higher fat content makes everything feel fuller and richer on your tongue. Second, think about your cocoa powder. If you use a high-quality Dutch-processed cocoa, the flavors are often deeper and less acidic, which translates to a richer overall taste profile, even if the thickness stays the same. For incredible results, you could even look into making homemade chocolate milk first; better milk makes better pudding!
Nutritional Estimates for This Decadent Chocolate Treat
I know some of you bakers like to keep track of the details, so here’s the nutritional breakdown for this super **decadent chocolate treat**. Now, I have to give you the usual little shout-out, just like in my site disclaimer: these numbers are just estimates based on the exact ingredients I listed above. Since we are using real butter and whole milk, it’s definitely richer than that lightened-up boxed stuff, but oh my goodness, it’s worth every single bite!
When you are making something this deliciously homemade, remember that these numbers can shift slightly depending on the brand of cocoa or milk fat content you use. But for a standard serving of this wonderful, creamy dessert, here’s what you’re looking at:
- Serving Size: 1 serving
- Calories: 285
- Sugar: 30g
- Sodium: 150mg
- Fat: 11g
- Saturated Fat: 6g
- Carbohydrates: 40g
- Protein: 8g
See? All that rich flavor packed into under 300 calories! It’s the perfect way to end a meal without feeling weighed down. Enjoy every spoonful!
PrintVelvety Smooth Homemade Chocolate Pudding
Make rich, creamy chocolate pudding from scratch on the stovetop. This recipe uses pantry ingredients for a quick, decadent dessert.
- Prep Time: 5 min
- Cook Time: 15 min
- Total Time: 20 min
- Yield: 4 servings
- Category: Dessert
- Method: Stovetop
- Cuisine: American
- Diet: Vegetarian
Ingredients
- 1/2 cup granulated sugar
- 1/4 cup unsweetened cocoa powder
- 2 tablespoons cornstarch
- 1/4 teaspoon salt
- 2 cups whole milk
- 2 large egg yolks
- 2 tablespoons unsalted butter
- 1 teaspoon vanilla extract
Instructions
- In a medium saucepan, whisk together the sugar, cocoa powder, cornstarch, and salt.
- Gradually whisk in the milk until the mixture is smooth.
- Place the saucepan over medium heat. Cook, stirring constantly with a whisk, until the mixture thickens and just begins to bubble. This takes about 6 to 8 minutes. Do not stop stirring.
- In a small bowl, whisk the egg yolks lightly.
- Remove the saucepan from the heat. Slowly pour about half a cup of the hot milk mixture into the egg yolks while whisking constantly to temper the yolks.
- Pour the tempered yolk mixture back into the saucepan with the remaining hot milk mixture.
- Return the saucepan to medium-low heat. Cook, stirring constantly, for 1 minute more until the pudding is thick enough to coat the back of a spoon. Do not boil after adding the yolks.
- Remove from heat. Stir in the butter and vanilla extract until smooth.
- Pour the pudding into individual serving dishes or a single bowl. Press plastic wrap directly onto the surface of the pudding to prevent a skin from forming.
- Chill in the refrigerator for at least 2 hours before serving.
Notes
- For an extra rich flavor, substitute 1/4 cup of the milk with heavy cream.
- If you prefer a firmer pudding, increase the cornstarch to 3 tablespoons.
- You can use any type of milk, but whole milk yields the creamiest texture.
Nutrition
- Serving Size: 1 serving
- Calories: 285
- Sugar: 30
- Sodium: 150
- Fat: 11
- Saturated Fat: 6
- Unsaturated Fat: 5
- Trans Fat: 0
- Carbohydrates: 40
- Fiber: 2
- Protein: 8
- Cholesterol: 85