

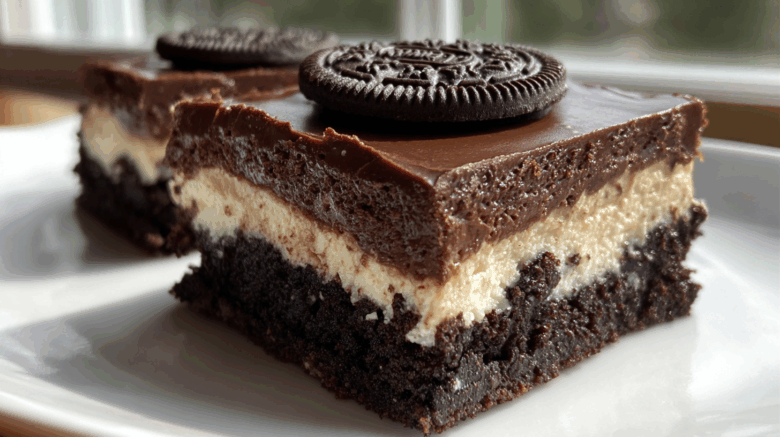
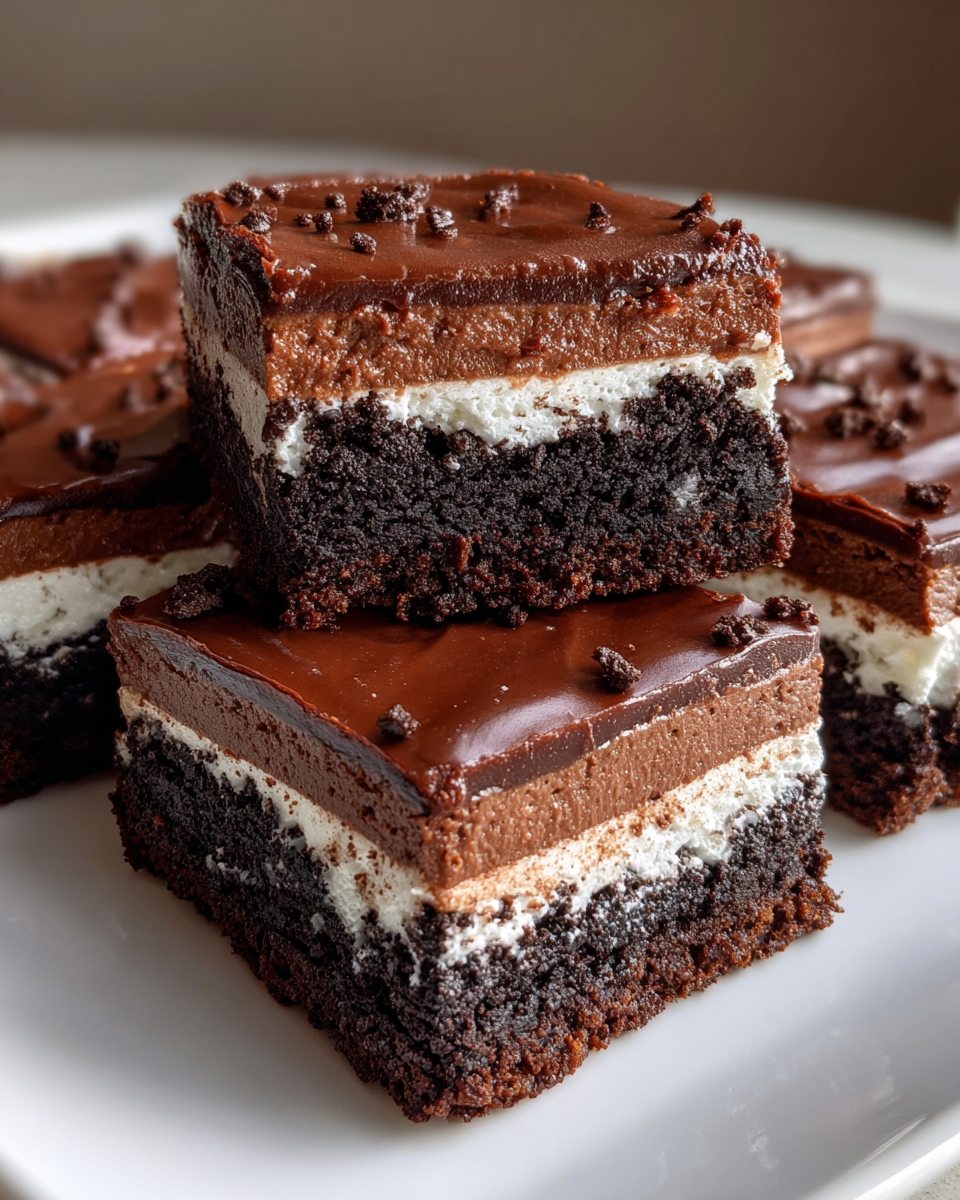
Let’s talk about pure, unadulterated chocolate bliss. If you’re craving something intensely chocolatey, something that tastes like it came from a fancy bakery but is surprisingly simple, then you absolutely must try these No-Bake Oreo Truffle Brownies. Seriously, they’re a game-changer! Forget turning on the oven; we’re talking rich, fudgy layers with that irresistible Oreo crunch, all coming together without any baking drama. It’s the kind of dessert that feels incredibly indulgent, a true testament to our kitchen adventures where Chloe’s creative flair meets my need for a solid recipe. These brownies embody that perfect balance we found in our kitchen.
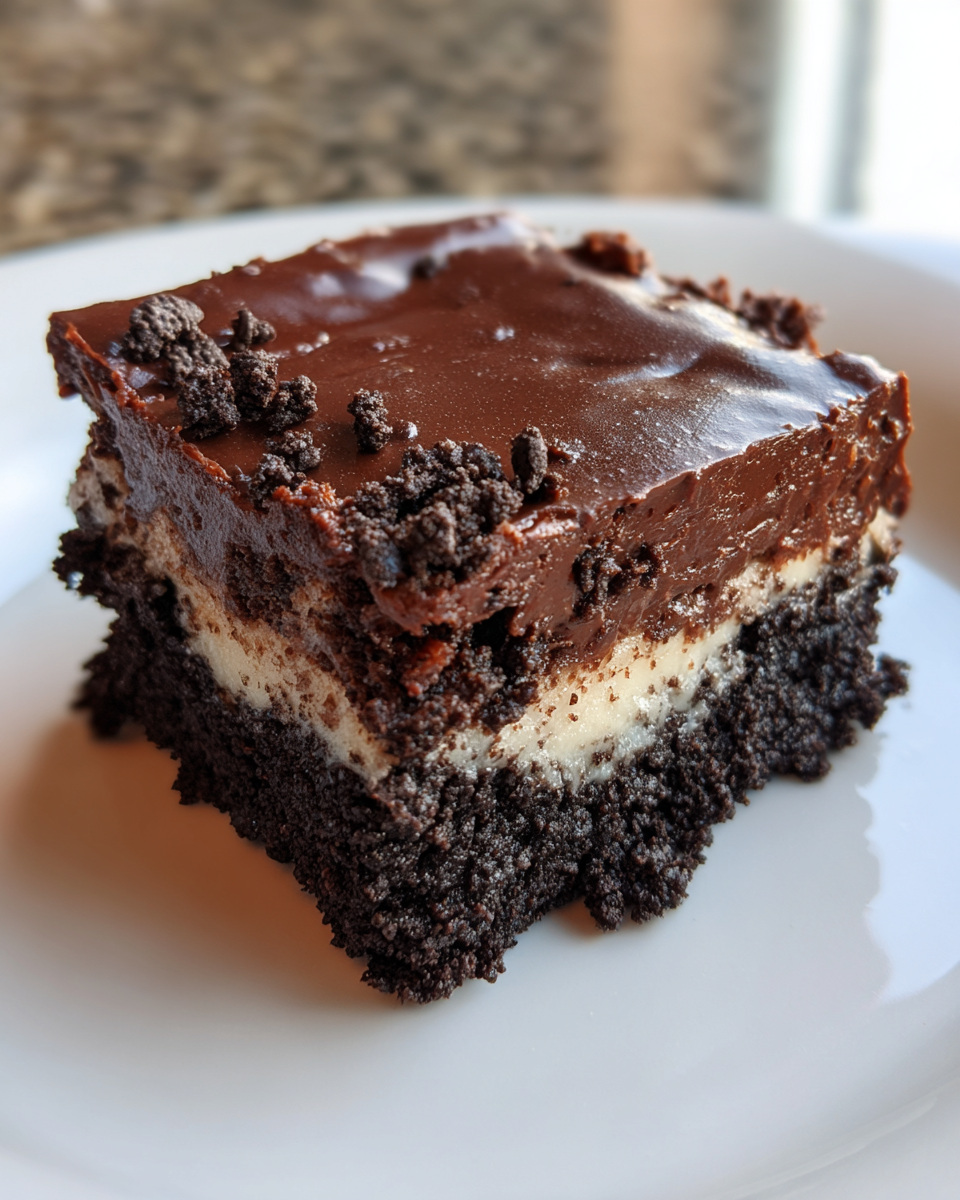
Why You’ll Love These No-Bake Oreo Truffle Brownies
Get ready to fall in love with these amazing treats. They’re:
- Incredibly rich and satisfying.
- Completely no-bake, so no oven is needed!
- Super easy to whip up.
- A dream for any chocolate or Oreo fan.
- Guaranteed to be a crowd-pleaser.
You’ll get that amazing “wow” factor with hardly any effort. It’s pure dessert magic!
Gather Your Ingredients for No-Bake Oreo Truffle Brownies
To create these delightful No-Bake Oreo Truffle Brownies, you’ll need just a few key players. Make sure you have one full package of Oreo cookies, which is about 14.3 ounces. We’ll need most of them crushed for the base. Be sure to reserve about 6 whole Oreos for that pretty garnish on top. Grab yourself half a cup, or one stick, of unsalted butter. It needs to be melted nice and smooth. You’ll also need 8 ounces of cream cheese. Softening it to room temperature is super important for a smooth filling. Don’t forget a quarter cup of unsweetened cocoa powder for that deep chocolate flavor. A teaspoon of vanilla extract adds a lovely warmth. A tiny pinch of salt, just a quarter teaspoon, balances all the sweetness. For the topping, you’ll need 12 ounces of semi-sweet chocolate chips. If you have it, a tablespoon of coconut oil is optional but helps the chocolate melt super smoothly. These simple ingredients come together beautifully.
Crafting Your No-Bake Oreo Truffle Brownies: Step-by-Step
Now for the fun part: putting it all together! This is where our kitchen harmony really shines. I handle the precise measurements, and Chloe adds that sprinkle of magic. Let’s make these incredible No-Bake Oreo Truffle Brownies.
Creating the Oreo Crumb Base
First up, we need those Oreo crumbs. Crush about 28 Oreo cookies until they are really fine. You can use a food processor for this, or pop them in a zip-top bag and go to town with a rolling pin! It’s a great stress reliever, trust me. In a bowl, mix these fine crumbs with your melted butter. Stir it all up until the crumbs are evenly coated. Now, take your 8×8 inch baking dish. Line it with parchment paper. This makes lifting the brownies out so much easier later. Press the buttery Oreo crumb mixture firmly and evenly into the bottom. Make sure it’s packed down tight. This forms our sturdy, chocolatey base.
Whipping Up the Creamy Filling
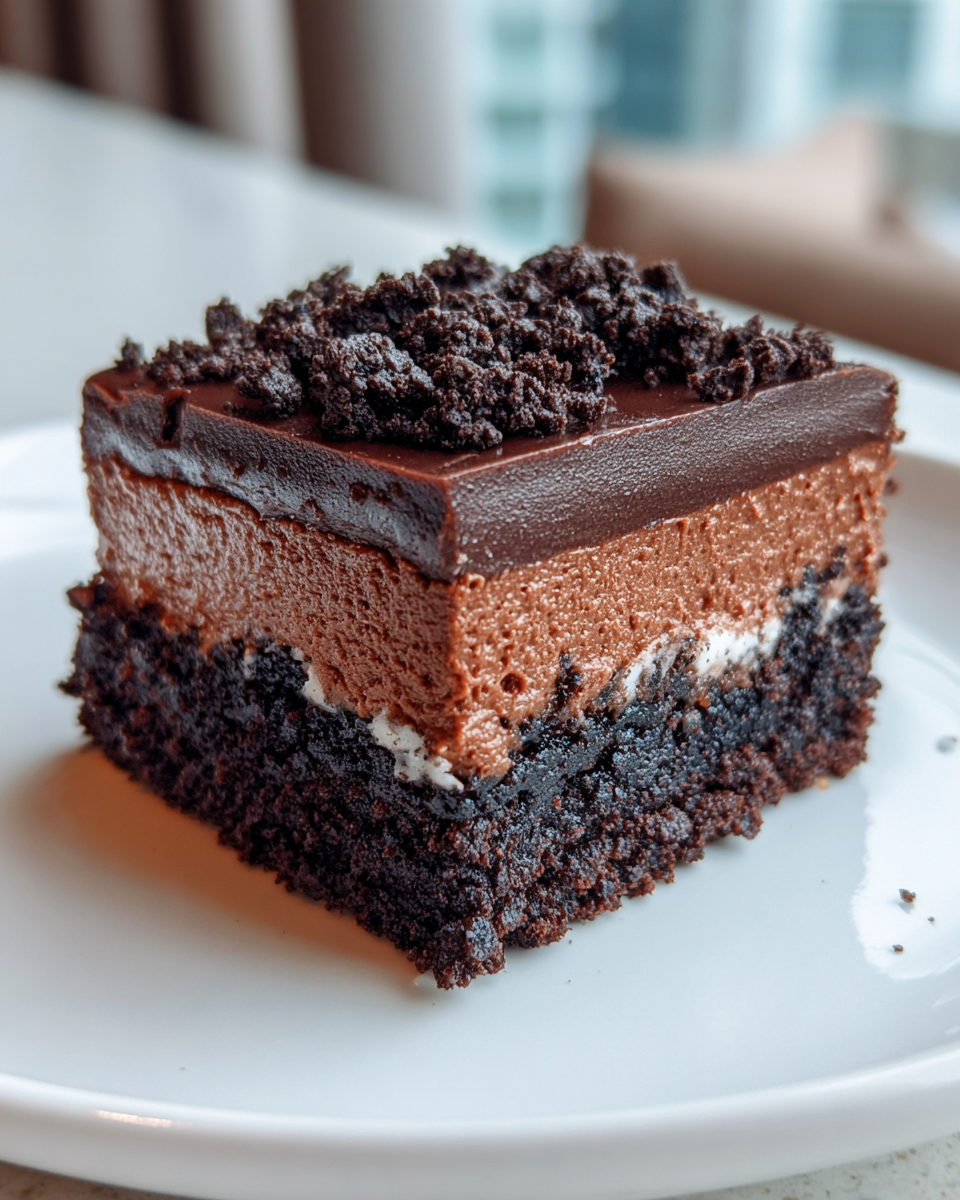
Next, let’s make that luscious filling. In a separate bowl, beat your softened cream cheese. You want it super smooth and creamy, with no lumps. This is key for a good texture. Now, add in the unsweetened cocoa powder, that teaspoon of vanilla extract, and the quarter teaspoon of salt. Beat it all together until it’s perfectly combined and looks like rich, dark chocolate frosting. Chloe always says a smooth filling is like a happy cloud. Make sure there are no sneaky lumps hiding in there!
Assembling and Chilling the Layers
Time to build these beauties. Carefully spread that smooth cream cheese mixture evenly over the Oreo crumb base. Try to get it as level as possible. Then, take those 6 reserved whole Oreos. Place them on top of the cream cheese layer. Gently press them down just a little bit so they nestle in. Now, this is important: we need to chill these brownies. Pop the dish into the refrigerator for at least 1 hour. You want them to get nice and firm. This chilling step is crucial for everything to hold its shape.
The Chocolatey Finale
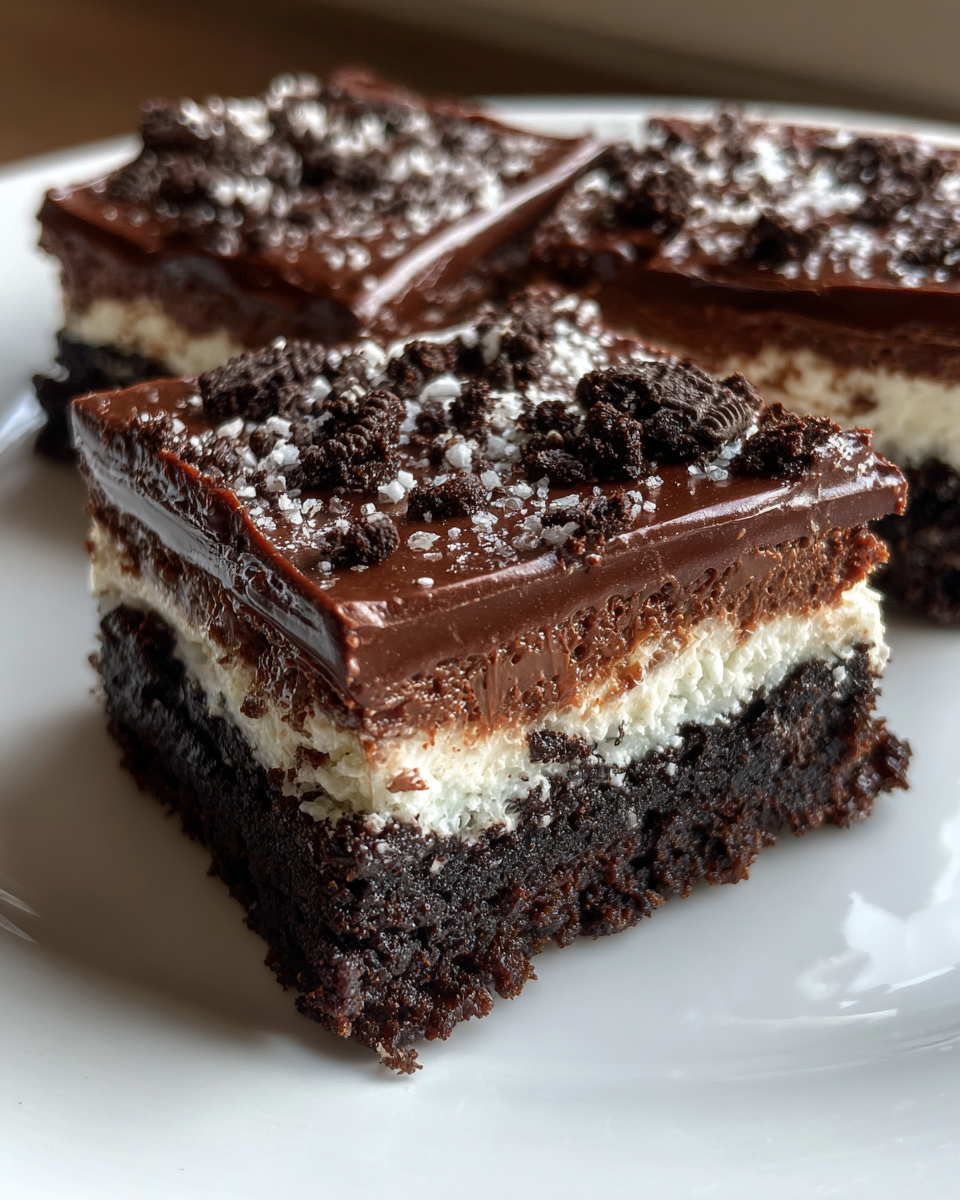
Almost there! While the brownies chill, let’s get our chocolate ready. Place the 12 ounces of semi-sweet chocolate chips in a microwave-safe bowl. If you’re using the coconut oil, add it now. Microwave in 30-second bursts, stirring well after each one, until the chocolate is completely melted and smooth. Be careful not to overheat it! Pour this glorious melted chocolate over the chilled brownies. Use a spatula to spread it evenly, making sure the entire top is covered in a smooth chocolate layer. Then, back into the fridge they go for another 30 minutes. This lets that chocolate topping set up perfectly.
Tips for Perfect No-Bake Oreo Truffle Brownies
Getting these No-Bake Oreo Truffle Brownies just right is totally achievable! For a richer flavor, try using dark chocolate chips instead of semi-sweet. Chloe found that a little espresso powder, just a pinch, added to the cream cheese mixture really makes the chocolate flavor pop. Remember, chilling is key! Make sure the brownies are firm before you cut them for the cleanest slices. I always watch the chocolate carefully when melting; overdoing it can make it seize up. These little tricks, a mix of Chloe’s flair and my carefulness, ensure delicious results every time.
Ingredient Substitutions and Enhancements
Want to switch things up? Using dark chocolate chips gives these brownies a more intense chocolate taste. For an even deeper flavor, a tiny pinch of espresso powder in the cream cheese layer works wonders. It really brings out the chocolate notes without making it taste like coffee. These simple tweaks can really elevate your No-Bake Oreo Truffle Brownies.
Serving and Storing Your No-Bake Oreo Truffle Brownies
Once your No-Bake Oreo Truffle Brownies are perfectly chilled and set, it’s time to cut them. For the cleanest slices, use a sharp knife. Wipe the knife clean between cuts if needed. These are wonderful served chilled, maybe with a scoop of vanilla ice cream or a dollop of whipped cream. Store any leftovers in an airtight container in the refrigerator. They stay delicious for up to 3 days. We find they taste even better the next day!
Frequently Asked Questions about No-Bake Oreo Truffle Brownies
Got questions about these amazing No-Bake Oreo Truffle Brownies? We’ve got answers!
Can I use a different type of cookie? Yes, you can! While Oreos give them that signature flavor, you could try chocolate graham crackers or even chocolate sandwich cookies. Just crush them up the same way.
How do I get clean cuts on my Oreo Brownies? For super clean slices, make sure your brownies are thoroughly chilled before cutting. Use a large, sharp knife. Wiping the knife with a warm, damp cloth between each cut helps a lot!
Can I make these ahead of time? Absolutely! These are a fantastic make-ahead treat. They actually taste even better after sitting in the fridge for a bit. Store them in an airtight container, and they’ll be ready when you need an easy dessert.
Estimated Nutritional Information for No-Bake Oreo Truffle Brownies
Wondering what’s in each delicious bite of these No-Bake Oreo Truffle Brownies? We’ve put together an estimate for you. Please remember these are approximate values. They can change based on the specific brands of ingredients you use and how you slice them.
- Serving Size: 1 brownie
- Calories: Approximately 350-400
- Fat: Approximately 25-30g
- Saturated Fat: Approximately 15-20g
- Carbohydrates: Approximately 30-35g
- Sugar: Approximately 30-35g
- Protein: Approximately 3-4g
- Sodium: Approximately 100-150mg
We aim for deliciousness, and these numbers help you know what to expect. Enjoy every bite!
PrintNo-Bake Oreo Truffle Brownies: Decadent 1-Bowl Treat
Whip up these ultra-decadent No-Bake Oreo Truffle Brownies for a rich chocolate treat. You get the fudgy texture of brownies with the delightful crunch of Oreos, all without turning on your oven. Perfect for a quick, indulgent dessert.
- Prep Time: 20 minutes
- Cook Time: 10 minutes (for melting chocolate)
- Total Time: 2 hours 30 minutes (includes chilling time)
- Yield: 16 servings
- Category: Desserts
- Method: No-Bake
- Cuisine: American
- Diet: Vegetarian
Ingredients
- 1 package (14.3 oz) Oreo cookies, divided
- 1/2 cup (1 stick) unsalted butter, melted
- 8 oz cream cheese, softened
- 1/4 cup unsweetened cocoa powder
- 1 teaspoon vanilla extract
- 1/4 teaspoon salt
- 12 oz semi-sweet chocolate chips
- 1 tablespoon coconut oil (optional, for smoother melting)
Instructions
- Crush 28 Oreo cookies into fine crumbs. Reserve the remaining 6 Oreos for garnish.
- In a bowl, combine the Oreo crumbs with the melted butter. Mix until well combined.
- Press the crumb mixture evenly into the bottom of an 8×8 inch baking dish lined with parchment paper.
- In a separate bowl, beat the softened cream cheese until smooth.
- Add the cocoa powder, vanilla extract, and salt to the cream cheese. Beat until well combined and no lumps remain.
- Spread the cream cheese mixture evenly over the Oreo crumb base.
- Place the reserved 6 Oreo cookies on top of the cream cheese layer. Gently press them in slightly.
- Chill the brownies in the refrigerator for at least 1 hour, or until firm.
- Melt the semi-sweet chocolate chips with the coconut oil (if using) in a microwave-safe bowl, stirring every 30 seconds until smooth.
- Pour the melted chocolate over the chilled brownies, spreading it evenly to cover the entire surface.
- Chill again for at least 30 minutes, or until the chocolate is set.
- Lift the brownies out of the dish using the parchment paper. Cut into squares.
Notes
- For a richer chocolate flavor, use dark chocolate instead of semi-sweet.
- You can add a pinch of espresso powder to the cream cheese mixture to enhance the chocolate taste.
- Store leftovers in an airtight container in the refrigerator for up to 3 days.
Nutrition
- Serving Size: 1 brownie
- Calories: Approximately 350-400
- Sugar: Approximately 30-35g
- Sodium: Approximately 100-150mg
- Fat: Approximately 25-30g
- Saturated Fat: Approximately 15-20g
- Unsaturated Fat: Approximately 10-15g
- Trans Fat: 0g
- Carbohydrates: Approximately 30-35g
- Fiber: Approximately 1-2g
- Protein: Approximately 3-4g
- Cholesterol: Approximately 30-40mg