

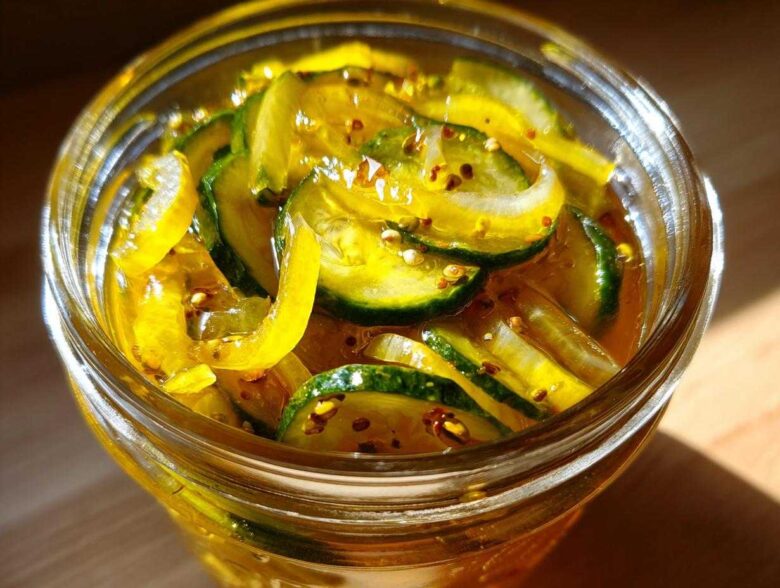
Oh my gosh, stop what you’re doing! If you’re chasing that perfect, addictive crunch combined with that irresistible sweet-and-tangy kick, I’ve finally nailed it. Seriously, this recipe for bread and butter pickle is the one you’ll be using forever. I’ve spent years tweaking the brine ratio because I wanted something that tasted amazing but wasn’t fussy.
The best part? You choose! We’re covering the classic water-bath canning method so you can stock up your pantry for winter sandwiches, OR we’re making a super-fast refrigerator batch you can eat by tomorrow. Trust me, mastering that sweet and tangy balance is easier than you think. You need this recipe! For more kitchen adventures, check out my main recipe blog right here!
Why This is the Best Bread and Butter Pickle Recipe
I know, I know, everyone says their recipe is the best! But hear me out—this one works every single time, whether you’re a total beginner or you’ve been canning since you were a kid. We hit that sweet spot between preservation and flavor that so many recipes miss.
- It delivers those sought-after sweet and tangy pickles without tasting candied.
- I’ll share my trick for keeping things super crisp, guaranteeing genuine crunchy cucumber pickles.
- It’s totally adaptable—you decide if you want them ready tomorrow or ready next year!
If you’re looking for other fantastic preserved veggies, you have to try my dilly beans guide too. They are phenomenal!
Flavor Profile: Perfectly Sweet and Tangy Pickles
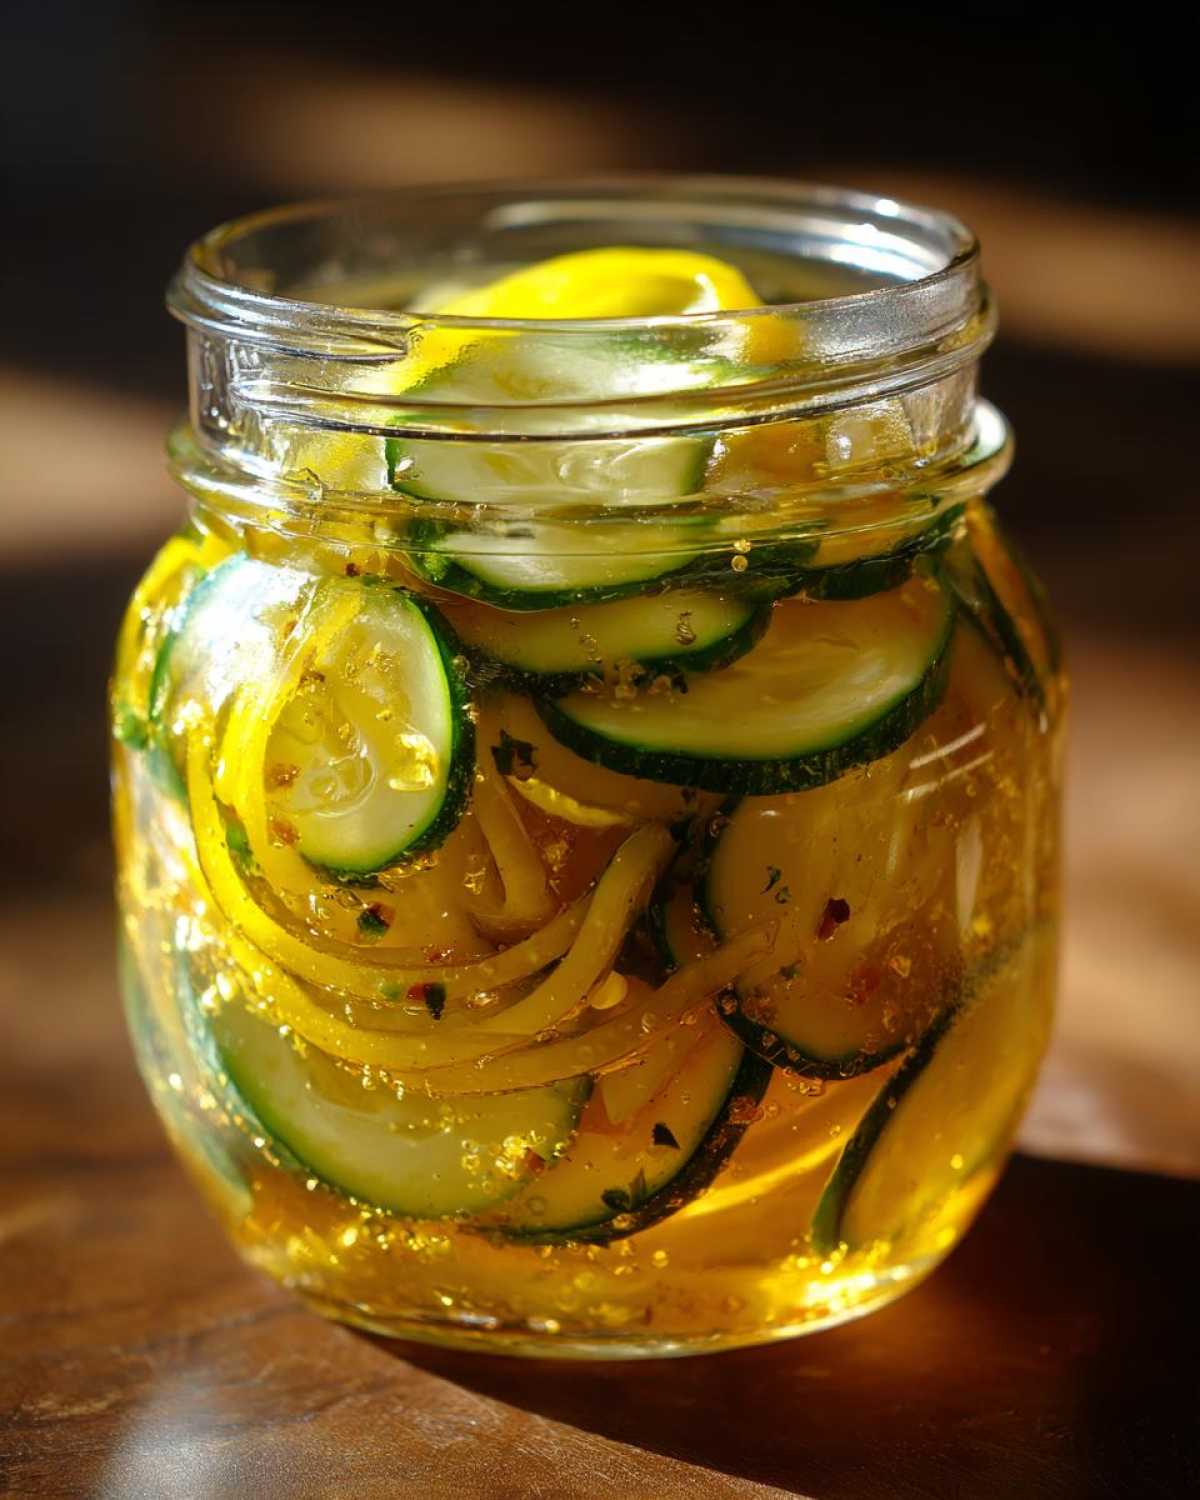
The magic here is the 1:1 ratio of sugar to vinegar, balanced by those warm spices like turmeric and cloves. It gives you that classic, slightly floral sweet note right before the bright vinegar tang kicks in. It’s not just sweet; it’s bright, clean, and perfect for cutting through rich foods like my favorite pulled pork sandwiches.
Achieving Crunchy Cucumber Pickles Every Time
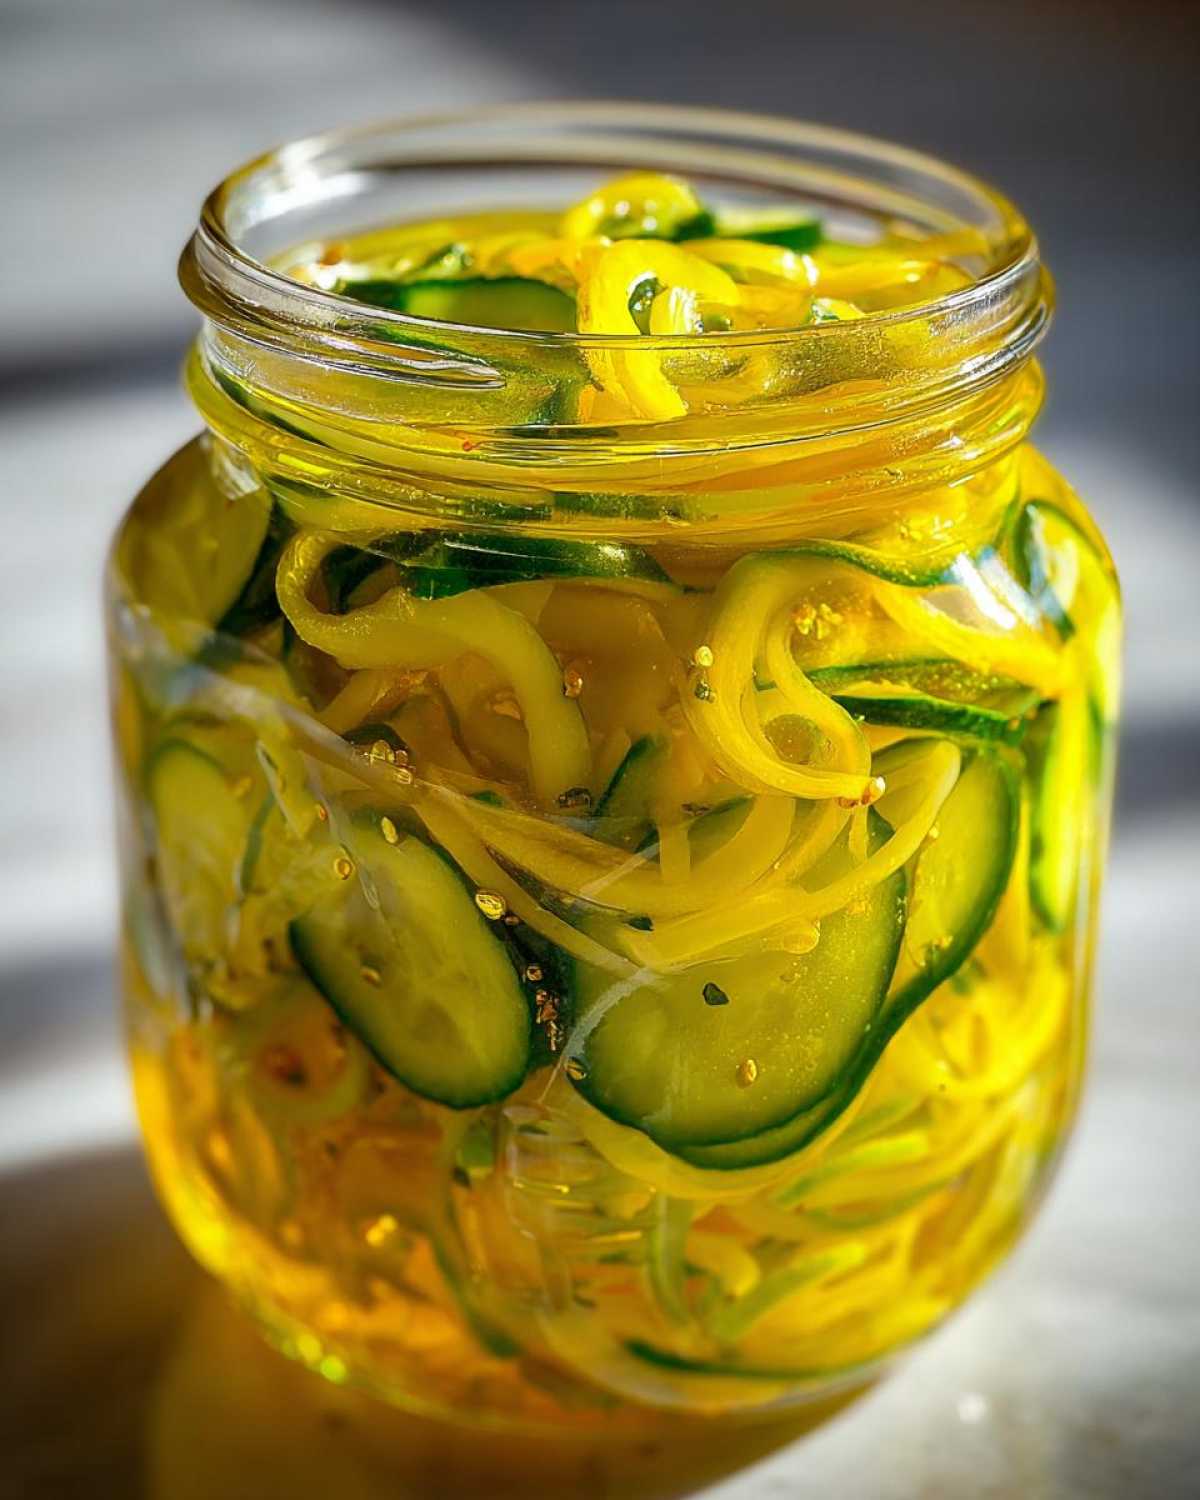
This is the part I guard fiercely! You absolutely have to give those cucumbers and onions time to soak in the salt water and ice. When you drain them, they shrivel just a tiny bit and get firm. That mandatory 2-to-3-hour soak is non-negotiable if you want that satisfying “snap” when you bite in. Don’t skip it!
Ingredients Needed for Perfect Bread and Butter Pickles
Okay, setting up your ingredient station is key—it makes the whole process feel smooth instead of stressful. We aren’t using anything fancy here, just solid pantry staples to create the very best bread and butter pickle. Make sure you have a big glass bowl ready for the first step, as we need room to toss everything together!
Here is what you need sitting right beside your stove before you start making that glorious brine:
- 3 lbs of pickling cucumbers (I use Kirby types!), sliced super thin—about 1/8 inch thick.
- 2 large sweet onions, sliced just as thinly.
- 1/4 cup of pickling salt—this is important for drawing the water out.
- 3 cups white vinegar (no fancy stuff needed here!).
- 3 cups granulated sugar.
- 1 tablespoon mustard seed.
- 1 teaspoon celery seed.
- 1 teaspoon ground turmeric—mostly for that beautiful golden color!
- And just 1/2 teaspoon of ground cloves. It adds such a warm depth, trust me.
Ingredient Notes and Substitutions for Your Bread and Butter Pickle
If you can only find standard slicing cucumbers at the market, go ahead and use them, but just be warned: they tend to get softer faster than true pickling cukes. If you want a slightly less sugary result, the recipe notes say you can shave off about half a cup of the granulated sugar, but honestly, that balance is what makes these bread and butter pickle recipes shine, especially when you plan on canning them for long-term storage.
How to Prepare Easy Bread and Butter Pickles (Refrigerator Method)
If you’re impatient like me—and let’s be honest, who isn’t when dealing with pickles?—the refrigerator method is your new best friend. This bypasses the whole canning equipment mess, so you can have amazing results faster. Remember those first two steps? You absolutely need to do them!
Start by tossing your thinly sliced cucumbers and onions with that pickling salt. Let that sit for at least two hours, covered in ice water. This is the secret to keeping them snappy! Once they’ve sweated out all that extra moisture, drain them really, really well. I mean, shake that colander for a solid half-hour. You want them as dry as possible before they hit the hot brine.
While those are draining, whisk up your brine in a saucepan: the vinegar, sugar, and all those lovely little spices like celery seed and turmeric. Bring it to a full boil until every grain of sugar disappears. This only takes a minute or two!
Now, the quick part: Pour that hot brine right over your drained cucumbers and onions. Stir everything gently and bring it back just to a low simmer for exactly two minutes. Don’t let it roll—just that gentle bubble!
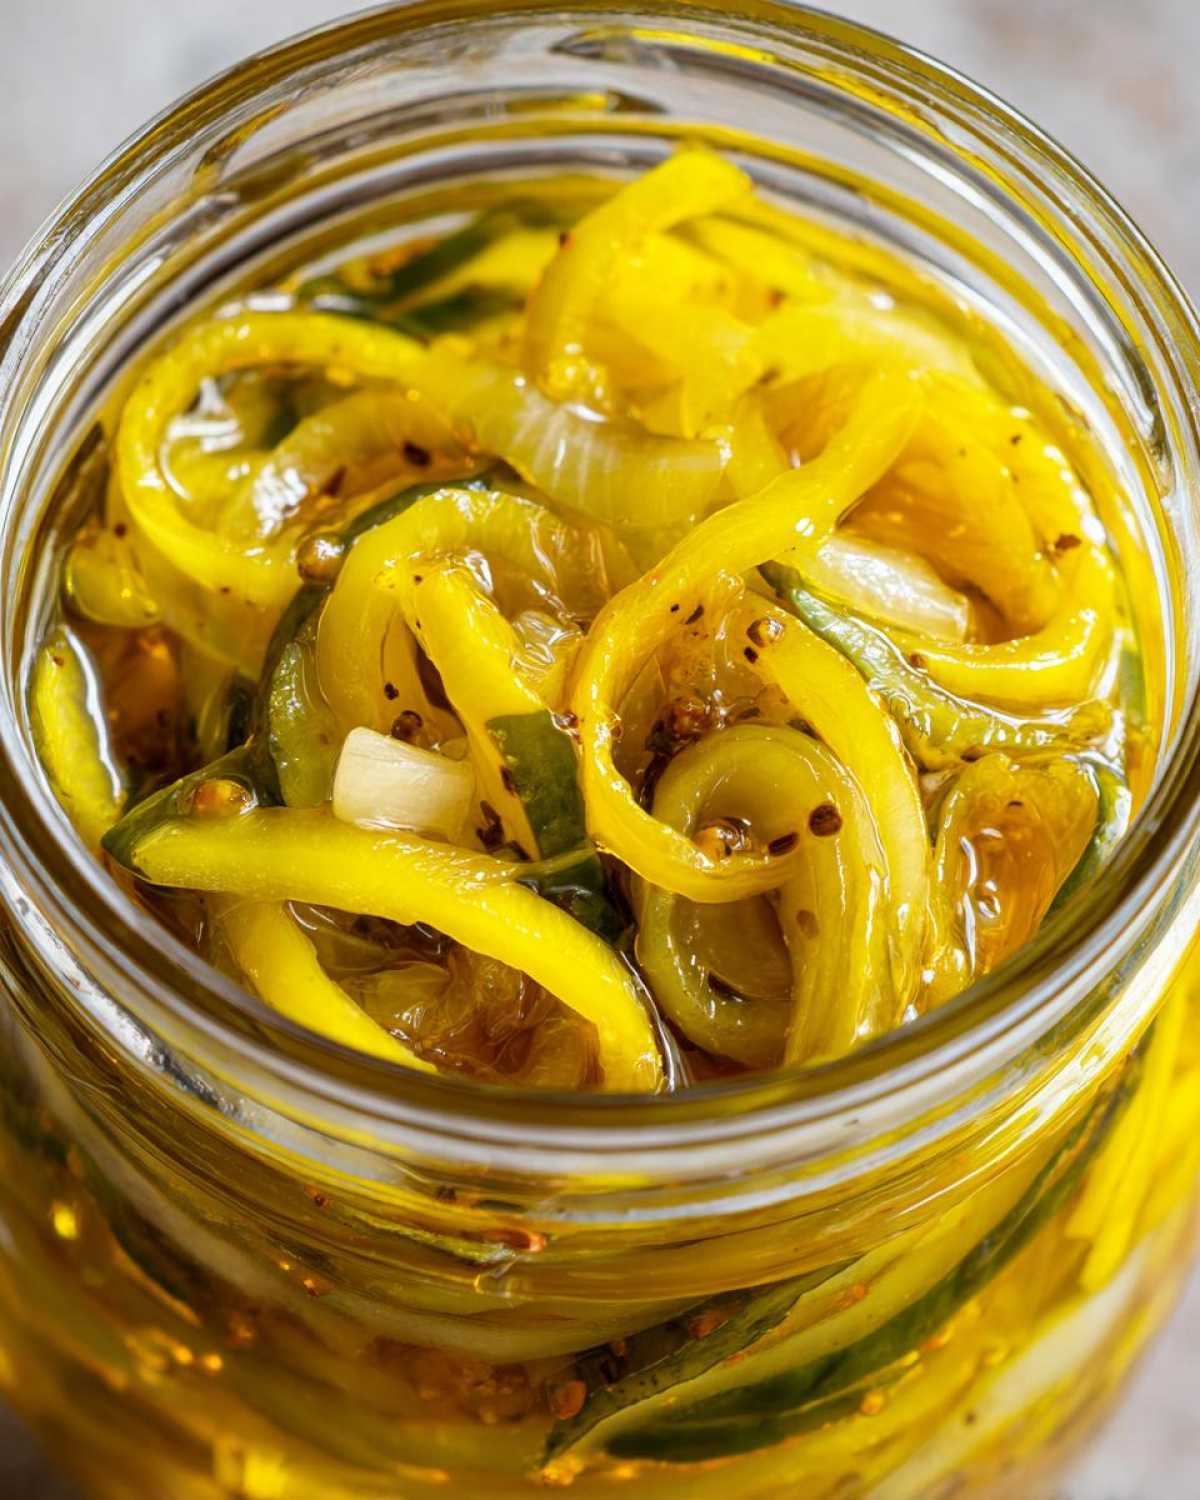
Spoon the hot mixture right into your clean jars—don’t worry about sealing them properly if you aren’t canning. Just leave about a half-inch of space at the top. Let them cool on the counter, and then pop them straight into the fridge. Seriously, they are ready to snack on in about 24 hours. They won’t last too long this way, maybe a month, but they are perfect ASAP! If you want tips on making just a small batch, take a peek at my quick pickle brine guide; it’s super handy.
Water Bath Canning Instructions for Long-Term Storage
If you want these beauties to last all the way through holiday dinners or just survive until next summer, you need to break out the water bath canner. This might seem intimidating if you’re new to preserving jars, but honestly, it’s just keeping things hot enough to seal out any bad bugs. Safety first, always!
You’ll follow the same initial steps for cleaning out the cucumbers and onions by salting them and rinsing them super well—that’s for the crunch aspect, remember? Then, you’ll make that glorious, sweet, spiced brine and cook the vegetables in it for just 2 minutes. Don’t let them cook too long, or they get soggy, yuck!
Once they’re simmering, it’s jar time. Use jars that have been sterilized and kept hot. Fill them up with the hot cucumbers and that boiling brine, but pay close attention to the headspace—leave exactly half an inch clear at the top. That space is critical for a good seal!
Wipe down those rims until they are sparkling clean because any speck of sugar or vinegar on the edge can stop the lid from sealing properly. Center your lids and screw the bands on until they feel “fingertip tight”—not cranked down! Lower the jars gently into your active boiling water bath canner. They need to process for exactly 10 minutes. Make sure the water covers the jars by at least an inch, or you’ll need to adjust that time for your altitude.
When the timer goes off, turn the heat off, take the lid off the canner, and let those jars sit there for five more minutes. Then, carefully nestle them onto a towel-lined counter to cool. You’ll hear that magical “pop” as they seal over the next day. If you need a full rundown on getting comfortable with the equipment, check out my guide on canning vegetables for beginners.
Canning Vegetables for Beginners: Safety Checklist
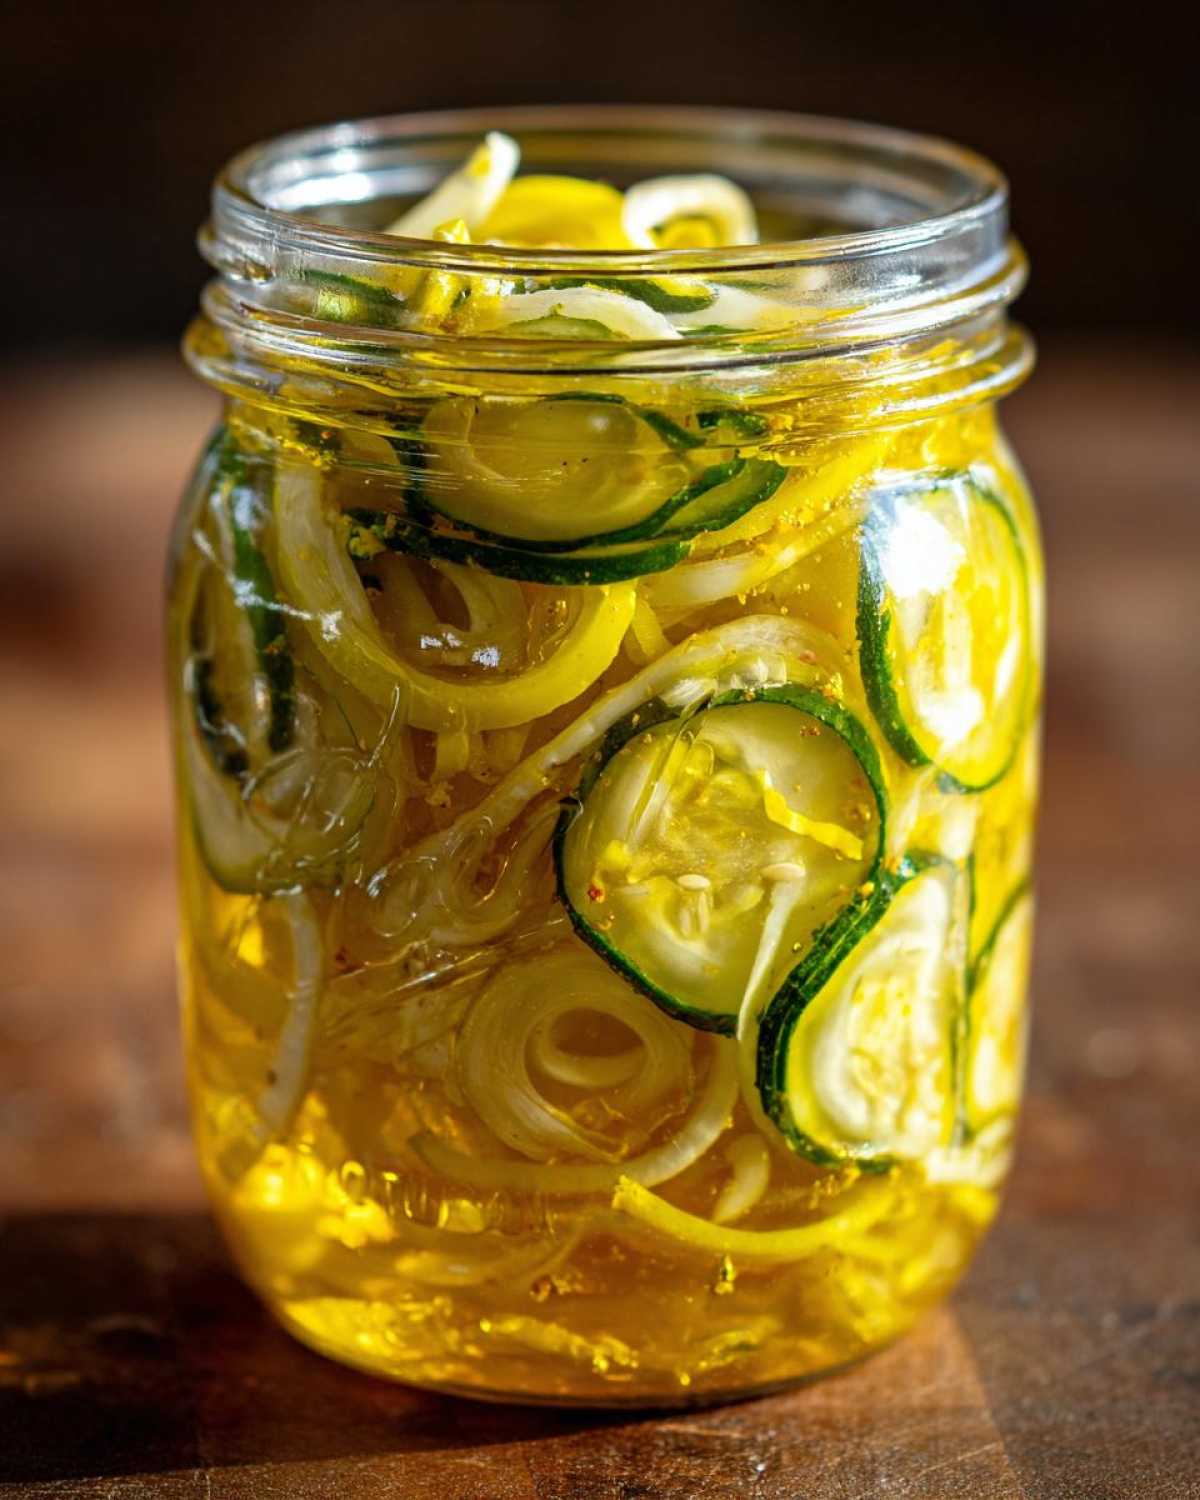
When you’re canning, you want peace of mind, right? Here are the quick checks I always run through before I even turn the stove on for the serious boiling part:
- Are your jars clean and hot? Cold jars meeting hot brine can crack!
- Did you leave that crucial half-inch of headspace? Too much air means no seal.
- Are the rims perfectly clean before capping? No grit allowed!
- Once cooled, did you test the lids? They should be fully concave and not move when you press the center.
Tips for Success with Your Homemade Pickle Recipe
We’ve covered the two main methods, but I have a couple more little secrets from my test batches that make these homemade pickle recipes just sing. The biggest thing I learned early on? Patience during the cooking phase!
When you add those pre-soaked cucumbers and onions back into the boiling brine, you must only cook them for that strict 2 minutes. If you let that mixture boil hard, you’re softening the cell walls you worked so hard to firm up earlier. It turns that gorgeous crunch into something a little… sad. Don’t do it!
Also, think about your pot. You need something non-reactive. I always use my heavy stainless steel Dutch oven for making the brine because aluminum can react badly with the vinegar and give your beautiful golden pickles an odd, metallic taste. It defeats the purpose of making amazing sweet butter pickles if the pot messes up the flavor!
And hey, if you happen to have some leftover naan lying around, my recipe for garlic butter naan is the *perfect* vehicle for scooping up any extra brine or enjoying alongside your tangy snacks!
Storage and Shelf Life for Bread and Butter Pickles
This is where your decision on method really matters! If you used the quick refrigerator method without processing them in the canner, those jars must stay tucked away in the fridge. They’ll be ready to eat quickly, but they usually only last about one month. Just keep pulling them out for burgers!
If you went through the trouble of water-bath processing—which I highly recommend if you see ripe cukes everywhere—those sealed jars are pantry treasures. Store them in a cool, dark spot, and they should stay perfectly preserved and crisp for a full year, honestly. Just remember to mark the date on the lid so you know which batch came first!
If you’re ever interested in preserving other sweet things, my no-pectin raspberry jam is another staple everyone loves to keep stocked on the shelves.
Serving Suggestions for These Sweet Butter Pickles
Seriously, once you have a jar of these bread and butter pickle slices cooling on the counter, your sandwich game changes forever. Forget those soggy, flavorless things you get at the deli!
These are obviously the ultimate topping for a juicy cheeseburger or a thick slice of ham on rye. That sweet, sharp tang just cuts right through fatty meats. They’re fantastic chopped up super fine and mixed into creamy potato or chicken salad too, giving it a little unexpected zing. For more sandwich inspiration, you absolutely have to check out my specific sandwich pickles recipe post for pairing ideas!
Frequently Asked Questions About Making Bread and Butter Pickles
I get so many great questions about this recipe because everyone wants their jar of bread and butter pickle to be perfect! Here are the things I hear most often when people are diving into their first batch of these classic sweet and tangy preserves.
Can I use regular table salt instead of pickling salt?
Oh, don’t do it, please! Regular table salt has anti-caking agents added, and those things can make your brine cloudy. Worse, they can interfere with how the salt pulls the water out of the cucumbers, which ruins that crunch we worked so hard for! Stick to pickling salt or kosher salt for the cleanest, crispiest results.
What’s the big difference between this and sweet sour pickles?
That’s a fantastic question! While they both lean sweet, the classic bread and butter pickle tends to have a slightly higher sugar content and often includes those signature spices like mustard seed and turmeric for that distinct yellowish color and flavor profile. Sweet and sour pickles might use less sugar or substitute some of the vinegar for citric acid, giving them a sharper, more one-note tang.
Can I adapt this recipe for a small batch pickle?
Absolutely, you can! That’s the beauty of a good brine formula. You can easily cut this entire recipe in half if you just want to test it out or if you don’t have enough room in your canner. If you’re making a small batch, definitely use the refrigerator method so you can enjoy them immediately. For a full guide to making just a few jars, check out my tips on small batch pickles—it gives you the ratios you need!
Do I have to cook the cucumbers in the brine?
Yes, for this specific recipe, you do! That’s the difference between a truly cooked bread and butter pickle and a raw refrigerator pickle. Cooking them for exactly 2 minutes in the hot brine ensures that the flavor penetrates the cucumber quickly and that they are safe and shelf-stable if you plan on canning them. If you skip the cooking time and just pour the brine over the raw cucumbers, you’re making a quick pickle, which must be refrigerated!
Estimated Nutritional Data for Bread and Butter Pickles
I always get curious about the macros—even with something packed with sugar like these, it’s good to have an idea! Remember, this data is just an estimate based on the recipe amounts, and if you mess with the sugar or vinegar ratio, the numbers will change a bit. For the full legal rundown on how these estimates are calculated, you can always check out my standard disclaimer here.
Here’s what you’re looking at per serving—which is about 3 little slices:
- Calories: 45
- Sugar: 11g (Yep, they’re sweet!)
- Sodium: 180mg
- Fat: 0.1g
- Carbohydrates: 11g
- Protein: 0.3g
So, while they are a treat, they are virtually fat-free, which I suppose is something to cheer about!
PrintUltimate Easy Bread and Butter Pickles: Canning & Refrigerator Options
Make classic sweet and tangy, crunchy bread and butter pickles using this simple recipe. You can choose the traditional water-bath canning method for long-term storage or a quick refrigerator method for immediate enjoyment.
- Prep Time: 20 min
- Cook Time: 15 min
- Total Time: 3 hr 50 min
- Yield: About 4 pints
- Category: Preserves
- Method: Canning/Refrigerator
- Cuisine: American
- Diet: Vegetarian
Ingredients
- 3 lbs pickling cucumbers (about 6-8 medium), thinly sliced
- 2 large sweet onions, thinly sliced
- 1/4 cup pickling salt
- 3 cups white vinegar
- 3 cups granulated sugar
- 1 tablespoon mustard seed
- 1 teaspoon celery seed
- 1 teaspoon ground turmeric
- 1/2 teaspoon ground cloves
Instructions
- Place the sliced cucumbers and onions in a large bowl. Sprinkle with pickling salt and toss to coat. Cover with ice water and let stand for 2 to 3 hours. This draws out moisture and keeps the pickles crisp.
- Drain the cucumbers and onions thoroughly. Rinse them under cold running water several times until the water runs clear. Drain well in a colander for at least 30 minutes.
- In a large, non-reactive saucepan, combine the vinegar, sugar, mustard seed, celery seed, turmeric, and cloves. Bring the mixture to a boil over medium-high heat, stirring until the sugar dissolves completely.
- Add the drained cucumbers and onions to the boiling brine. Return the mixture to a simmer and cook gently for exactly 2 minutes, stirring occasionally. Do not overcook, or the pickles will lose their crunch.
- For Refrigerator Pickles (Quick Method): Pack the hot cucumbers and brine into clean jars, leaving 1/2 inch headspace. Seal with lids and refrigerate once cooled. Pickles are ready to eat in 24 hours and last about 1 month in the refrigerator.
- For Canning (Water Bath Method): Pack the hot cucumbers and brine into hot, sterilized pint or half-pint canning jars, leaving 1/2 inch headspace. Wipe rims clean. Center lids and screw bands on until fingertip tight.
- Process the filled jars in a boiling water bath canner for 10 minutes, adjusting for altitude if necessary. Turn off the heat, remove the canner lid, and let the jars sit for 5 minutes before removing them to a towel-lined counter to cool completely. Check seals after 12-24 hours. Store sealed jars in a cool, dark place.
Notes
- Use pickling cucumbers for the best crunch. If you use standard slicing cucumbers, the texture may be softer.
- For a spicier pickle, add 1/2 teaspoon of crushed red pepper flakes to the brine mixture.
- If you prefer a less sweet flavor, reduce the sugar by 1/2 cup, but this may affect the preservation quality of canned batches.
Nutrition
- Serving Size: 3 slices
- Calories: 45
- Sugar: 11
- Sodium: 180
- Fat: 0.1
- Saturated Fat: 0
- Unsaturated Fat: 0.1
- Trans Fat: 0
- Carbohydrates: 11
- Fiber: 0.3
- Protein: 0.3
- Cholesterol: 0