

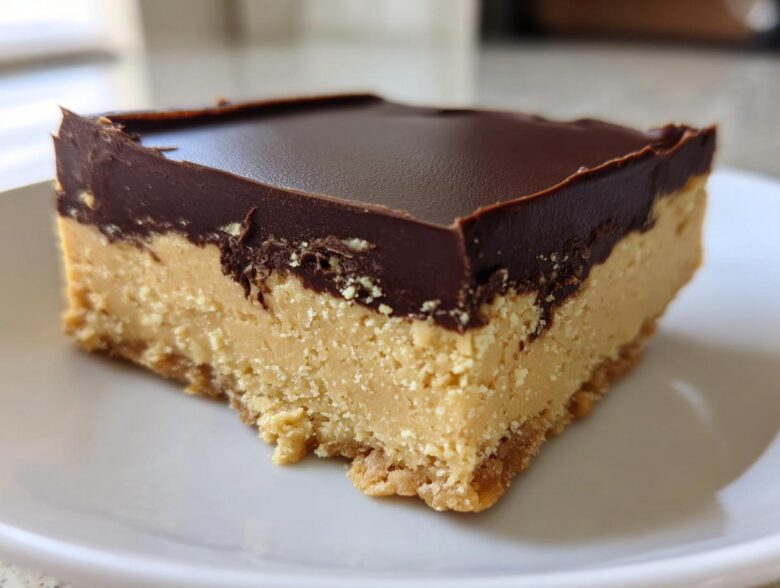
Honestly, sometimes you just need something sweet right now, and the thought of waiting for an oven to preheat might just make you raid the pantry for stale crackers instead. Trust me, I’ve been there! That’s why I spent ages perfecting these **peanut butter bars**. They hit that perfect spot between decadent and ridiculously easy because they don’t need an oven at all! We’re talking about the ultimate no-bake treat here. These bars are rich, they are wonderfully creamy, and they set up so fast you barely have time to clean the mixing bowl.
I came up with my unbeatable version after a particularly hot summer when I refused to turn on the stove, yet my little cousin demanded something resembling his favorite candy bar. I tweaked and chilled until I had these perfectly dense, chocolate-covered squares. If you want an easy dessert that screams ‘Reese’s dream’ but takes maybe fifteen minutes of actual work, you’ve found your winner. You can even skip ahead to the Oreo balls if you’re feeling impatient, but I promise these peanut butter bars are worth the short wait!
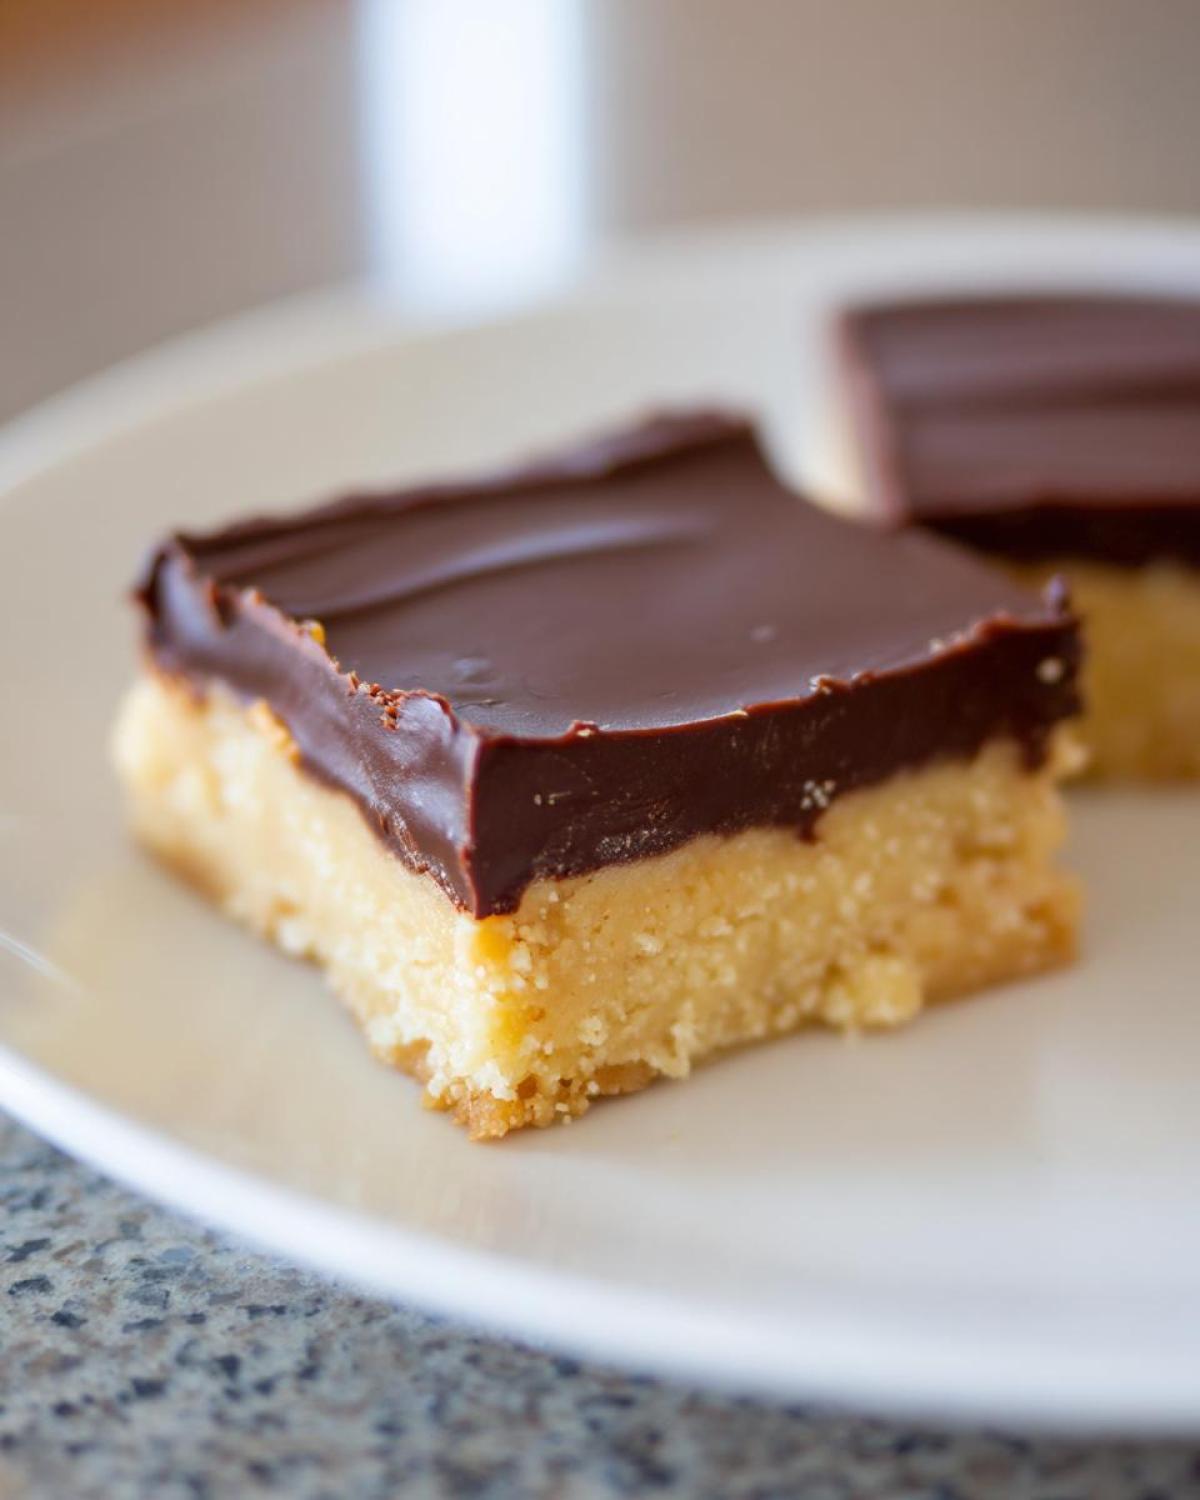
Why These No Bake Peanut Butter Bars Are Your New Favorite Quick Dessert Bars
I’m telling you, folks, once you see how fast these come together, you won’t even look at a baked cookie recipe again—at least not for a week! These **no bake peanut butter bars** are the definition of instant gratification. They are ideal for those unexpected sweet cravings or when you need a big batch of dessert for a potluck without turning on the air conditioning. If you’re looking for something even faster, check out my no-bake energy bites, but these bars hit different!
Here’s why I think this recipe is unstoppable:
- They are hands-down some of the best **quick dessert bars** I’ve ever made. Seriously, prep is about 15 minutes, tops!
- No oven time means less cleanup and zero risk of burning the bottom.
- You get incredibly rich, **creamy peanut butter squares** that are just begging to be paired with coffee.
- They travel really well, making them perfect for potlucks or school events.
This recipe consistently gives me that perfect, dense, satisfying chew that people usually only find in those classic square treats.
The Perfect Chewy Peanut Butter Layers
The lack of baking is actually the secret weapon for the texture here. Baking dries things out! Because we’re just mixing and chilling the base, the high fat and sugar content locks in all that moisture. You end up with a beautifully dense, almost fudgy primary layer that holds its shape perfectly when sliced.
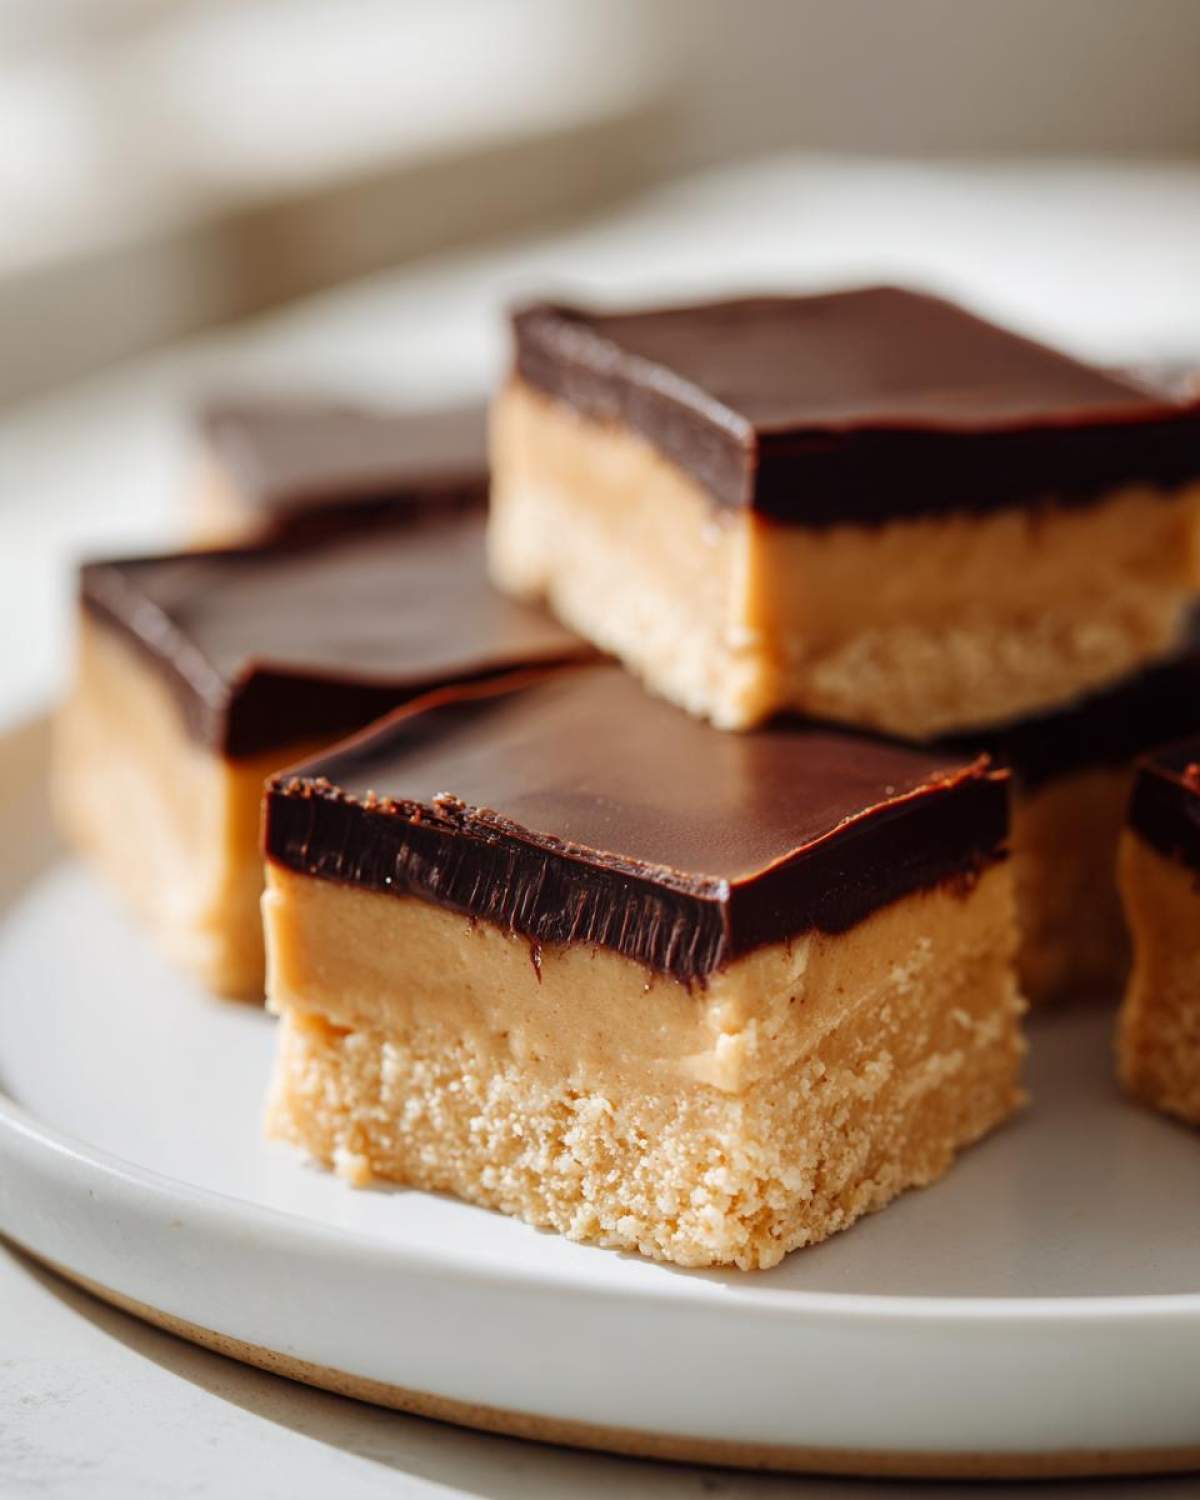
Gathering Ingredients for Your Decadent Peanut Butter Dessert
Okay, here is where we get down to business. Because these are no-bake, ingredient quality really shines through. My biggest tip before you start grabbing things off the shelf? Make sure your butter is actually soft! If it’s rock solid, the base will be lumpy, and that’s just a disaster waiting to happen. We’re aiming for smooth sailing here, folks. And yes, you do need both peanut butter and powdered sugar for that amazing filling. It’s non-negotiable for the best texture. If you want to see how I use that sugar in a different context, you might love looking at these powdered sugar peanut butter bars too!
Ingredients for the Creamy Peanut Butter Base
This is the heart of the operation! For the bottom layer, you need reliability. Grab one cup of unsalted butter—and I mean *softened*, not melted! Then get two full cups of creamy peanut butter—I use the standard Jif or Skippy stuff because the natural kinds get too oily here. We round that out with exactly two cups of powdered sugar and just a dash of vanilla extract. That mixture has to blend until it’s perfectly unified!
Ingredients for the Chocolate Peanut Butter Bars Topping
For the chocolate layer, we keep it classic for that perfect break when you bite in. You’ll need 1 and 1/2 cups of semi-sweet chocolate chips—don’t use baking squares, chips melt so much smoother. Then, we add just a little bit more peanut butter, half a cup specifically, and two tablespoons of extra butter to make sure that chocolate just glides right over the top layer. It’s going to look so glossy, trust me.
Step-by-Step Guide to Making No Oven Dessert Recipes: Peanut Butter Bars
Alright, gather your bowls! Since this is one of those fantastic no-bake sweet treats, the process is totally straightforward, which is why I absolutely love these **peanut butter bars** for a weeknight fix. Remember, we are skipping the oven entirely; our only waiting time is for chilling, and honestly, that’s the hardest part!
Preparing the Pan and Mixing the Base
First things first: grab an 8×8 inch baking pan. You absolutely must line it with parchment paper first. Seriously, leave big overhangs coming up two sides—this is how we lift the whole slab out clean later! Now, grab your mixer. Cream together that softened butter and the main amount of peanut butter until it looks completely smooth and uniform. Don’t rush this crucial first mixing step! Once it’s beautiful and silky, start adding your powdered sugar slowly, bit by bit, along with the vanilla. Mix until everything is incorporated and the filling looks thick, heavy, and wonderfully creamy. Then, press this whole glorious peanut butter layer firmly and evenly into your prepared pan. Make sure the surface is flat!
Creating the Chocolate Topping for Your Peanut Butter Bars
Time for the magic chocolate layer! Get a microwave-safe bowl. Toss in your chocolate chips, the smaller amount of peanut butter (that half cup), and get ready to melt. This is where you need patience: microwave it in short bursts—think 30 seconds at a time—and stir really well between each blast. If you leave it in for a full minute, you risk scorching those chocolate chips, and burned chocolate tastes… well, terrible! Once it’s mostly melted, keep stirring until the residual heat smooths out any little lumps. Stir in those final two tablespoons of butter until the whole topping is glossy and gorgeous. Pour this right over your peanut butter base and use an offset spatula to spread it smoothly across the top edge to edge.
Setting and Cutting the Simple Homemade Bars
Now for the true test of willpower: setting time. You need to get these **simple homemade bars** into the refrigerator for at least two hours. That gives the base time to firm up and the chocolate top time to set hard enough to slice. If you’re making these right before serving and need a faster set, pop them into the freezer for about 15 minutes right before cutting. That chill makes slicing so much cleaner! Use those parchment paper overhangs we left earlier to gently lift the entire block out onto a cutting board. Slice it into 16 nice squares, and you are done! Easy peasy!
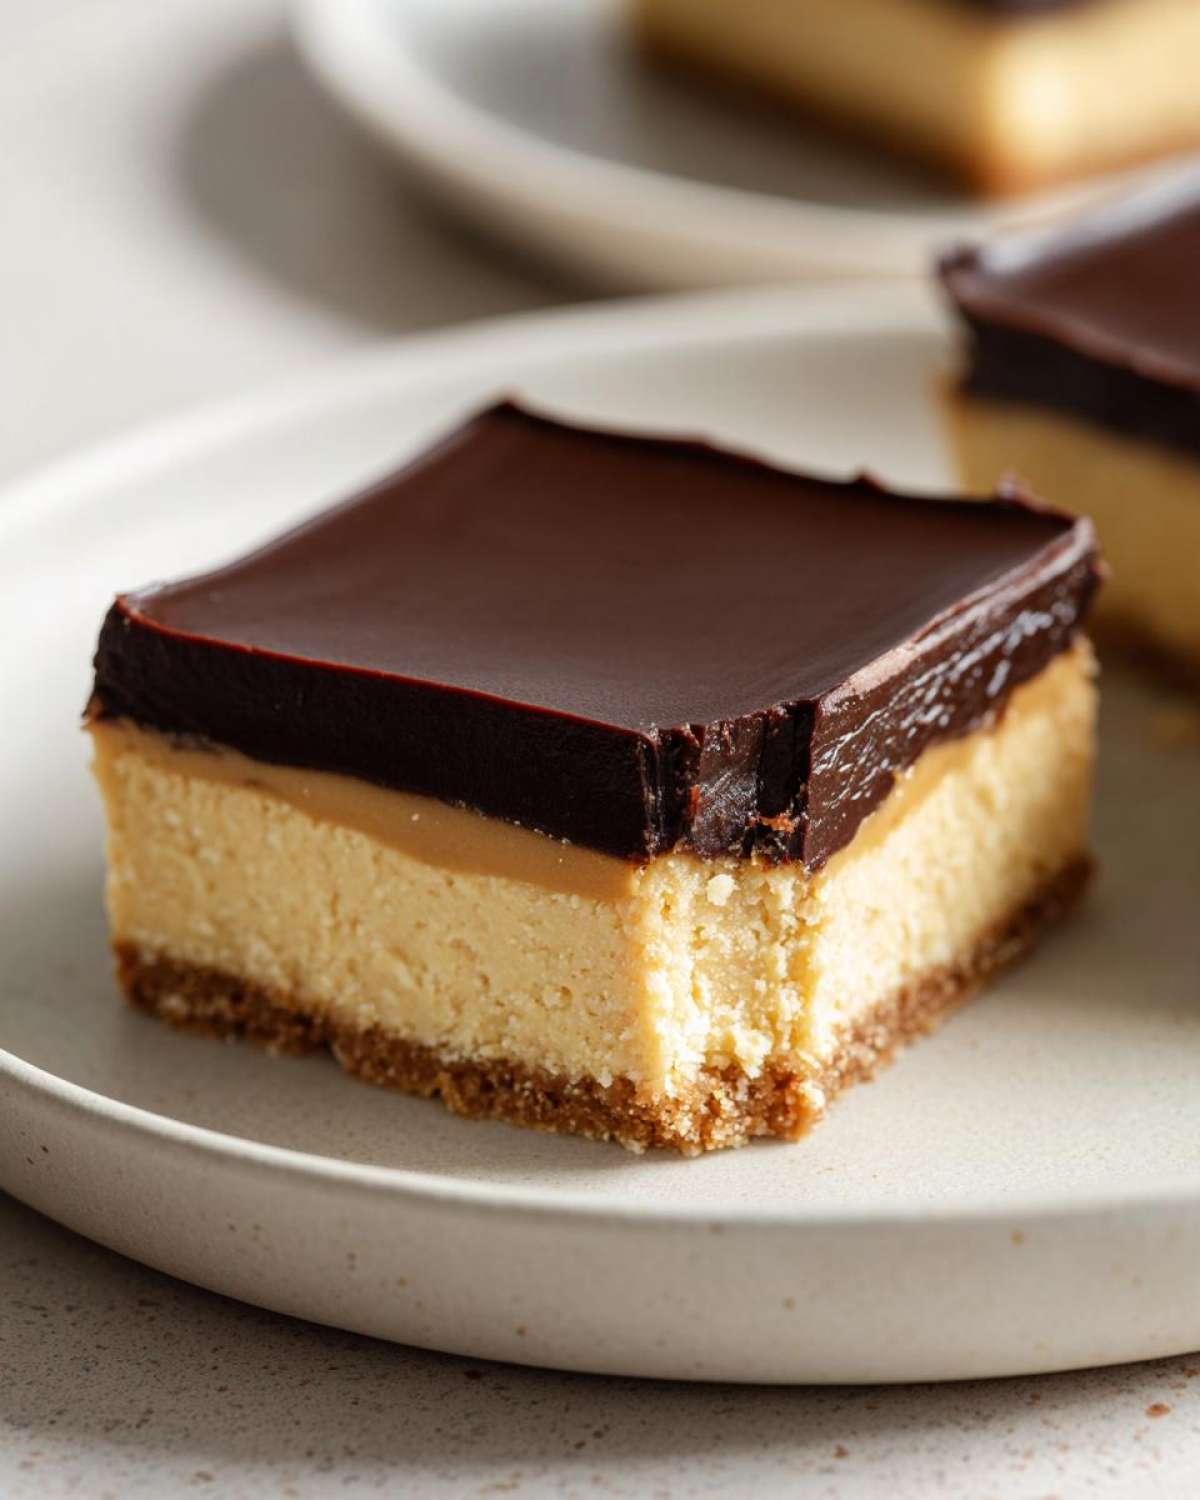
Tips for Success with Your Chocolate Peanut Butter Bars
Even though these are no-bake, a couple of little pointers will take your **chocolate peanut butter bars** from good to legendary. I found that getting the base texture right is all about temperature management before you even turn on the mixer. If your butter is too warm, the base gets greasy instead of fudgy. If your chocolate topping seizes up weirdly, it usually means there was a tiny drop of water in your bowl!
Ingredient Notes and Substitutions for Peanut Butter Bars
Listen up: for the base, you absolutely need creamy peanut butter. Crunchy bits mess with that perfectly smooth, foundational texture we are aiming for, and they won’t press down as nicely. Save the crunchy for a sandwich! For the chocolate layer, you can definitely switch out the semi-sweet chips for milk chocolate ones if you’re craving more sweetness, or even use dark chocolate if you like that slightly bitter contrast to the sweet base. If you want to check out some other great chocolate pairings, I have this amazing banana bread recipe that uses dark chocolate chips really well.
Make Ahead Peanut Butter Squares and Storage Instructions
The best part? These are absolutely the perfect **make ahead peanut butter squares**! You can whip these up a day or two before a party, and they actually taste better the next day once everything has really settled in the fridge. Store them tightly covered in an airtight container in the refrigerator.
They stay perfectly firm and fresh for about a week that way. If you ever need a fantastic, rich make-ahead treat without turning on the oven, these beat almost anything. If you are looking for other rich, make-ahead desserts, you might want to bookmark my decadent cream cheese brownies recipe!
Serving Suggestions for Your Peanut Butter Bars
Because these **peanut butter bars** are so rich, you don’t have to do much to dress them up, honestly! They are decadent enough all on their own. If you’re serving them after dinner, a tiny sprinkle of flake sea salt on the chocolate before it sets is just divine—it cuts through the sweetness beautifully.
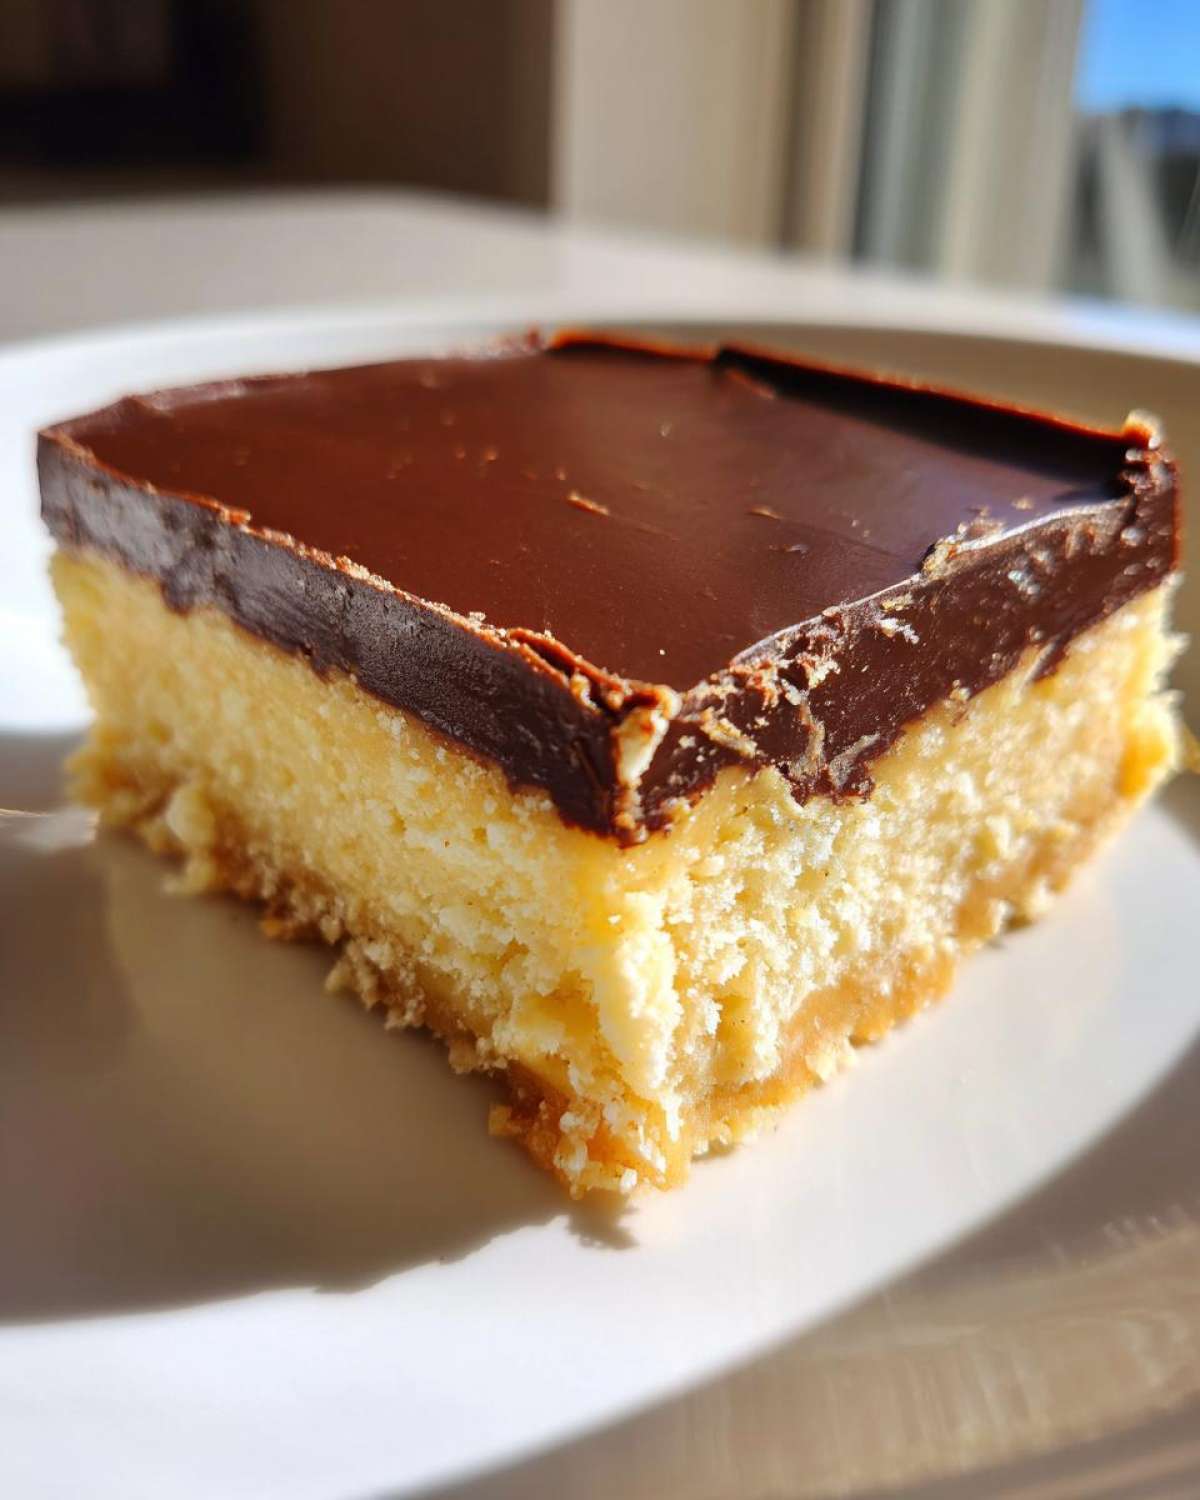
For pairing, they go perfectly alongside a hot cup of coffee or, if you’re feeling fancy, a London Fog latte, which you can find an awesome recipe for right here: London Fog iced latte recipe. They also look amazing next to some fresh raspberries!
Frequently Asked Questions About Easy Peanut Butter Dessert
Whenever I share this recipe, people always have great questions that are totally normal when dealing with no-bake treats. I want to make sure your **peanut butter bars** turn out perfectly every single time, just like mine! If you’re ever doubting your brownie technique, my fudgy brownie recipe is a great starting point for understanding texture!
Can I use natural peanut butter in these peanut butter bars?
Oh, I really wouldn’t advise it for this recipe. Natural peanut butter tends to separate—you know, the oil rises to the top—and that doesn’t mix well with the powdered sugar to create that thick, creamy structure we need for the base. If you use natural, you might end up with a soupy mess that never fully sets up properly. Stick to the standard, processed creamy kind for the best texture in these specific **peanut butter bars**!
How long do these chocolate peanut butter bars last?
Because of all that butter and sugar holding everything together, these **chocolate peanut butter bars** are surprisingly sturdy! Stored tightly covered in the refrigerator, they stay wonderfully fresh for about a week. Seriously, they often taste even better on day two when everything has really melded together nicely.
Can I freeze these quick dessert bars?
Yes, absolutely! These are fantastic for making a huge batch ahead of time. Just slice them up first, then arrange the pieces on a baking sheet lined with parchment paper. Freeze them until solid, then transfer them to an airtight container. They freeze beautifully for up to three months. When you want one, just pop them on the counter for about 20 minutes to thaw, or grab a slice straight from the freezer if you like them extra hard, similar to eating a frozen candy bar!
Estimated Nutritional Data for Peanut Butter Bars
Now, I always tell people that these **peanut butter bars** are definitely a super decadent treat, not something I eat every day! They are rich, and you can tell just by looking at them, right? Since these are no-bake and loaded with creamy filling and chocolate, the numbers reflect that wonderful indulgence.
I always pull this information together so you know exactly what you’re looking forward to. Remember, since every ingredient brand is slightly different, these numbers are a very good estimate based on standard ingredient usage. For the most exact information, you’d have to run the exact brands you use through a calculator, but this gives you a great guideline!
Here is the estimated nutritional breakdown per square (assuming you cut the batch into 16 pieces):
- Calories: 310
- Fat: 22g
- Saturated Fat: 8g
- Carbohydrates: 28g
- Sugar: 25g
- Protein: 7g
- Sodium: 120mg
As you can see, these are definitely an occasional indulgence! But wow, are they worth it. If you want to read more about how we calculate things here on the blog, you can always check out our full site disclaimer page, just to be totally transparent about these estimates. Enjoy responsibly!
Share Your Experience with These Peanut Butter Bars
Now that you’ve made my all-time favorite **peanut butter bars**, I absolutely need to know what you think! Did they set up perfectly for you? Did that chocolate topping crack just right? Don’t leave me hanging!
Please hop down below and leave a rating—five stars if they blew your mind, which I highly expect they will! Even better, if you took a picture of those gorgeous, rich, **fudgy peanut butter treats**, please tag me on social media or send it through the contact page. I love seeing your bakes come to life in your kitchens!
Happy baking, or should I say, happy chilling!
PrintUltimate No-Bake Chocolate Peanut Butter Bars
Make quick, rich, and creamy peanut butter bars with a chocolate topping. This no-bake recipe sets fast and tastes like a classic candy bar.
- Prep Time: 15 min
- Cook Time: 0 min
- Total Time: 2 hours 15 min
- Yield: 16 squares
- Category: Dessert
- Method: No-Bake
- Cuisine: American
- Diet: Vegetarian
Ingredients
- 1 cup unsalted butter, softened
- 2 cups creamy peanut butter
- 2 cups powdered sugar
- 1 teaspoon vanilla extract
- 1 1/2 cups semi-sweet chocolate chips
- 1/2 cup creamy peanut butter (for topping)
- 2 tablespoons butter (for topping)
Instructions
- Line an 8×8 inch baking pan with parchment paper, leaving an overhang on two sides for easy removal.
- In a large bowl, beat the softened butter and 2 cups of peanut butter until smooth.
- Gradually add the powdered sugar and vanilla extract, mixing until fully combined and the mixture is thick and creamy.
- Press this peanut butter mixture evenly into the prepared pan.
- In a microwave-safe bowl, combine the chocolate chips and 1/2 cup of peanut butter. Microwave in 30-second intervals, stirring between each, until smooth.
- Stir in the 2 tablespoons of butter until the chocolate mixture is glossy.
- Pour the chocolate mixture over the peanut butter layer and spread evenly to cover the entire surface.
- Refrigerate the bars for at least 2 hours, or until the chocolate topping is firm.
- Use the parchment paper overhang to lift the bars from the pan. Cut into squares before serving.
Notes
- For cleaner cuts, place the pan in the freezer for 15 minutes before slicing.
- You can substitute milk chocolate chips for semi-sweet if you prefer a sweeter topping.
- Store leftovers covered in the refrigerator.
Nutrition
- Serving Size: 1 square
- Calories: 310
- Sugar: 25
- Sodium: 120
- Fat: 22
- Saturated Fat: 8
- Unsaturated Fat: 14
- Trans Fat: 0
- Carbohydrates: 28
- Fiber: 1
- Protein: 7
- Cholesterol: 25